 Learn about trading platforms, payment providers, and other third-party solutions integrated with B2CORE
 Gain a deeper view of the B2CORE Back Office user interface
 Step-by-step guides for common admin tasks and configurations in the B2CORE Back Office
 Deploy branded mobile apps for iOS and Android
 Identify and address common issues quickly and effectively with our guides
 Explore the liquidity providers and FIX platforms supported by B2CONNECT
 Find step-by-step instructions on most common user scenarios
 Explore the B2CONNECT FIX API reference
 Explore the Back Office and learn how to launch your own partnership programs
 Discover IB Room and join a partner plan to begin attracting new clients while earning rewards
 Understand the basics and learn everything you need to start using the B2TRADER API
 Consult an in-depth reference describing REST API requests and responses
 Explore the supported WebSocket API methods and streams
 Connect to the FIX 4.4 API for market data streaming and order execution
 Customize your Trading Terminal and configure settings
 Explore and manage all available trading widgets
 Learn basic terms and values used across the platform
 Get a quick introduction to B2TRANSLATE and get familiar with basics and key terms
 Explore the B2TRANSLATE interface and start managing your product translations
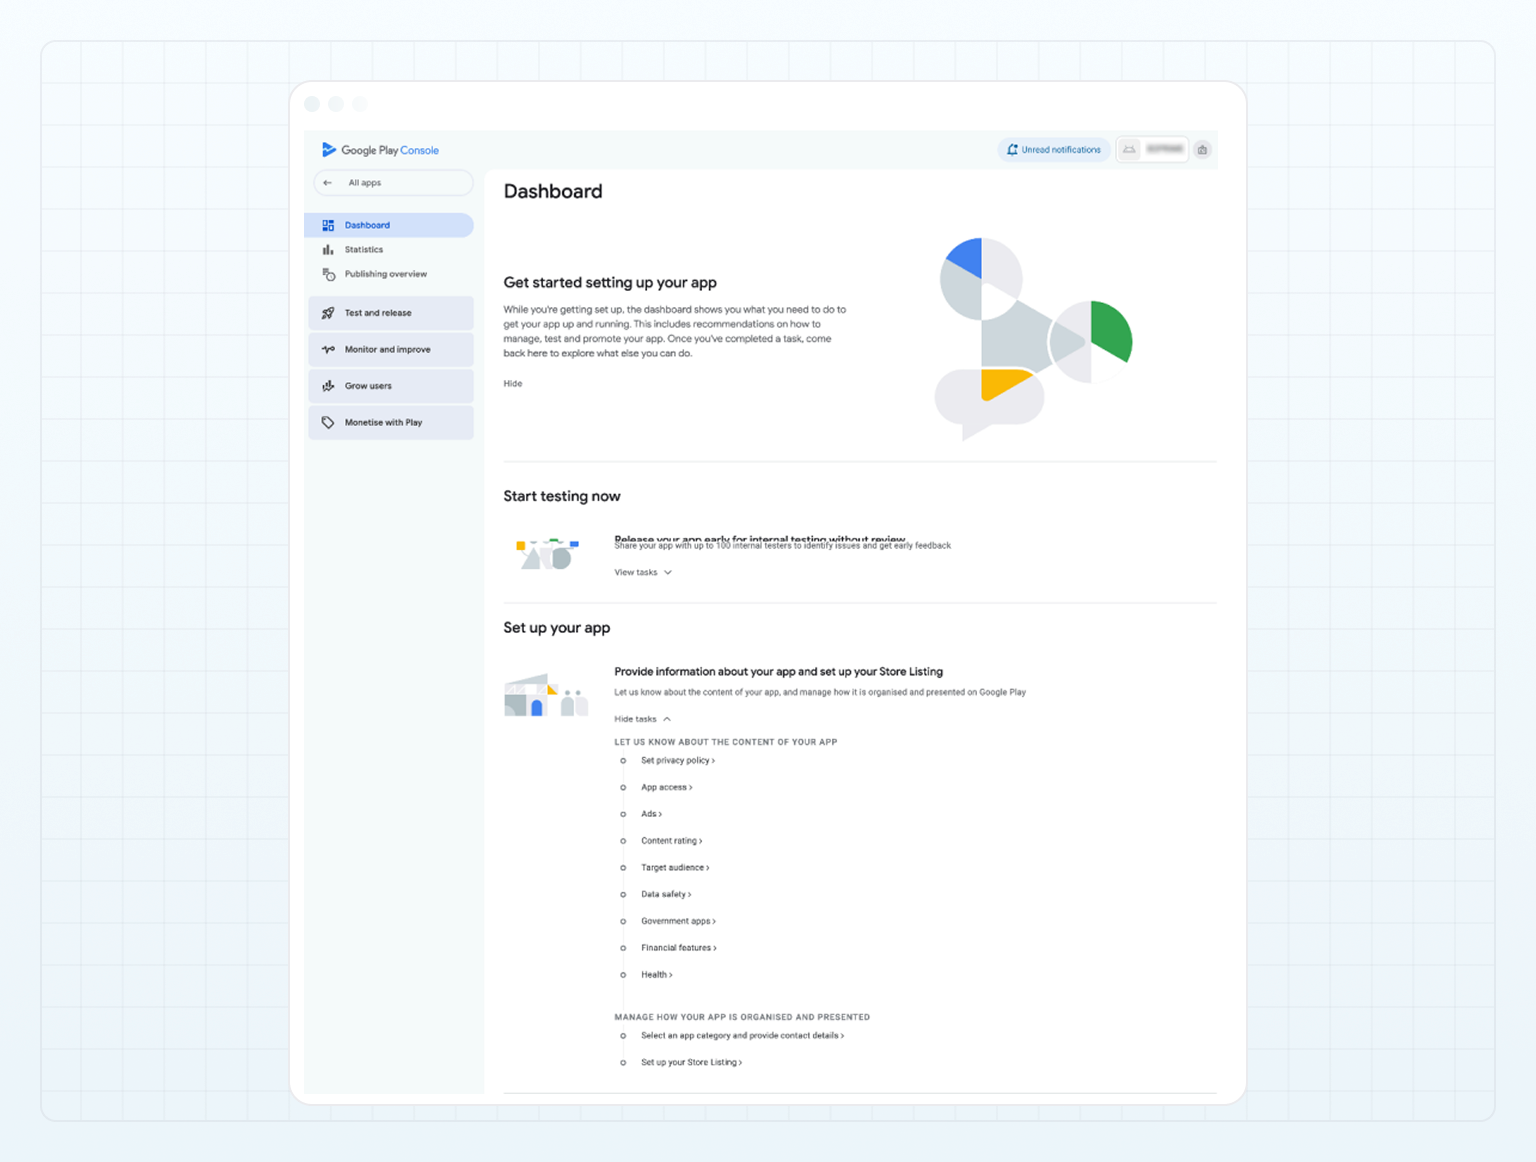
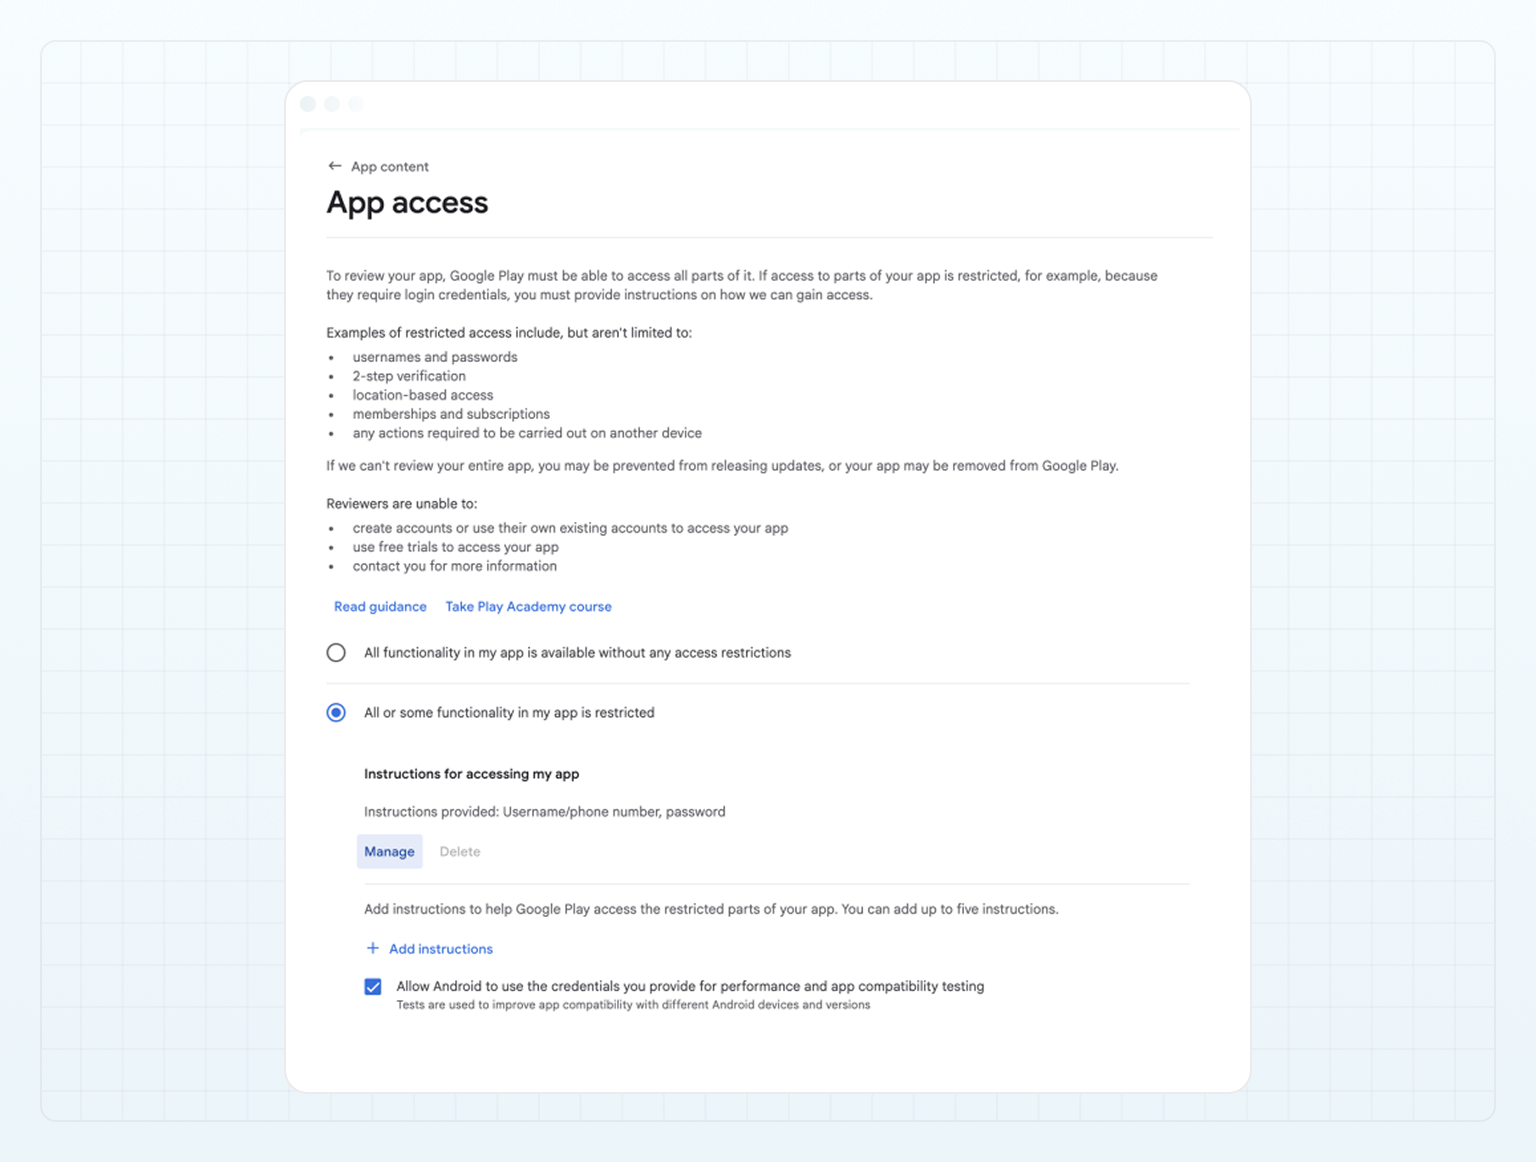
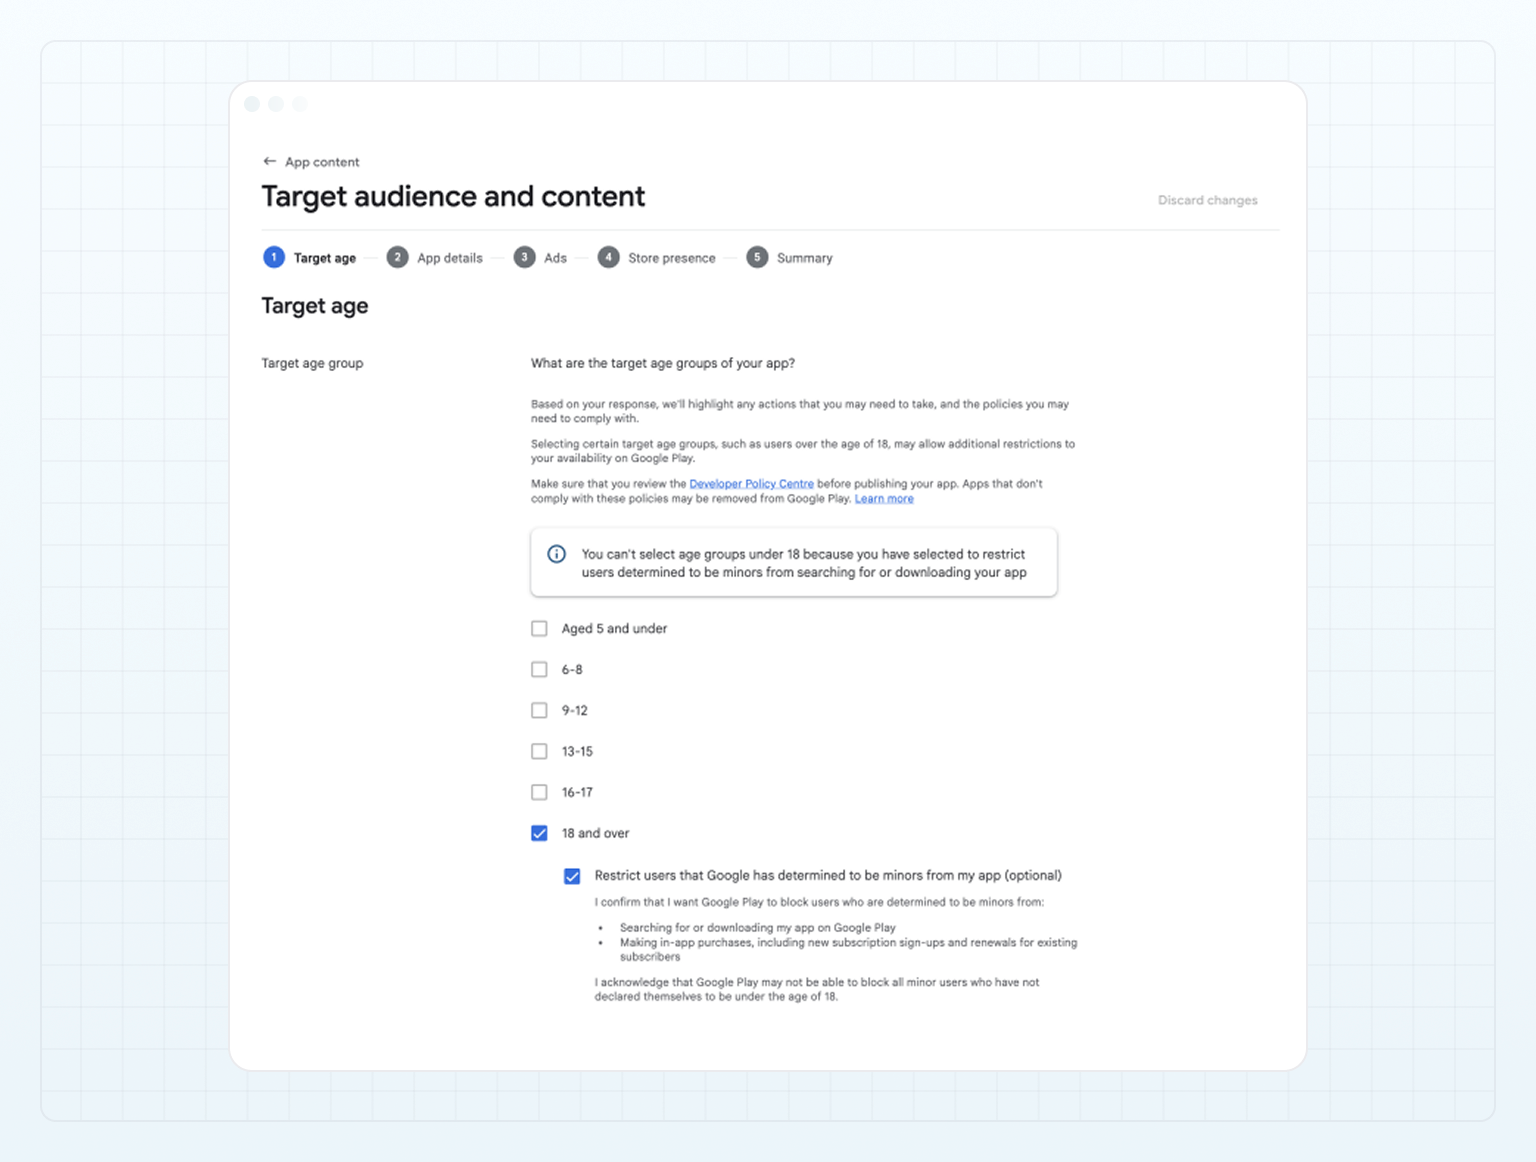
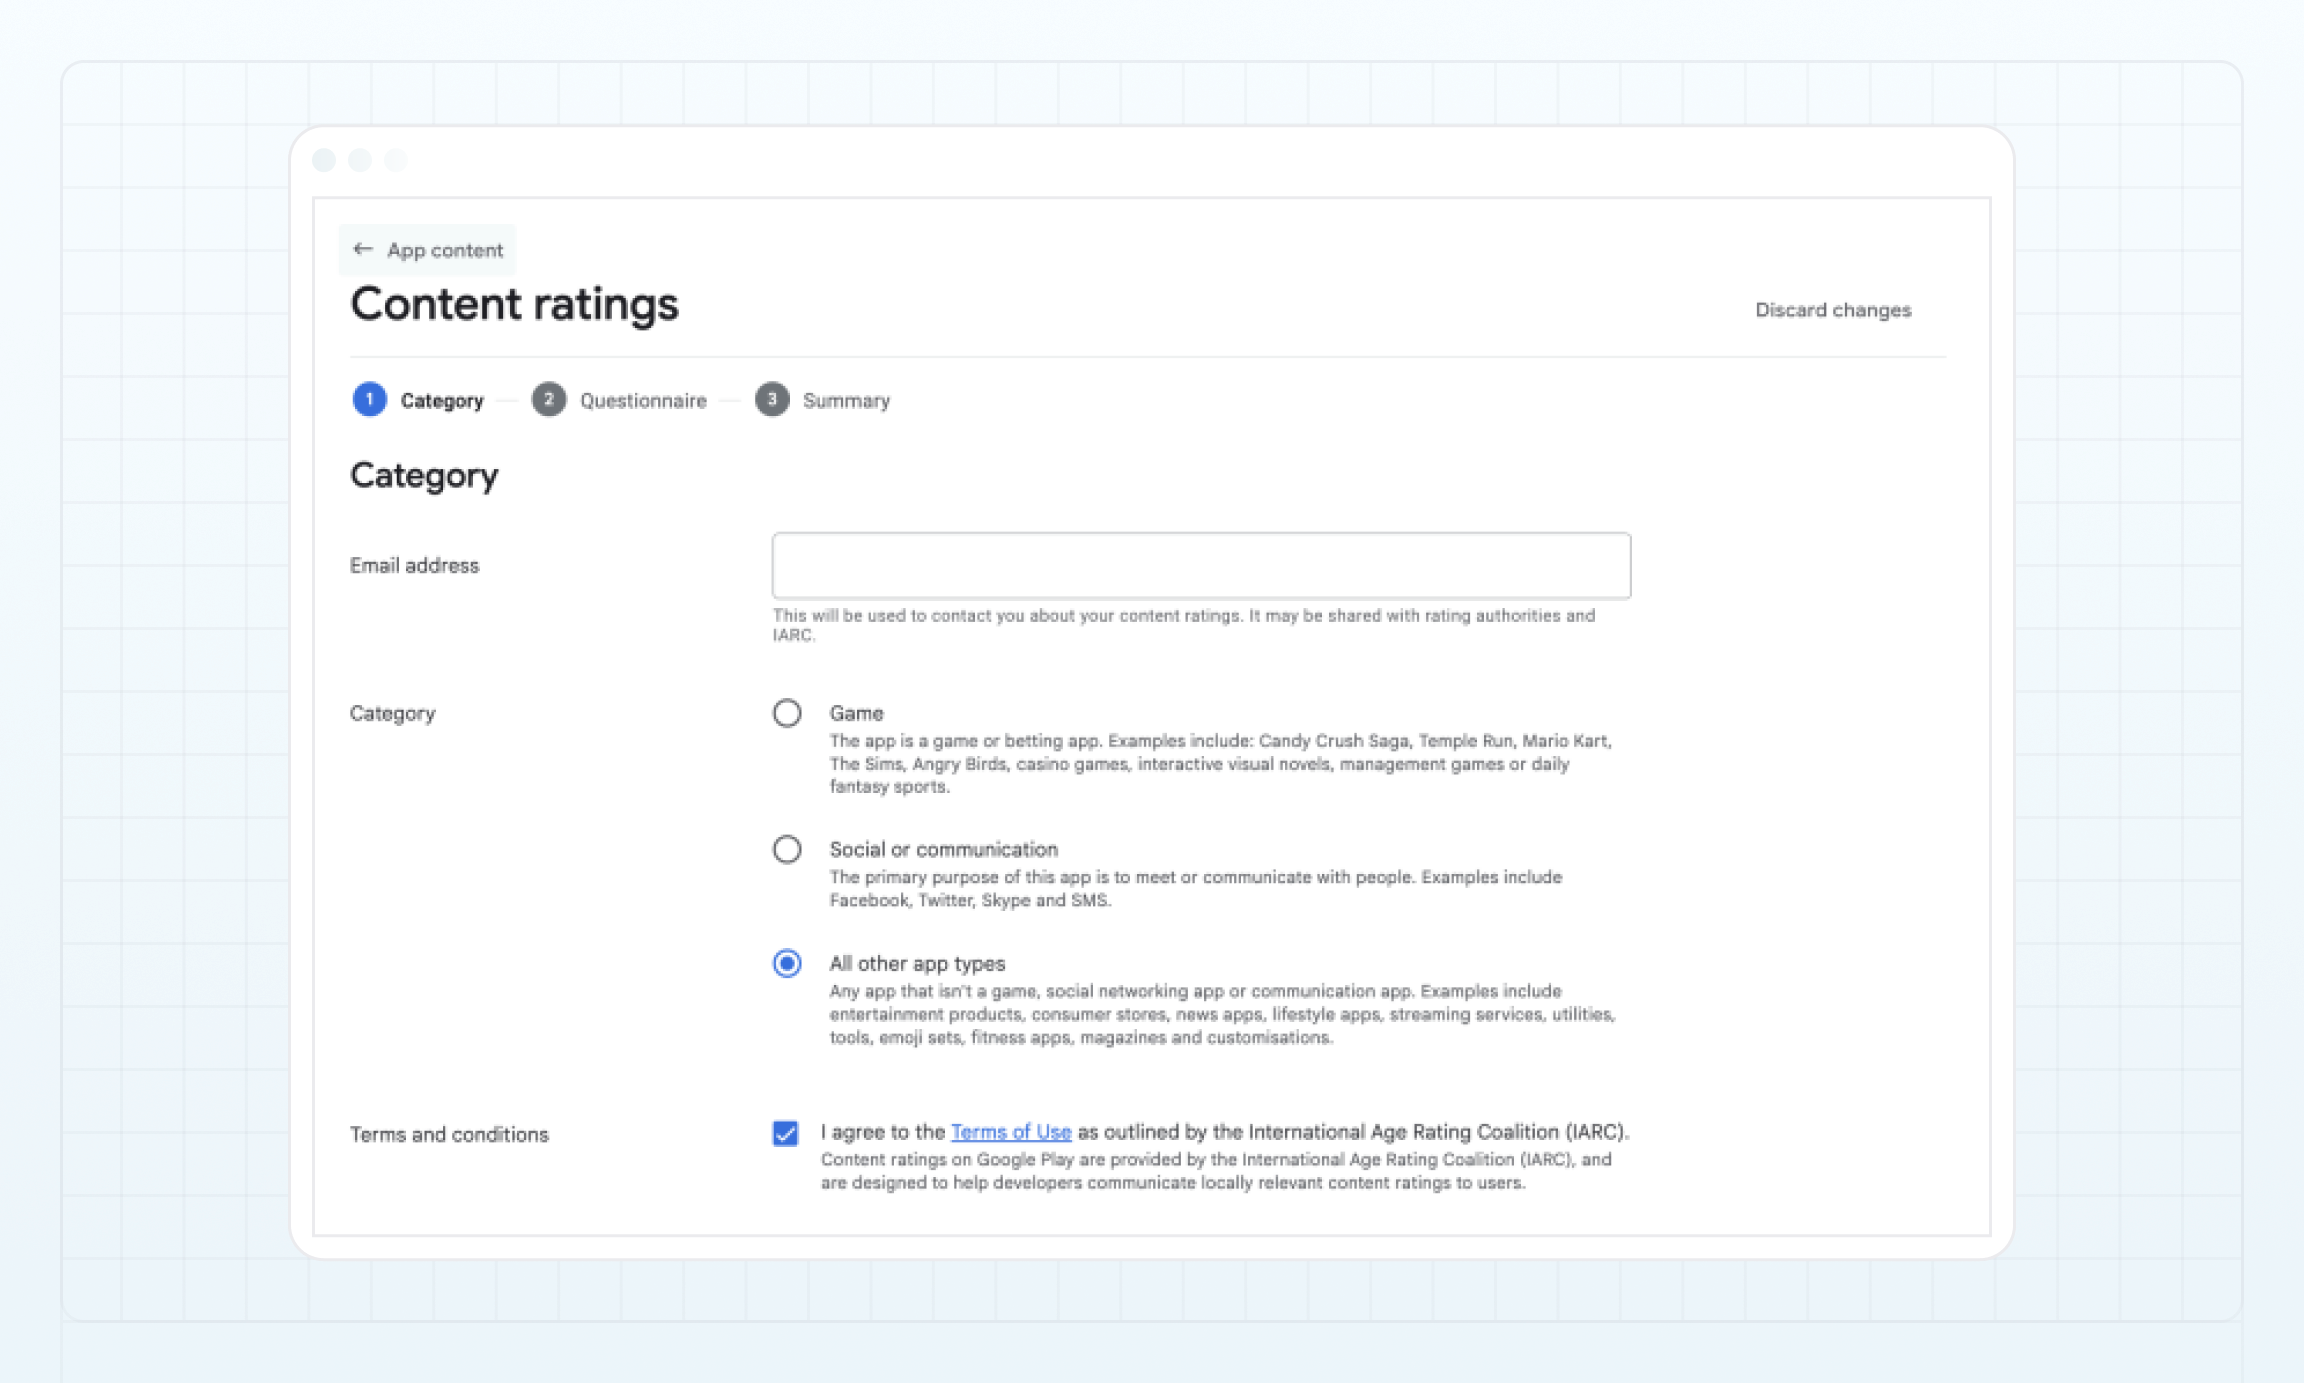 * In the **Questionnaire** section, select **No** for all the following:
* Downloaded app
* User content sharing
* Online content
* Promotion or sale of age-restricted products or activities
* Miscellaneous
* In the **Questionnaire** section, select **No** for all the following:
* Downloaded app
* User content sharing
* Online content
* Promotion or sale of age-restricted products or activities
* Miscellaneous
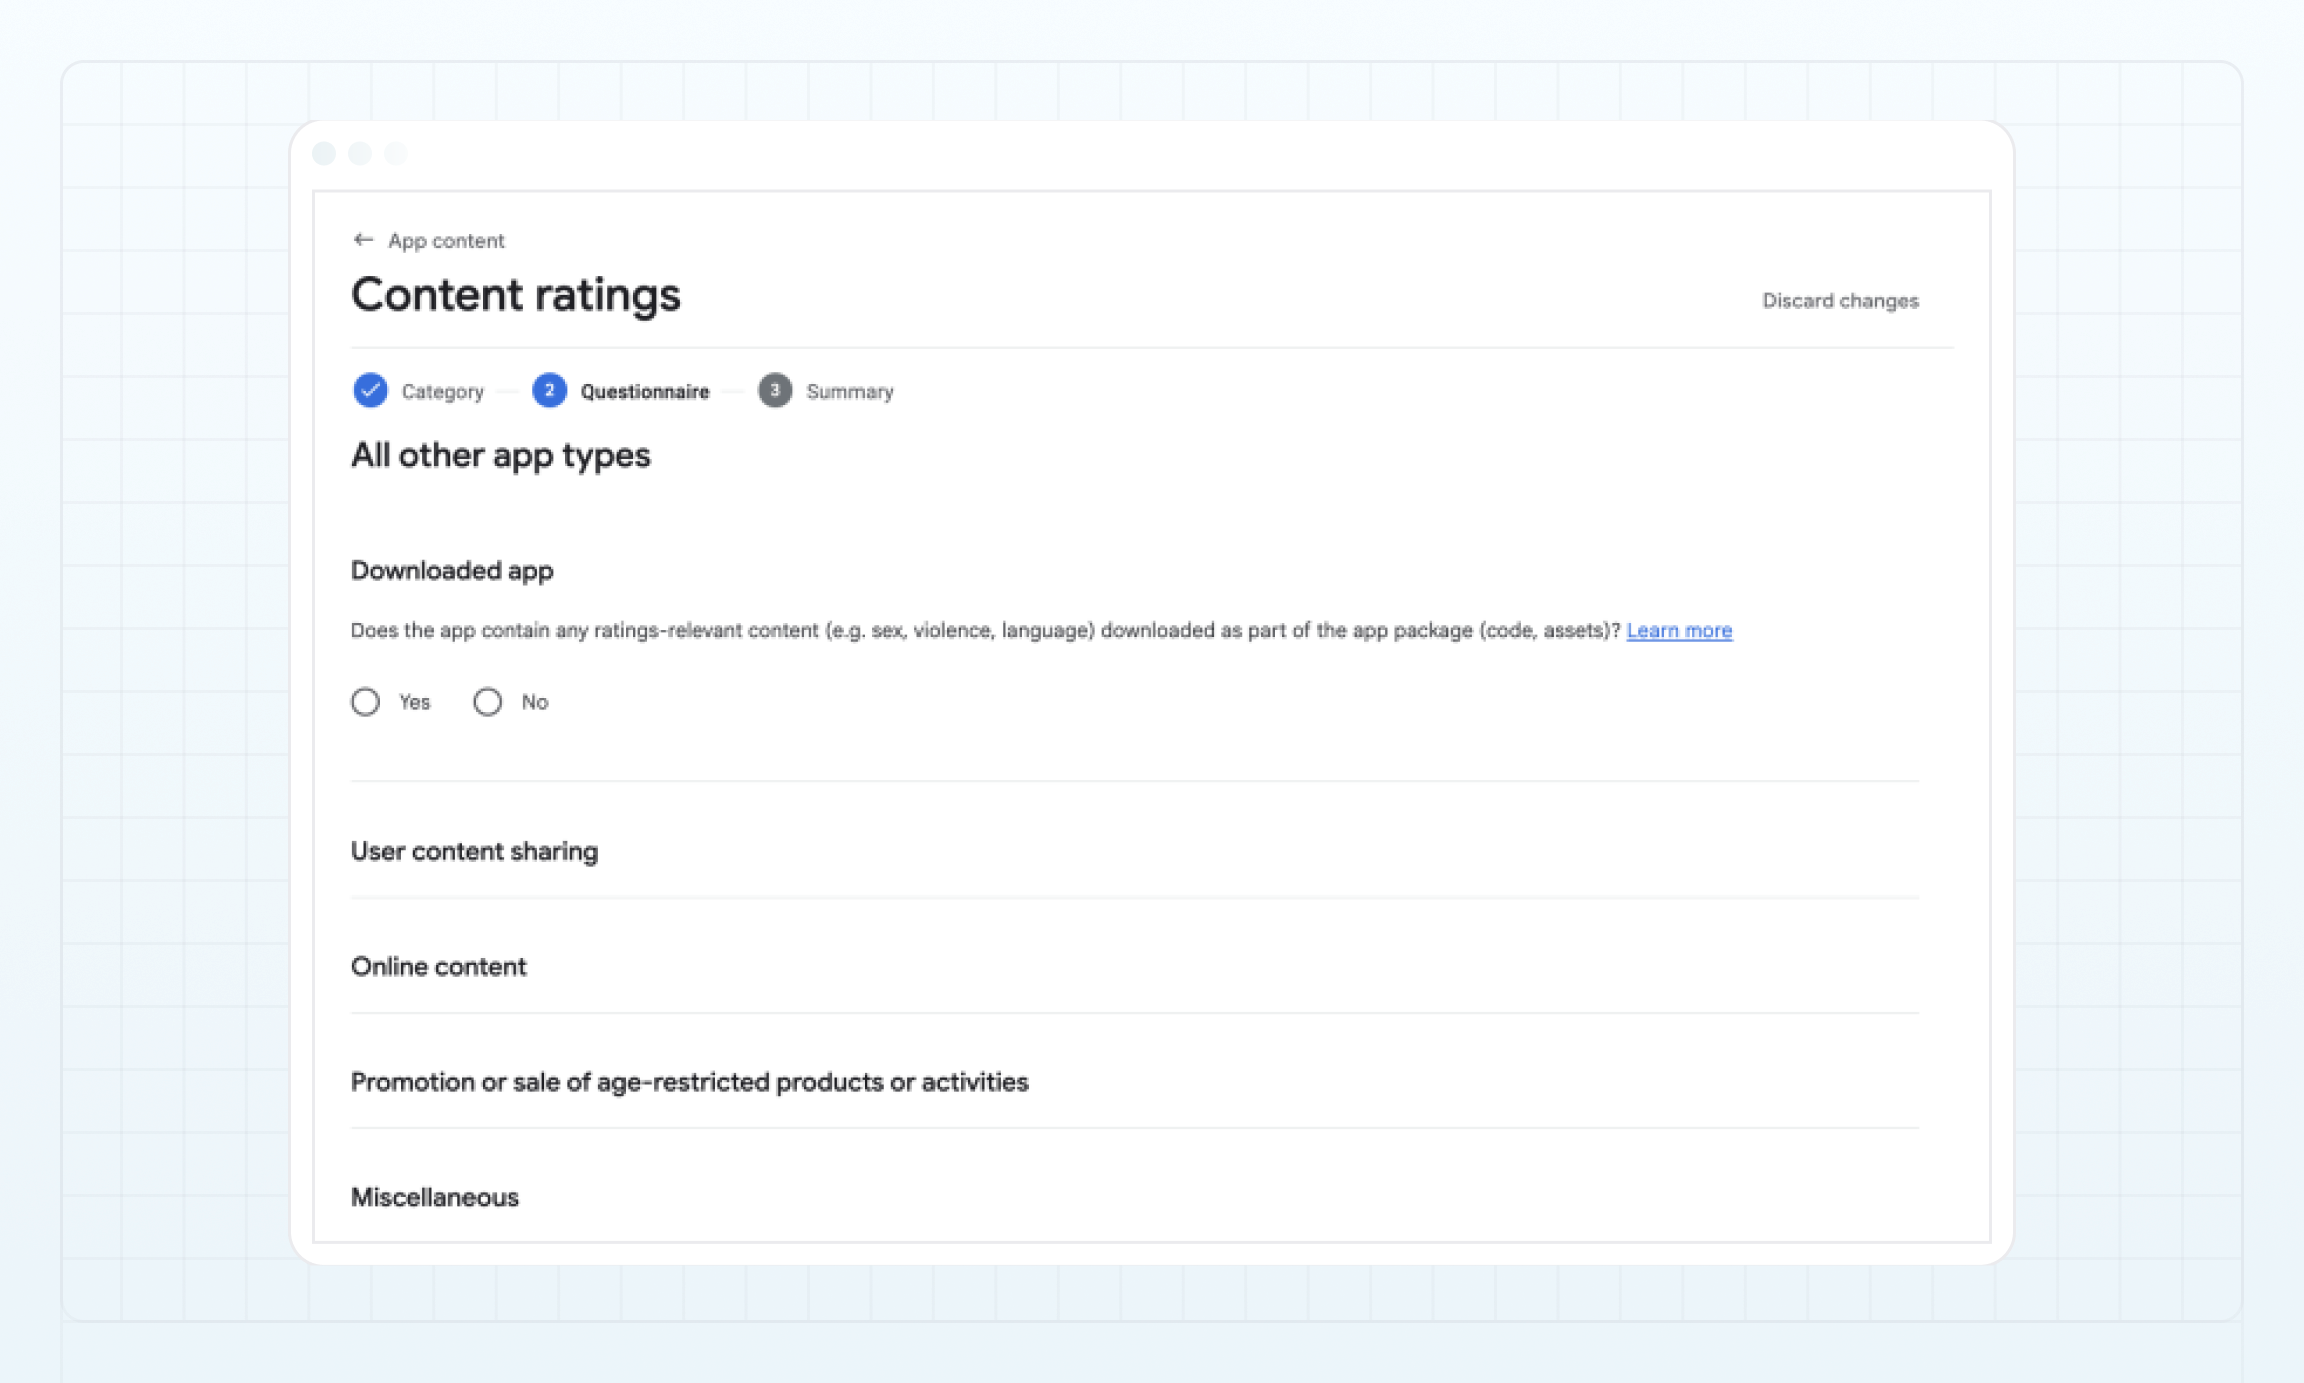 * In the **Summary** section, verify the displayed summary and click **Save**.
 * In the **Summary** section, verify the displayed summary and click **Save**.
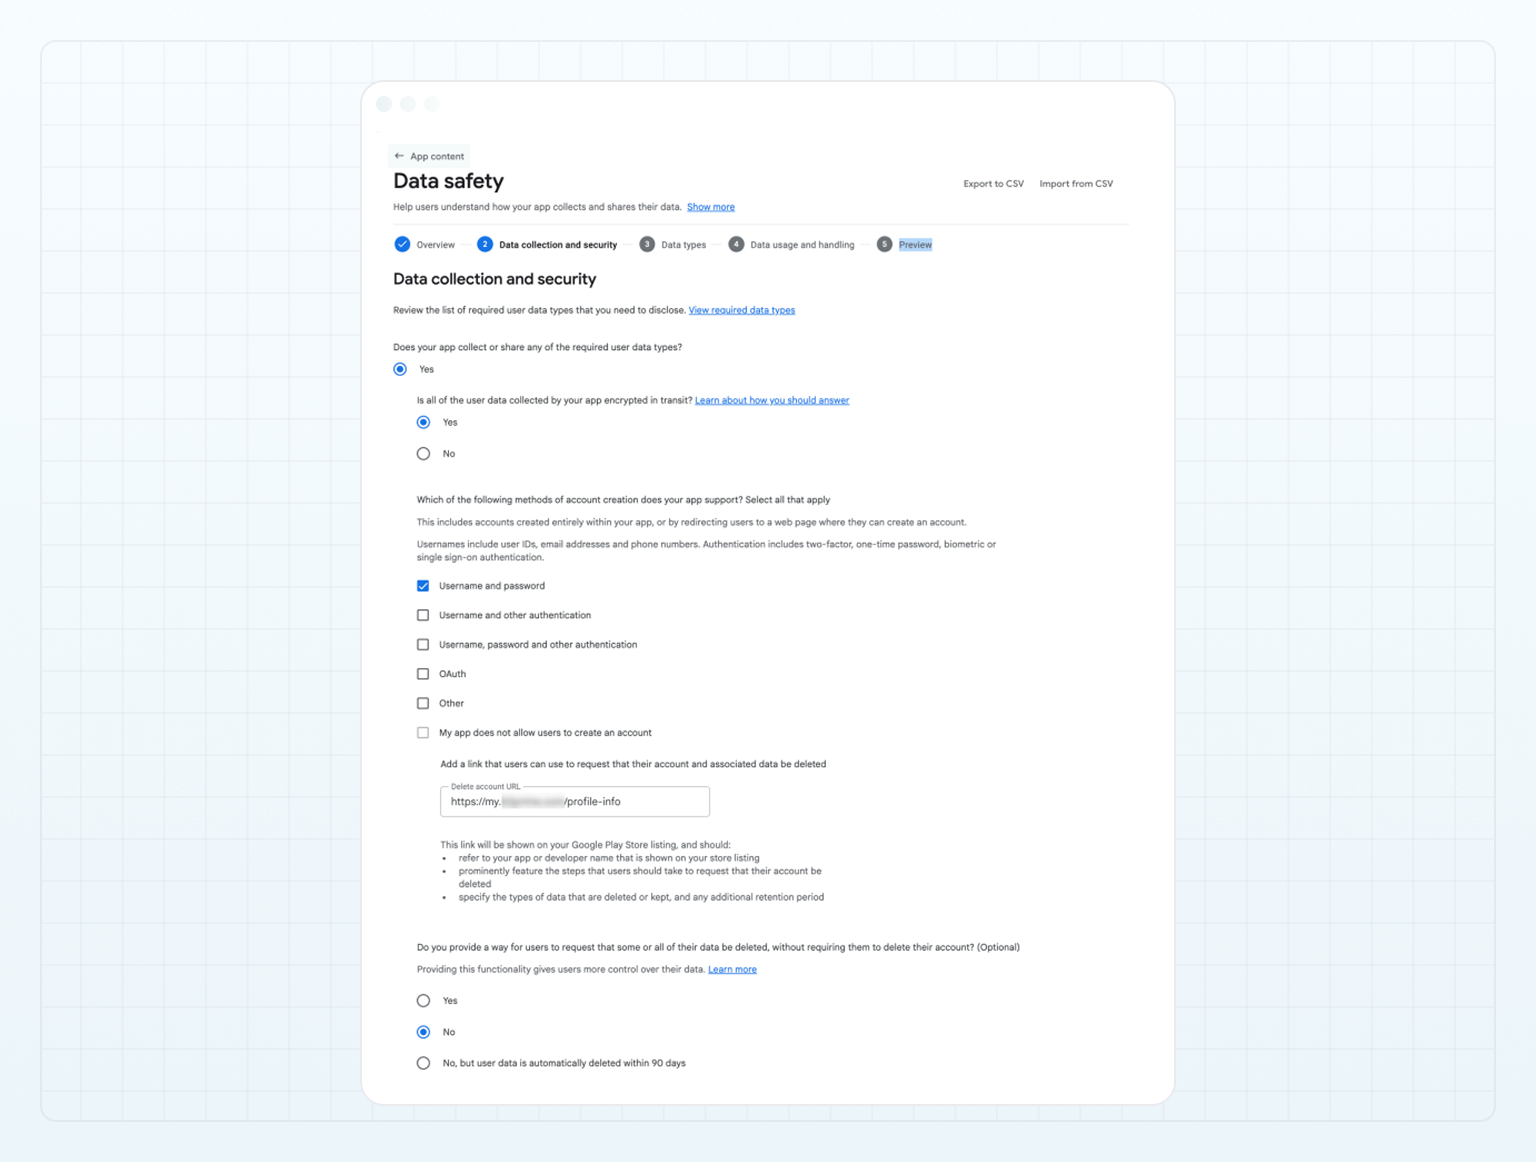 * In the **Data types** section, fill in the following:
* **Location**: B2CORE does not collect this type of data.
* **Personal info**: Specify the data that clients are required to provide during registration in your B2CORE instance. This usually includes (but isn't limited to) "Name", "Email address", "Phone number", or other.
* **Financial info**: B2CORE does not collect this type of data.
* **Health and fitness**: B2CORE does not collect this type of data.
* **Messages**: B2CORE does not collect this type of data.
* **Photos and videos**: B2CORE does not collect this type of data.
* **Audio files**: B2CORE does not collect this type of data.
* **Files and docs**: B2CORE does not collect this type of data.
* **Calendar**: B2CORE does not collect this type of data.
* **Contacts**: B2CORE does not collect this type of data.
* **App activity**: B2CORE collects "App interactions" data.
* **Web browsing**: B2CORE does not collect this type of data.
* **App info and performance**: B2CORE collects "Crash logs" and "Diagnostics" data.
* **Device or other IDs**: B2CORE does not collect this type of data.
* In the **Data usage and handling** section, you will see a set of questionnaires related to the data collected by the app.
* Complete the questionnaires in the **Personal info** section as shown in the example below:
* In the **Data types** section, fill in the following:
* **Location**: B2CORE does not collect this type of data.
* **Personal info**: Specify the data that clients are required to provide during registration in your B2CORE instance. This usually includes (but isn't limited to) "Name", "Email address", "Phone number", or other.
* **Financial info**: B2CORE does not collect this type of data.
* **Health and fitness**: B2CORE does not collect this type of data.
* **Messages**: B2CORE does not collect this type of data.
* **Photos and videos**: B2CORE does not collect this type of data.
* **Audio files**: B2CORE does not collect this type of data.
* **Files and docs**: B2CORE does not collect this type of data.
* **Calendar**: B2CORE does not collect this type of data.
* **Contacts**: B2CORE does not collect this type of data.
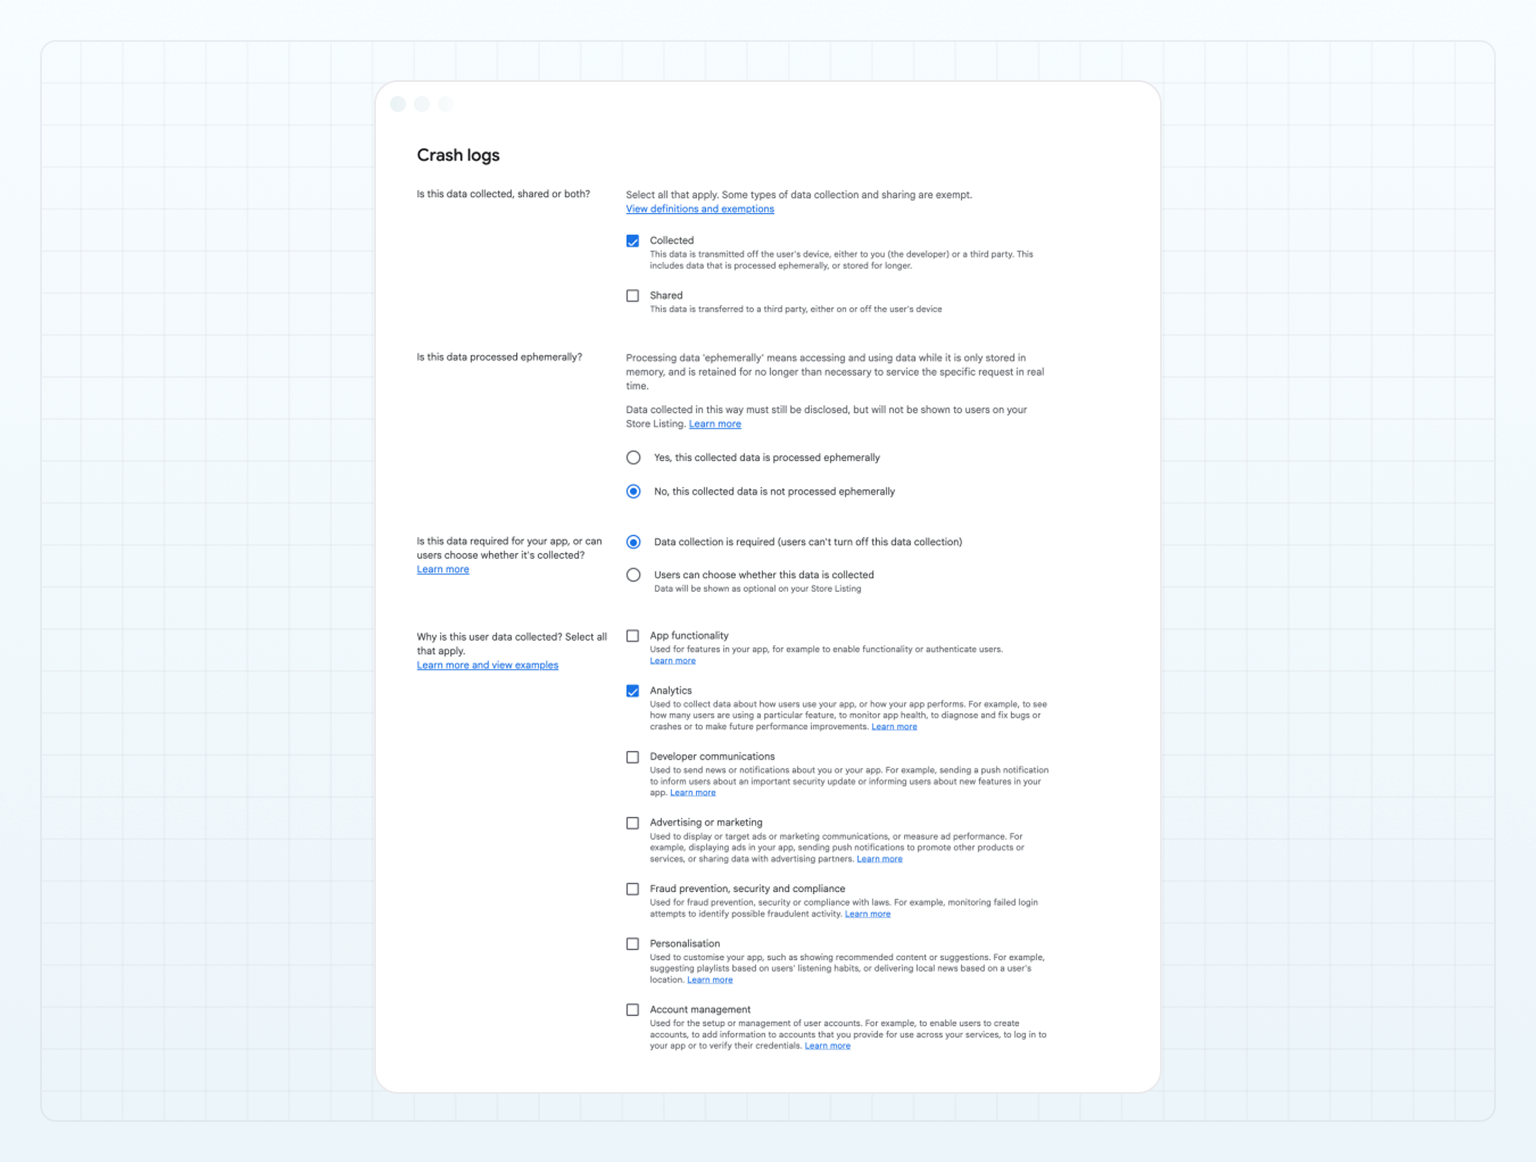
* **App activity**: B2CORE collects "App interactions" data.
* **Web browsing**: B2CORE does not collect this type of data.
* **App info and performance**: B2CORE collects "Crash logs" and "Diagnostics" data.
* **Device or other IDs**: B2CORE does not collect this type of data.
* In the **Data usage and handling** section, you will see a set of questionnaires related to the data collected by the app.
* Complete the questionnaires in the **Personal info** section as shown in the example below:
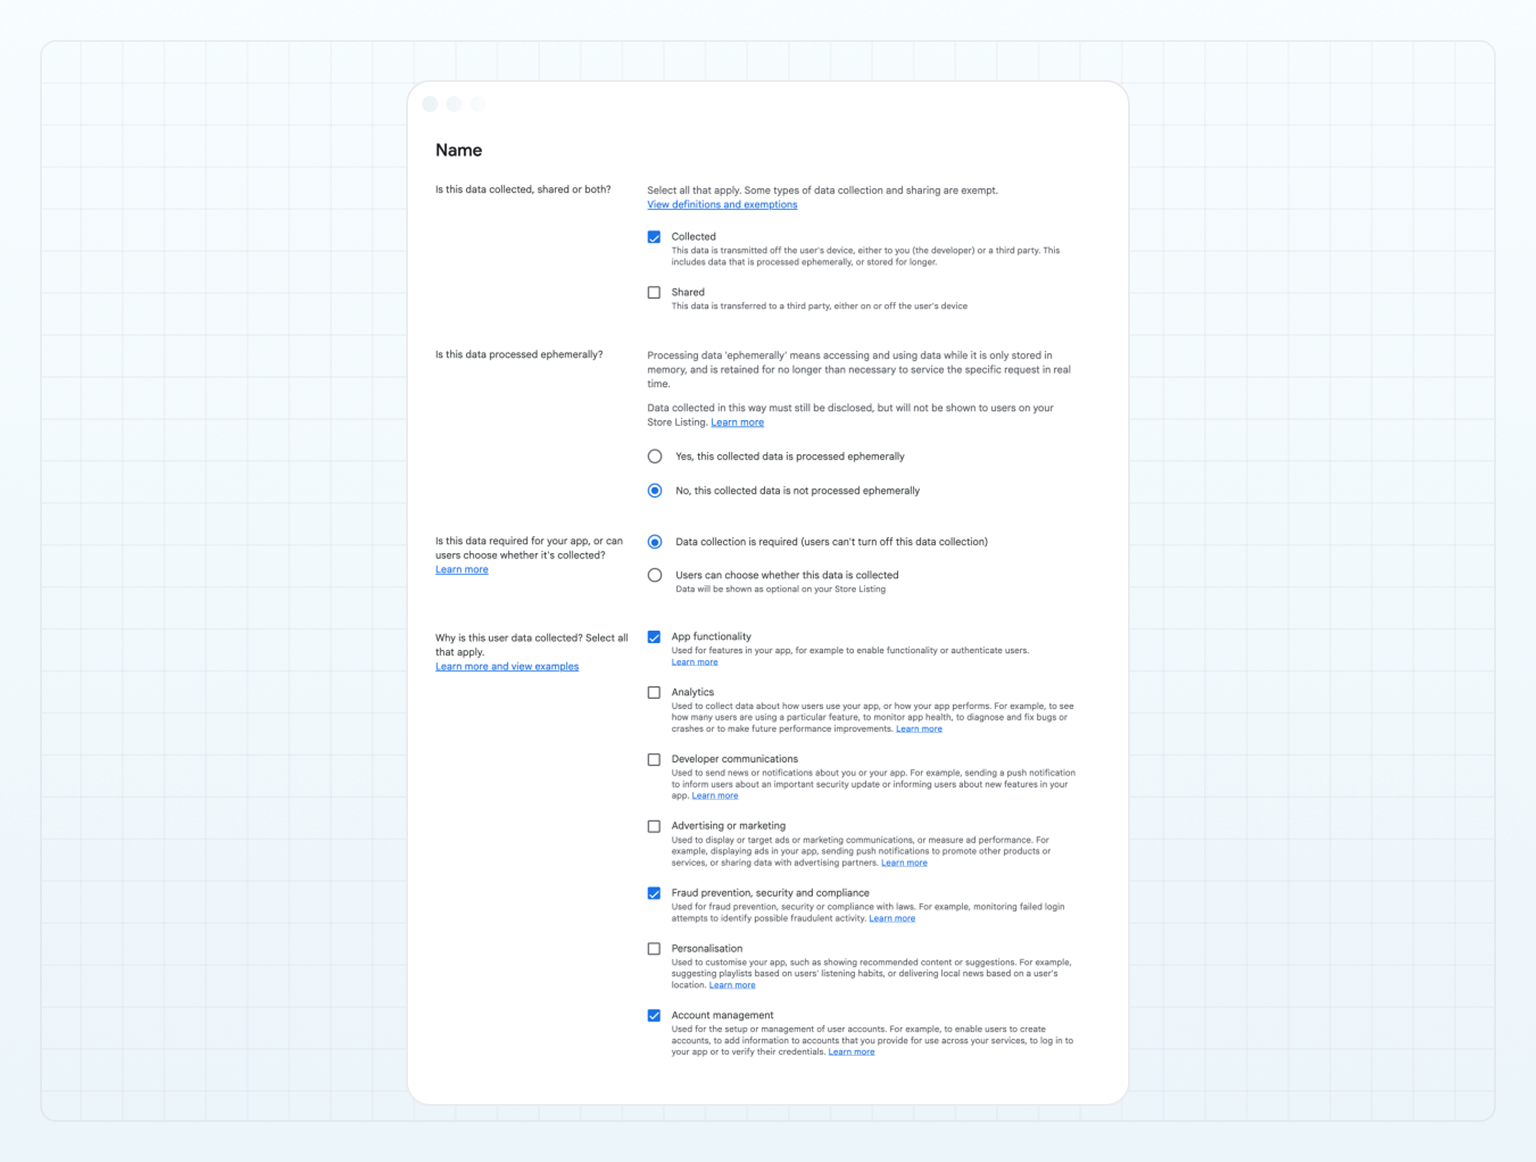 * Complete the questionnaires in the **App info and performance** and **App activity** sections as shown in the example below:
 * In the **Preview** section, verify the displayed summary and click **Save**.
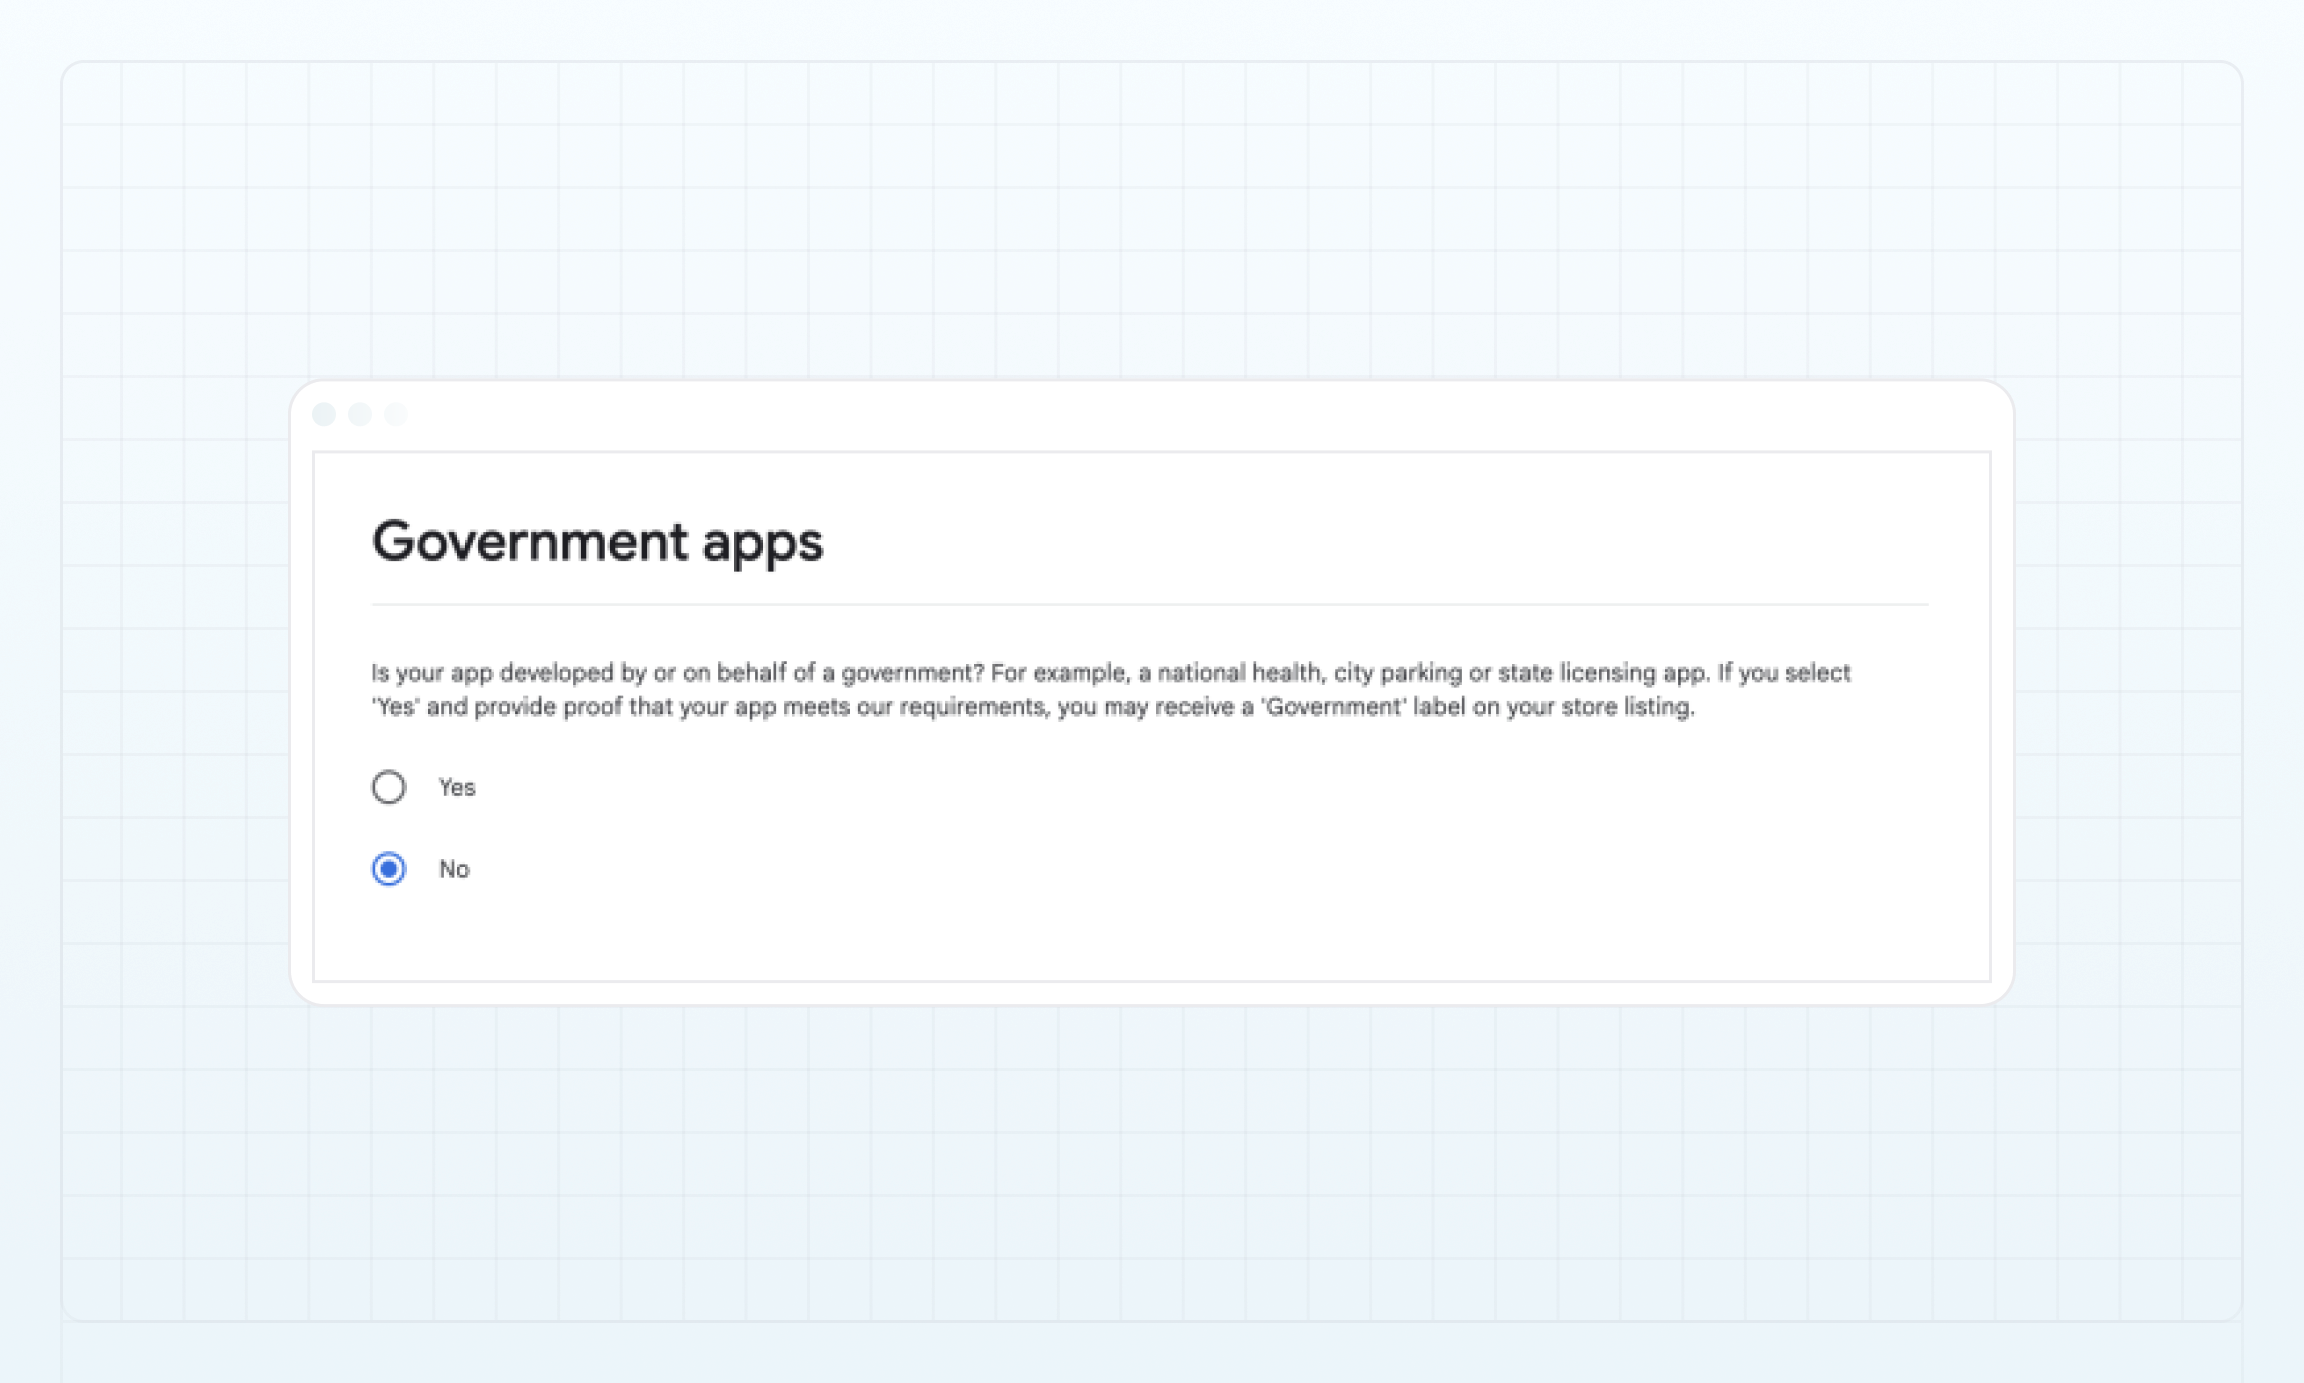 * Click **Save** to return to the Dashboard.
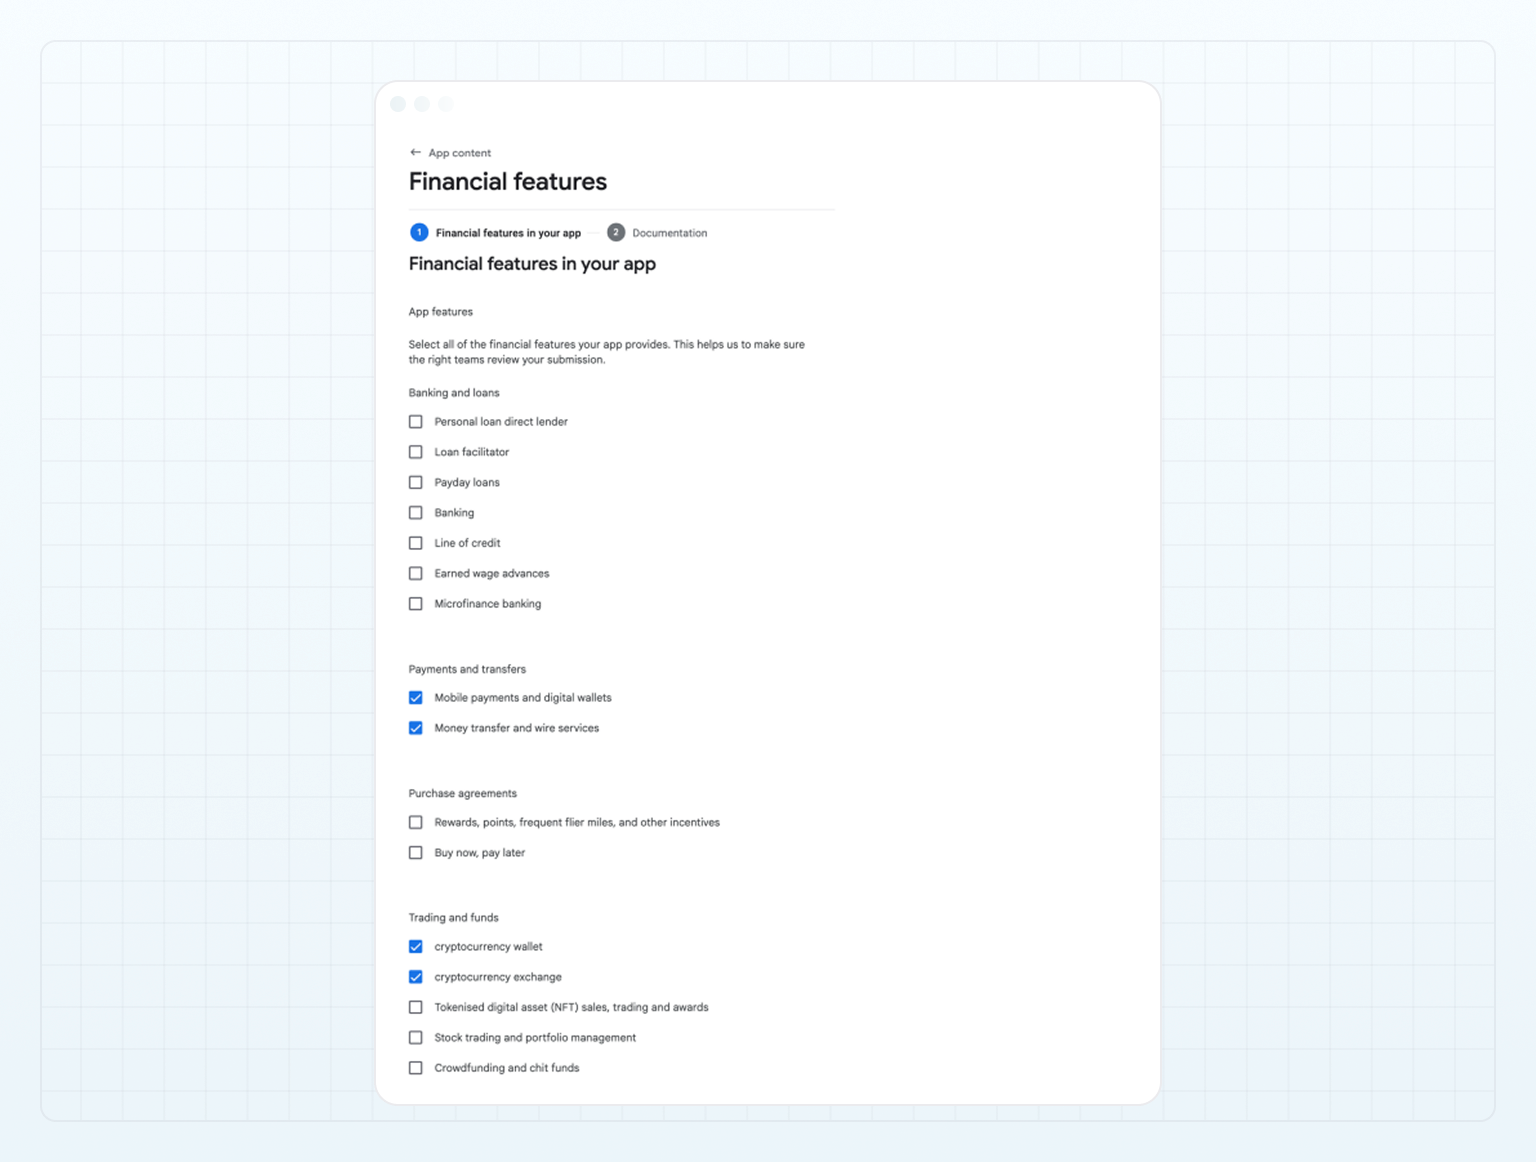 * Click **Save** to return to the Dashboard.
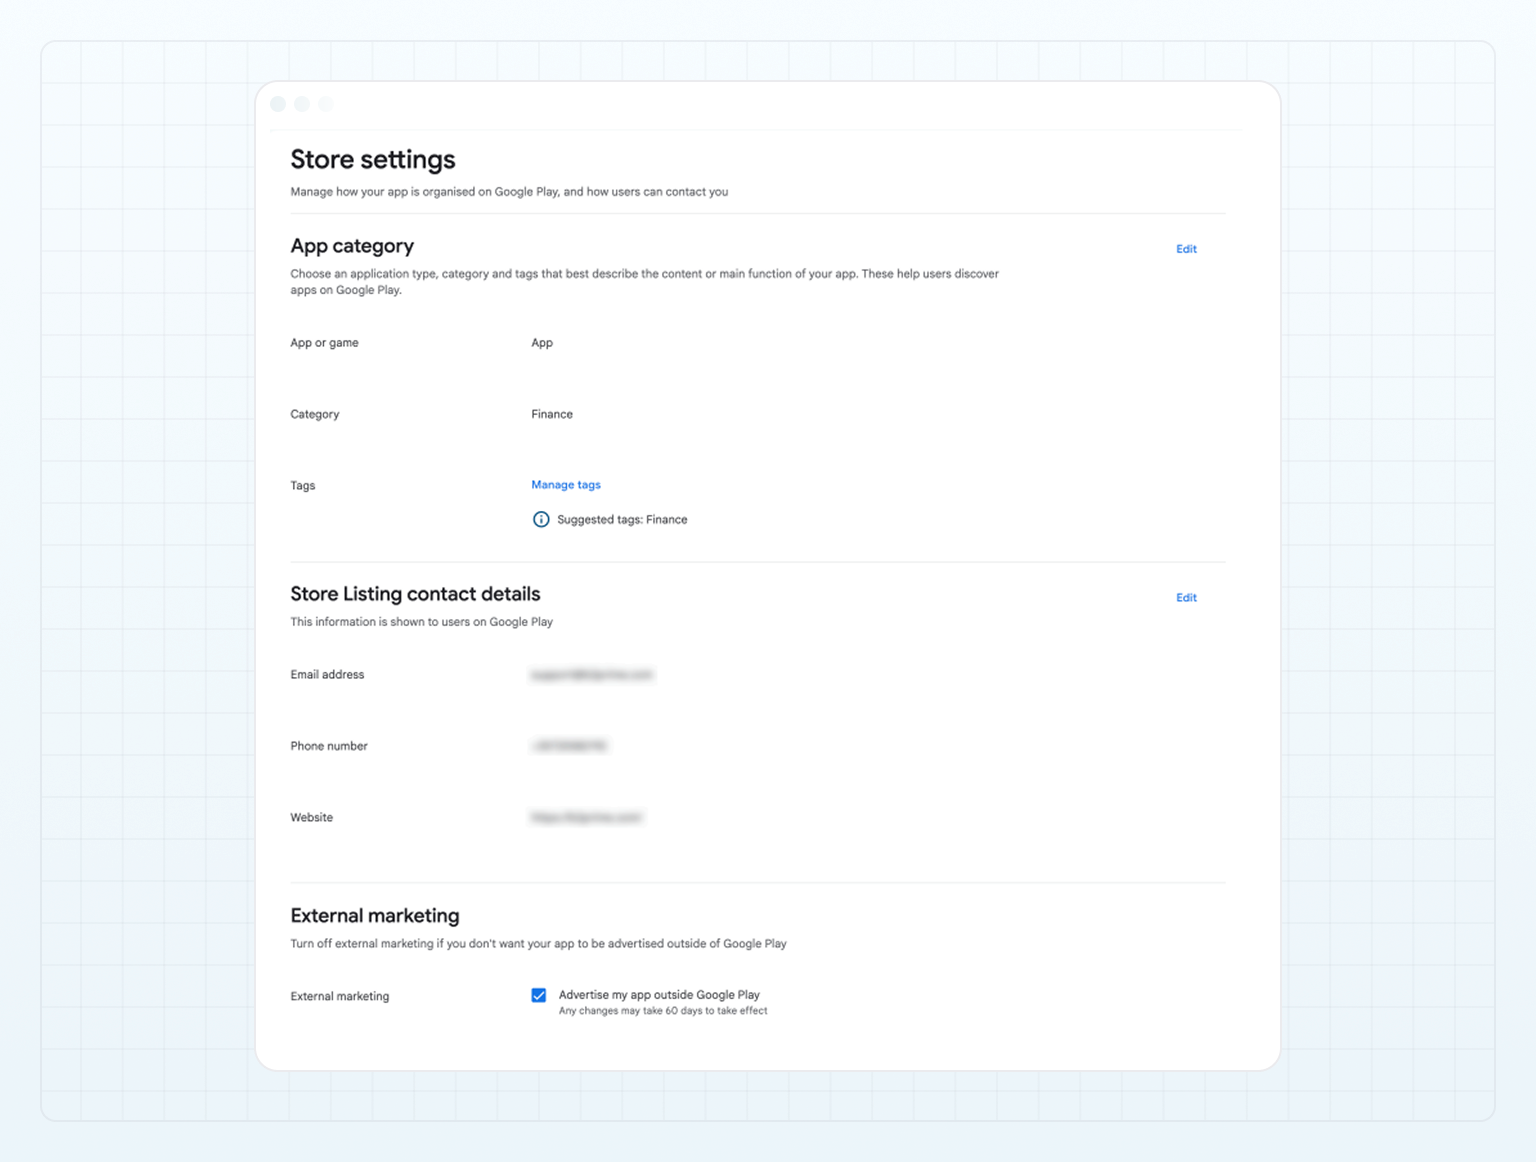
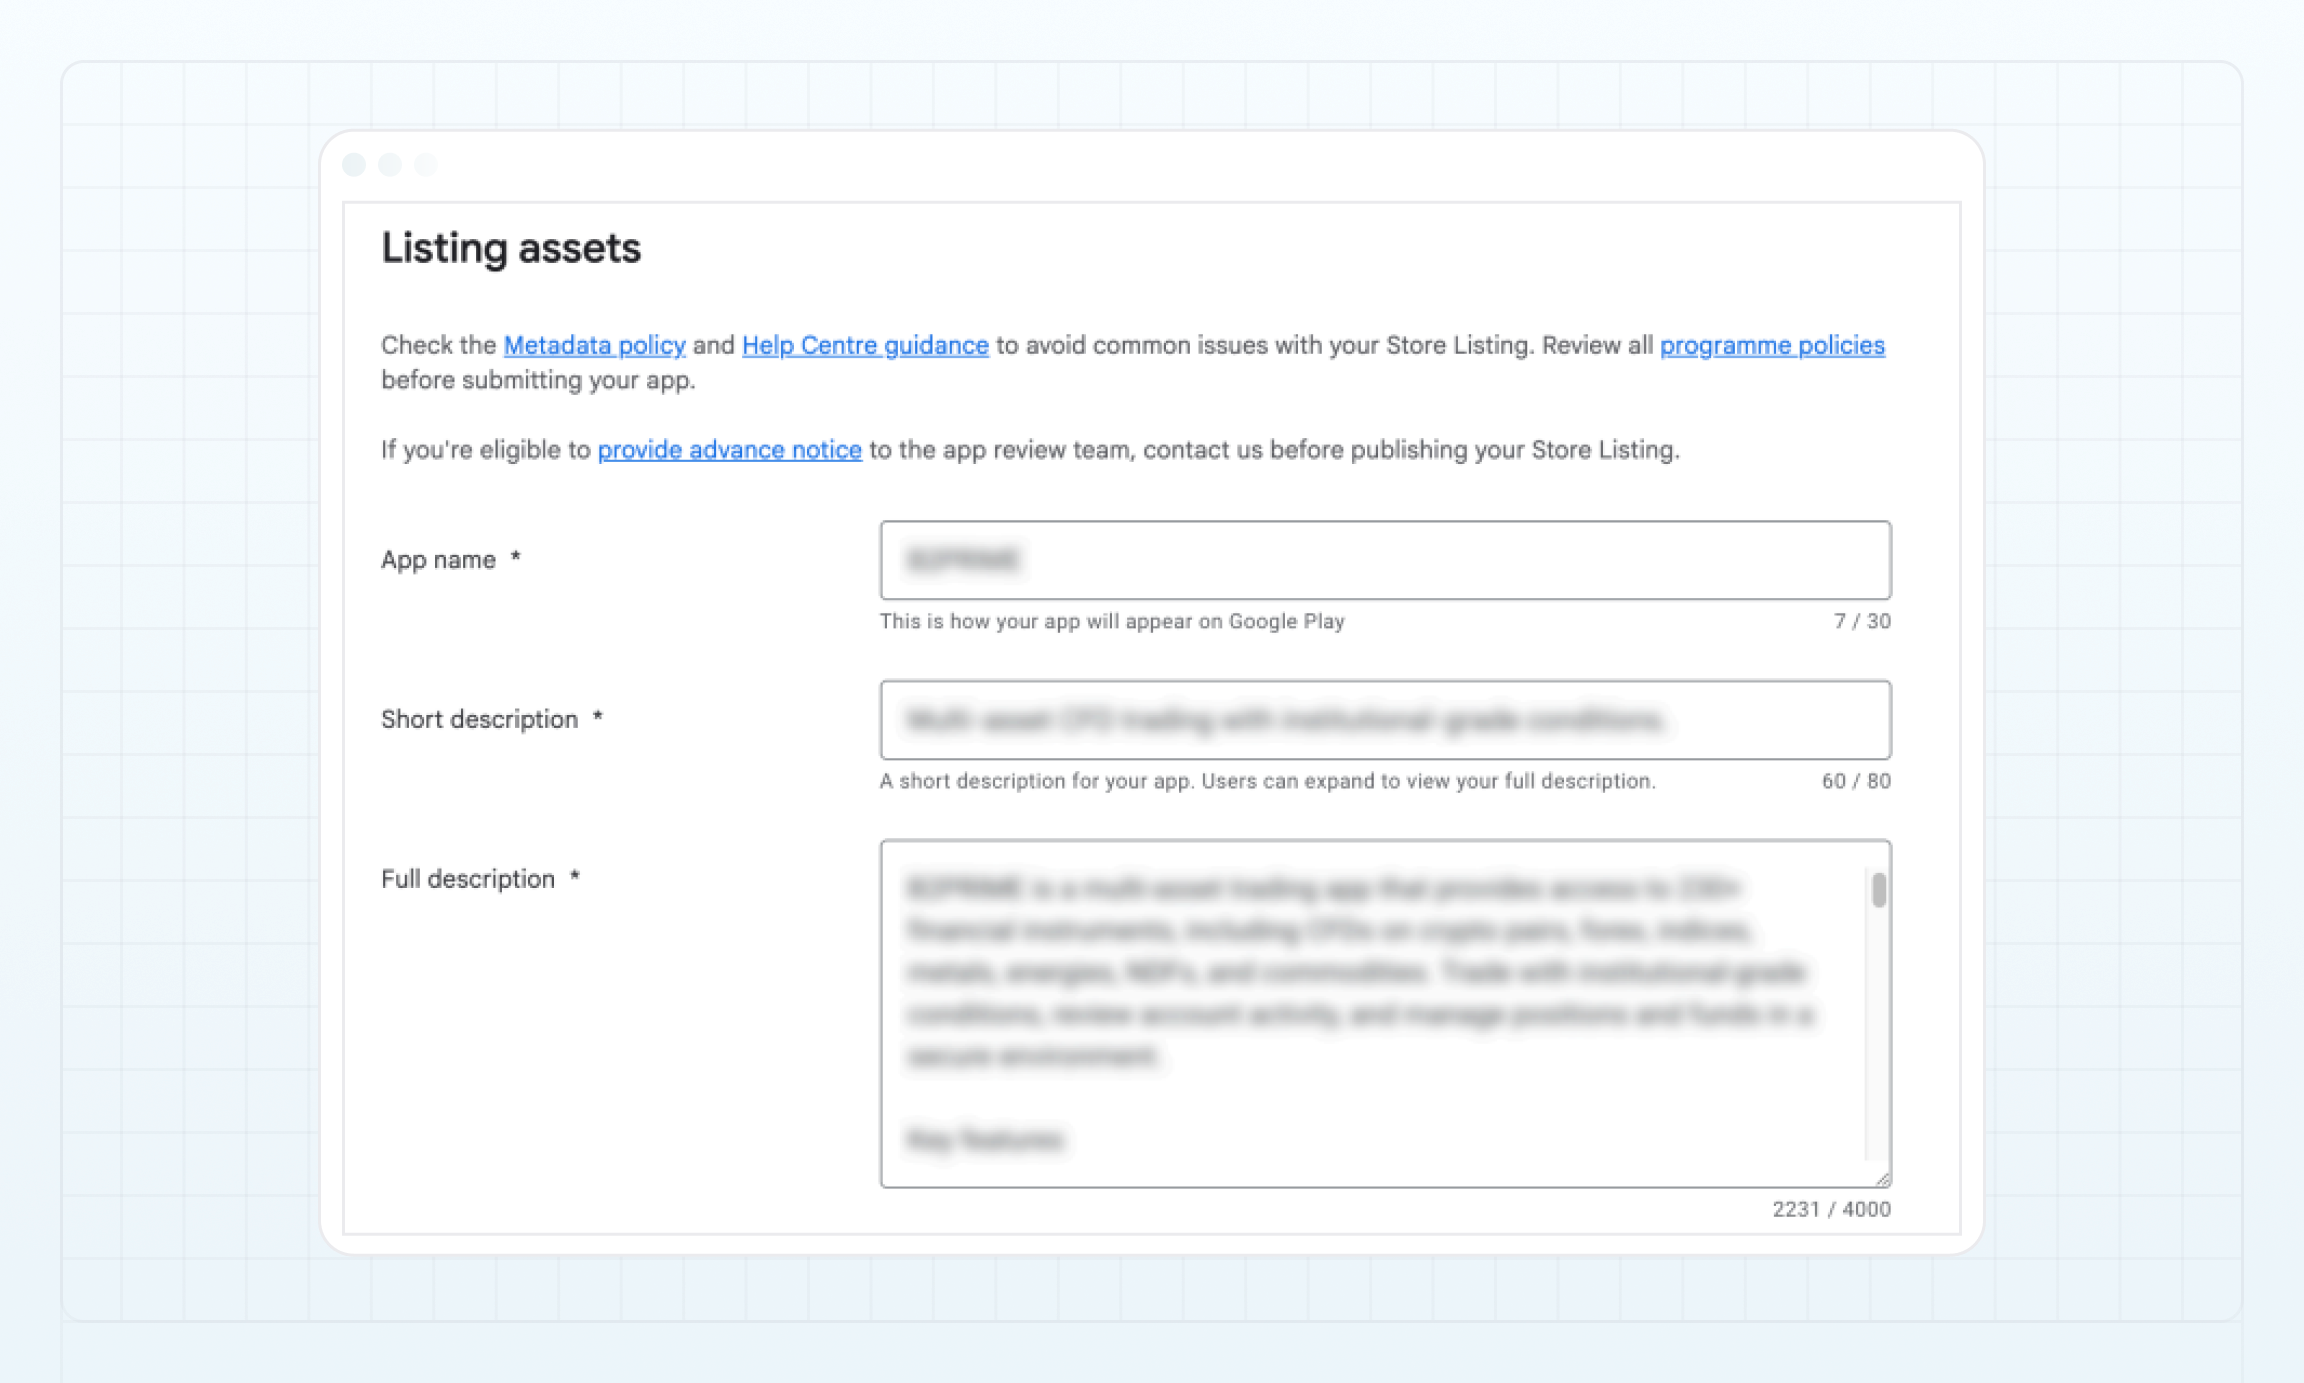 * In the **Graphics** section, attach graphic assets provided by the B2CORE team. Click **Add assets** and upload each graphic asset one by one, and select the appropriate category for each asset.
* After you’ve added all provided assets, click **Save**.
* In the **Graphics** section, attach graphic assets provided by the B2CORE team. Click **Add assets** and upload each graphic asset one by one, and select the appropriate category for each asset.
* After you’ve added all provided assets, click **Save**.
 The license requirements are mandatory, and the permissions to servicing trading operations must be granted by Apple. To learn more about the licensing requirements which apply specifically to cryptocurrencies, refer to [App Store Review Guidelines - 3.1.5 Cryptocurrencies](https://developer.apple.com/app-store/review/guidelines/#cryptocurrencies).
## Step 2. Create and configure a demo account in the B2CORE UI [#step-2-create-and-configure-a-demo-account-in-the-b2core-ui]
To be able to review all of your app’s functionality, the App Store review team needs access to a demo account. For this reason, you need to configure a demo account as follows:
* Verify your demo account by going through all the steps of your KYC procedure.
* In the Back Office, examine and enable all the B2CORE UI modules that will be featured in your mobile app. Each module must be properly configured to ensure that your mobile app will not be rejected by the App Store during review.
* If your app enables its users to transfer or exchange assets, you also need to make sure that there are enough funds on your demo account, so that the App Store review team is able to check the transfer and exchange functionality as well.
## Step 3. Enroll in the Apple Developer Program as an Organization [#step-3-enroll-in-the-apple-developer-program-as-an-organization]
To be able to open an Apple Developer account, you must provide the following information:
* your D-U-N-S number
* your Legal Entity Status
* your Legal Binding Authority
* your website address
To publish your iOS app, you need to enroll in the Apple Developer Program as an organization, and then share access to your developer account with the B2CORE team by sending your access credentials to our company email: [ios-admin@b2broker.com](mailto:ios-admin@b2broker.com).
Further on, with each iOS release, the B2CORE team will upload a new app build for you, and you will be responsible for managing the regular maintenance of the app (for details, refer to [Step 8. Update your app with new releases](deploying-your-ios-app#step-8.-update-your-app-with-new-releases)).
For general information, refer to [Before You Enroll — Apple Developer Program](https://developer.apple.com/programs/enroll/).
For step-by-step instructions, refer to [Enrolling in the Apple Developer Program as an organization](https://developer.apple.com/support/app-account/).
## Step 4. Grant access and admin permissions to the B2CORE team [#step-4-grant-access-and-admin-permissions-to-the-b2core-team]
For the B2CORE team to be able to configure your app at App Store Connect, you need to grant the following admin permissions to our team. To do this, proceed as follows:
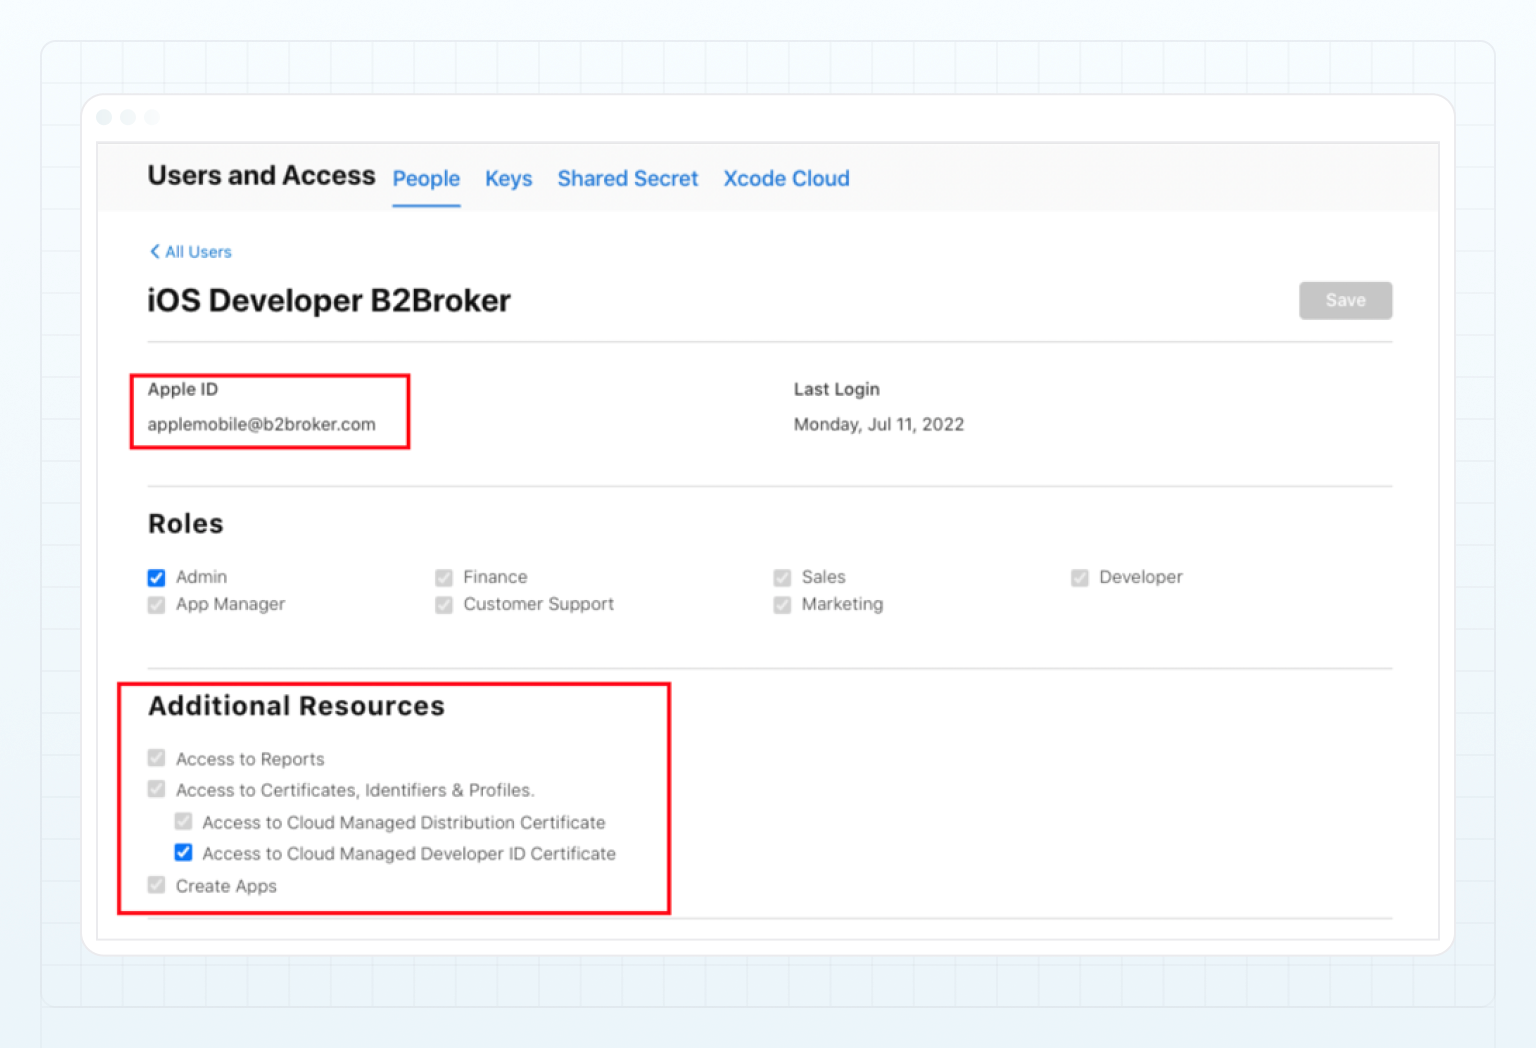
1. At App Store Connect, switch to **Users and Access**.
2. On the **People** tab, add a new person with the B2BROKER company email: [ios-admin@b2broker.com](mailto:ios-admin@b2broker.com).
3. In the **Roles** section, enable the **Admin** role.
4. In the **Additional Resources** section, make sure that all the permissions are enabled as follows:
* **Access to Reports**
* **Access to Certificates, Identifiers & Profiles**, which includes:
* **Access to Cloud Managed Distribution Certificate**
* **Access to Cloud Managed Developer ID Certificate**
* **Create Apps**
The license requirements are mandatory, and the permissions to servicing trading operations must be granted by Apple. To learn more about the licensing requirements which apply specifically to cryptocurrencies, refer to [App Store Review Guidelines - 3.1.5 Cryptocurrencies](https://developer.apple.com/app-store/review/guidelines/#cryptocurrencies).
## Step 2. Create and configure a demo account in the B2CORE UI [#step-2-create-and-configure-a-demo-account-in-the-b2core-ui]
To be able to review all of your app’s functionality, the App Store review team needs access to a demo account. For this reason, you need to configure a demo account as follows:
* Verify your demo account by going through all the steps of your KYC procedure.
* In the Back Office, examine and enable all the B2CORE UI modules that will be featured in your mobile app. Each module must be properly configured to ensure that your mobile app will not be rejected by the App Store during review.
* If your app enables its users to transfer or exchange assets, you also need to make sure that there are enough funds on your demo account, so that the App Store review team is able to check the transfer and exchange functionality as well.
## Step 3. Enroll in the Apple Developer Program as an Organization [#step-3-enroll-in-the-apple-developer-program-as-an-organization]
To be able to open an Apple Developer account, you must provide the following information:
* your D-U-N-S number
* your Legal Entity Status
* your Legal Binding Authority
* your website address
To publish your iOS app, you need to enroll in the Apple Developer Program as an organization, and then share access to your developer account with the B2CORE team by sending your access credentials to our company email: [ios-admin@b2broker.com](mailto:ios-admin@b2broker.com).
Further on, with each iOS release, the B2CORE team will upload a new app build for you, and you will be responsible for managing the regular maintenance of the app (for details, refer to [Step 8. Update your app with new releases](deploying-your-ios-app#step-8.-update-your-app-with-new-releases)).
For general information, refer to [Before You Enroll — Apple Developer Program](https://developer.apple.com/programs/enroll/).
For step-by-step instructions, refer to [Enrolling in the Apple Developer Program as an organization](https://developer.apple.com/support/app-account/).
## Step 4. Grant access and admin permissions to the B2CORE team [#step-4-grant-access-and-admin-permissions-to-the-b2core-team]
For the B2CORE team to be able to configure your app at App Store Connect, you need to grant the following admin permissions to our team. To do this, proceed as follows:
1. At App Store Connect, switch to **Users and Access**.
2. On the **People** tab, add a new person with the B2BROKER company email: [ios-admin@b2broker.com](mailto:ios-admin@b2broker.com).
3. In the **Roles** section, enable the **Admin** role.
4. In the **Additional Resources** section, make sure that all the permissions are enabled as follows:
* **Access to Reports**
* **Access to Certificates, Identifiers & Profiles**, which includes:
* **Access to Cloud Managed Distribution Certificate**
* **Access to Cloud Managed Developer ID Certificate**
* **Create Apps**
 ## Step 5. Provide all necessary information to your account manager [#step-5-provide-all-necessary-information-to-your-account-manager]
Contact your account manager at B2BROKER to inform the development team that they must prepare your app for publishing.
You need to provide the following information to your account manager, which will be passed over to the development team:
* The information about licenses, along with the credentials to your B2CORE Demo Account.
* The URL of your B2CORE UI instance.
* The legal name of your company, as well as your Apple Developer account name (typically, it coincides with the company name specified when creating a Developer Account as an Organization).
## Step 5. Provide all necessary information to your account manager [#step-5-provide-all-necessary-information-to-your-account-manager]
Contact your account manager at B2BROKER to inform the development team that they must prepare your app for publishing.
You need to provide the following information to your account manager, which will be passed over to the development team:
* The information about licenses, along with the credentials to your B2CORE Demo Account.
* The URL of your B2CORE UI instance.
* The legal name of your company, as well as your Apple Developer account name (typically, it coincides with the company name specified when creating a Developer Account as an Organization).
 ## Step 6. Specify the pricing, availability and privacy options [#step-6-specify-the-pricing-availability-and-privacy-options]
At App Store Connect, configure the following app settings:
* **Pricing and Availability**
In this section, you need to specify the following options:
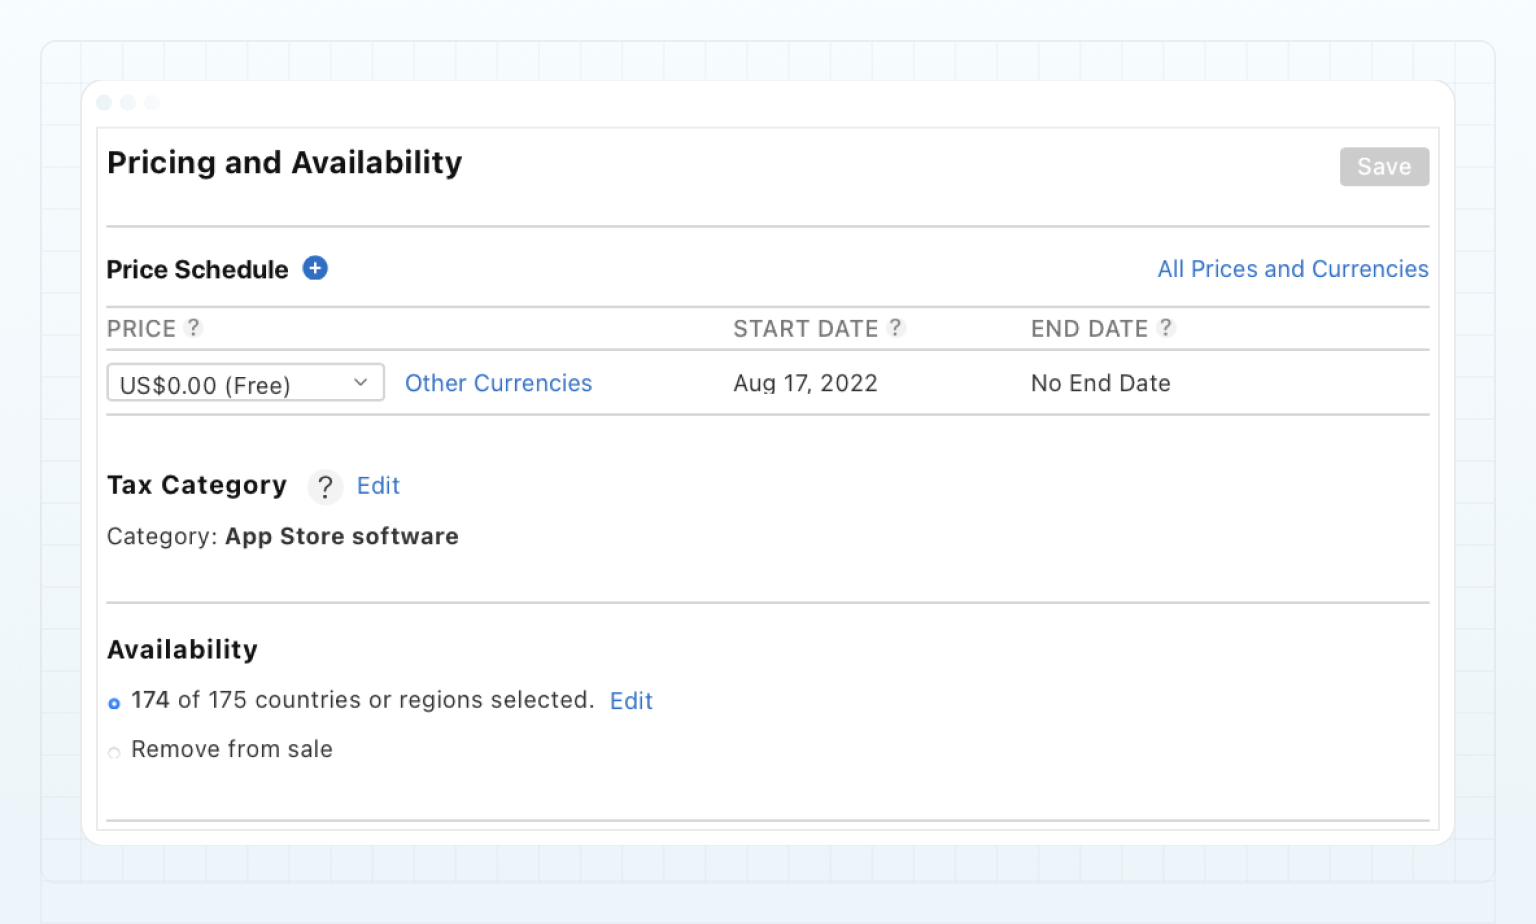
* We recommend that you offer your mobile app for free and set the **Price Schedule** field to `US$0.00 (Free)`.
* Set the **Tax Category** field to `App Store software`.
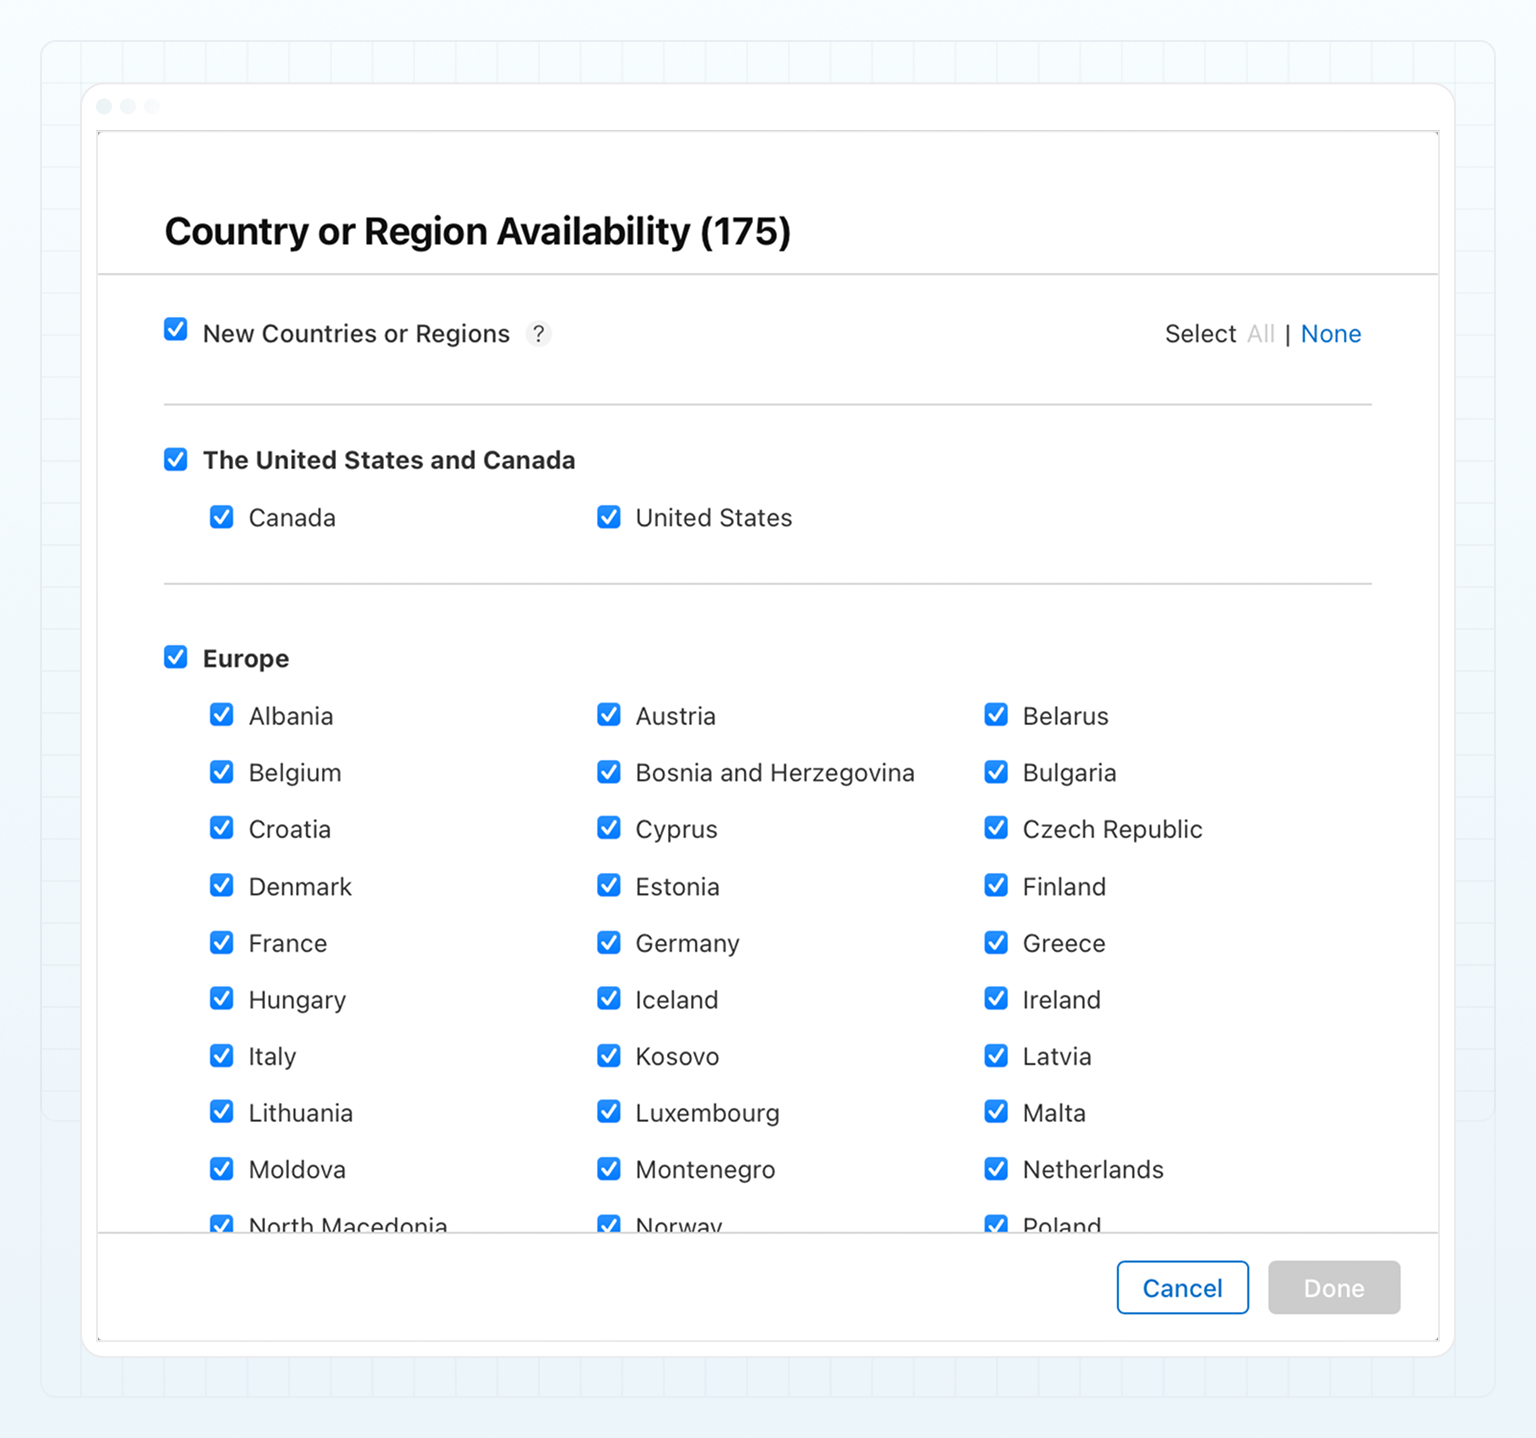
* In the **Availability** section, select the countries in which your app will be available, according to the licenses obtained by you.
* For the other options in this section, you can leave the default settings.
## Step 6. Specify the pricing, availability and privacy options [#step-6-specify-the-pricing-availability-and-privacy-options]
At App Store Connect, configure the following app settings:
* **Pricing and Availability**
In this section, you need to specify the following options:
* We recommend that you offer your mobile app for free and set the **Price Schedule** field to `US$0.00 (Free)`.
* Set the **Tax Category** field to `App Store software`.
* In the **Availability** section, select the countries in which your app will be available, according to the licenses obtained by you.
* For the other options in this section, you can leave the default settings.
 * **App Privacy**
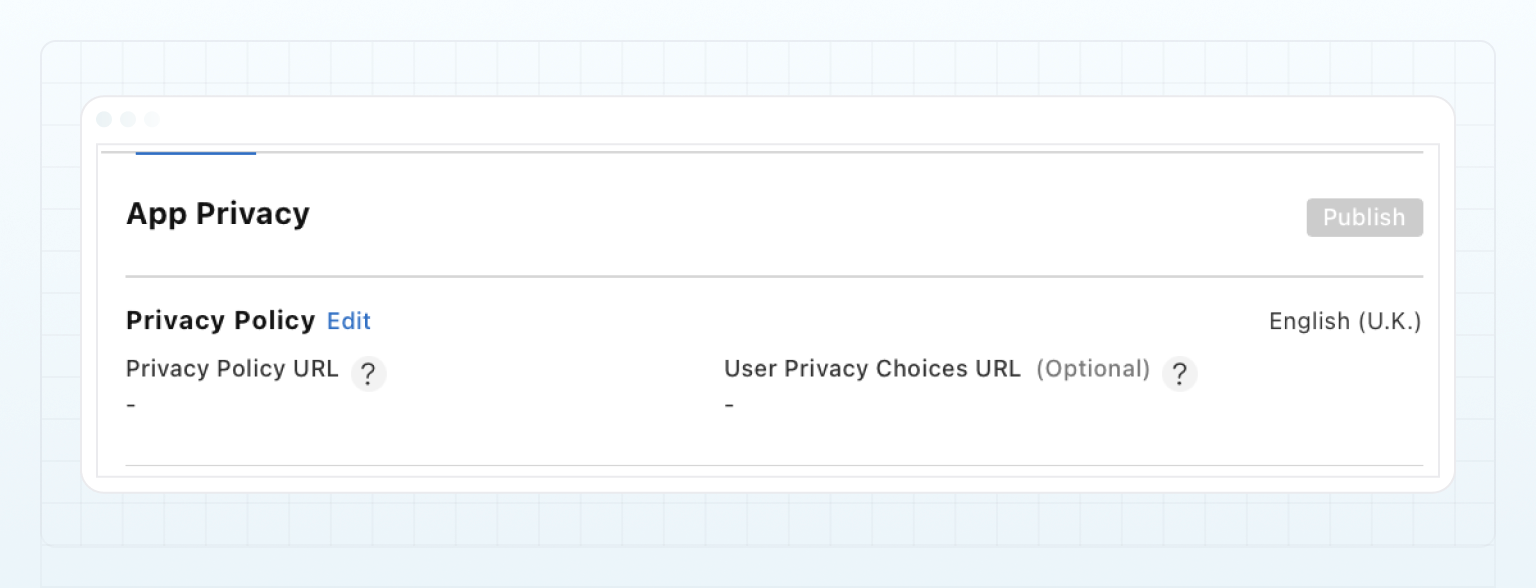
In this section, specify the **Privacy Policy URL**, which must be the same one that you specified for your B2CORE UI instance.
* **App Privacy**
In this section, specify the **Privacy Policy URL**, which must be the same one that you specified for your B2CORE UI instance.
 Next, click **Get Started** and complete the quiz to specify your app’s data collection policy:
* **Contact Info**
Your app will collect the user’s email address by default.
Depending on your app’s configuration, it may also collect other data, such as the username, phone number, user address and other contact information. Please make sure that you indicate the collected data according to the options that are specified in your B2CORE Back Office.
* **Identifiers**
The **User ID** data is collected by default.
The **Device ID** data is not collected.
* **User Content**
The user photos and videos are collected.
* **Other User Content**
On this page, select `App Functionality` and `Other Purposes`.
Next, click **Get Started** and complete the quiz to specify your app’s data collection policy:
* **Contact Info**
Your app will collect the user’s email address by default.
Depending on your app’s configuration, it may also collect other data, such as the username, phone number, user address and other contact information. Please make sure that you indicate the collected data according to the options that are specified in your B2CORE Back Office.
* **Identifiers**
The **User ID** data is collected by default.
The **Device ID** data is not collected.
* **User Content**
The user photos and videos are collected.
* **Other User Content**
On this page, select `App Functionality` and `Other Purposes`.
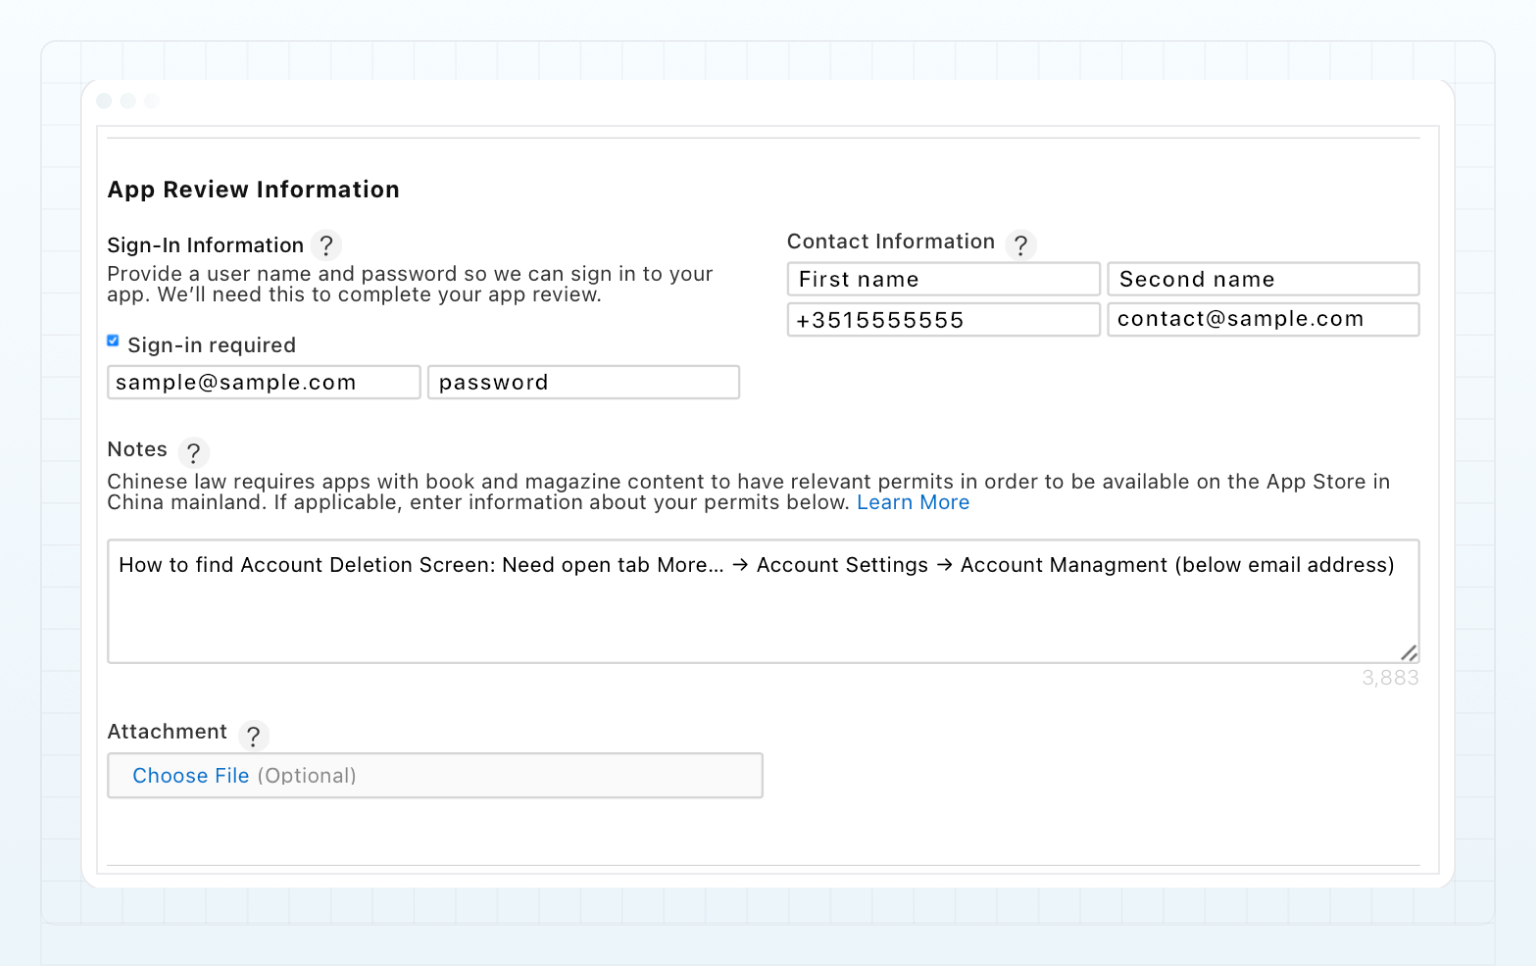 5. Specify the following fields:
* **Promotional Text**
* **Description**
* **What’s New in This Version**
* **Keywords**
* **Support URL**
* **Marketing URL**
* **Version**
* **Copyright**
5. Specify the following fields:
* **Promotional Text**
* **Description**
* **What’s New in This Version**
* **Keywords**
* **Support URL**
* **Marketing URL**
* **Version**
* **Copyright**
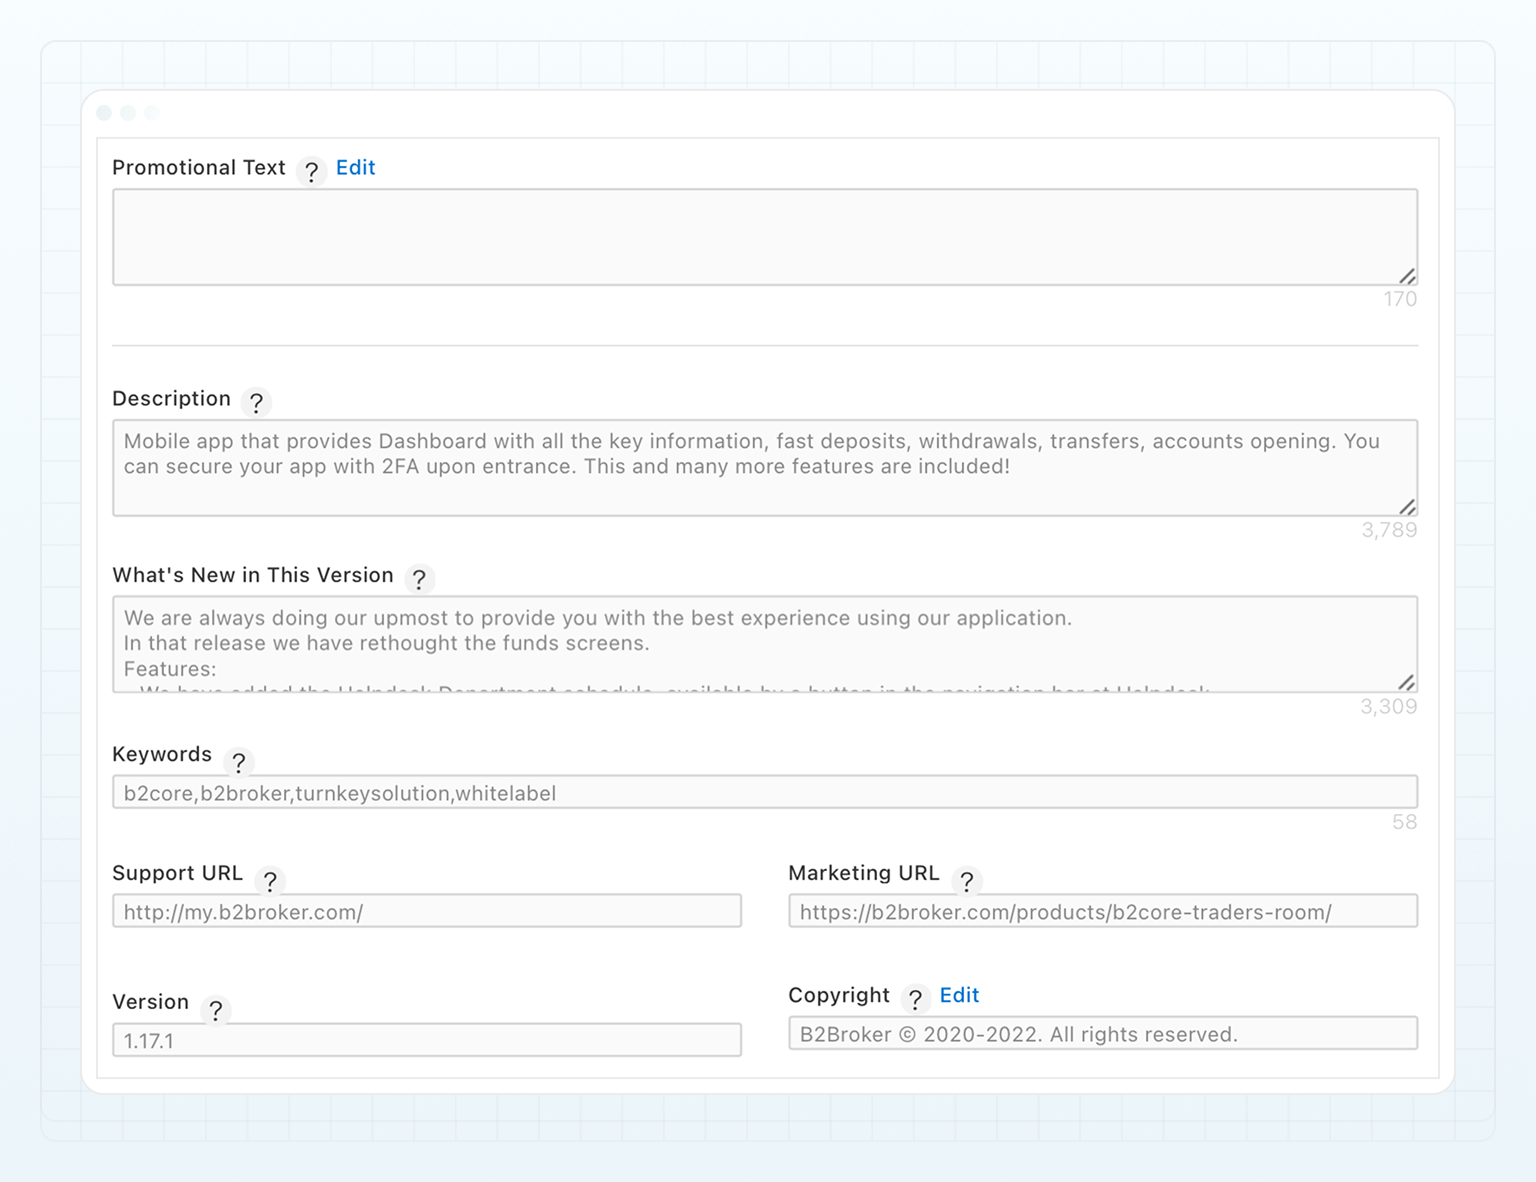 To learn more about these fields, refer to [Platform version information](https://developer.apple.com/help/app-store-connect/reference/platform-version-information).
6. Click **Add for Review** to submit your app for review to the App Store team.
When your app is reviewed and approved, its status will be changed to `Ready for Distribution`.
## Step 8. Update your app with new releases [#step-8-update-your-app-with-new-releases]
With each iOS release, the B2CORE team will upload a new app build for you in App Store Connect.
You need to create a new app version, add the new build to the version, and submit it for review to the App Store team.
### Create a new app version [#create-a-new-app-version]
When the B2CORE team notifies you of a new iOS release, create a new app version in Apple Store Connect, add a new build to it, and submit it for review to the App Store team.
To learn more about these fields, refer to [Platform version information](https://developer.apple.com/help/app-store-connect/reference/platform-version-information).
6. Click **Add for Review** to submit your app for review to the App Store team.
When your app is reviewed and approved, its status will be changed to `Ready for Distribution`.
## Step 8. Update your app with new releases [#step-8-update-your-app-with-new-releases]
With each iOS release, the B2CORE team will upload a new app build for you in App Store Connect.
You need to create a new app version, add the new build to the version, and submit it for review to the App Store team.
### Create a new app version [#create-a-new-app-version]
When the B2CORE team notifies you of a new iOS release, create a new app version in Apple Store Connect, add a new build to it, and submit it for review to the App Store team.
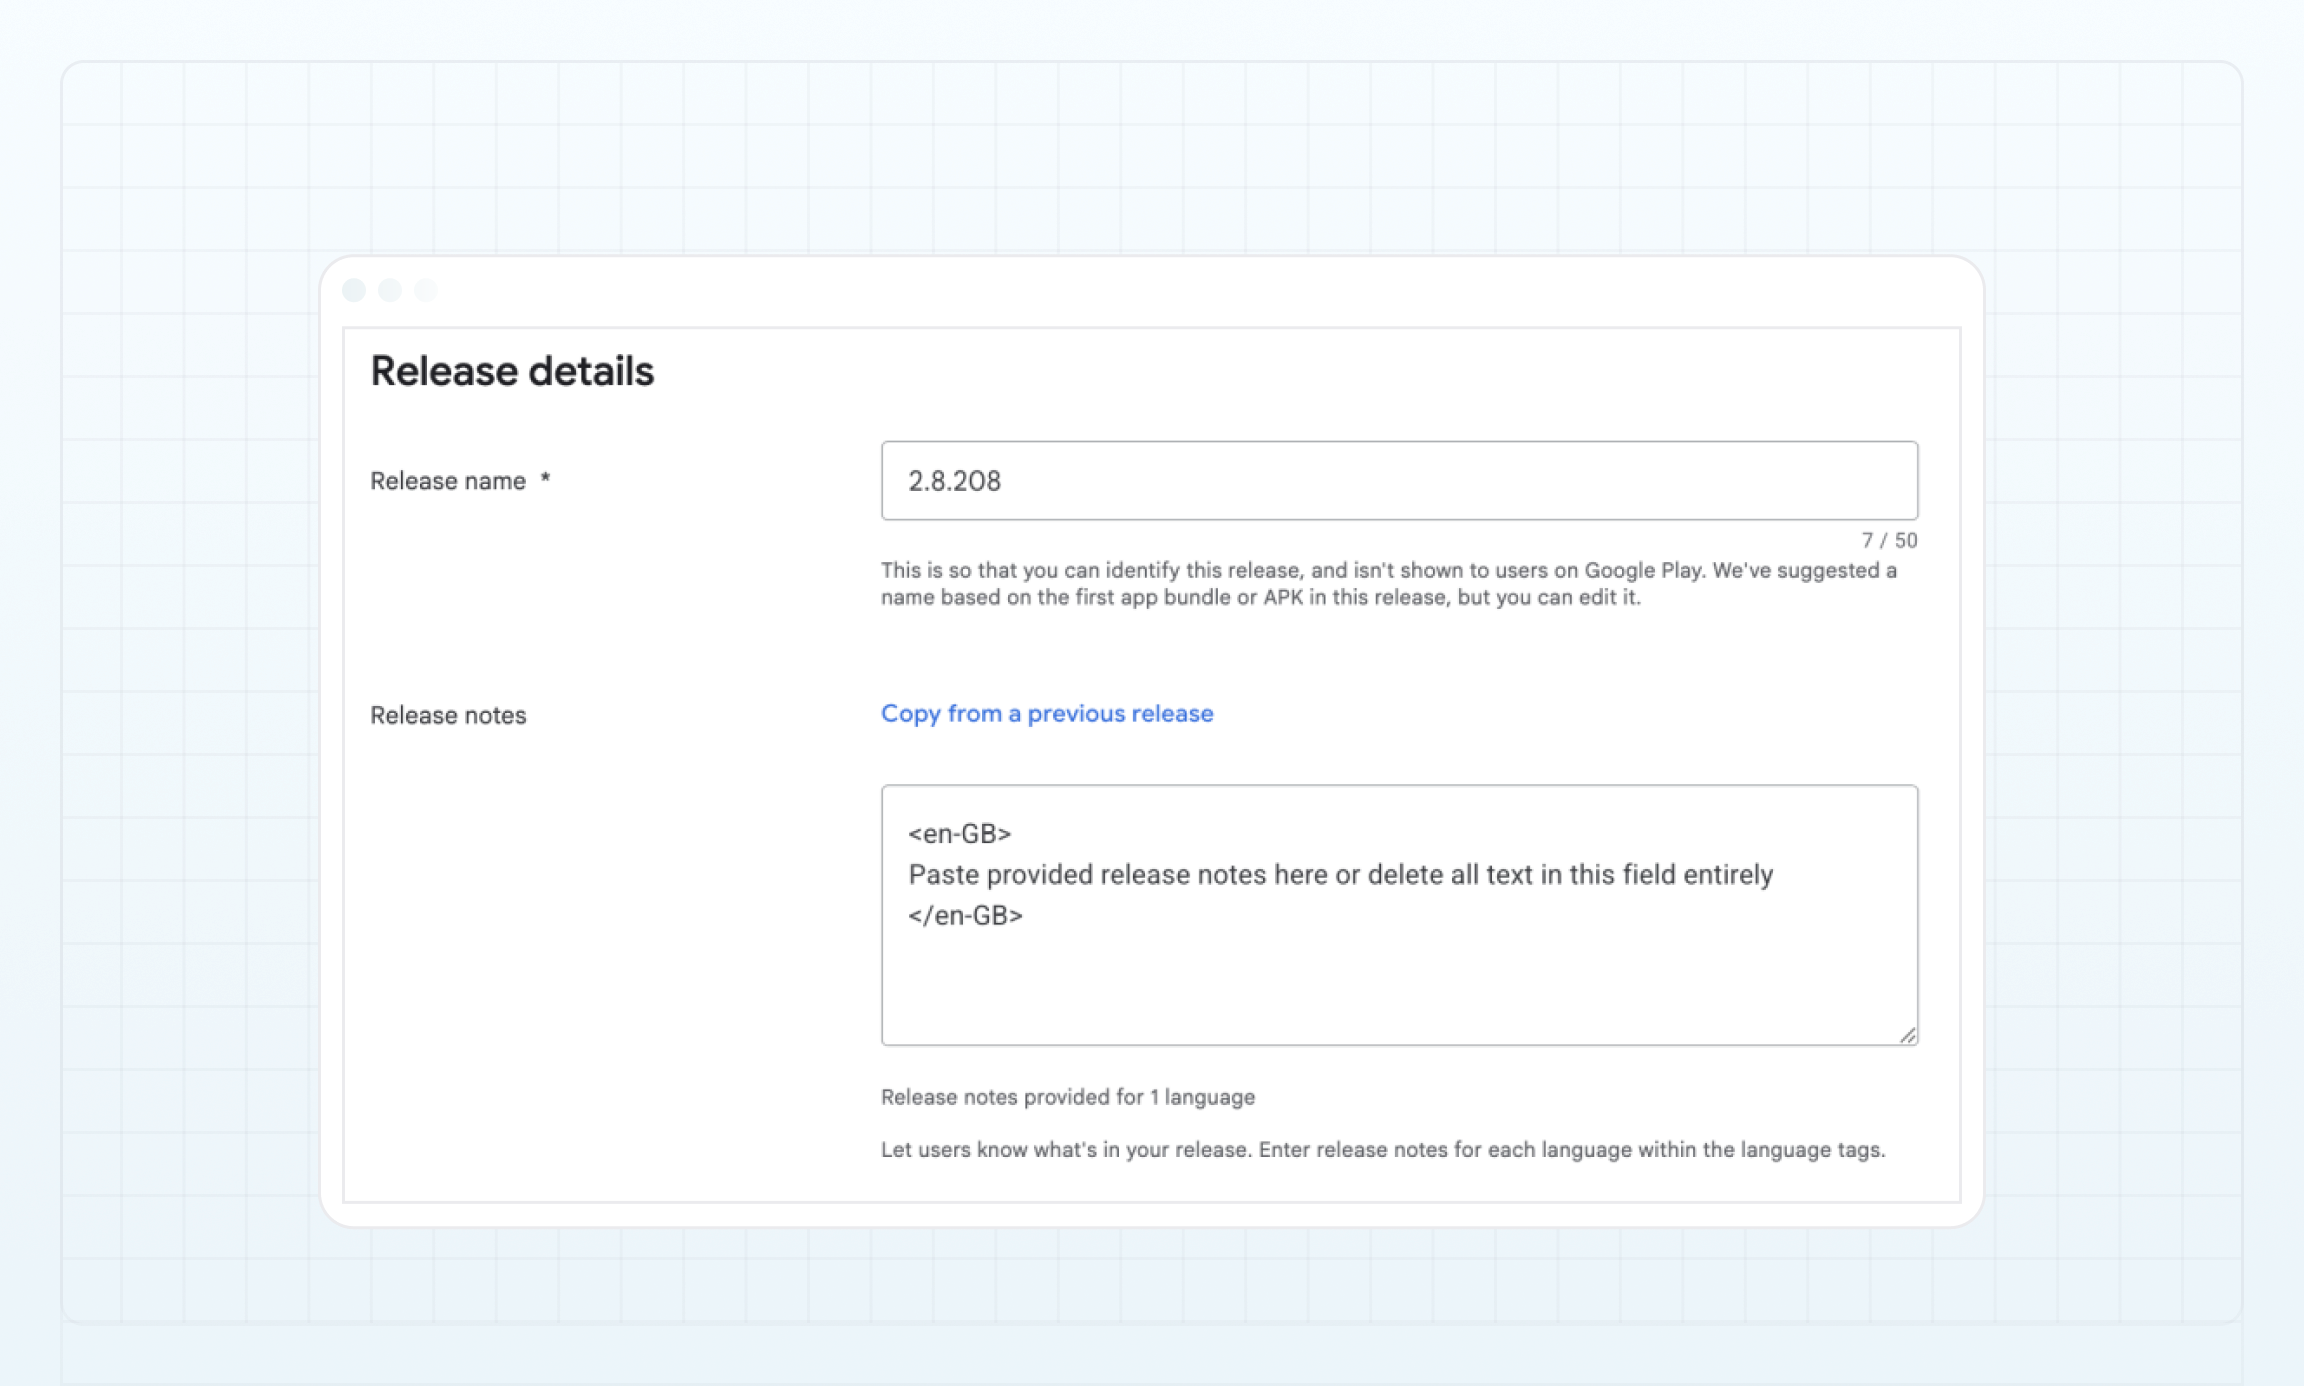
 7. Add the release notes to the **What’s new in this version** field. The RNs for each iOS release can be found [here](../release-notes/release-notes-mobile).
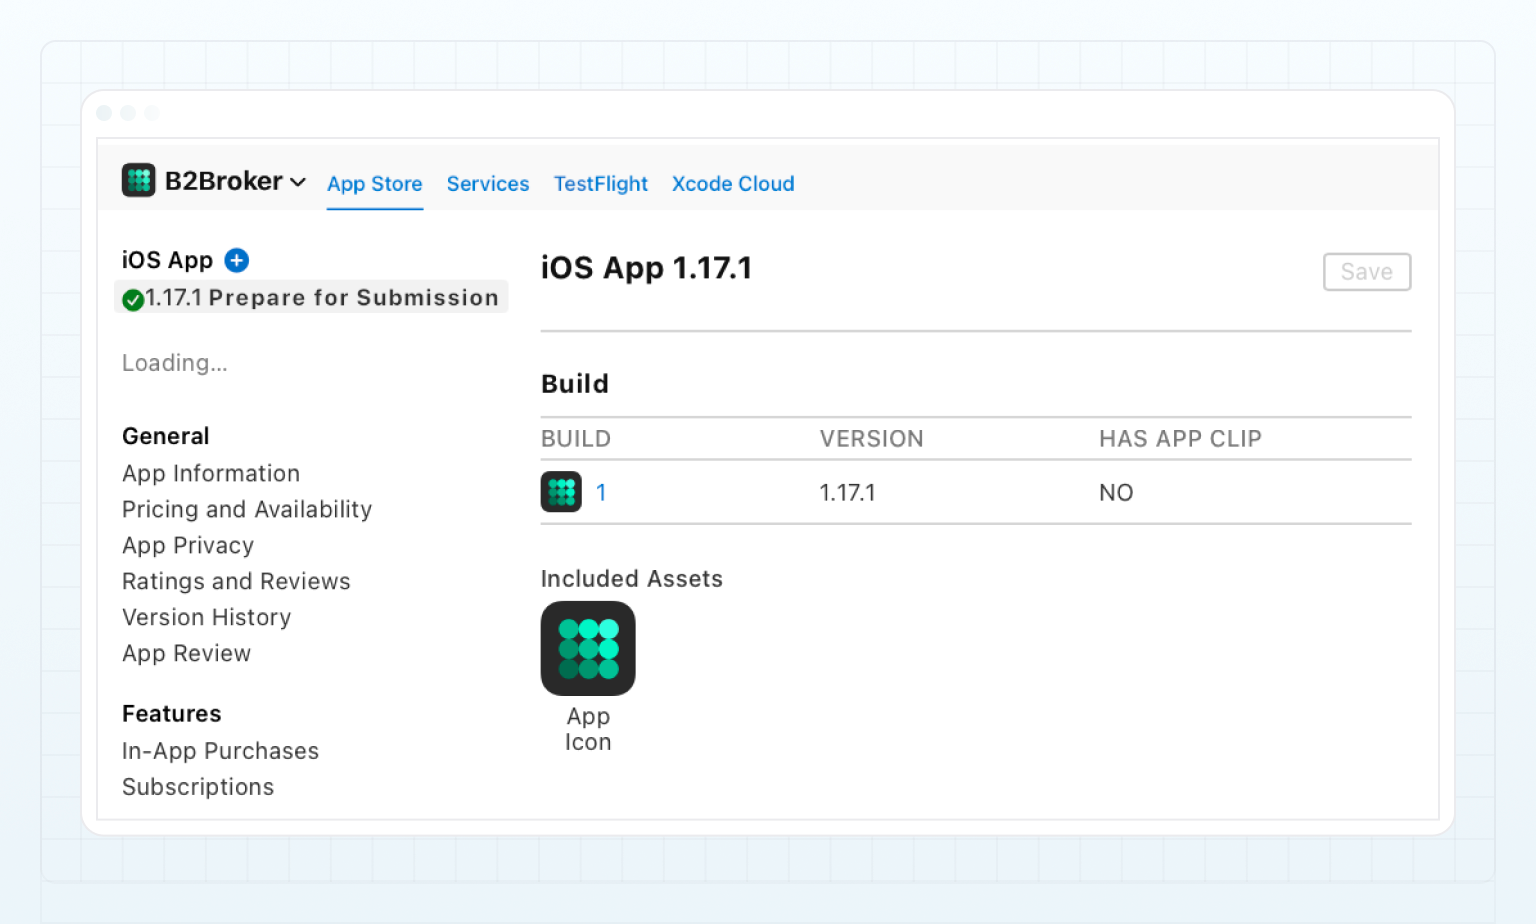
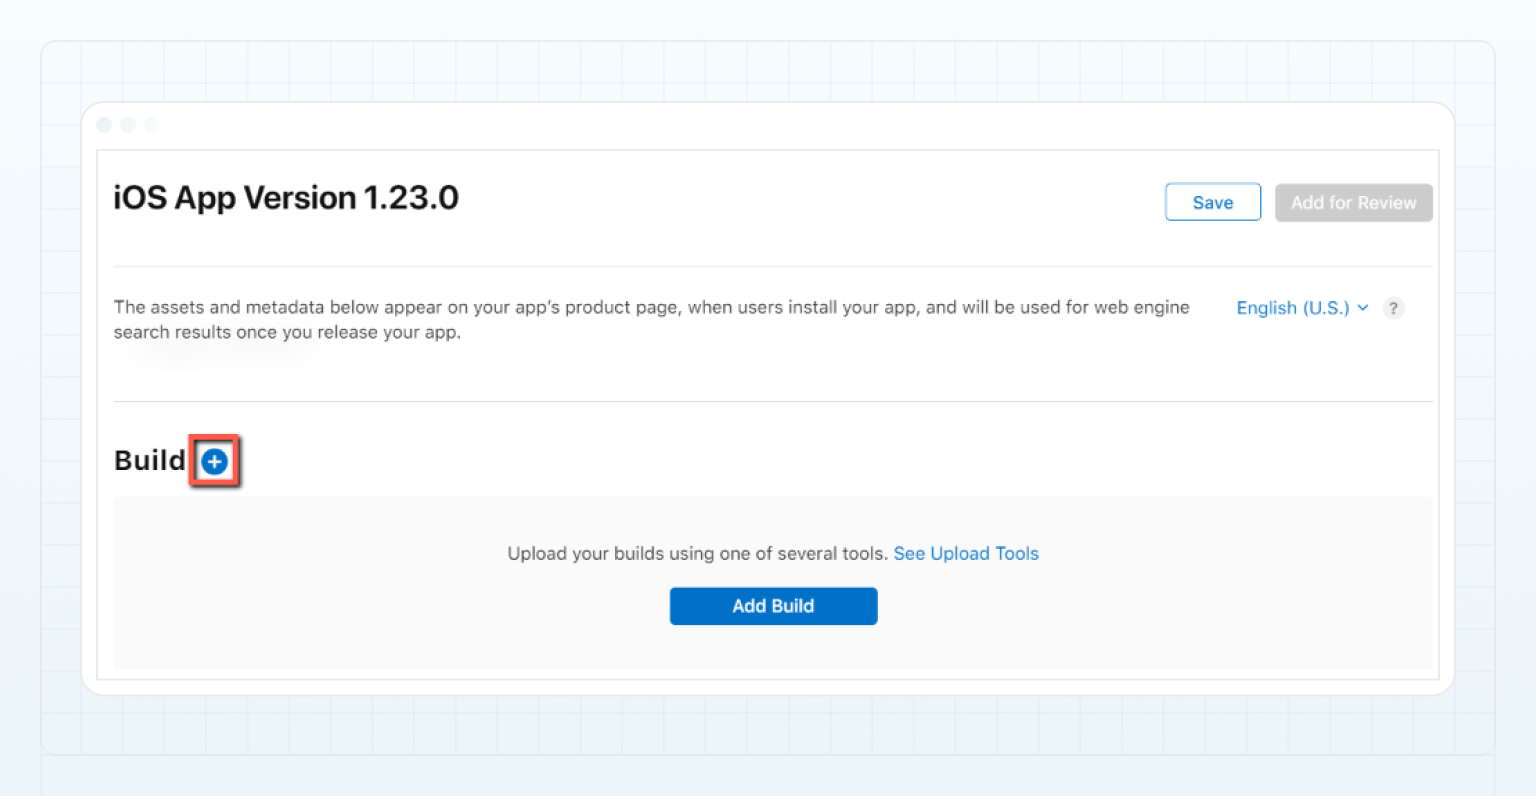
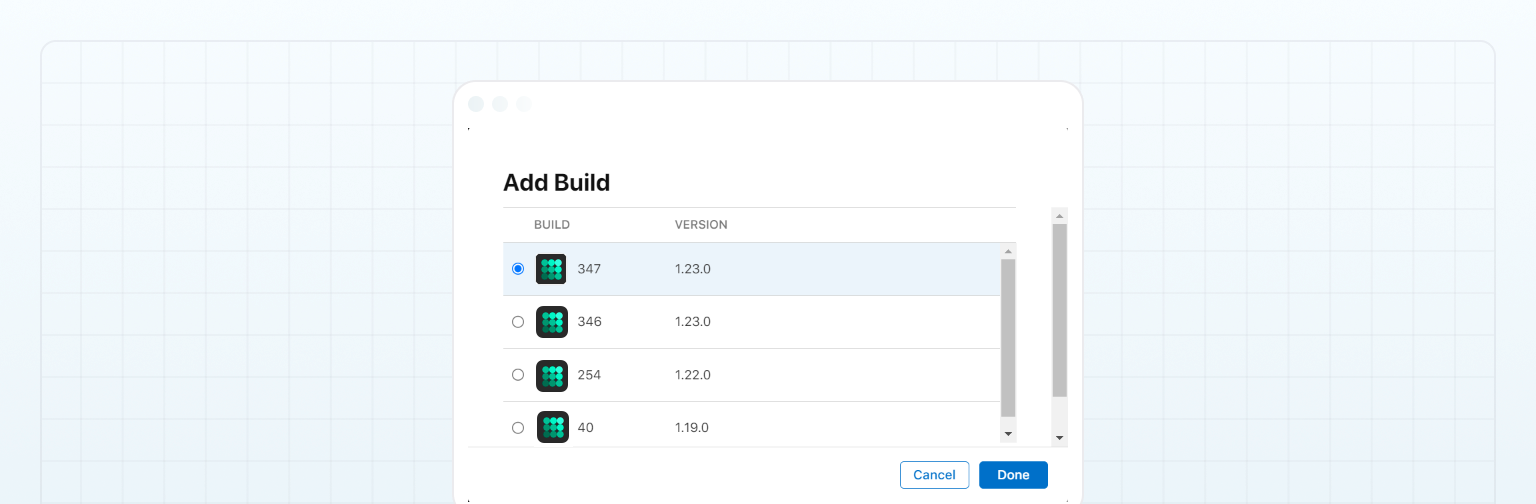
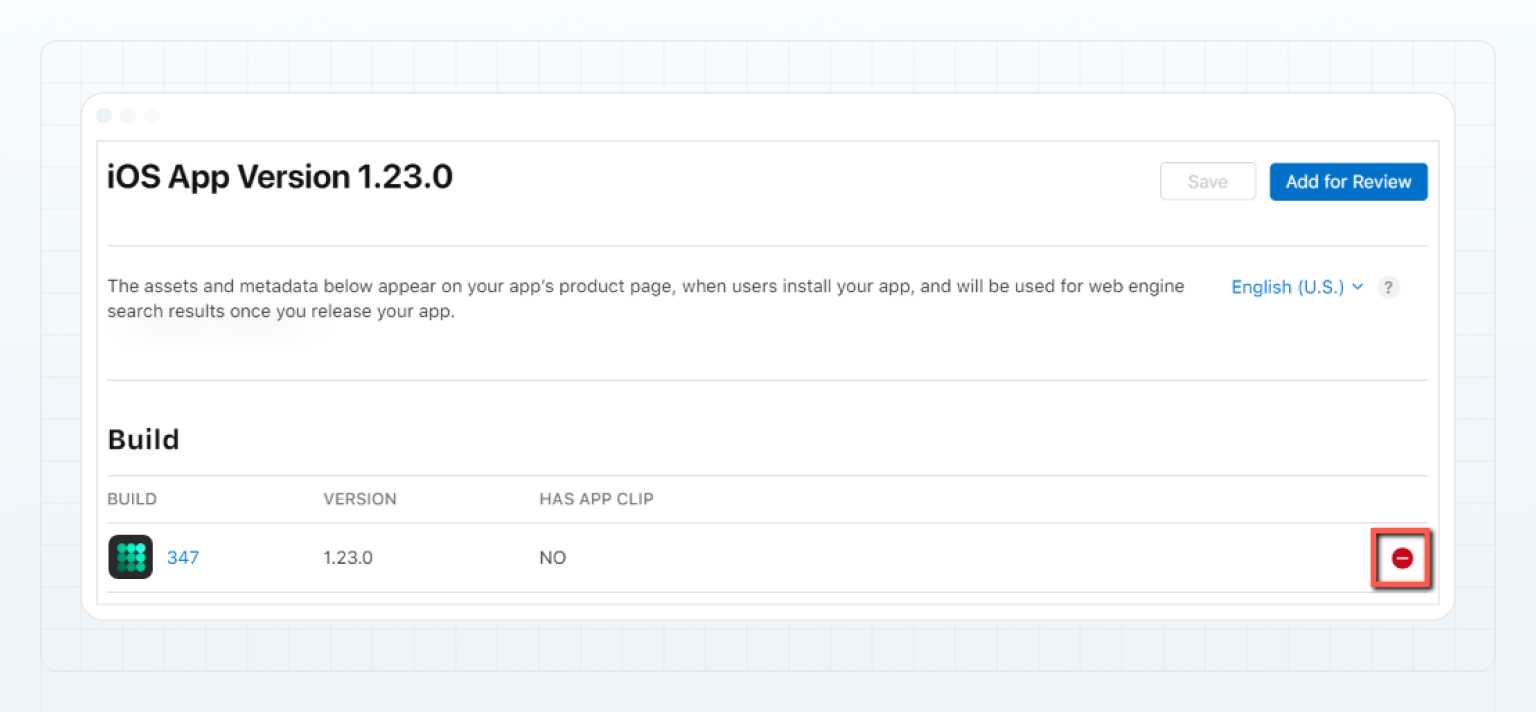 5. Add the latest build:
* Click the **add** button (+) displayed next to the **Build** section.
* In the **Add Build** popup, select the build with the *highest* version number and click **Done**.
5. Add the latest build:
* Click the **add** button (+) displayed next to the **Build** section.
* In the **Add Build** popup, select the build with the *highest* version number and click **Done**.
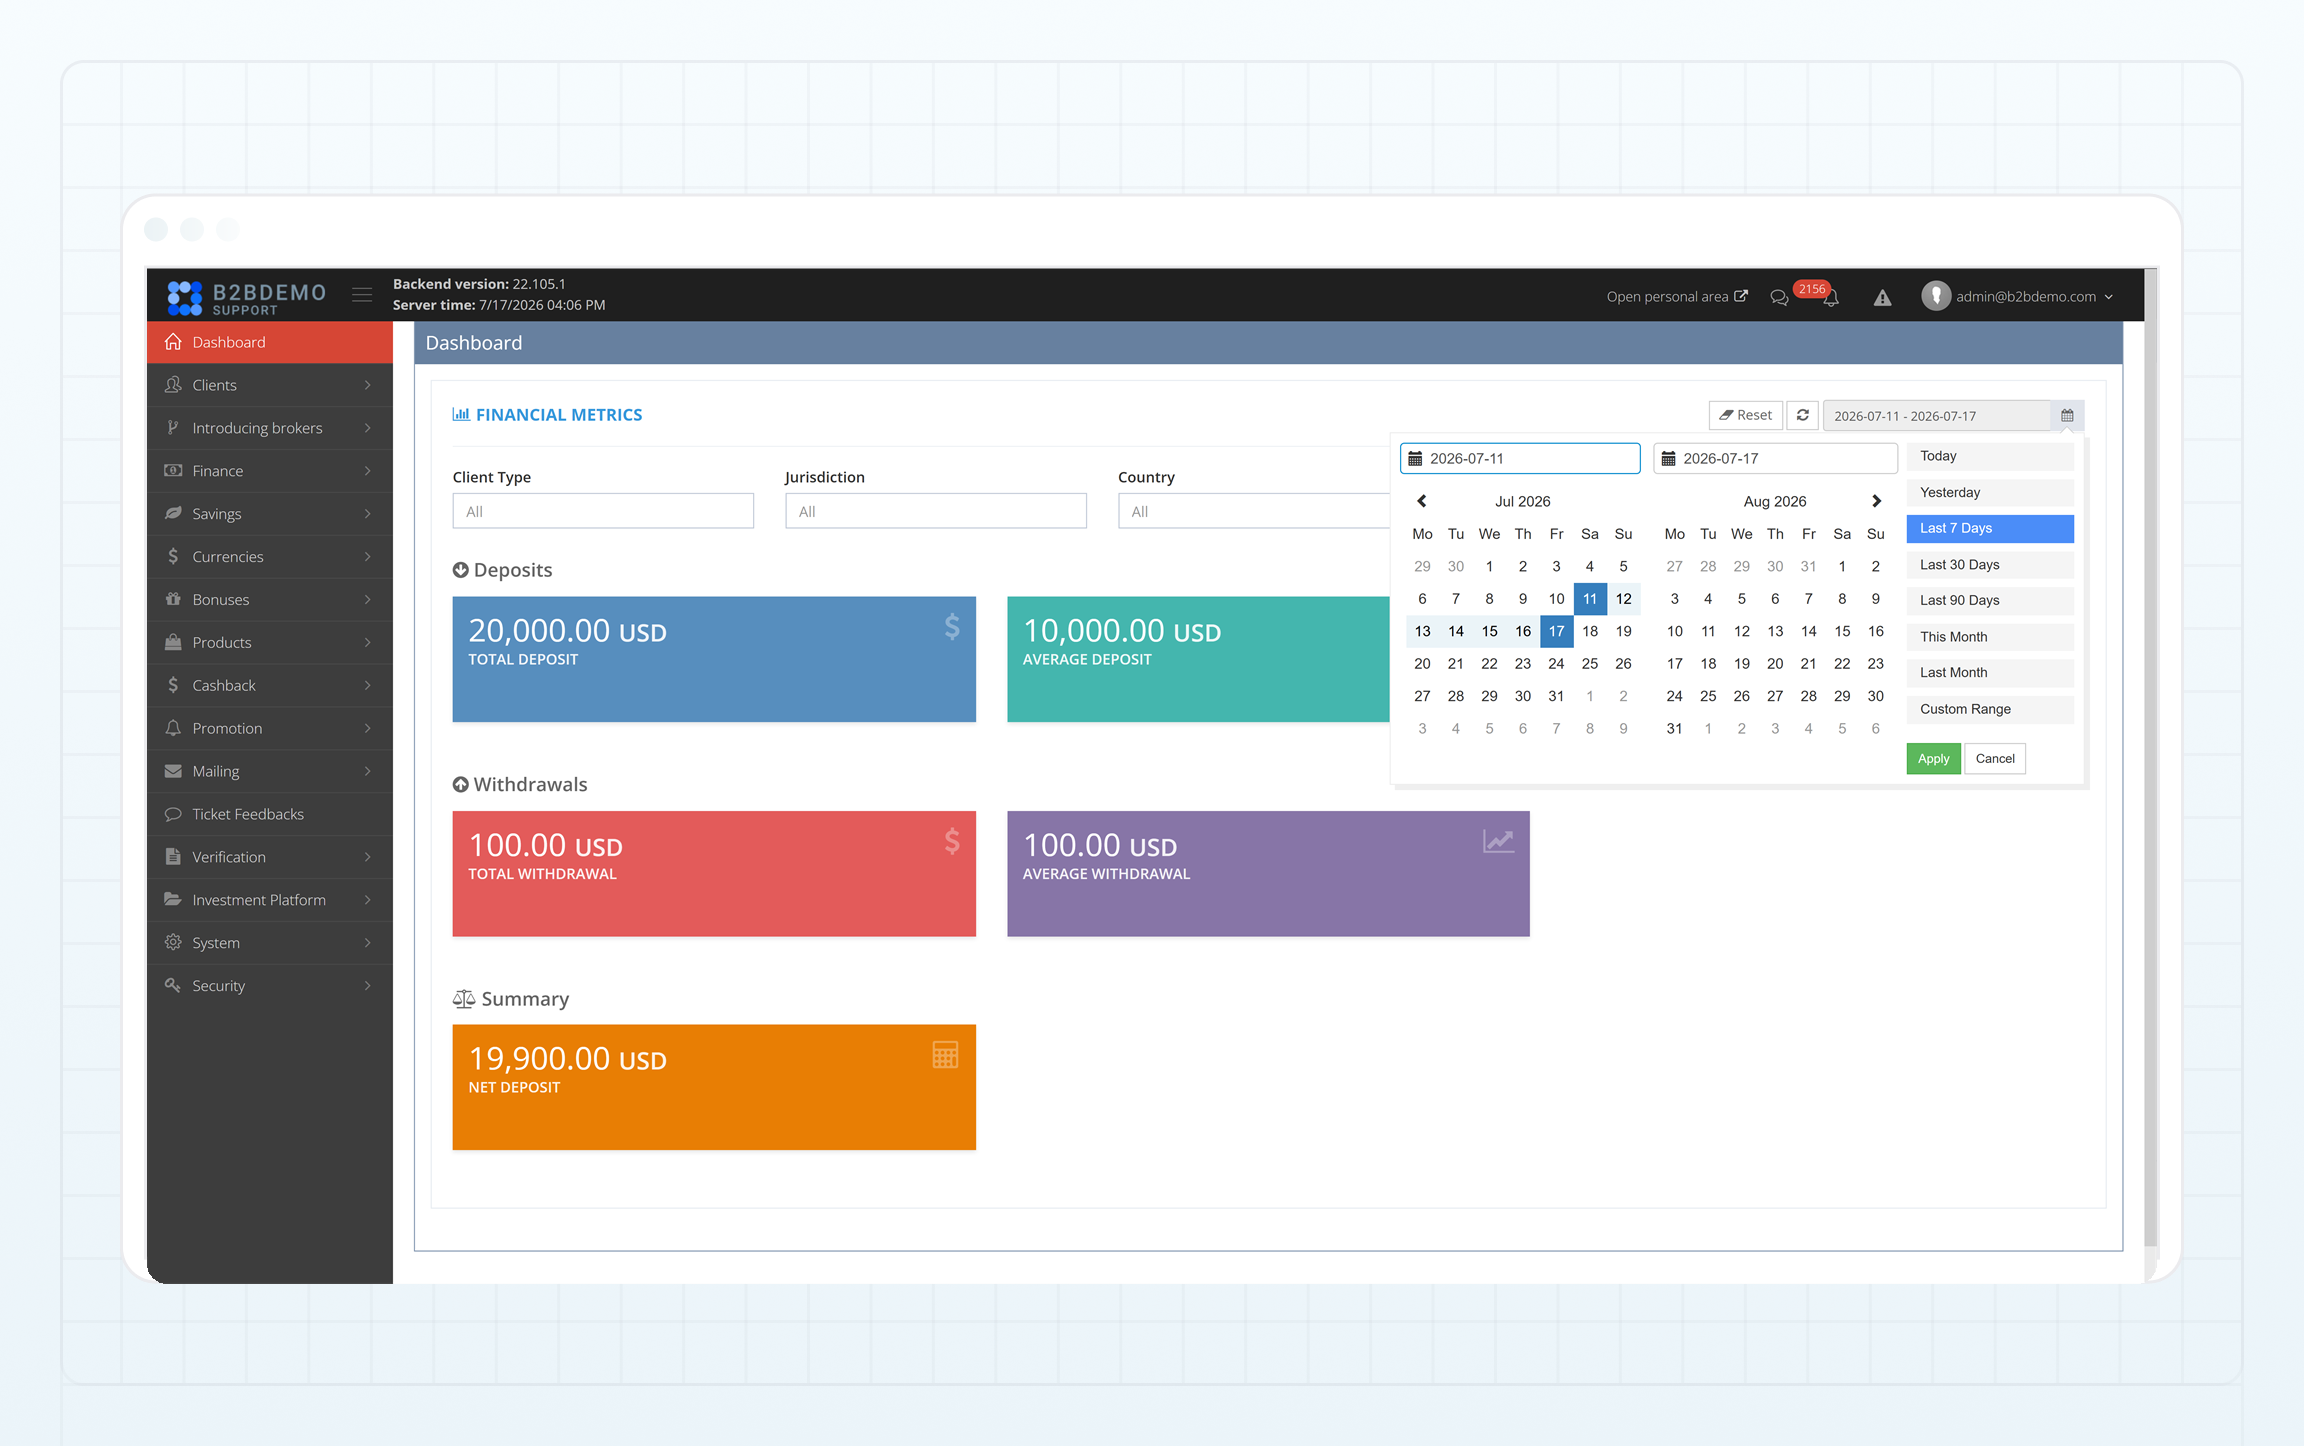 The following information is displayed on the Dashboard:
## Deposits [#deposits]
* **Total deposit** — the total amount of deposits, in USD, for the selected period. The metric is calculated against the **Final amount (USD)** column in [Finance > Deposits](finance/deposits). Only the completed deposits in the final status are included.
* **Average deposit** — the average deposit amount for the selected period, which is calculated as:
`Total deposit / Number of deposits`
## Withdrawals [#withdrawals]
* **Total withdrawal** — the total amount of withdrawal, in USD, over the selected period. The metric is calculated against the **Final amount (USD)** column in [Finance > Payouts](finance/payouts). Only the completed withdrawals in the final status are included.
* **Average withdrawal** — the average deposit amount for the selected period, which is calculated as:
`Total withdrawal / Number of withdrawals`
## Summary [#summary]
* **Net deposit** — the net amount of deposits, in USD, for the selected period, calculated as:
`Total deposit − Total withdrawal`
B2CORE is a fully-featured CRM providing a complete set of customization and access control options.
## Authorization and permissions [#authorization-and-permissions]
B2CORE provides a full set of personalization and access control options. User access is controlled by applying different user group permissions.
After your B2CORE profile is activated, you can sign in to the Back Office using the credentials provided by your administrator.
Upon encountering an error when trying to sign in, check the login and password, along with the input language and Caps Lock state. If everything appears to be correct, contact your administrator to clarify the status of your profile.
## General interface options [#general-interface-options]
The Back Office user interface is uniform across all pages, ensuring consistent look and feel and featuring a common set of basic options. This document describes how to shape the data displayed on a page, how to filter and sort this data, and then export it to a file.
### The top bar options [#the-top-bar-options]
At the top of a typical Back Office page, you can find a top bar with the following elements:
* the **☰ main menu** button
Click it to expand or collapse the main menu.
* **Backend version**
The currently deployed version of your Back Office.
* **Server time**
The fixed system time in GMT+0. It can't be changed and ensures accuracy and consistency across all transactions, logs, and activities within B2CORE.
* the **Open personal area** link
Click the link to access the **Sign In** page of the B2CORE UI associated with your Back Office.
* the **Bell** icon
Click it to see pending client requests. The number of new requests is displayed on a counter badge.
* the **Warning** icon
Click it to view platform connectivity alerts, such as notifications about trading platforms that are currently unreachable. The number of active alerts is displayed on a counter badge.
* the panel displaying the email address from your user profile
In the upper-right page corner, click the profile button displaying your email address to access the **Log out** button and **Enable 2FA** option (or **Disable 2FA**, if two-factor authentication is already enabled).
Two-factor authentication (2FA) is obligatory and must be enabled for all user profiles in the Back Office.
To enable 2FA through time-based one-time passwords (TOTP) for your user profile, click **Enable 2FA**, and then click **OK** in the popup. Next, follow the displayed instructions to set up 2FA with Google Authenticator.
After enabling 2FA, sign in to the Back Office by entering your login and password, followed by a code from the Google Authenticator app.
### Common options [#common-options]
The following buttons can be found on most Back Office pages.
* Above a table:
*
The following information is displayed on the Dashboard:
## Deposits [#deposits]
* **Total deposit** — the total amount of deposits, in USD, for the selected period. The metric is calculated against the **Final amount (USD)** column in [Finance > Deposits](finance/deposits). Only the completed deposits in the final status are included.
* **Average deposit** — the average deposit amount for the selected period, which is calculated as:
`Total deposit / Number of deposits`
## Withdrawals [#withdrawals]
* **Total withdrawal** — the total amount of withdrawal, in USD, over the selected period. The metric is calculated against the **Final amount (USD)** column in [Finance > Payouts](finance/payouts). Only the completed withdrawals in the final status are included.
* **Average withdrawal** — the average deposit amount for the selected period, which is calculated as:
`Total withdrawal / Number of withdrawals`
## Summary [#summary]
* **Net deposit** — the net amount of deposits, in USD, for the selected period, calculated as:
`Total deposit − Total withdrawal`
B2CORE is a fully-featured CRM providing a complete set of customization and access control options.
## Authorization and permissions [#authorization-and-permissions]
B2CORE provides a full set of personalization and access control options. User access is controlled by applying different user group permissions.
After your B2CORE profile is activated, you can sign in to the Back Office using the credentials provided by your administrator.
Upon encountering an error when trying to sign in, check the login and password, along with the input language and Caps Lock state. If everything appears to be correct, contact your administrator to clarify the status of your profile.
## General interface options [#general-interface-options]
The Back Office user interface is uniform across all pages, ensuring consistent look and feel and featuring a common set of basic options. This document describes how to shape the data displayed on a page, how to filter and sort this data, and then export it to a file.
### The top bar options [#the-top-bar-options]
At the top of a typical Back Office page, you can find a top bar with the following elements:
* the **☰ main menu** button
Click it to expand or collapse the main menu.
* **Backend version**
The currently deployed version of your Back Office.
* **Server time**
The fixed system time in GMT+0. It can't be changed and ensures accuracy and consistency across all transactions, logs, and activities within B2CORE.
* the **Open personal area** link
Click the link to access the **Sign In** page of the B2CORE UI associated with your Back Office.
* the **Bell** icon
Click it to see pending client requests. The number of new requests is displayed on a counter badge.
* the **Warning** icon
Click it to view platform connectivity alerts, such as notifications about trading platforms that are currently unreachable. The number of active alerts is displayed on a counter badge.
* the panel displaying the email address from your user profile
In the upper-right page corner, click the profile button displaying your email address to access the **Log out** button and **Enable 2FA** option (or **Disable 2FA**, if two-factor authentication is already enabled).
Two-factor authentication (2FA) is obligatory and must be enabled for all user profiles in the Back Office.
To enable 2FA through time-based one-time passwords (TOTP) for your user profile, click **Enable 2FA**, and then click **OK** in the popup. Next, follow the displayed instructions to set up 2FA with Google Authenticator.
After enabling 2FA, sign in to the Back Office by entering your login and password, followed by a code from the Google Authenticator app.
### Common options [#common-options]
The following buttons can be found on most Back Office pages.
* Above a table:
*  — the **Create** button used to add a new entry
*
— the **Create** button used to add a new entry
*  — the **Export** button used to export table data to a CSV file
* the **Select** and **Select All** buttons used to select multiple table entries and perform bulk actions on them (where available)
* In a table header:
*
— the **Export** button used to export table data to a CSV file
* the **Select** and **Select All** buttons used to select multiple table entries and perform bulk actions on them (where available)
* In a table header:
*  — the **Search** button used to apply custom filters
*
— the **Search** button used to apply custom filters
*  — the **Reset** button used to reset custom filters
* In a table row:
*
— the **Reset** button used to reset custom filters
* In a table row:
*  — the **Edit** button used to drill down the data and access details
*
— the **Edit** button used to drill down the data and access details
*  — the **Delete** button used to delete an entry
Page elements may serve as hyperlinks that can be clicked to drill down to details. Access to this data is maintained based on the permissions assigned to a particular user group.
### Filtering and sorting [#filtering-and-sorting]
Throughout the Back Office, the data is typically organized in tables. Table data can be sorted and filtered.
The columns by which you can sort data are marked with up and down arrows displayed in column headers (no arrows are displayed when sorting isn't available). You can click these arrows to sort data in ascending or descending order, by a single column at a time
Along with a sorting order, you can specify multiple criteria for filtering column data.
When filtering is available, the appropriate input fields are displayed in column headers. The inputs vary depending on a data format, such as text, number, date, time, or list.
To facilitate filtering by date, two fields for the start and end dates may be displayed so that you can define a time period.
To enable or disable filters, click the **Search** and **Reset** buttons.
### Pagination [#pagination]
You can display table data across multiple pages and specify how many records to display on a page (the total number of records found is displayed next to the page size selector).
To navigate between pages, click **Prev** or **Next**, or click a specific page number.
### Visibility [#visibility]
To choose the data fields to include in a table, click **Column Visibility** and mark or unmark the columns you want to display or hide. Once applied, the new visibility settings become effective for all Back Office users (visibility of specific fields depends on the access permissions granted to particular users).
### Data export [#data-export]
The data on most of the Back Office pages can be exported to a CSV or XLSX file.
To do this, click the **Export** button, choose a file format, and then select whether to download the data to your computer or deliver it to an email address from your profile.
The data in a resulting file matches both the current visibility settings and the applied sorting and filtering criteria.
Use this menu to access to the functionalities of the **Introducing brokers (IB)** product, designed to support referral programs that help expand your client base. Through these programs, you can encourage your existing clients to become partners and attract new traders to your brokerage. In return, partners earn a percentage of the revenue generated from the trading activity of their referrals, fostering a mutually beneficial partnership.
If you don't have this menu in your Back Office, contact your account manager to learn more about obtaining and implementing the IB program.
For more information about IB, refer to the [product documentation](https://docs.ib.b2core.b2broker.com/).
On this page, you can view feedback left by clients after tickets that they reported to HelpDesk in the B2CORE UI are marked as resolved.
The following information is provided about each ticket for which feedback is submitted:
**Id**
The identifier of a ticket that was reported by a client to HelpDesk.
Click a ticket identifier to view ticket details in SupportPal or Zendesk.
***
**Email**
The client email address.
***
**Comment**
The feedback text.
***
**Date**
The data and time when feedback was submitted.
***
**Status**
The client satisfaction rating. Possible values:
* Extra Positive
* Positive
* Neutral
* Negative
* Extra Negative
***
**Subject**
The subject of a ticket.
— the **Delete** button used to delete an entry
Page elements may serve as hyperlinks that can be clicked to drill down to details. Access to this data is maintained based on the permissions assigned to a particular user group.
### Filtering and sorting [#filtering-and-sorting]
Throughout the Back Office, the data is typically organized in tables. Table data can be sorted and filtered.
The columns by which you can sort data are marked with up and down arrows displayed in column headers (no arrows are displayed when sorting isn't available). You can click these arrows to sort data in ascending or descending order, by a single column at a time
Along with a sorting order, you can specify multiple criteria for filtering column data.
When filtering is available, the appropriate input fields are displayed in column headers. The inputs vary depending on a data format, such as text, number, date, time, or list.
To facilitate filtering by date, two fields for the start and end dates may be displayed so that you can define a time period.
To enable or disable filters, click the **Search** and **Reset** buttons.
### Pagination [#pagination]
You can display table data across multiple pages and specify how many records to display on a page (the total number of records found is displayed next to the page size selector).
To navigate between pages, click **Prev** or **Next**, or click a specific page number.
### Visibility [#visibility]
To choose the data fields to include in a table, click **Column Visibility** and mark or unmark the columns you want to display or hide. Once applied, the new visibility settings become effective for all Back Office users (visibility of specific fields depends on the access permissions granted to particular users).
### Data export [#data-export]
The data on most of the Back Office pages can be exported to a CSV or XLSX file.
To do this, click the **Export** button, choose a file format, and then select whether to download the data to your computer or deliver it to an email address from your profile.
The data in a resulting file matches both the current visibility settings and the applied sorting and filtering criteria.
Use this menu to access to the functionalities of the **Introducing brokers (IB)** product, designed to support referral programs that help expand your client base. Through these programs, you can encourage your existing clients to become partners and attract new traders to your brokerage. In return, partners earn a percentage of the revenue generated from the trading activity of their referrals, fostering a mutually beneficial partnership.
If you don't have this menu in your Back Office, contact your account manager to learn more about obtaining and implementing the IB program.
For more information about IB, refer to the [product documentation](https://docs.ib.b2core.b2broker.com/).
On this page, you can view feedback left by clients after tickets that they reported to HelpDesk in the B2CORE UI are marked as resolved.
The following information is provided about each ticket for which feedback is submitted:
**Id**
The identifier of a ticket that was reported by a client to HelpDesk.
Click a ticket identifier to view ticket details in SupportPal or Zendesk.
***
**Email**
The client email address.
***
**Comment**
The feedback text.
***
**Date**
The data and time when feedback was submitted.
***
**Status**
The client satisfaction rating. Possible values:
* Extra Positive
* Positive
* Neutral
* Negative
* Extra Negative
***
**Subject**
The subject of a ticket.
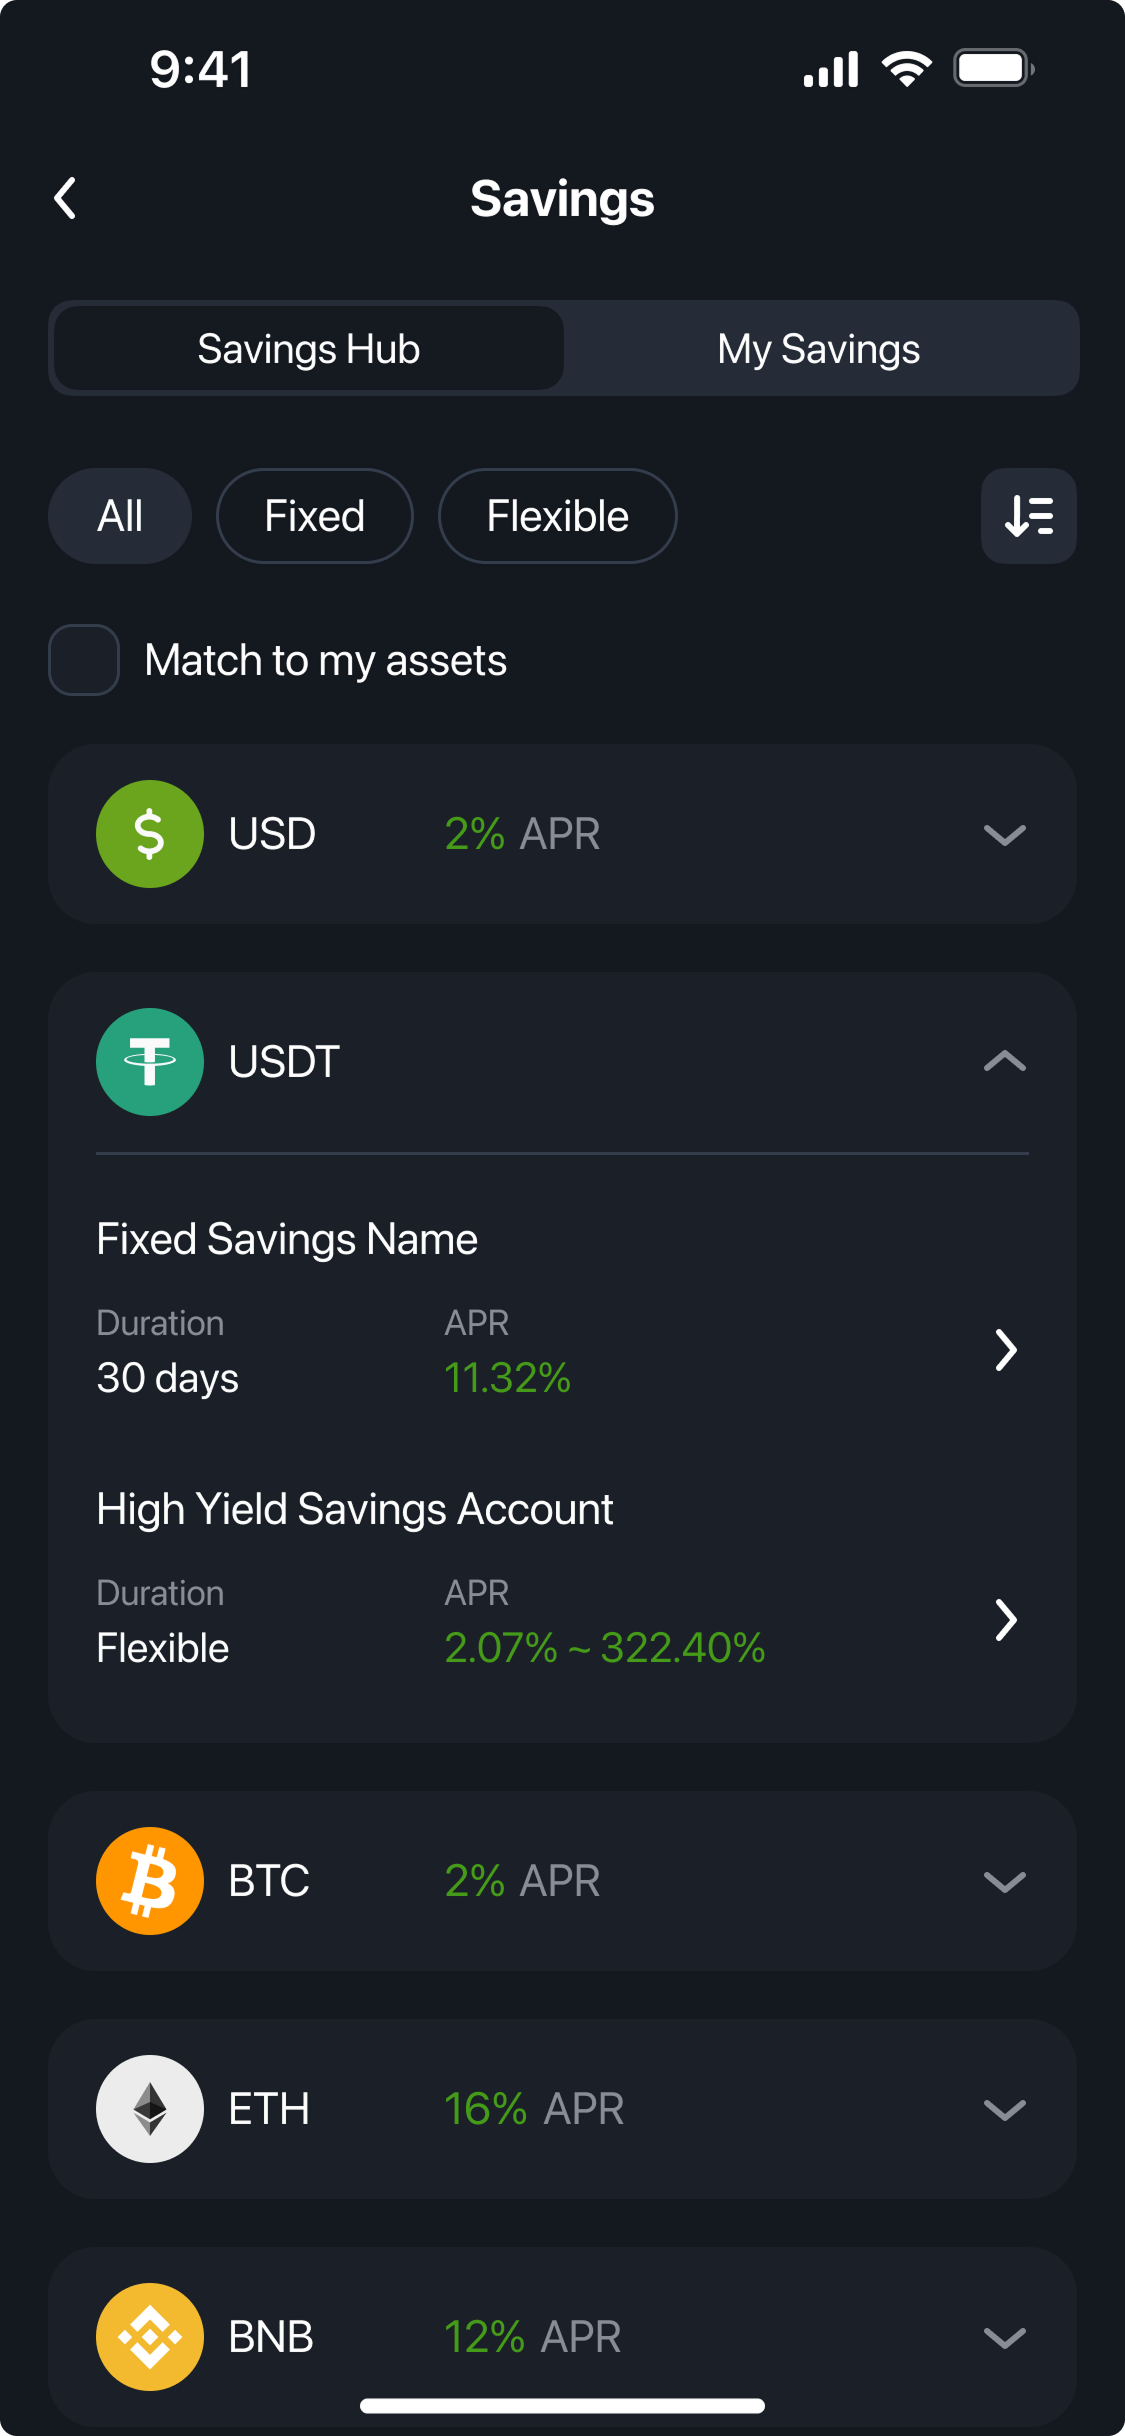
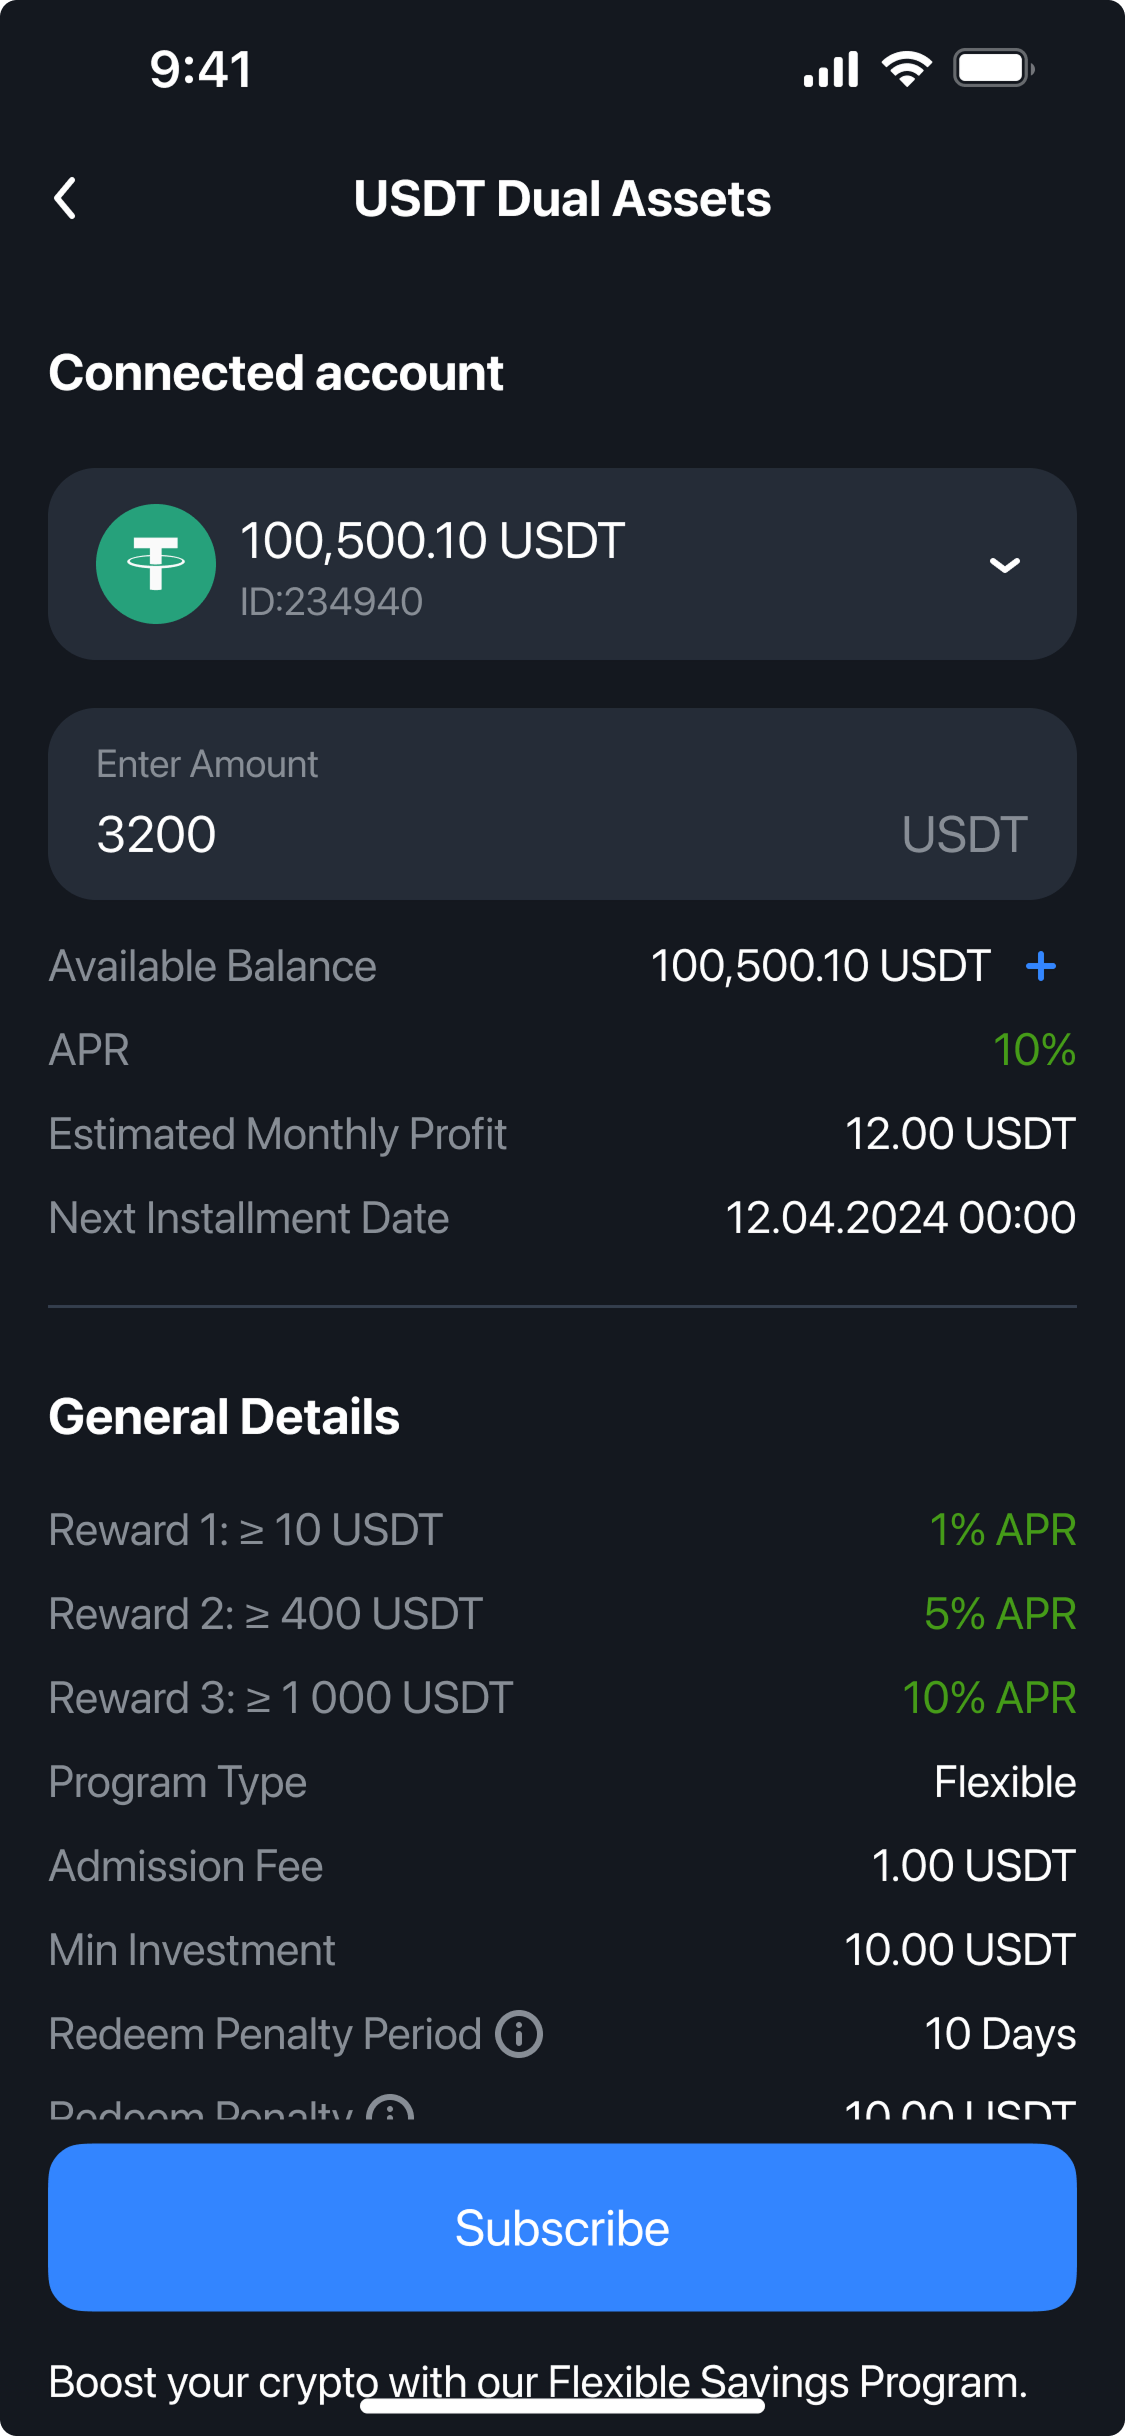
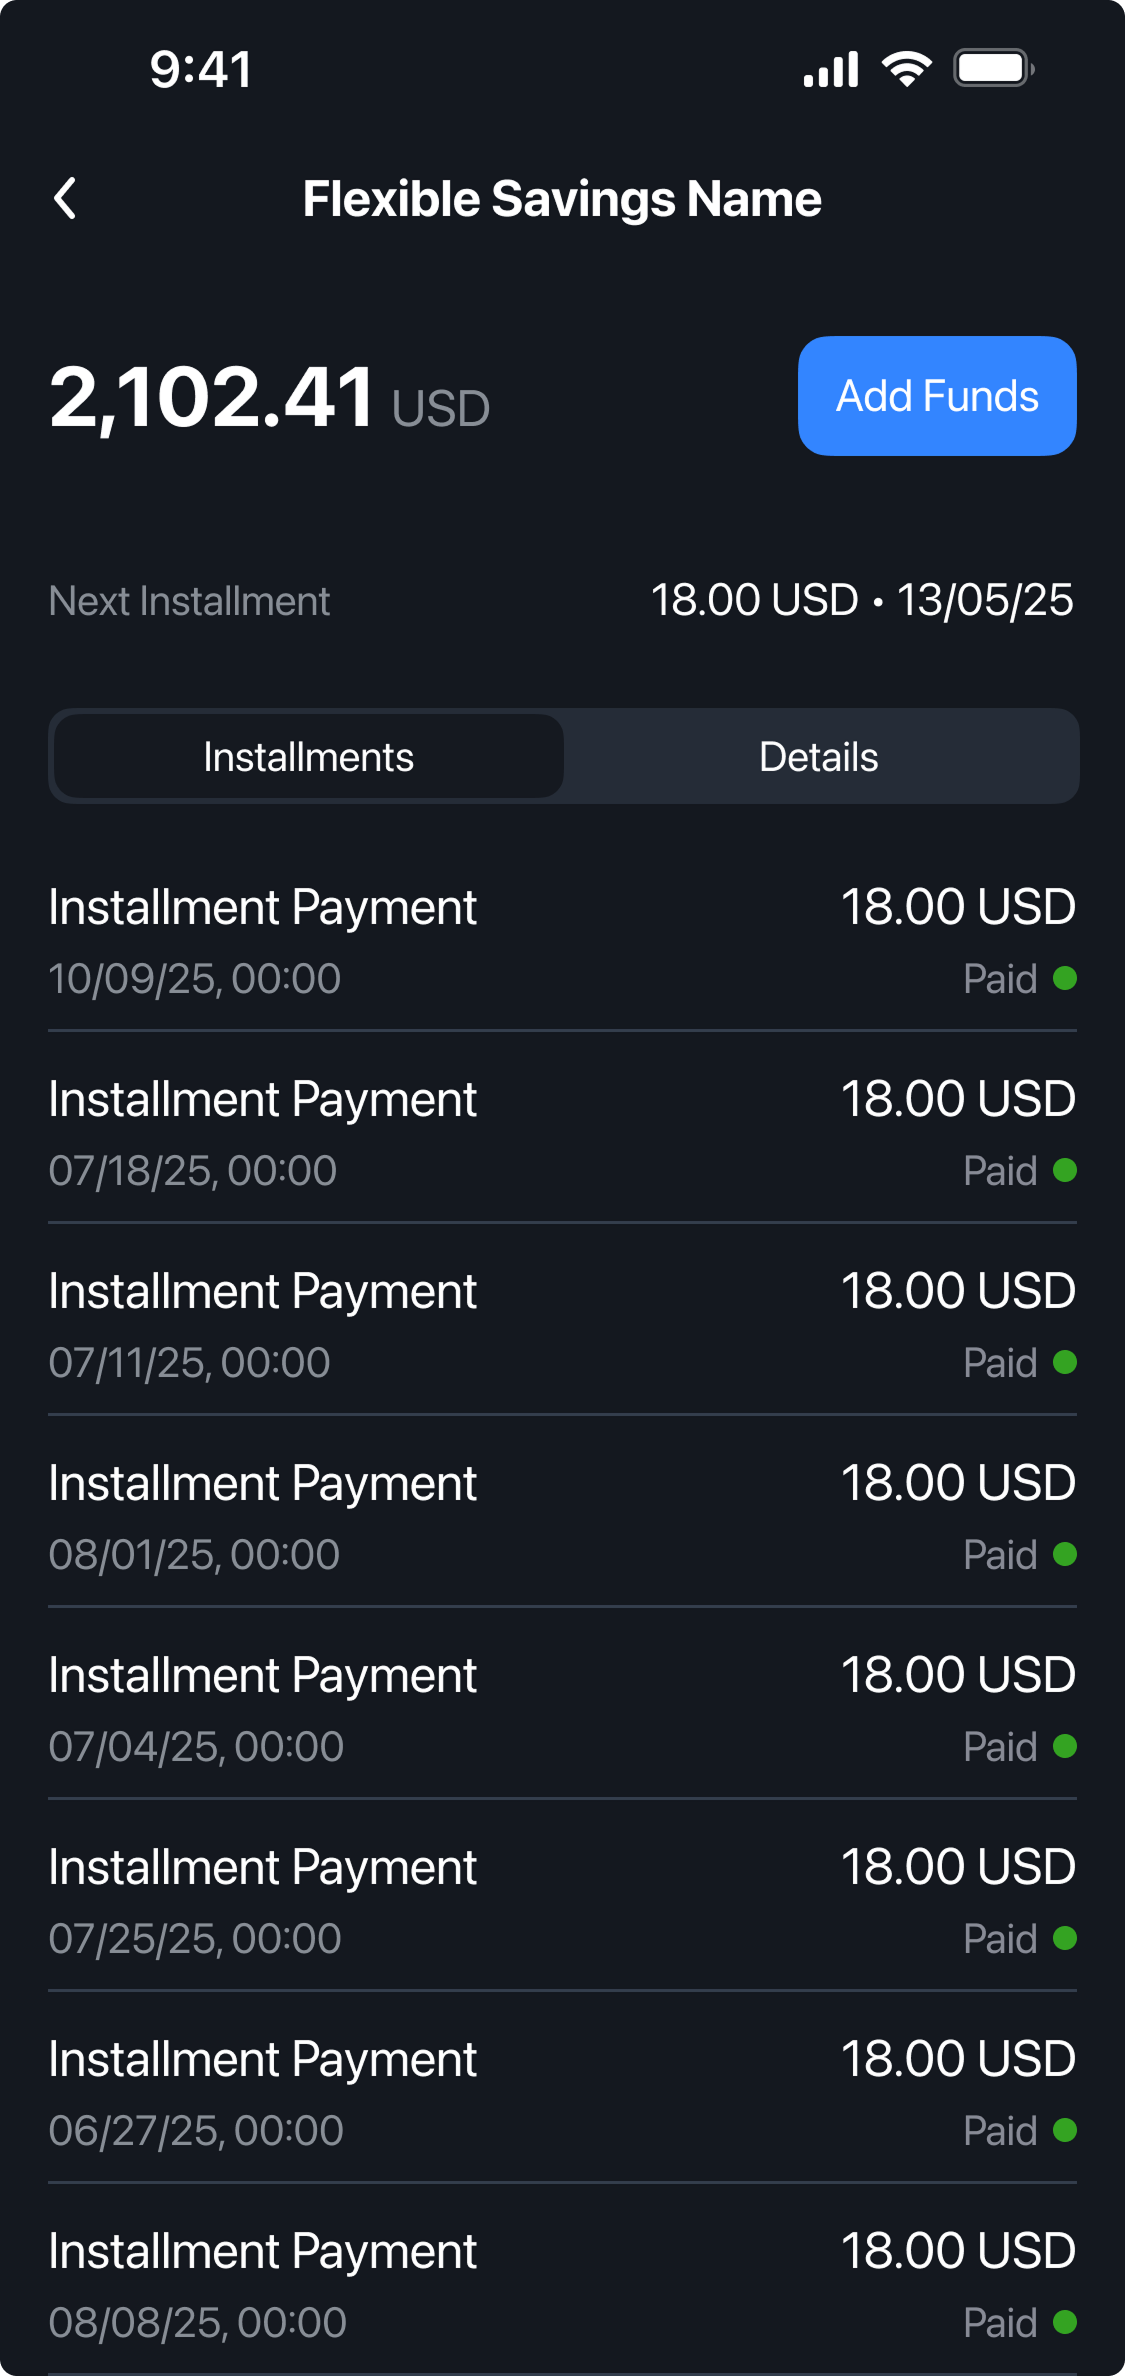
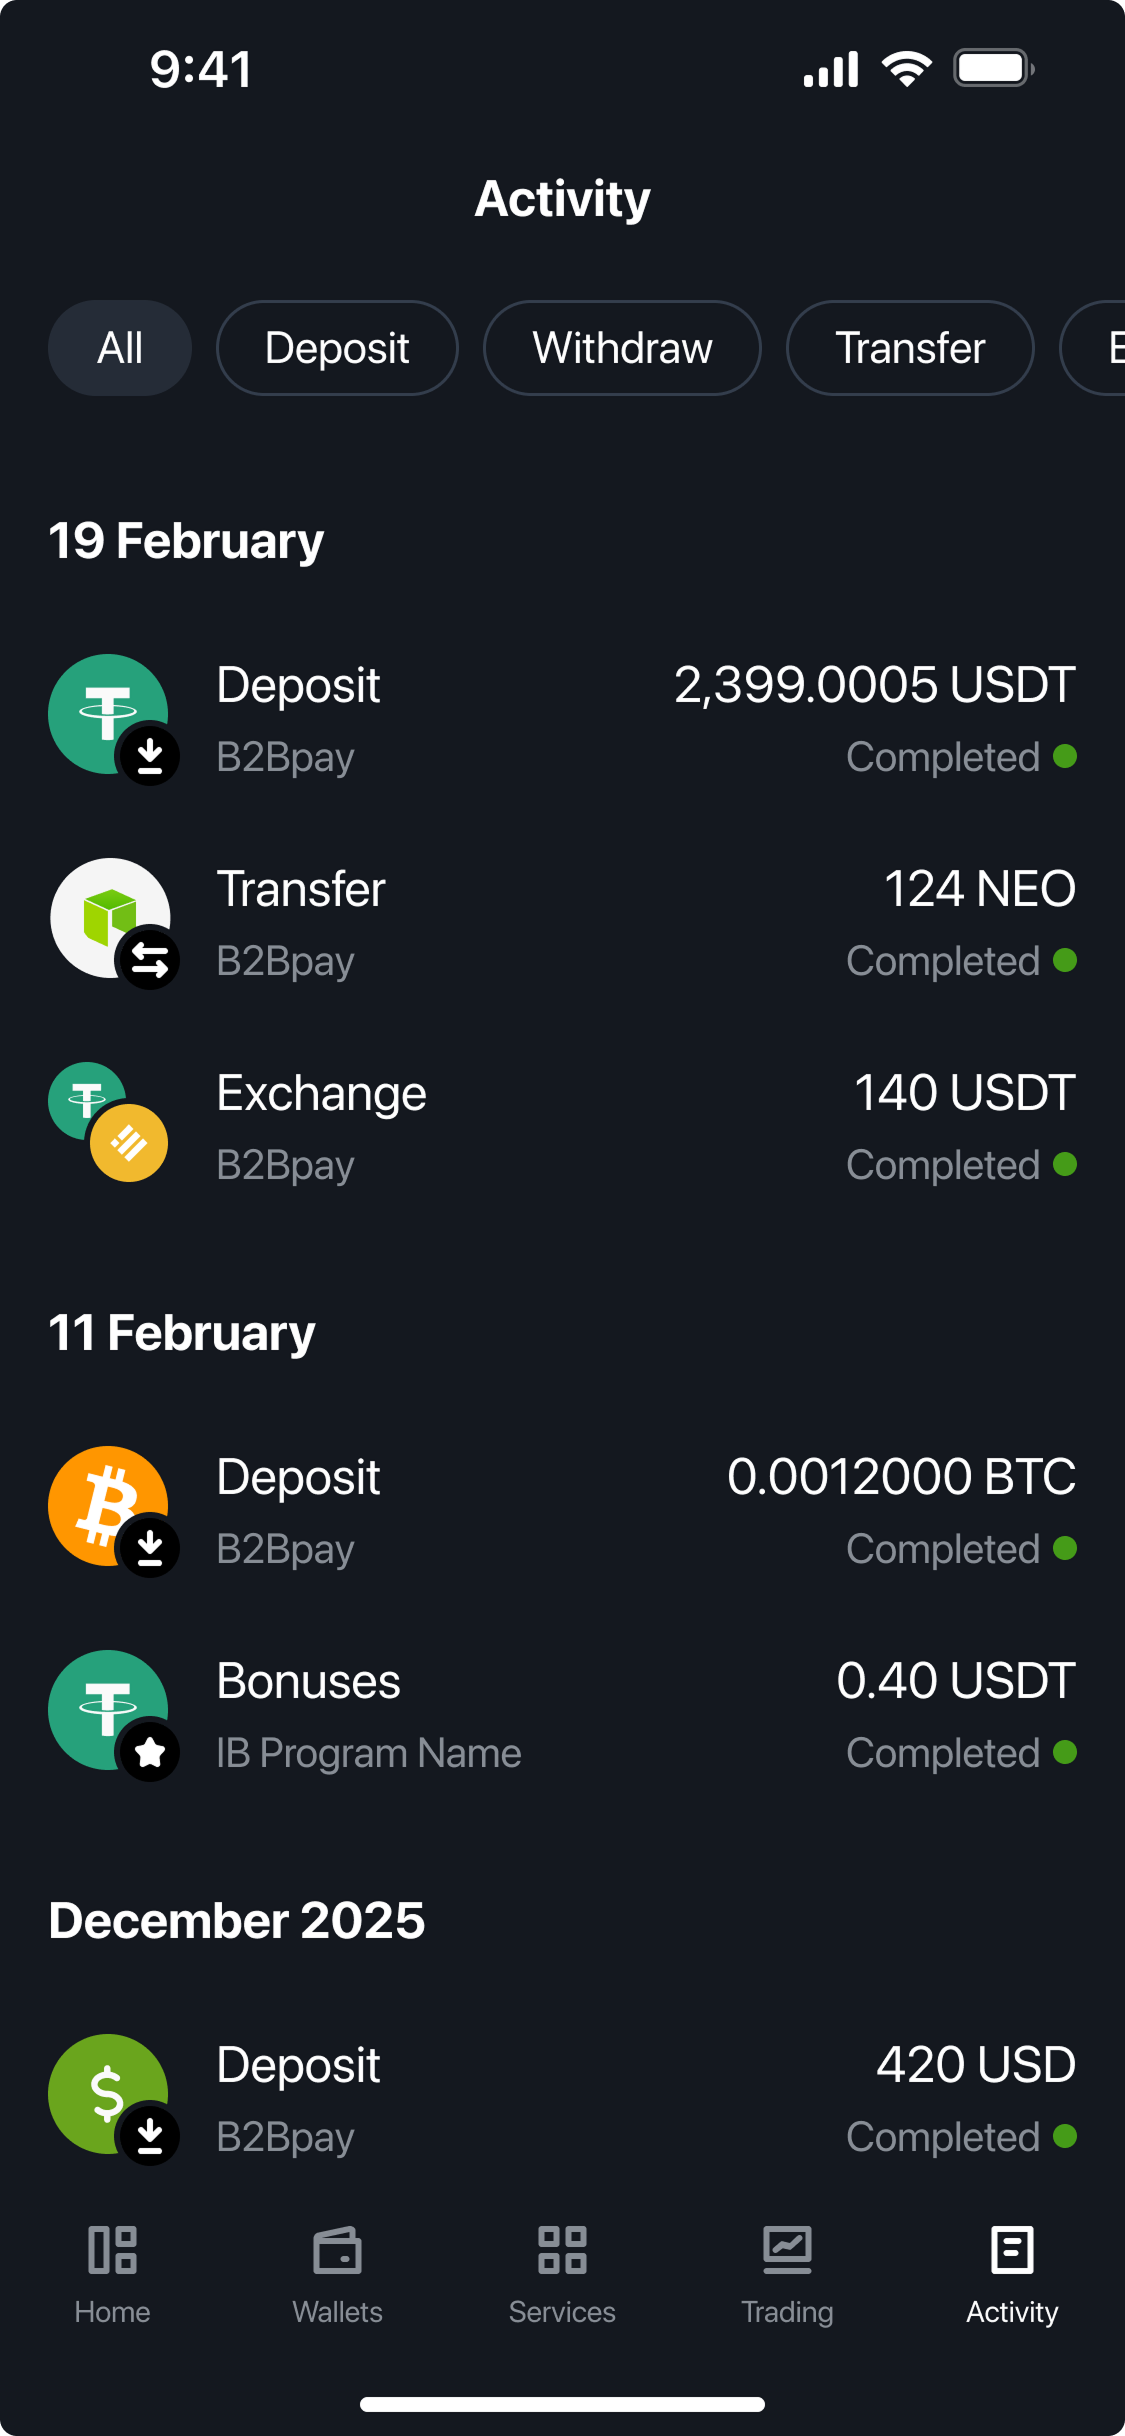
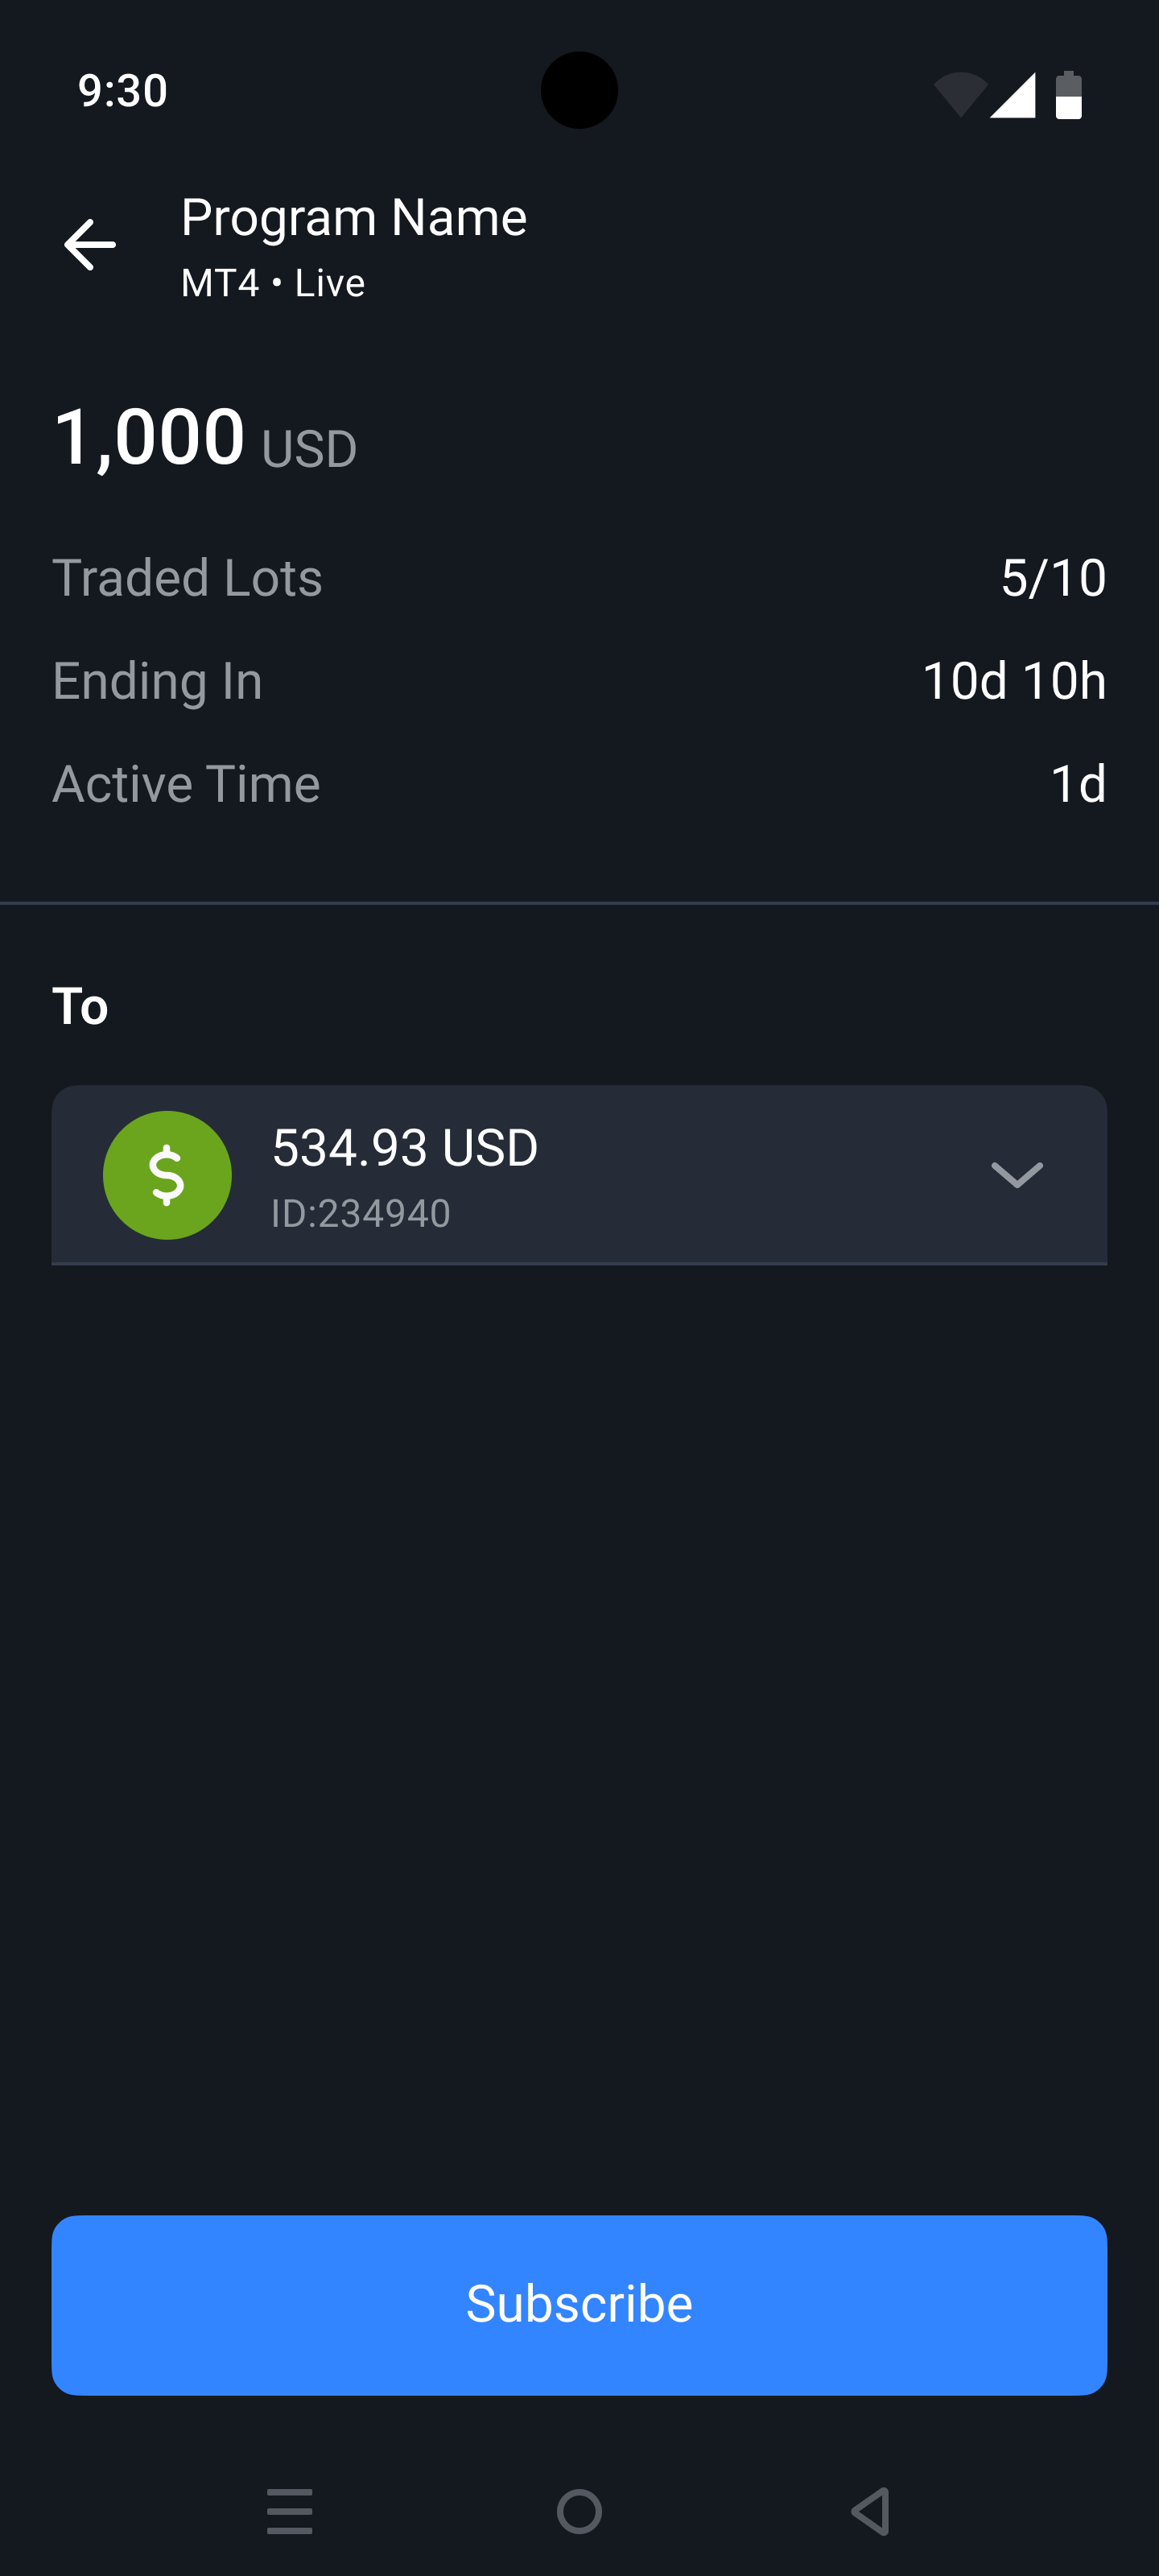
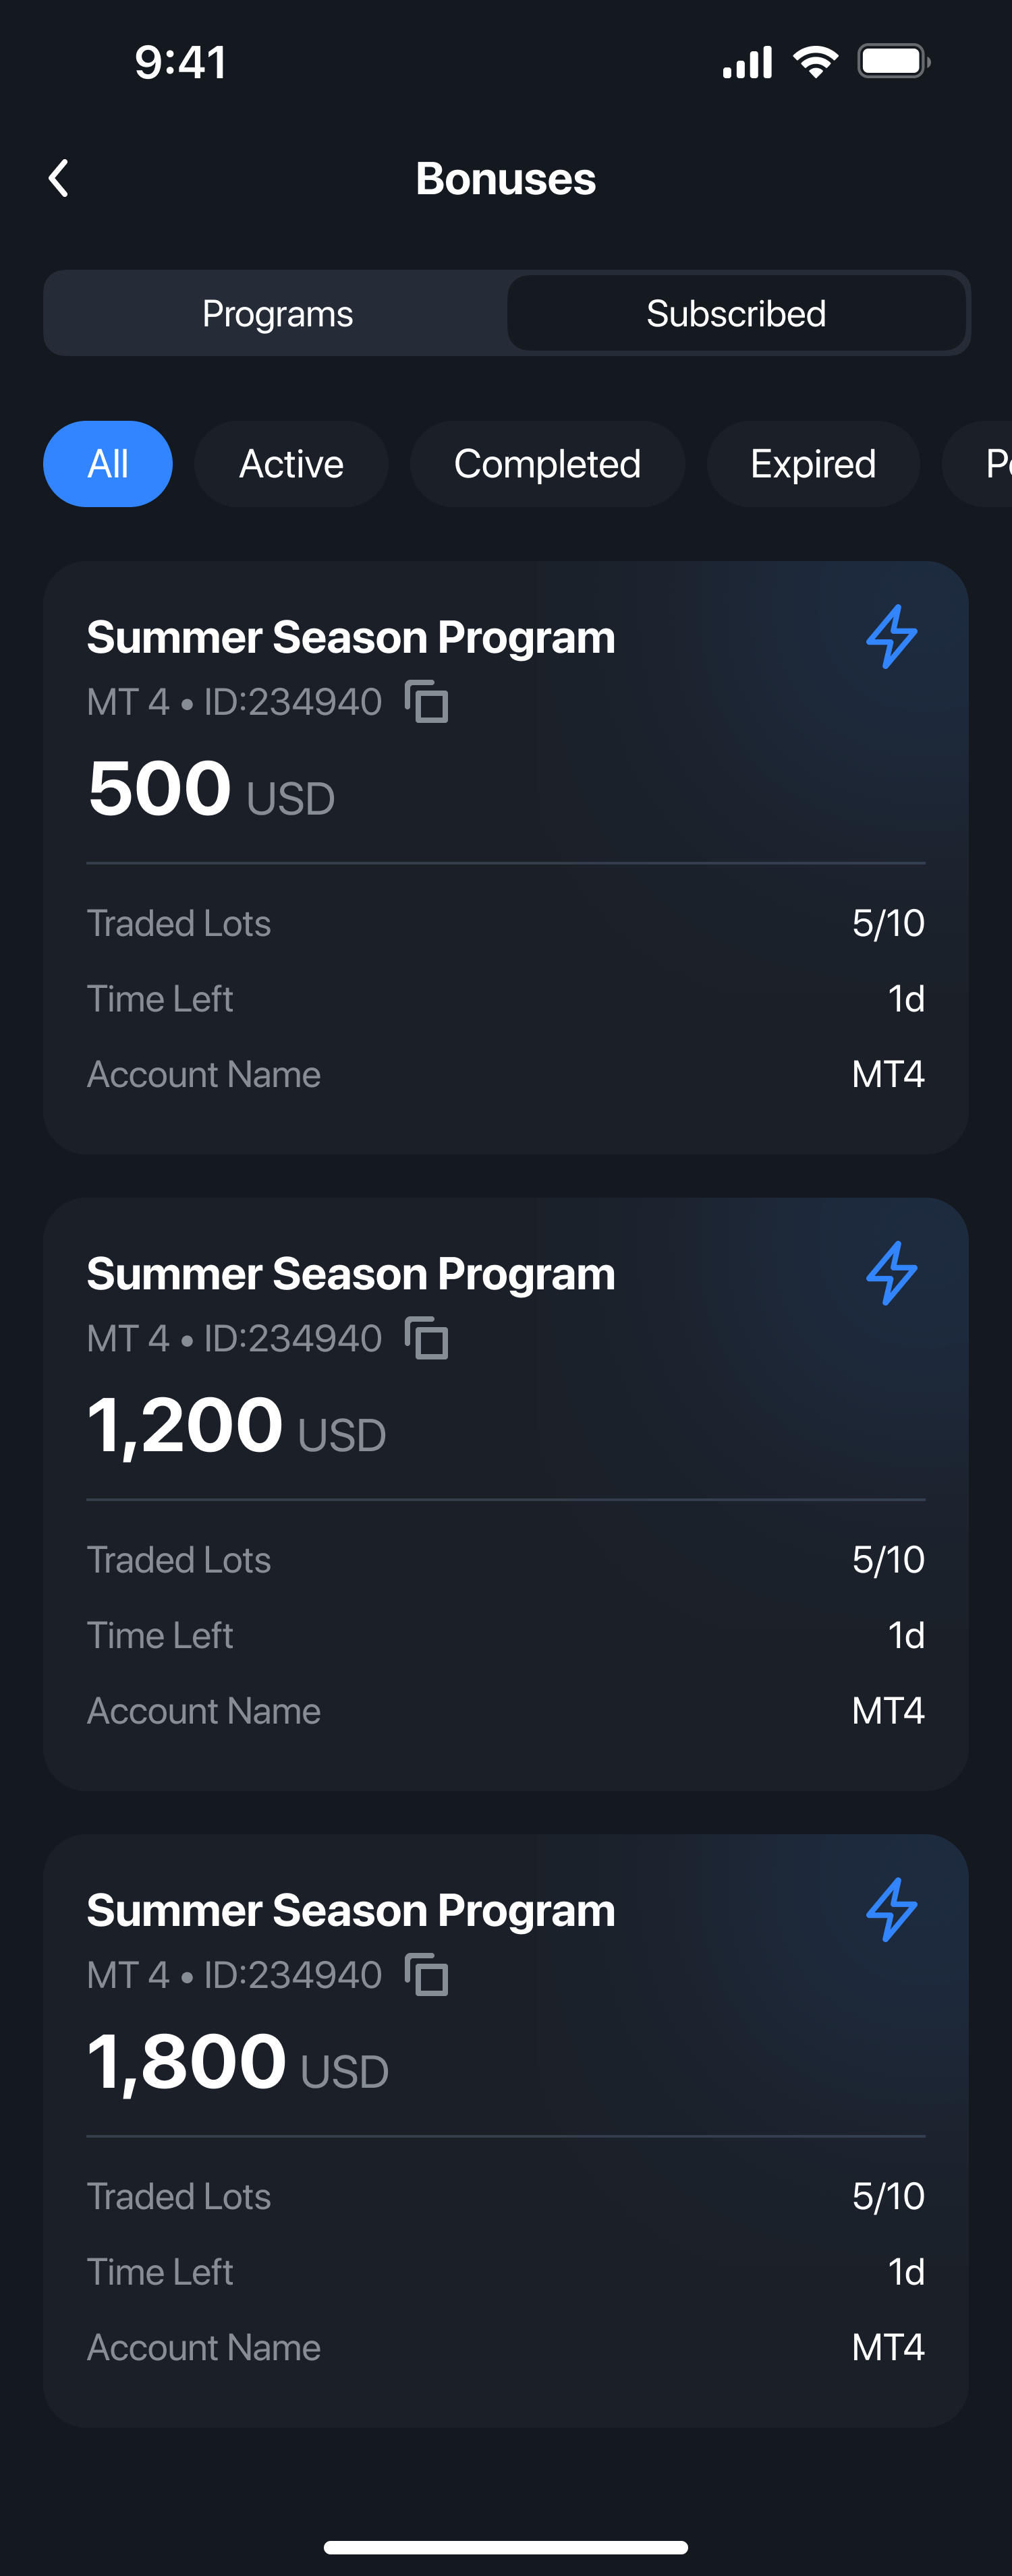
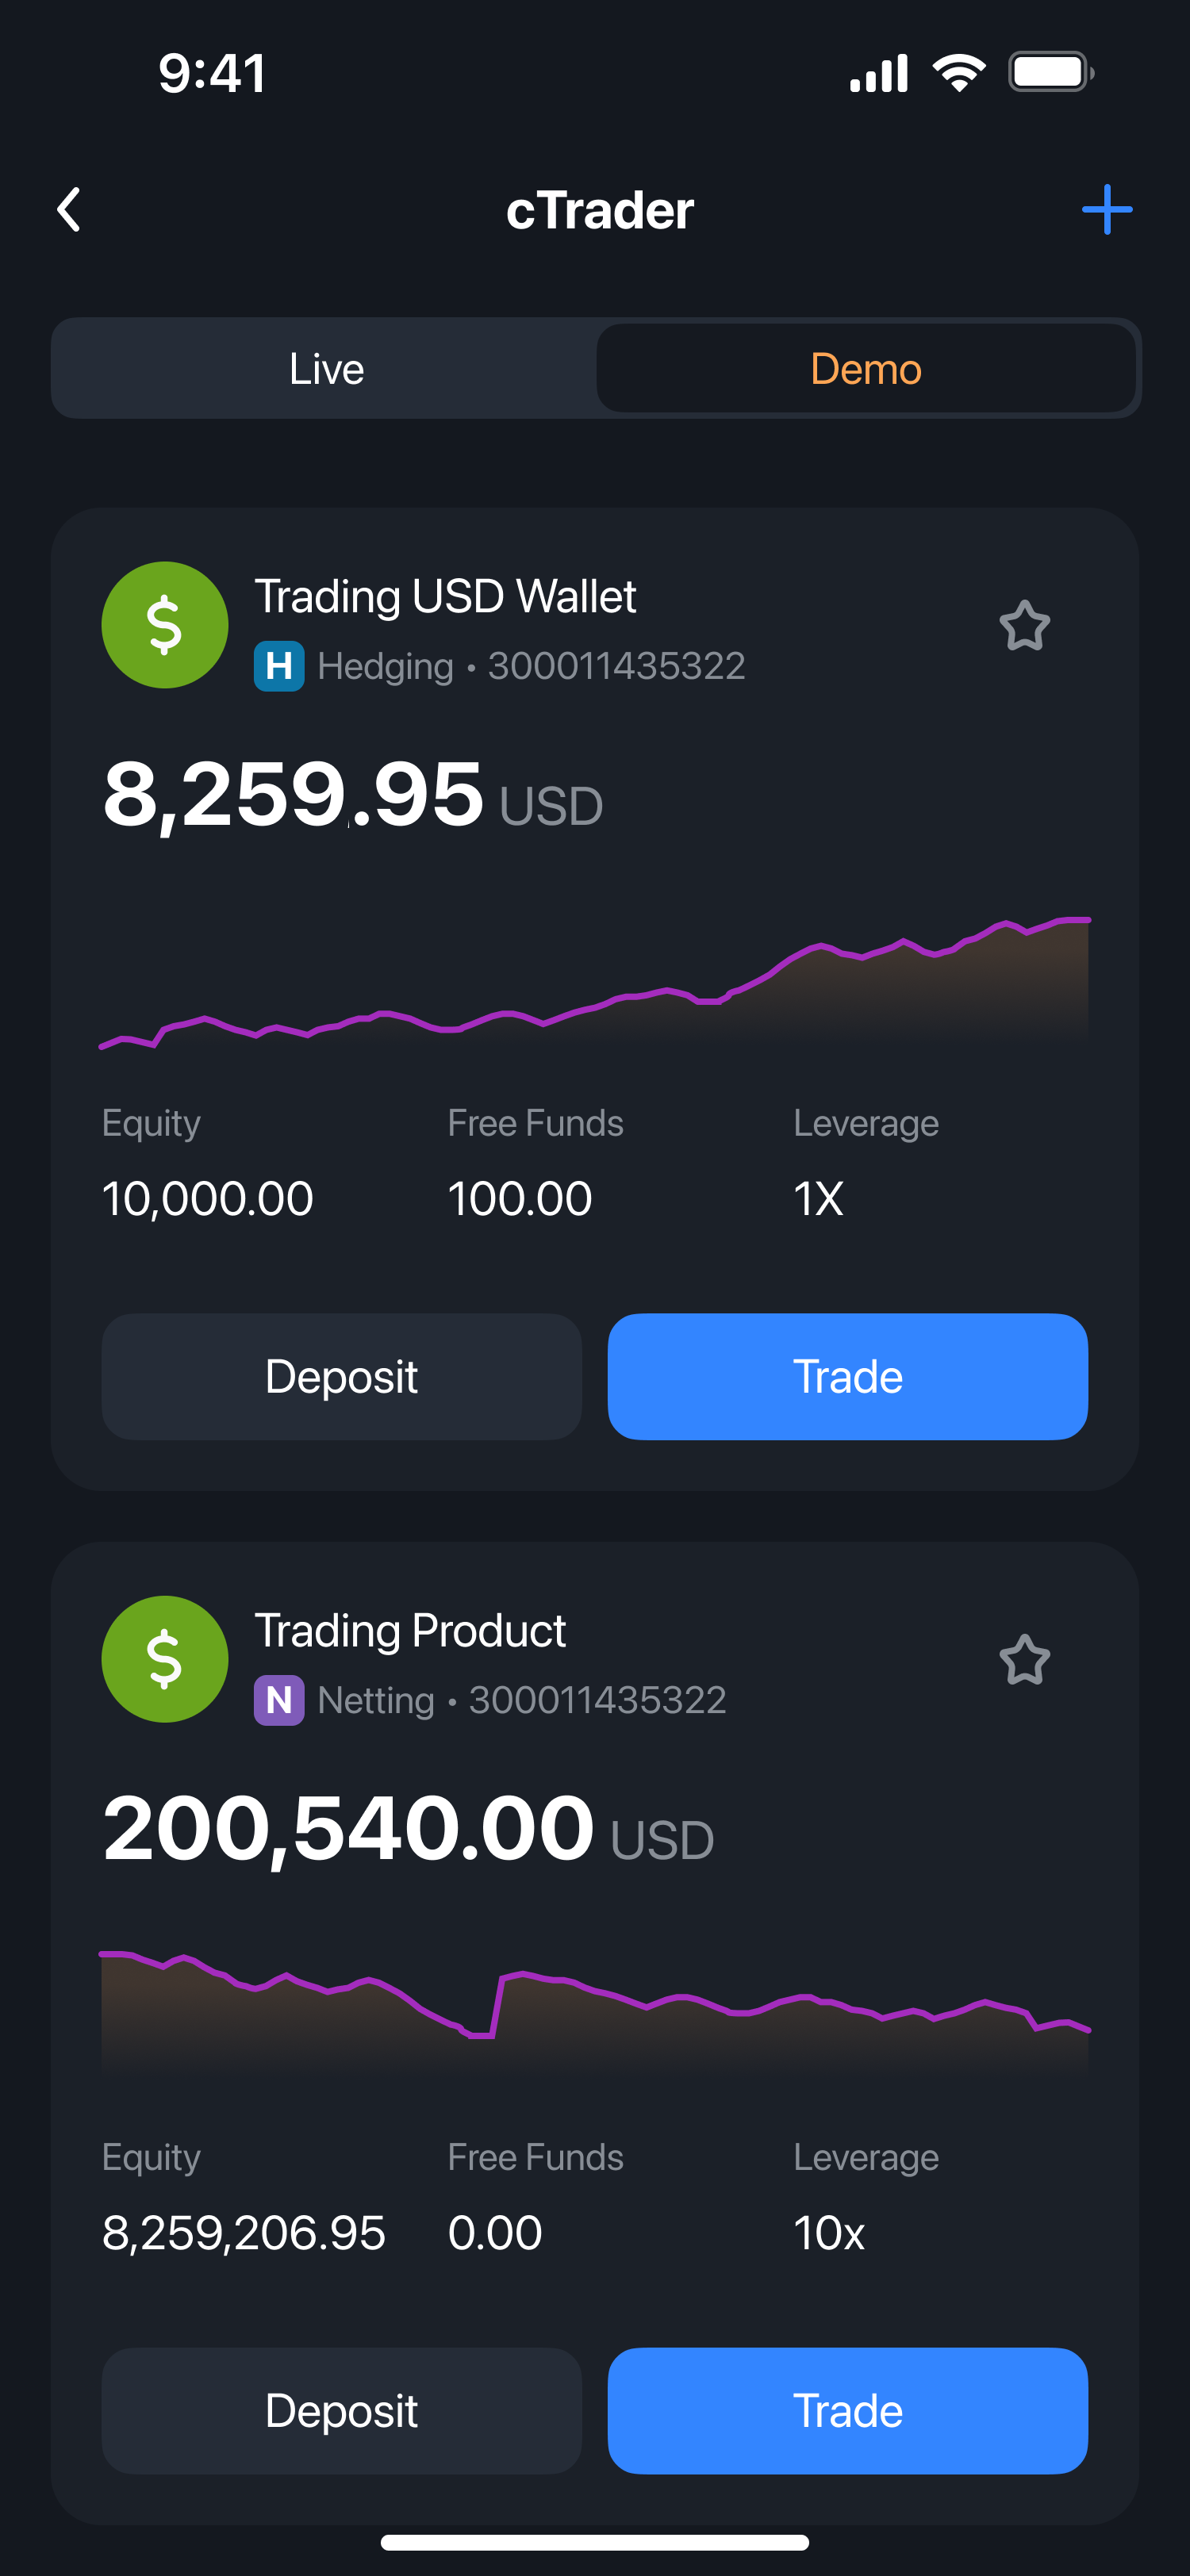
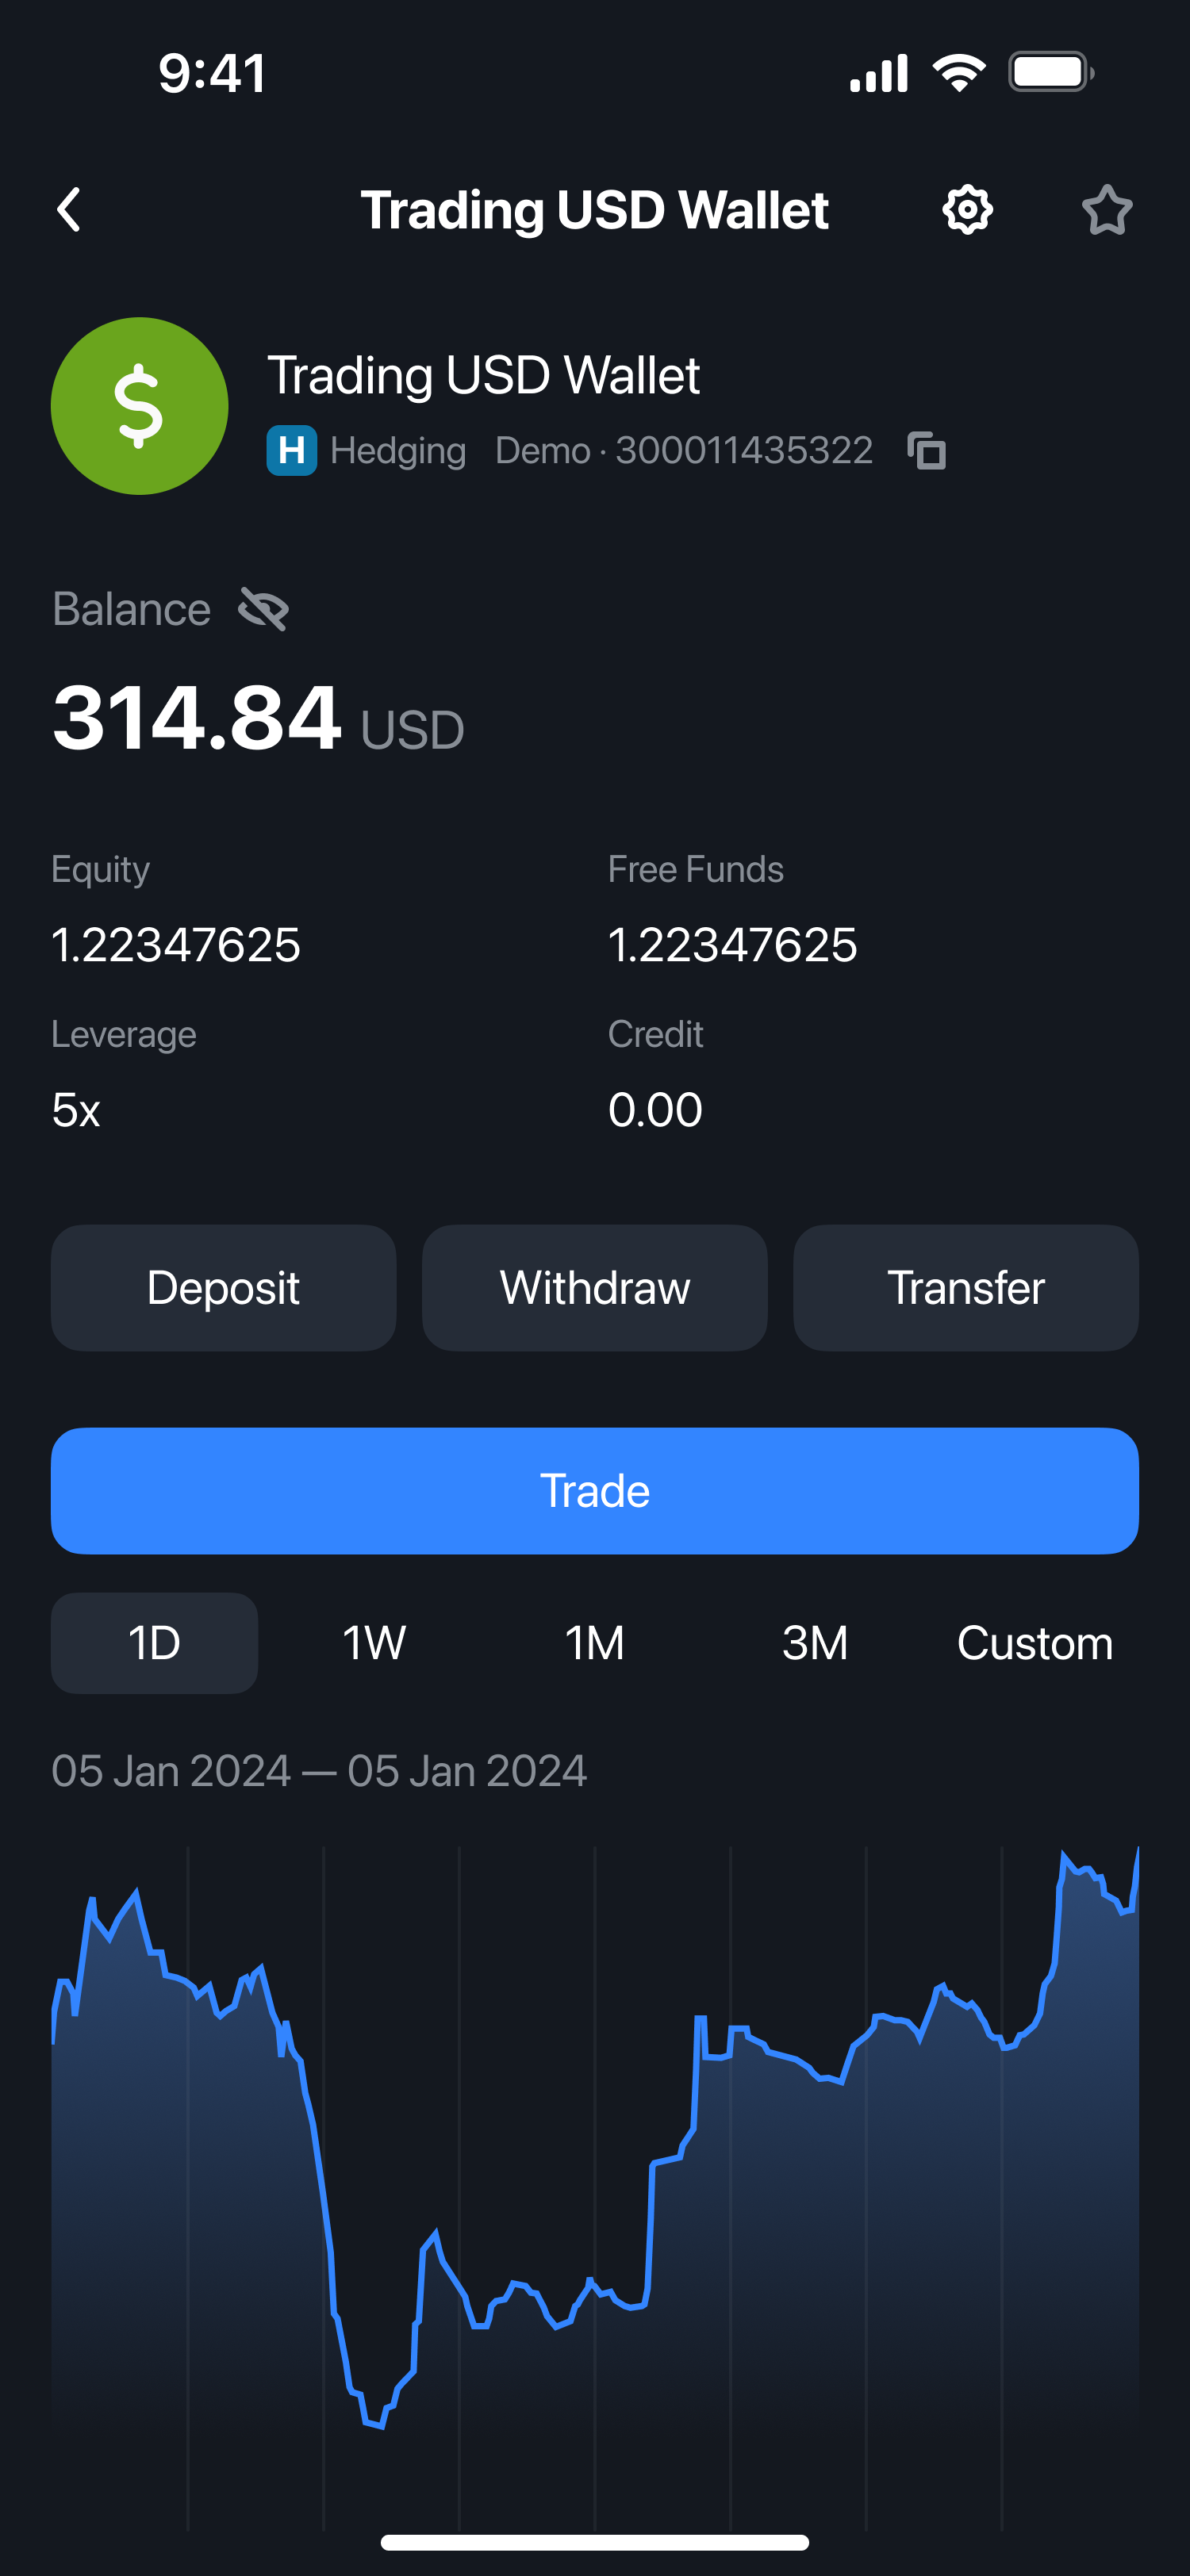
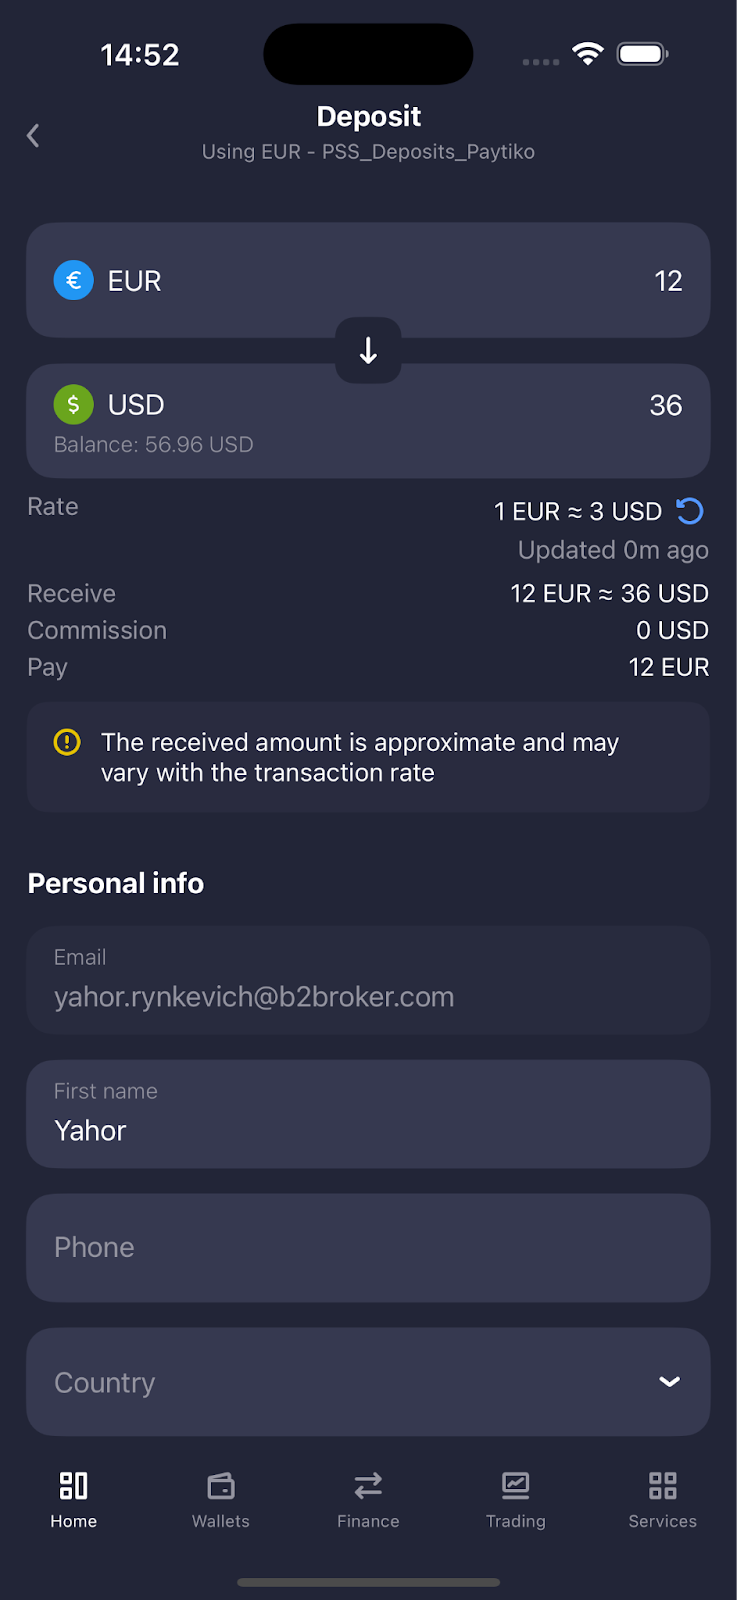
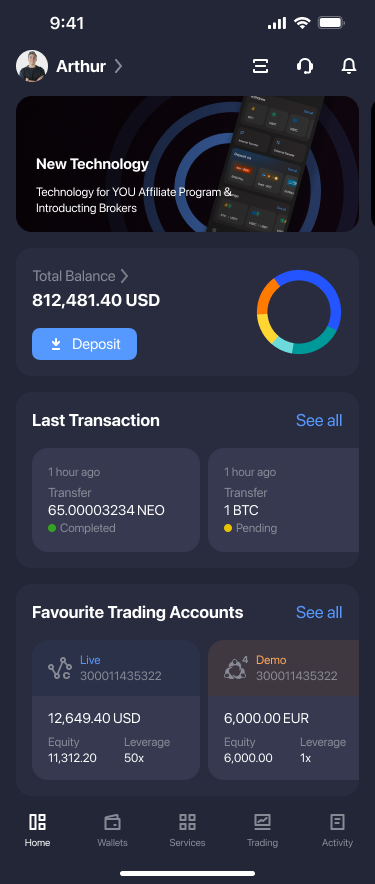 * **Support for custom tiles in Services**
Custom tiles can now be added to the **Services** section to link users to third-party services or external resources that support your brokerage business. Configuration must be set in the **Back Office**, where the tile name and redirect URL must be specified. Once configured, custom tiles will appear in the app under **Services**.
In the Back Office, the option to configure custom menu links will become available with the [June 2025 release](release-notes#june-2025).
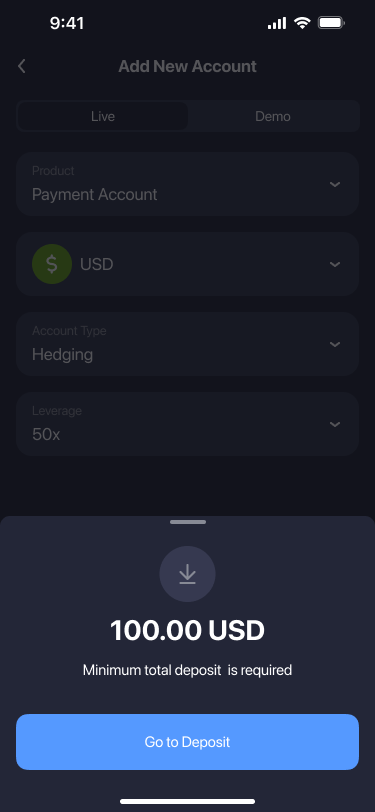
* **Streamlined account creation with the Go to Deposit option**
The account creation process has been streamlined to clearly indicate when a minimum deposit is required. If funds are insufficient for opening a new trading account, users will see the required amount along with the **Go to Deposit** button, encouraging quick funding and faster trading.
* **Support for custom tiles in Services**
Custom tiles can now be added to the **Services** section to link users to third-party services or external resources that support your brokerage business. Configuration must be set in the **Back Office**, where the tile name and redirect URL must be specified. Once configured, custom tiles will appear in the app under **Services**.
In the Back Office, the option to configure custom menu links will become available with the [June 2025 release](release-notes#june-2025).
* **Streamlined account creation with the Go to Deposit option**
The account creation process has been streamlined to clearly indicate when a minimum deposit is required. If funds are insufficient for opening a new trading account, users will see the required amount along with the **Go to Deposit** button, encouraging quick funding and faster trading.
 * Optimized overall app performance to provide a faster, more stable, and responsive user experience.
***
### March, 2025 [#march-2025]
**v1.28 (iOS)**
This version includes:
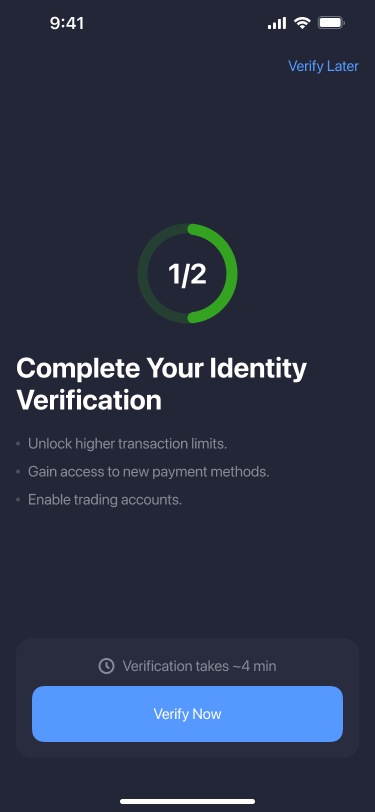
**Improved sign-up and onboarding experience**
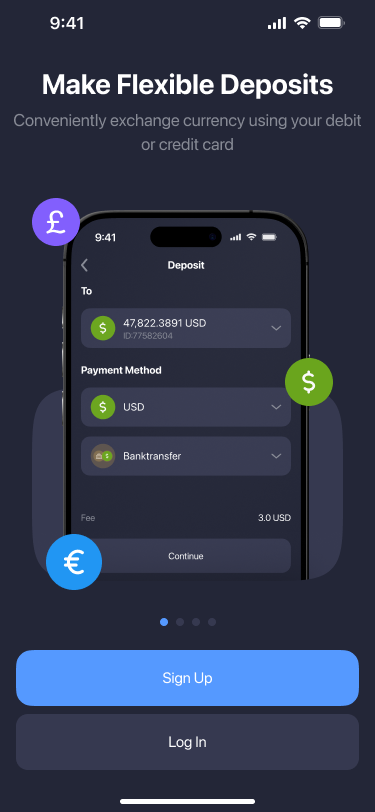
The sign-up and onboarding processes in the app for new clients have been improved:
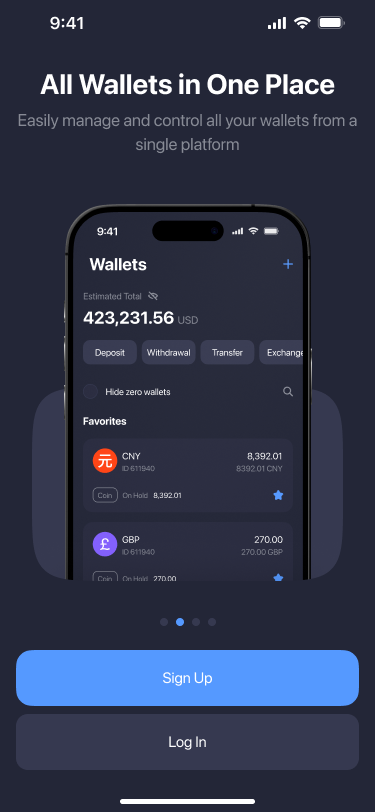
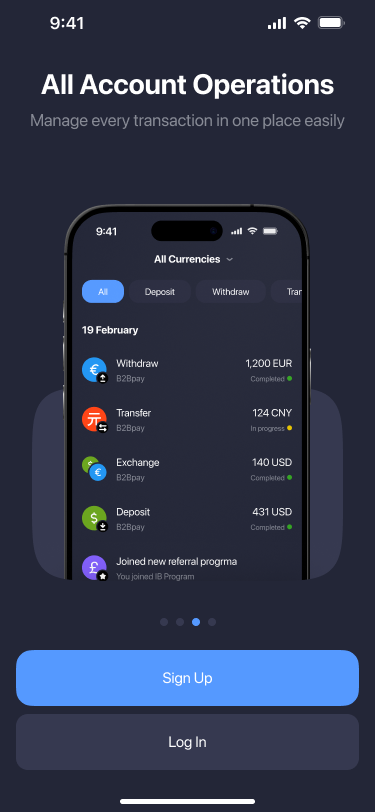
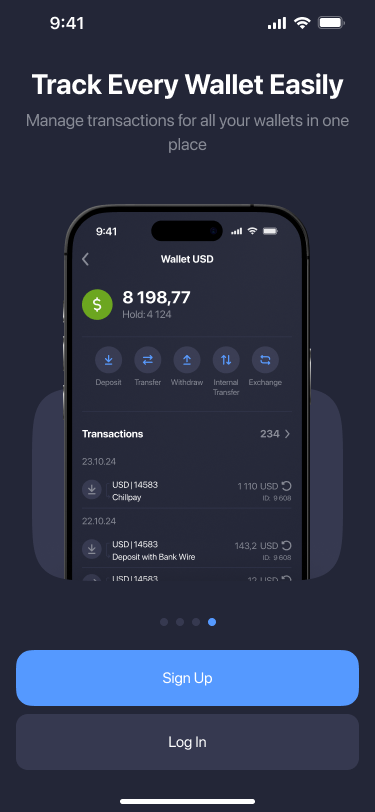
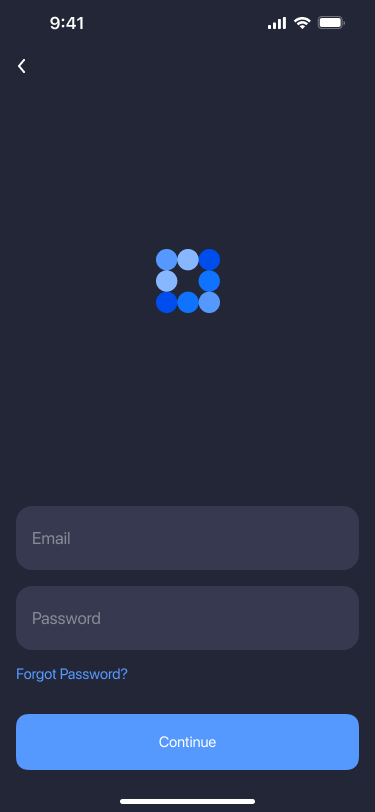
* **Quick app overview**: before accessing the **Sign Up** and **Sign In** forms, clients now see a brief app overview showcasing key features through several screens. This enhancement aims to increase registration conversion and attract more potential clients.
* Optimized overall app performance to provide a faster, more stable, and responsive user experience.
***
### March, 2025 [#march-2025]
**v1.28 (iOS)**
This version includes:
**Improved sign-up and onboarding experience**
The sign-up and onboarding processes in the app for new clients have been improved:
* **Quick app overview**: before accessing the **Sign Up** and **Sign In** forms, clients now see a brief app overview showcasing key features through several screens. This enhancement aims to increase registration conversion and attract more potential clients.
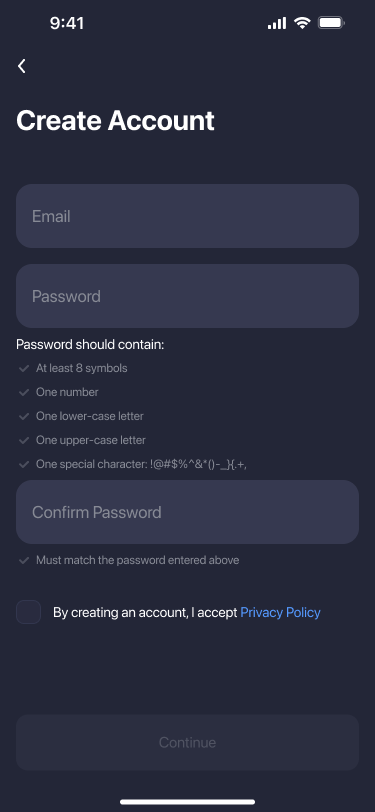
 **One-click access to trading**
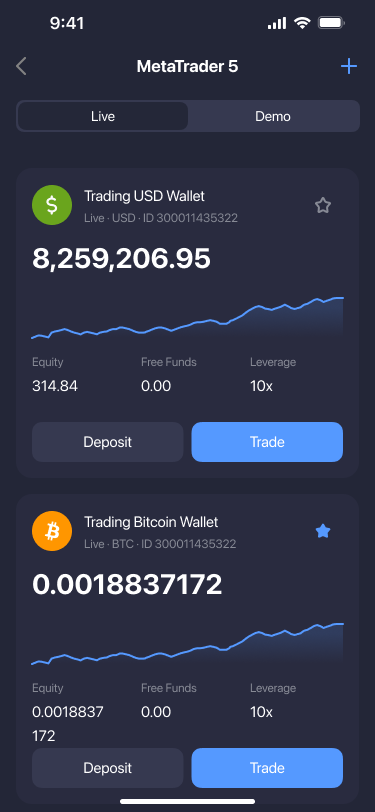
Clients can now access the MT4, MT5, and cTrader trading terminals by tapping **Trade** from their accounts in the app, making trading more convenient. To enable this feature, specify the **Web Terminal URL** in the platform details upon navigating to **Products** > **Platforms** in the B2CORE Back Office (for details, refer to [How to enable one-click trading access from the B2CORE UI and mobile app](../how-to-articles/manage-platforms/how-to-enable-one-click-access-to-web-trading-terminals)).
**One-click access to trading**
Clients can now access the MT4, MT5, and cTrader trading terminals by tapping **Trade** from their accounts in the app, making trading more convenient. To enable this feature, specify the **Web Terminal URL** in the platform details upon navigating to **Products** > **Platforms** in the B2CORE Back Office (for details, refer to [How to enable one-click trading access from the B2CORE UI and mobile app](../how-to-articles/manage-platforms/how-to-enable-one-click-access-to-web-trading-terminals)).
 ***
### December, 2024 [#december-2024]
**v1.27 (iOS)**
This version includes:
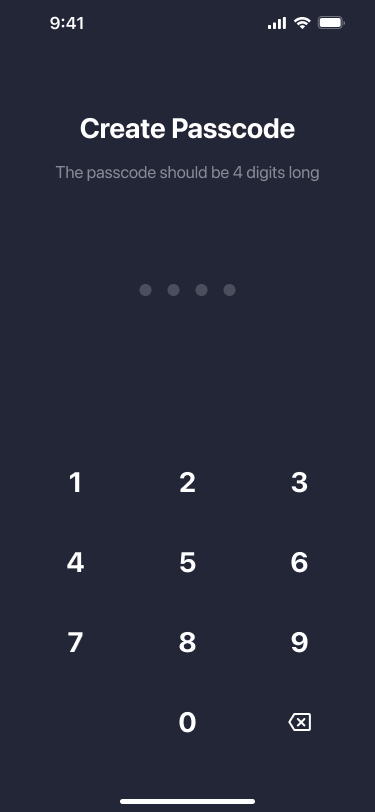
* **Enhanced security with passcodes**
Setting a passcode is now available during sign-up or sign-in to ensure improved app security.
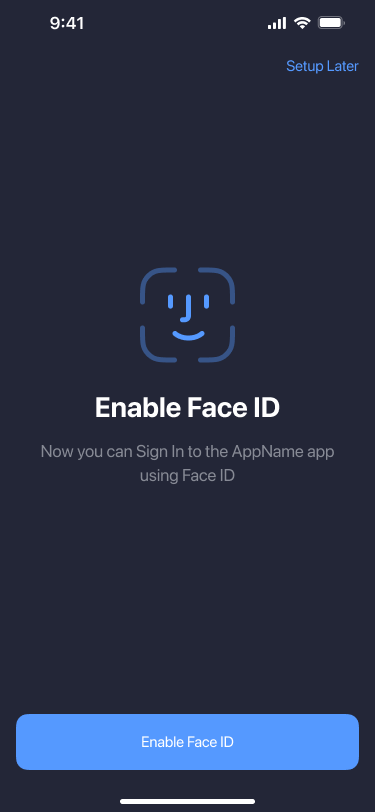
* **Optional biometric authentication**
Biometric options, such as Face ID or Touch ID, have been introduced as an additional layer of security for quick and secure access.
* **Support for analytics in Amplitude**
The Amplitude platform is now supported for the app, enabling you to get analytics about your clients’ actions within the app. Please contact your account manager for assistance in setting up and getting Amplitude analytics.
* Bug fixes and improvements affecting the display and usability of the app's interface for a more seamless user experience.
***
### v1.26 (iOS) [#v126-ios]
* This version brings internal enhancements and behind-the-scenes fixes to boost app performance and improve the user experience.
***
### v1.25 (iOS) [#v125-ios]
This version includes:
* **Redesigned Deposit section**
The **Deposit** section, accessible via **Services** > **Finance**, has been redesigned for a smoother deposit experience. You can now easily select a wallet and deposit currency, and then choose one of the supported payment methods. Once selected, you’ll receive the deposit address or have the option to enter bank details to finalize your transaction.
Additionally, before making a deposit, you can check current rates and calculate estimated amounts based on those rates in the **Indicative amounts** section.
* The app performance has been enhanced for a faster and more seamless experience.
***
### v1.24 (iOS) [#v124-ios]
This version includes:
* **App Services**
We are pleased to introduce the new app services feature, making it easier for you to locate supported services, such as Trading, Finances, HelpDesk, IB, and others, and see what will be available soon. The feature enables you to:
* access services directly from the Home screen
* search for the service you need
* tap a service tile to quickly navigate to the desired service.
* **Integration with Zendesk**
The Zendesk customer support platform has been integrated, offering ticketing, live chat, and AI tools. Tap the HelpDesk button to navigate to the Zendesk interface from the app, without any additional authorization.
* **Enhanced IB Room**
The enhancements to the IB Room include detailed information about clients and rewards, enabling you to:
* view a list of Direct IB and Sub-IB clients registered using your referral links. For each client, you can view the details about their total traded volumes and reward amounts you received.
* view a list of rewards paid to your wallet and navigate to reward details.
* **Password validation**
When setting new passwords, they are now validated to comply with security standards, ensuring they meet the required length and include the necessary character requirements.
* Bug fixes and improvements for a more refined and user-friendly interaction.
***
### v1.23 (iOS) [#v123-ios]
This version includes:
* **Integration with B2TRADER Brokerage Platform**
With this release, we are thrilled to announce integration with B2TRADER Brokerage Platform, offering you a comprehensive trading experience:
* Single sign-on: sign in to the app and navigate to the BBP platform without additional authorization.
* Account list with detailed balances: keep your funds under control with a comprehensive view of account balances. Create and rename accounts to keep your funds well organized.
* Asset balances screen: view asset details, including the amounts of free and frozen funds, with the option to hide assets with zero balances.
* Order book and Price chart: monitor trading data and make buy and sell decisions, with quick access to the order placing screen.
* Candlestick and Line charts: switch between chart types and scroll through historical values.
* Limit & Market orders: place Limit and Market orders using all the supported time in force settings (Market: IOC, FOK; Limit: IOC, FOK, GTC, GTD, Day).
* Order lists: access open and historical order lists, providing easy navigation to order parameters and details, and options for quick canceling or repeating an order.
* **Redesigned Dashboard**
The redesigned Dashboard offers the following enhancements:
* **New widgets**: use new widgets, such as Total Balance, Last Transactions, Favorite Trading Accounts (now displaying only MT4 and MT5 accounts added to favorites), and IB Program.
* **Organize the Dashboard**: easily organize your Dashboard by dragging and dropping widgets according to your preferences.
* **Support for banners**: banners can now be displayed on the Dashboard.
* **Profile info**: you can now view your profile name and picture at the top of the Dashboard.
* **Quick navigation to HelpDesk**: tap the button in the topbar for quick access to the HelpDesk, if supported.
* **Apple store info**: you can now review what’s new in the latest app version before downloading it.
* Bug fixes and improvements to offer a smoother and more streamlined user experience.
***
### v1.22 (iOS) [#v122-ios]
This version includes:
* **Integration with CentroID**
Support for CentroID has been added, providing connectivity to various trading platforms and liquidity sources. Now you can add your CentroID margin accounts, and make transactions on the accounts.
* **Introducing Brokers (IB)**
The IB Room option has become available in the Profile menu. Use it to register as a partner in referral programs and create your unique referral links. Attract new traders, earn rewards based on the trading activities of your newly referred clients, and track program performance using the IB Room Dashboard.
* Bug fixes and improvements to ensure a more seamless and efficient user experience.
***
### December, 2024 [#december-2024]
**v1.27 (iOS)**
This version includes:
* **Enhanced security with passcodes**
Setting a passcode is now available during sign-up or sign-in to ensure improved app security.
* **Optional biometric authentication**
Biometric options, such as Face ID or Touch ID, have been introduced as an additional layer of security for quick and secure access.
* **Support for analytics in Amplitude**
The Amplitude platform is now supported for the app, enabling you to get analytics about your clients’ actions within the app. Please contact your account manager for assistance in setting up and getting Amplitude analytics.
* Bug fixes and improvements affecting the display and usability of the app's interface for a more seamless user experience.
***
### v1.26 (iOS) [#v126-ios]
* This version brings internal enhancements and behind-the-scenes fixes to boost app performance and improve the user experience.
***
### v1.25 (iOS) [#v125-ios]
This version includes:
* **Redesigned Deposit section**
The **Deposit** section, accessible via **Services** > **Finance**, has been redesigned for a smoother deposit experience. You can now easily select a wallet and deposit currency, and then choose one of the supported payment methods. Once selected, you’ll receive the deposit address or have the option to enter bank details to finalize your transaction.
Additionally, before making a deposit, you can check current rates and calculate estimated amounts based on those rates in the **Indicative amounts** section.
* The app performance has been enhanced for a faster and more seamless experience.
***
### v1.24 (iOS) [#v124-ios]
This version includes:
* **App Services**
We are pleased to introduce the new app services feature, making it easier for you to locate supported services, such as Trading, Finances, HelpDesk, IB, and others, and see what will be available soon. The feature enables you to:
* access services directly from the Home screen
* search for the service you need
* tap a service tile to quickly navigate to the desired service.
* **Integration with Zendesk**
The Zendesk customer support platform has been integrated, offering ticketing, live chat, and AI tools. Tap the HelpDesk button to navigate to the Zendesk interface from the app, without any additional authorization.
* **Enhanced IB Room**
The enhancements to the IB Room include detailed information about clients and rewards, enabling you to:
* view a list of Direct IB and Sub-IB clients registered using your referral links. For each client, you can view the details about their total traded volumes and reward amounts you received.
* view a list of rewards paid to your wallet and navigate to reward details.
* **Password validation**
When setting new passwords, they are now validated to comply with security standards, ensuring they meet the required length and include the necessary character requirements.
* Bug fixes and improvements for a more refined and user-friendly interaction.
***
### v1.23 (iOS) [#v123-ios]
This version includes:
* **Integration with B2TRADER Brokerage Platform**
With this release, we are thrilled to announce integration with B2TRADER Brokerage Platform, offering you a comprehensive trading experience:
* Single sign-on: sign in to the app and navigate to the BBP platform without additional authorization.
* Account list with detailed balances: keep your funds under control with a comprehensive view of account balances. Create and rename accounts to keep your funds well organized.
* Asset balances screen: view asset details, including the amounts of free and frozen funds, with the option to hide assets with zero balances.
* Order book and Price chart: monitor trading data and make buy and sell decisions, with quick access to the order placing screen.
* Candlestick and Line charts: switch between chart types and scroll through historical values.
* Limit & Market orders: place Limit and Market orders using all the supported time in force settings (Market: IOC, FOK; Limit: IOC, FOK, GTC, GTD, Day).
* Order lists: access open and historical order lists, providing easy navigation to order parameters and details, and options for quick canceling or repeating an order.
* **Redesigned Dashboard**
The redesigned Dashboard offers the following enhancements:
* **New widgets**: use new widgets, such as Total Balance, Last Transactions, Favorite Trading Accounts (now displaying only MT4 and MT5 accounts added to favorites), and IB Program.
* **Organize the Dashboard**: easily organize your Dashboard by dragging and dropping widgets according to your preferences.
* **Support for banners**: banners can now be displayed on the Dashboard.
* **Profile info**: you can now view your profile name and picture at the top of the Dashboard.
* **Quick navigation to HelpDesk**: tap the button in the topbar for quick access to the HelpDesk, if supported.
* **Apple store info**: you can now review what’s new in the latest app version before downloading it.
* Bug fixes and improvements to offer a smoother and more streamlined user experience.
***
### v1.22 (iOS) [#v122-ios]
This version includes:
* **Integration with CentroID**
Support for CentroID has been added, providing connectivity to various trading platforms and liquidity sources. Now you can add your CentroID margin accounts, and make transactions on the accounts.
* **Introducing Brokers (IB)**
The IB Room option has become available in the Profile menu. Use it to register as a partner in referral programs and create your unique referral links. Attract new traders, earn rewards based on the trading activities of your newly referred clients, and track program performance using the IB Room Dashboard.
* Bug fixes and improvements to ensure a more seamless and efficient user experience.
 * **Support for copy trading, PAMM, and MAM**
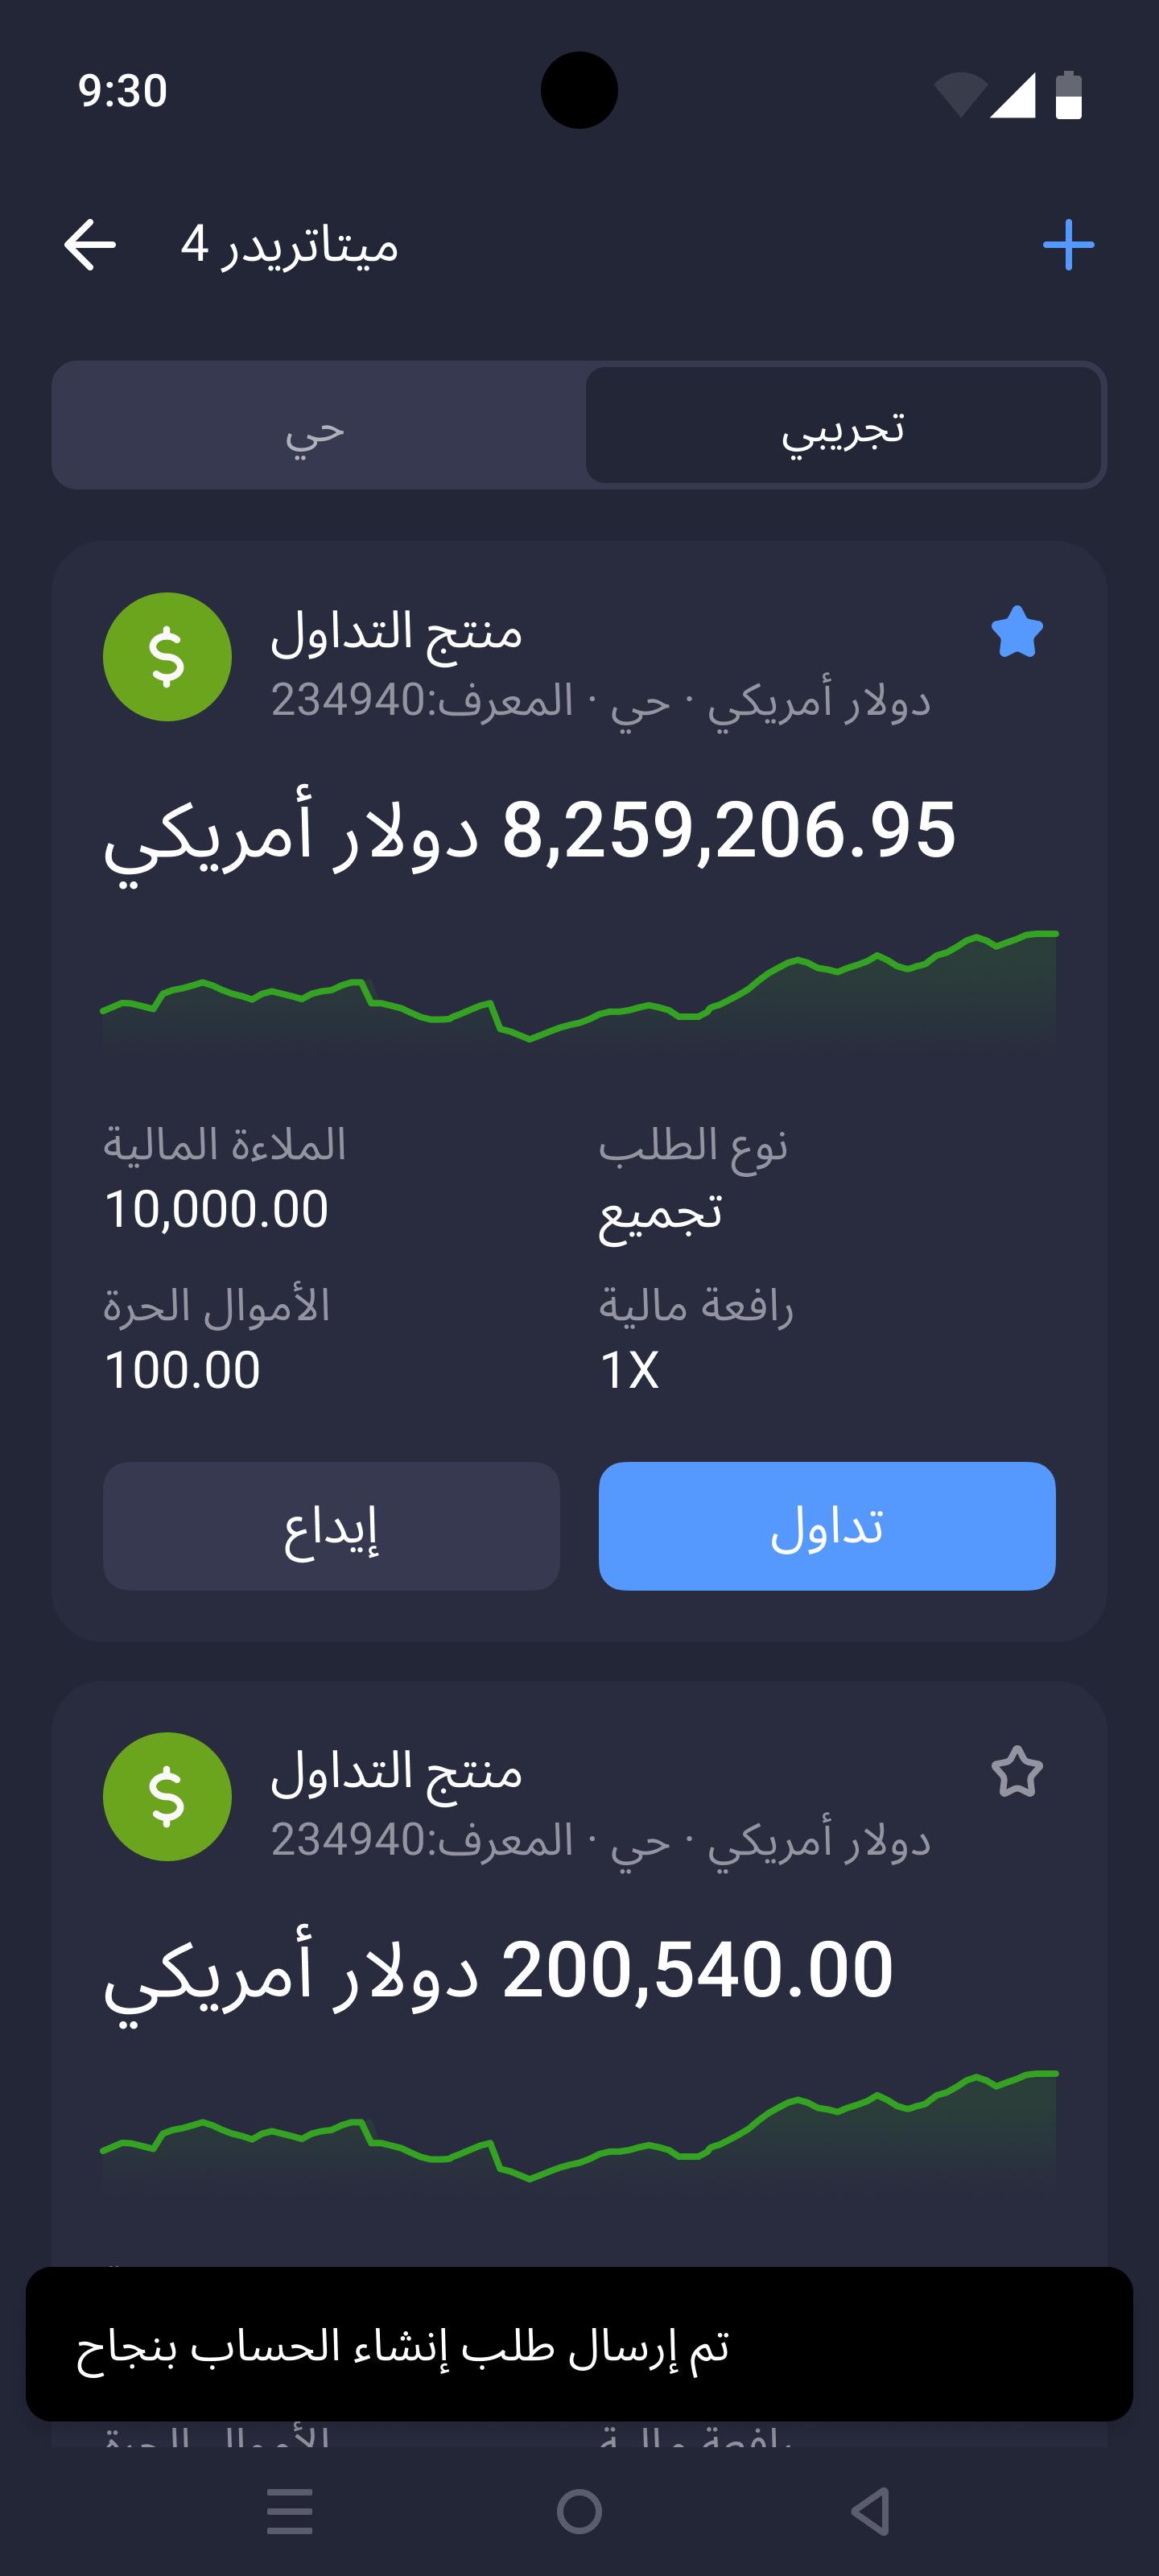
Copy trading, PAMM, and MAM functionality from **B2COPY** is now supported in the app via a web view. This enables clients to access these services directly from the app, through the **Services** section.
* **Static payment details for deposits via B2BINPAY V3 and Coinsbuy V3**
The app now supports **static payment details** for deposits via **B2BINPAY** and **Coinsbuy** when connected through **API V3**. With static payment details, clients can generate one or more blockchain-specific deposit addresses directly in the app. These addresses are saved for future use and can be reused for subsequent deposits.
In addition, the crypto deposit flow via **B2BINPAY V3** and **Coinsbuy V3** has been improved with clear **fee breakdowns** and **indicative amount** displays, providing better transparency and a smoother deposit experience.
* **Full B2TRANSLATE integration for payment forms**
Payment forms in the app are now fully integrated with [B2TRANSLATE](https://docs.b2translate.b2broker.com/) (formerly Weblate). Labels for all components of dynamic forms for PSS-connected deposit and withdrawal methods, as well as validation error messages, can now be customized and translated into multiple languages via B2TRANSLATE.
* Bug fixes and improvements to ensure a more seamless and efficient user experience.
***
### September, 2025 [#september-2025-1]
**v2.8.0 (Android)**
This version includes:
* **Google Play app deployment**
It’s now possible to deploy and publish your app on **Google Play**, making it easy for clients to download, install, and receive future updates directly from the store.
* **PSS deposit & withdrawal methods now in the app**
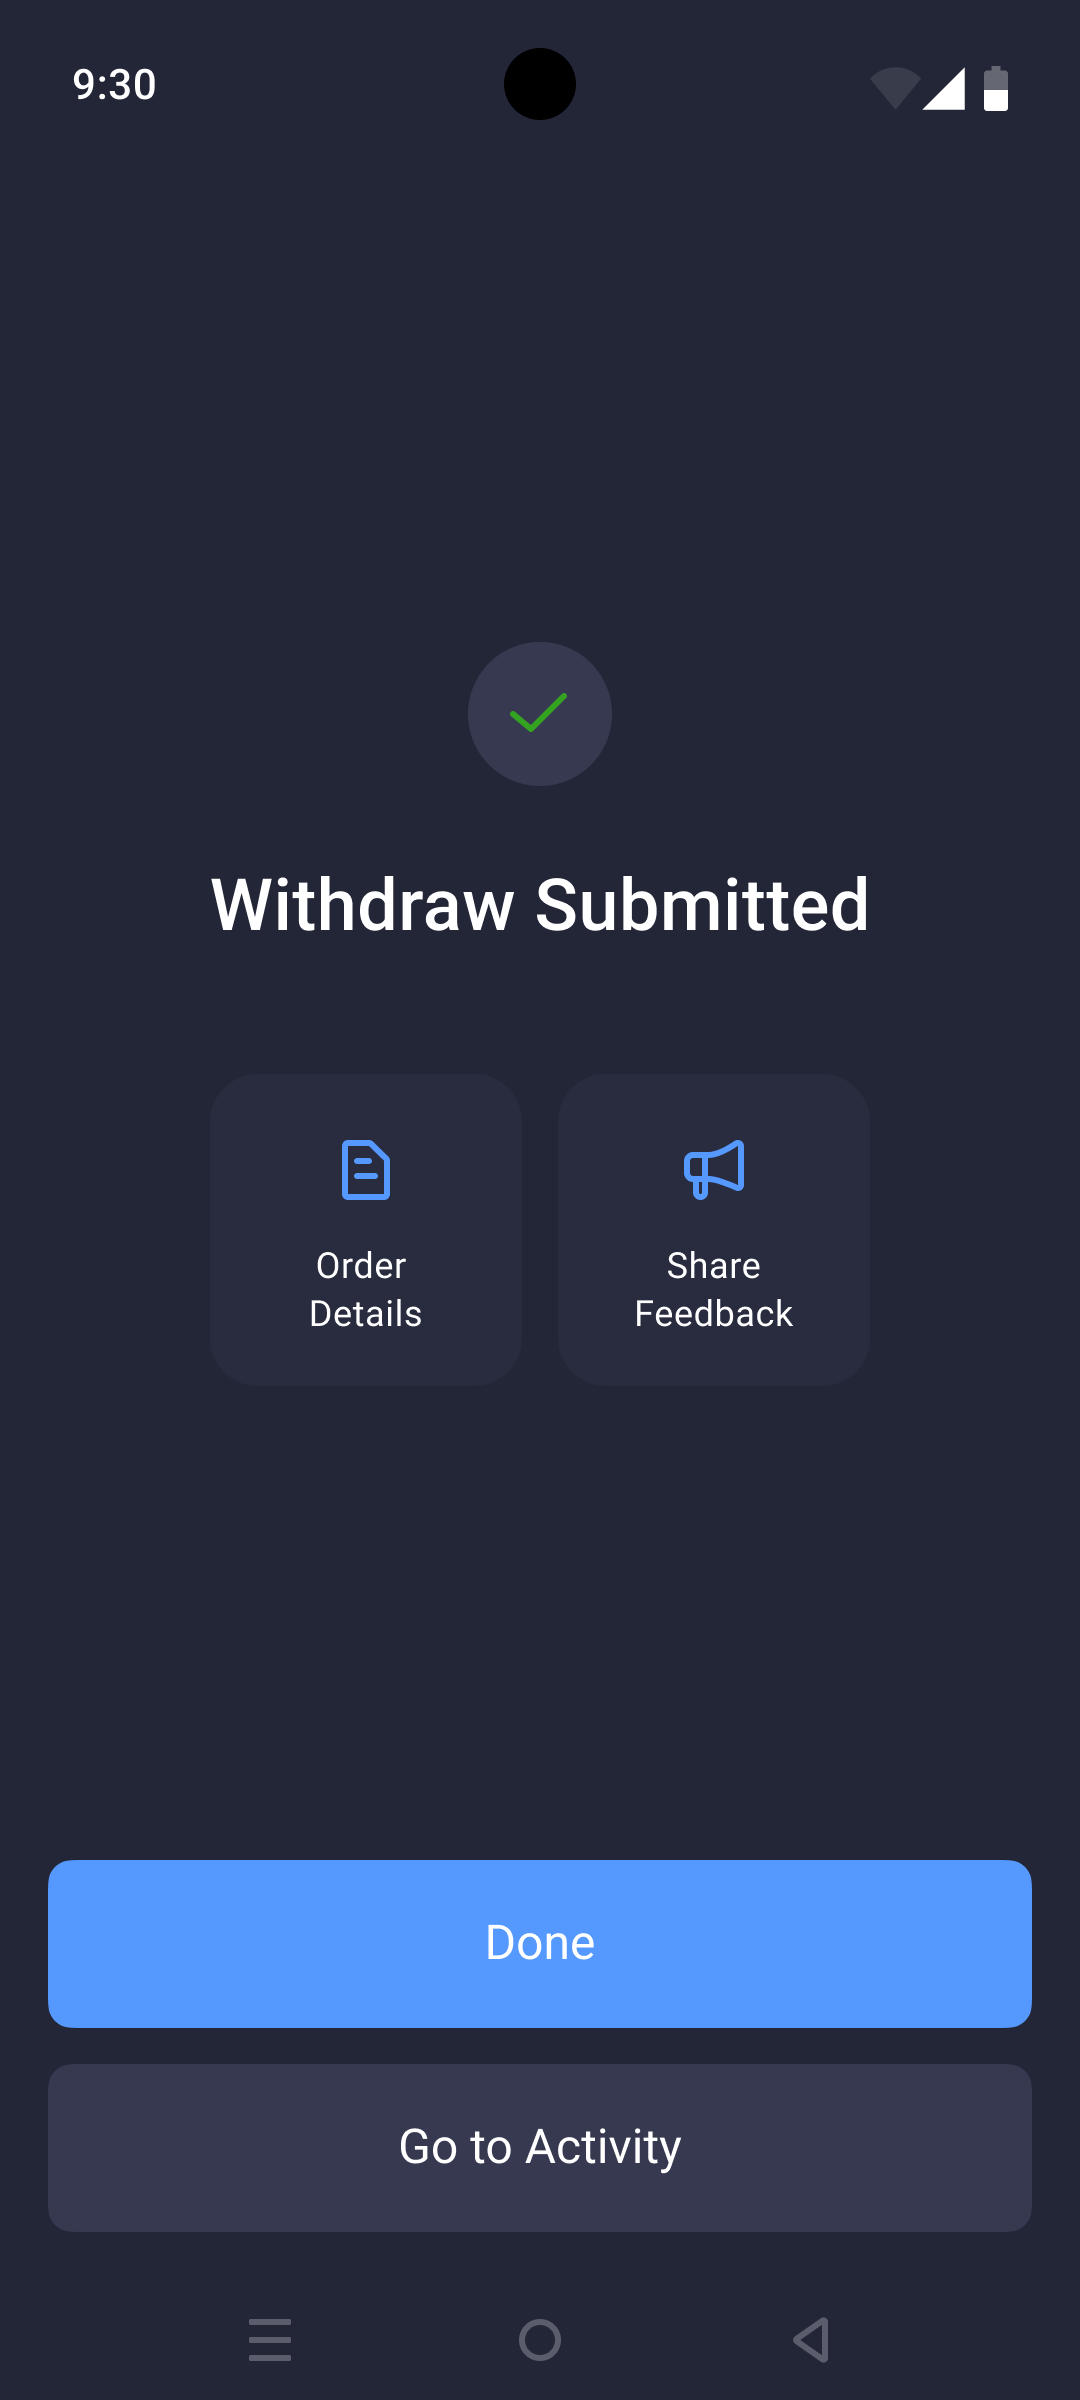
Withdrawal methods configured via the [Payment System Service (PSS)](../integrations/payment-systems#payment-system-service-pss) in the Back Office are now available in the app. This completes support for both **deposit methods**, which were previously integrated, and **withdrawal methods** connected through PSS.
* **Support for copy trading, PAMM, and MAM**
Copy trading, PAMM, and MAM functionality from **B2COPY** is now supported in the app via a web view. This enables clients to access these services directly from the app, through the **Services** section.
* **Static payment details for deposits via B2BINPAY V3 and Coinsbuy V3**
The app now supports **static payment details** for deposits via **B2BINPAY** and **Coinsbuy** when connected through **API V3**. With static payment details, clients can generate one or more blockchain-specific deposit addresses directly in the app. These addresses are saved for future use and can be reused for subsequent deposits.
In addition, the crypto deposit flow via **B2BINPAY V3** and **Coinsbuy V3** has been improved with clear **fee breakdowns** and **indicative amount** displays, providing better transparency and a smoother deposit experience.
* **Full B2TRANSLATE integration for payment forms**
Payment forms in the app are now fully integrated with [B2TRANSLATE](https://docs.b2translate.b2broker.com/) (formerly Weblate). Labels for all components of dynamic forms for PSS-connected deposit and withdrawal methods, as well as validation error messages, can now be customized and translated into multiple languages via B2TRANSLATE.
* Bug fixes and improvements to ensure a more seamless and efficient user experience.
***
### September, 2025 [#september-2025-1]
**v2.8.0 (Android)**
This version includes:
* **Google Play app deployment**
It’s now possible to deploy and publish your app on **Google Play**, making it easy for clients to download, install, and receive future updates directly from the store.
* **PSS deposit & withdrawal methods now in the app**
Withdrawal methods configured via the [Payment System Service (PSS)](../integrations/payment-systems#payment-system-service-pss) in the Back Office are now available in the app. This completes support for both **deposit methods**, which were previously integrated, and **withdrawal methods** connected through PSS.
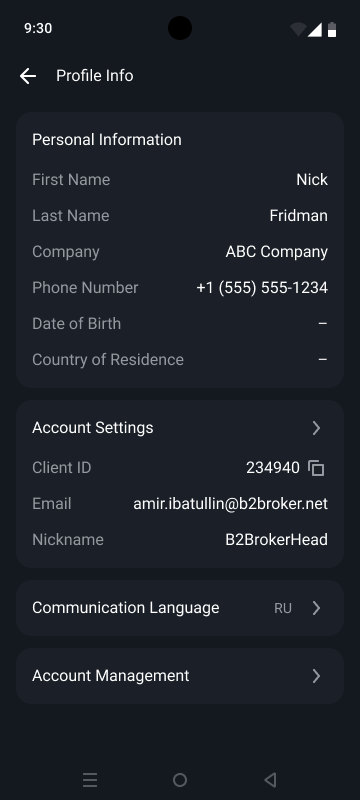 * **Device management for enhanced security**
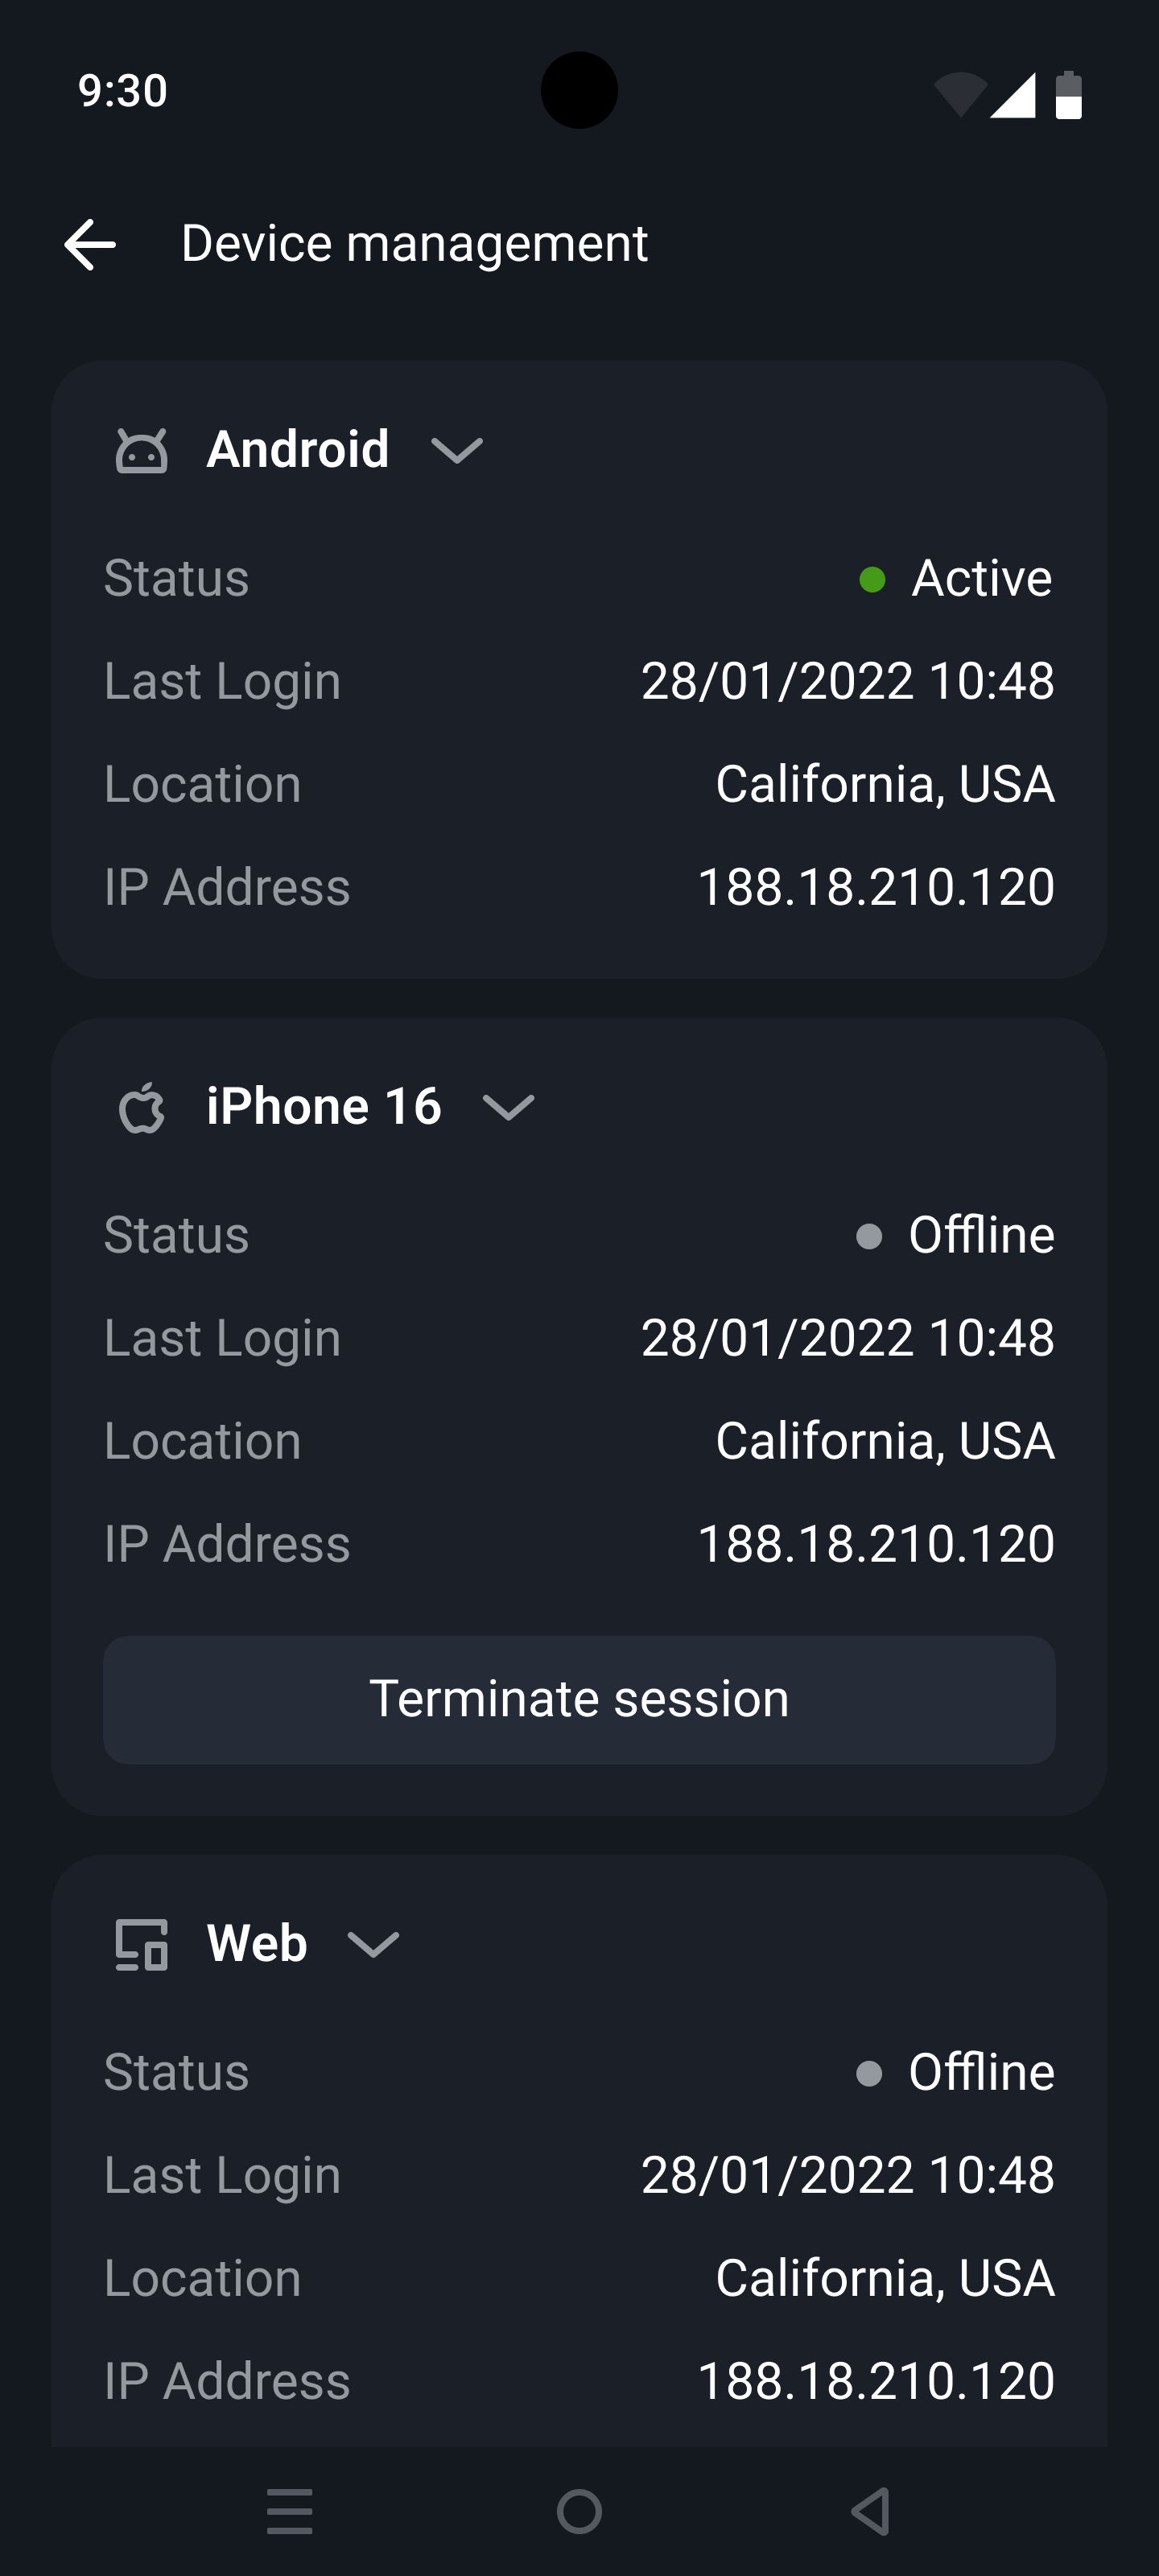
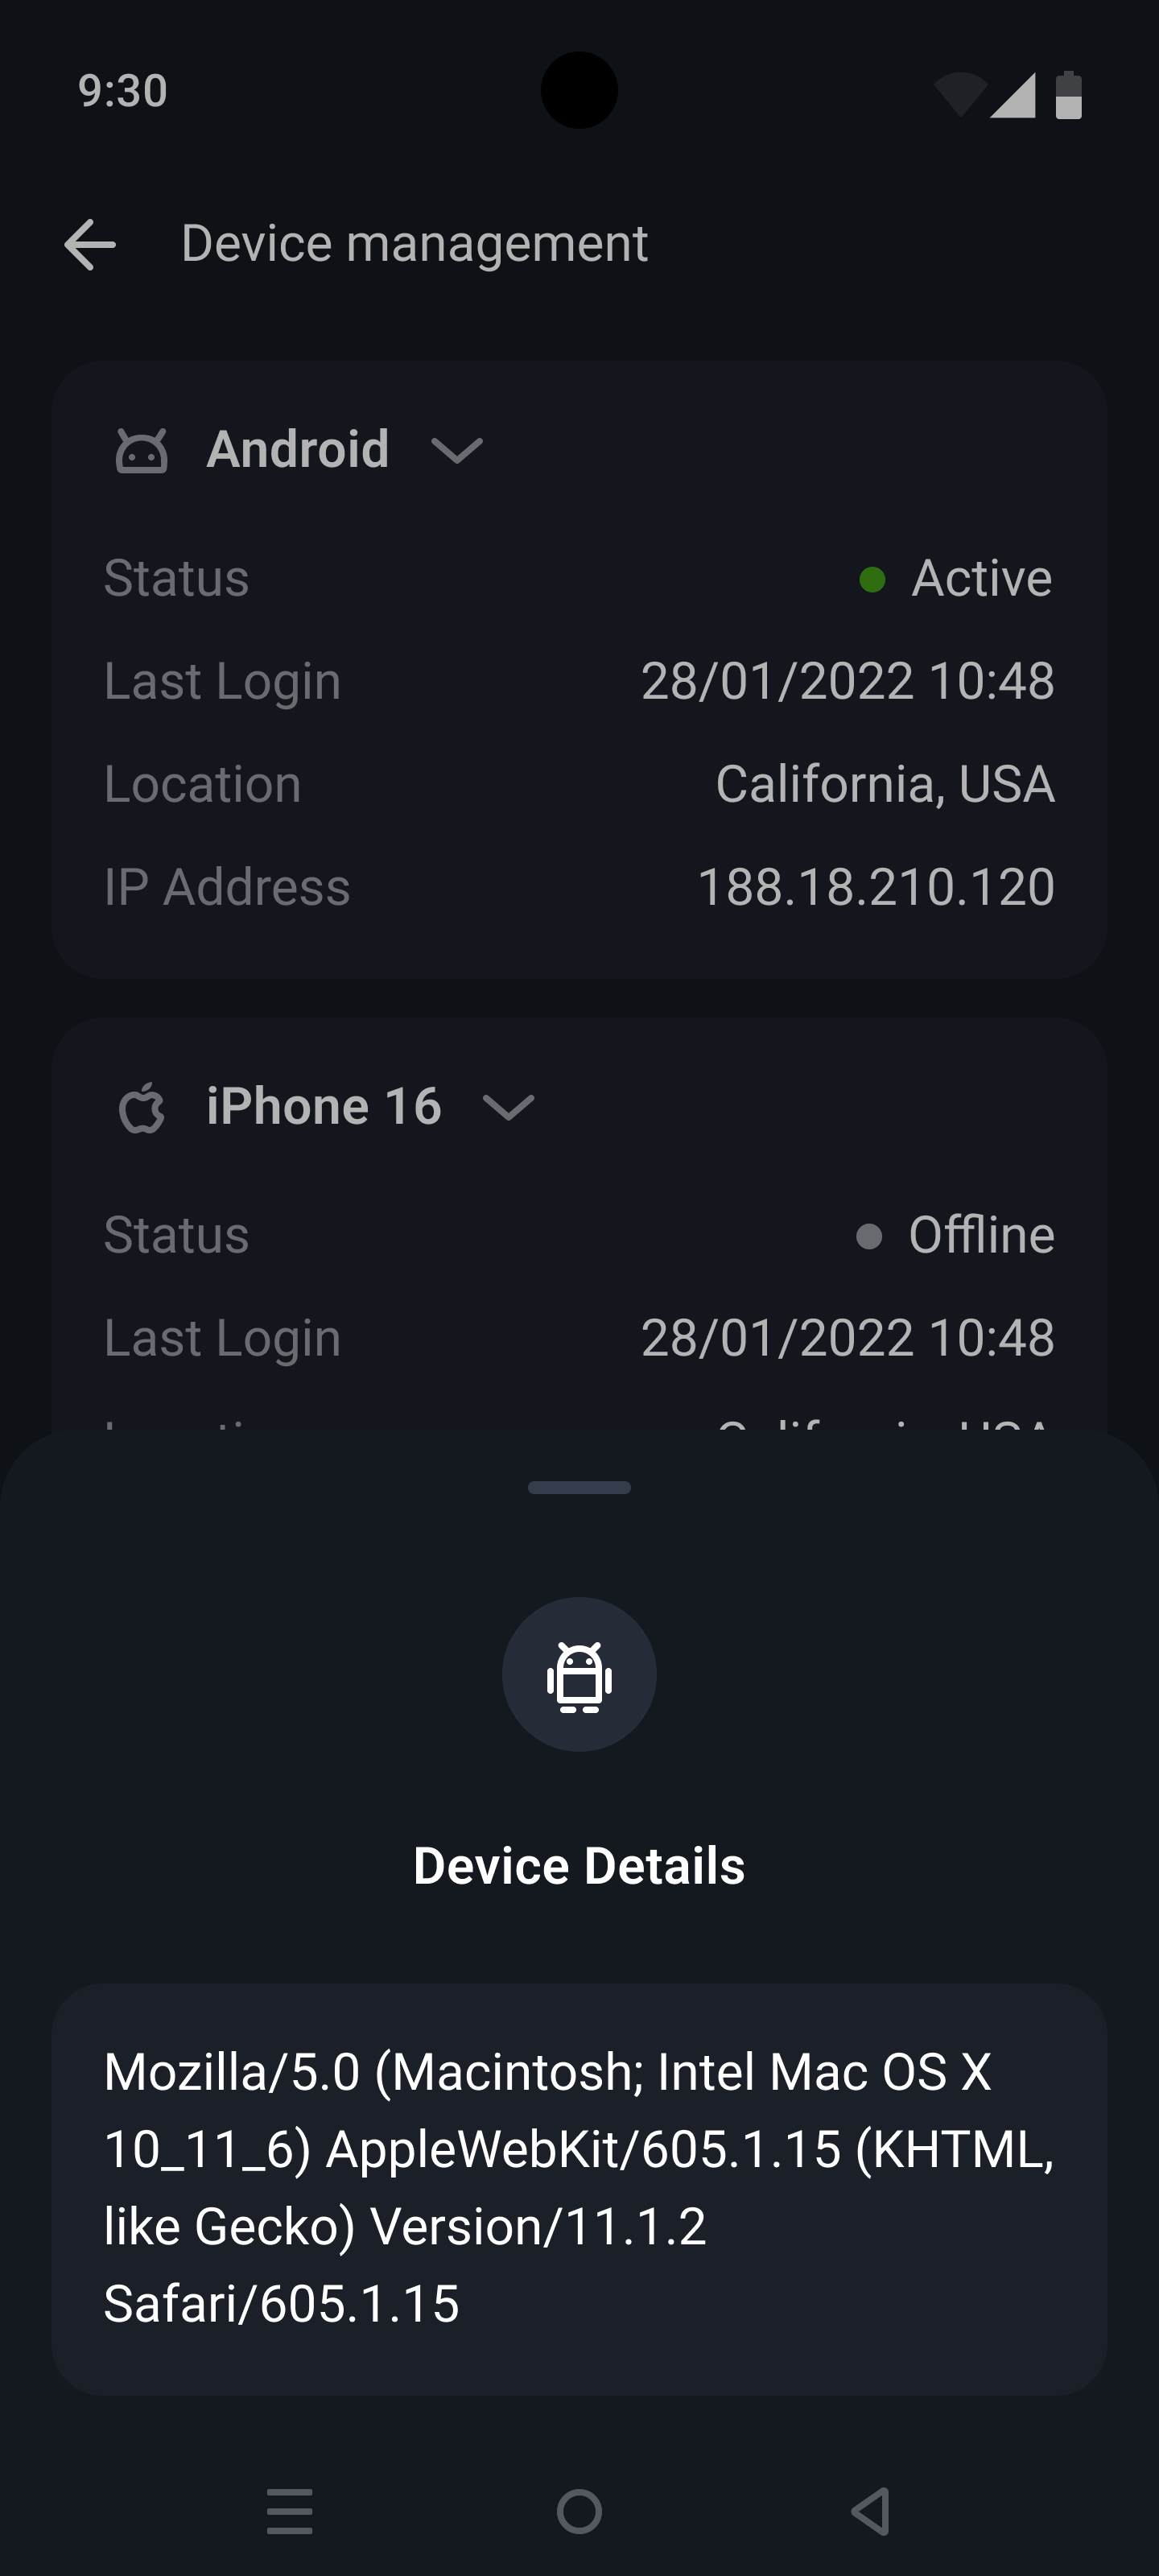
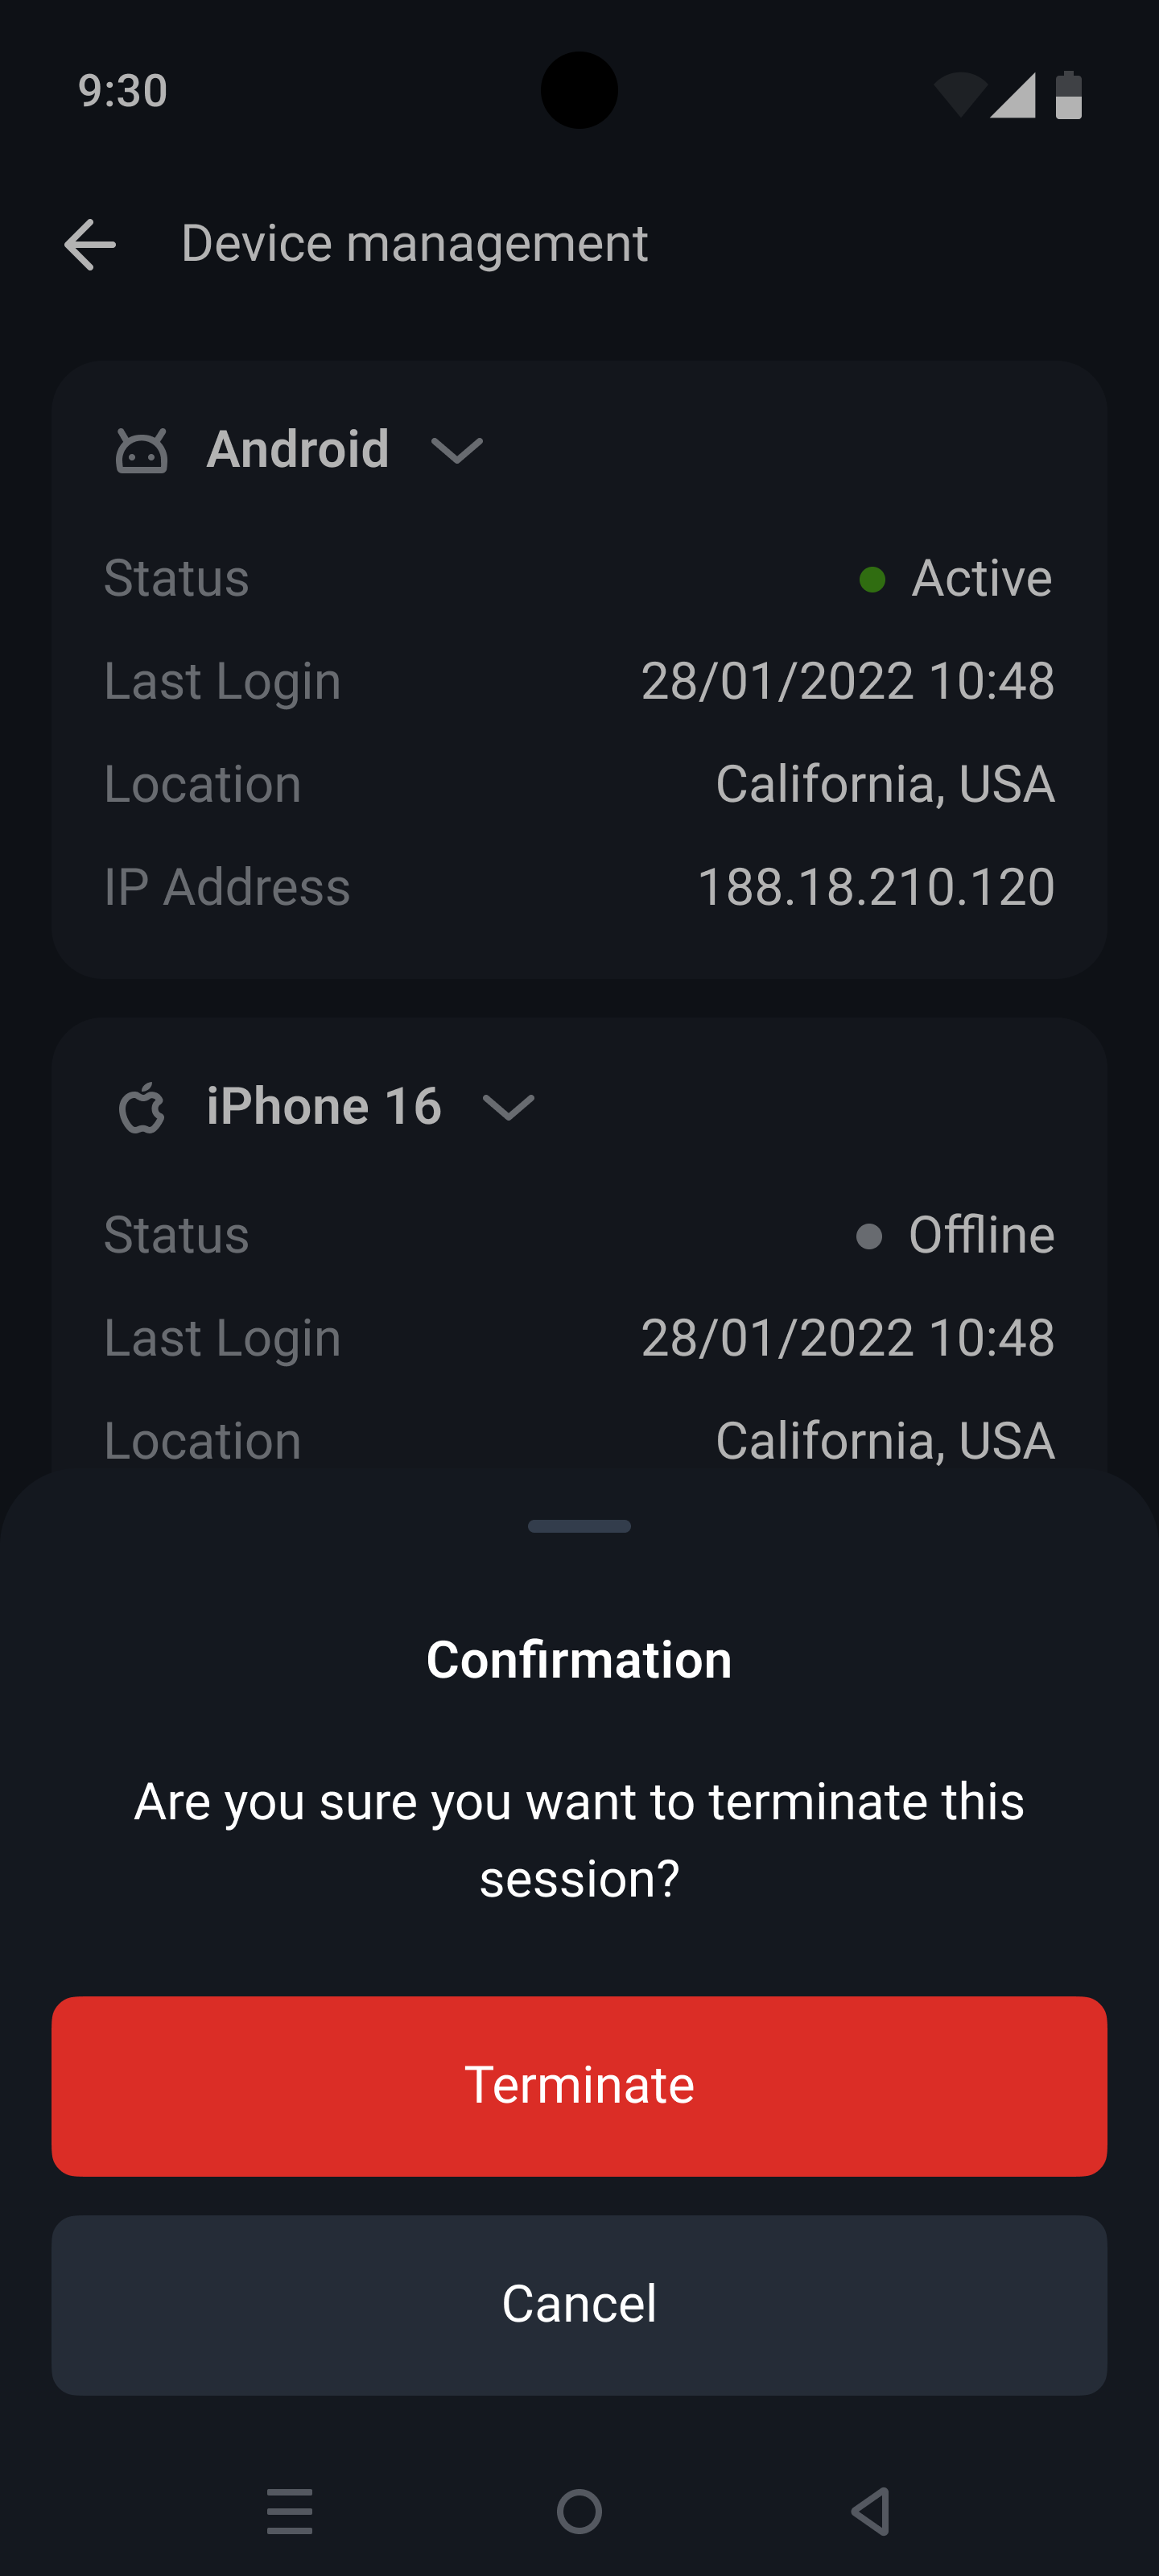
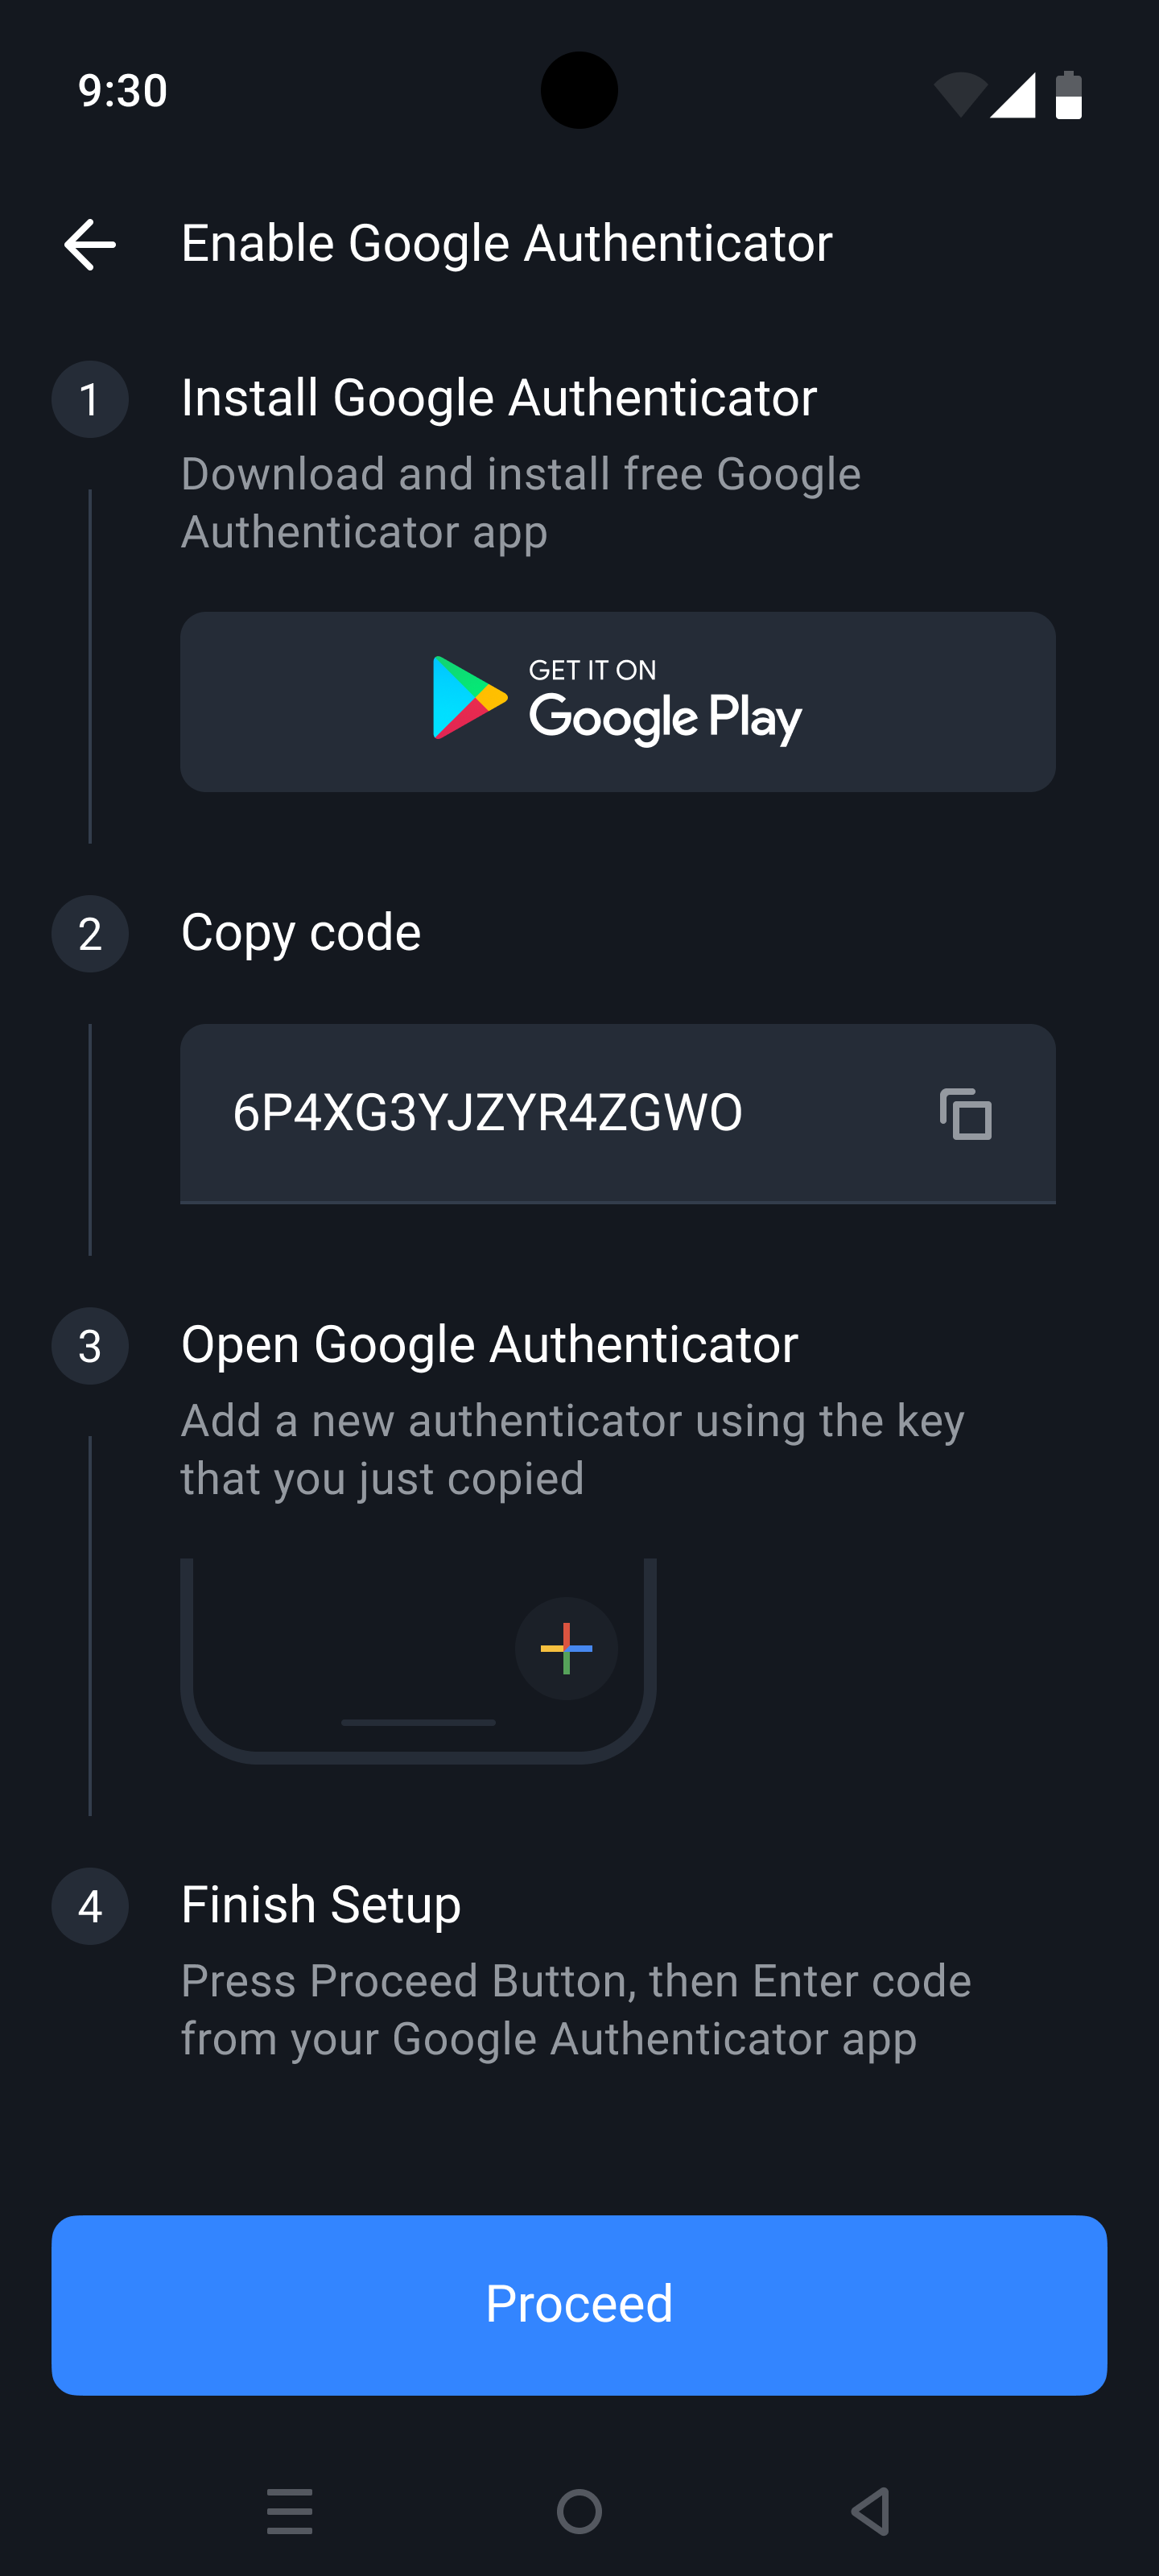
In **Profile** > **Security**, a new **Device management** section has been added. It displays log data about devices, IP addresses, and locations used to sign in to their profiles, and allows clients to terminate their current active session directly from the app. This gives clients better control over sessions and helps protect against unauthorized access.
* **Device management for enhanced security**
In **Profile** > **Security**, a new **Device management** section has been added. It displays log data about devices, IP addresses, and locations used to sign in to their profiles, and allows clients to terminate their current active session directly from the app. This gives clients better control over sessions and helps protect against unauthorized access.
 * Fixes and improvements to ensure stable performance and reliability.
***
### August, 2025 [#august-2025]
**v2.7.0 (Android)**
This version includes:
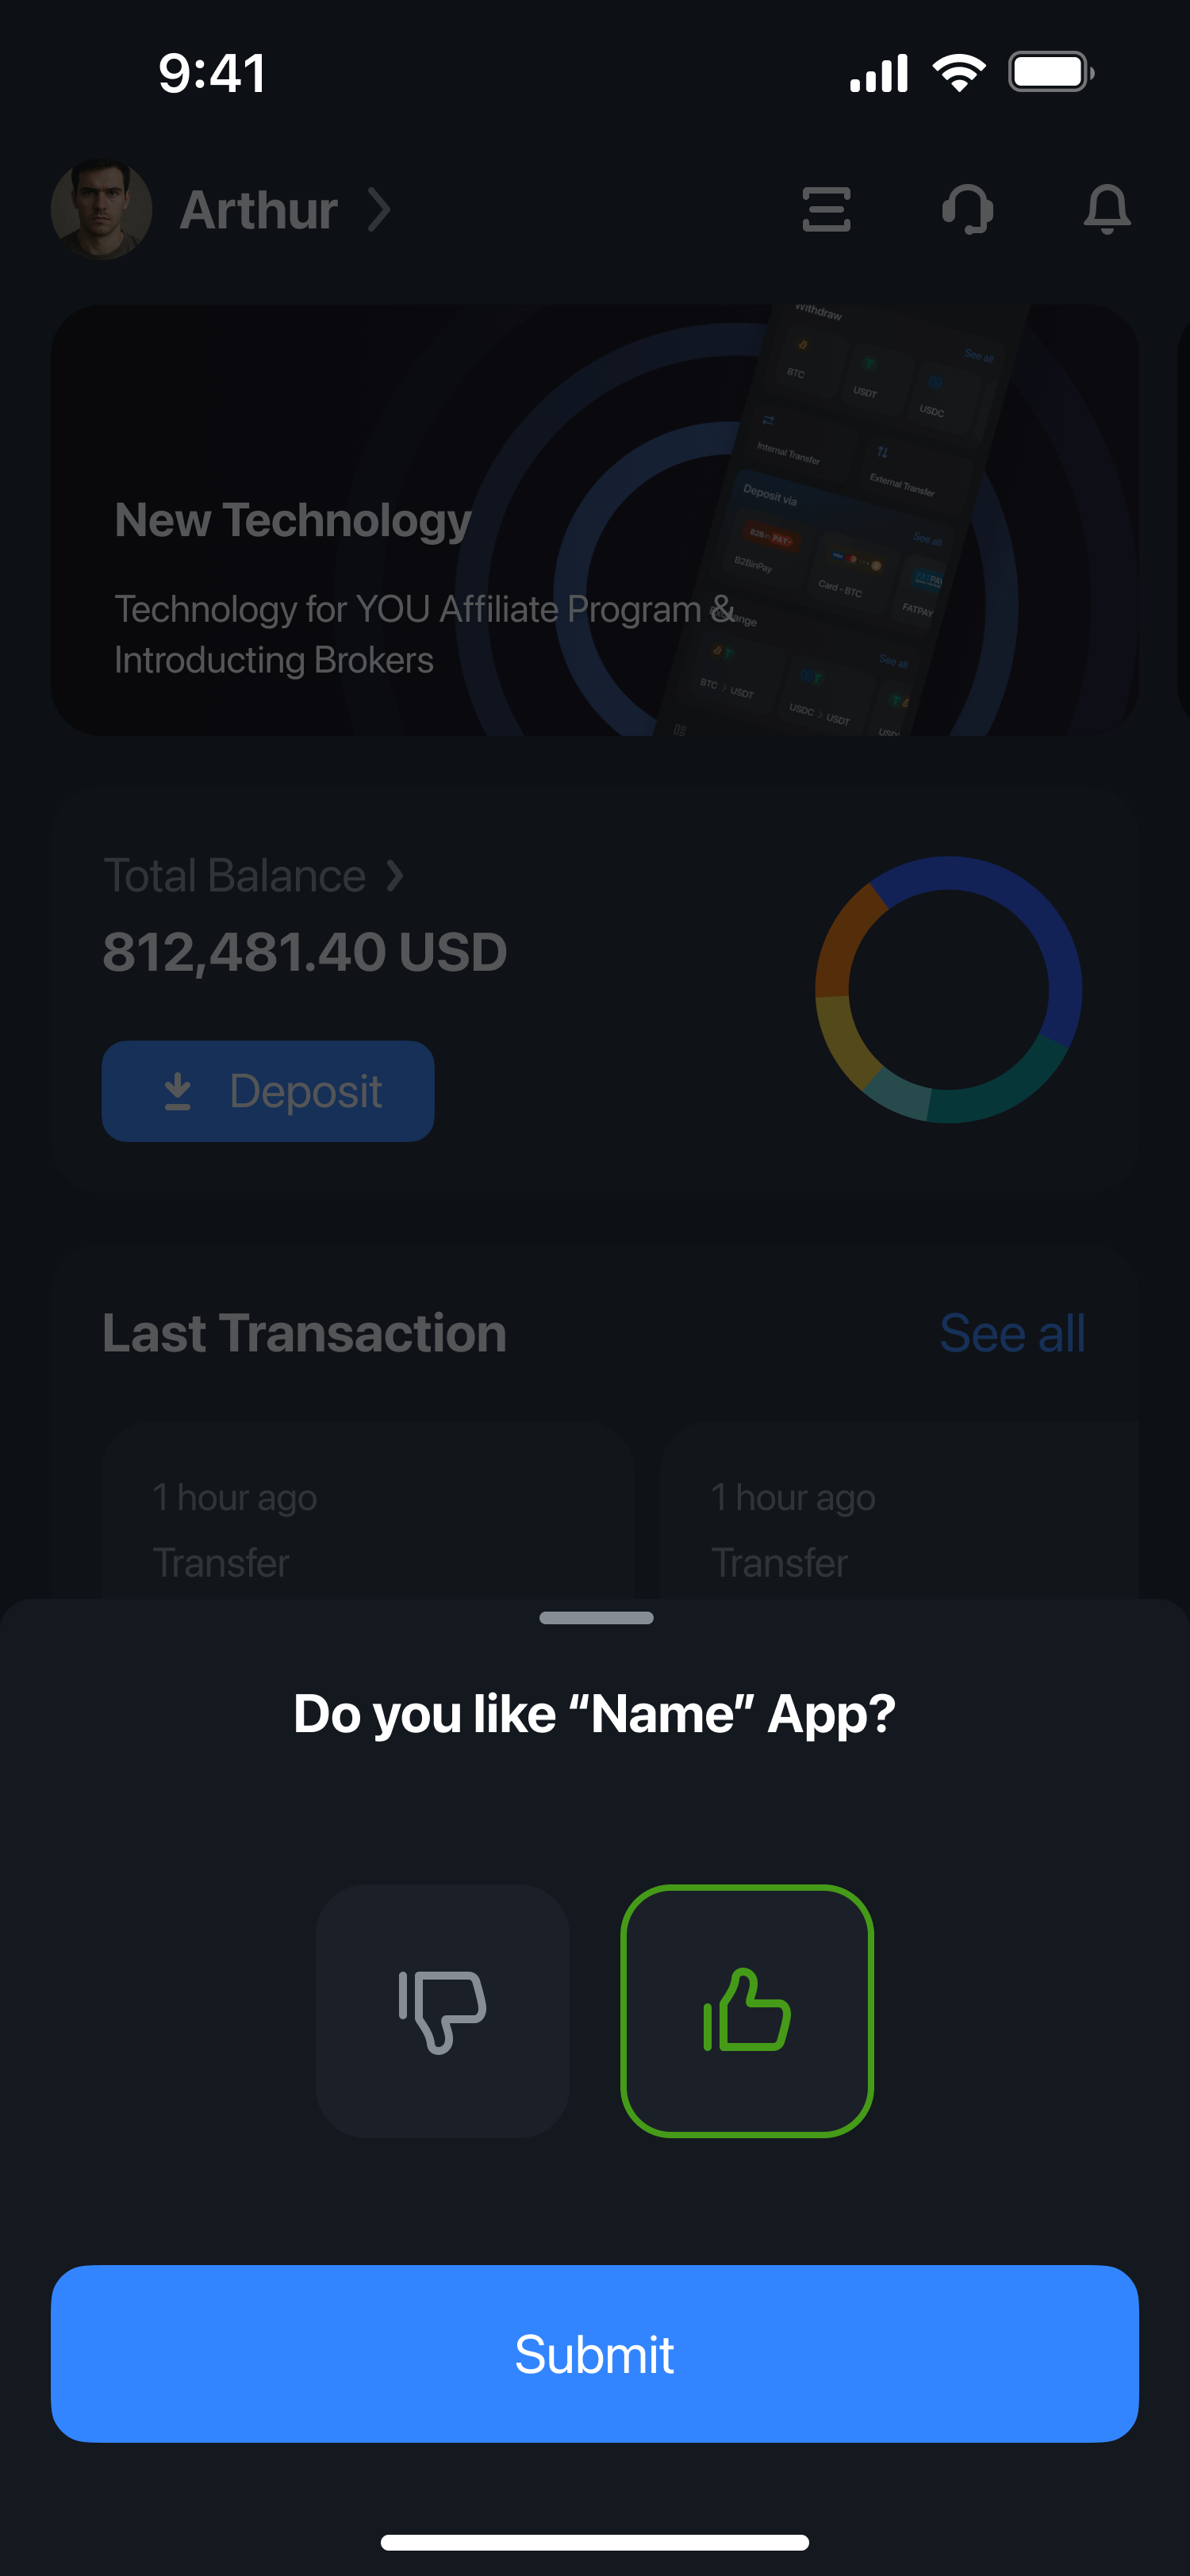
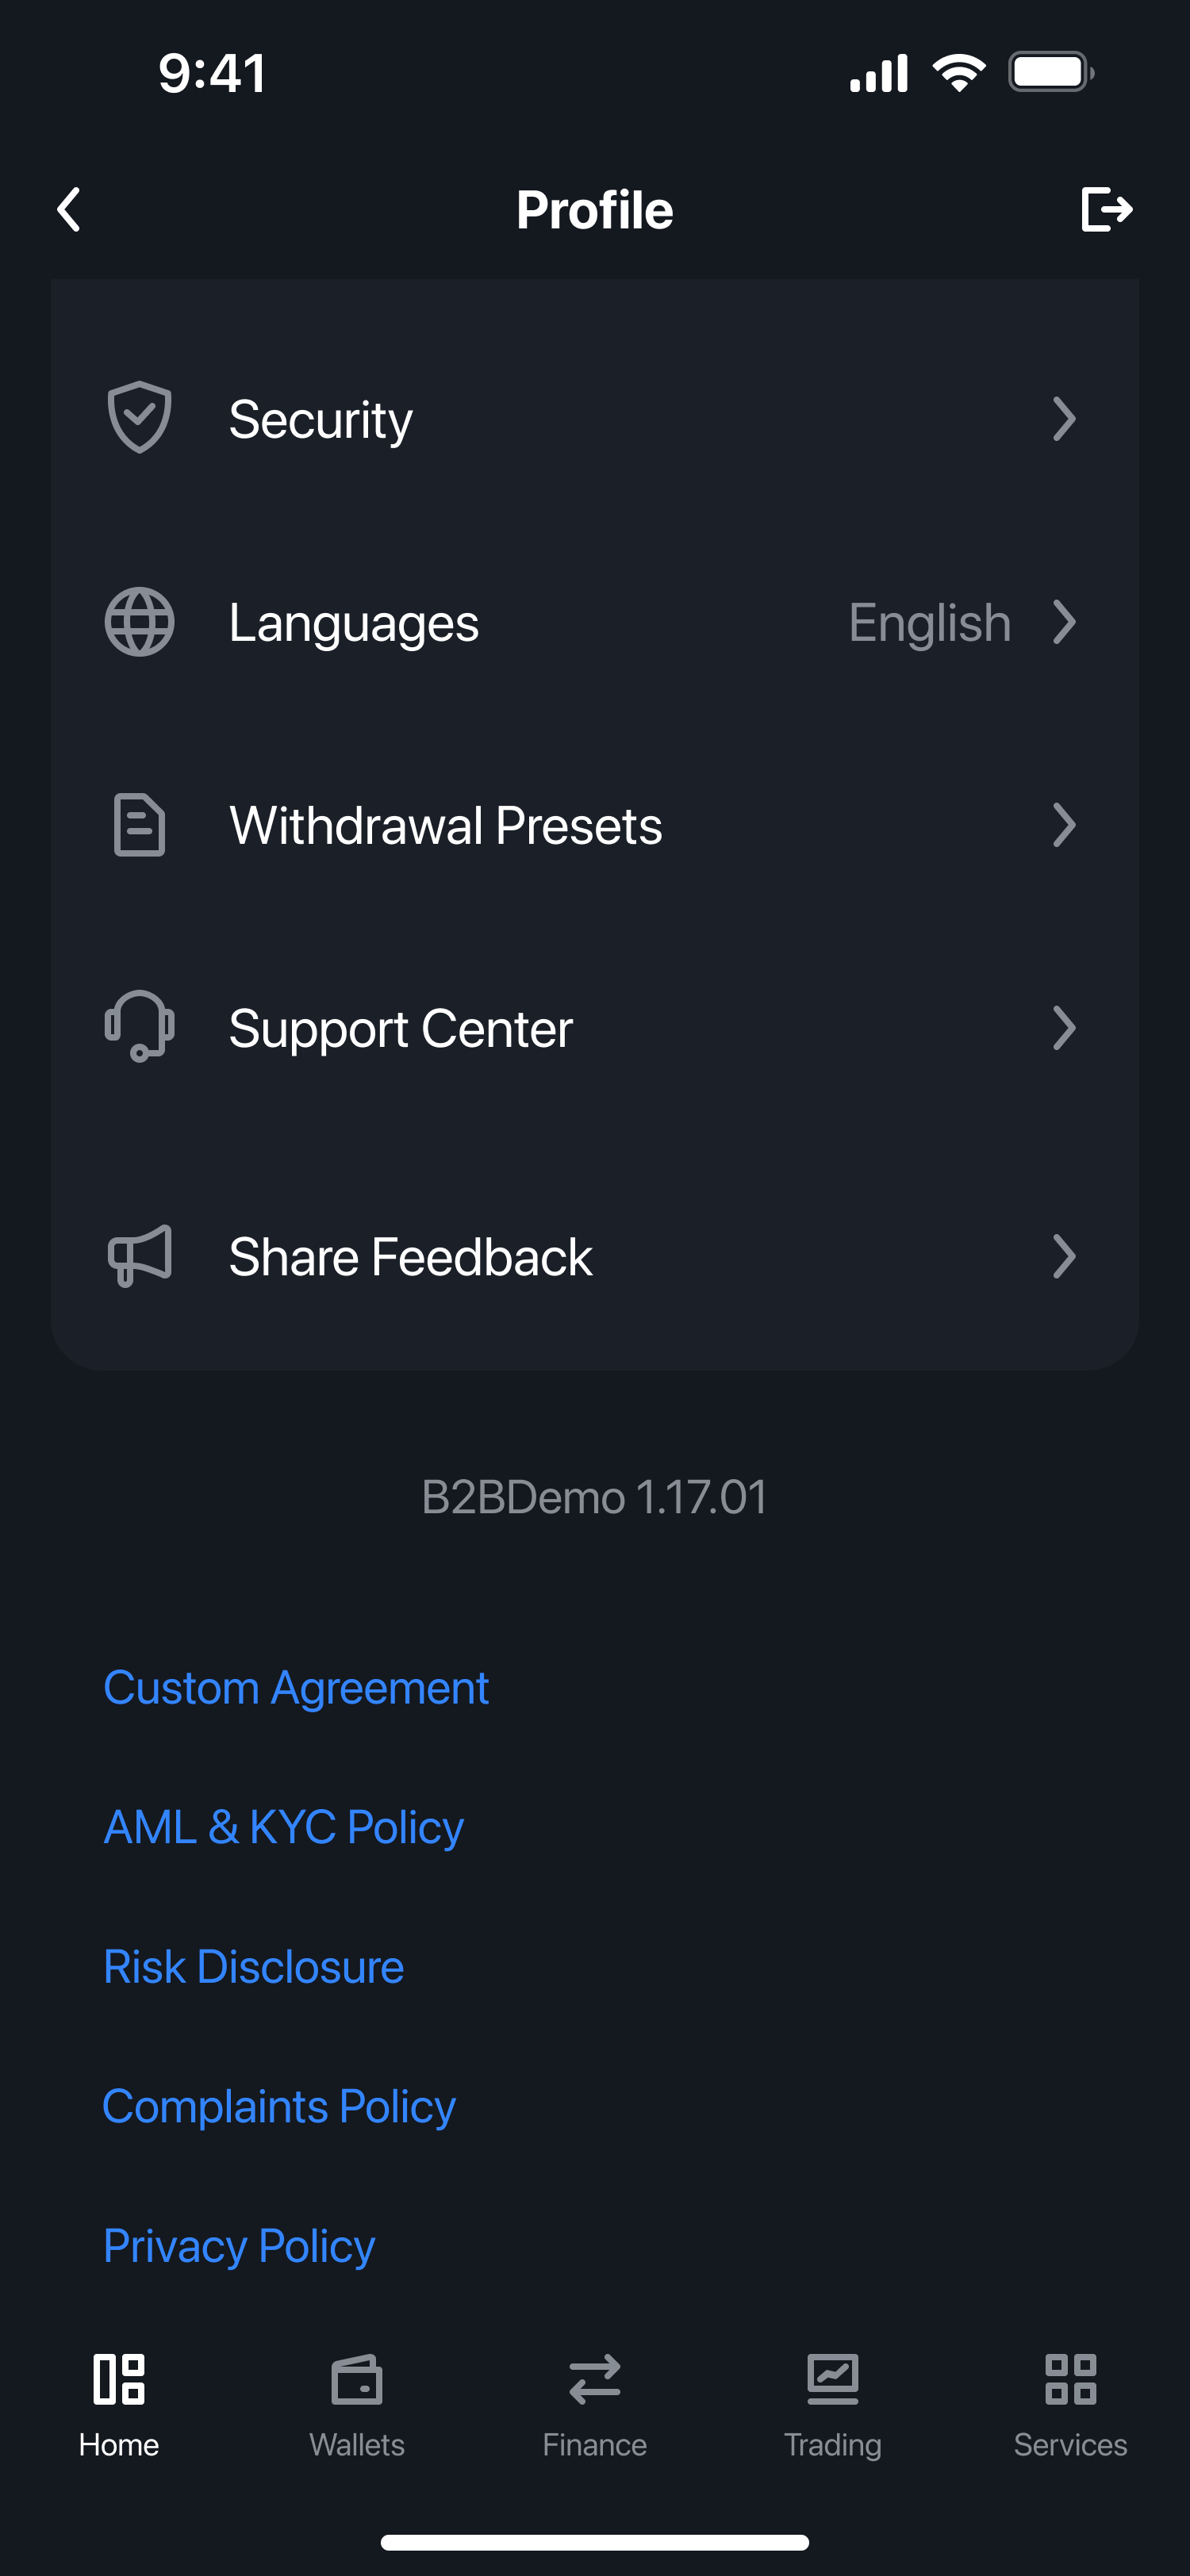
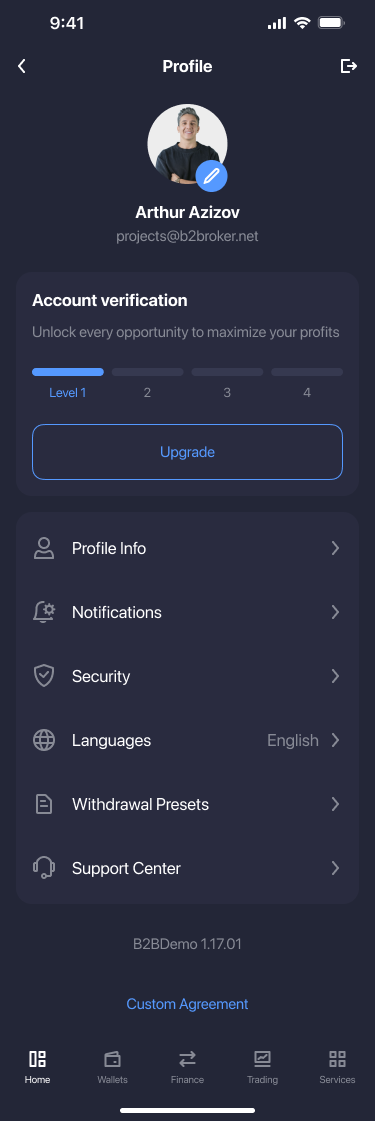
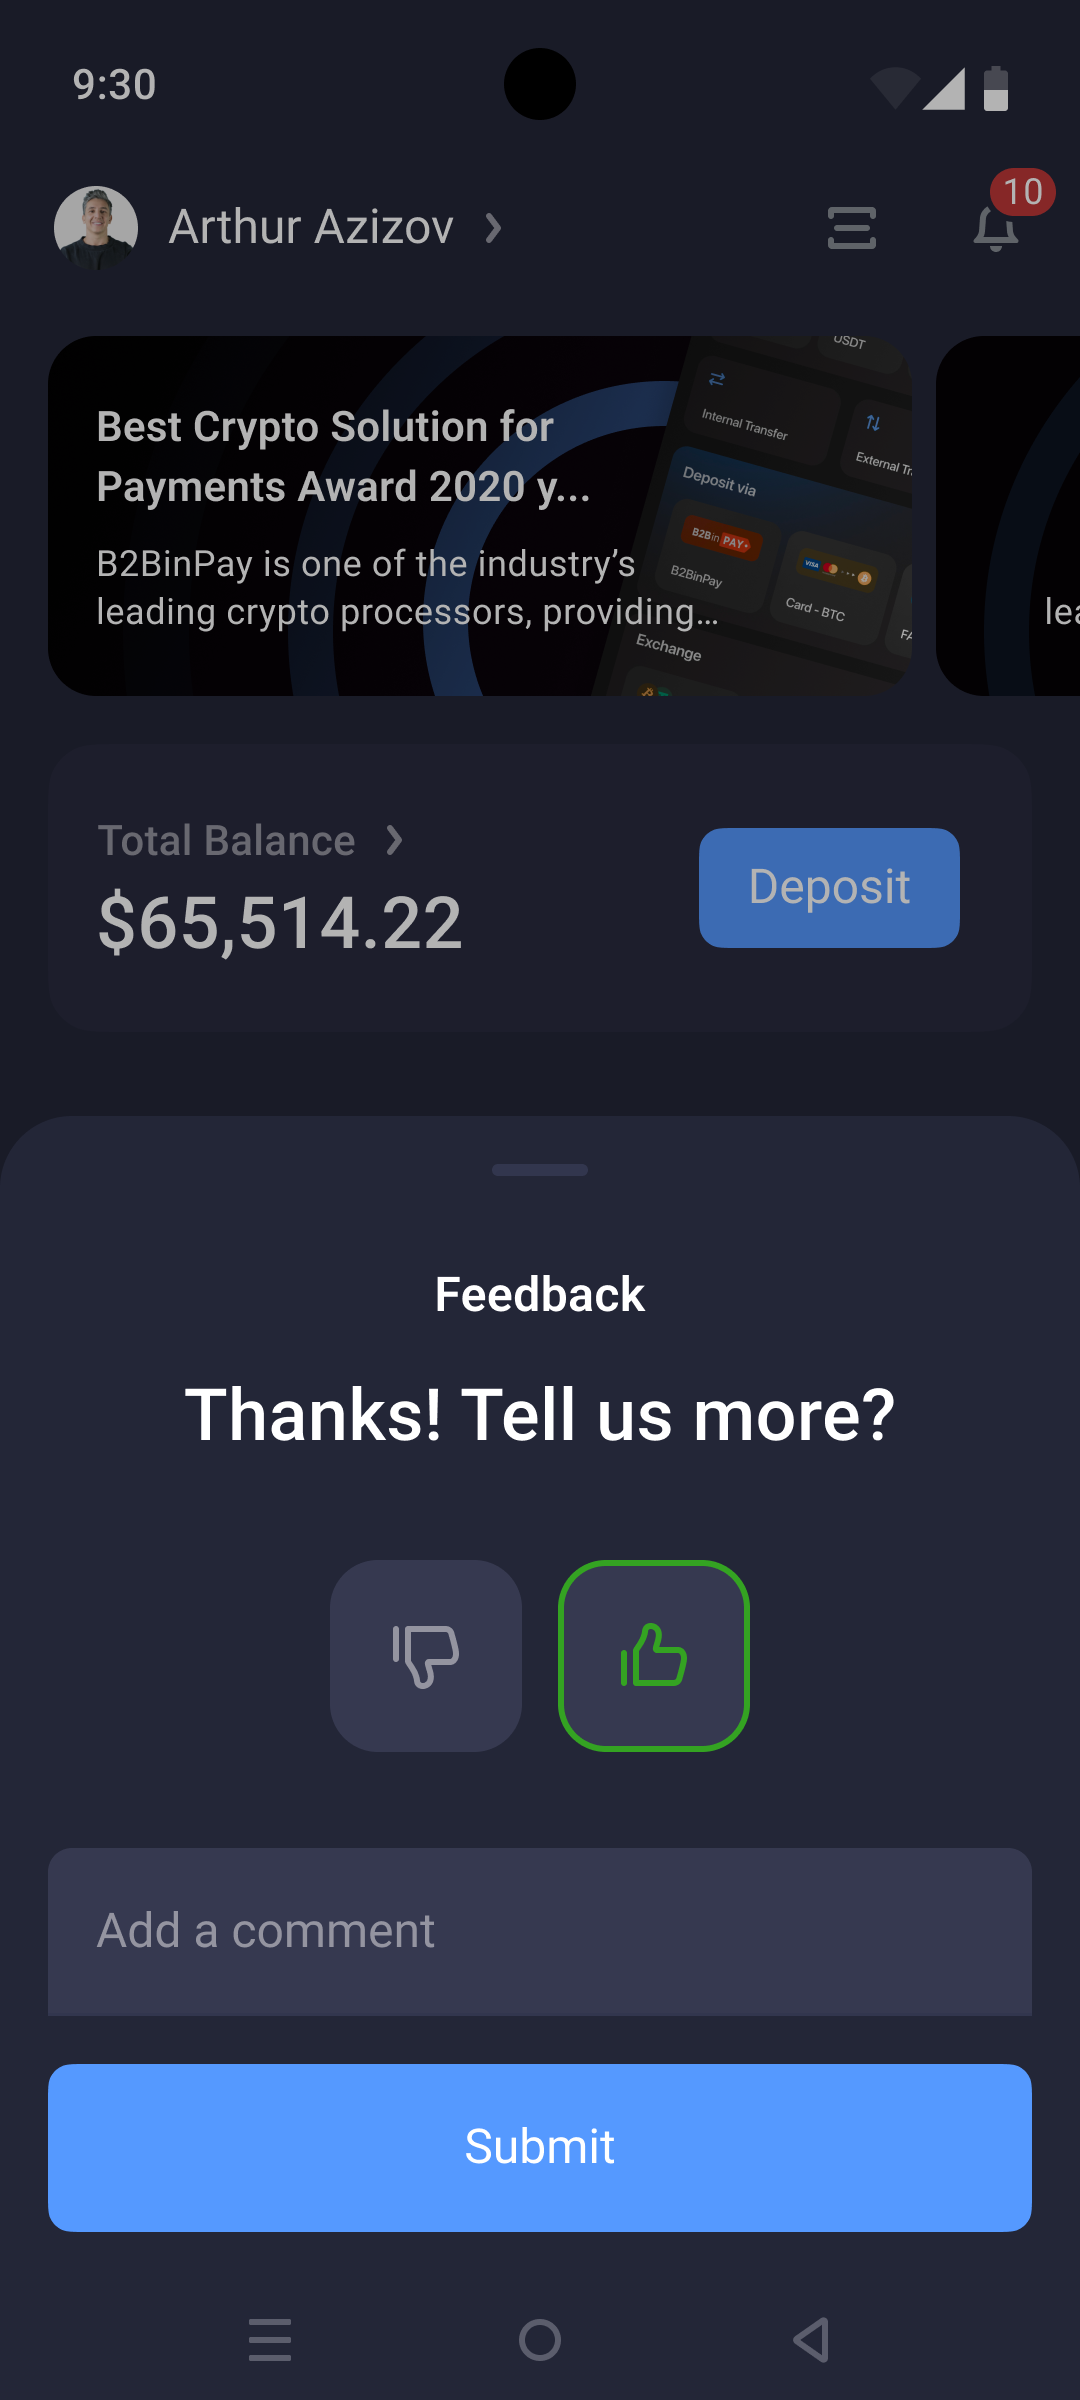
* **Feedback form**
Users can now share their experience directly in the app. The feedback form automatically appears after several app launches or whenever a financial operation is performed, allowing a quick positive or negative rating with an optional comment. Feedback can also be submitted anytime from the **Profile** menu.
* Fixes and improvements to ensure stable performance and reliability.
***
### August, 2025 [#august-2025]
**v2.7.0 (Android)**
This version includes:
* **Feedback form**
Users can now share their experience directly in the app. The feedback form automatically appears after several app launches or whenever a financial operation is performed, allowing a quick positive or negative rating with an optional comment. Feedback can also be submitted anytime from the **Profile** menu.
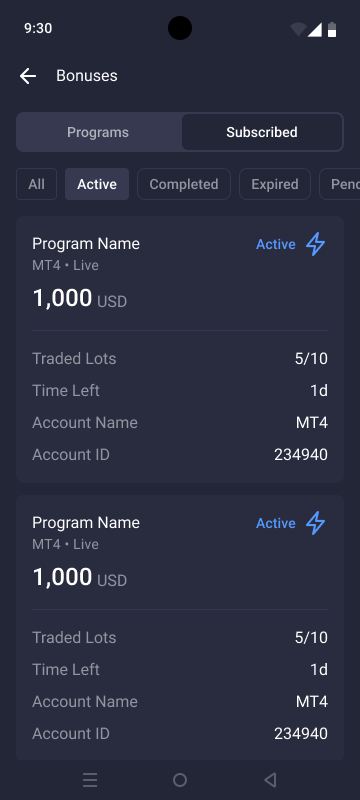
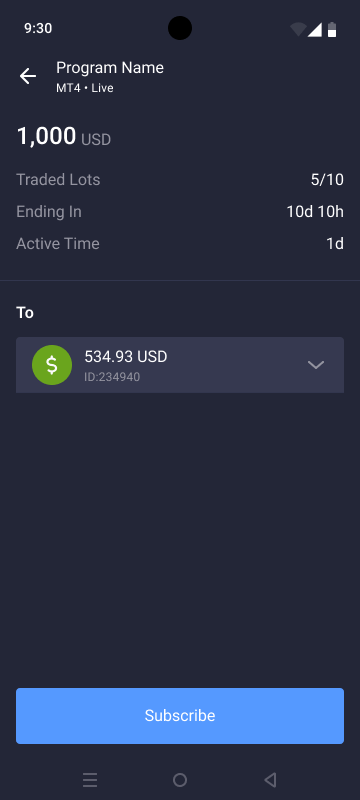
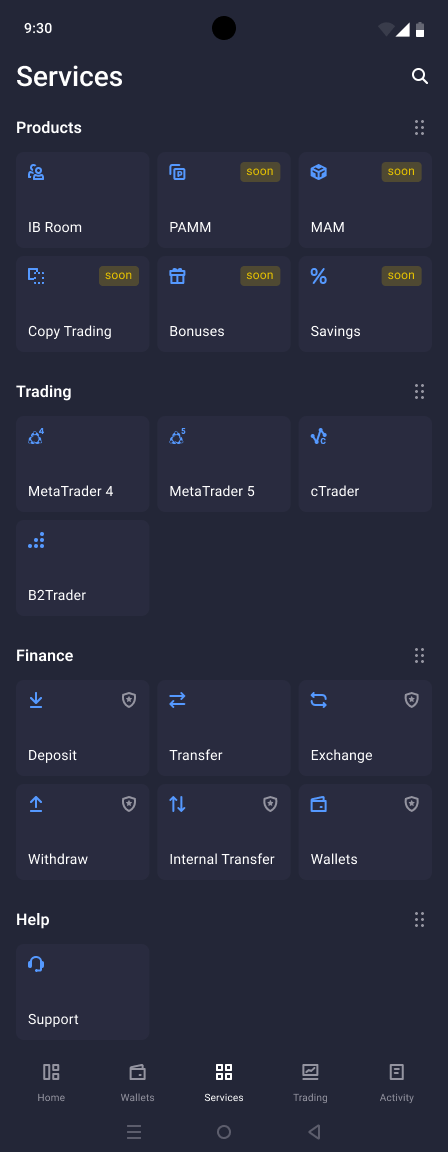 * **Support for custom tiles in Services**
Custom tiles can be added to the **Services** section to link users to third-party services or external resources that support your business. Configuration must be done in the **Back Office**, where the tile name and redirect URL must be specified. Once configured, custom tiles will appear in the app under **Services**.
In the Back Office, the option to configure custom menu links will become available with the [June 2025 release](release-notes#june-2025).
* **In-app verification via SumSub**
The full verification process via **SumSub** is now supported directly within the app, no external redirections are required. This streamlined experience makes the KYC journey faster, and more intuitive during onboarding.
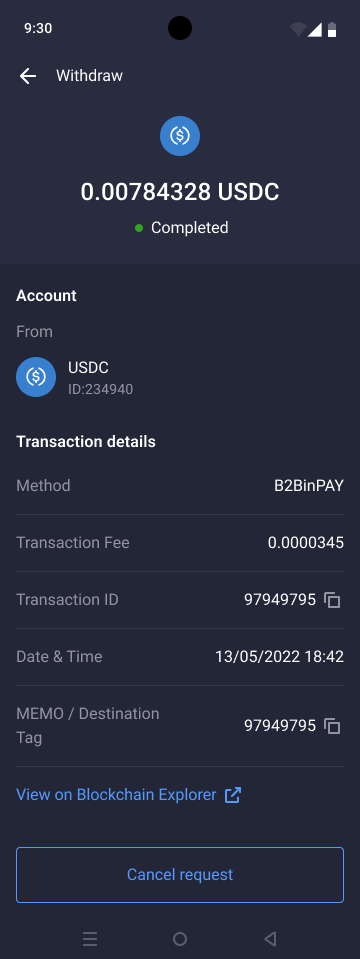
* **Blockchain explorer link for withdrawal tracking**
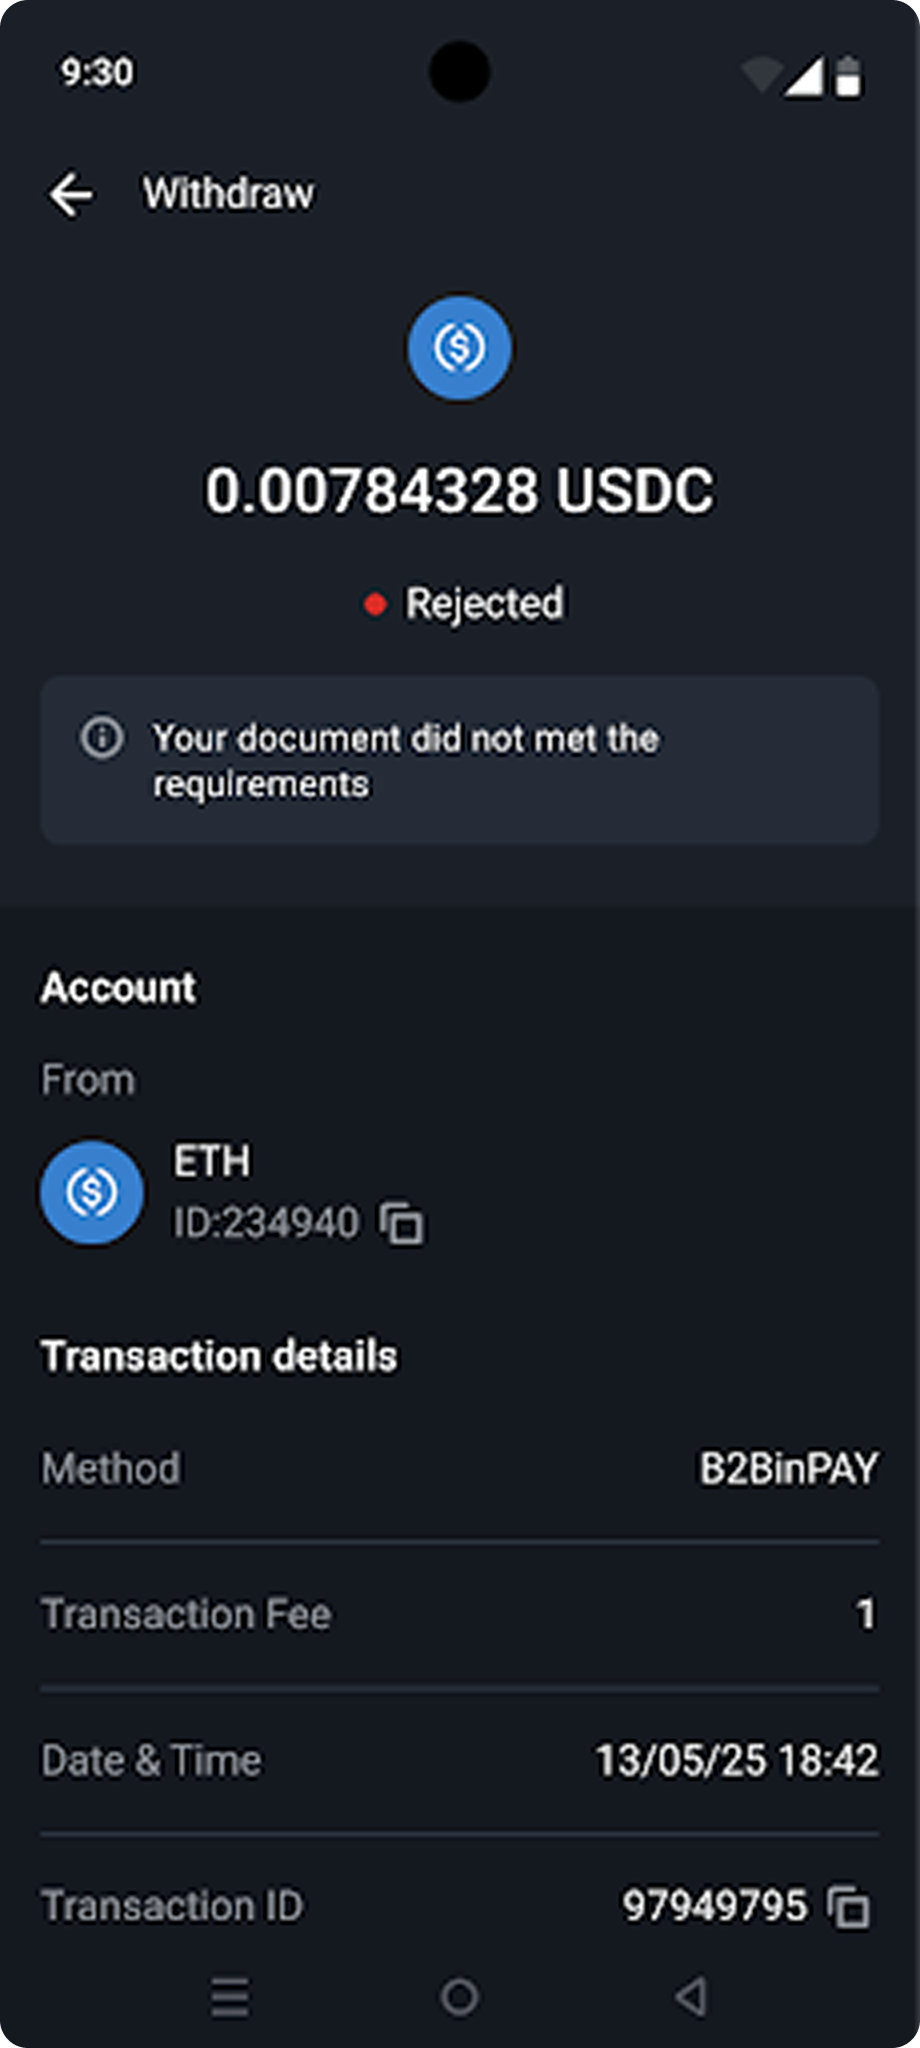
Users can now easily track **withdrawal transactions** on the blockchain directly from the app. Crypto wallets include a link to `https://www.blockchain.com/explorer`, available only for withdrawals in Bitcoin, Ethereum, and Bitcoin Cash. This simplifies transaction monitoring and enhances transparency.
* **Support for custom tiles in Services**
Custom tiles can be added to the **Services** section to link users to third-party services or external resources that support your business. Configuration must be done in the **Back Office**, where the tile name and redirect URL must be specified. Once configured, custom tiles will appear in the app under **Services**.
In the Back Office, the option to configure custom menu links will become available with the [June 2025 release](release-notes#june-2025).
* **In-app verification via SumSub**
The full verification process via **SumSub** is now supported directly within the app, no external redirections are required. This streamlined experience makes the KYC journey faster, and more intuitive during onboarding.
* **Blockchain explorer link for withdrawal tracking**
Users can now easily track **withdrawal transactions** on the blockchain directly from the app. Crypto wallets include a link to `https://www.blockchain.com/explorer`, available only for withdrawals in Bitcoin, Ethereum, and Bitcoin Cash. This simplifies transaction monitoring and enhances transparency.
 * Optimized overall app performance to provide a faster, more stable, and responsive user experience.
***
### May, 2025 [#may-2025]
**v2.5.0 (Android)**
This version includes:
Performance improvements and bug fixes to enhance the overall user experience.
***
### April, 2025 [#april-2025]
**v2.4.0 (Android)**
This version includes:
**Revamped sign-up and onboarding process**
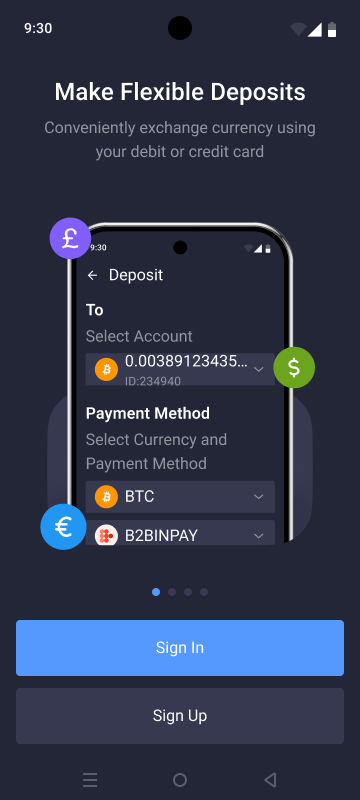
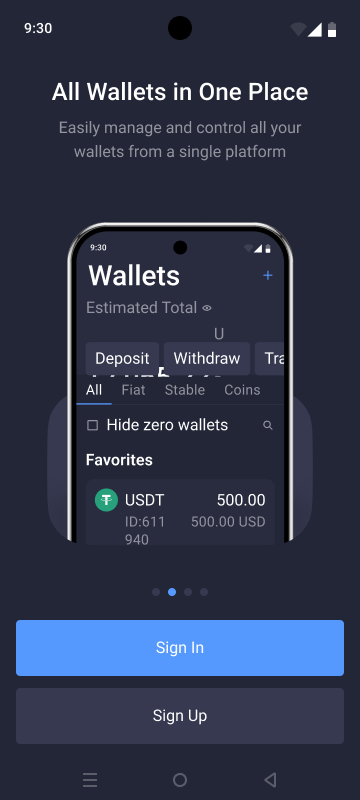
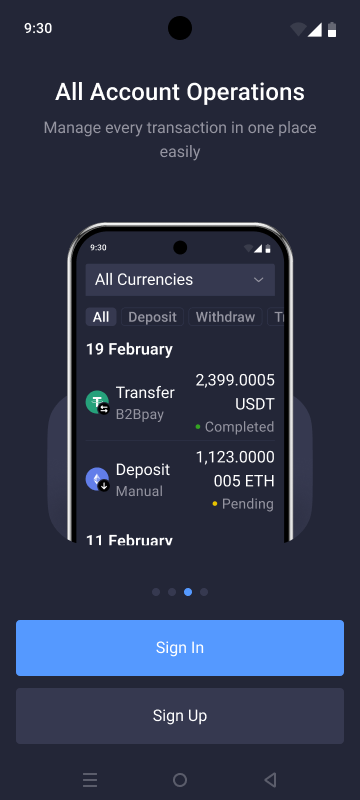
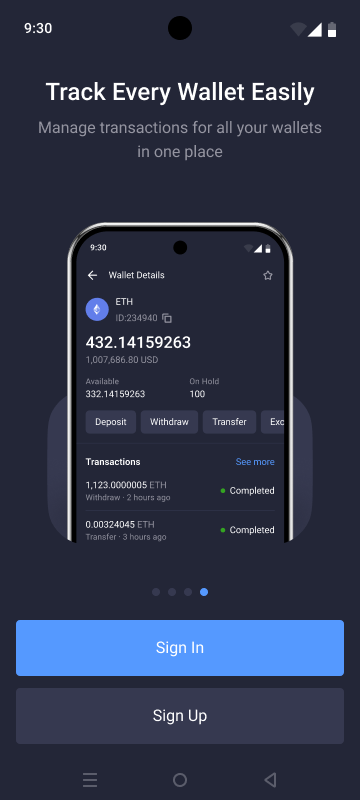
* **App preview**: before going to the **Sign Up** or **Sign In** forms, clients are now presented with a brief walkthrough highlighting the app’s main features across several screens. It enhances the user journey from the start, encouraging quicker sign-ups.
* Optimized overall app performance to provide a faster, more stable, and responsive user experience.
***
### May, 2025 [#may-2025]
**v2.5.0 (Android)**
This version includes:
Performance improvements and bug fixes to enhance the overall user experience.
***
### April, 2025 [#april-2025]
**v2.4.0 (Android)**
This version includes:
**Revamped sign-up and onboarding process**
* **App preview**: before going to the **Sign Up** or **Sign In** forms, clients are now presented with a brief walkthrough highlighting the app’s main features across several screens. It enhances the user journey from the start, encouraging quicker sign-ups.
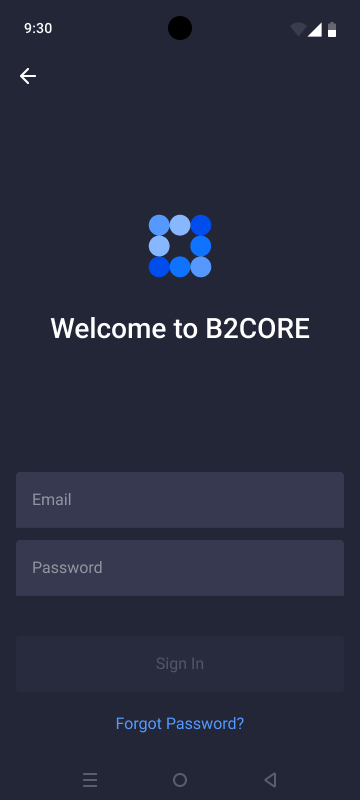
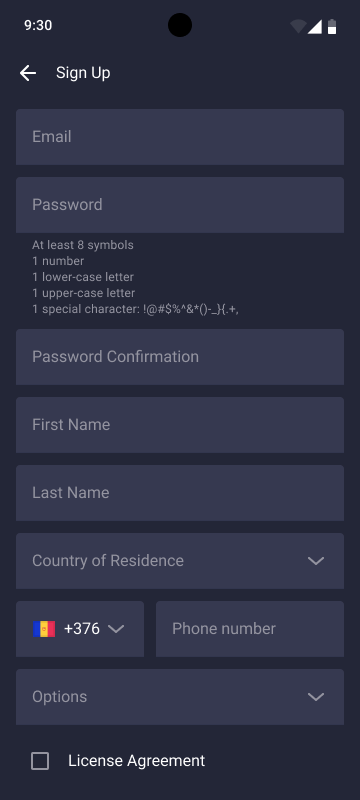
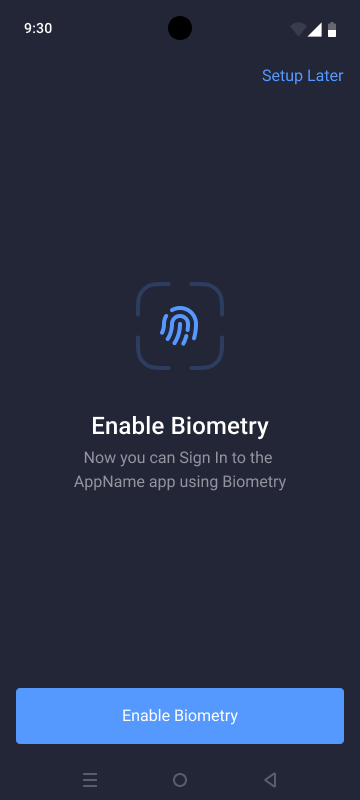
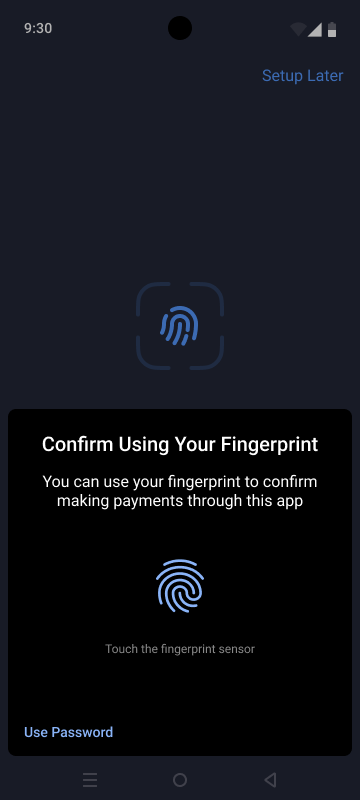
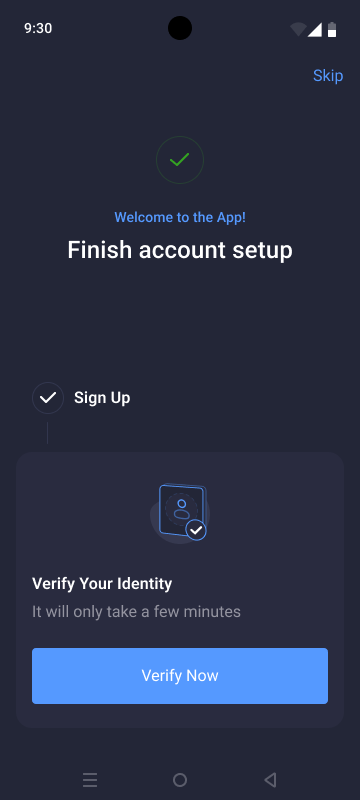 * The app has been optimized to deliver a faster, more stable, and responsive experience.
***
### March, 2025 [#march-2025-1]
**v2.3.0 (Android)**
This version includes:
* **Internal transfers**
The app now supports internal transfers, enabling clients to transfer funds to other clients within the same brokerage by specifying the **Client ID** and **Account ID** of the recipient. The funds are transferred instantly and without commission.
* The app has been optimized to deliver a faster, more stable, and responsive experience.
***
### March, 2025 [#march-2025-1]
**v2.3.0 (Android)**
This version includes:
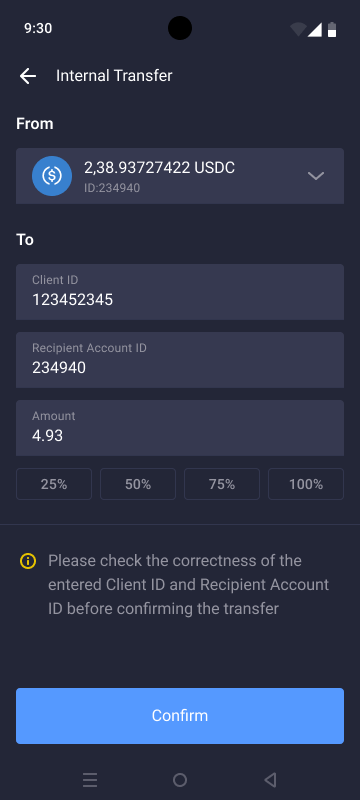
* **Internal transfers**
The app now supports internal transfers, enabling clients to transfer funds to other clients within the same brokerage by specifying the **Client ID** and **Account ID** of the recipient. The funds are transferred instantly and without commission.
 * **Enhanced security with withdrawal address whitelisting**
Secure your withdrawals by enabling the **Withdraw Whitelist** option in the **Security** section and adding trusted withdrawal addresses. Once enabled, funds can only be withdrawn to the specified addresses, preventing unauthorized transactions.
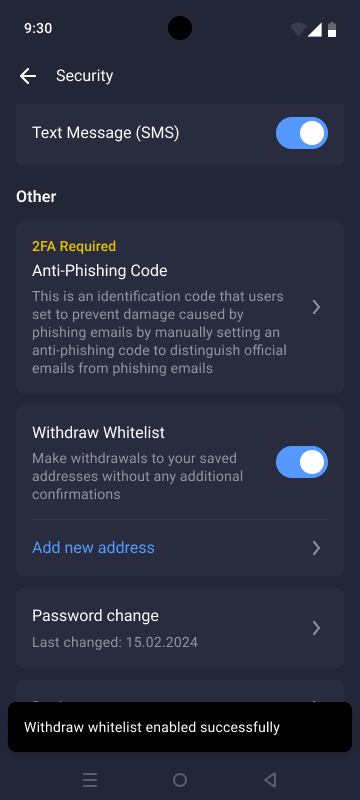
* **Enhanced security with withdrawal address whitelisting**
Secure your withdrawals by enabling the **Withdraw Whitelist** option in the **Security** section and adding trusted withdrawal addresses. Once enabled, funds can only be withdrawn to the specified addresses, preventing unauthorized transactions.
 * **One-click access to trading**
Clients can now access the MT4, MT5, and cTrader trading terminals by tapping **Trade** from their accounts in the app, making trading more convenient. To enable this feature, specify the **Web Terminal URL** in the platform details upon navigating to **Products** > **Platforms** in the B2CORE Back Office (for details, refer to [How to enable one-click trading access from the B2CORE UI and mobile app](../how-to-articles/manage-platforms/how-to-enable-one-click-access-to-web-trading-terminals)).
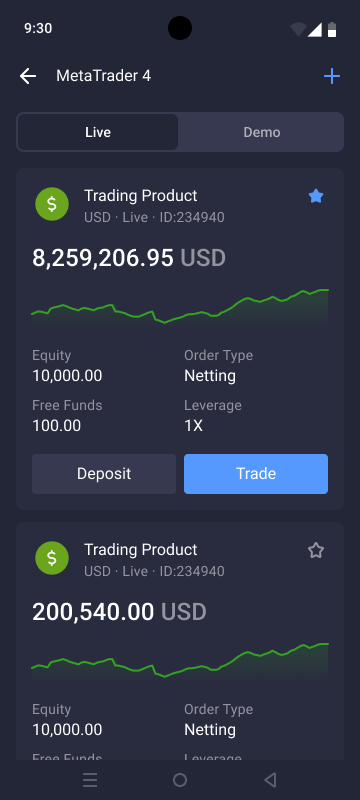
* **One-click access to trading**
Clients can now access the MT4, MT5, and cTrader trading terminals by tapping **Trade** from their accounts in the app, making trading more convenient. To enable this feature, specify the **Web Terminal URL** in the platform details upon navigating to **Products** > **Platforms** in the B2CORE Back Office (for details, refer to [How to enable one-click trading access from the B2CORE UI and mobile app](../how-to-articles/manage-platforms/how-to-enable-one-click-access-to-web-trading-terminals)).
 ***
### December, 2024 [#december-2024-1]
**v2.2.0 (Android)**
This version includes:
* **Introducing Brokers (IB)**
The IB functionality is now supported in the app, making it easier to manage your referral activities. With this update, you can:
* **Explore and join IB programs**: view all available IB programs and join new ones using the **IB Program** widget on the **Home** screen.
* **IB clients**: view a list of your referred clients, organized across different levels.
* **Track IB rewards**: monitor your earned rewards and view payment details. Additionally, you can track your IB wallet balance and make withdrawals directly from the app.
* **Customize IB referral links**: configure referral link parameters for each program in the **Advanced Link** section to optimize your referral strategy.
* **Enhancements to trading accounts**
More options for MT4/5 and cTrader accounts are now available in the app, including:
* **Essential account parameters**: view such parameters as Balance, Equity, Free Funds, Credit, and Leverage directly in the account details.
* **Equity chart**: analyze account performance with the Equity chart, now available for daily, weekly, and monthly periods.
* **Expanded trading data**: access more detailed trading data with the **Pending orders**, **Open positions**, and **Trading history** tabs.
* The ability to archive trading accounts.
* The ability to rename accounts for better organization.
* Bug fixes and interface improvements to deliver a more seamless and user-friendly experience.
***
### November, 2024 [#november-2024]
**v2.1.0 (Android)**
This version includes:
* **Support for exchanges**
Exchanges are now accessible in the **Finance** section, enabling you to convert between different currencies, including fiat to crypto, and vice versa. When making exchanges, you can view real-time rates and refresh them as needed to stay up-to-date with the latest rates for your transactions.
* **Integration with Zendesk**
With the integration of Zendesk customer support, you can now easily create, submit, and track your support tickets directly from the **Profile menu** in the app.
To use Zendesk in the app, the Zendesk configuration must be set up in the Back Office. This includes establishing an external connection to Zendesk and following the steps to [switch from SupportPal](../how-to-articles/manage-system-settings/how-to-switch-from-supportpal-to-zendesk) if it was previously used.
* **Favourite wallets**
You can now add wallets to your favorites in the app, making it easier to organize and access them quickly.
* **More options for trading accounts**
The options to rename your trading accounts and archive them are now available in the account details, giving you more flexibility in managing your accounts.
* Bug fixes and performance enhancements have been implemented to deliver a smoother and more responsive user experience.
***
### October, 2024 [#october-2024]
**v2.0.0 (Android)**
This version includes:
* **Support for MT4/5 and cTrader accounts**
You can now open demo and live MT4/5 and cTrader accounts in the app, deposit and withdraw funds to/from your accounts, and monitor account trading parameters, such as balance, equity, credit, and free margin in real time.
* **Transaction History section added**
View your full deposit, withdrawal, and transfer history, along with detailed information for each transaction, in the new Transaction History section.
* **Password change for profile security**
Providing a convenient way to keep your profile secure, the Security section now includes an option to change your profile password.
* **Sign in to the B2CORE UI with QR codes**
You can now use the app where you’re already signed in to scan QR codes on the B2CORE UI **Sign In** page, allowing access without the need to enter your credentials.
***
### September, 2024 [#september-2024]
**v1.0.0 (Android)**
We're excited to announce the release of the B2CORE app for Android, which you can launch as your own branded app. This allows you to offer your clients an additional platform to access the B2CORE functionality.
**App download**
Currently, Android apps are available for download and installation via APK files. To make the APK available for download from your B2CORE UI, refer to [How to configure settings for mobile app downloads](../how-to-articles/manage-system-settings/how-to-configure-settings-for-mobile-app-downloads).
This version includes:
* **Registration**
Registration through the app is available by clicking the Sign Up option on the Start screen.
* **Dashboard**
The Dashboard appears after signing in to the app, displaying the Total Balance, Last Transactions, and Wallets widgets, with banners at the top.
* **Profile menu**
Accessible by tapping the top left corner of the screen, the Profile menu enables you to:
* upload profile photos
* view your current verification levels and complete KYC verification to reach higher levels
* access security settings, such as 2FA via Google Authenticator or SMS, anti-phishing codes, and more
* displays the app version and a list of custom links to additional resources.
* **Wallets**
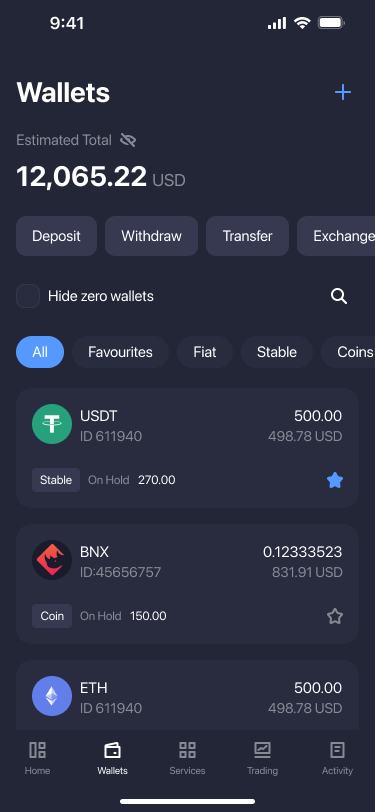
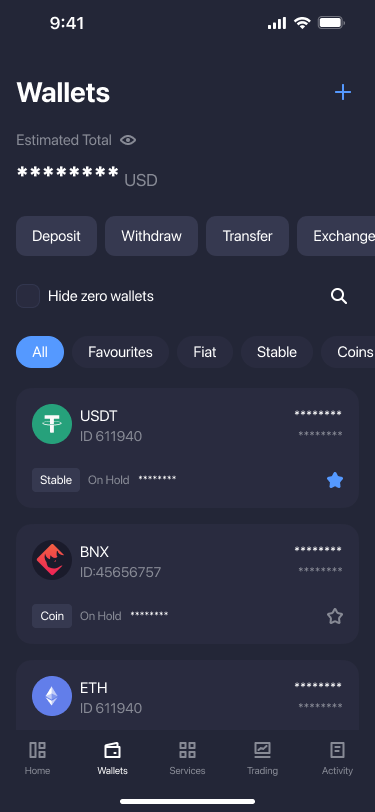
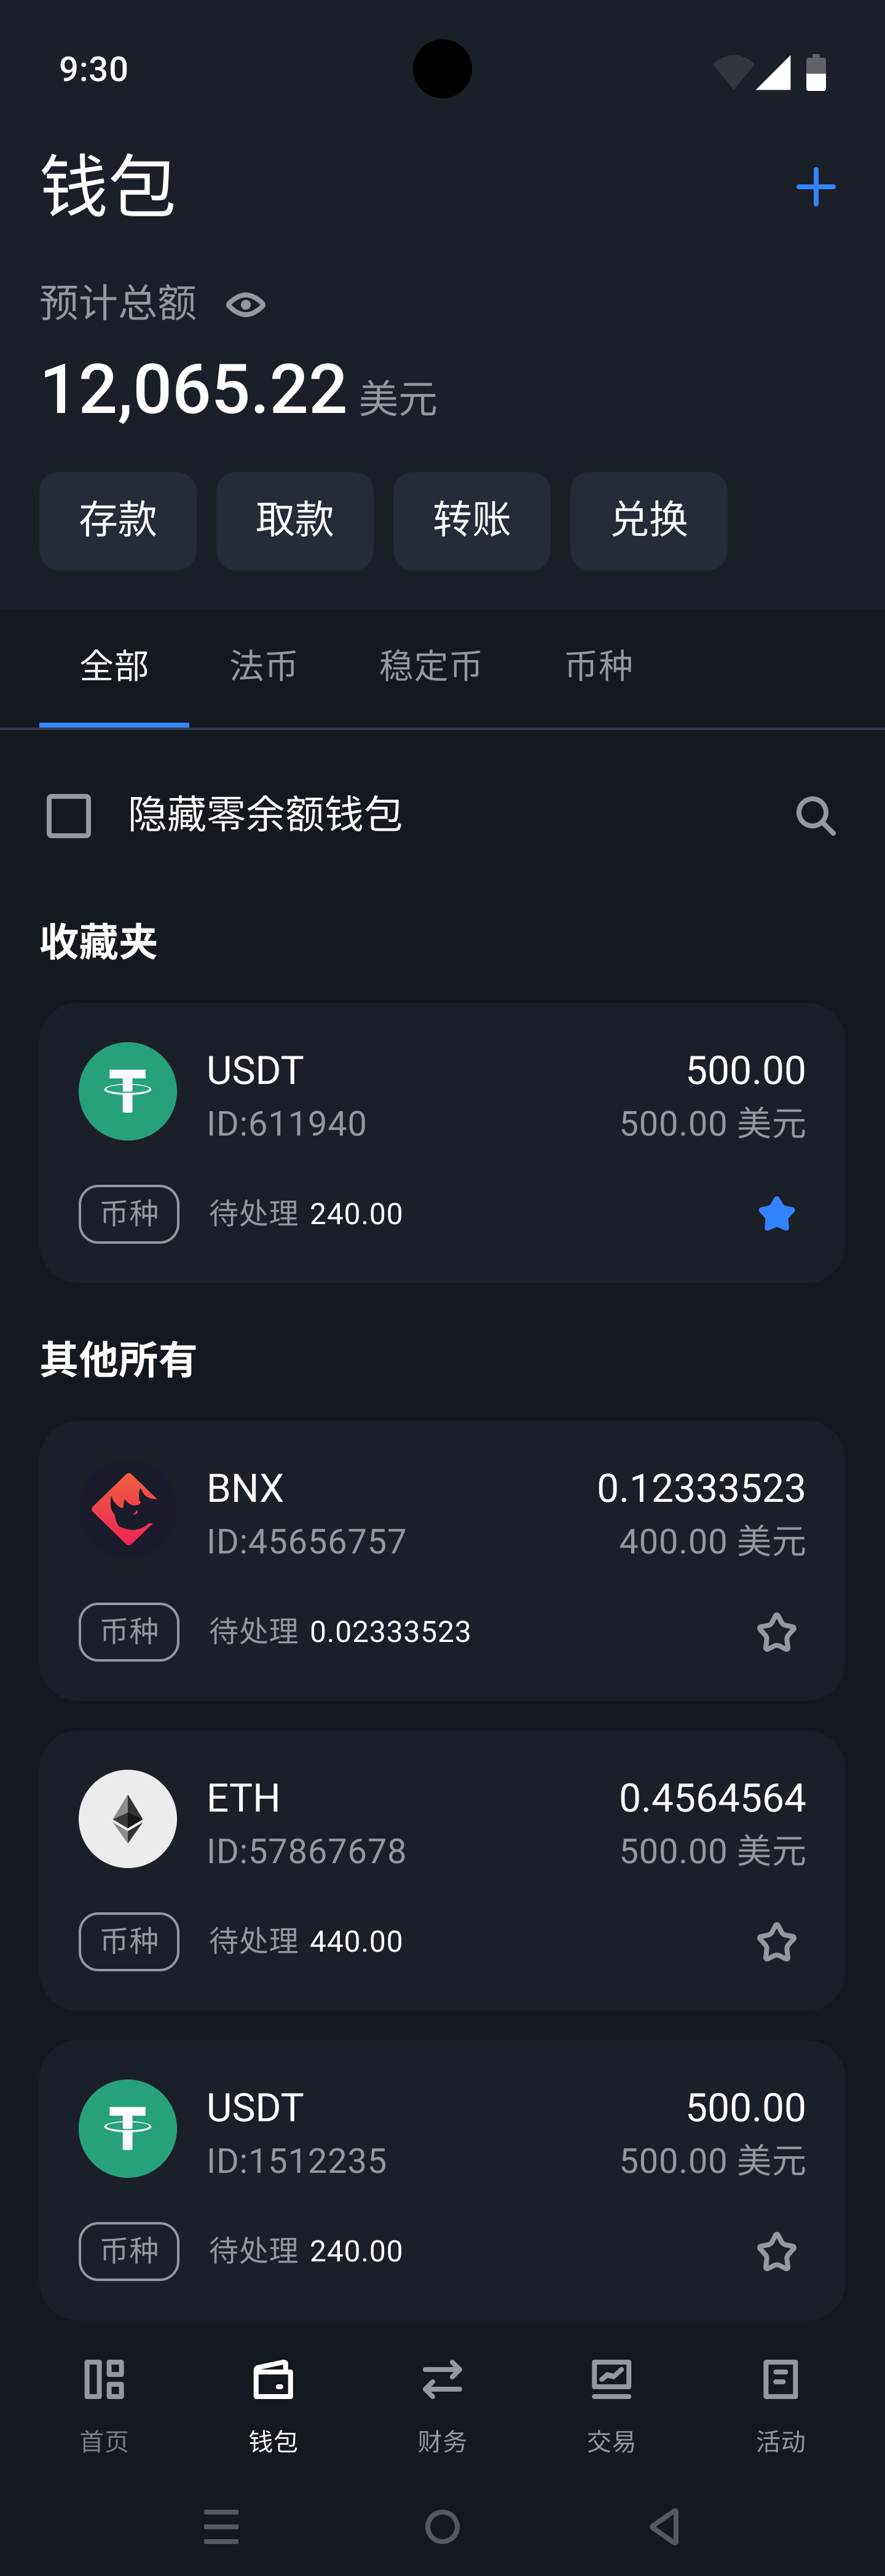
Displays a list of your wallets, grouped into crypto and fiat categories. At the top, the estimated total across all wallets, converted to USD, is shown. From this section, you can deposit, withdraw, and transfer funds.
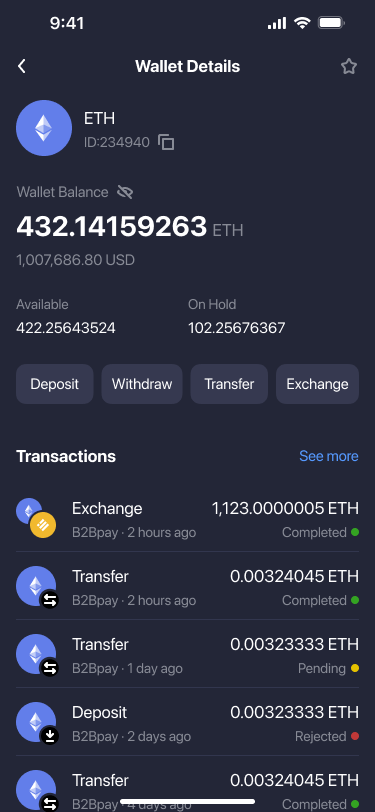
By tapping a wallet, you can view detailed information, including the available balance, amount on hold, and transaction history.
* **Finance**
This section is intended for deposits, withdrawals, and transfers. Recent transactions are displayed under each transaction type, allowing you to quickly initiate new ones with pre-filled fields based on previous transactions.
* **Trading**
This section supports the B2TRADER Spot Brokerage Platform, providing access to its extensive trading features and functionalities.
***
### December, 2024 [#december-2024-1]
**v2.2.0 (Android)**
This version includes:
* **Introducing Brokers (IB)**
The IB functionality is now supported in the app, making it easier to manage your referral activities. With this update, you can:
* **Explore and join IB programs**: view all available IB programs and join new ones using the **IB Program** widget on the **Home** screen.
* **IB clients**: view a list of your referred clients, organized across different levels.
* **Track IB rewards**: monitor your earned rewards and view payment details. Additionally, you can track your IB wallet balance and make withdrawals directly from the app.
* **Customize IB referral links**: configure referral link parameters for each program in the **Advanced Link** section to optimize your referral strategy.
* **Enhancements to trading accounts**
More options for MT4/5 and cTrader accounts are now available in the app, including:
* **Essential account parameters**: view such parameters as Balance, Equity, Free Funds, Credit, and Leverage directly in the account details.
* **Equity chart**: analyze account performance with the Equity chart, now available for daily, weekly, and monthly periods.
* **Expanded trading data**: access more detailed trading data with the **Pending orders**, **Open positions**, and **Trading history** tabs.
* The ability to archive trading accounts.
* The ability to rename accounts for better organization.
* Bug fixes and interface improvements to deliver a more seamless and user-friendly experience.
***
### November, 2024 [#november-2024]
**v2.1.0 (Android)**
This version includes:
* **Support for exchanges**
Exchanges are now accessible in the **Finance** section, enabling you to convert between different currencies, including fiat to crypto, and vice versa. When making exchanges, you can view real-time rates and refresh them as needed to stay up-to-date with the latest rates for your transactions.
* **Integration with Zendesk**
With the integration of Zendesk customer support, you can now easily create, submit, and track your support tickets directly from the **Profile menu** in the app.
To use Zendesk in the app, the Zendesk configuration must be set up in the Back Office. This includes establishing an external connection to Zendesk and following the steps to [switch from SupportPal](../how-to-articles/manage-system-settings/how-to-switch-from-supportpal-to-zendesk) if it was previously used.
* **Favourite wallets**
You can now add wallets to your favorites in the app, making it easier to organize and access them quickly.
* **More options for trading accounts**
The options to rename your trading accounts and archive them are now available in the account details, giving you more flexibility in managing your accounts.
* Bug fixes and performance enhancements have been implemented to deliver a smoother and more responsive user experience.
***
### October, 2024 [#october-2024]
**v2.0.0 (Android)**
This version includes:
* **Support for MT4/5 and cTrader accounts**
You can now open demo and live MT4/5 and cTrader accounts in the app, deposit and withdraw funds to/from your accounts, and monitor account trading parameters, such as balance, equity, credit, and free margin in real time.
* **Transaction History section added**
View your full deposit, withdrawal, and transfer history, along with detailed information for each transaction, in the new Transaction History section.
* **Password change for profile security**
Providing a convenient way to keep your profile secure, the Security section now includes an option to change your profile password.
* **Sign in to the B2CORE UI with QR codes**
You can now use the app where you’re already signed in to scan QR codes on the B2CORE UI **Sign In** page, allowing access without the need to enter your credentials.
***
### September, 2024 [#september-2024]
**v1.0.0 (Android)**
We're excited to announce the release of the B2CORE app for Android, which you can launch as your own branded app. This allows you to offer your clients an additional platform to access the B2CORE functionality.
**App download**
Currently, Android apps are available for download and installation via APK files. To make the APK available for download from your B2CORE UI, refer to [How to configure settings for mobile app downloads](../how-to-articles/manage-system-settings/how-to-configure-settings-for-mobile-app-downloads).
This version includes:
* **Registration**
Registration through the app is available by clicking the Sign Up option on the Start screen.
* **Dashboard**
The Dashboard appears after signing in to the app, displaying the Total Balance, Last Transactions, and Wallets widgets, with banners at the top.
* **Profile menu**
Accessible by tapping the top left corner of the screen, the Profile menu enables you to:
* upload profile photos
* view your current verification levels and complete KYC verification to reach higher levels
* access security settings, such as 2FA via Google Authenticator or SMS, anti-phishing codes, and more
* displays the app version and a list of custom links to additional resources.
* **Wallets**
Displays a list of your wallets, grouped into crypto and fiat categories. At the top, the estimated total across all wallets, converted to USD, is shown. From this section, you can deposit, withdraw, and transfer funds.
By tapping a wallet, you can view detailed information, including the available balance, amount on hold, and transaction history.
* **Finance**
This section is intended for deposits, withdrawals, and transfers. Recent transactions are displayed under each transaction type, allowing you to quickly initiate new ones with pre-filled fields based on previous transactions.
* **Trading**
This section supports the B2TRADER Spot Brokerage Platform, providing access to its extensive trading features and functionalities.
 ### B2CORE UI updates [#b2core-ui-updates-6]
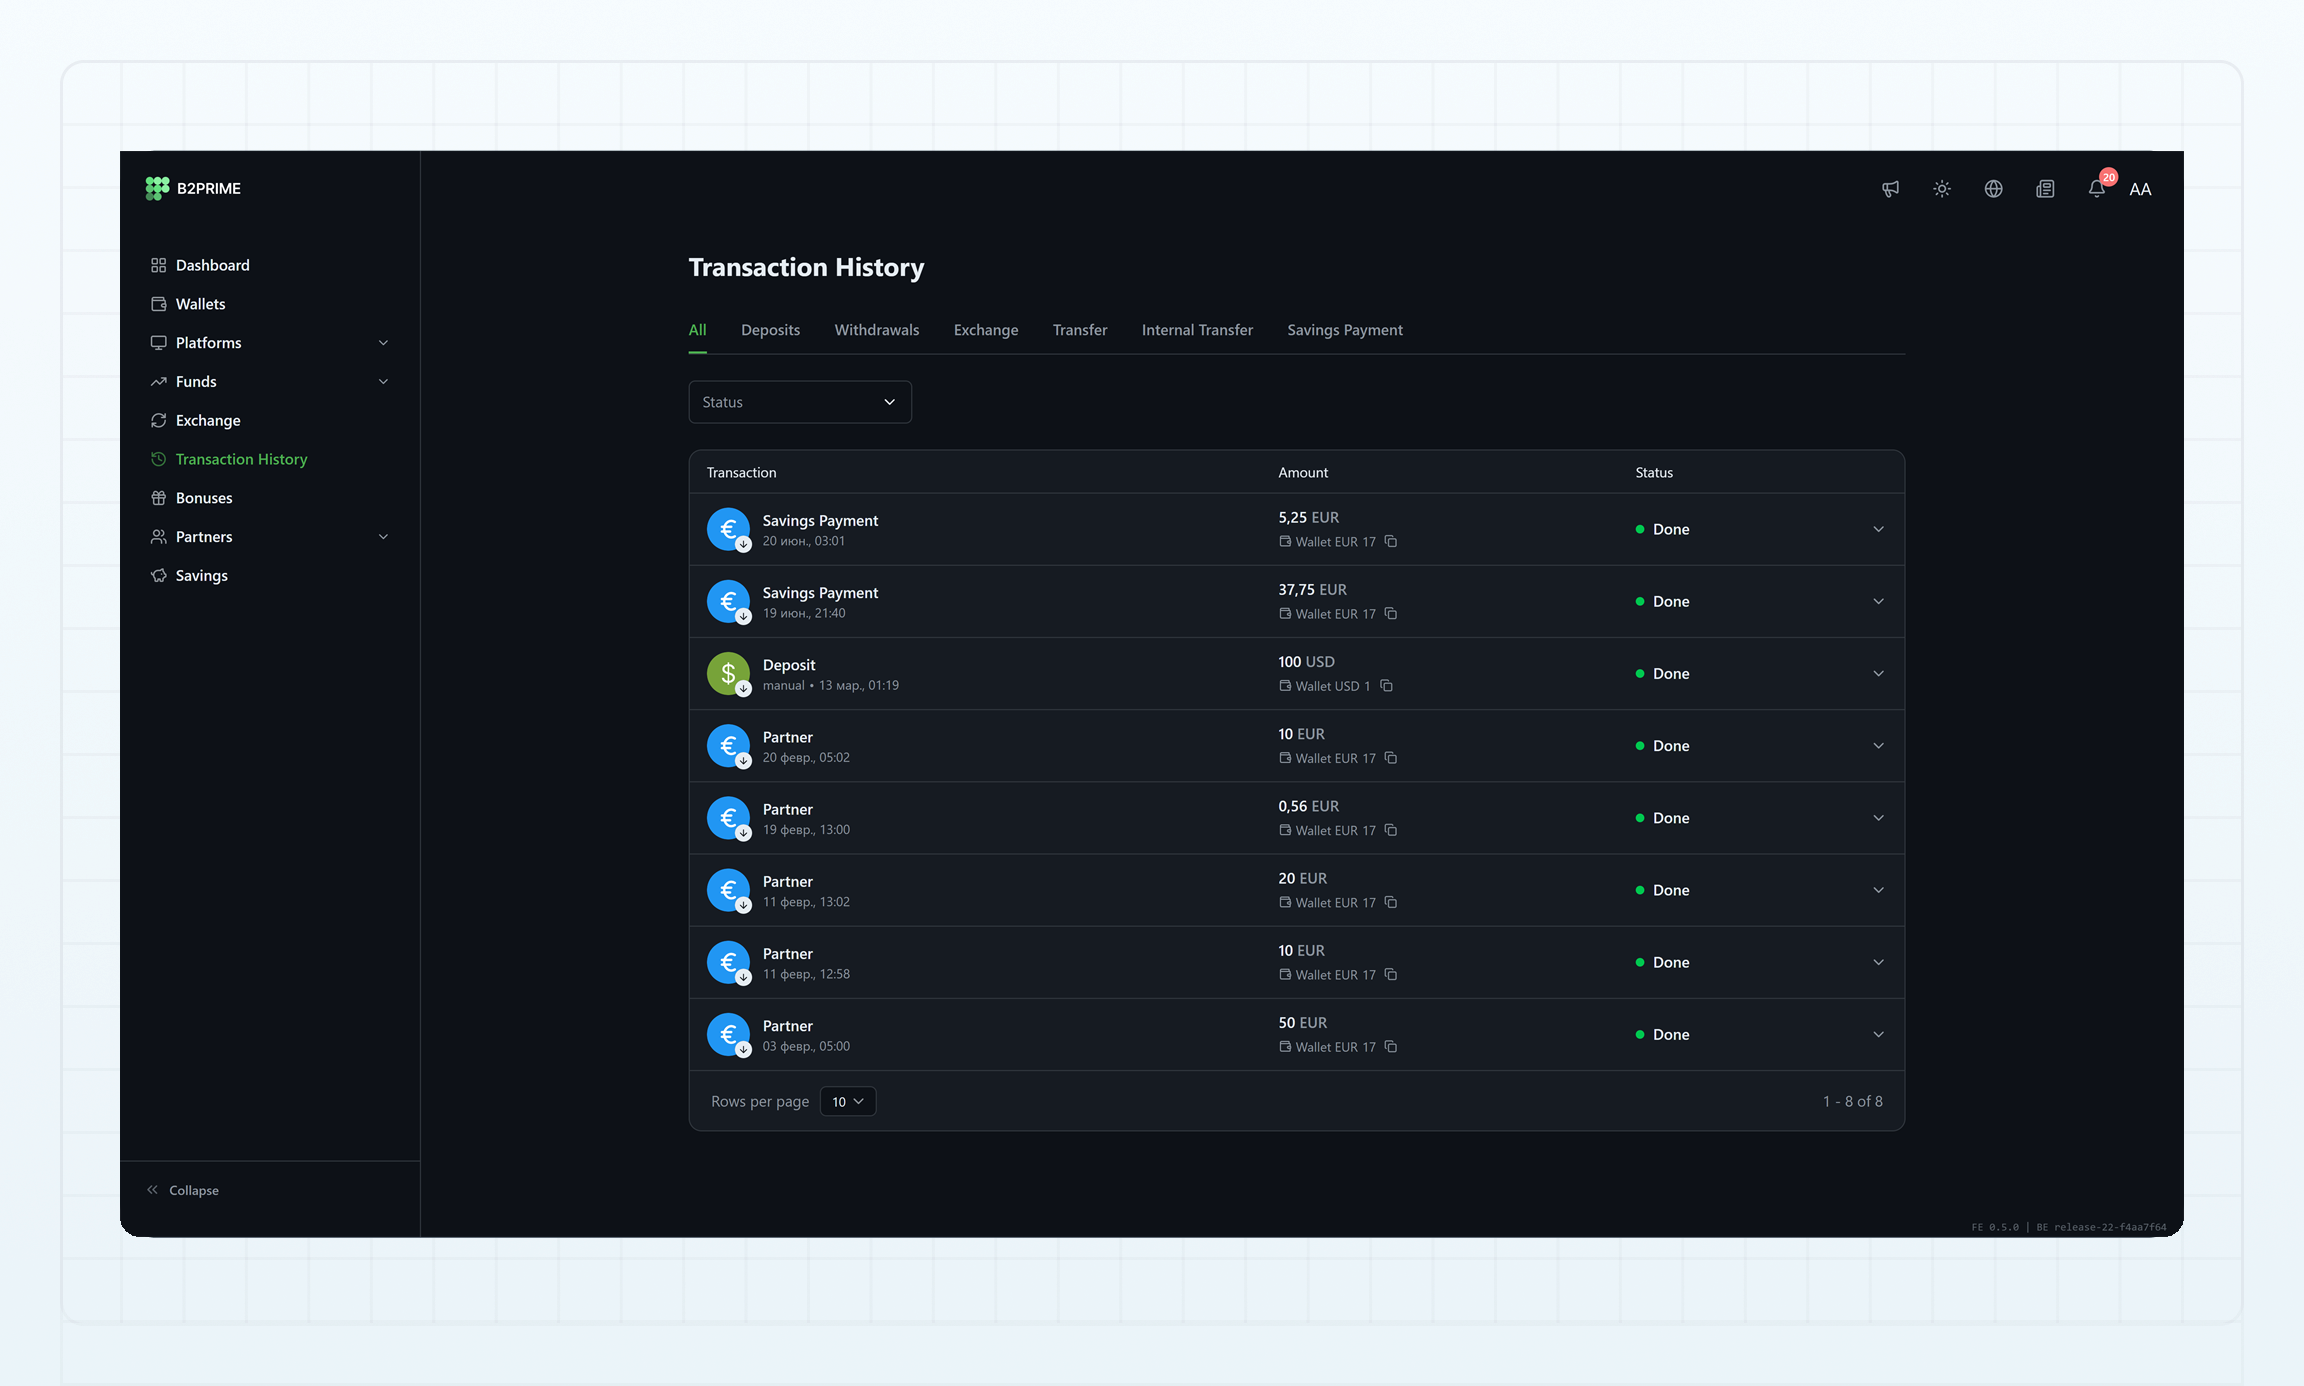
#### New All tab in Transaction History [#new-all-tab-in-transaction-history]
In **Transaction History**, a new **All** tab has been added, allowing clients to view transactions of all types in one place and filter them by status.
### B2CORE UI updates [#b2core-ui-updates-6]
#### New All tab in Transaction History [#new-all-tab-in-transaction-history]
In **Transaction History**, a new **All** tab has been added, allowing clients to view transactions of all types in one place and filter them by status.
 #### Support for the Zendesk chatbot [#support-for-the-zendesk-chatbot]
When using **Zendesk** as your HelpDesk system with B2CORE, you can now enable the Zendesk chatbot in the B2CORE UI. This enhancement offers a more streamlined HelpDesk experience, allowing clients to ask questions, quickly find the information that they need, and seamlessly switch to a live operator, all without requiring additional authorization. For details, refer to [How to add Zendesk chatbot](../how-to-articles/manage-system-settings/how-to-configure-a-connection-to-zendesk#how-to-configure-the-zendesk-chatbot).
#### Enhanced static Dashboard [#enhanced-static-dashboard]
The static **Dashboard** with fixed widgets introduced in the previous release has been further enhanced to improve usability and clarity.
**Last Transactions**
* The widget is now displayed on the **Dashboard** only if the related **Transaction History** menu is enabled. If the menu is hidden, the widget won’t appear on the **Dashboard**.
* Fiat currencies in the widget always use a precision of two decimals. All other currencies follow the decimal settings configured for each currency in the Back Office.
* If a client has no transaction history, the **All** button is hidden from the widget. It becomes visible once transactions appear, allowing clients to view their full history directly from the widget.
#### Support for the Zendesk chatbot [#support-for-the-zendesk-chatbot]
When using **Zendesk** as your HelpDesk system with B2CORE, you can now enable the Zendesk chatbot in the B2CORE UI. This enhancement offers a more streamlined HelpDesk experience, allowing clients to ask questions, quickly find the information that they need, and seamlessly switch to a live operator, all without requiring additional authorization. For details, refer to [How to add Zendesk chatbot](../how-to-articles/manage-system-settings/how-to-configure-a-connection-to-zendesk#how-to-configure-the-zendesk-chatbot).
#### Enhanced static Dashboard [#enhanced-static-dashboard]
The static **Dashboard** with fixed widgets introduced in the previous release has been further enhanced to improve usability and clarity.
**Last Transactions**
* The widget is now displayed on the **Dashboard** only if the related **Transaction History** menu is enabled. If the menu is hidden, the widget won’t appear on the **Dashboard**.
* Fiat currencies in the widget always use a precision of two decimals. All other currencies follow the decimal settings configured for each currency in the Back Office.
* If a client has no transaction history, the **All** button is hidden from the widget. It becomes visible once transactions appear, allowing clients to view their full history directly from the widget.
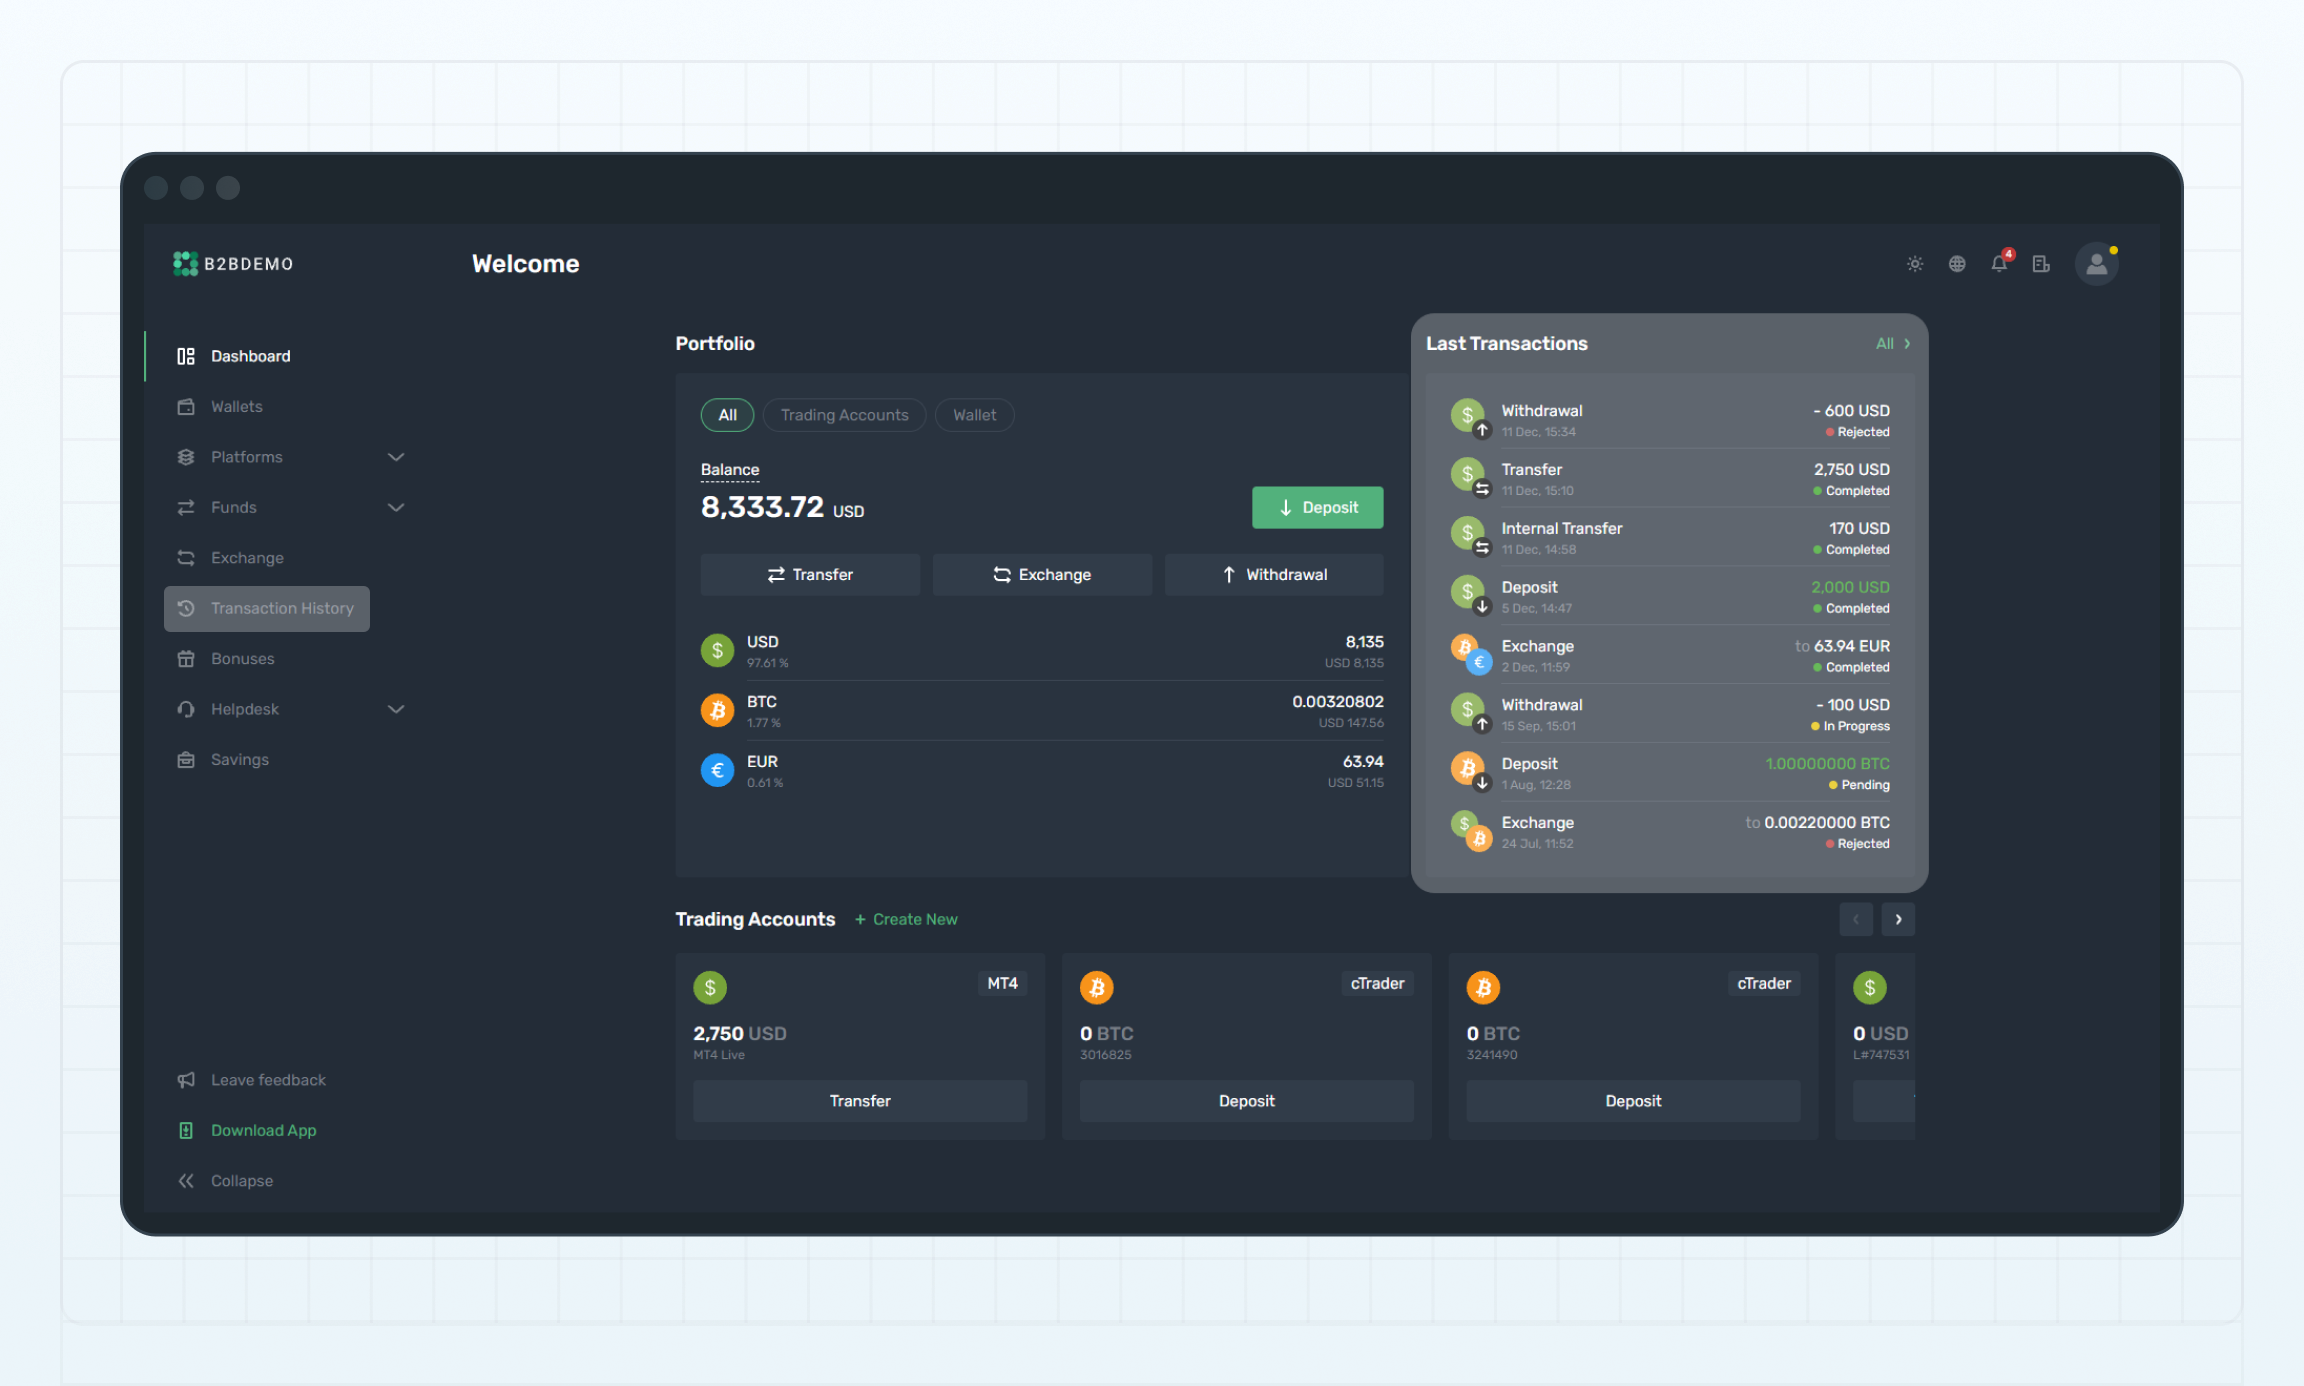 **Portfolio**
The tabs displayed in the widget now depend on whether the related **Wallets** and **Platforms** menus are enabled:
* If both menus are enabled, the widget shows the **Wallets**, **Trading Platforms**, and **All** tabs, allowing clients to view their total portfolio value across all wallets and trading accounts.
* If either menu is disabled, the corresponding tab is hidden from the widget.
**Trading Accounts**
The widget is displayed on the **Dashboard** only if the related **Platforms** menu is enabled. If the menu is hidden, the widget won’t appear on the **Dashboard**.
**Portfolio**
The tabs displayed in the widget now depend on whether the related **Wallets** and **Platforms** menus are enabled:
* If both menus are enabled, the widget shows the **Wallets**, **Trading Platforms**, and **All** tabs, allowing clients to view their total portfolio value across all wallets and trading accounts.
* If either menu is disabled, the corresponding tab is hidden from the widget.
**Trading Accounts**
The widget is displayed on the **Dashboard** only if the related **Platforms** menu is enabled. If the menu is hidden, the widget won’t appear on the **Dashboard**.
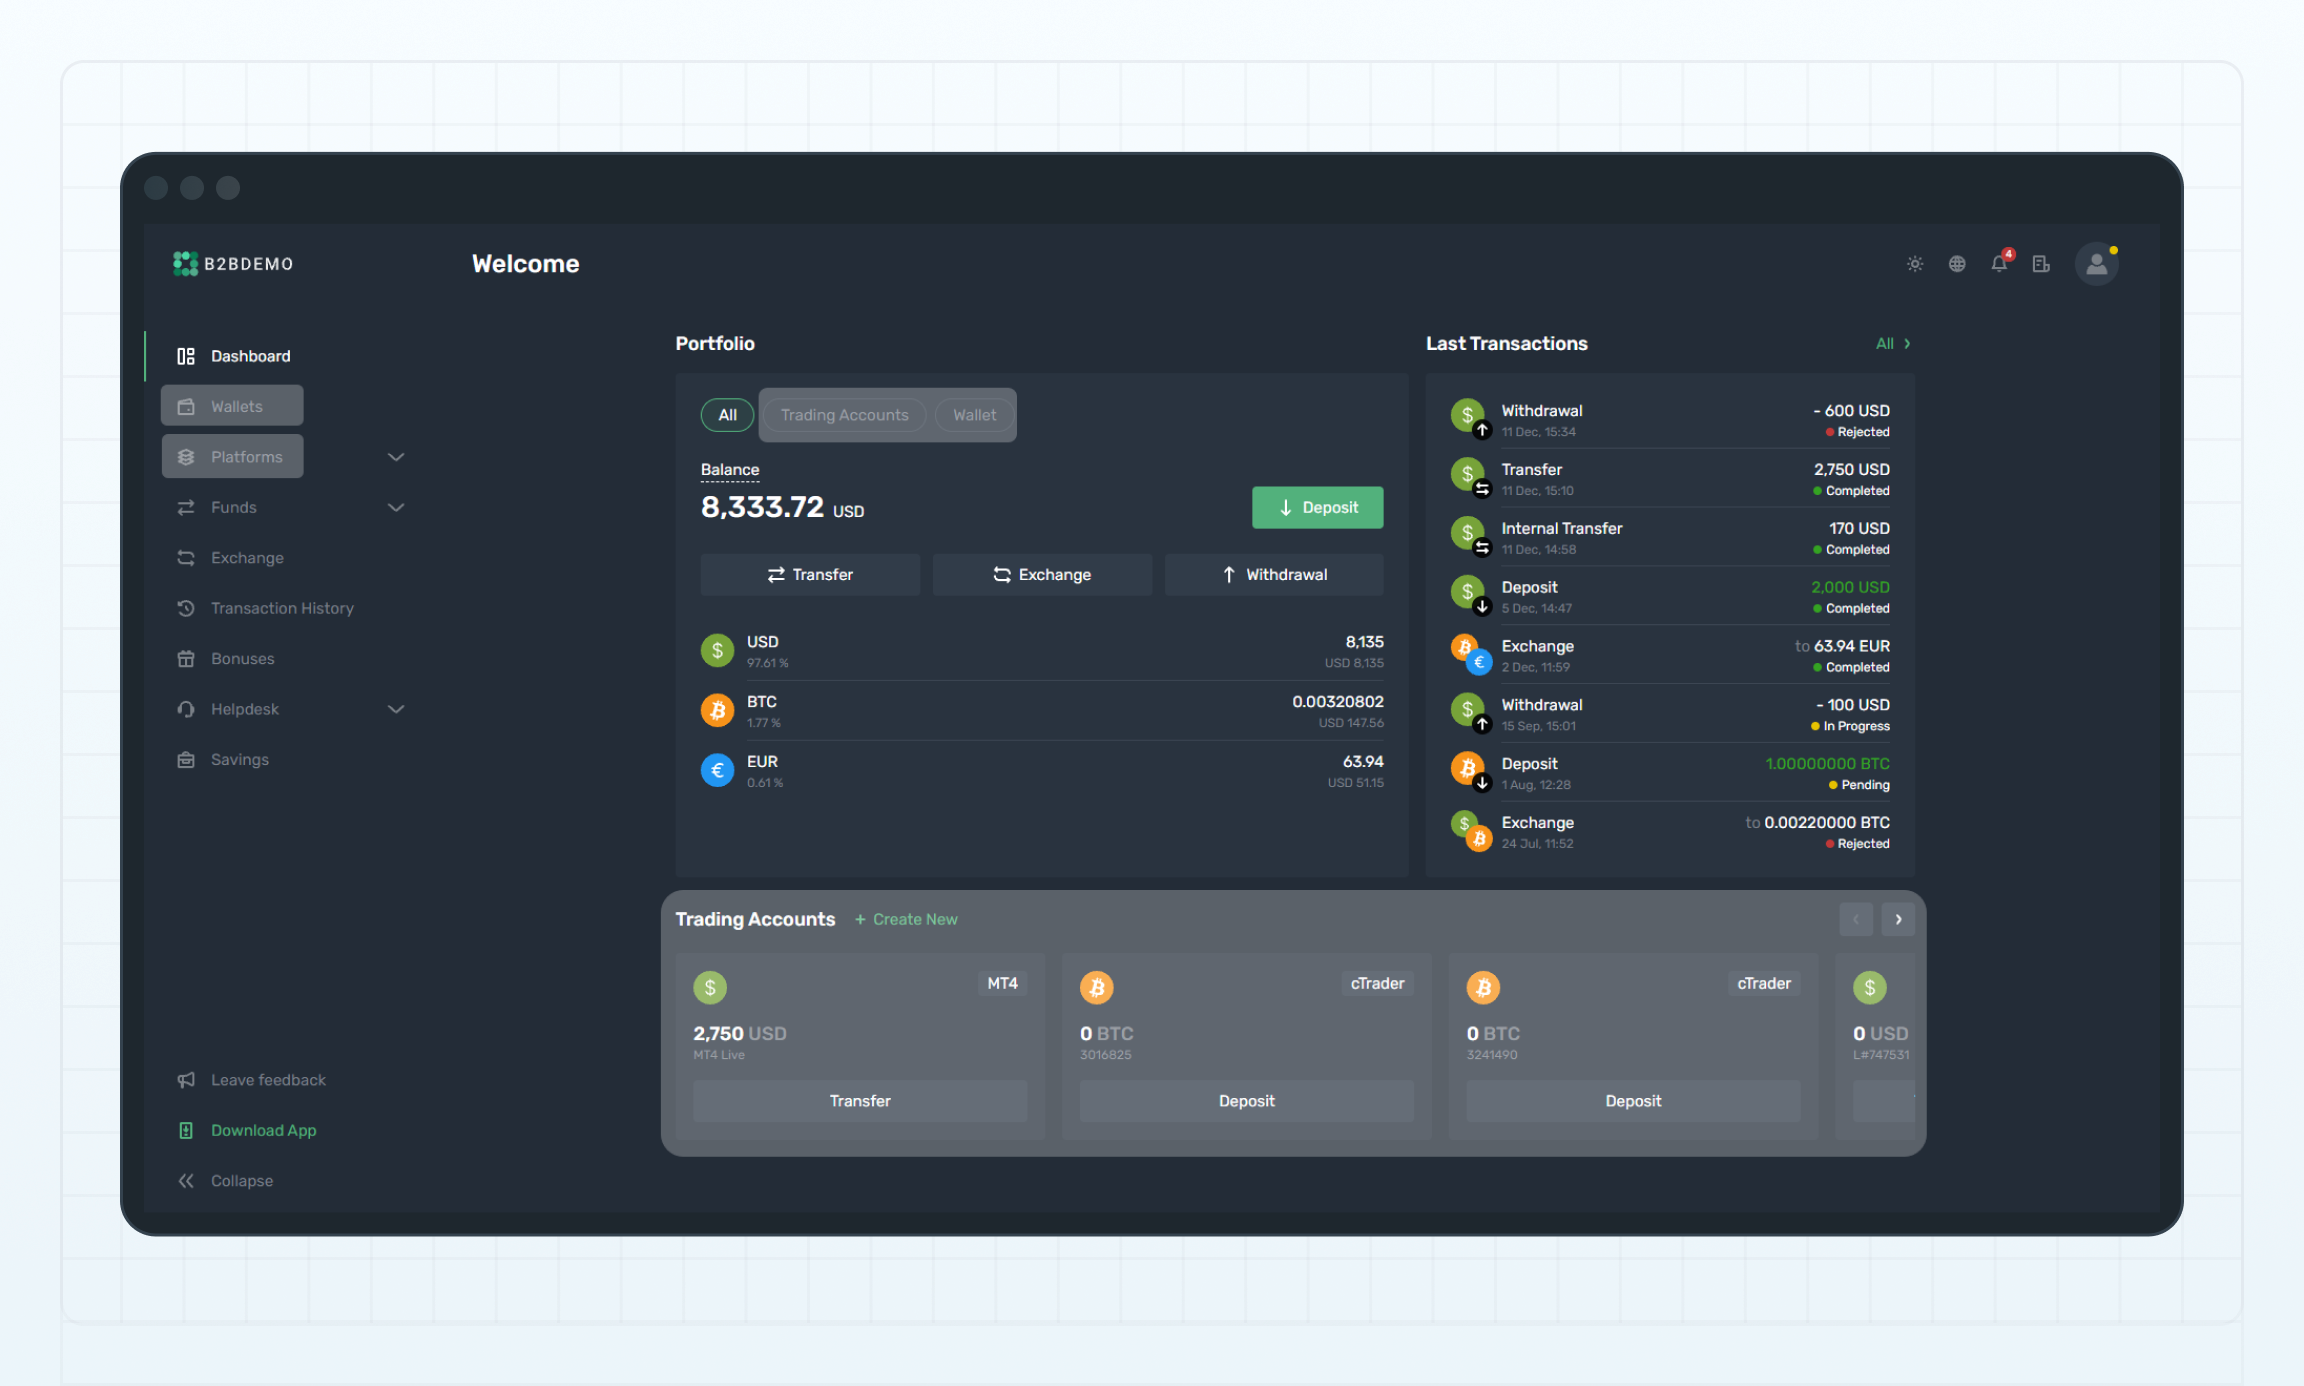 * **Automatic submission of verification code forms**
In forms where verification codes are required to confirm actions, for example, signing in, changing a password, or others, the form is now automatically submitted once the code is entered, removing the need for clients to click the **Continue** button and making the process more seamless.
### Payment system updates [#payment-system-updates-6]
#### Payment input snapshots [#payment-input-snapshots]
In the B2CORE Back Office, it’s now possible to view the information that clients enter on the deposit and withdrawal forms when using **PSS** methods. This data helps admins to make informed decisions when approving or rejecting withdrawal requests and speeds up the investigation of potential payment-related issues.
The information is available in the new **Payment input snapshot** section, which is added to:
* Deposit details in **Finance** > **Deposits**.
* Withdrawal details in **Finance > Payouts**.
* Client requests in **Clients** > **Requests**, including: **Payout** requests, **PS Deposit Assistance** requests, and **PS Withdrawal Assistance** requests.
#### Streamlined handling of PS Deposit Assistance requests [#streamlined-handling-of-ps-deposit-assistance-requests]
When a **PS Deposit Assistance** request is triggered due to reaching a sync deadline with the respective payment system, a separate request is no longer created in **Clients** > **Requests**. Instead, such cases now must be handled directly in the deposit details, reducing the number of unnecessary assistance requests.
#### Full B2TRANSLATE integration for payment forms [#full-b2translate-integration-for-payment-forms]
Payment forms in the B2CORE UI and mobile apps are now fully integrated with [B2TRANSLATE](https://docs.b2translate.b2broker.com/) (formerly WEBLATE). Labels for all components of dynamic forms for PSS-connected deposit and withdrawal methods, as well as validation error messages, can now be customized and translated into multiple languages via B2TRANSLATE. This ensures consistent localization across all financial workflows.
### Improvements [#improvements-6]
* The balance of source accounts is now checked when approving client requests for **transfers** and **internal transfers** to ensure sufficient funds are available. If the balance is insufficient for a transfer, the request can’t be approved, and the error message is displayed: `Application approve failed. Insufficient funds on source account`.
* In **Bonuses** > **Bonus distribution**, a new **Created by** column has been added, displaying the emails and IDs of the Back Office users who added bonuses to clients. Clicking an ID opens the profile of the respective Back Office user.
* The loading speed of the **Finance** > **Exchange** page in the Back Office has been significantly improved, especially for large data volumes. Exporting exchange data from the same page has also been accelerated.
* Visibility of items in the main menu of the B2CORE UI can now be restricted based on a client’s **jurisdiction** and **country**, allowing more granular control over which features clients can access.
## October 1, 2025 [#october-1-2025]
### New features [#new-features-7]
#### New PS integrations [#new-ps-integrations-3]
Support for the following new payment systems has been added via **PSS**:
* **Payrock** – with support for deposits and withdrawals
* **Proxpay** – with support for deposits and withdrawals
* **KoraPay** – the option for withdrawals to bank accounts has been added.
#### Introducing static payment details for deposits [#introducing-static-payment-details-for-deposits]
Starting with this release, deposit methods via integrated payment systems will gradually support **static payment details**. Previously issued payment information, such as crypto addresses or bank details, is saved for clients, allowing them to reuse it for deposits of different amounts at any time.
In this release, **B2BINPAY** and **Coinsbuy** methods feature static deposit details. Clients can generate deposit addresses in the B2CORE UI, which are saved for future use, or create new blockchain-specific addresses, all stored for subsequent deposits.
#### The Dashboard with key financial metrics [#the-dashboard-with-key-financial-metrics]
The **Dashboard** now opens after signing in to the Back Office for users who are assigned the permission `Access to Finance Dashboard` under the **Statistics** category. The **Dashboard** displays key financial metrics, including **total deposits**, **total withdrawals**, and **net deposits**, helping users quickly review financial results and activity over the selected period (refer to [Dashboard](../back-office-guide/dashboard)).
### B2CORE UI updates [#b2core-ui-updates-7]
#### Redesigned static Dashboard [#redesigned-static-dashboard]
The B2CORE UI **Dashboard** has been redesigned to provide a clear, intuitive overview of a client’s portfolio and financial state. The **Dashboard** is now a fixed, non-customizable page with the following widgets:
* **Portfolio**: shows the total balance with the ability to view allocation across wallets and trading accounts. The prominent **Deposit** button allows clients to add funds quickly. In addition, access to other financial transactions such as **Transfers**, **Exchanges**, and **Withdrawals** is available from the widget.
* **Last Transactions**: shows a list of recent financial transactions along with their statuses for quick review and provides access to the full **Transaction History**.
* **Trading Accounts**: displays active accounts, marked as favorites or accounts with non-zero balances, for easy access, and provides options to create a new account or go to trading with a single click.
#### Clear display of verification request statuses [#clear-display-of-verification-request-statuses]
For clients, it’s now easier to track the status of their verification requests. A new banner on the **Dashboard** and **Verification** page displays the pending status after a request is submitted and provides a direct link to the **Document verification** section, where clients can monitor their document statuses.
#### More accurate indicative amounts for deposits and withdrawals [#more-accurate-indicative-amounts-for-deposits-and-withdrawals]
The calculation of indicative amounts displayed to clients when initiating deposits and withdrawals in the B2CORE UI has been reworked. These amounts now more accurately reflect the final results that clients will receive after execution, taking into account commissions and exchange rates.
### Improvements [#improvements-7]
* For **DXtrade**, it's become possible to add the **Account number prefix** when configuring a product in the Back Office. The prefix is added to the beginning of DXtrade account numbers to help distinguish, for example, live and demo accounts or accounts belonging to different brands within a single DXtrade infrastructure (refer to [How to integrate DXtrade](../how-to-articles/manage-platforms/how-to-integrate-dxtrade)).
* For **ShuftiPro**, the document type `any` is now supported for address verification. It allows clients to submit any document containing their name and address, rather than a specific document type, making the KYC process more flexible and convenient (refer to [How to use ShuftiPro](../how-to-articles/manage-verification-options/how-to-use-shuftipro)).
* Jurisdictions are now assigned to clients based on the combination of their **country** and **client type** as defined in the jurisdiction settings (refer to [Jurisdictions](../back-office-guide/clients/jurisdictions)).
* PSS payment methods, including both deposits and withdrawals, are now supported in the mobile apps starting from version 1.30.0 (iOS) and 2.8.0 (Android).
* Table loading in the Back Office has been optimized. In particular, the **Clients** > **Accounts** list now loads much faster, even when handling a large number of accounts.
* For **Twilio** calls to clients from the B2CORE Back Office, you can now choose which phone number to use if you have several active Twilio numbers in your account. This enables you to select the most suitable local number, increasing the chances of successful contact and enhancing client trust.
Outgoing calls made from the B2CORE Back Office via Twilio can now be recorded, with the recordings saved in your Twilio account for later playback.
* The **Export** option has been enhanced to provide more reliable data export from the pages where this option is available in the Back Office.
* In **Bonuses** > **Bonus distribution**, the **Ignored symbol groups** field is now optional and can be left empty when manually crediting bonuses to clients. If left empty, all symbols from available groups traded by a client are counted toward their traded volume for meeting bonus requirements.
* Banner targeting in the B2CORE UI and mobile apps has been improved. In addition to **country** and **verification level**, restrictions can now be applied by **client type** and **jurisdiction** for more precise control over visibility.
* In saved withdrawal presets in the B2CORE UI, the payment method now matches the selected withdrawal method, and the currency is clearly displayed. Previously, the technical method name used in the Back Office appeared, causing inconsistencies.
## July 2, 2025 [#july-2-2025]
### New features [#new-features-8]
#### New PS integrations [#new-ps-integrations-4]
Support for the following new payment systems has been added via **PSS**, with both deposits and withdrawals available:
* **FundPay**
* **Jetapay**
* **PayRetailers**
* **TopChange Pay**
In addition, withdrawals are now supported for **AlfredPay**.
#### Integration with SumSub Fraud Prevention [#integration-with-sumsub-fraud-prevention]
Transaction monitoring via **SumSub Fraud Prevention** is now supported for fiat and crypto **deposits** and **withdrawals**.
When such transactions are initiated, they're automatically checked by **SumSub**, with results returned to B2CORE. The results are displayed in the **Transaction monitoring** section of deposit and withdrawal details, as well as in the respective client requests before they can be approved or rejected. Additionally, a new **KYT status** column in **Finance** > **Deposits/Payouts** displays the transaction monitoring results.
This also improves **auto-withdrawals** in B2CORE, allowing faster processing without compromising compliance.
To use this feature, you must have **SumSub Fraud Prevention** enabled and properly configured in your SumSub account and the enabled **SumSub** external connection in the B2CORE Back Office (refer to [How to configure a connection to SumSub](../how-to-articles/manage-verification-options/how-to-use-sumsubstance#how-to-configure-a-connection-to-sumsub)).
#### Integration with ActiveCampaign [#integration-with-activecampaign]
It’s now possible to run targeted email campaigns using client data from B2CORE, seamlessly synced with the **ActiveCampaign** platform. This integration enables more efficient, data-driven email marketing and notifications by:
* Configuring an external connection to **ActiveCampaign** in the B2CORE Back Office.
* Automatically syncing client data from B2CORE to **ActiveCampaign**.
* Creating email lists to improve client retention and provide more personalized interactions via **ActiveCampaign**.
For details, refer to [How to integrate ActiveCampaign](../how-to-articles/manage-communication-platforms/how-to-integrate-activecampaign).
#### Support for custom menu items in the B2CORE web and mobile apps [#support-for-custom-menu-items-in-the-b2core-web-and-mobile-apps]
It’s now possible to add custom items to the menu displayed in both the B2CORE UI and mobile apps. In mobile apps, this functionality is supported starting from **iOS** v1.29 and **Android** v2.6.0.
Custom items can be configured in **Promotion** > **Menu** by specifying their names, URLs to which clients will be redirected, and icons. When clicked, clients are redirected to third-party external resources or web pages that support your business (refer to [How to add custom menu items](../how-to-articles/manage-advertising-options/how-to-add-custom-menu-items)).
### B2CORE UI updates [#b2core-ui-updates-8]
#### Improved Total Balance widget [#improved-total-balance-widget]
The widget has been improved to show balances from both wallets and trading accounts, as well as the overall portfolio value for a comprehensive financial overview.
#### Enhancements related to B2TRADER accounts [#enhancements-related-to-b2trader-accounts]
The following improvements to B2TRADER accounts handling have been introduced:
* **New B2TRADER Accounts widget**: accounts created on the B2TRADER platform can now be conveniently viewed and accessed via a dedicated widget on the **Dashboard** in the B2CORE UI. With a single click, traders can sign in to the trading interface and start trading instantly.
* **Support for Netting accounts**: in addition to **Hedging**, B2TRADER accounts with the **Netting** execution type are now supported. This allows traders to choose the appropriate type to plan and adjust their trading strategies. To enable Netting accounts, a separate product must be configured in the B2CORE Back Office under the **Products** menu.
* **Support for demo accounts**: demo B2TRADER accounts with a predefined balance can now be created via the B2CORE UI, allowing traders to safely practice using the trading interface.To enable demo accounts, a separate product must be configured in the B2CORE Back Office under the **Products** menu.
#### Revised Sign Up and Sign In pages [#revised-sign-up-and-sign-in-pages]
The **Sign Up** and **Sign In** forms have been redesigned for a cleaner layout, improved visual appearance, and a better overall user experience, including:
* Displaying the client’s email or phone during confirmation to clarify where a verification code was sent.
* The **Back** button now returns clients to the previous step without resetting the form.
### Improvements [#improvements-8]
* PSS payment methods are now partially supported in the mobile apps. *Deposit* methods are available in the **iOS** app starting from v1.29 and **Android** starting from v2.6.0. *Withdrawal* methods via PSS aren't yet supported.
* The use of bonus presets and temporary bonuses can now be restricted for clients based on a client's **country**, **client type**, **verification level**, **jurisdiction**, or **introducing broker (IB)**. These restrictions can be applied individually or in combination, allowing for more granular access control.
If the restrictions are applied to the bonus preset used for crediting automatic deposit bonuses, these bonuses will only be credited to clients who meet the specified criteria (refer to [Bonus presets](../back-office-guide/bonuses/bonus-presets#details) and [Temporary bonuses](../back-office-guide/bonuses/temporary-bonuses#details)).
* On the **Bonus** > **Bonus distribution** page, a new **Expired at** column has been added to display the date and time when a credited bonus is scheduled to expire or has already expired. This improvement makes it easier to monitor bonus timelines on client accounts and encourage clients to meet the bonus requirements before expiration.
* Jurisdiction handling has been enhanced. You can now manually assign or change a client's jurisdiction in the client details in the Back Office. The list of countries for a jurisdiction can be edited, with the option to apply changes to existing clients or only to those who register after the update (refer to [Jurisdictions](../back-office-guide/clients/jurisdictions)).
* For KYC via **ShuftiPro**, the **Show OCR form** – where clients can review, confirm, or if necessary, edit the information extracted from their submitted documents – can now be enabled or disabled in the ShuftiPro connection settings in **System** > **External connections**.
* Confirmed phone numbers can now be removed from the **Contacts** tab in client profiles in the Back Office. To do this, a Back Office user must be assigned the `Update clients` permission. Once removed, the phone number becomes available for registering a new client profile.
* The **Clients** > **Requests** page has been improved to include a **Country** column with filter options, making it easier to identify requests by client location. Additionally, the **Processing date** column now shows when a request was approved or rejected, helping you assess its processing time.
* In **System** > **Visual customization**, images uploaded as logos can now only be in `SVG` format.
### Resolved issues [#resolved-issues-6]
* Resolved an internal server error that occurred when uploading supporting documents for deposits via the **WireDocument** provider. Deposit requests now proceed without errors.
## April 18, 2025 [#april-18-2025]
### New features [#new-features-9]
#### New PS integrations [#new-ps-integrations-5]
With this release, we’ve integrated a new payment system, **AlfredPay**. It supports deposits and is fully integrated via PSS connections.
#### Ongoing migration of payment systems to PSS [#ongoing-migration-of-payment-systems-to-pss]
More systems have been successfully migrated to the **Payment System Service (PSS)**.
You can view the complete list of PSS-supported payment systems in [Integrations > Payment systems](../integrations/payment-systems). They are marked with Yes in the **PSS-supported** column.
* **Automatic submission of verification code forms**
In forms where verification codes are required to confirm actions, for example, signing in, changing a password, or others, the form is now automatically submitted once the code is entered, removing the need for clients to click the **Continue** button and making the process more seamless.
### Payment system updates [#payment-system-updates-6]
#### Payment input snapshots [#payment-input-snapshots]
In the B2CORE Back Office, it’s now possible to view the information that clients enter on the deposit and withdrawal forms when using **PSS** methods. This data helps admins to make informed decisions when approving or rejecting withdrawal requests and speeds up the investigation of potential payment-related issues.
The information is available in the new **Payment input snapshot** section, which is added to:
* Deposit details in **Finance** > **Deposits**.
* Withdrawal details in **Finance > Payouts**.
* Client requests in **Clients** > **Requests**, including: **Payout** requests, **PS Deposit Assistance** requests, and **PS Withdrawal Assistance** requests.
#### Streamlined handling of PS Deposit Assistance requests [#streamlined-handling-of-ps-deposit-assistance-requests]
When a **PS Deposit Assistance** request is triggered due to reaching a sync deadline with the respective payment system, a separate request is no longer created in **Clients** > **Requests**. Instead, such cases now must be handled directly in the deposit details, reducing the number of unnecessary assistance requests.
#### Full B2TRANSLATE integration for payment forms [#full-b2translate-integration-for-payment-forms]
Payment forms in the B2CORE UI and mobile apps are now fully integrated with [B2TRANSLATE](https://docs.b2translate.b2broker.com/) (formerly WEBLATE). Labels for all components of dynamic forms for PSS-connected deposit and withdrawal methods, as well as validation error messages, can now be customized and translated into multiple languages via B2TRANSLATE. This ensures consistent localization across all financial workflows.
### Improvements [#improvements-6]
* The balance of source accounts is now checked when approving client requests for **transfers** and **internal transfers** to ensure sufficient funds are available. If the balance is insufficient for a transfer, the request can’t be approved, and the error message is displayed: `Application approve failed. Insufficient funds on source account`.
* In **Bonuses** > **Bonus distribution**, a new **Created by** column has been added, displaying the emails and IDs of the Back Office users who added bonuses to clients. Clicking an ID opens the profile of the respective Back Office user.
* The loading speed of the **Finance** > **Exchange** page in the Back Office has been significantly improved, especially for large data volumes. Exporting exchange data from the same page has also been accelerated.
* Visibility of items in the main menu of the B2CORE UI can now be restricted based on a client’s **jurisdiction** and **country**, allowing more granular control over which features clients can access.
## October 1, 2025 [#october-1-2025]
### New features [#new-features-7]
#### New PS integrations [#new-ps-integrations-3]
Support for the following new payment systems has been added via **PSS**:
* **Payrock** – with support for deposits and withdrawals
* **Proxpay** – with support for deposits and withdrawals
* **KoraPay** – the option for withdrawals to bank accounts has been added.
#### Introducing static payment details for deposits [#introducing-static-payment-details-for-deposits]
Starting with this release, deposit methods via integrated payment systems will gradually support **static payment details**. Previously issued payment information, such as crypto addresses or bank details, is saved for clients, allowing them to reuse it for deposits of different amounts at any time.
In this release, **B2BINPAY** and **Coinsbuy** methods feature static deposit details. Clients can generate deposit addresses in the B2CORE UI, which are saved for future use, or create new blockchain-specific addresses, all stored for subsequent deposits.
#### The Dashboard with key financial metrics [#the-dashboard-with-key-financial-metrics]
The **Dashboard** now opens after signing in to the Back Office for users who are assigned the permission `Access to Finance Dashboard` under the **Statistics** category. The **Dashboard** displays key financial metrics, including **total deposits**, **total withdrawals**, and **net deposits**, helping users quickly review financial results and activity over the selected period (refer to [Dashboard](../back-office-guide/dashboard)).
### B2CORE UI updates [#b2core-ui-updates-7]
#### Redesigned static Dashboard [#redesigned-static-dashboard]
The B2CORE UI **Dashboard** has been redesigned to provide a clear, intuitive overview of a client’s portfolio and financial state. The **Dashboard** is now a fixed, non-customizable page with the following widgets:
* **Portfolio**: shows the total balance with the ability to view allocation across wallets and trading accounts. The prominent **Deposit** button allows clients to add funds quickly. In addition, access to other financial transactions such as **Transfers**, **Exchanges**, and **Withdrawals** is available from the widget.
* **Last Transactions**: shows a list of recent financial transactions along with their statuses for quick review and provides access to the full **Transaction History**.
* **Trading Accounts**: displays active accounts, marked as favorites or accounts with non-zero balances, for easy access, and provides options to create a new account or go to trading with a single click.
#### Clear display of verification request statuses [#clear-display-of-verification-request-statuses]
For clients, it’s now easier to track the status of their verification requests. A new banner on the **Dashboard** and **Verification** page displays the pending status after a request is submitted and provides a direct link to the **Document verification** section, where clients can monitor their document statuses.
#### More accurate indicative amounts for deposits and withdrawals [#more-accurate-indicative-amounts-for-deposits-and-withdrawals]
The calculation of indicative amounts displayed to clients when initiating deposits and withdrawals in the B2CORE UI has been reworked. These amounts now more accurately reflect the final results that clients will receive after execution, taking into account commissions and exchange rates.
### Improvements [#improvements-7]
* For **DXtrade**, it's become possible to add the **Account number prefix** when configuring a product in the Back Office. The prefix is added to the beginning of DXtrade account numbers to help distinguish, for example, live and demo accounts or accounts belonging to different brands within a single DXtrade infrastructure (refer to [How to integrate DXtrade](../how-to-articles/manage-platforms/how-to-integrate-dxtrade)).
* For **ShuftiPro**, the document type `any` is now supported for address verification. It allows clients to submit any document containing their name and address, rather than a specific document type, making the KYC process more flexible and convenient (refer to [How to use ShuftiPro](../how-to-articles/manage-verification-options/how-to-use-shuftipro)).
* Jurisdictions are now assigned to clients based on the combination of their **country** and **client type** as defined in the jurisdiction settings (refer to [Jurisdictions](../back-office-guide/clients/jurisdictions)).
* PSS payment methods, including both deposits and withdrawals, are now supported in the mobile apps starting from version 1.30.0 (iOS) and 2.8.0 (Android).
* Table loading in the Back Office has been optimized. In particular, the **Clients** > **Accounts** list now loads much faster, even when handling a large number of accounts.
* For **Twilio** calls to clients from the B2CORE Back Office, you can now choose which phone number to use if you have several active Twilio numbers in your account. This enables you to select the most suitable local number, increasing the chances of successful contact and enhancing client trust.
Outgoing calls made from the B2CORE Back Office via Twilio can now be recorded, with the recordings saved in your Twilio account for later playback.
* The **Export** option has been enhanced to provide more reliable data export from the pages where this option is available in the Back Office.
* In **Bonuses** > **Bonus distribution**, the **Ignored symbol groups** field is now optional and can be left empty when manually crediting bonuses to clients. If left empty, all symbols from available groups traded by a client are counted toward their traded volume for meeting bonus requirements.
* Banner targeting in the B2CORE UI and mobile apps has been improved. In addition to **country** and **verification level**, restrictions can now be applied by **client type** and **jurisdiction** for more precise control over visibility.
* In saved withdrawal presets in the B2CORE UI, the payment method now matches the selected withdrawal method, and the currency is clearly displayed. Previously, the technical method name used in the Back Office appeared, causing inconsistencies.
## July 2, 2025 [#july-2-2025]
### New features [#new-features-8]
#### New PS integrations [#new-ps-integrations-4]
Support for the following new payment systems has been added via **PSS**, with both deposits and withdrawals available:
* **FundPay**
* **Jetapay**
* **PayRetailers**
* **TopChange Pay**
In addition, withdrawals are now supported for **AlfredPay**.
#### Integration with SumSub Fraud Prevention [#integration-with-sumsub-fraud-prevention]
Transaction monitoring via **SumSub Fraud Prevention** is now supported for fiat and crypto **deposits** and **withdrawals**.
When such transactions are initiated, they're automatically checked by **SumSub**, with results returned to B2CORE. The results are displayed in the **Transaction monitoring** section of deposit and withdrawal details, as well as in the respective client requests before they can be approved or rejected. Additionally, a new **KYT status** column in **Finance** > **Deposits/Payouts** displays the transaction monitoring results.
This also improves **auto-withdrawals** in B2CORE, allowing faster processing without compromising compliance.
To use this feature, you must have **SumSub Fraud Prevention** enabled and properly configured in your SumSub account and the enabled **SumSub** external connection in the B2CORE Back Office (refer to [How to configure a connection to SumSub](../how-to-articles/manage-verification-options/how-to-use-sumsubstance#how-to-configure-a-connection-to-sumsub)).
#### Integration with ActiveCampaign [#integration-with-activecampaign]
It’s now possible to run targeted email campaigns using client data from B2CORE, seamlessly synced with the **ActiveCampaign** platform. This integration enables more efficient, data-driven email marketing and notifications by:
* Configuring an external connection to **ActiveCampaign** in the B2CORE Back Office.
* Automatically syncing client data from B2CORE to **ActiveCampaign**.
* Creating email lists to improve client retention and provide more personalized interactions via **ActiveCampaign**.
For details, refer to [How to integrate ActiveCampaign](../how-to-articles/manage-communication-platforms/how-to-integrate-activecampaign).
#### Support for custom menu items in the B2CORE web and mobile apps [#support-for-custom-menu-items-in-the-b2core-web-and-mobile-apps]
It’s now possible to add custom items to the menu displayed in both the B2CORE UI and mobile apps. In mobile apps, this functionality is supported starting from **iOS** v1.29 and **Android** v2.6.0.
Custom items can be configured in **Promotion** > **Menu** by specifying their names, URLs to which clients will be redirected, and icons. When clicked, clients are redirected to third-party external resources or web pages that support your business (refer to [How to add custom menu items](../how-to-articles/manage-advertising-options/how-to-add-custom-menu-items)).
### B2CORE UI updates [#b2core-ui-updates-8]
#### Improved Total Balance widget [#improved-total-balance-widget]
The widget has been improved to show balances from both wallets and trading accounts, as well as the overall portfolio value for a comprehensive financial overview.
#### Enhancements related to B2TRADER accounts [#enhancements-related-to-b2trader-accounts]
The following improvements to B2TRADER accounts handling have been introduced:
* **New B2TRADER Accounts widget**: accounts created on the B2TRADER platform can now be conveniently viewed and accessed via a dedicated widget on the **Dashboard** in the B2CORE UI. With a single click, traders can sign in to the trading interface and start trading instantly.
* **Support for Netting accounts**: in addition to **Hedging**, B2TRADER accounts with the **Netting** execution type are now supported. This allows traders to choose the appropriate type to plan and adjust their trading strategies. To enable Netting accounts, a separate product must be configured in the B2CORE Back Office under the **Products** menu.
* **Support for demo accounts**: demo B2TRADER accounts with a predefined balance can now be created via the B2CORE UI, allowing traders to safely practice using the trading interface.To enable demo accounts, a separate product must be configured in the B2CORE Back Office under the **Products** menu.
#### Revised Sign Up and Sign In pages [#revised-sign-up-and-sign-in-pages]
The **Sign Up** and **Sign In** forms have been redesigned for a cleaner layout, improved visual appearance, and a better overall user experience, including:
* Displaying the client’s email or phone during confirmation to clarify where a verification code was sent.
* The **Back** button now returns clients to the previous step without resetting the form.
### Improvements [#improvements-8]
* PSS payment methods are now partially supported in the mobile apps. *Deposit* methods are available in the **iOS** app starting from v1.29 and **Android** starting from v2.6.0. *Withdrawal* methods via PSS aren't yet supported.
* The use of bonus presets and temporary bonuses can now be restricted for clients based on a client's **country**, **client type**, **verification level**, **jurisdiction**, or **introducing broker (IB)**. These restrictions can be applied individually or in combination, allowing for more granular access control.
If the restrictions are applied to the bonus preset used for crediting automatic deposit bonuses, these bonuses will only be credited to clients who meet the specified criteria (refer to [Bonus presets](../back-office-guide/bonuses/bonus-presets#details) and [Temporary bonuses](../back-office-guide/bonuses/temporary-bonuses#details)).
* On the **Bonus** > **Bonus distribution** page, a new **Expired at** column has been added to display the date and time when a credited bonus is scheduled to expire or has already expired. This improvement makes it easier to monitor bonus timelines on client accounts and encourage clients to meet the bonus requirements before expiration.
* Jurisdiction handling has been enhanced. You can now manually assign or change a client's jurisdiction in the client details in the Back Office. The list of countries for a jurisdiction can be edited, with the option to apply changes to existing clients or only to those who register after the update (refer to [Jurisdictions](../back-office-guide/clients/jurisdictions)).
* For KYC via **ShuftiPro**, the **Show OCR form** – where clients can review, confirm, or if necessary, edit the information extracted from their submitted documents – can now be enabled or disabled in the ShuftiPro connection settings in **System** > **External connections**.
* Confirmed phone numbers can now be removed from the **Contacts** tab in client profiles in the Back Office. To do this, a Back Office user must be assigned the `Update clients` permission. Once removed, the phone number becomes available for registering a new client profile.
* The **Clients** > **Requests** page has been improved to include a **Country** column with filter options, making it easier to identify requests by client location. Additionally, the **Processing date** column now shows when a request was approved or rejected, helping you assess its processing time.
* In **System** > **Visual customization**, images uploaded as logos can now only be in `SVG` format.
### Resolved issues [#resolved-issues-6]
* Resolved an internal server error that occurred when uploading supporting documents for deposits via the **WireDocument** provider. Deposit requests now proceed without errors.
## April 18, 2025 [#april-18-2025]
### New features [#new-features-9]
#### New PS integrations [#new-ps-integrations-5]
With this release, we’ve integrated a new payment system, **AlfredPay**. It supports deposits and is fully integrated via PSS connections.
#### Ongoing migration of payment systems to PSS [#ongoing-migration-of-payment-systems-to-pss]
More systems have been successfully migrated to the **Payment System Service (PSS)**.
You can view the complete list of PSS-supported payment systems in [Integrations > Payment systems](../integrations/payment-systems). They are marked with Yes in the **PSS-supported** column.
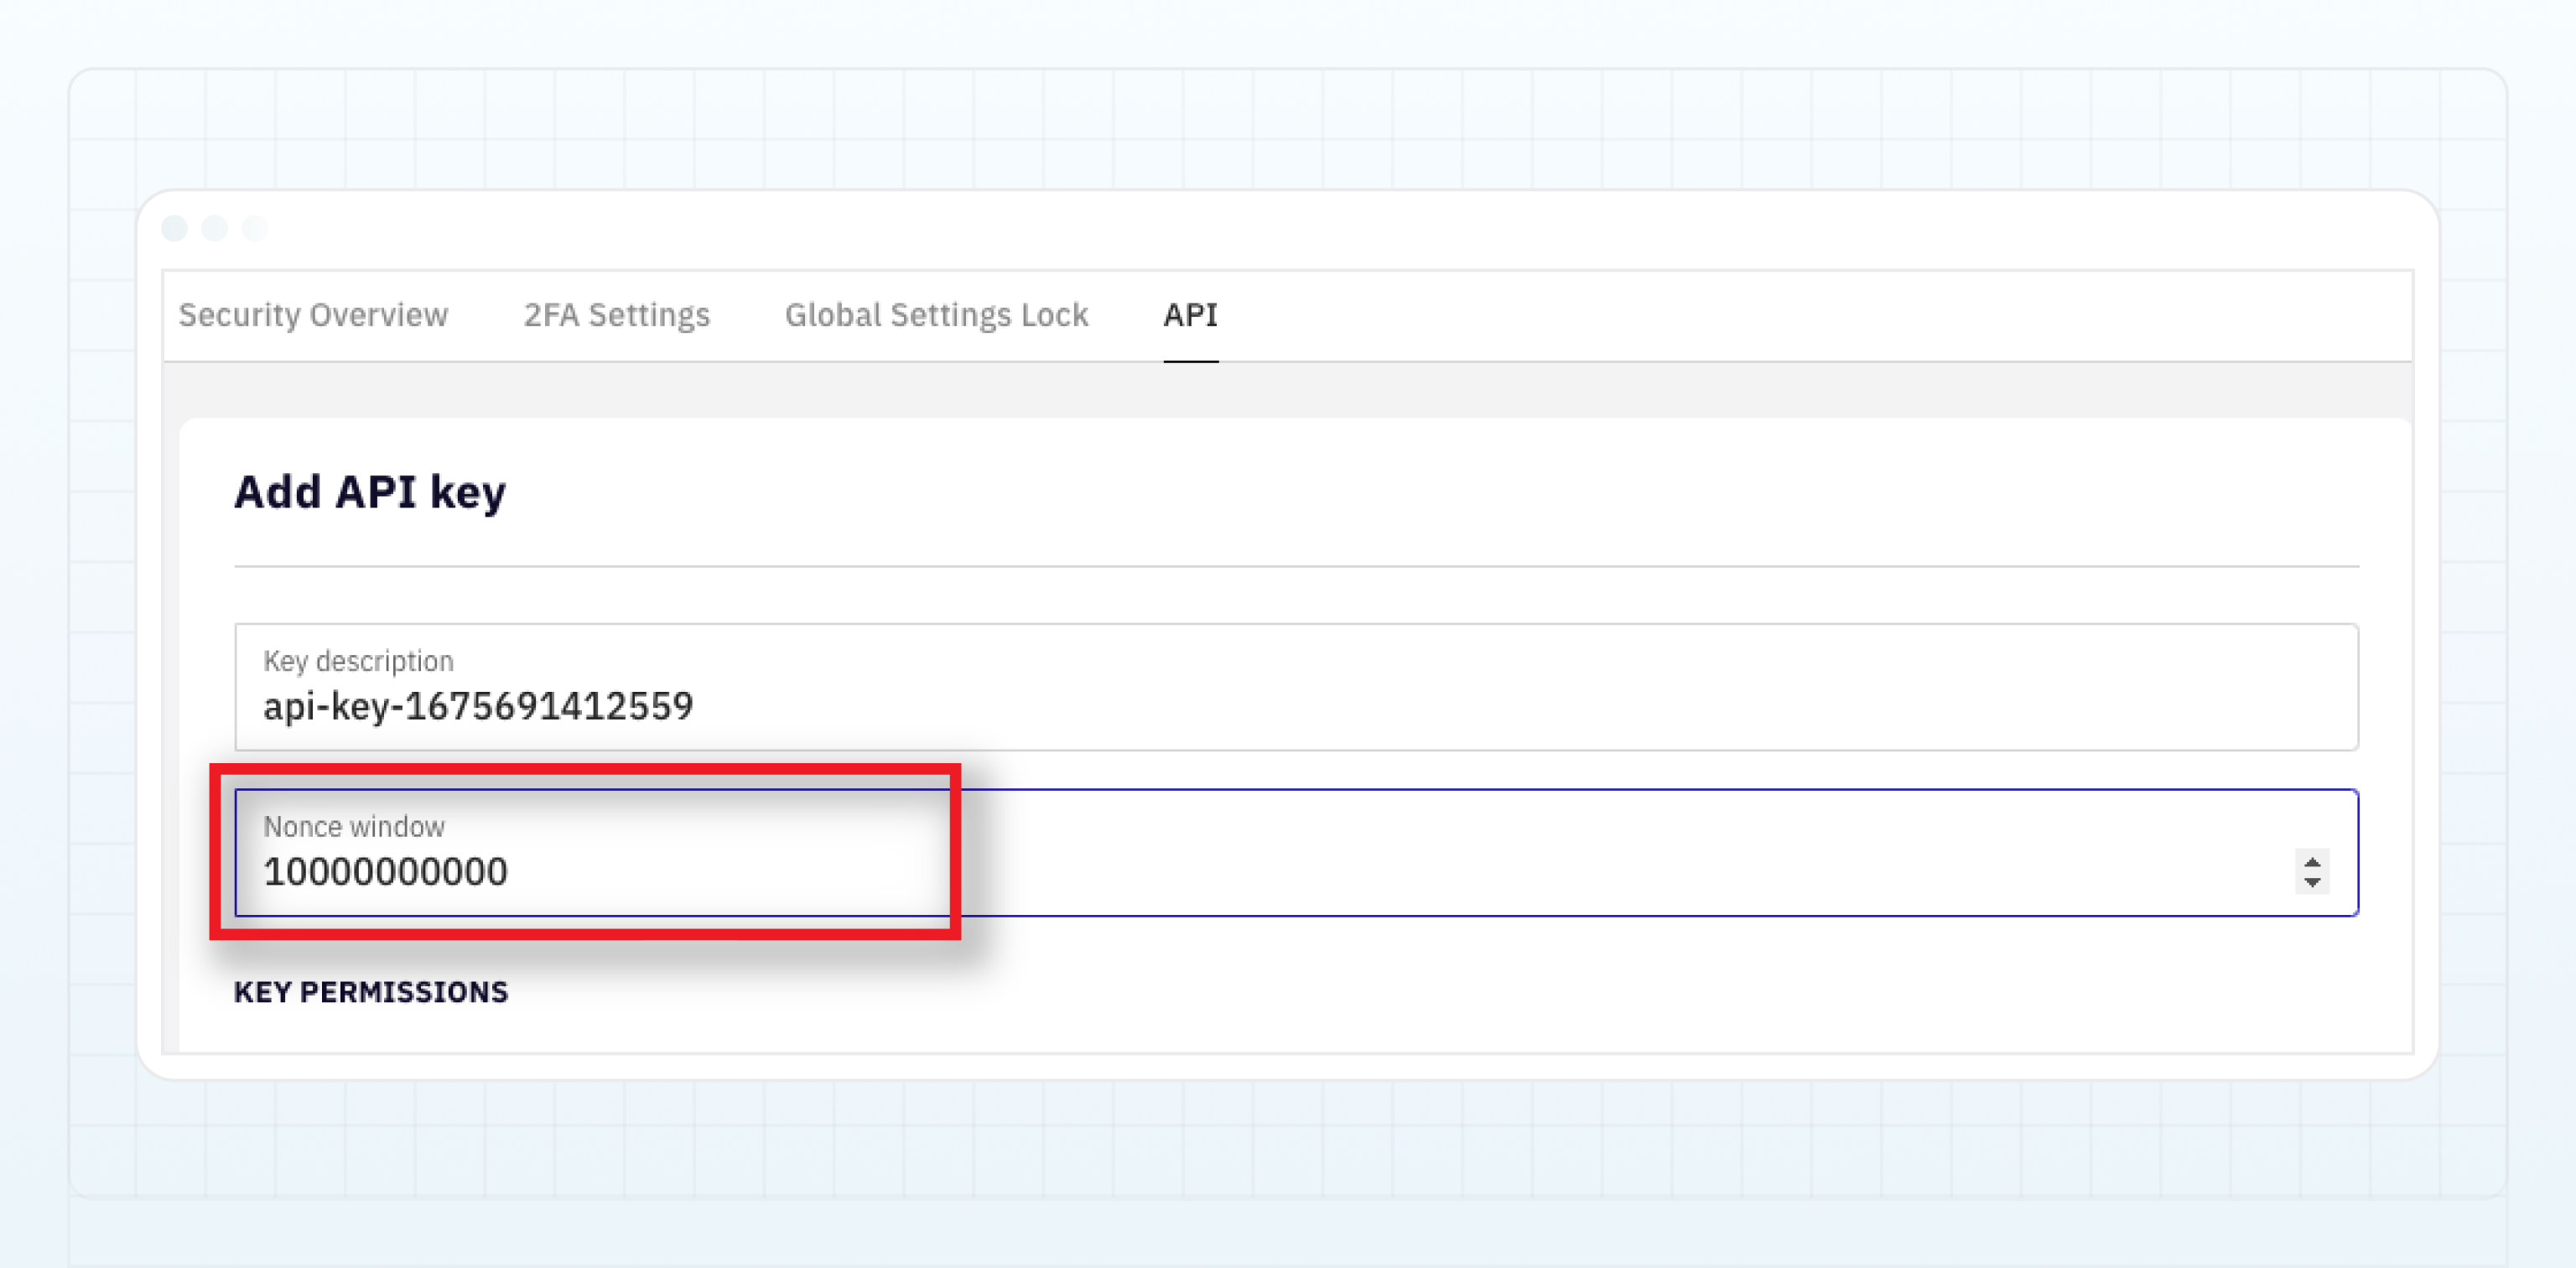 This is required for proper handling of time variables (nanoseconds in this case).
The following table provides an overview of liquidity provider platforms that are supported by B2CONNECT and outlines the B2CONNECT adaptor connectivity capabilities when connecting to a corresponding platform.
This is required for proper handling of time variables (nanoseconds in this case).
The following table provides an overview of liquidity provider platforms that are supported by B2CONNECT and outlines the B2CONNECT adaptor connectivity capabilities when connecting to a corresponding platform.
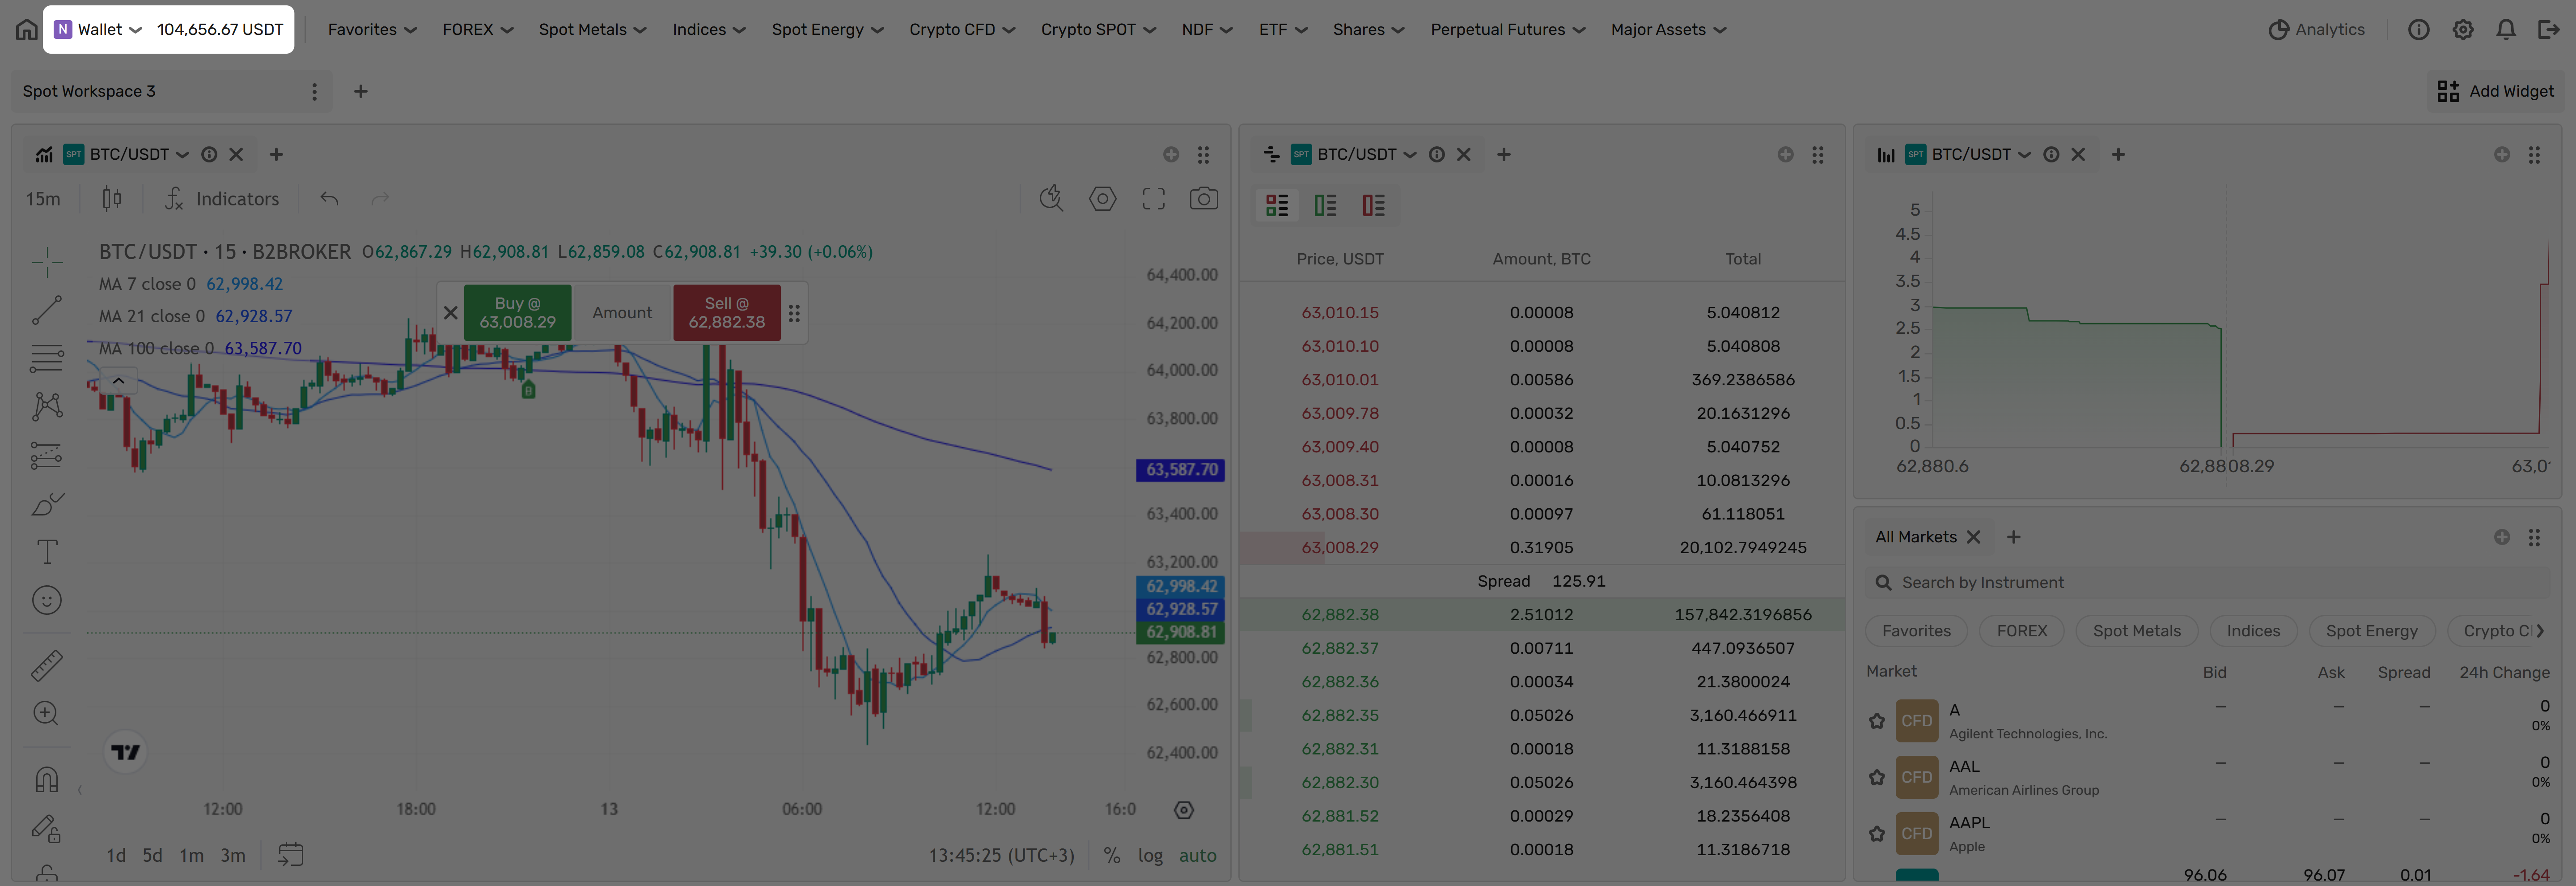 #### Account status [#account-status]
An account can have a status that limits what you can do with it. When a status applies, a status indicator is shown on the account, and a banner explains the restriction. Account status is managed by your administrator.
The following statuses are visible to you:
* **Halted**: A banner reads *Account is locked for trading. Contact your administrator.* The trading controls are disabled, but you can still deposit and withdraw funds, and your balances, positions, and history stay visible.
* **Frozen**: A banner reads *Account is frozen. Contact your administrator.* The account is view-only. All controls are disabled, while your balances, positions, and history stay visible.
To restore trading on an account that is Halted or Frozen, contact your administrator.
#### Account status [#account-status]
An account can have a status that limits what you can do with it. When a status applies, a status indicator is shown on the account, and a banner explains the restriction. Account status is managed by your administrator.
The following statuses are visible to you:
* **Halted**: A banner reads *Account is locked for trading. Contact your administrator.* The trading controls are disabled, but you can still deposit and withdraw funds, and your balances, positions, and history stay visible.
* **Frozen**: A banner reads *Account is frozen. Contact your administrator.* The account is view-only. All controls are disabled, while your balances, positions, and history stay visible.
To restore trading on an account that is Halted or Frozen, contact your administrator.
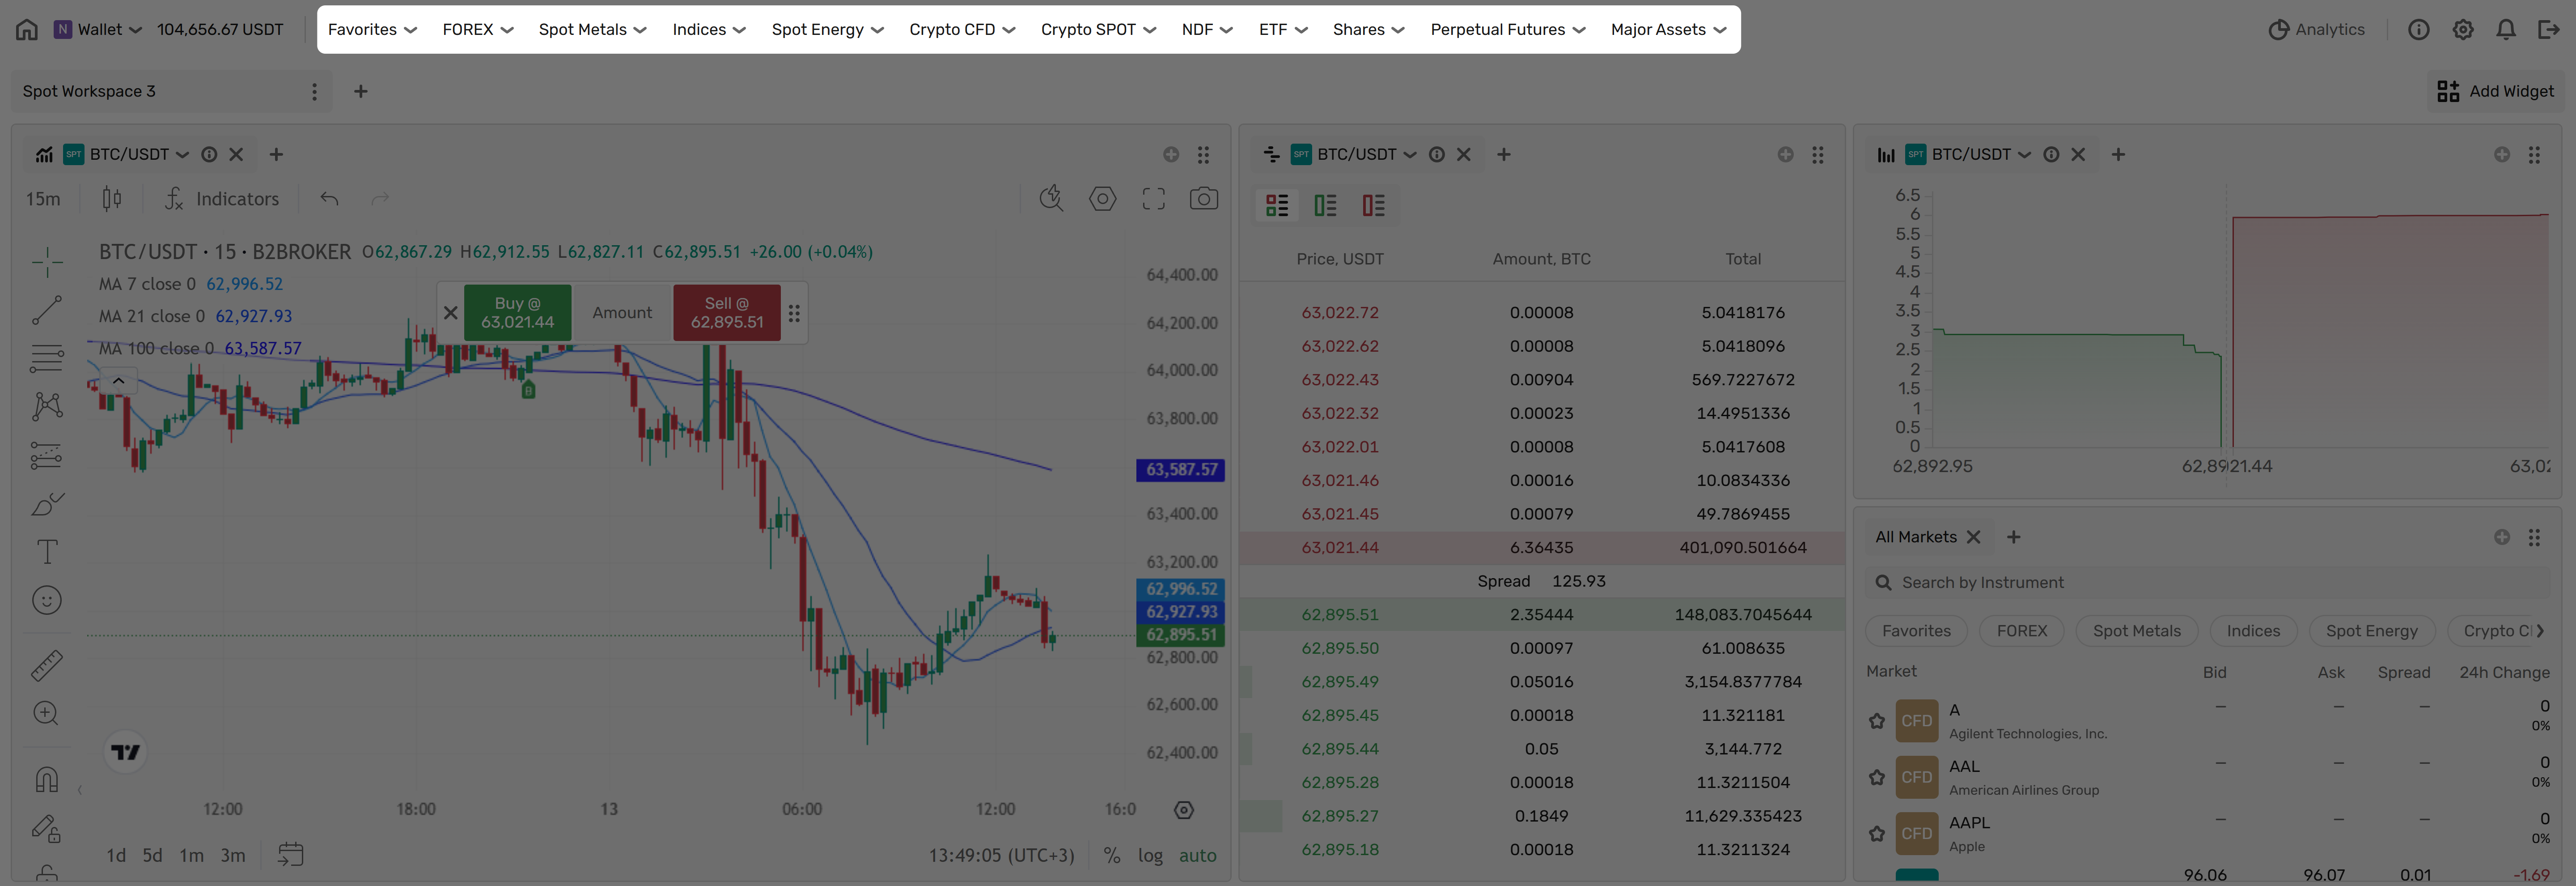 #### Favorite markets [#favorite-markets]
Mark instruments as favorites for quick access. To add or remove a market from favorites, click the **star icon** next to the market name in the instrument selection list.
Favorite markets can be accessed in two ways:
* **Favorites tab** in the instrument selection panel — filters the list to show only your favorite markets.
* **Favorites dropdown** in the topbar — provides quick access to favorite markets from anywhere in the terminal.
### Settings [#settings]
Use this control to access interface and system settings.
Refer to [Settings](settings) for details.
#### Favorite markets [#favorite-markets]
Mark instruments as favorites for quick access. To add or remove a market from favorites, click the **star icon** next to the market name in the instrument selection list.
Favorite markets can be accessed in two ways:
* **Favorites tab** in the instrument selection panel — filters the list to show only your favorite markets.
* **Favorites dropdown** in the topbar — provides quick access to favorite markets from anywhere in the terminal.
### Settings [#settings]
Use this control to access interface and system settings.
Refer to [Settings](settings) for details.
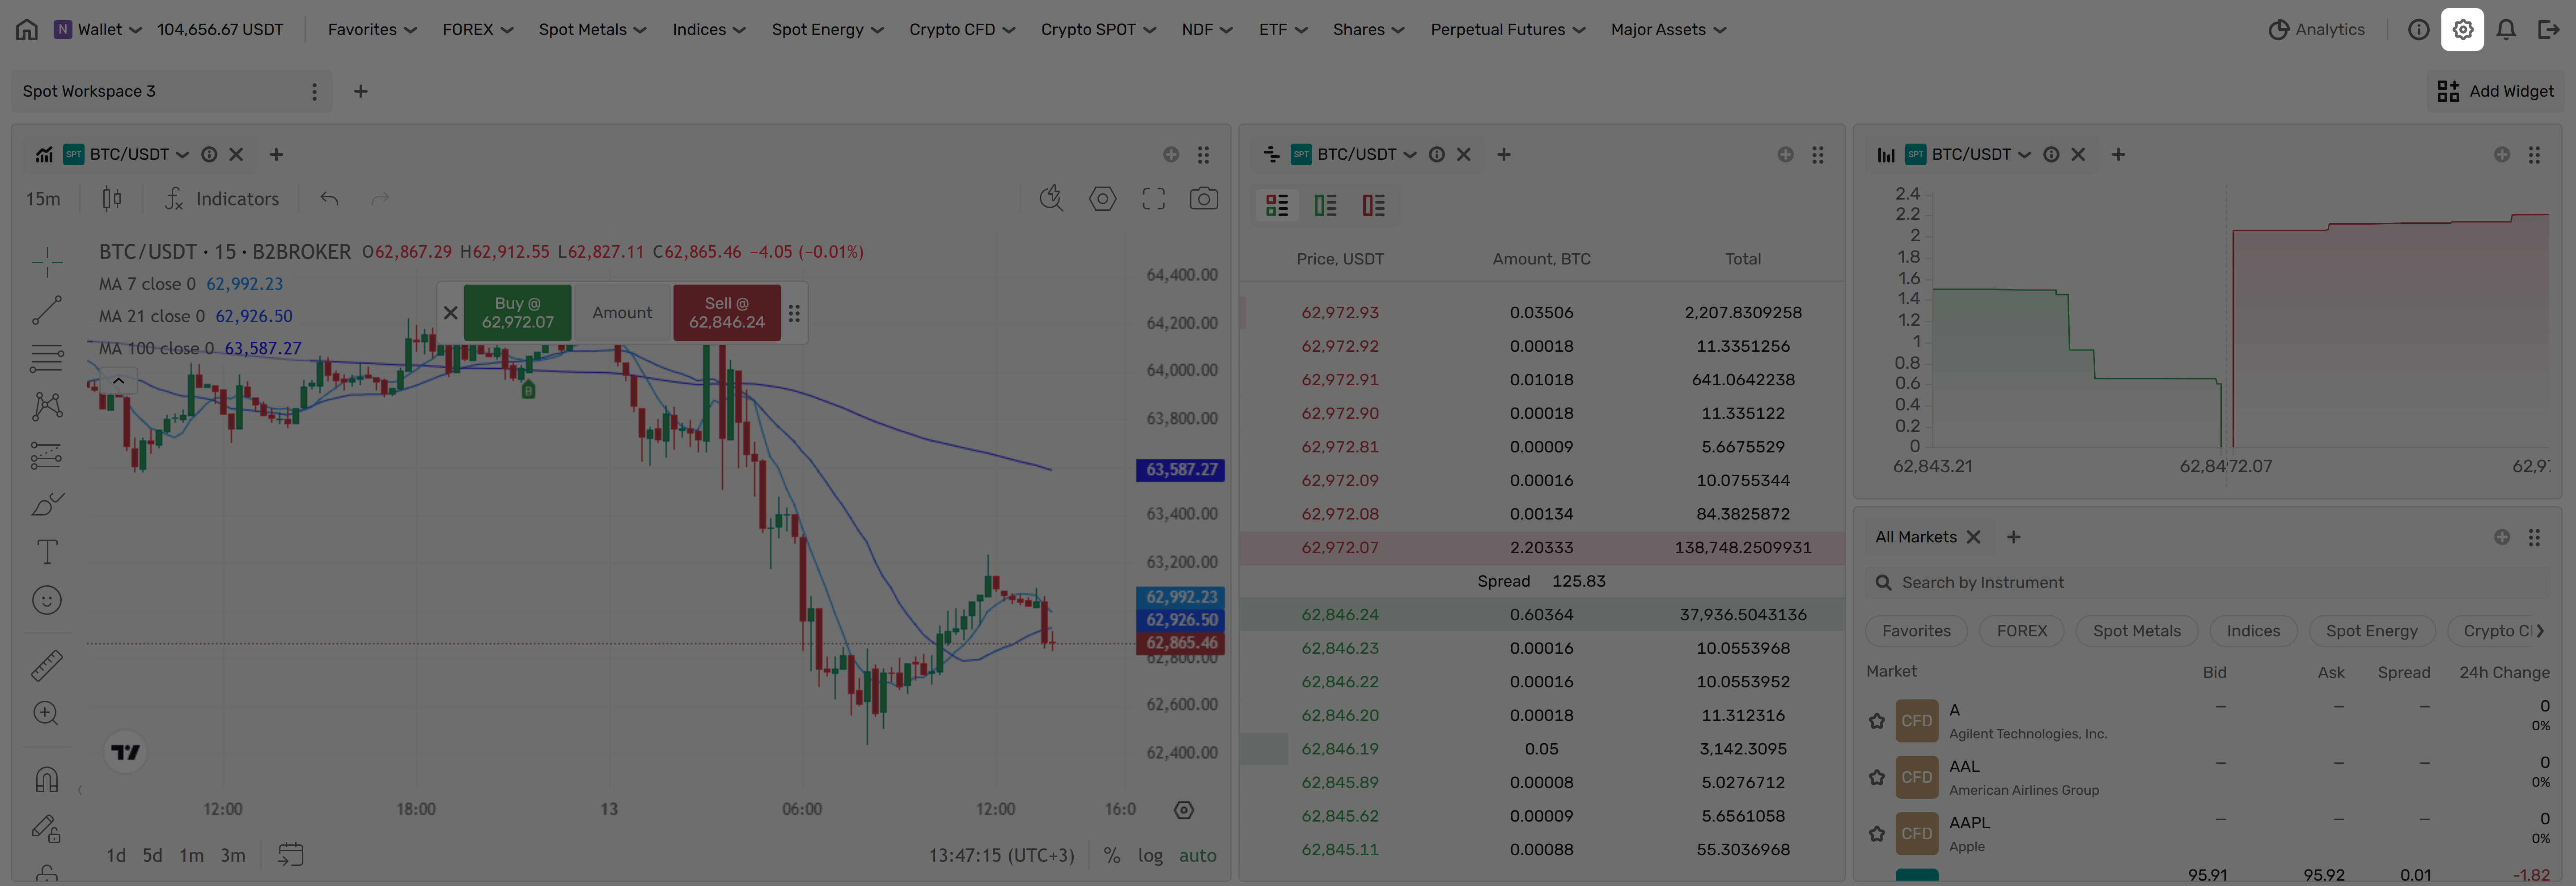 ### Other controls [#other-controls]
* **Introduction tour**: Access the interactive platform walkthrough.
### Other controls [#other-controls]
* **Introduction tour**: Access the interactive platform walkthrough.
 * **Alerts**: View new system notifications.
 * **Analytics**: Open the **Account Analytics** view with the **Equity Curve** chart — your account balance and equity dynamics over time (Margin Balance, Equity, Total Equity, Unrealized PnL, Deposits / Withdrawals) for a selected period and granularity. The data updates hourly. Click **Back to Trading** to return to the terminal.
 * **Log out**: Log out of the system to securely terminate the session. After that you’re navigated to the Login page.
 ## Working with widgets [#working-with-widgets]
> For more information about available widgets, refer to the **Widgets** section of this guide.
### Add widgets to your workspace [#add-widgets-to-your-workspace]
**To add a new widget**:
1. Click the **Add Widget** button.
2. Browse the available widgets.
3. Click any widget to add it to your workspace.
## Working with widgets [#working-with-widgets]
> For more information about available widgets, refer to the **Widgets** section of this guide.
### Add widgets to your workspace [#add-widgets-to-your-workspace]
**To add a new widget**:
1. Click the **Add Widget** button.
2. Browse the available widgets.
3. Click any widget to add it to your workspace.
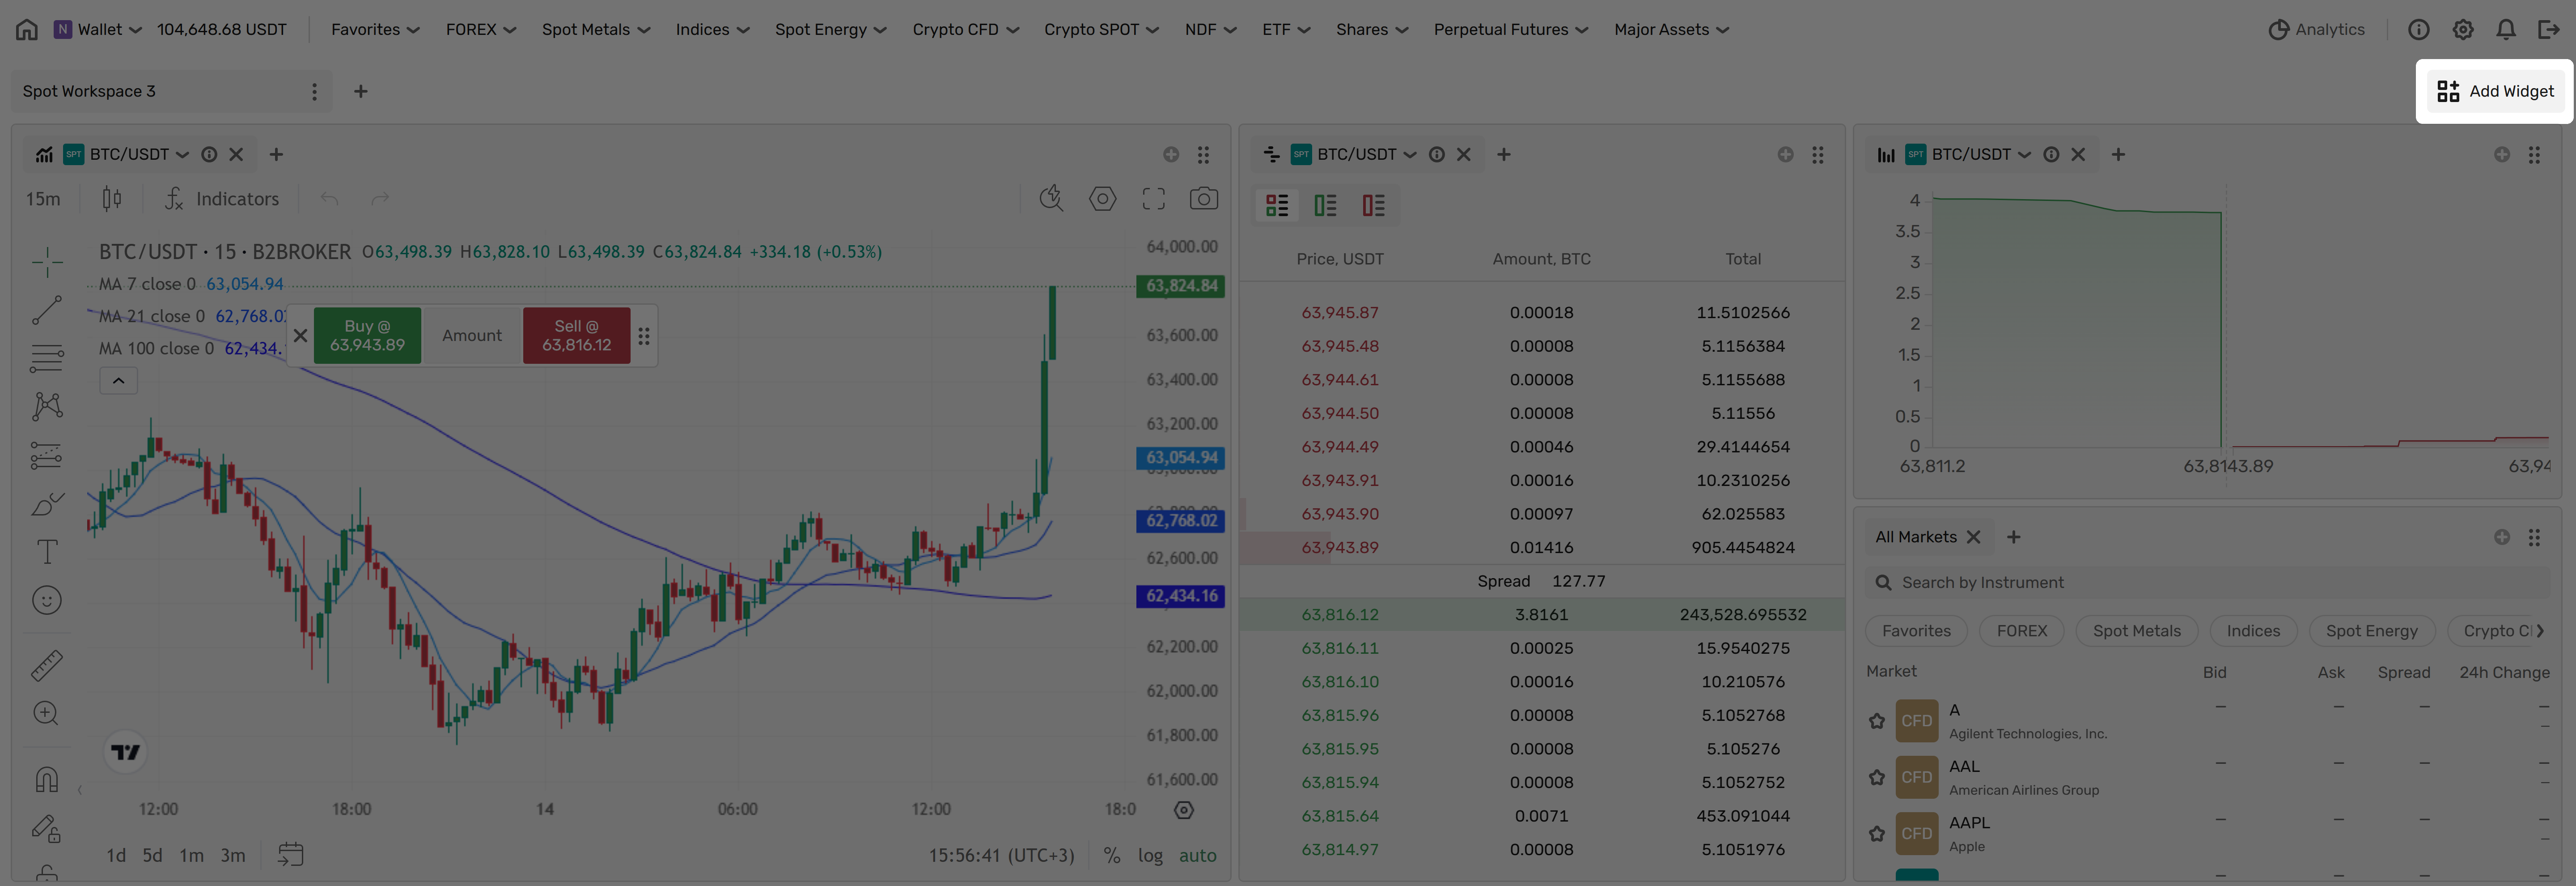 **To add widgets to existing panels**:
1. Look for the **+** button next to the tabs in a panel's header.
2. Click it to open the widget catalog.
3. Select a widget to add it as a new tab to that panel.
**To add widgets to existing panels**:
1. Look for the **+** button next to the tabs in a panel's header.
2. Click it to open the widget catalog.
3. Select a widget to add it as a new tab to that panel.
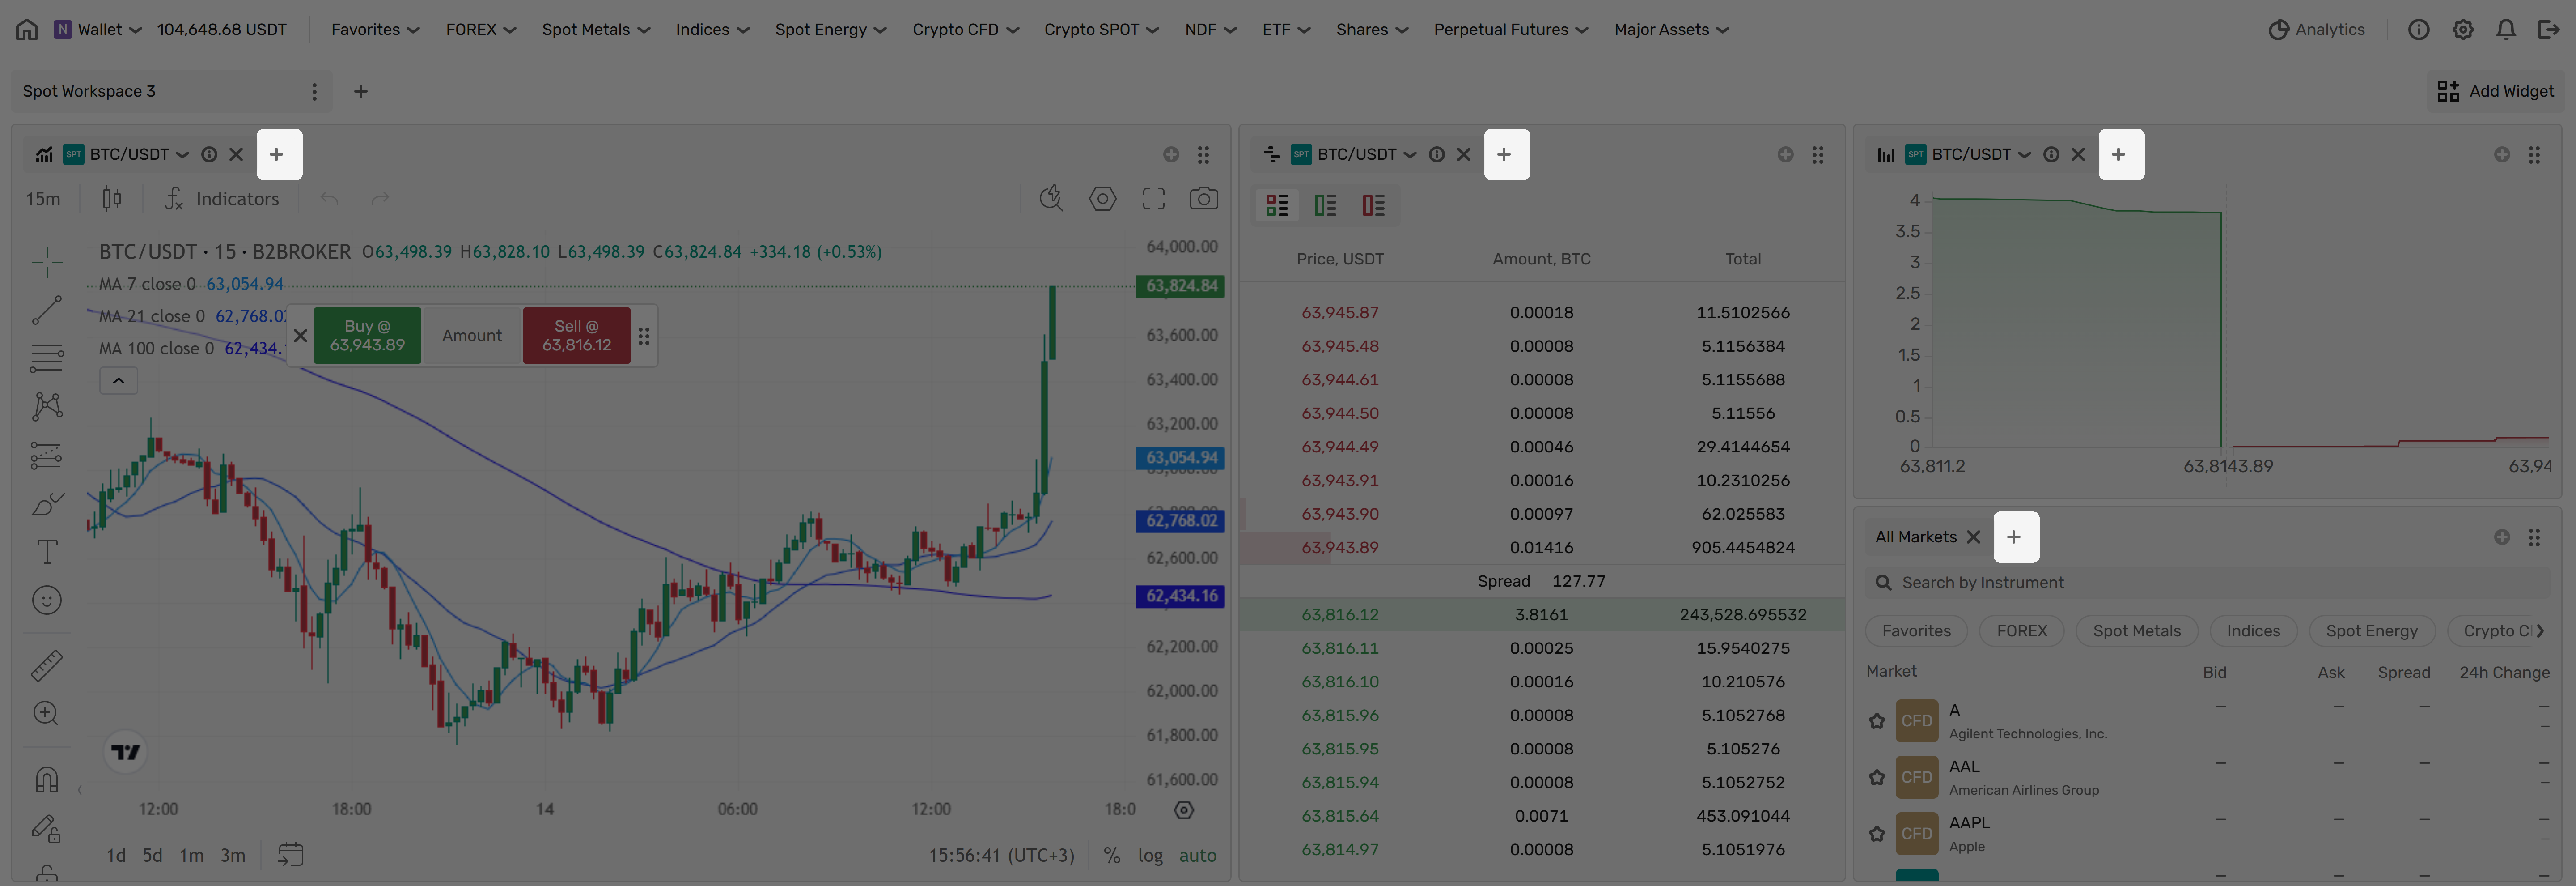 ### Move and position widgets [#move-and-position-widgets]
**To move a widget**:
1. Click and hold the **move handle** in the top-right corner of the panel header.
2. Drag it to desired location on the page.
3. Drop it.
### Move and position widgets [#move-and-position-widgets]
**To move a widget**:
1. Click and hold the **move handle** in the top-right corner of the panel header.
2. Drag it to desired location on the page.
3. Drop it.
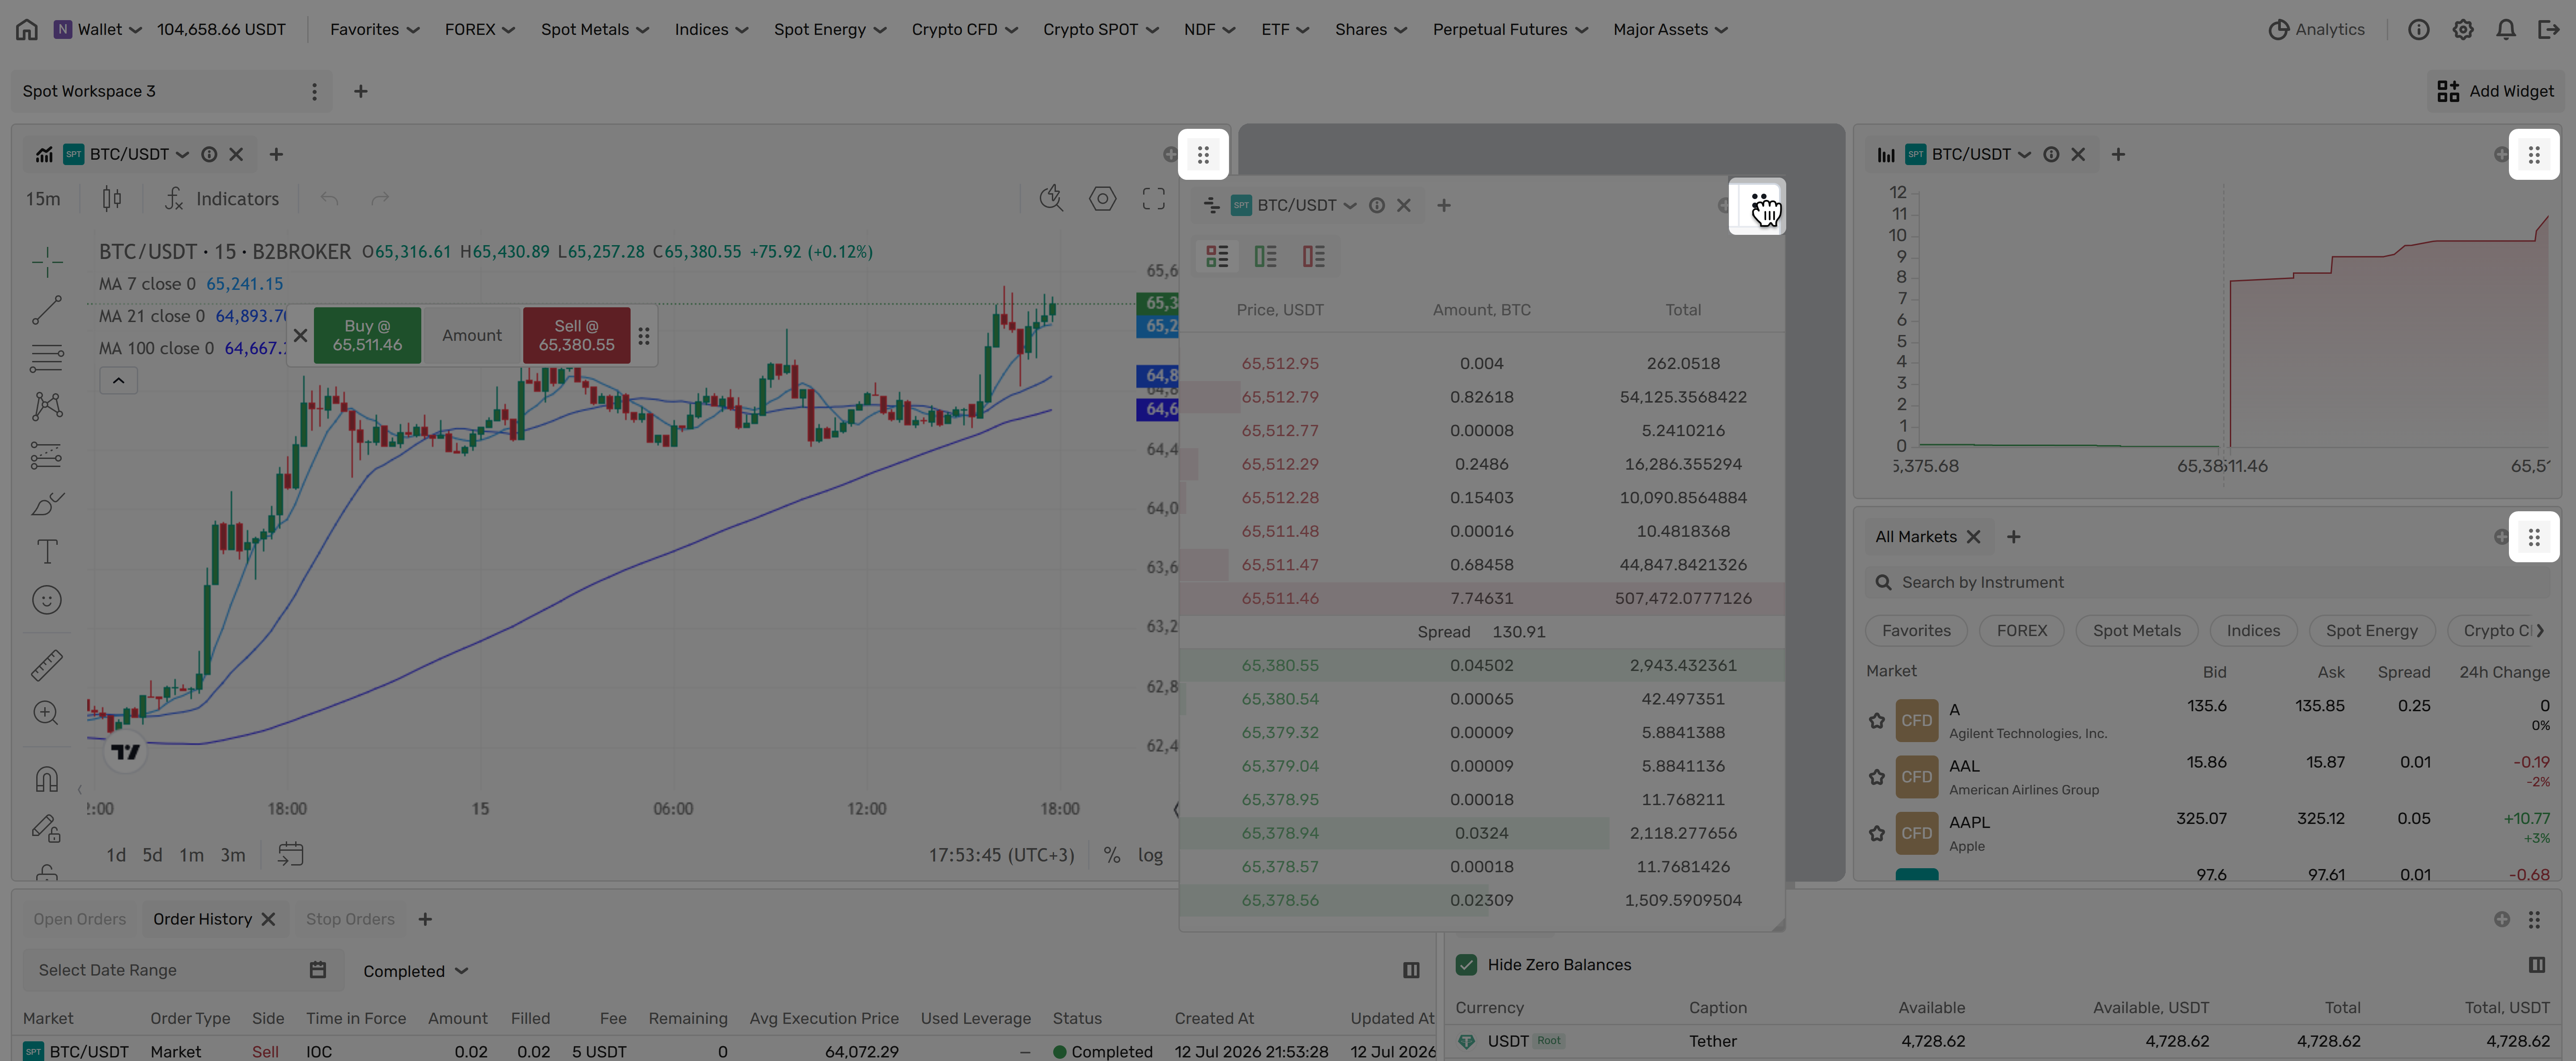 **To rearrange widget tabs within a panel**:
1. Click and hold any widget tab.
2. Drag it left or right to reorder.
3. Release to set the new position.
### Resize widgets [#resize-widgets]
**To resize a widget panel**:
* **Single edge**: Hover over any edge until you see the resize cursor, then drag.
* **Corner resize**: Drag a corner to adjust both width and height simultaneously.
* **Precision**: Use edge dragging for fine-tuned sizing.
**To rearrange widget tabs within a panel**:
1. Click and hold any widget tab.
2. Drag it left or right to reorder.
3. Release to set the new position.
### Resize widgets [#resize-widgets]
**To resize a widget panel**:
* **Single edge**: Hover over any edge until you see the resize cursor, then drag.
* **Corner resize**: Drag a corner to adjust both width and height simultaneously.
* **Precision**: Use edge dragging for fine-tuned sizing.
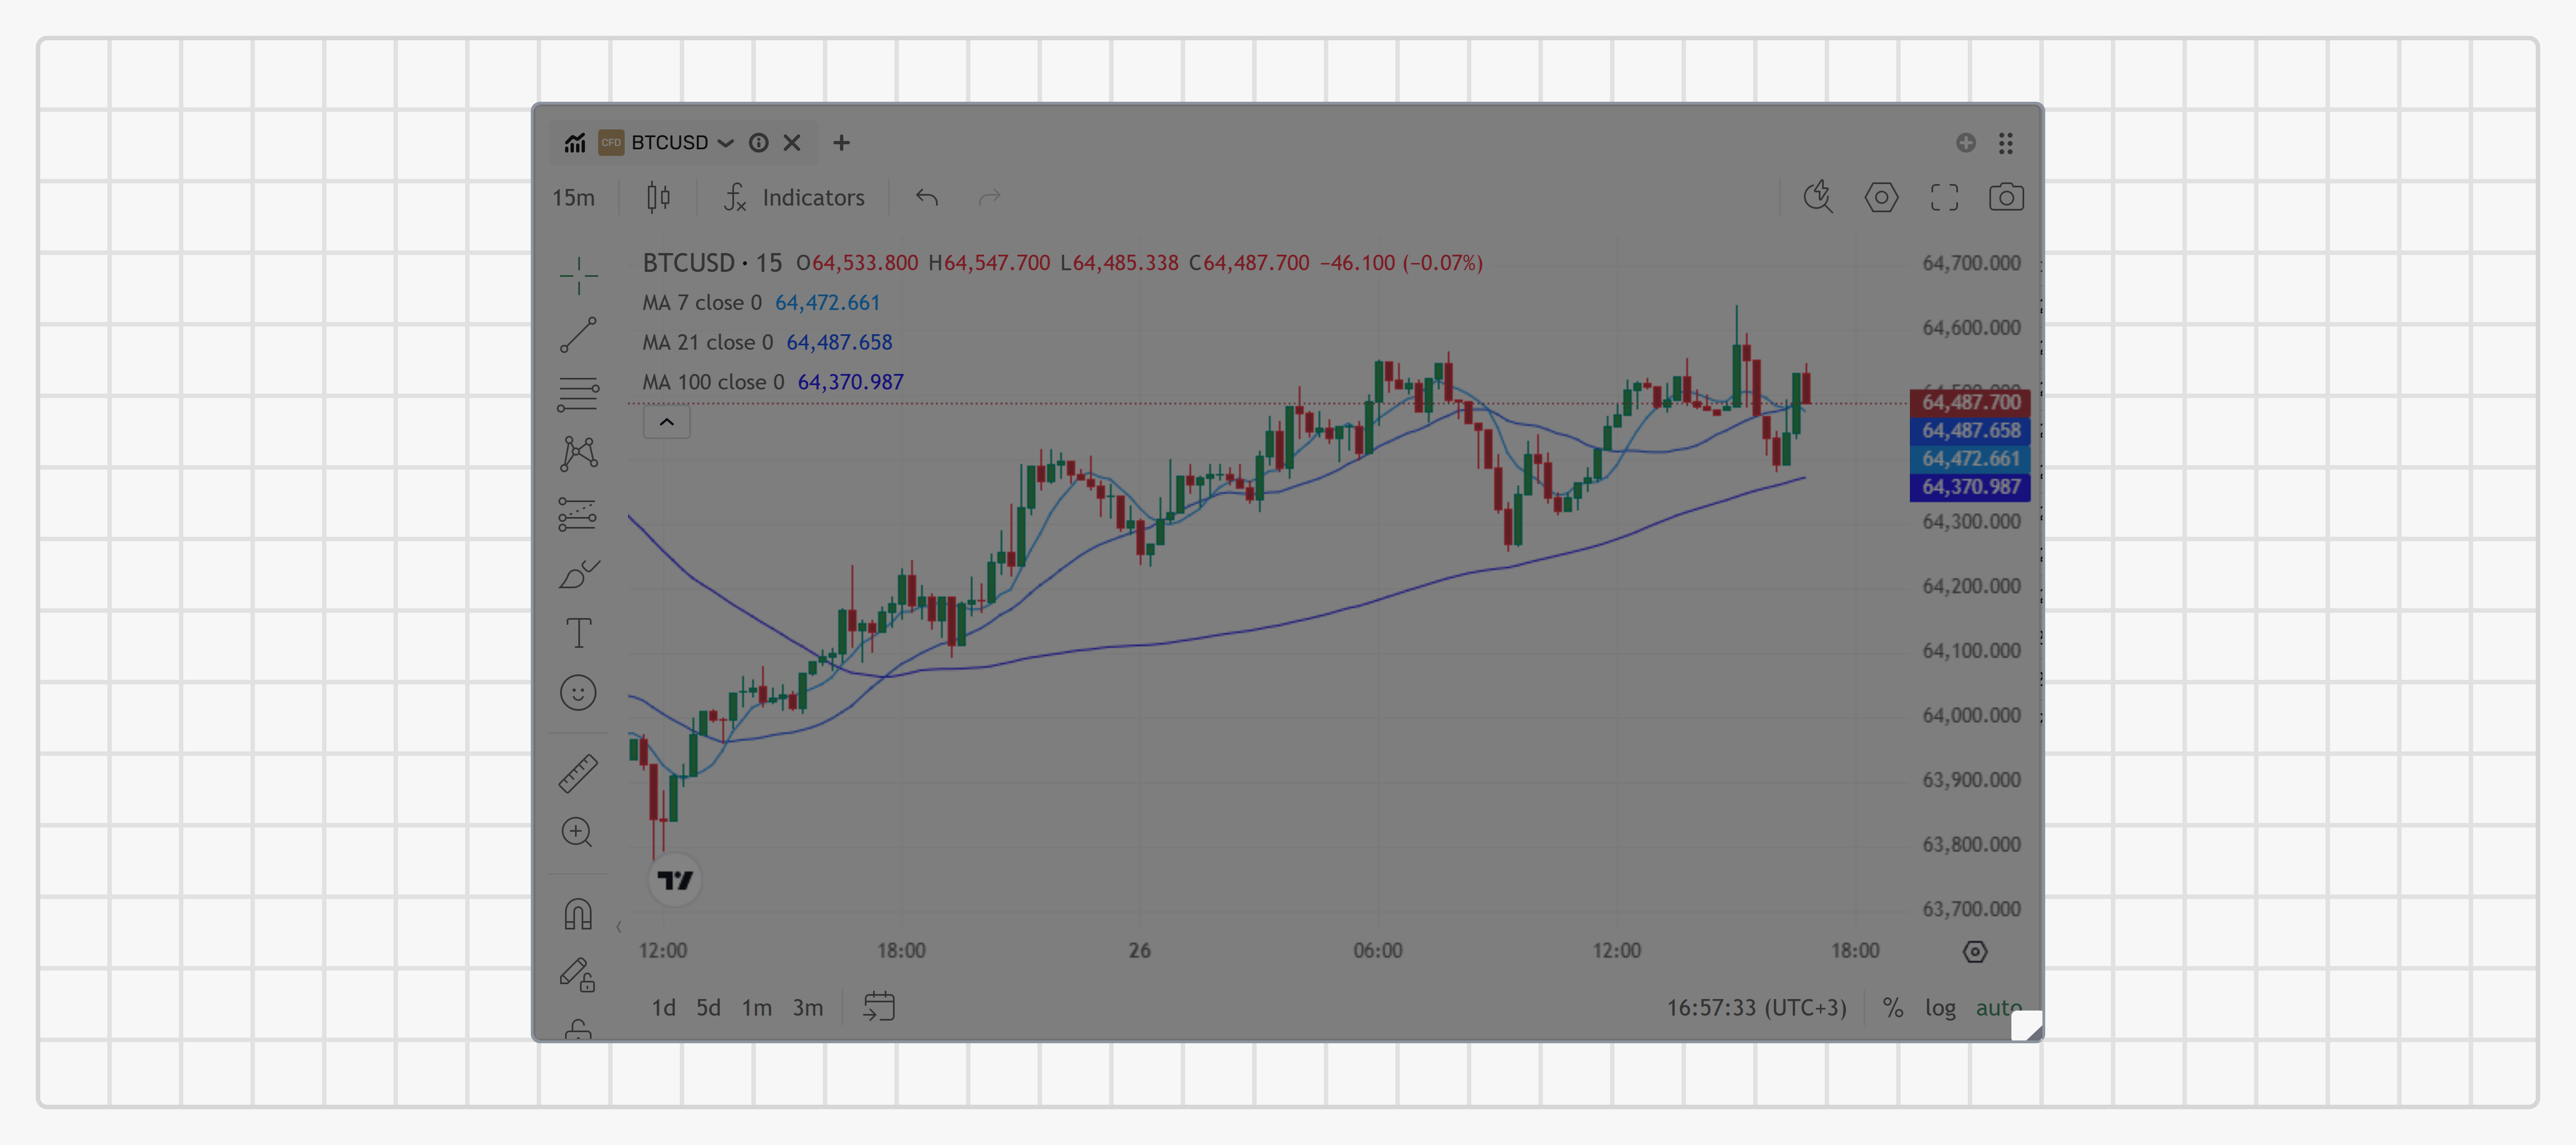 ### Remove widgets and tabs [#remove-widgets-and-tabs]
**To remove a tab**:
1. Click the **×** button in the top-right corner of the widget tab.
2. The tab will be removed immediately.
3. When you remove the last tab from a panel, the entire panel disappears.
### Remove widgets and tabs [#remove-widgets-and-tabs]
**To remove a tab**:
1. Click the **×** button in the top-right corner of the widget tab.
2. The tab will be removed immediately.
3. When you remove the last tab from a panel, the entire panel disappears.
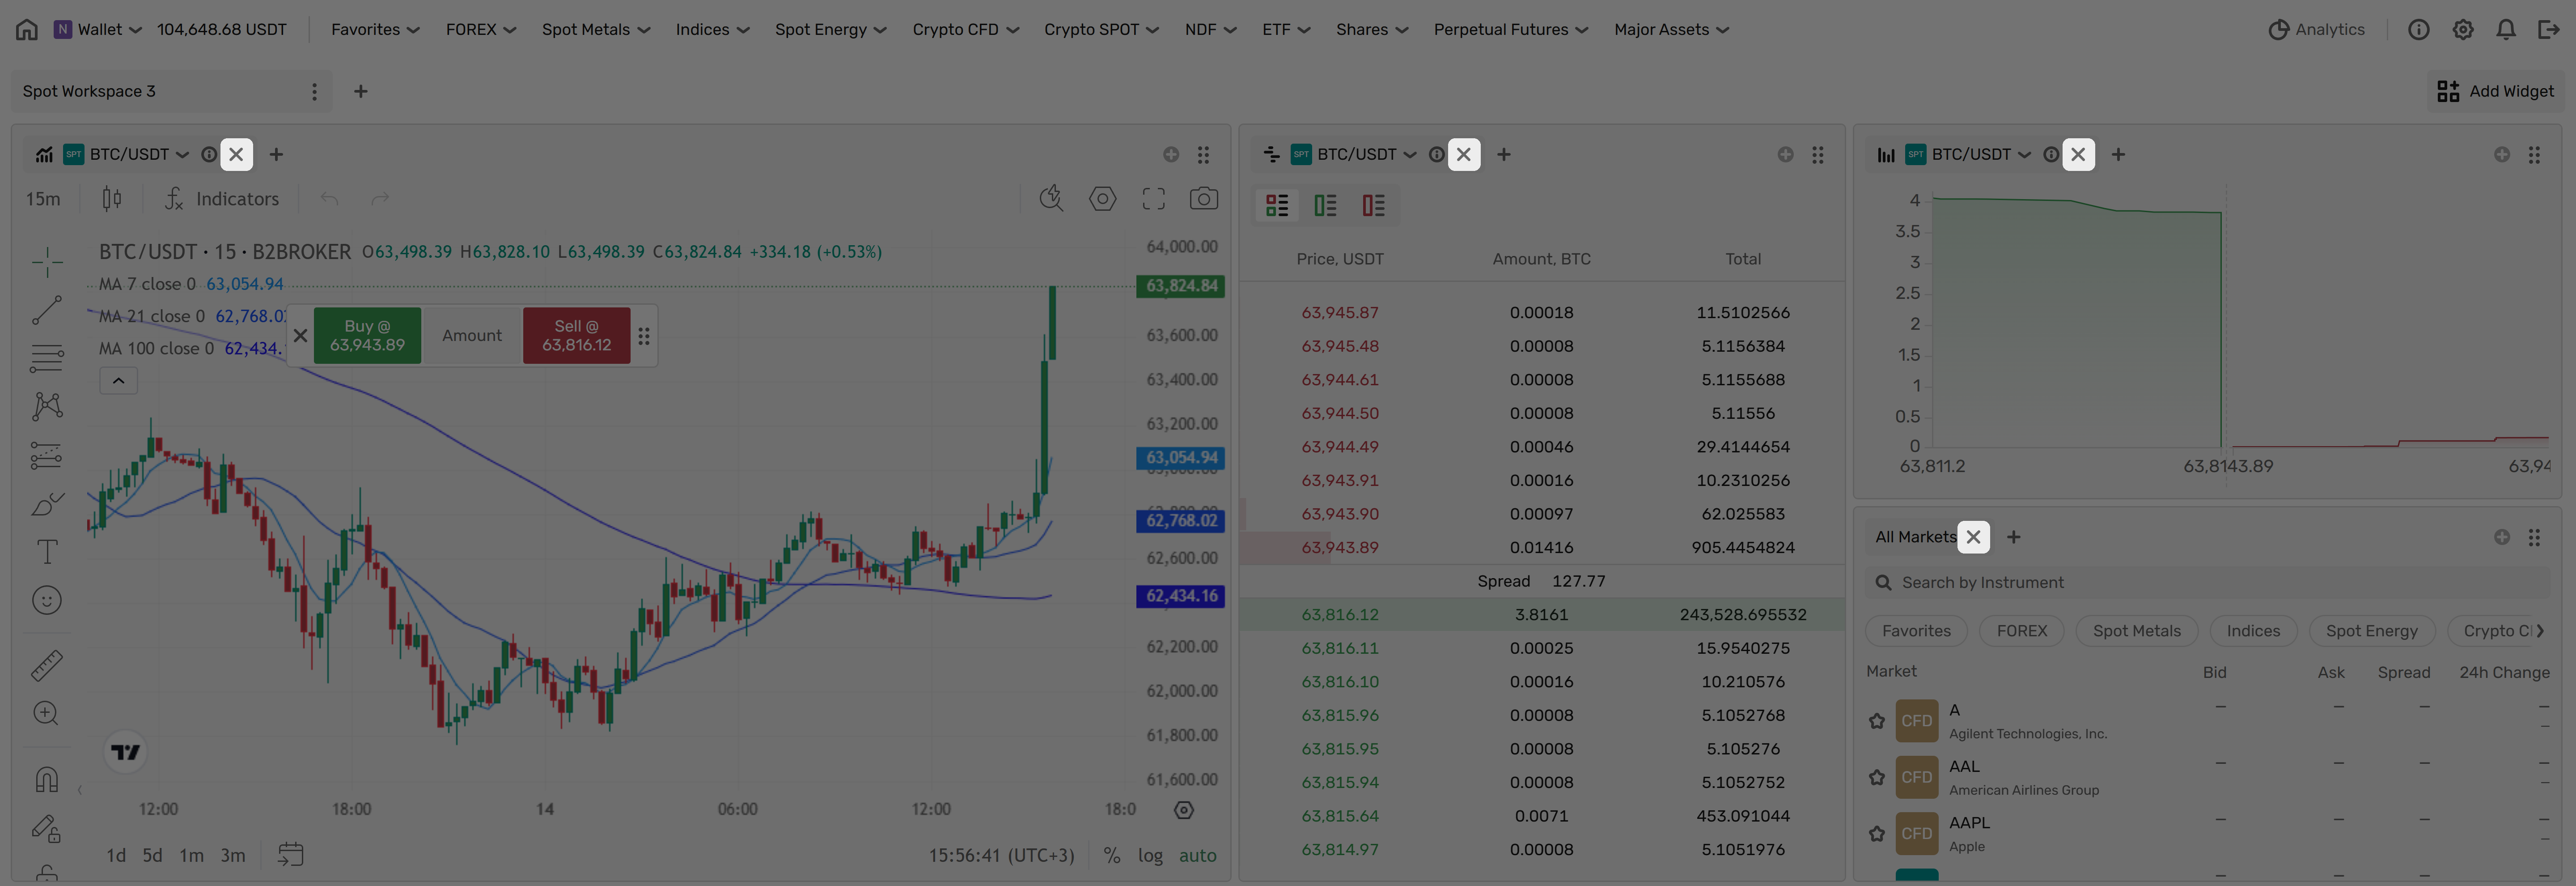 ### Link panels to a group [#link-panels-to-a-group]
Each panel header has a **Link to group** button — the circle icon **next to the move handle** in the top-right corner. Linking panels to the same colored group keeps them in sync: when you select an instrument in one linked panel, the other panels in the same group switch to it automatically.
**To link a panel to a group**:
1. Click the **Link to group** button (next to the move handle) in the panel's top-right corner.
2. Select one of the color groups (Group 1–5).
3. Repeat for other panels, choosing the same group to keep them synchronized.
### Link panels to a group [#link-panels-to-a-group]
Each panel header has a **Link to group** button — the circle icon **next to the move handle** in the top-right corner. Linking panels to the same colored group keeps them in sync: when you select an instrument in one linked panel, the other panels in the same group switch to it automatically.
**To link a panel to a group**:
1. Click the **Link to group** button (next to the move handle) in the panel's top-right corner.
2. Select one of the color groups (Group 1–5).
3. Repeat for other panels, choosing the same group to keep them synchronized.
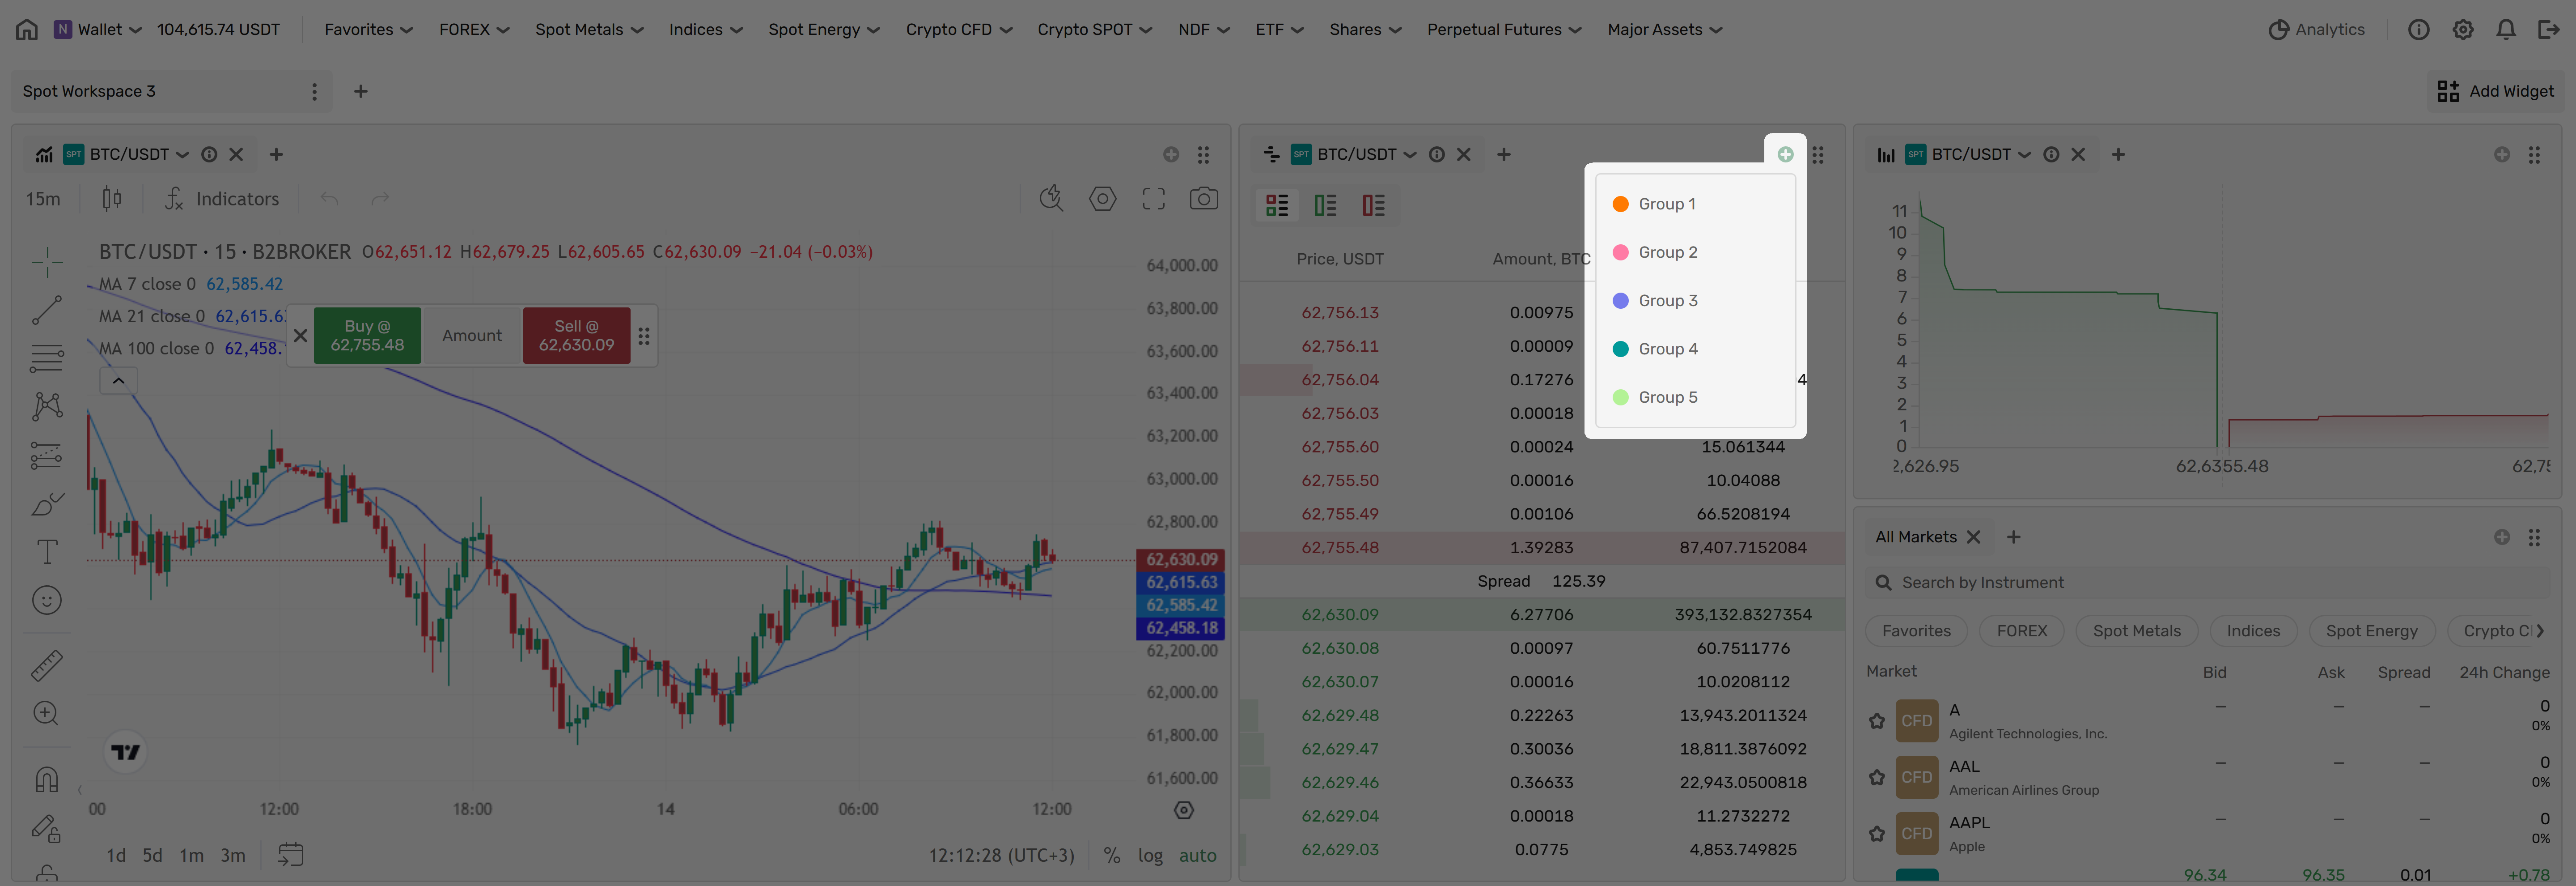 ### Customize widget content [#customize-widget-content]
Certain widgets let you customize which columns to display and their order: Look for the **column settings** button in the widget header.
**To customize columns**:
1. Click the **column settings** button.
2. **Show/hide columns**: Check or uncheck boxes (grayed-out columns are required).
3. **Reorder columns**: Drag and drop items in the list.
4. **Reset**: Click *Reset to default* to restore original settings.
### Customize widget content [#customize-widget-content]
Certain widgets let you customize which columns to display and their order: Look for the **column settings** button in the widget header.
**To customize columns**:
1. Click the **column settings** button.
2. **Show/hide columns**: Check or uncheck boxes (grayed-out columns are required).
3. **Reorder columns**: Drag and drop items in the list.
4. **Reset**: Click *Reset to default* to restore original settings.
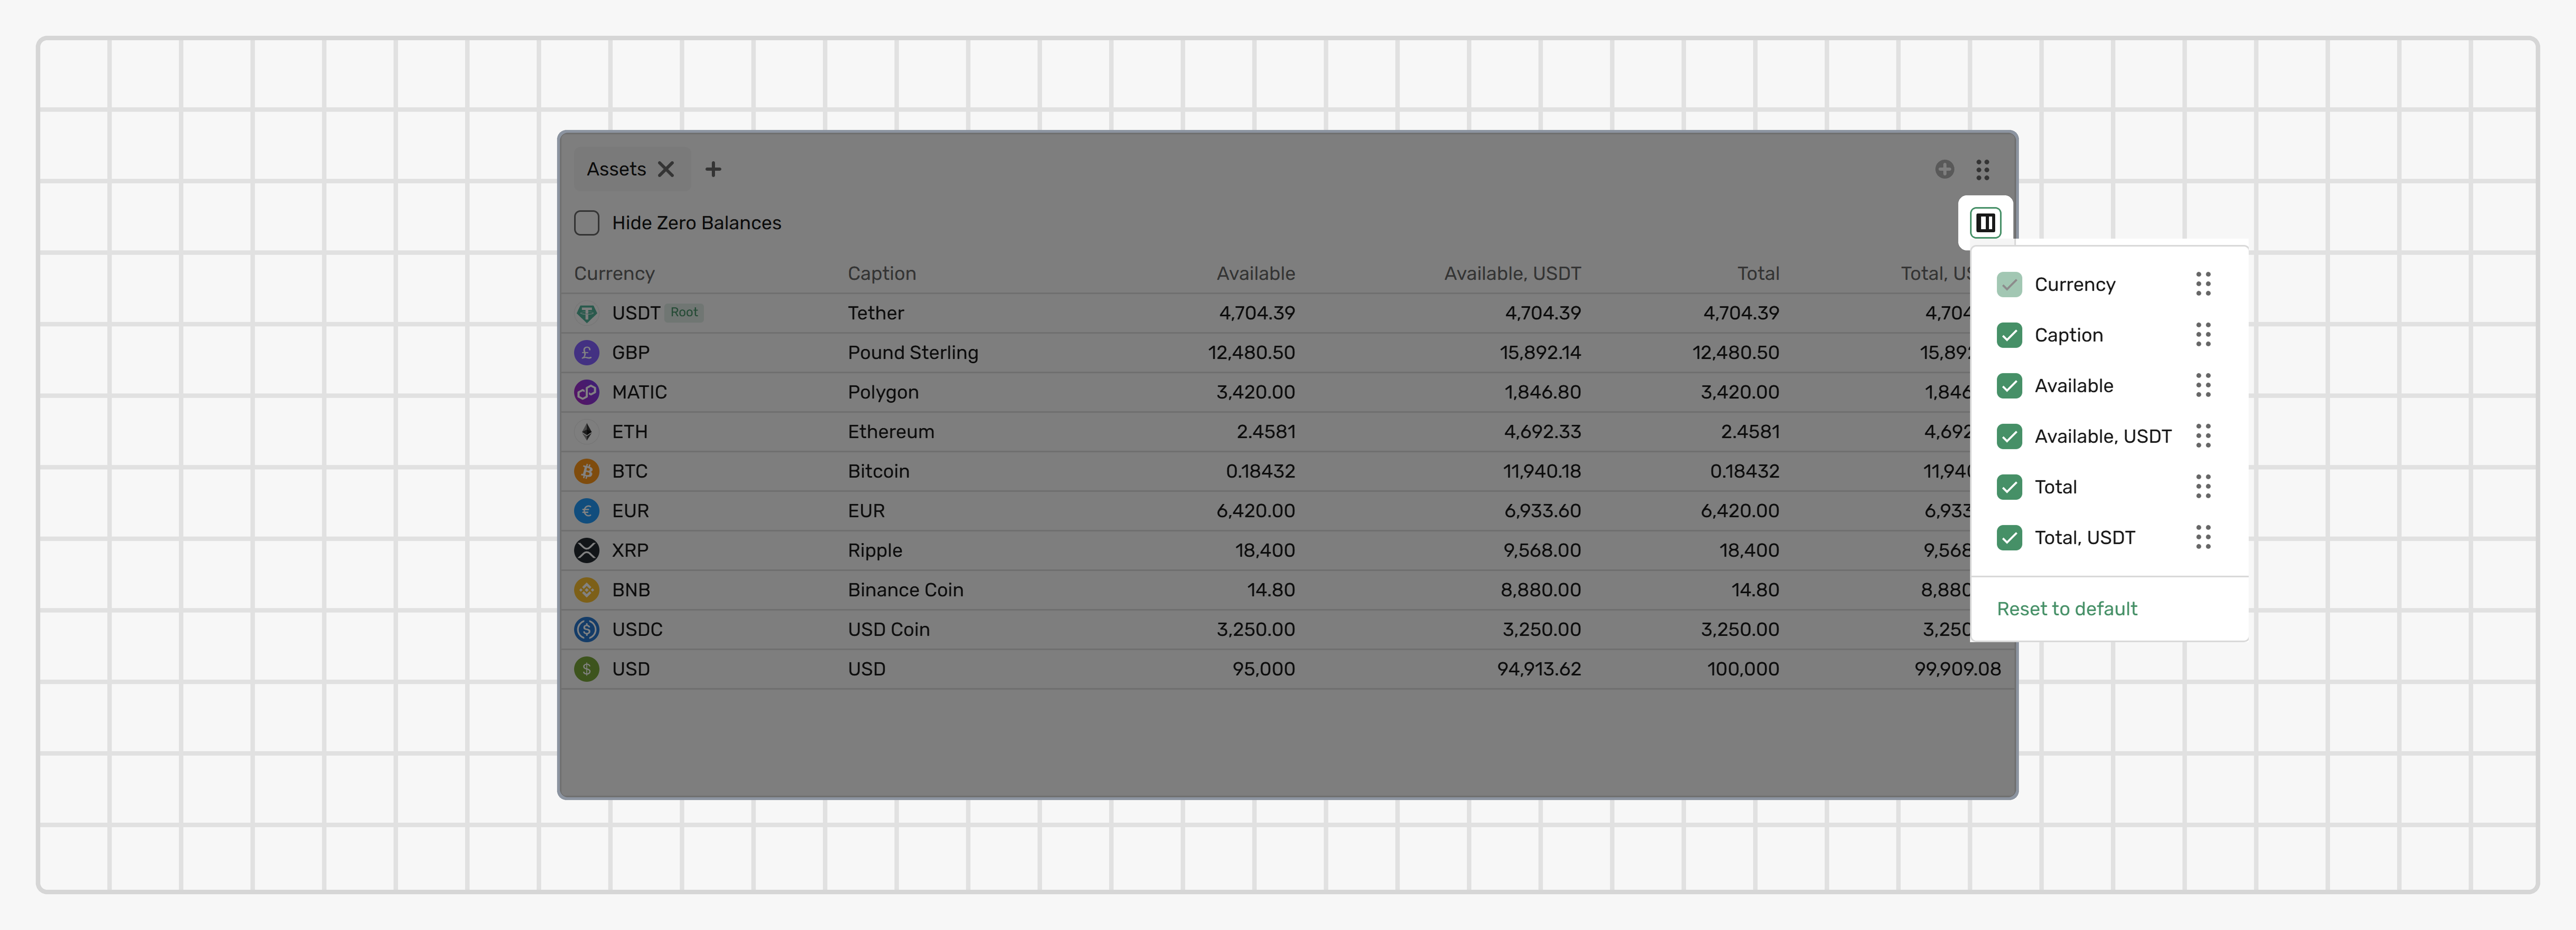 ## Managing workspaces [#managing-workspaces]
### Create new workspaces [#create-new-workspaces]
**To create a workspace**:
1. Click the **+** tab next to your existing workspaces.
2. Choose a template:
* **Pre-built templates**: Start with common widget combinations.
* **Empty**: Build completely from scratch.
3. Enter a name for your workspace.
4. Start customizing.
## Managing workspaces [#managing-workspaces]
### Create new workspaces [#create-new-workspaces]
**To create a workspace**:
1. Click the **+** tab next to your existing workspaces.
2. Choose a template:
* **Pre-built templates**: Start with common widget combinations.
* **Empty**: Build completely from scratch.
3. Enter a name for your workspace.
4. Start customizing.
 ### Workspace management [#workspace-management]
**To rename or delete a workspace**:
1. Click the menu icon on the workspace tab.
2. Select **Rename** or **Remove**.
### Workspace management [#workspace-management]
**To rename or delete a workspace**:
1. Click the menu icon on the workspace tab.
2. Select **Rename** or **Remove**.
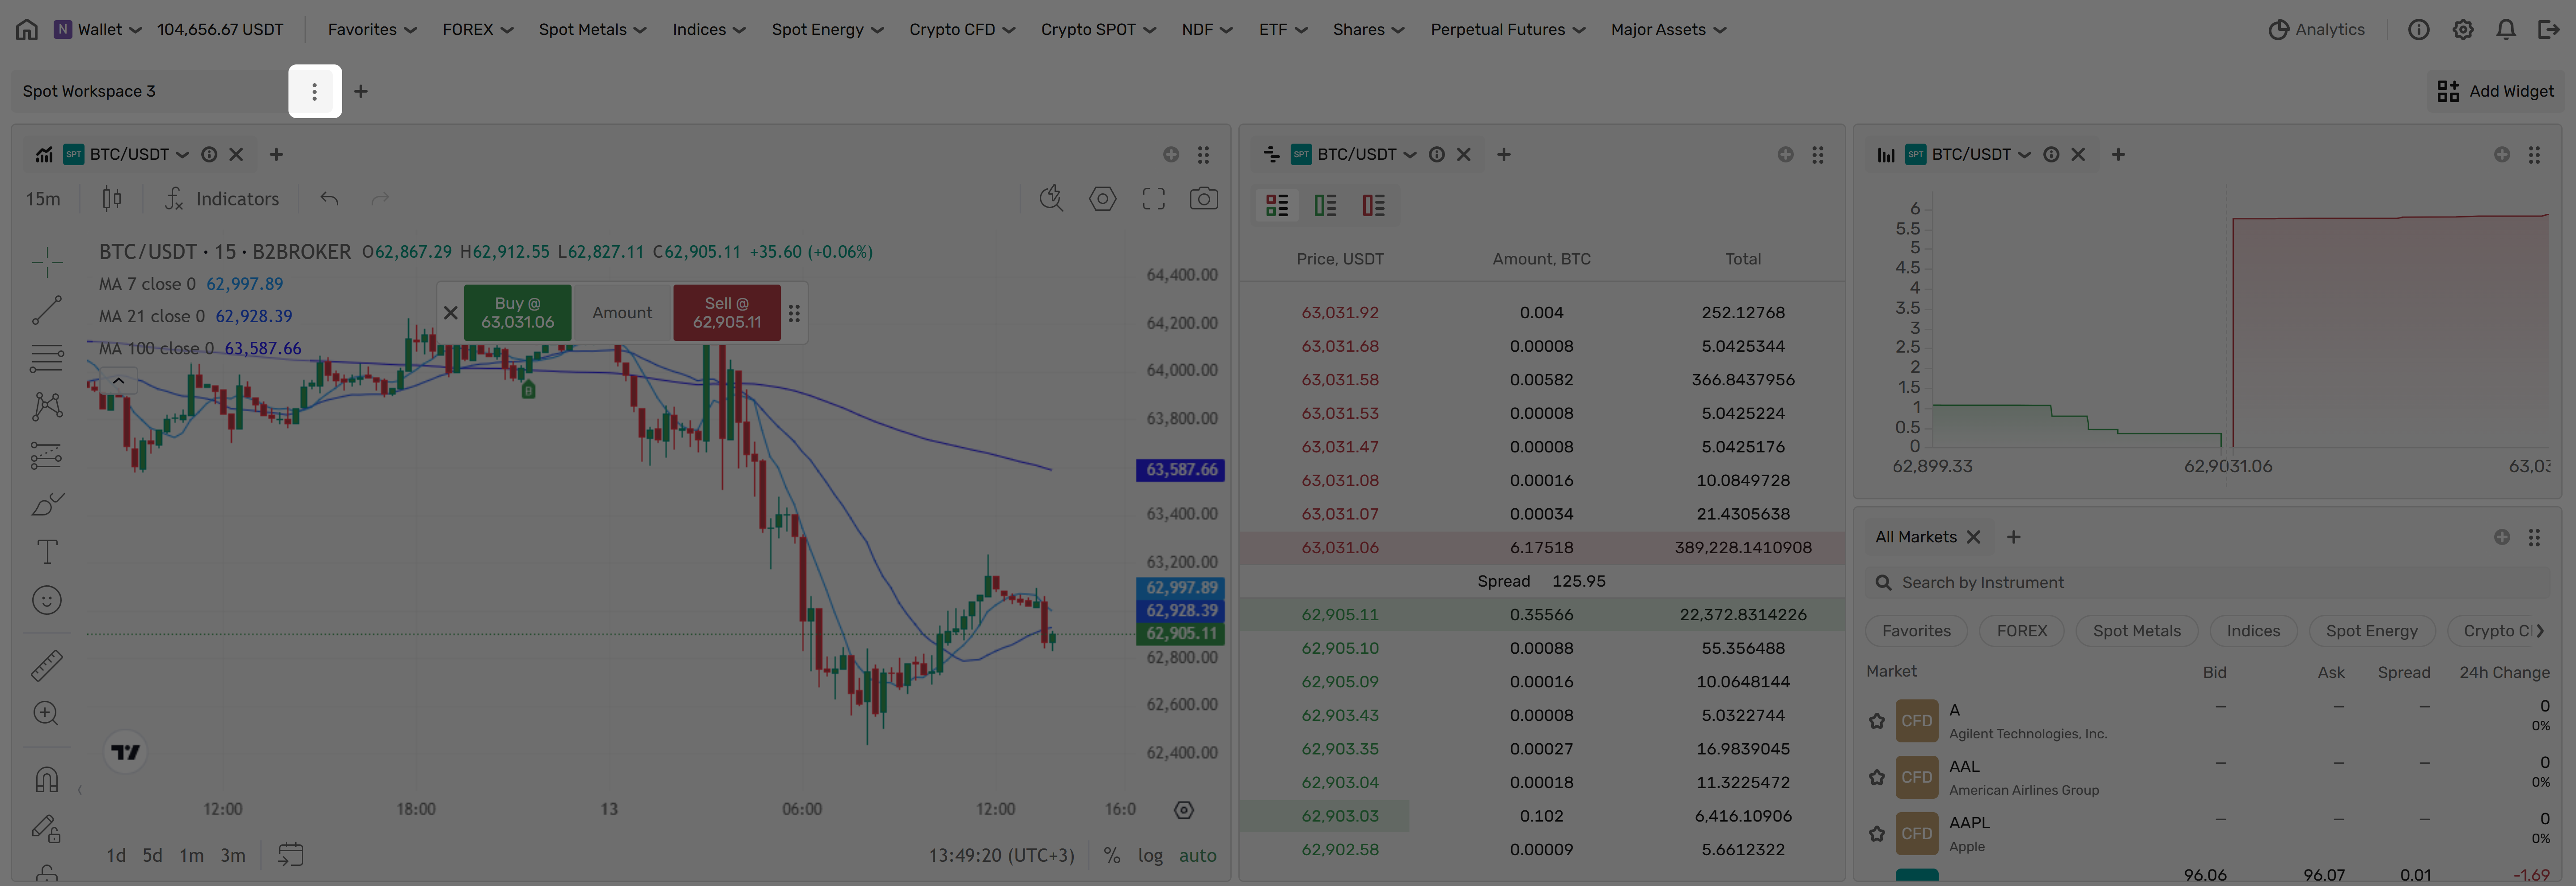 **To reorder workspaces**:
1. Click and hold any workspace tab.
2. Drag it left or right to reorder.
3. Release to set the new position.
## Market info panel [#market-info-panel]
Click the **info icon** next to a market symbol in widgets to view:
* Detailed market information.
* Trading session schedules.
* Leverage details (for CFD and PF markets).
* Fee details.
* Funding details (for PF markets).
**To reorder workspaces**:
1. Click and hold any workspace tab.
2. Drag it left or right to reorder.
3. Release to set the new position.
## Market info panel [#market-info-panel]
Click the **info icon** next to a market symbol in widgets to view:
* Detailed market information.
* Trading session schedules.
* Leverage details (for CFD and PF markets).
* Fee details.
* Funding details (for PF markets).
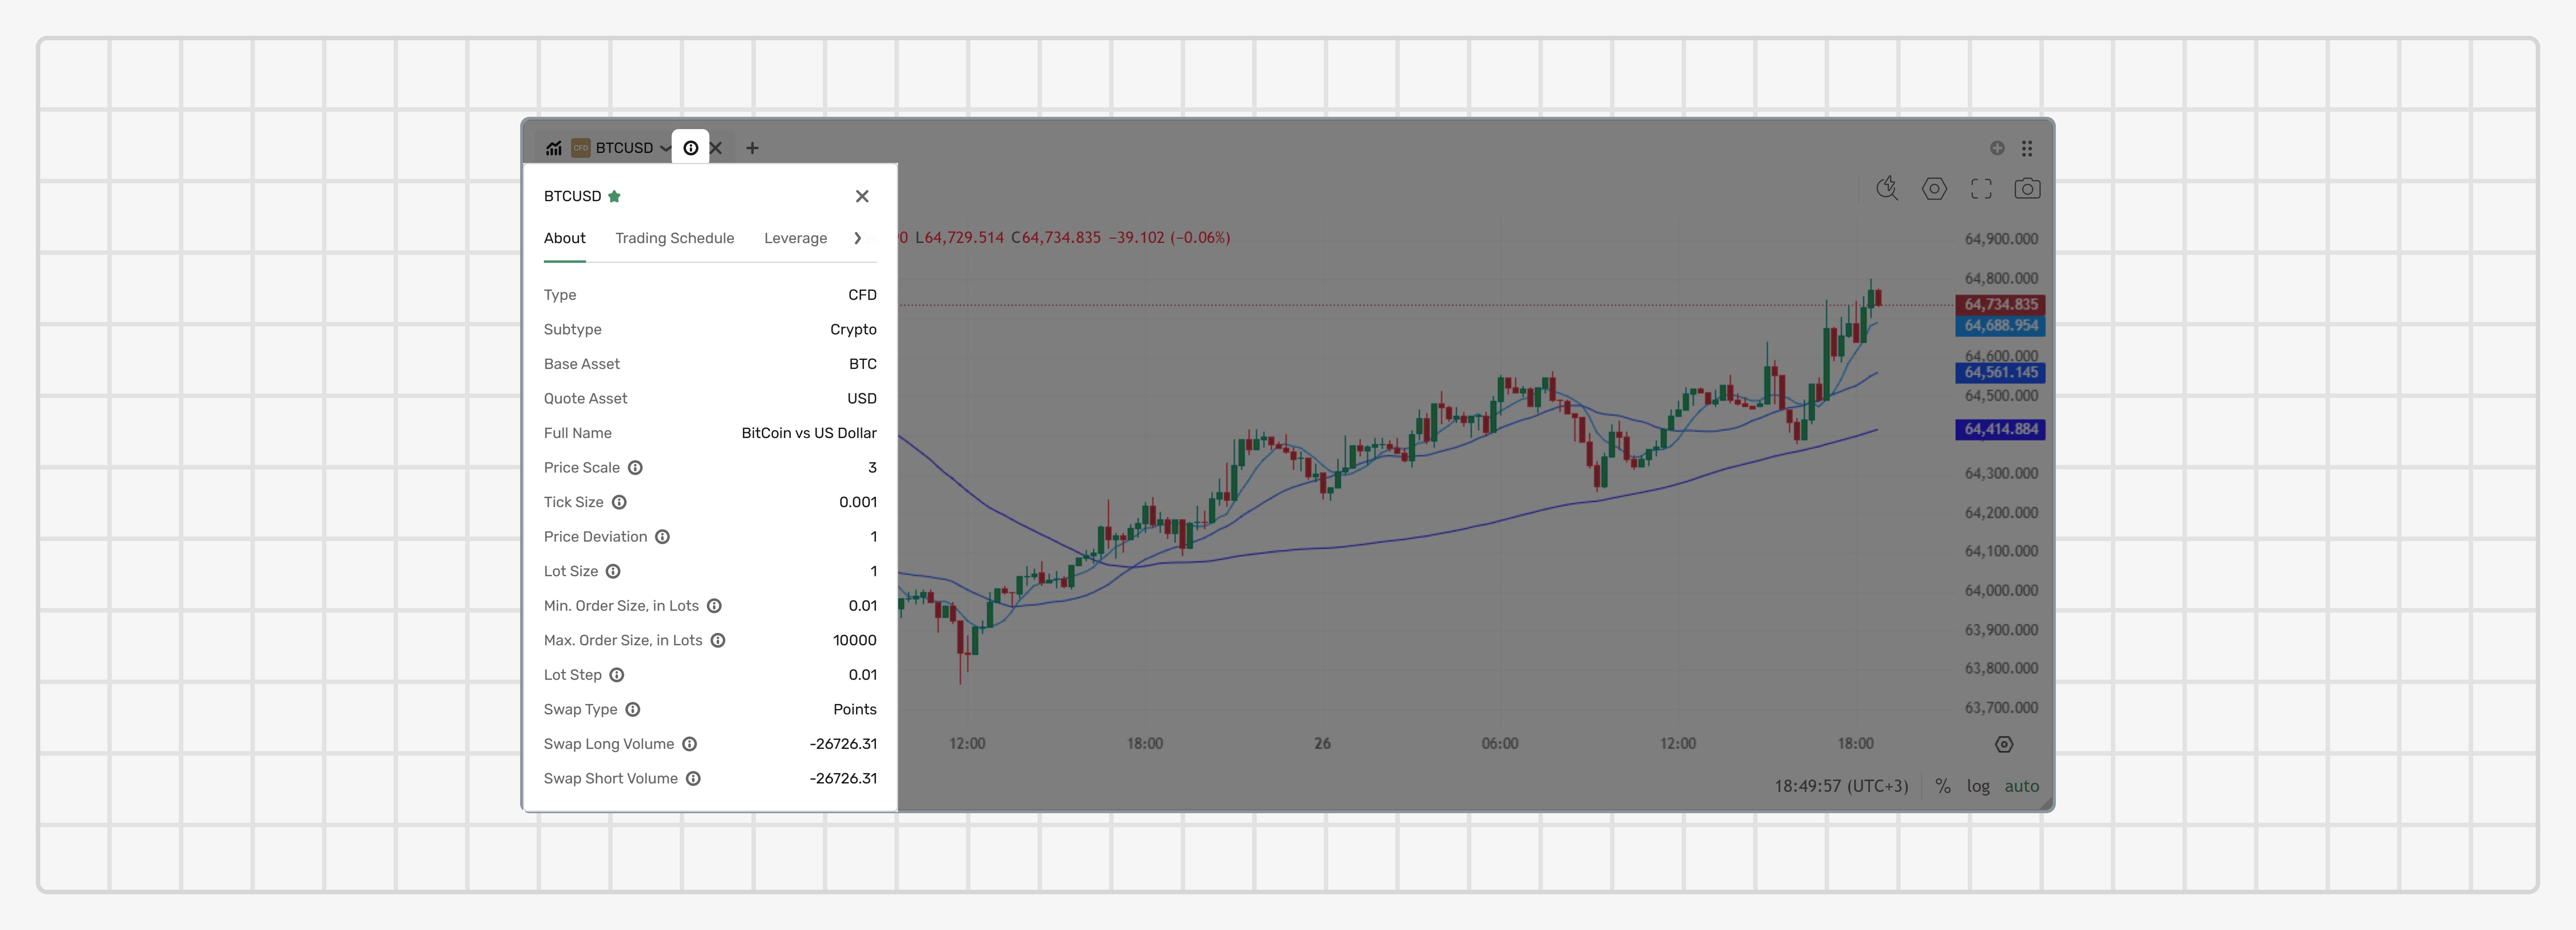 ## Pro tips [#pro-tips]
### Efficient layout building [#efficient-layout-building]
* Start with a template that is close to your needs, then customize.
* Group related widgets in tabs to save screen space.
* Use larger panels for charts, smaller ones for order books.
### Layout best practices [#layout-best-practices]
* **Save multiple workspaces** for different trading strategies.
* **Test your layout** during low-activity periods.
* **Keep essential widgets visible** (account info, positions, alerts).
Guest mode lets you open the Trading terminal and look around without an account. You get the real interface with live market data, so you can judge the platform and its market coverage before you sign up. Everything that would move money or show someone's balance stays behind login.
You do not switch Guest mode on. Open the terminal URL without a session and it loads in Guest mode on its own — there is no redirect to a login page first.
On your first visit a short disclaimer appears, stating that the page is for information only and that the instruments actually available for trading are determined by current legislation. Click **OK** to dismiss it; it is remembered in your browser and does not appear again. Your broker can turn the disclaimer off.
## What you can do as a guest [#what-you-can-do-as-a-guest]
* Browse the full list of instruments your broker offers, and filter, group, and search it exactly as a logged-in trader would.
* Follow live prices, the [Order book](../widgets/order-book), and [Market depth](../widgets/market-depth).
* Work with the [Price chart](../widgets/price-chart): change the instrument, change the timeframe, and use the chart tools.
* Open the [AI Assistant](../widgets/ai-assistant) widget for market analysis.
* Fill in the [Place order](../widgets/place-order) form — order type, side, quantity, price, stop loss, take profit, time in force. The fields behave the same as they do for a logged-in trader, so you can see exactly what placing an order involves.
## What needs logging in [#what-needs-logging-in]
In the [Place order](../widgets/place-order) widget the order submit button is replaced by a **Log In** button. You can fill in the whole form and see the calculated figures, but there is no way to submit an order as a guest.
Account-related widgets are not hidden either. Each is covered by an overlay with a padlock icon, the message *Log in to unlock all features*, and a **Log In** button, so you can see where your own data will appear once you have an account. The affected widgets are:
* [Assets](../widgets/assets)
* [Margin](../widgets/margin)
* [Open orders](../widgets/open-orders)
* [Open positions](../widgets/open-positions)
* [Closed positions](../widgets/closed-positions)
* [Order history](../widgets/order-history)
* [Stop orders](../widgets/stop-orders)
* [Messages](../widgets/messages)
* [Price control](../widgets/price-control)
## Your guest workspace [#your-guest-workspace]
Guest mode opens with a workspace laid out by your broker. It is the same on every visit and it is not saved: rearranging widgets as a guest does not carry over to your next visit, and it never becomes your workspace after you log in.
## Logging in from Guest mode [#logging-in-from-guest-mode]
Use **Log In** in the terminal topbar, or the **Log In** button on any account widget overlay or in the Place order widget — they all do the same thing.
After you log in, the terminal reloads into the full trading experience and opens your saved workspace. On a first login, when you have no saved workspace yet, it opens the default one.
If you are already logged in to your broker's client portal in the same browser, the terminal detects that session on load and takes you straight into the full trading experience — no second login.
## Logging out [#logging-out]
Logging out returns you to Guest mode on the same address, not to a login page, so you can keep watching the markets. Your account data is cleared from the browser first, so no balances, positions, orders, or history remain visible.
Access settings by clicking the **gear icon** in the topbar of the Trading terminal.
## Pro tips [#pro-tips]
### Efficient layout building [#efficient-layout-building]
* Start with a template that is close to your needs, then customize.
* Group related widgets in tabs to save screen space.
* Use larger panels for charts, smaller ones for order books.
### Layout best practices [#layout-best-practices]
* **Save multiple workspaces** for different trading strategies.
* **Test your layout** during low-activity periods.
* **Keep essential widgets visible** (account info, positions, alerts).
Guest mode lets you open the Trading terminal and look around without an account. You get the real interface with live market data, so you can judge the platform and its market coverage before you sign up. Everything that would move money or show someone's balance stays behind login.
You do not switch Guest mode on. Open the terminal URL without a session and it loads in Guest mode on its own — there is no redirect to a login page first.
On your first visit a short disclaimer appears, stating that the page is for information only and that the instruments actually available for trading are determined by current legislation. Click **OK** to dismiss it; it is remembered in your browser and does not appear again. Your broker can turn the disclaimer off.
## What you can do as a guest [#what-you-can-do-as-a-guest]
* Browse the full list of instruments your broker offers, and filter, group, and search it exactly as a logged-in trader would.
* Follow live prices, the [Order book](../widgets/order-book), and [Market depth](../widgets/market-depth).
* Work with the [Price chart](../widgets/price-chart): change the instrument, change the timeframe, and use the chart tools.
* Open the [AI Assistant](../widgets/ai-assistant) widget for market analysis.
* Fill in the [Place order](../widgets/place-order) form — order type, side, quantity, price, stop loss, take profit, time in force. The fields behave the same as they do for a logged-in trader, so you can see exactly what placing an order involves.
## What needs logging in [#what-needs-logging-in]
In the [Place order](../widgets/place-order) widget the order submit button is replaced by a **Log In** button. You can fill in the whole form and see the calculated figures, but there is no way to submit an order as a guest.
Account-related widgets are not hidden either. Each is covered by an overlay with a padlock icon, the message *Log in to unlock all features*, and a **Log In** button, so you can see where your own data will appear once you have an account. The affected widgets are:
* [Assets](../widgets/assets)
* [Margin](../widgets/margin)
* [Open orders](../widgets/open-orders)
* [Open positions](../widgets/open-positions)
* [Closed positions](../widgets/closed-positions)
* [Order history](../widgets/order-history)
* [Stop orders](../widgets/stop-orders)
* [Messages](../widgets/messages)
* [Price control](../widgets/price-control)
## Your guest workspace [#your-guest-workspace]
Guest mode opens with a workspace laid out by your broker. It is the same on every visit and it is not saved: rearranging widgets as a guest does not carry over to your next visit, and it never becomes your workspace after you log in.
## Logging in from Guest mode [#logging-in-from-guest-mode]
Use **Log In** in the terminal topbar, or the **Log In** button on any account widget overlay or in the Place order widget — they all do the same thing.
After you log in, the terminal reloads into the full trading experience and opens your saved workspace. On a first login, when you have no saved workspace yet, it opens the default one.
If you are already logged in to your broker's client portal in the same browser, the terminal detects that session on load and takes you straight into the full trading experience — no second login.
## Logging out [#logging-out]
Logging out returns you to Guest mode on the same address, not to a login page, so you can keep watching the markets. Your account data is cleared from the browser first, so no balances, positions, orders, or history remain visible.
Access settings by clicking the **gear icon** in the topbar of the Trading terminal.
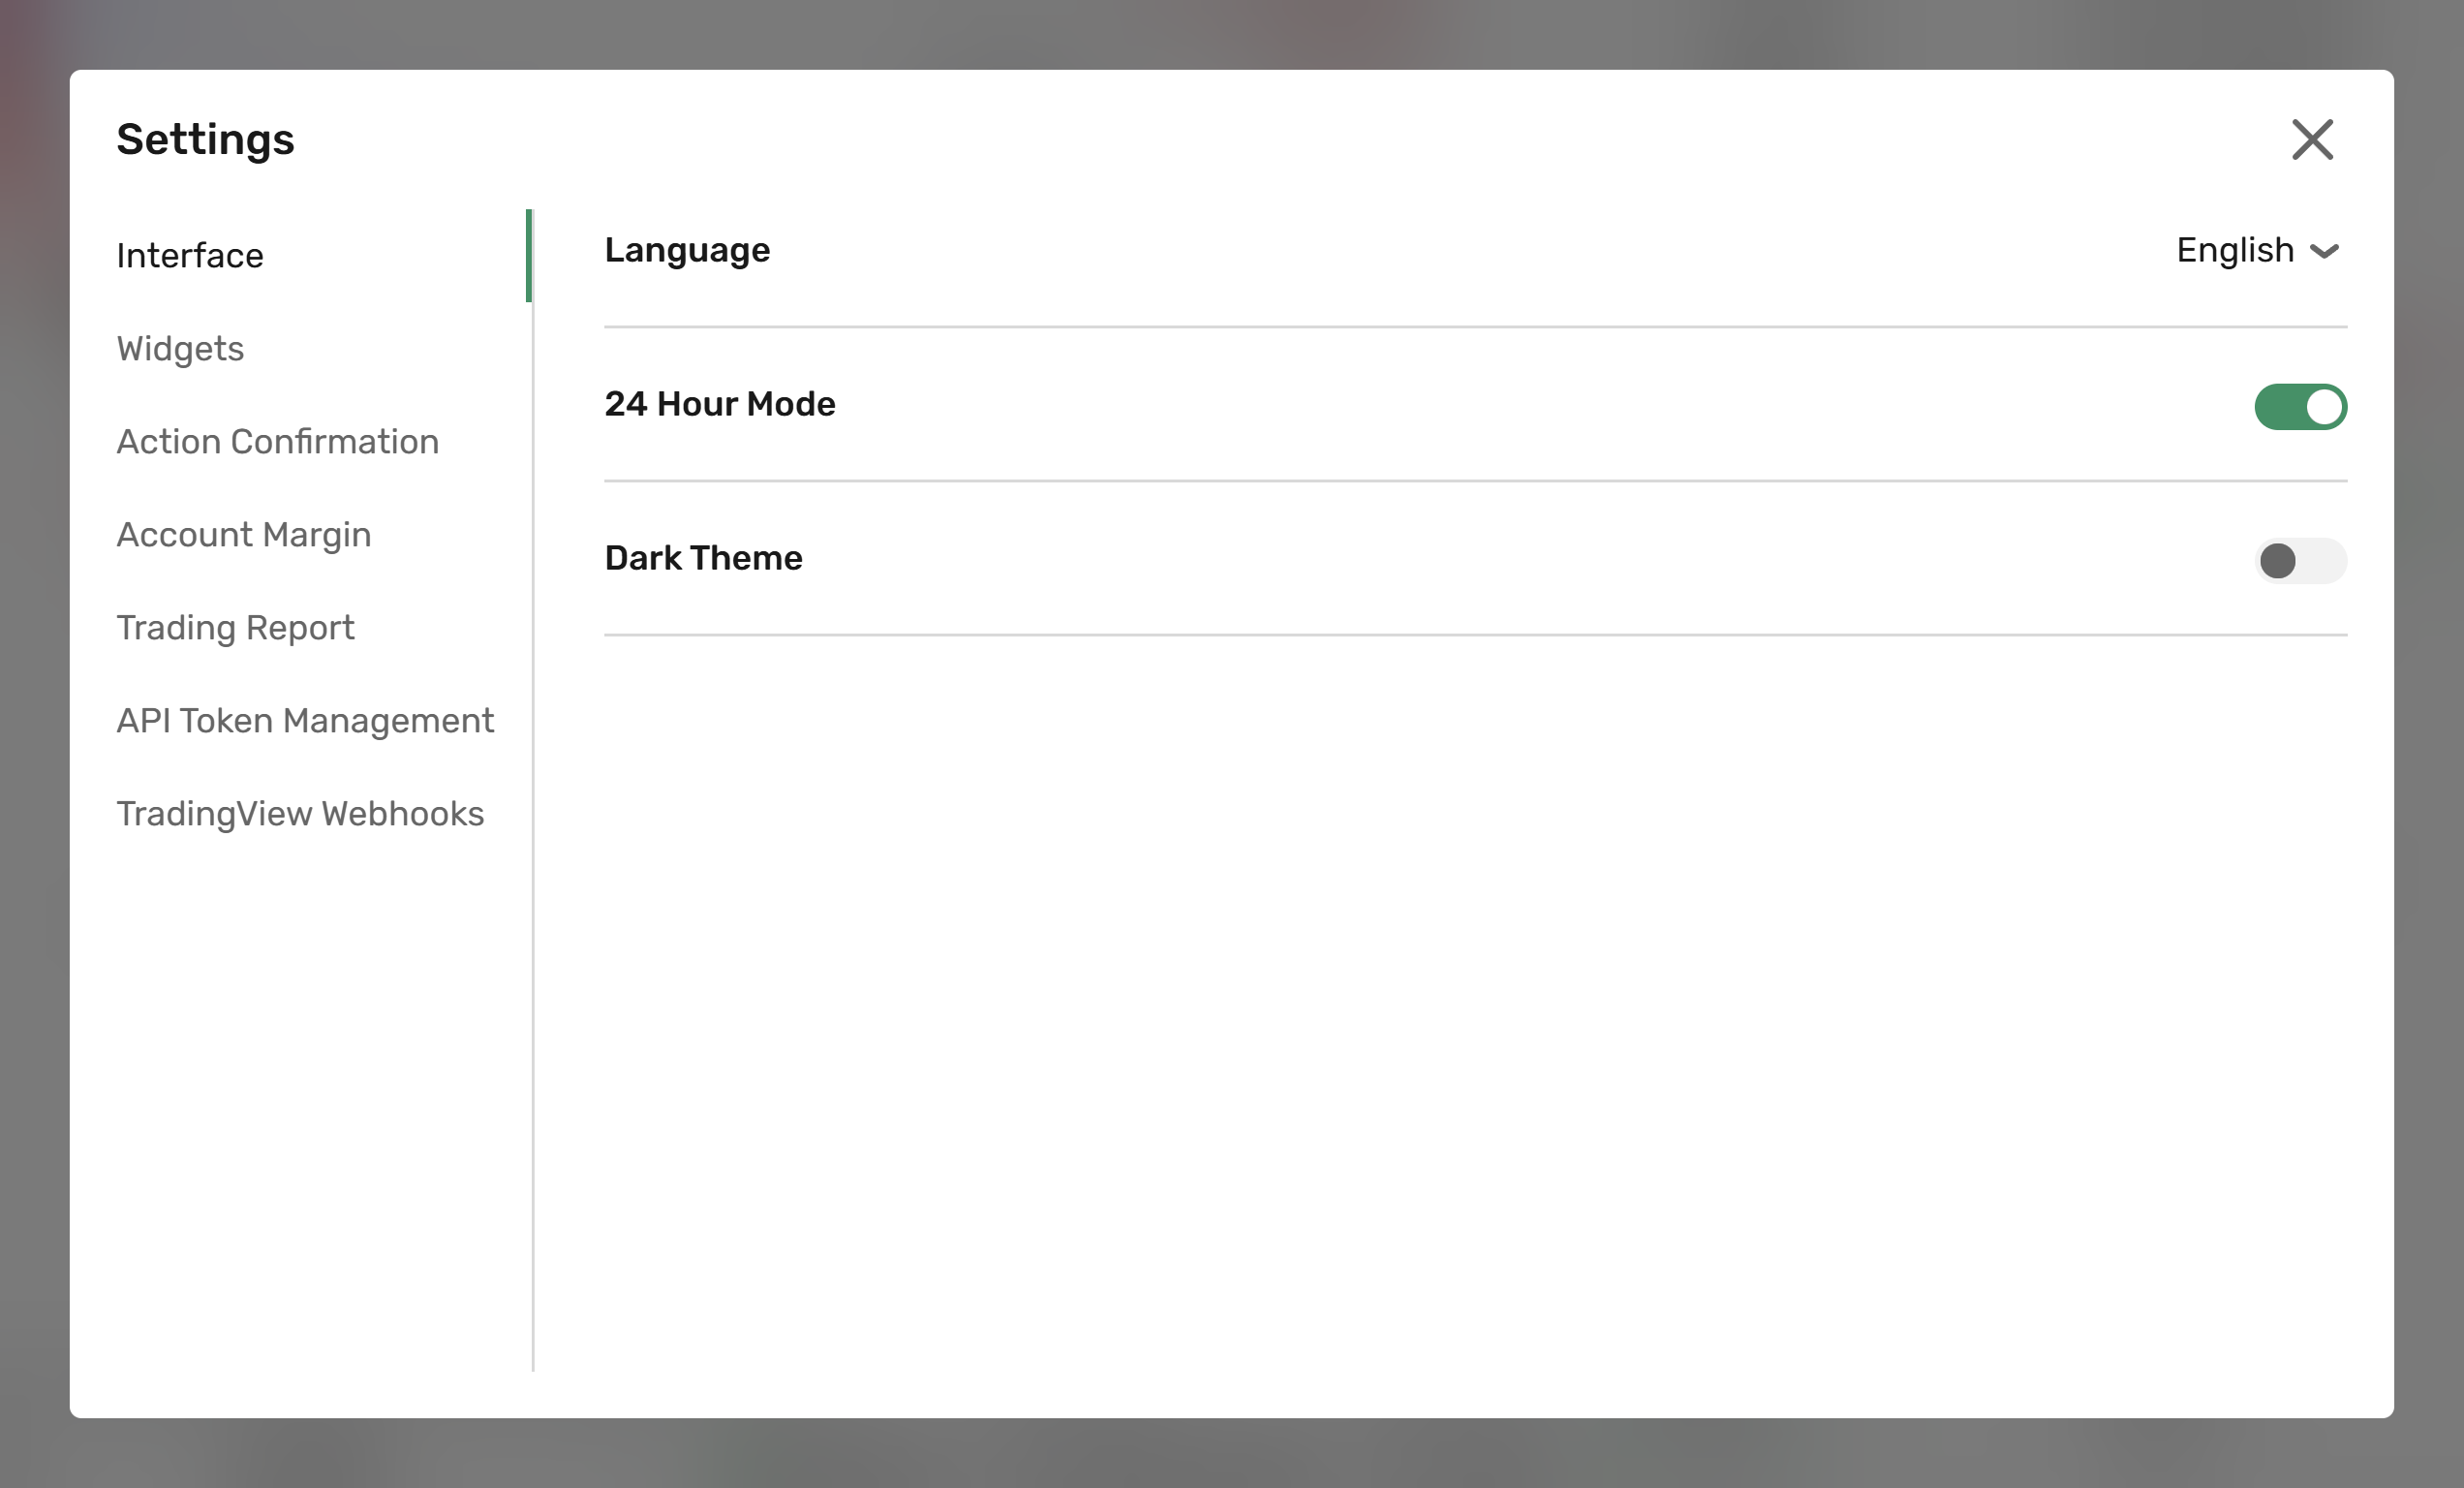 Settings are organized into tabs:
* [Interface](#interface): Configure language, time display, and visual theme.
* [Widgets](#widgets): Customize widget display options.
* [Action Confirmation](#action-confirmation): Choose which actions require additional confirmation.
* [Account margin](#account-margin): Manage collateral assets for margin trading.
* [Trading report](#trading-report): Generate comprehensive trading and account reports.
* [API token management](#api-token-management): Generate and manage tokens for accessing the Trading API.
* [TradingView Webhooks](#tradingview-webhooks): Configure TradingView webhook alerts for automated order execution.
## Interface [#interface]
Configure global interface preferences:
**Language**
Select the interface language from the dropdown menu.
**24 hour mode**
* Enable: Display time in 24-hour format.
* Disable: Display time in 12-hour format with AM/PM.
**Dark theme**
* Enable: Apply dark color scheme.
* Disable: Apply light color scheme.
## Widgets [#widgets]
Configure display options for the following widgets.
### Price chart [#price-chart]
**Display positions**
When enabled, open positions are shown on the chart along with:
* Position size and current PnL.
* Quick access to edit price triggers and close positions.
* Color coding: Long positions (green), Short positions (red).
**Display orders and triggers**
When enabled, the following orders and triggers are displayed on the chart:
* Active Limit and Stop orders with order type, price, and amount.
* Stop loss, Take profit, and Trailing stop triggers.
* Quick access to edit triggers and cancel orders.
* Color coding: Buy orders (green), Sell orders (red).
**Display executed orders**
When enabled, executed orders are shown on the chart with order type indicators:
* Green `B` tag for Buy orders.
* Red `S` tag for Sell orders.
Clicking `B` or `S` will open details of one or more orders that were executed during the candle interval.
**Market quick trade panel**
When enabled, a panel is displayed on the chart for placing Market orders with:
* Quick amount selection from preset values.
* Leverage ratio input (when applicable).
Amount presets can be configured in the corresponding field displayed when the option is enabled.
**Limit quick trade panel**
When enabled, a panel is displayed on the chart for placing Limit orders with:
* Quick amount selection from preset values.
* Leverage ratio input (when applicable).
Amount presets can be configured in the corresponding field displayed when the option is enabled.
## Action Confirmation [#action-confirmation]
Choose which trading actions require an additional confirmation dialog before execution.
**Cancel orders**
* Enable: A confirmation dialog is displayed before canceling orders.
* Disable: Orders are canceled immediately without confirmation.
This setting applies to single and bulk order cancellations from the **Open Orders** widget and the **Price chart**.
The confirmation dialog includes a **"Don't ask again"** checkbox. To skip the confirmation for future order cancellations, check this box.
**Full Close Positions**
* Enable: A confirmation dialog is displayed before closing positions.
* Disable: Positions are closed immediately without confirmation.
This setting applies to single and bulk position closures from the **Open Positions** widget.
**Limit order cross-TOB warning**
* Enable: A confirmation dialog is displayed before a Limit order is submitted if its price crosses the current top-of-book — that is, when a Buy price is at or above the best ask, or a Sell price is at or below the best bid. The dialog shows the entered price and the current best bid/ask, and includes a **Do not show this warning again** checkbox.
* Disable: Crossing Limit orders are submitted immediately without the warning.
The warning is enabled by default. The dialog checkbox and this toggle share the same global setting and stay in sync.
The warning is informational only — it does not block the order. If you confirm, the order is submitted with the original price. The warning applies only to standard Limit orders; Stop-limit, Take-profit-limit, IOC, FOK, and other order types are not affected. If best bid or best ask data is unavailable (empty book or disconnected feed), the order is submitted without the warning.
## Account margin [#account-margin]
Control which assets can be used as collateral for margin trading.
### Asset list [#asset-list]
The following information is provided about each asset:
**Asset**
The alphabetical code of the asset.
The first asset in the list is the **root asset** of the platform.
***
**Caption**
The asset name.
***
**Available**
The balance available for trading, calculated as *Total – Halted*, where *Halted* represents funds locked for pending Limit orders.
***
**Total**
The complete asset balance including locked funds.
***
**Margin ratio**
The percentage of asset value that can be used as collateral for margin trading.
***
**Use as margin**
Enable this toggle to use the asset as collateral for margin trading.
Configure which assets can be used as collateral for margin trading by toggling the **Use as margin** setting for each asset.
Only assets with **Margin ratio** greater than 0 (zero) can be enabled.
The platform root asset is enabled by default and can't be disabled.
### Filtering options [#filtering-options]
Click the **funnel icon** to configure the asset list display:
* **Show/Hide zero balances**: Control visibility of assets with zero balance. By default, hidden.
* **Show/Hide assets unused as margin**: Control visibility of assets with disabled margin usage.
* **Show/Hide assets with zero margin ratio**: Control visibility of assets that can't be used as collateral. By default, hidden.
## Trading report [#trading-report]
Generate comprehensive reports containing:
* **Trade history**
* Closed positions
* Executed orders
* Individual trades
* **Transfers history**
* All account transfers
* **Account statistics**
* Total balance
* Realized PnL
* Position swaps
* Position funding
* Commissions
To generate a report:
1. Select a custom period of time (UTC time), or generate a report for your entire account history using the **All data** range. The following timeframe presets have been implemented for your convenience:
* **Today**
* **Current**: week, month, quarter
* **Previous**: week, month, quarter
* **All data**.
2. Click **Download**.
Once generated, the report will be automatically downloaded to your computer as a zipped CSV file.
## API token management [#api-token-management]
Generate tokens for accessing the [Trading API](https://api-docs.b2trader.b2broker.com/):
* **Limit**: 10 tokens per account
* **Validity**: 1 year
* **Management**: Can be revoked or deleted at any time
To generate a token:
1. Click **+ Create new**.
2. In the **New API token** popup, fill in a **Name** for the token, to help you identify it later.
3. Click **Create**.
The newly generated token will be displayed and available for copying, along with its name and expiration date.
Settings are organized into tabs:
* [Interface](#interface): Configure language, time display, and visual theme.
* [Widgets](#widgets): Customize widget display options.
* [Action Confirmation](#action-confirmation): Choose which actions require additional confirmation.
* [Account margin](#account-margin): Manage collateral assets for margin trading.
* [Trading report](#trading-report): Generate comprehensive trading and account reports.
* [API token management](#api-token-management): Generate and manage tokens for accessing the Trading API.
* [TradingView Webhooks](#tradingview-webhooks): Configure TradingView webhook alerts for automated order execution.
## Interface [#interface]
Configure global interface preferences:
**Language**
Select the interface language from the dropdown menu.
**24 hour mode**
* Enable: Display time in 24-hour format.
* Disable: Display time in 12-hour format with AM/PM.
**Dark theme**
* Enable: Apply dark color scheme.
* Disable: Apply light color scheme.
## Widgets [#widgets]
Configure display options for the following widgets.
### Price chart [#price-chart]
**Display positions**
When enabled, open positions are shown on the chart along with:
* Position size and current PnL.
* Quick access to edit price triggers and close positions.
* Color coding: Long positions (green), Short positions (red).
**Display orders and triggers**
When enabled, the following orders and triggers are displayed on the chart:
* Active Limit and Stop orders with order type, price, and amount.
* Stop loss, Take profit, and Trailing stop triggers.
* Quick access to edit triggers and cancel orders.
* Color coding: Buy orders (green), Sell orders (red).
**Display executed orders**
When enabled, executed orders are shown on the chart with order type indicators:
* Green `B` tag for Buy orders.
* Red `S` tag for Sell orders.
Clicking `B` or `S` will open details of one or more orders that were executed during the candle interval.
**Market quick trade panel**
When enabled, a panel is displayed on the chart for placing Market orders with:
* Quick amount selection from preset values.
* Leverage ratio input (when applicable).
Amount presets can be configured in the corresponding field displayed when the option is enabled.
**Limit quick trade panel**
When enabled, a panel is displayed on the chart for placing Limit orders with:
* Quick amount selection from preset values.
* Leverage ratio input (when applicable).
Amount presets can be configured in the corresponding field displayed when the option is enabled.
## Action Confirmation [#action-confirmation]
Choose which trading actions require an additional confirmation dialog before execution.
**Cancel orders**
* Enable: A confirmation dialog is displayed before canceling orders.
* Disable: Orders are canceled immediately without confirmation.
This setting applies to single and bulk order cancellations from the **Open Orders** widget and the **Price chart**.
The confirmation dialog includes a **"Don't ask again"** checkbox. To skip the confirmation for future order cancellations, check this box.
**Full Close Positions**
* Enable: A confirmation dialog is displayed before closing positions.
* Disable: Positions are closed immediately without confirmation.
This setting applies to single and bulk position closures from the **Open Positions** widget.
**Limit order cross-TOB warning**
* Enable: A confirmation dialog is displayed before a Limit order is submitted if its price crosses the current top-of-book — that is, when a Buy price is at or above the best ask, or a Sell price is at or below the best bid. The dialog shows the entered price and the current best bid/ask, and includes a **Do not show this warning again** checkbox.
* Disable: Crossing Limit orders are submitted immediately without the warning.
The warning is enabled by default. The dialog checkbox and this toggle share the same global setting and stay in sync.
The warning is informational only — it does not block the order. If you confirm, the order is submitted with the original price. The warning applies only to standard Limit orders; Stop-limit, Take-profit-limit, IOC, FOK, and other order types are not affected. If best bid or best ask data is unavailable (empty book or disconnected feed), the order is submitted without the warning.
## Account margin [#account-margin]
Control which assets can be used as collateral for margin trading.
### Asset list [#asset-list]
The following information is provided about each asset:
**Asset**
The alphabetical code of the asset.
The first asset in the list is the **root asset** of the platform.
***
**Caption**
The asset name.
***
**Available**
The balance available for trading, calculated as *Total – Halted*, where *Halted* represents funds locked for pending Limit orders.
***
**Total**
The complete asset balance including locked funds.
***
**Margin ratio**
The percentage of asset value that can be used as collateral for margin trading.
***
**Use as margin**
Enable this toggle to use the asset as collateral for margin trading.
Configure which assets can be used as collateral for margin trading by toggling the **Use as margin** setting for each asset.
Only assets with **Margin ratio** greater than 0 (zero) can be enabled.
The platform root asset is enabled by default and can't be disabled.
### Filtering options [#filtering-options]
Click the **funnel icon** to configure the asset list display:
* **Show/Hide zero balances**: Control visibility of assets with zero balance. By default, hidden.
* **Show/Hide assets unused as margin**: Control visibility of assets with disabled margin usage.
* **Show/Hide assets with zero margin ratio**: Control visibility of assets that can't be used as collateral. By default, hidden.
## Trading report [#trading-report]
Generate comprehensive reports containing:
* **Trade history**
* Closed positions
* Executed orders
* Individual trades
* **Transfers history**
* All account transfers
* **Account statistics**
* Total balance
* Realized PnL
* Position swaps
* Position funding
* Commissions
To generate a report:
1. Select a custom period of time (UTC time), or generate a report for your entire account history using the **All data** range. The following timeframe presets have been implemented for your convenience:
* **Today**
* **Current**: week, month, quarter
* **Previous**: week, month, quarter
* **All data**.
2. Click **Download**.
Once generated, the report will be automatically downloaded to your computer as a zipped CSV file.
## API token management [#api-token-management]
Generate tokens for accessing the [Trading API](https://api-docs.b2trader.b2broker.com/):
* **Limit**: 10 tokens per account
* **Validity**: 1 year
* **Management**: Can be revoked or deleted at any time
To generate a token:
1. Click **+ Create new**.
2. In the **New API token** popup, fill in a **Name** for the token, to help you identify it later.
3. Click **Create**.
The newly generated token will be displayed and available for copying, along with its name and expiration date.
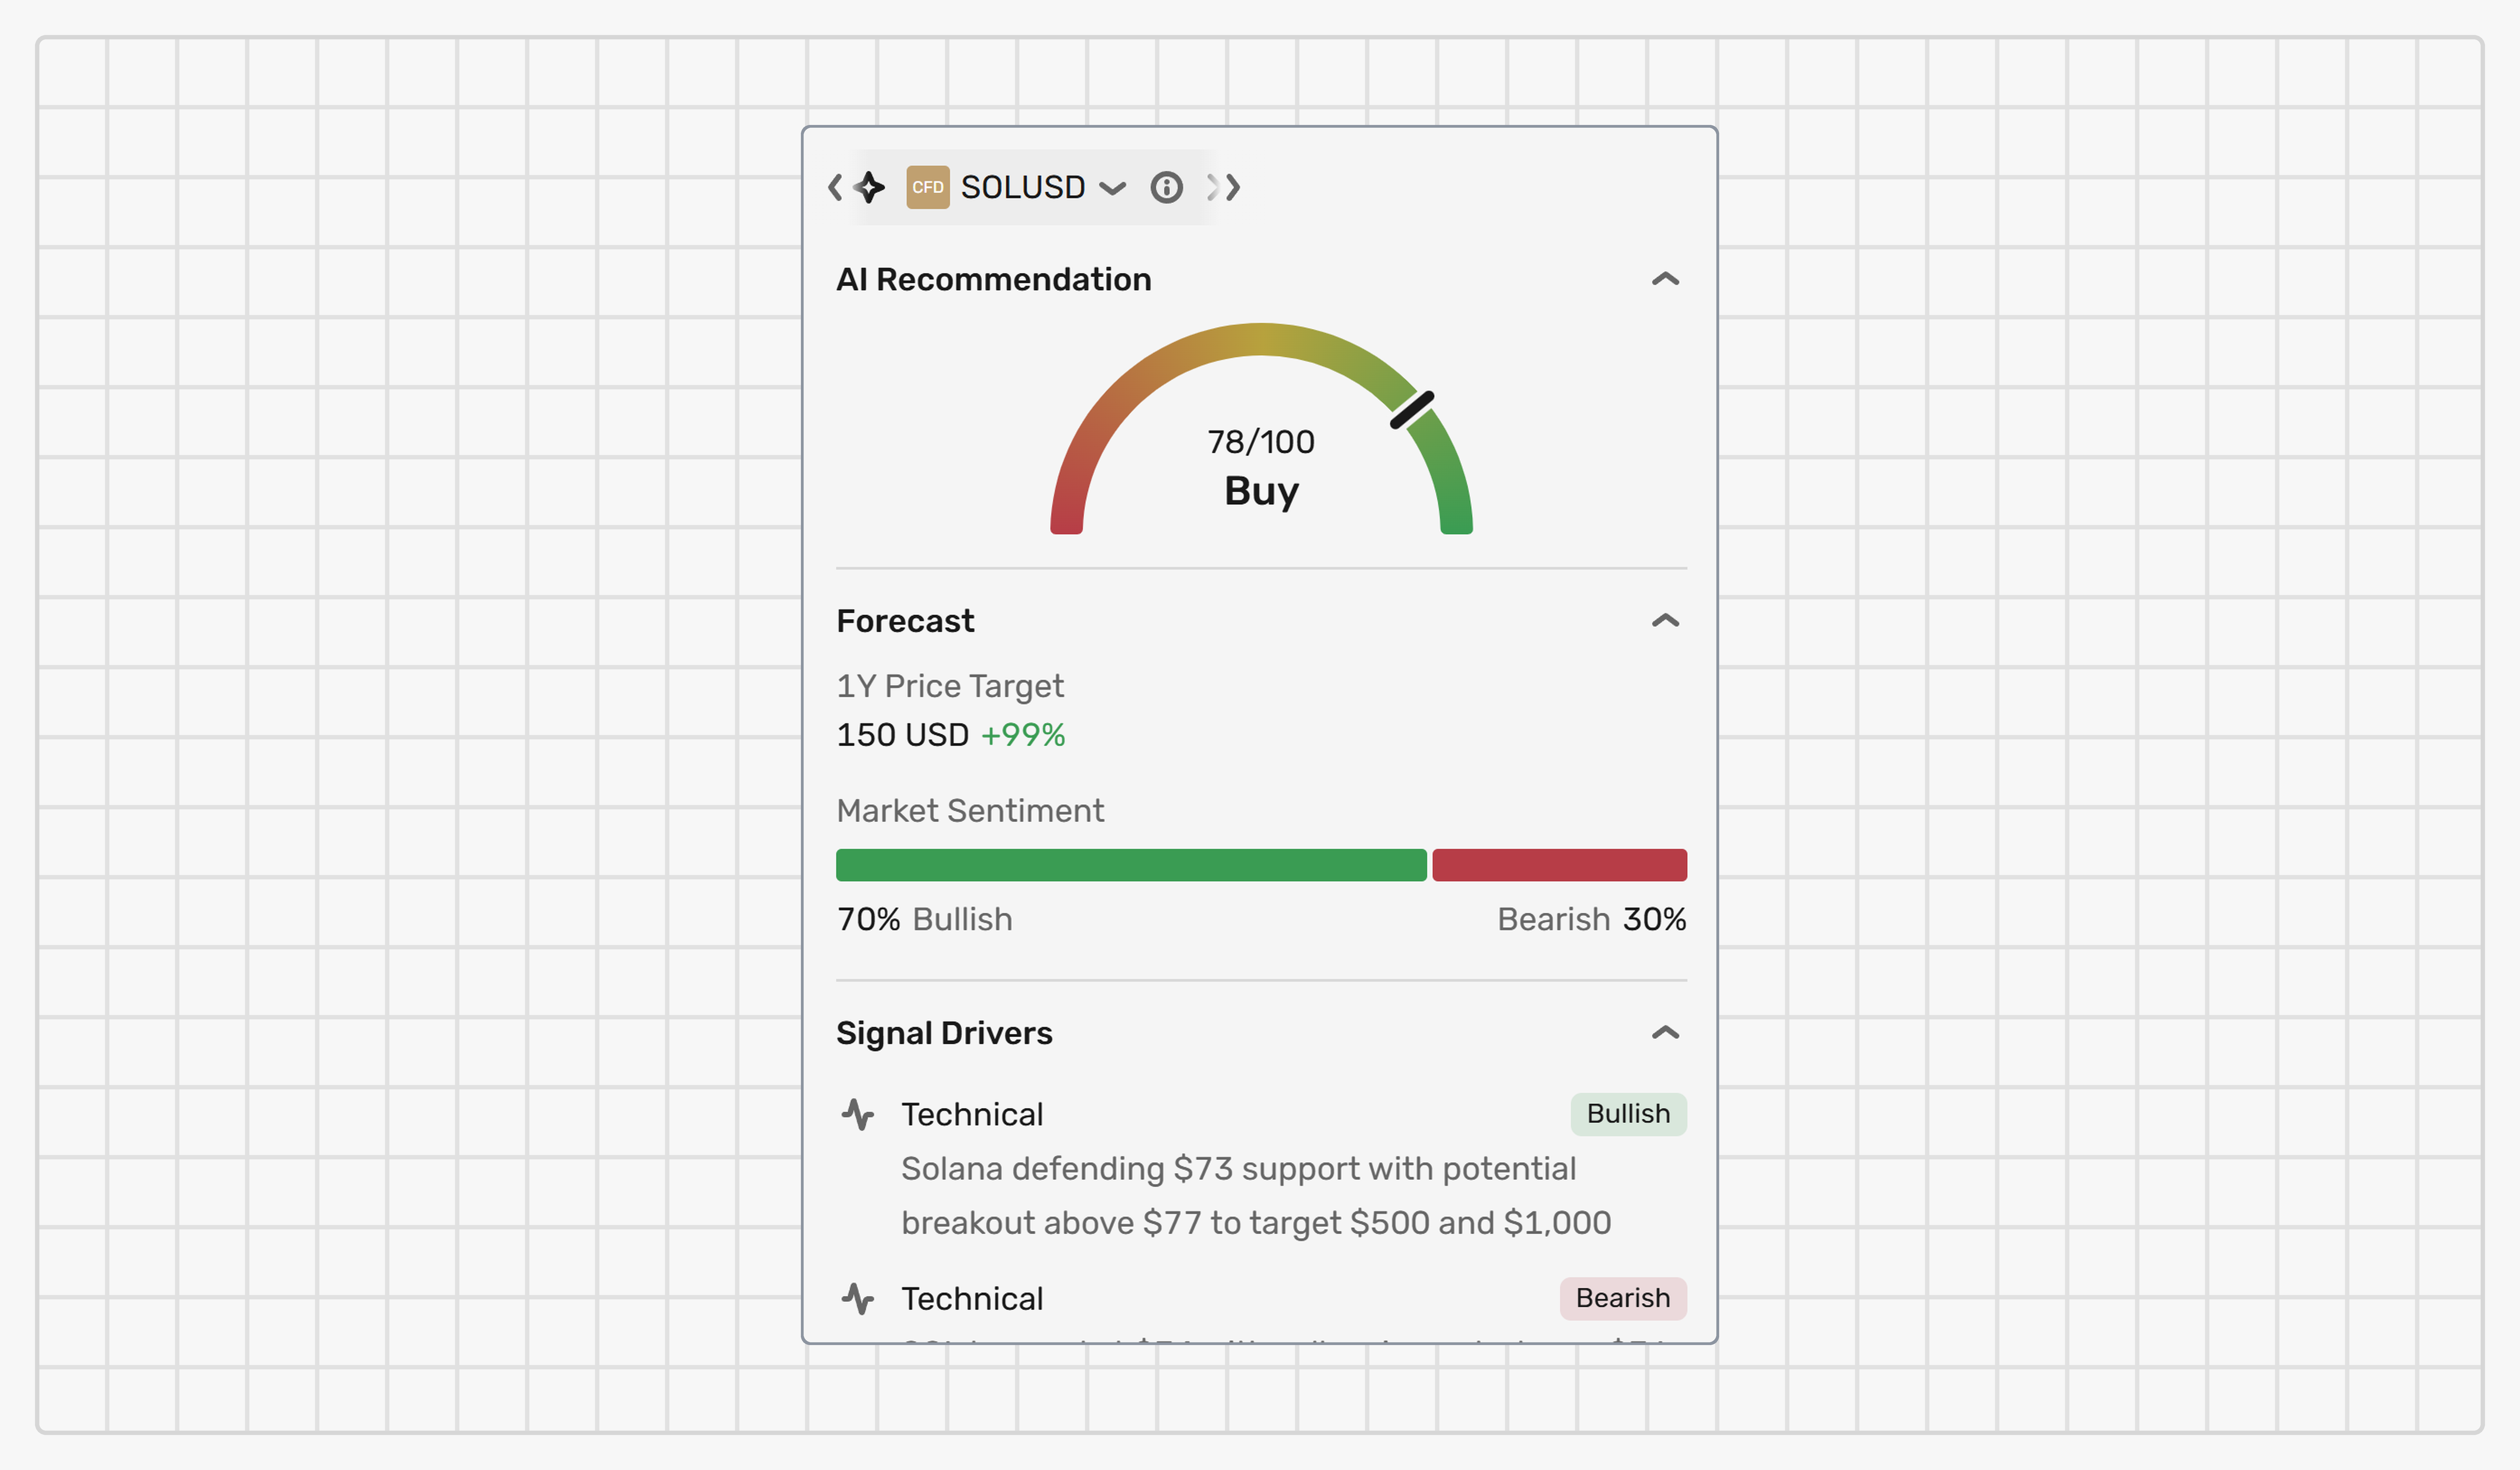 The widget is organized into the following sections:
* [AI Recommendation](#ai-recommendation): Overall recommendation score.
* [Forecast](#forecast): Price target and market sentiment.
* [Signal Drivers](#signal-drivers): Technical, on-chain, and sentiment signals.
* [Suggested Actions](#suggested-actions): AI-generated trading suggestions.
* [Key Metrics](#key-metrics): Market data overview.
## AI Recommendation [#ai-recommendation]
Displays a numeric score from 0 to 100 representing the overall AI assessment of the market, along with a label such as **Strong Buy**, **Buy**, **Neutral**, **Sell**, or **Strong Sell**.
A higher score indicates a more favorable outlook.
## Forecast [#forecast]
**1Y Price Target**
The forecasted price in one year and the expected percentage change from the current price.
***
**Market Sentiment**
A visual bar showing the ratio between bullish and bearish sentiment among market participants.
## Signal Drivers [#signal-drivers]
Signals that influence the AI recommendation, categorized into three types:
* **Technical**: Signals based on technical analysis indicators such as RSI and Moving Averages.
* **On-Chain**: Signals based on blockchain data such as ETF inflows, active addresses, and total value locked (TVL).
* **Sentiment**: Signals based on community and analyst opinions.
Each signal includes a description and an impact assessment: **Bullish**, **Bearish**, or **Neutral**.
## Suggested Actions [#suggested-actions]
A list of AI-generated trading suggestions based on the current market conditions. These are informational recommendations, not automated trading signals.
## Key Metrics [#key-metrics]
The following market data is displayed:
**All-Time High**
The highest price ever recorded for the asset (in USD) and the percentage difference from the current price.
***
**All-Time Low**
The lowest price ever recorded for the asset (in USD) and the percentage difference from the current price.
***
**24h Volume**
The total trading volume over the last 24 hours in USD.
***
**Market Cap**
The total market capitalization of the asset in USD.
## In Guest mode [#in-guest-mode]
The widget works in Guest mode too, with the same sections, so you can read the analysis for any instrument your broker offers before you have an account.
The widget is organized into the following sections:
* [AI Recommendation](#ai-recommendation): Overall recommendation score.
* [Forecast](#forecast): Price target and market sentiment.
* [Signal Drivers](#signal-drivers): Technical, on-chain, and sentiment signals.
* [Suggested Actions](#suggested-actions): AI-generated trading suggestions.
* [Key Metrics](#key-metrics): Market data overview.
## AI Recommendation [#ai-recommendation]
Displays a numeric score from 0 to 100 representing the overall AI assessment of the market, along with a label such as **Strong Buy**, **Buy**, **Neutral**, **Sell**, or **Strong Sell**.
A higher score indicates a more favorable outlook.
## Forecast [#forecast]
**1Y Price Target**
The forecasted price in one year and the expected percentage change from the current price.
***
**Market Sentiment**
A visual bar showing the ratio between bullish and bearish sentiment among market participants.
## Signal Drivers [#signal-drivers]
Signals that influence the AI recommendation, categorized into three types:
* **Technical**: Signals based on technical analysis indicators such as RSI and Moving Averages.
* **On-Chain**: Signals based on blockchain data such as ETF inflows, active addresses, and total value locked (TVL).
* **Sentiment**: Signals based on community and analyst opinions.
Each signal includes a description and an impact assessment: **Bullish**, **Bearish**, or **Neutral**.
## Suggested Actions [#suggested-actions]
A list of AI-generated trading suggestions based on the current market conditions. These are informational recommendations, not automated trading signals.
## Key Metrics [#key-metrics]
The following market data is displayed:
**All-Time High**
The highest price ever recorded for the asset (in USD) and the percentage difference from the current price.
***
**All-Time Low**
The lowest price ever recorded for the asset (in USD) and the percentage difference from the current price.
***
**24h Volume**
The total trading volume over the last 24 hours in USD.
***
**Market Cap**
The total market capitalization of the asset in USD.
## In Guest mode [#in-guest-mode]
The widget works in Guest mode too, with the same sections, so you can read the analysis for any instrument your broker offers before you have an account.
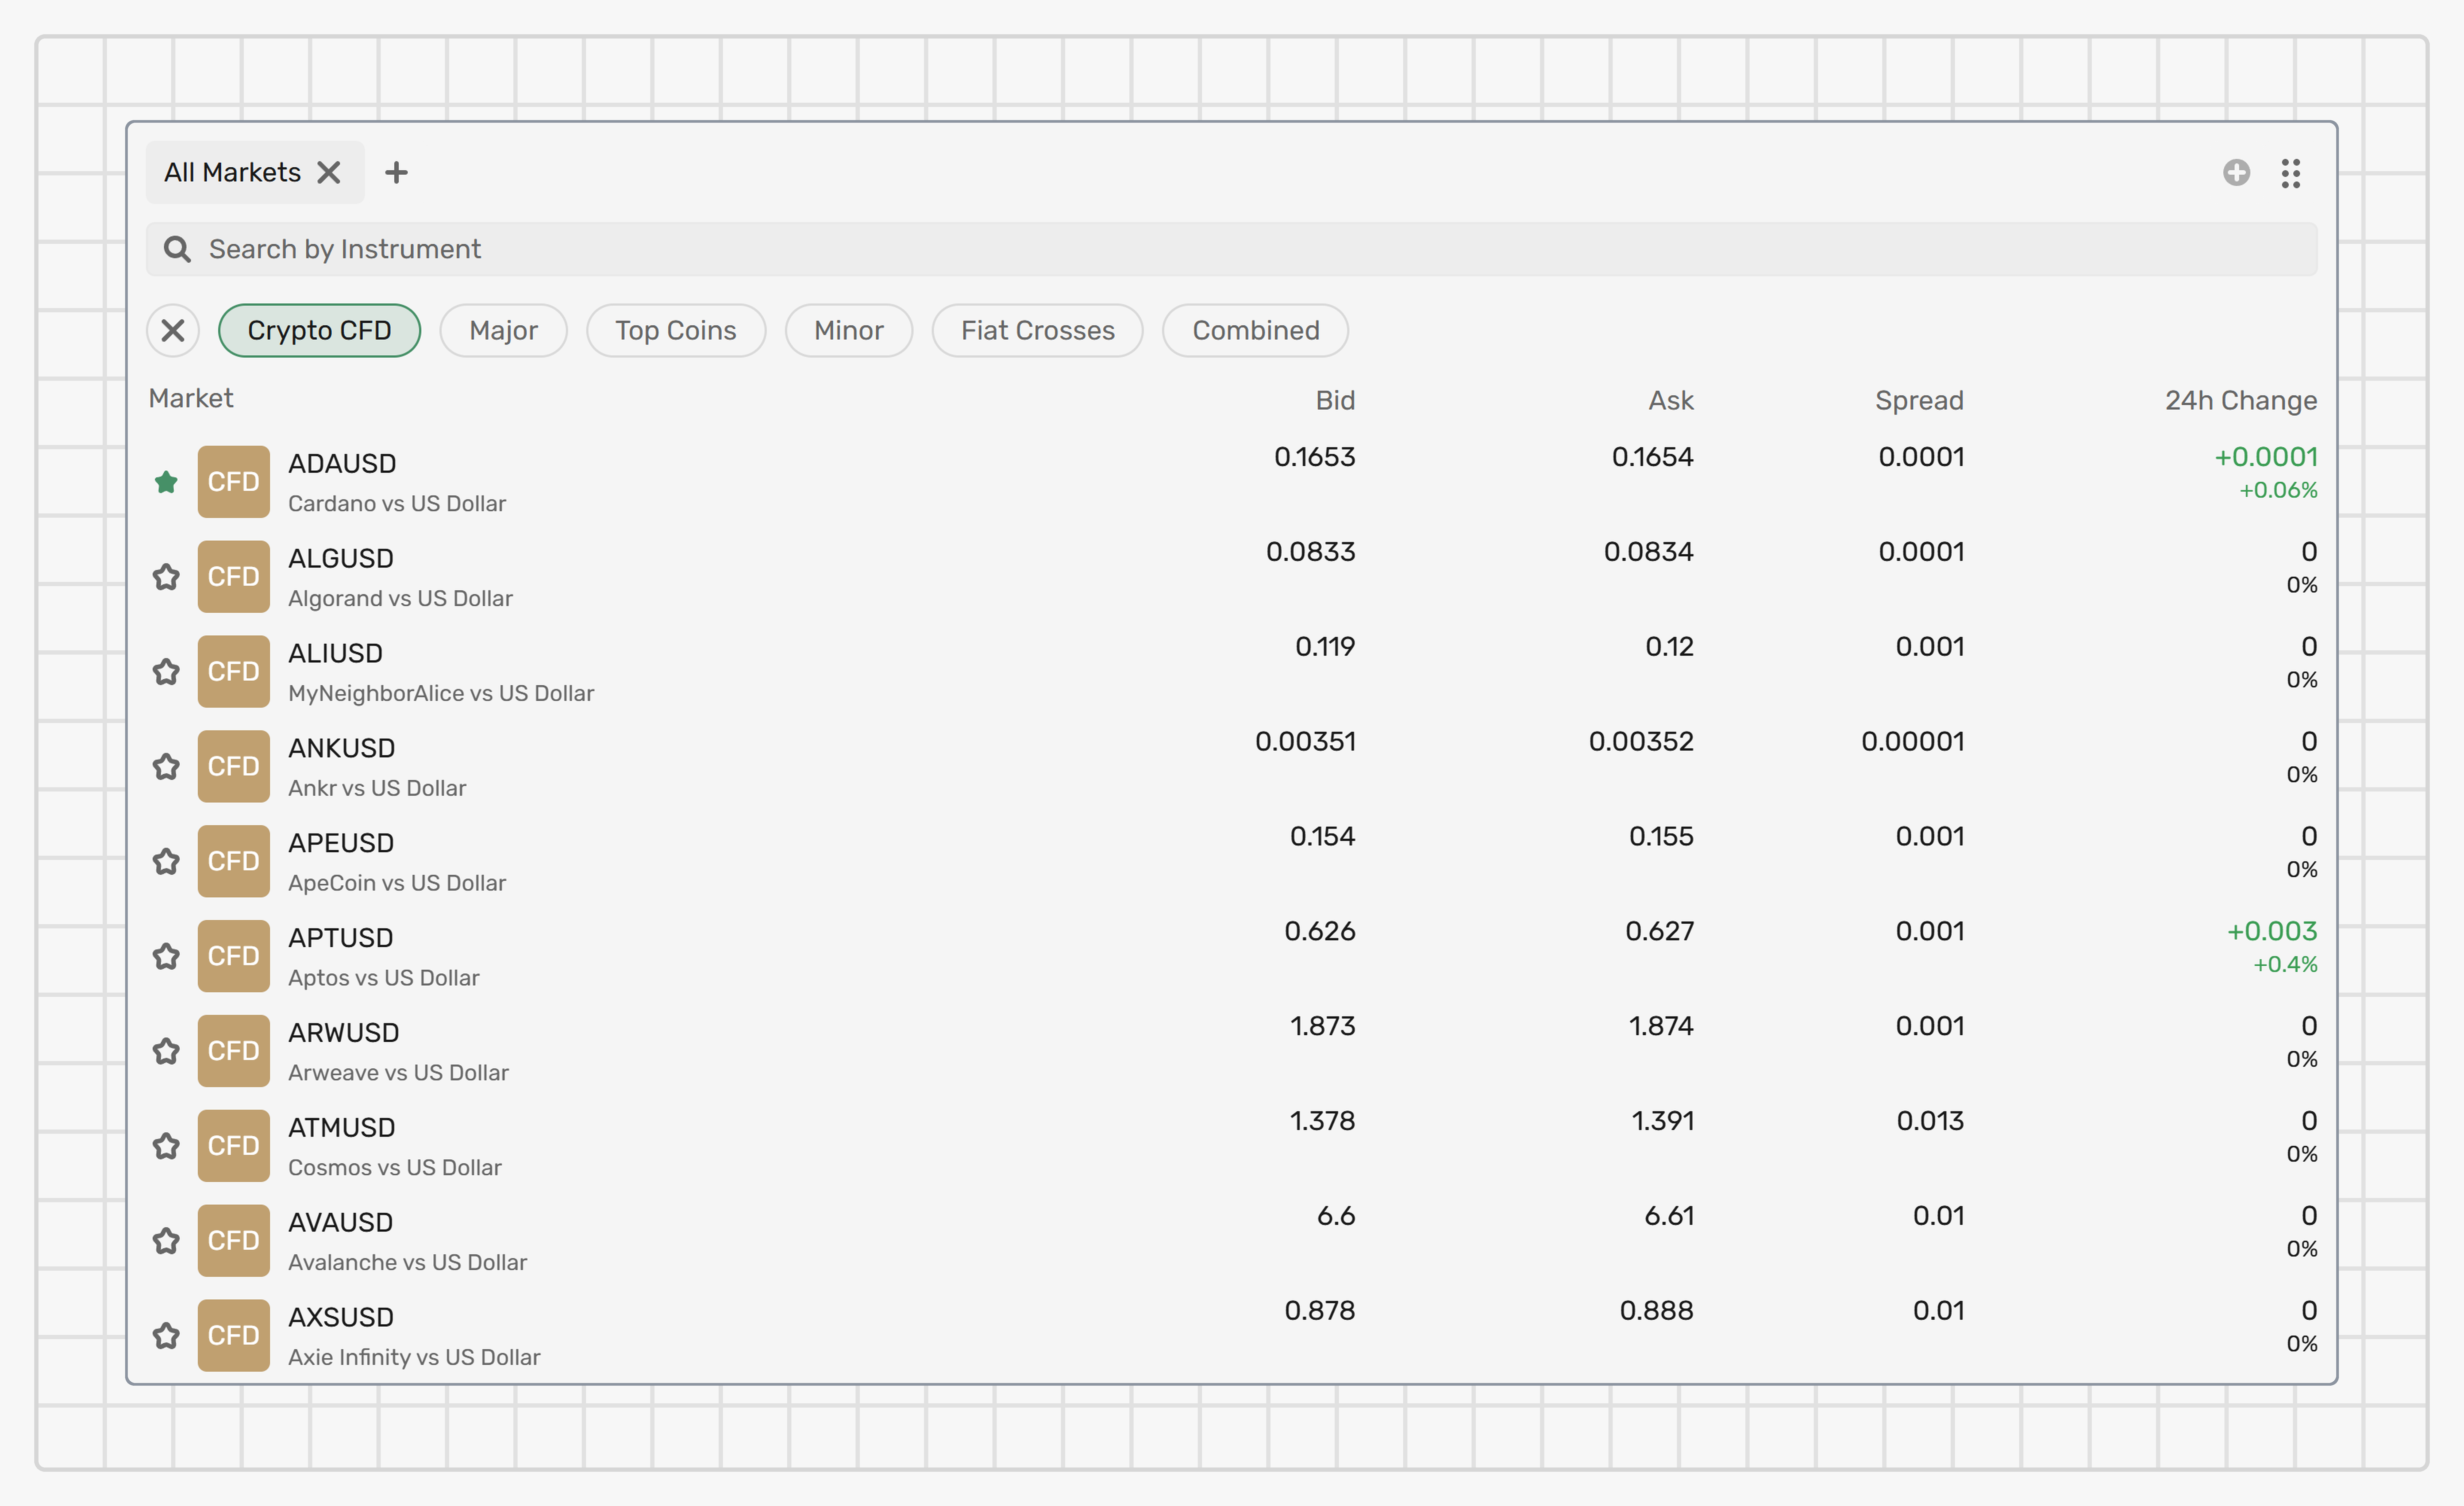 ## Fields [#fields]
The following information is provided about each market:
**Market**
The market type (Spot, CFD, or Perpetual), market ticker and full name of the market.
***
**Current price**
The current market price, in the quote asset and in the platform root asset.
This value is green if the price is rising and red if it's falling.
***
**24h change**
The price change over the last 24 hours, in absolute and percentage values.
This value is calculated as *Current price* – *Price 24h ago*.
This value is green if the price is rising and red if it's falling.
A dash in this field means that there is no *Price 24h ago* data available.
## Summary [#summary]
This widget displays the list of all asset balances on your account.
## Fields [#fields]
The following information is provided about each market:
**Market**
The market type (Spot, CFD, or Perpetual), market ticker and full name of the market.
***
**Current price**
The current market price, in the quote asset and in the platform root asset.
This value is green if the price is rising and red if it's falling.
***
**24h change**
The price change over the last 24 hours, in absolute and percentage values.
This value is calculated as *Current price* – *Price 24h ago*.
This value is green if the price is rising and red if it's falling.
A dash in this field means that there is no *Price 24h ago* data available.
## Summary [#summary]
This widget displays the list of all asset balances on your account.
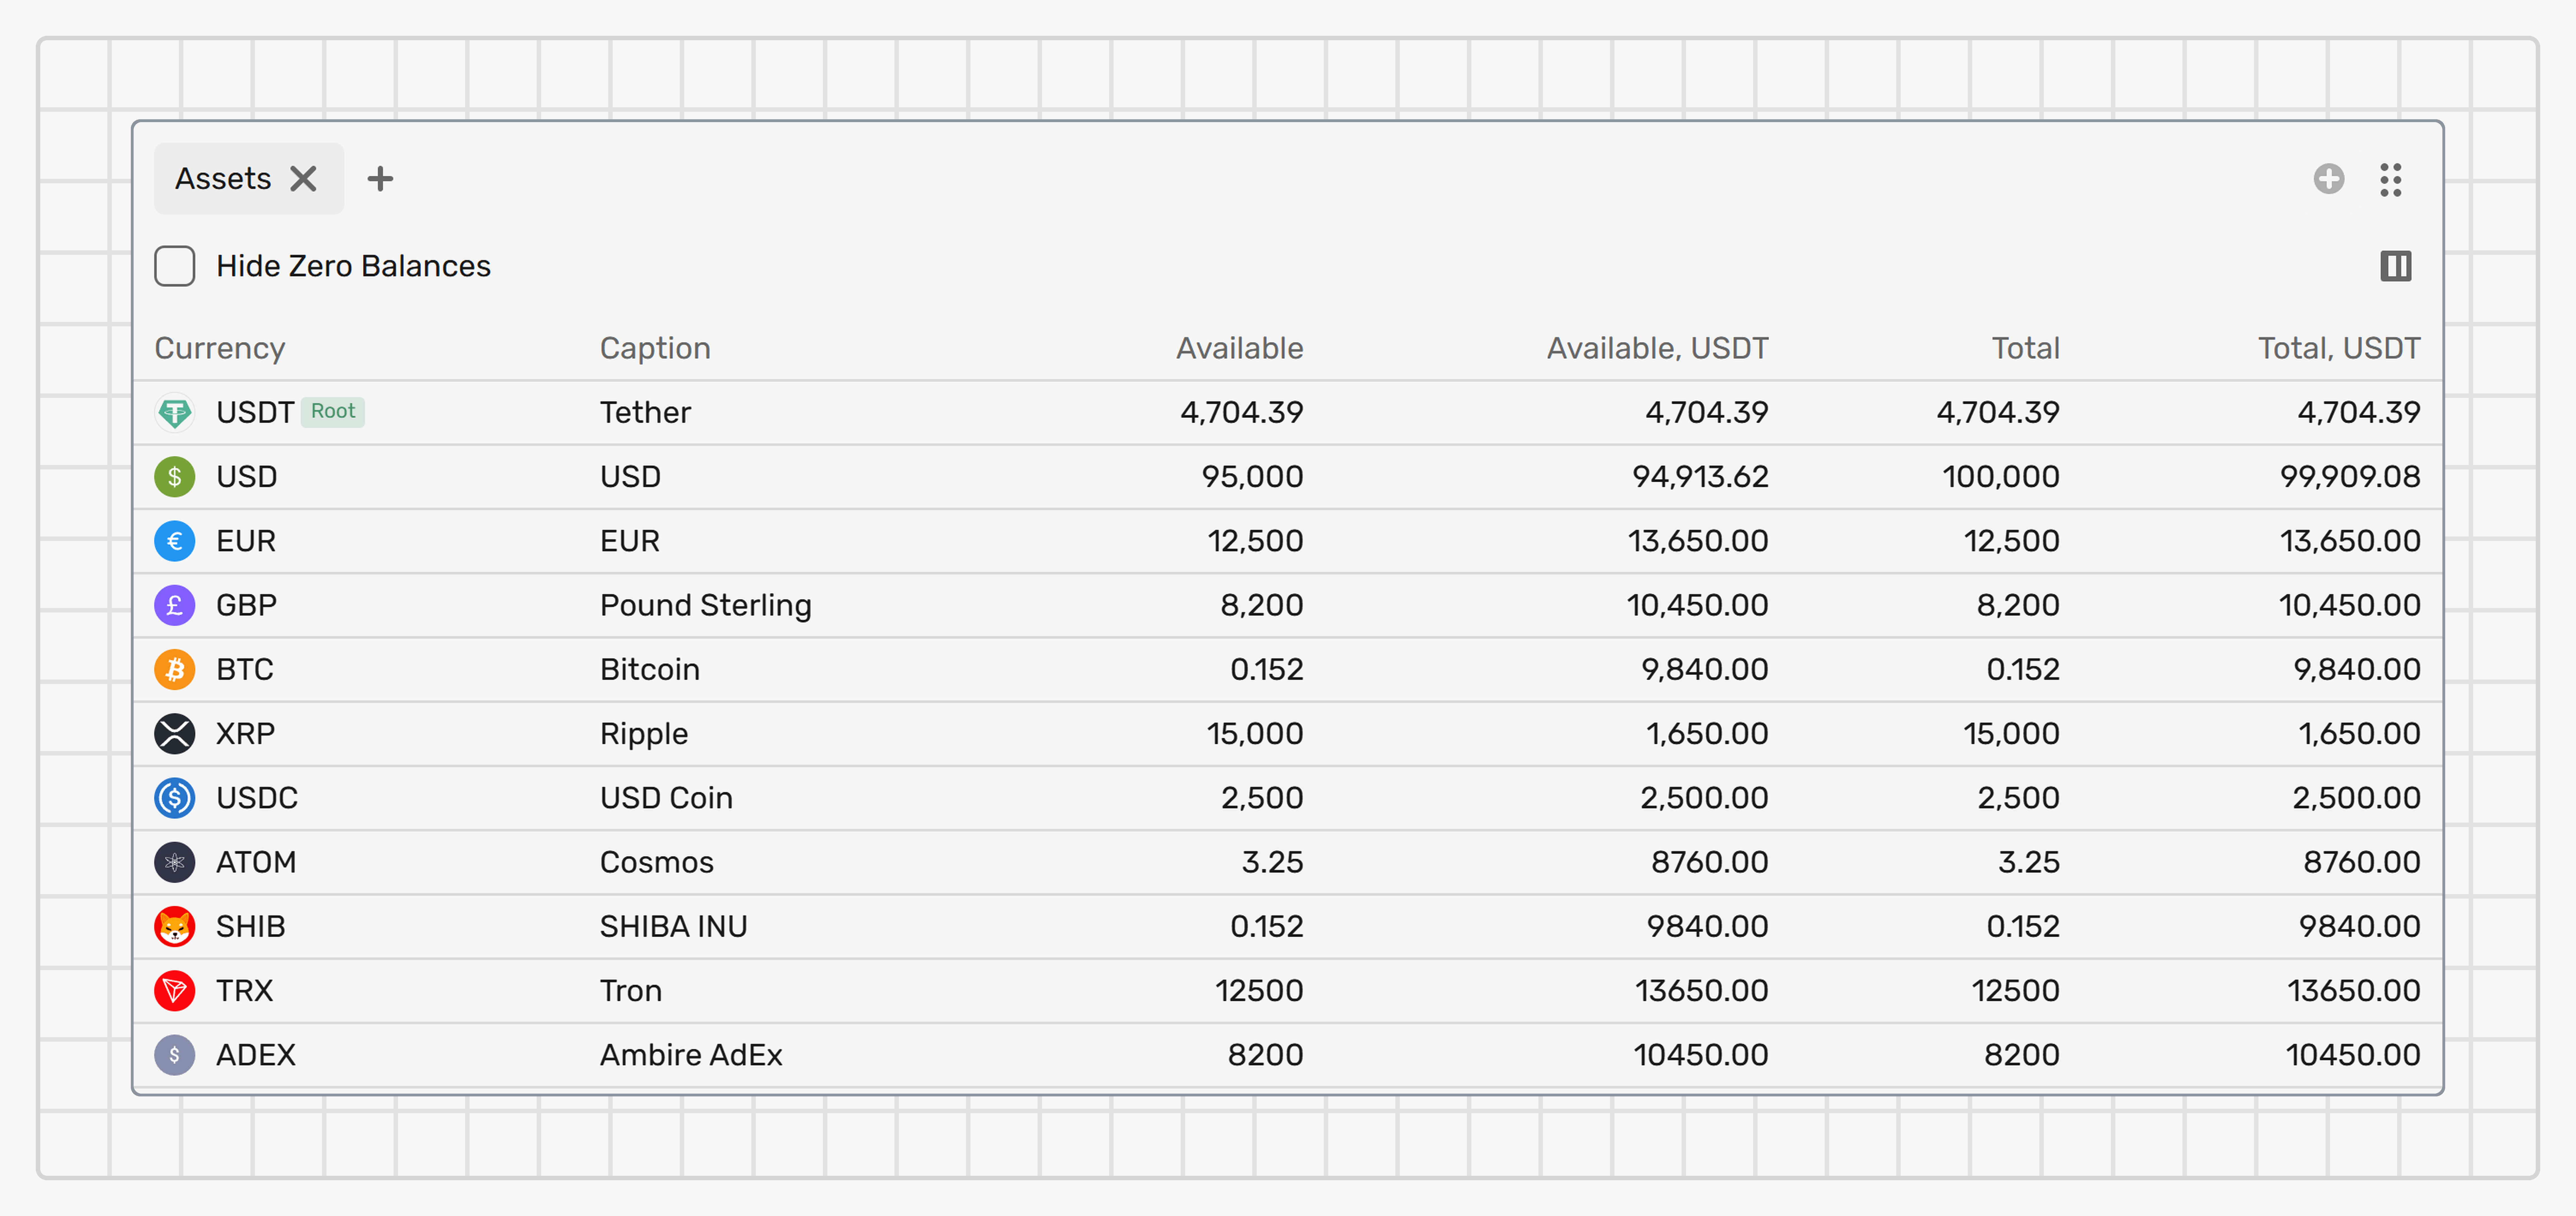 ## Settings [#settings]
### Hide zero balances [#hide-zero-balances]
Use this option to hide all assets with zero balances from the list.
It's enabled by default.
### Configure columns [#configure-columns]
Click the **Configure columns** button in the widget header to adjust the displayed information:
* **Mark or unmark column checkboxes**: To display or hide them; the column checkboxes highlighted in grey can’t be unmarked.
* **Drag and drop the columns**: To adjust their order in the table.
## Fields [#fields]
The following information is provided about each asset:
**Asset**
The alphabetical code of the asset.
The first asset in the list is the **root asset** of the platform.
***
**Caption**
The asset name.
***
**Available**
The balance at your disposal, meaning the difference between your total assets and a sum of all limit orders placed by this time.
This value is calculated as *Total – Halted*, where *Halted* is the asset amount frozen on the account for execution of placed Limit orders.
***
**Available, \{RAT}**
The available balance, in conversion to the platform root asset.
***
**Total**
The overall amount of the asset available in your wallet, including locked funds.
***
**Total, \{RAT}**
The total balance, in conversion to the platform root asset.
## Summary [#summary]
This widget displays a list of your closed positions on the selected account.
The entire history of your closed positions is available.
## Settings [#settings]
### Hide zero balances [#hide-zero-balances]
Use this option to hide all assets with zero balances from the list.
It's enabled by default.
### Configure columns [#configure-columns]
Click the **Configure columns** button in the widget header to adjust the displayed information:
* **Mark or unmark column checkboxes**: To display or hide them; the column checkboxes highlighted in grey can’t be unmarked.
* **Drag and drop the columns**: To adjust their order in the table.
## Fields [#fields]
The following information is provided about each asset:
**Asset**
The alphabetical code of the asset.
The first asset in the list is the **root asset** of the platform.
***
**Caption**
The asset name.
***
**Available**
The balance at your disposal, meaning the difference between your total assets and a sum of all limit orders placed by this time.
This value is calculated as *Total – Halted*, where *Halted* is the asset amount frozen on the account for execution of placed Limit orders.
***
**Available, \{RAT}**
The available balance, in conversion to the platform root asset.
***
**Total**
The overall amount of the asset available in your wallet, including locked funds.
***
**Total, \{RAT}**
The total balance, in conversion to the platform root asset.
## Summary [#summary]
This widget displays a list of your closed positions on the selected account.
The entire history of your closed positions is available.
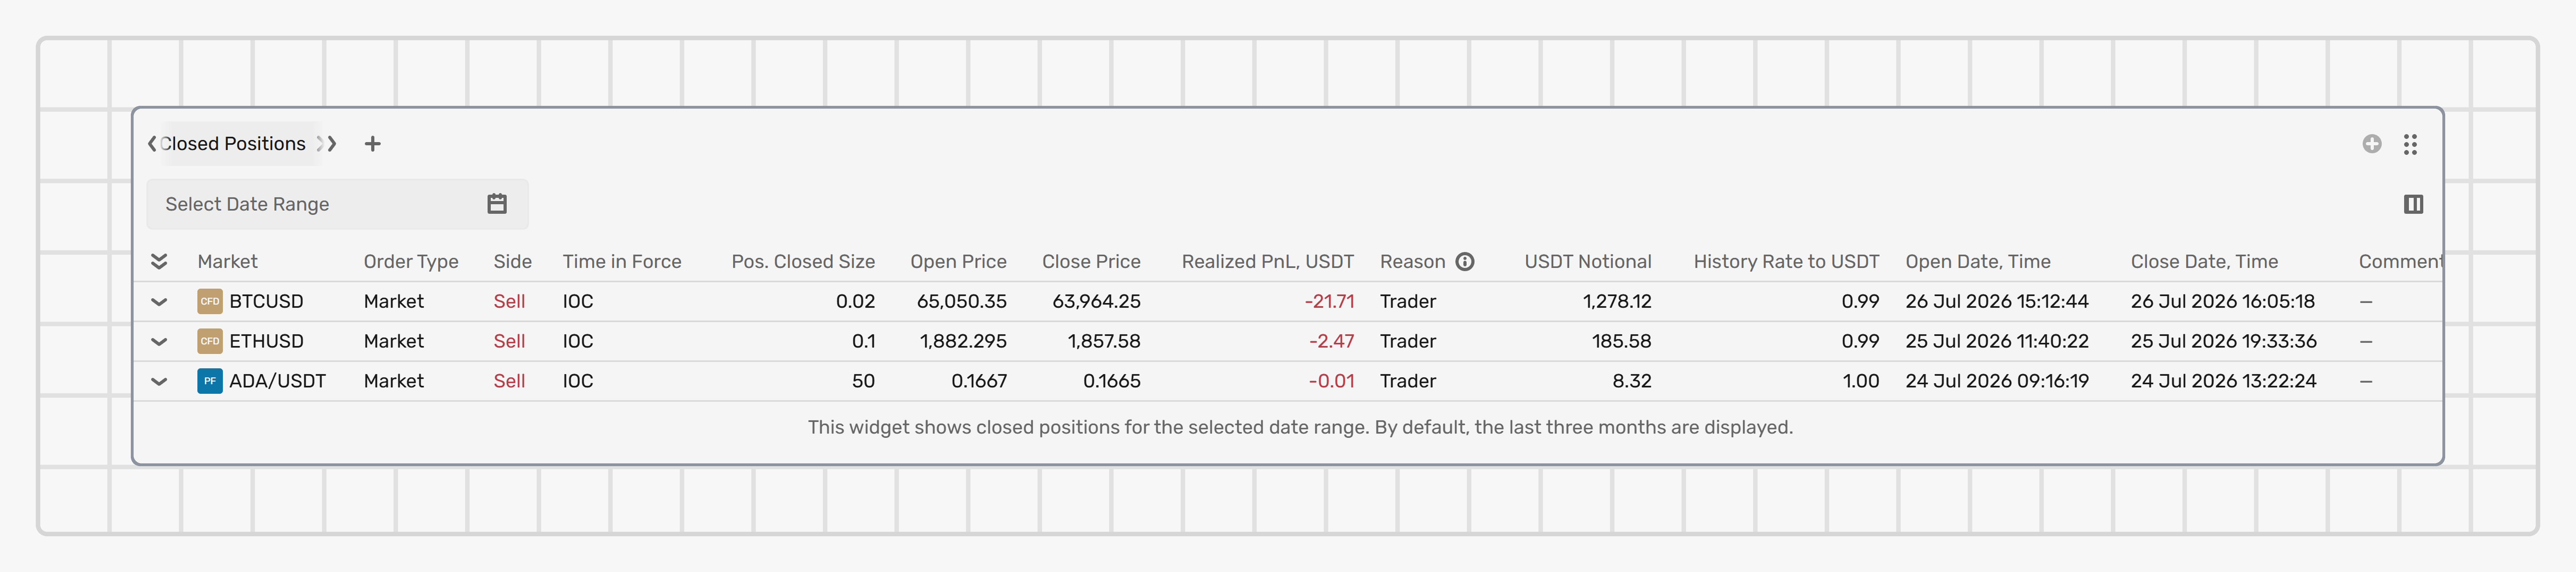
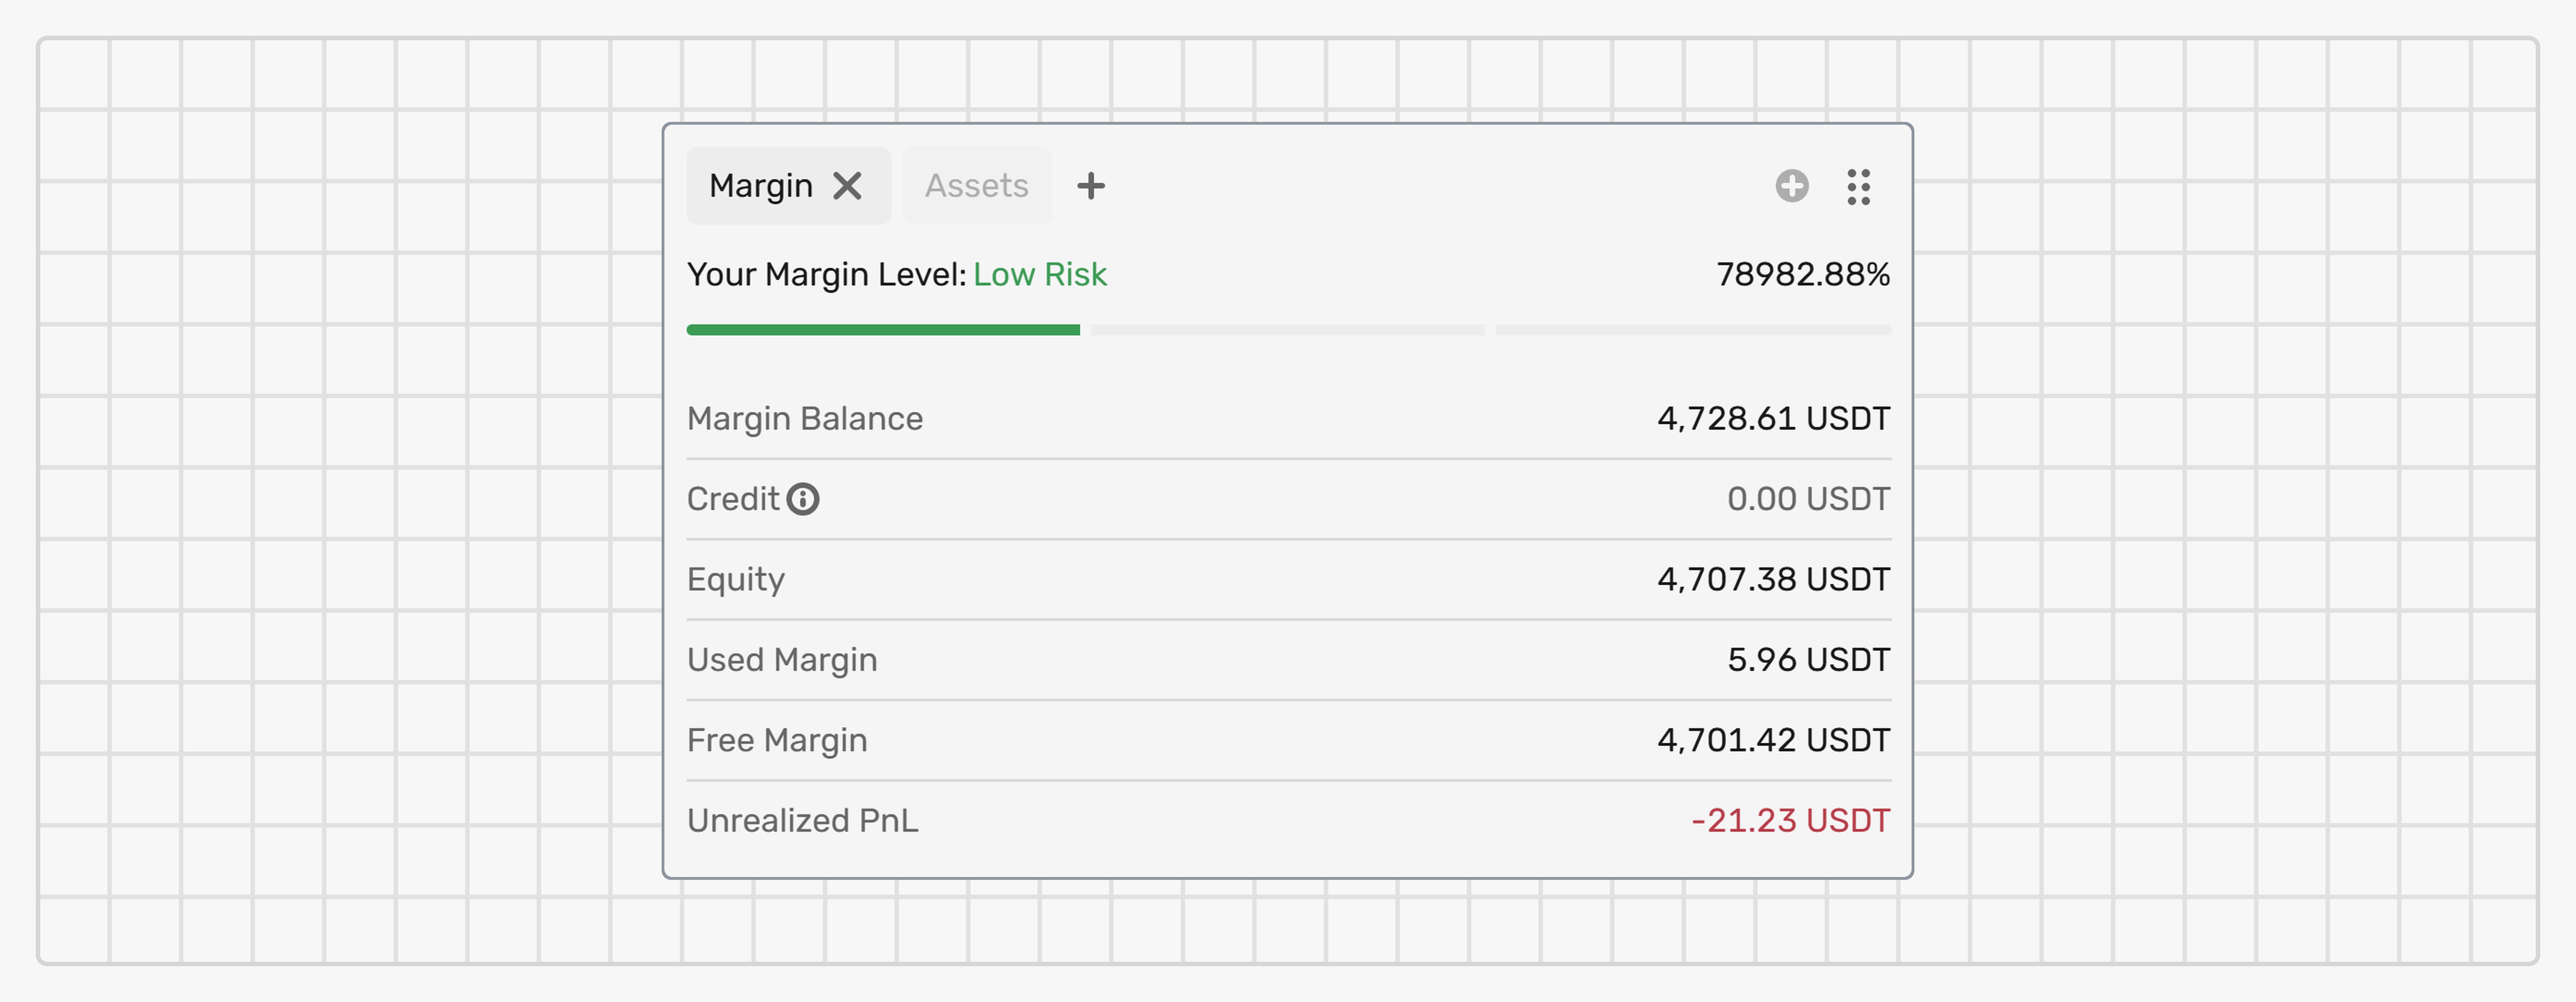 ## Fields [#fields]
All values are in displayed in conversion to the platform root asset:
**Your margin level**
The ratio of your funds to a used collateral, in percents. This value is calculated as *Equity* / *Used margin* × 100%.
Possible values:
* **Empty**: No open positions.
* **Low risk**: Everything is ok.
* **Margin call**: Your margin level fell below the set Margin call value. You received a notification urging you to increase the margin level to avoid a Stop out. Remember that if you ignore this warning, the margin level may continue to decrease. During the Margin call, you can only close existing positions; opening new positions isn’t possible.
* **Stop out level**: Your margin level fell below the set Stop out value; the platform started a process of liquidating your positions. This process continues until the margin level exceeds this required value. **ANY** currently open position can be closed regardless of its side and volume.
***
**Margin balance**
The total amount of your funds that can be used as a collateral for CFD trading.
It’s calculated as Σ(*TotalAmountX* × *MarginRatioX* × *Rate X/RAT*), where:
* *TotalAmountX* is the the total amount of the asset X, including both available and locked funds.
* *MarginRatioX* is the Margin ratio set for the asset X.
* *Rate X/RAT* is the constantly updated rate of the asset X to the platform root asset.
The Margin balance is continually recalculated based on price fluctuations.
An increase in the prices of assets boosts available Balance & Free margin.
Conversely, a decrease in asset prices may reduce the available Balance and Free margin.
Additionally, a decline in the prices of assets with open positions may trigger Margin calls and Stop outs.
***
**Credit**
A promotional bonus granted by your broker for margin (CFD and Perpetual) trading, shown in the platform root asset (RAT). When you have no credit, this row shows 0.
Credit increases your Equity and Free margin and can be used as collateral to open positions. It becomes available immediately when granted and never expires. However, credit cannot be withdrawn as cash, so it is excluded from your withdrawable balance. Your broker can revoke credit at any time, and the row updates in real time when this happens.
The row includes an info tooltip that reads: *Promotional credit for margin trading only. Cannot be withdrawn.*
***
**Equity**
The potential balance of your account if all your positions were closed right now.
This value is calculated as *Margin balance* + *Credit* + *Unrealized PnL*.
***
**Used margin**
The amount of funds that is used for maintaining all your open positions.
Is opposed to the *Free margin*.
The Used margin for positions on a specific market is calculated using the maximum value between the total margin of long positions and the total margin of short positions: MAX(*MarketPositionLong*, *MarketPositionShort*).
**Example**
**Step 1: Initial balance**
* Margin balance: $10,000
* Opened positions: 0
* Free margin: $10,000
* Used margin: $0
**Step 2: Open a long position (Leverage 1:100)**
* Market: CFD EUR/USD
* Position size: 1 lot (100,000 units)
* Current price: $1.001
* Required margin: $(100,000 × 1.001) / 100 = $1,001
* After opening:
* Free margin: $8,999
* Used margin: $1,001
**Step 3: Open a long position (Leverage 1:20)**
* Market: CFD EUR/USD
* Position size: 1 lot (100,000 units)
* Current price: $1.001
* Required margin: $(100,000 × 1.001) / 20 = $5,005
* After opening:
* Free margin: $3,994
* Used margin: $6,006
**Step 4: Open a short position (Leverage 1:100)**
* Market: CFD EUR/USD
* Position size: 9 lots (900,000 units)
* Current price: $1
* Required margin: $(900,000 × 1.001) / 100 = $9,009.
The system verifies that upon opening this position, the MarketUsedMargin remains valid by satisfying the condition: **MarketUsedMargin** = MAX(*MarketPositionLong*, *MarketPositionShort*) = MAX(6,006, 9,009) = 9,009.
Since the condition is met, the position opens.
* After opening:
* Free margin: $991
* Used margin: $9,009
As a result, you can open multiple opposite positions without significantly increasing the Used margin.
Furthermore, closing positions never increases the Used margin.
***
**Free margin**
The amount of funds that can be used for opening new positions.
***
**Unrealized PnL**
The total potential profit or loss earned from all open positions.
This value is calculated as *Σ(Unrealized PnL for Long positions + Unrealized PnL for Short positions)*, where:
* *Unrealized PnL for Long positions* = *Position size* × (*Current price* – *Open price*)
* *Unrealized PnL for Short positions* = *Position size* × (*Open price* – *Current price*)
## Summary [#summary]
Use this widget to assess the current market depth indicating the actual liquidity of an asset, which is evaluated based on the number of currently open orders to buy and sell it as well asset prices and volumes at various price levels.
## Fields [#fields]
All values are in displayed in conversion to the platform root asset:
**Your margin level**
The ratio of your funds to a used collateral, in percents. This value is calculated as *Equity* / *Used margin* × 100%.
Possible values:
* **Empty**: No open positions.
* **Low risk**: Everything is ok.
* **Margin call**: Your margin level fell below the set Margin call value. You received a notification urging you to increase the margin level to avoid a Stop out. Remember that if you ignore this warning, the margin level may continue to decrease. During the Margin call, you can only close existing positions; opening new positions isn’t possible.
* **Stop out level**: Your margin level fell below the set Stop out value; the platform started a process of liquidating your positions. This process continues until the margin level exceeds this required value. **ANY** currently open position can be closed regardless of its side and volume.
***
**Margin balance**
The total amount of your funds that can be used as a collateral for CFD trading.
It’s calculated as Σ(*TotalAmountX* × *MarginRatioX* × *Rate X/RAT*), where:
* *TotalAmountX* is the the total amount of the asset X, including both available and locked funds.
* *MarginRatioX* is the Margin ratio set for the asset X.
* *Rate X/RAT* is the constantly updated rate of the asset X to the platform root asset.
The Margin balance is continually recalculated based on price fluctuations.
An increase in the prices of assets boosts available Balance & Free margin.
Conversely, a decrease in asset prices may reduce the available Balance and Free margin.
Additionally, a decline in the prices of assets with open positions may trigger Margin calls and Stop outs.
***
**Credit**
A promotional bonus granted by your broker for margin (CFD and Perpetual) trading, shown in the platform root asset (RAT). When you have no credit, this row shows 0.
Credit increases your Equity and Free margin and can be used as collateral to open positions. It becomes available immediately when granted and never expires. However, credit cannot be withdrawn as cash, so it is excluded from your withdrawable balance. Your broker can revoke credit at any time, and the row updates in real time when this happens.
The row includes an info tooltip that reads: *Promotional credit for margin trading only. Cannot be withdrawn.*
***
**Equity**
The potential balance of your account if all your positions were closed right now.
This value is calculated as *Margin balance* + *Credit* + *Unrealized PnL*.
***
**Used margin**
The amount of funds that is used for maintaining all your open positions.
Is opposed to the *Free margin*.
The Used margin for positions on a specific market is calculated using the maximum value between the total margin of long positions and the total margin of short positions: MAX(*MarketPositionLong*, *MarketPositionShort*).
**Example**
**Step 1: Initial balance**
* Margin balance: $10,000
* Opened positions: 0
* Free margin: $10,000
* Used margin: $0
**Step 2: Open a long position (Leverage 1:100)**
* Market: CFD EUR/USD
* Position size: 1 lot (100,000 units)
* Current price: $1.001
* Required margin: $(100,000 × 1.001) / 100 = $1,001
* After opening:
* Free margin: $8,999
* Used margin: $1,001
**Step 3: Open a long position (Leverage 1:20)**
* Market: CFD EUR/USD
* Position size: 1 lot (100,000 units)
* Current price: $1.001
* Required margin: $(100,000 × 1.001) / 20 = $5,005
* After opening:
* Free margin: $3,994
* Used margin: $6,006
**Step 4: Open a short position (Leverage 1:100)**
* Market: CFD EUR/USD
* Position size: 9 lots (900,000 units)
* Current price: $1
* Required margin: $(900,000 × 1.001) / 100 = $9,009.
The system verifies that upon opening this position, the MarketUsedMargin remains valid by satisfying the condition: **MarketUsedMargin** = MAX(*MarketPositionLong*, *MarketPositionShort*) = MAX(6,006, 9,009) = 9,009.
Since the condition is met, the position opens.
* After opening:
* Free margin: $991
* Used margin: $9,009
As a result, you can open multiple opposite positions without significantly increasing the Used margin.
Furthermore, closing positions never increases the Used margin.
***
**Free margin**
The amount of funds that can be used for opening new positions.
***
**Unrealized PnL**
The total potential profit or loss earned from all open positions.
This value is calculated as *Σ(Unrealized PnL for Long positions + Unrealized PnL for Short positions)*, where:
* *Unrealized PnL for Long positions* = *Position size* × (*Current price* – *Open price*)
* *Unrealized PnL for Short positions* = *Position size* × (*Open price* – *Current price*)
## Summary [#summary]
Use this widget to assess the current market depth indicating the actual liquidity of an asset, which is evaluated based on the number of currently open orders to buy and sell it as well asset prices and volumes at various price levels.
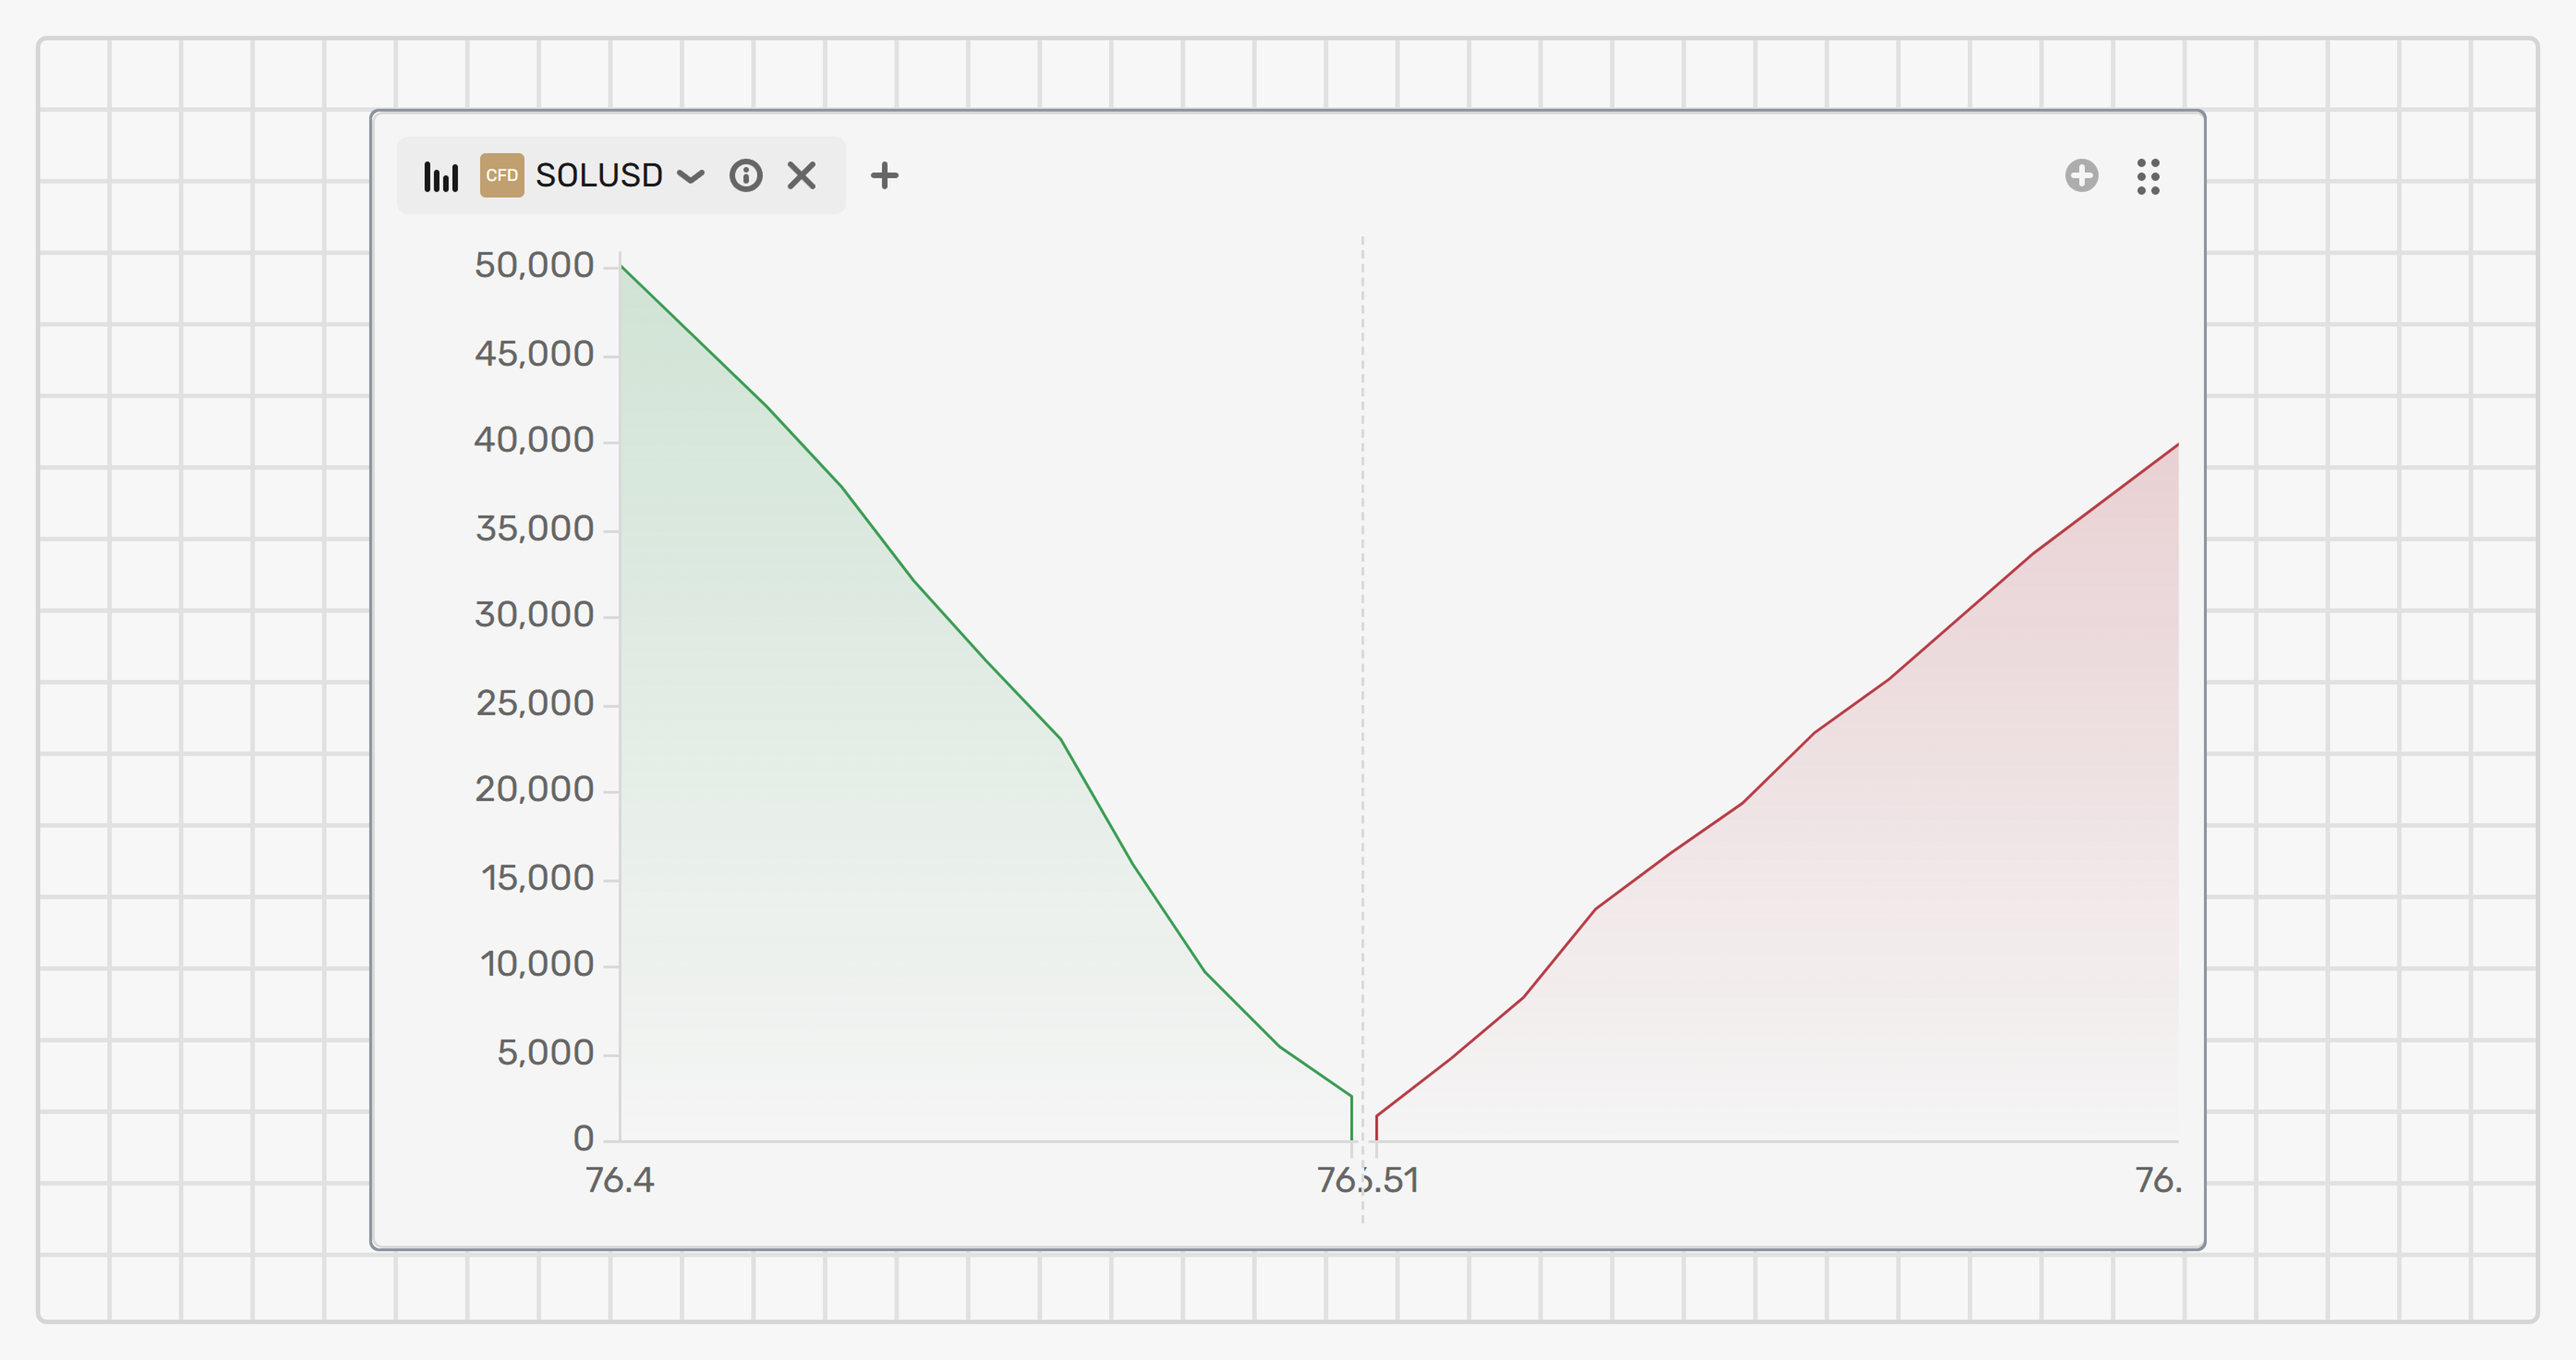 The widget is dynamic and is continuously updated in real time.
The widget displays a chart indicating the overall volume of buy (green) and sell (red) orders at various price levels awaiting execution at the moment.
You can hover the mouse pointer over the chart to learn the exact price and volume of an asset traded at a specific price level.
## Settings [#settings]
### Select a market [#select-a-market]
The current market is displayed in the widget header.
To change the market, click the market symbol and select a different one from the list.
## Summary [#summary]
Use this widget to monitor statistics on a specific instrument.
The widget is dynamic and is continuously updated in real time.
The widget is dynamic and is continuously updated in real time.
The widget displays a chart indicating the overall volume of buy (green) and sell (red) orders at various price levels awaiting execution at the moment.
You can hover the mouse pointer over the chart to learn the exact price and volume of an asset traded at a specific price level.
## Settings [#settings]
### Select a market [#select-a-market]
The current market is displayed in the widget header.
To change the market, click the market symbol and select a different one from the list.
## Summary [#summary]
Use this widget to monitor statistics on a specific instrument.
The widget is dynamic and is continuously updated in real time.
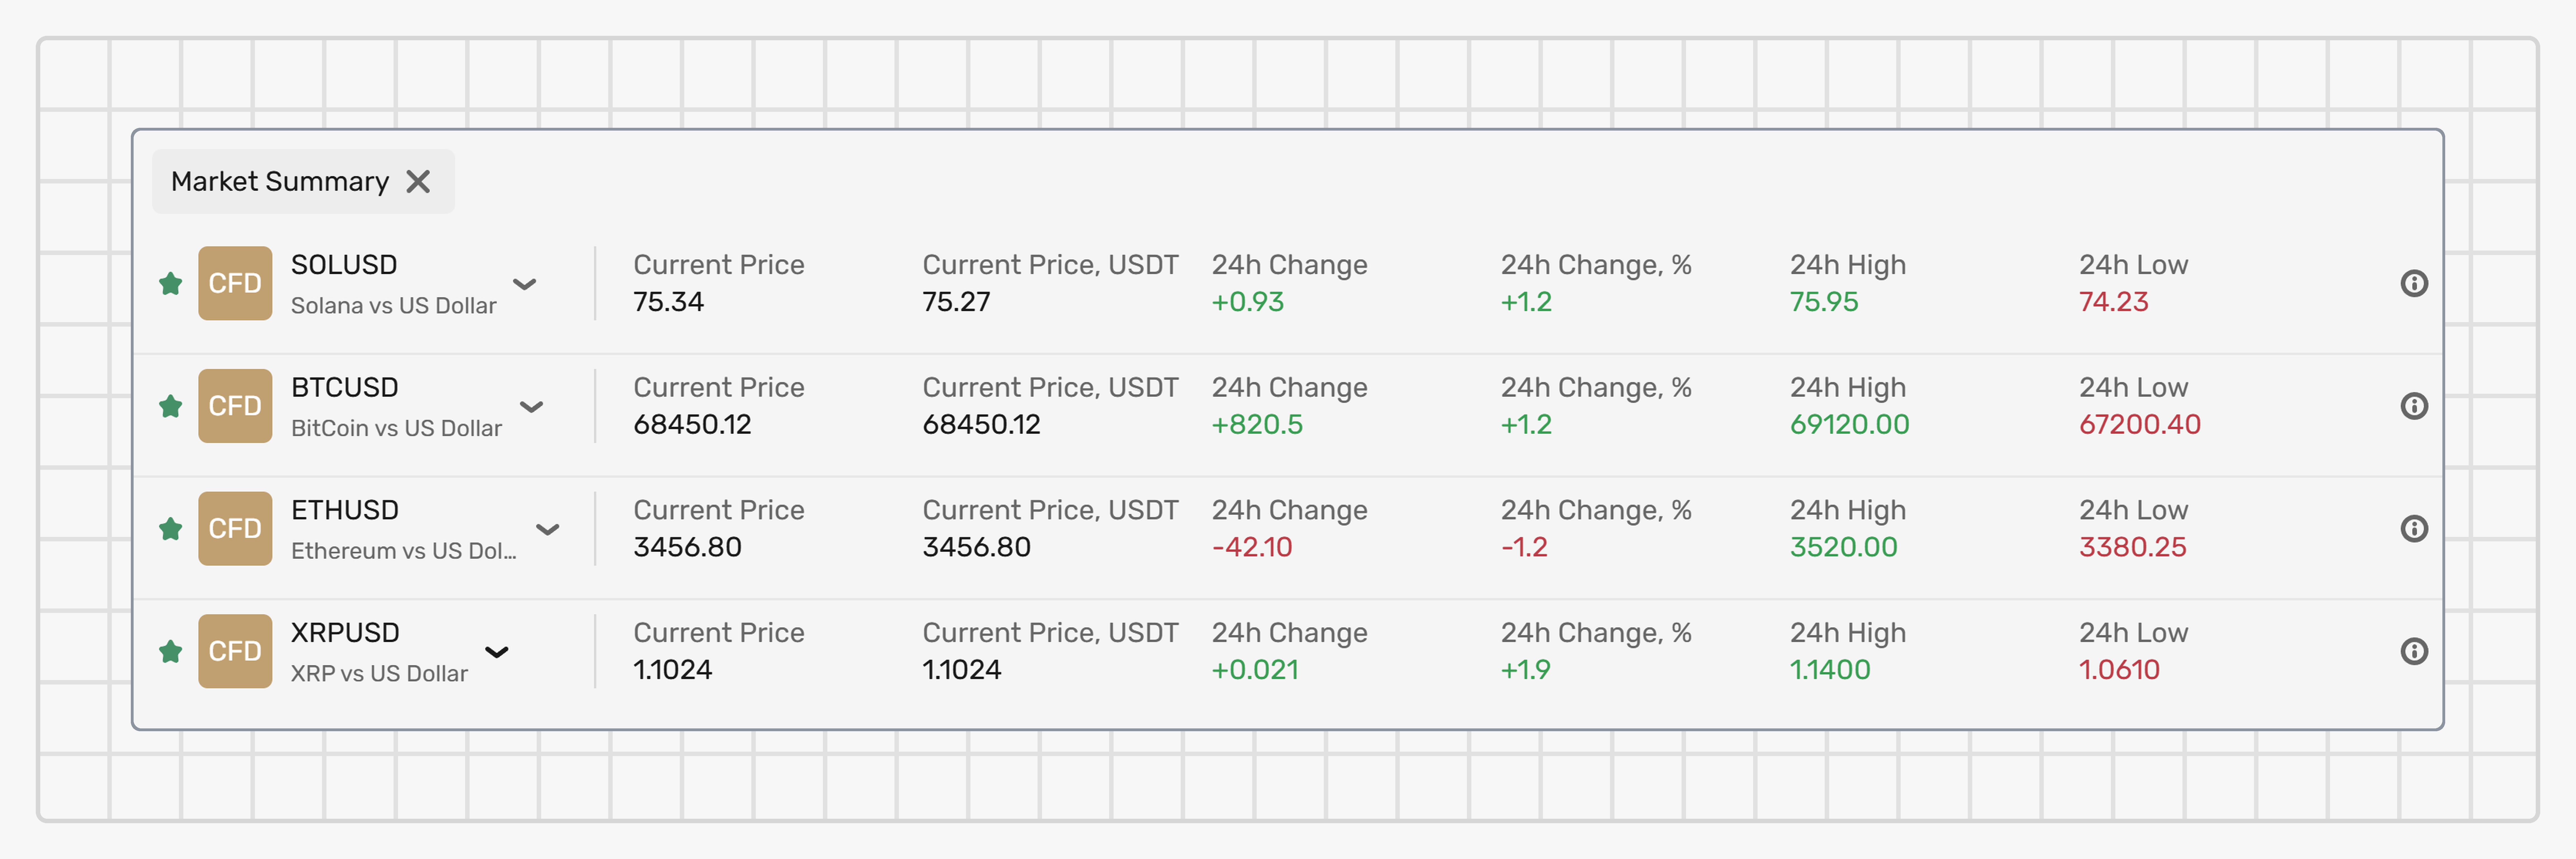
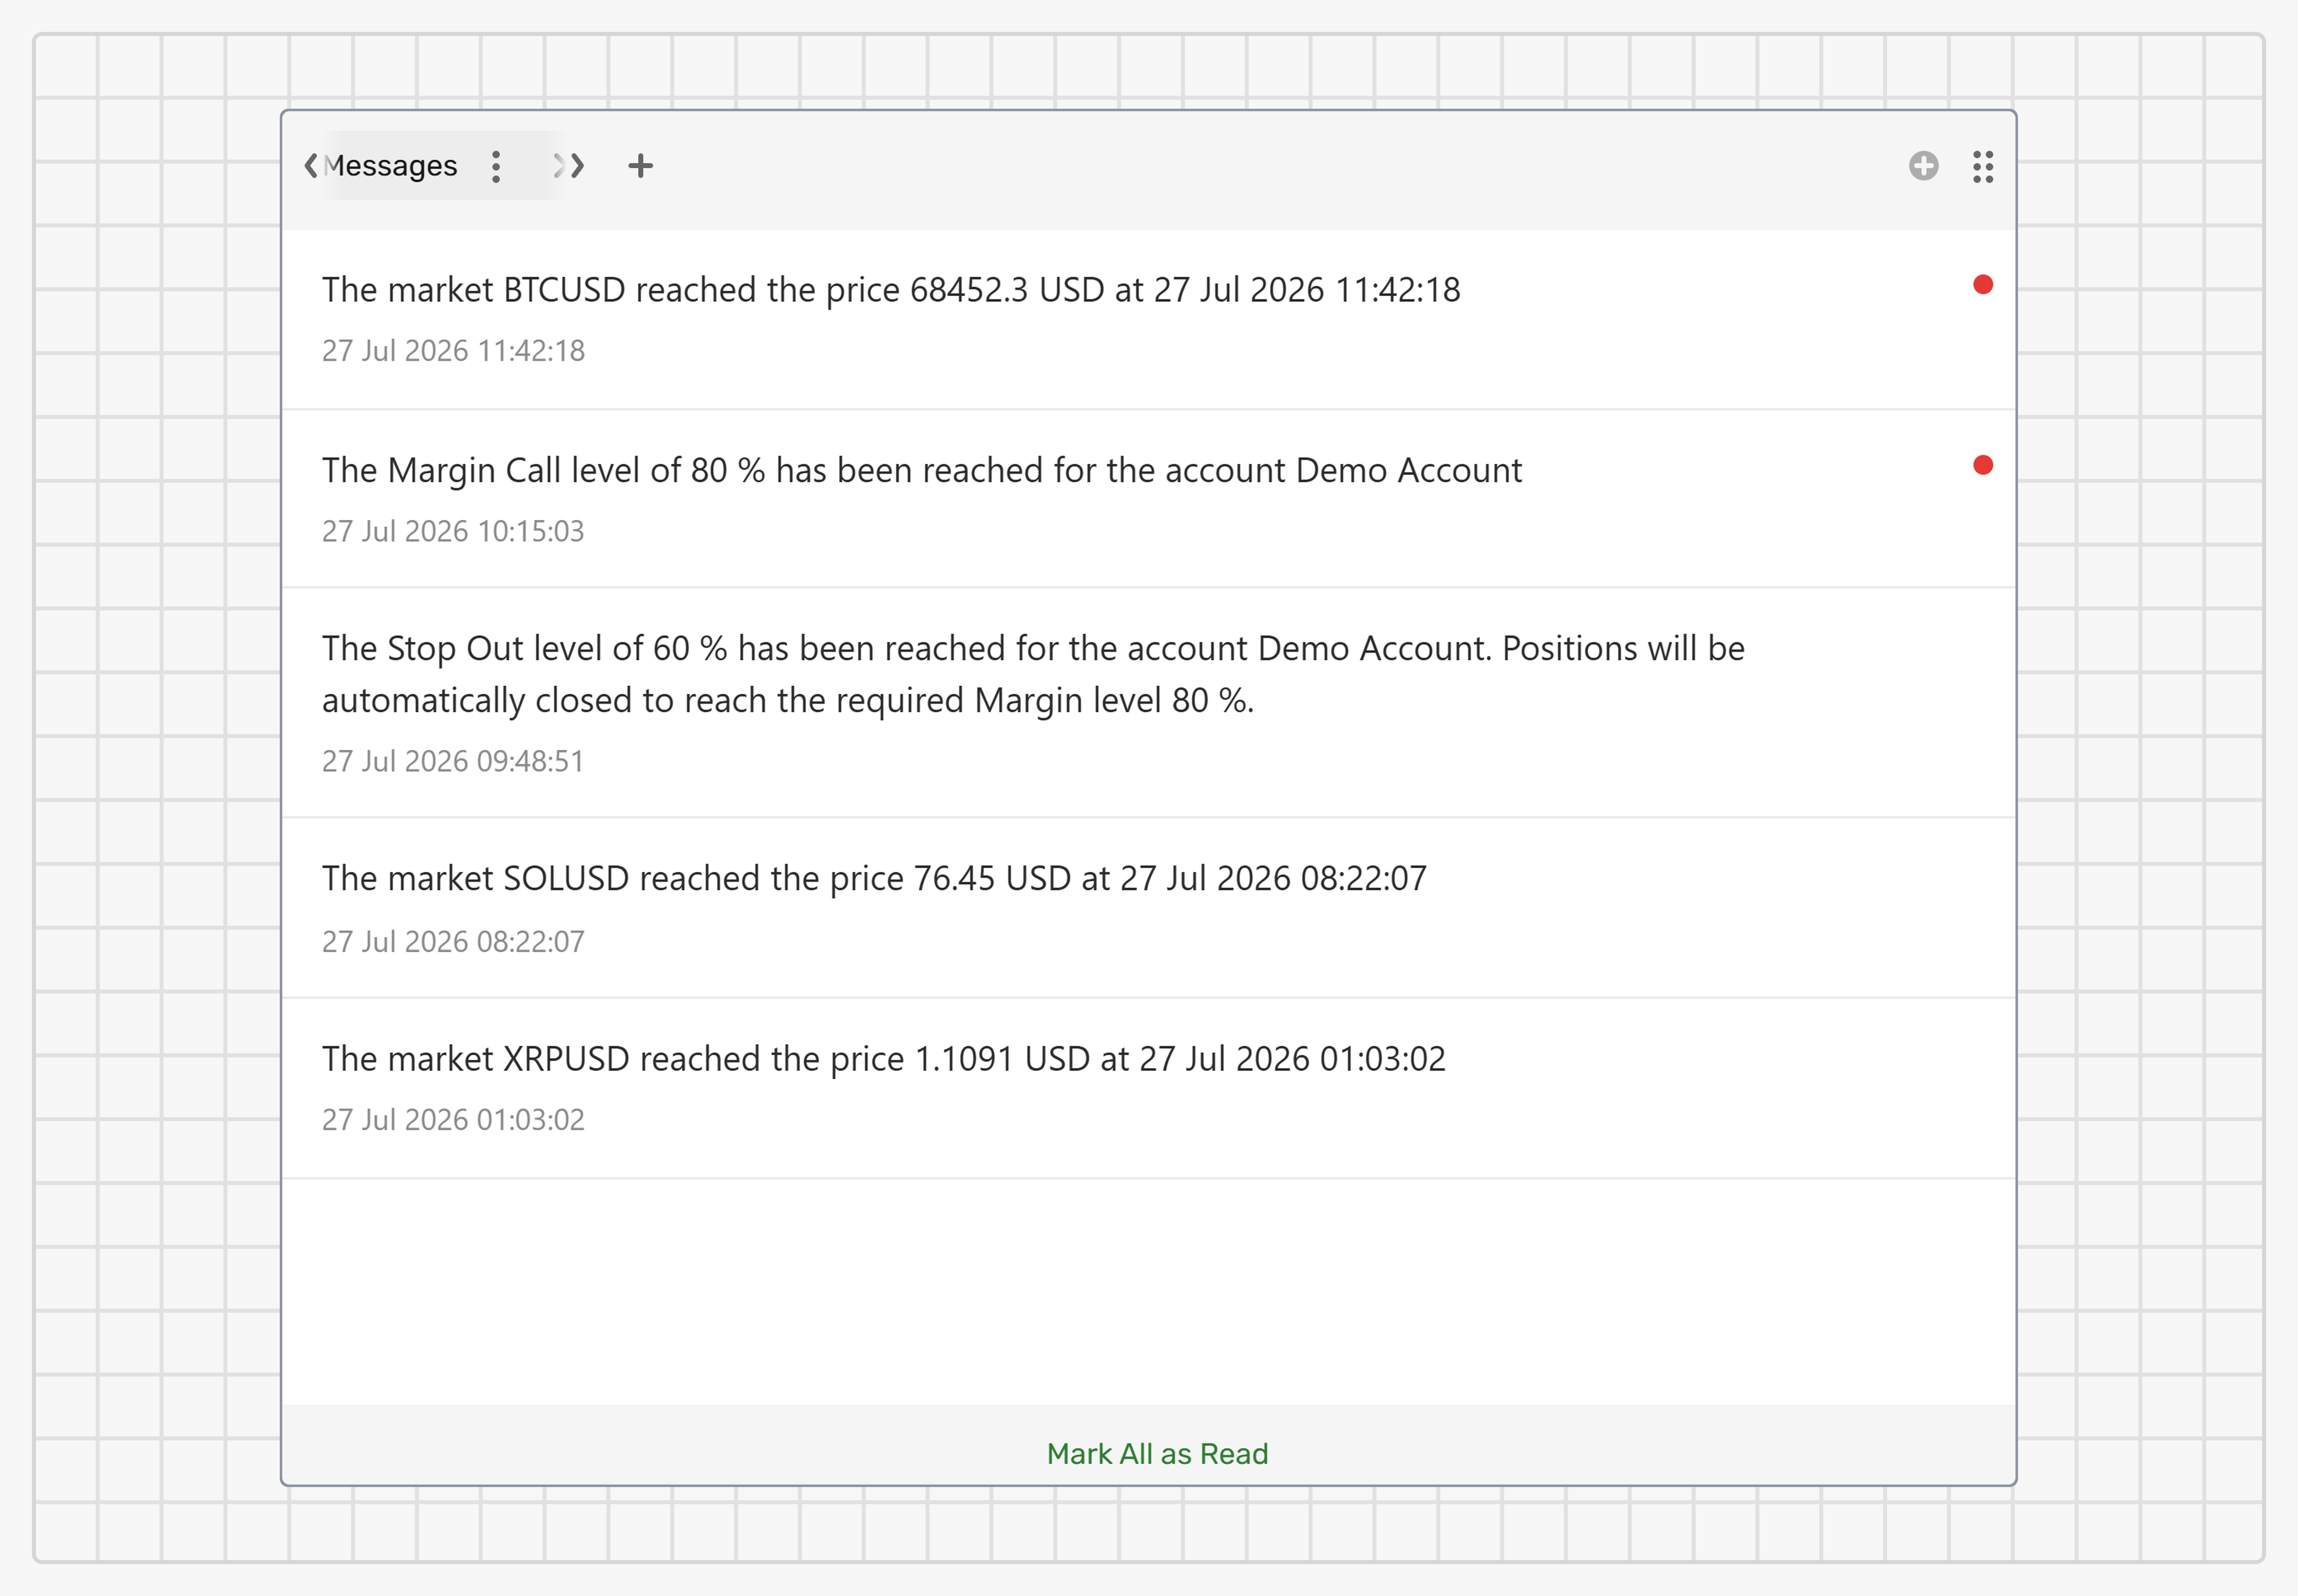 ## Settings [#settings]
### Mark as read [#mark-as-read]
Unread alerts are marked with a red dot in the list:
* Click the dot to mark the notification as read.
* Click **Mark all as read** to mark all new notifications as read at once.
* Click the **three dots** icon in the upper right corner of the widget to access the **Hide read notifications option**.
## Settings [#settings]
### Mark as read [#mark-as-read]
Unread alerts are marked with a red dot in the list:
* Click the dot to mark the notification as read.
* Click **Mark all as read** to mark all new notifications as read at once.
* Click the **three dots** icon in the upper right corner of the widget to access the **Hide read notifications option**.
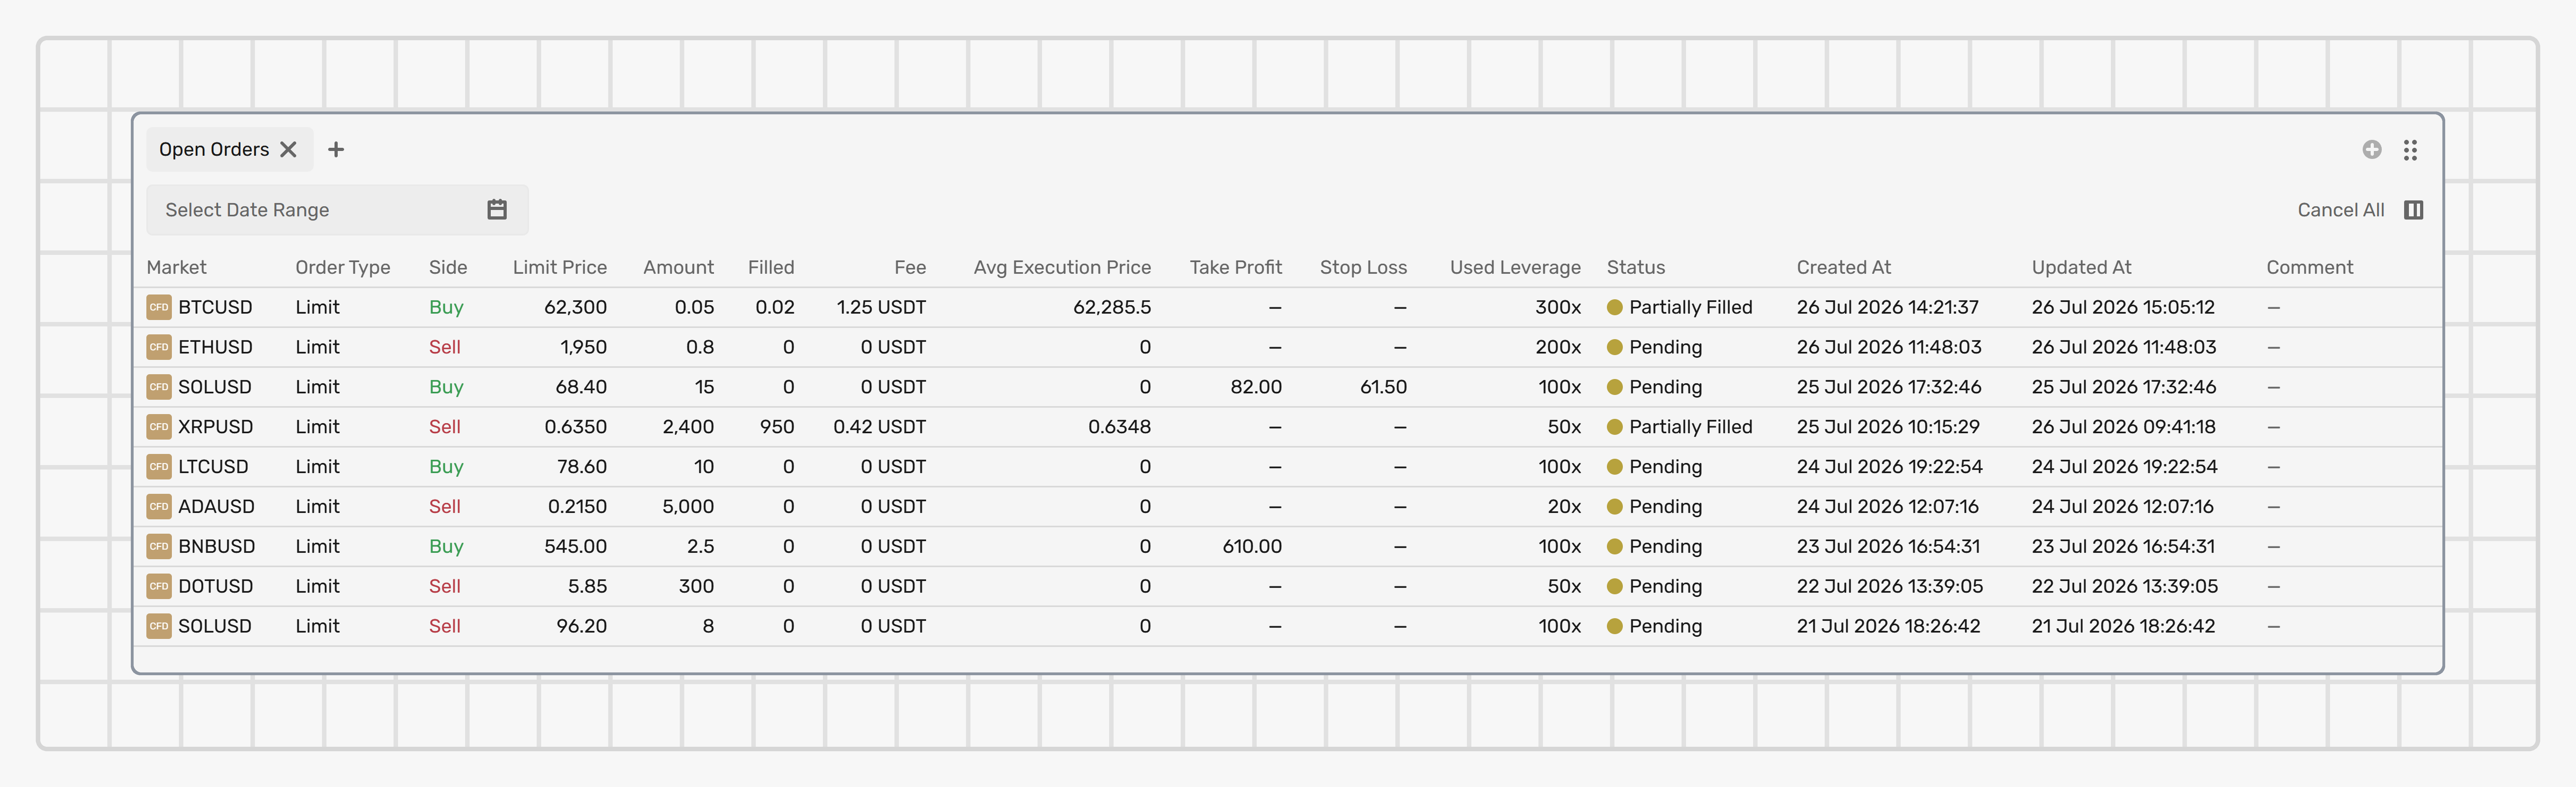
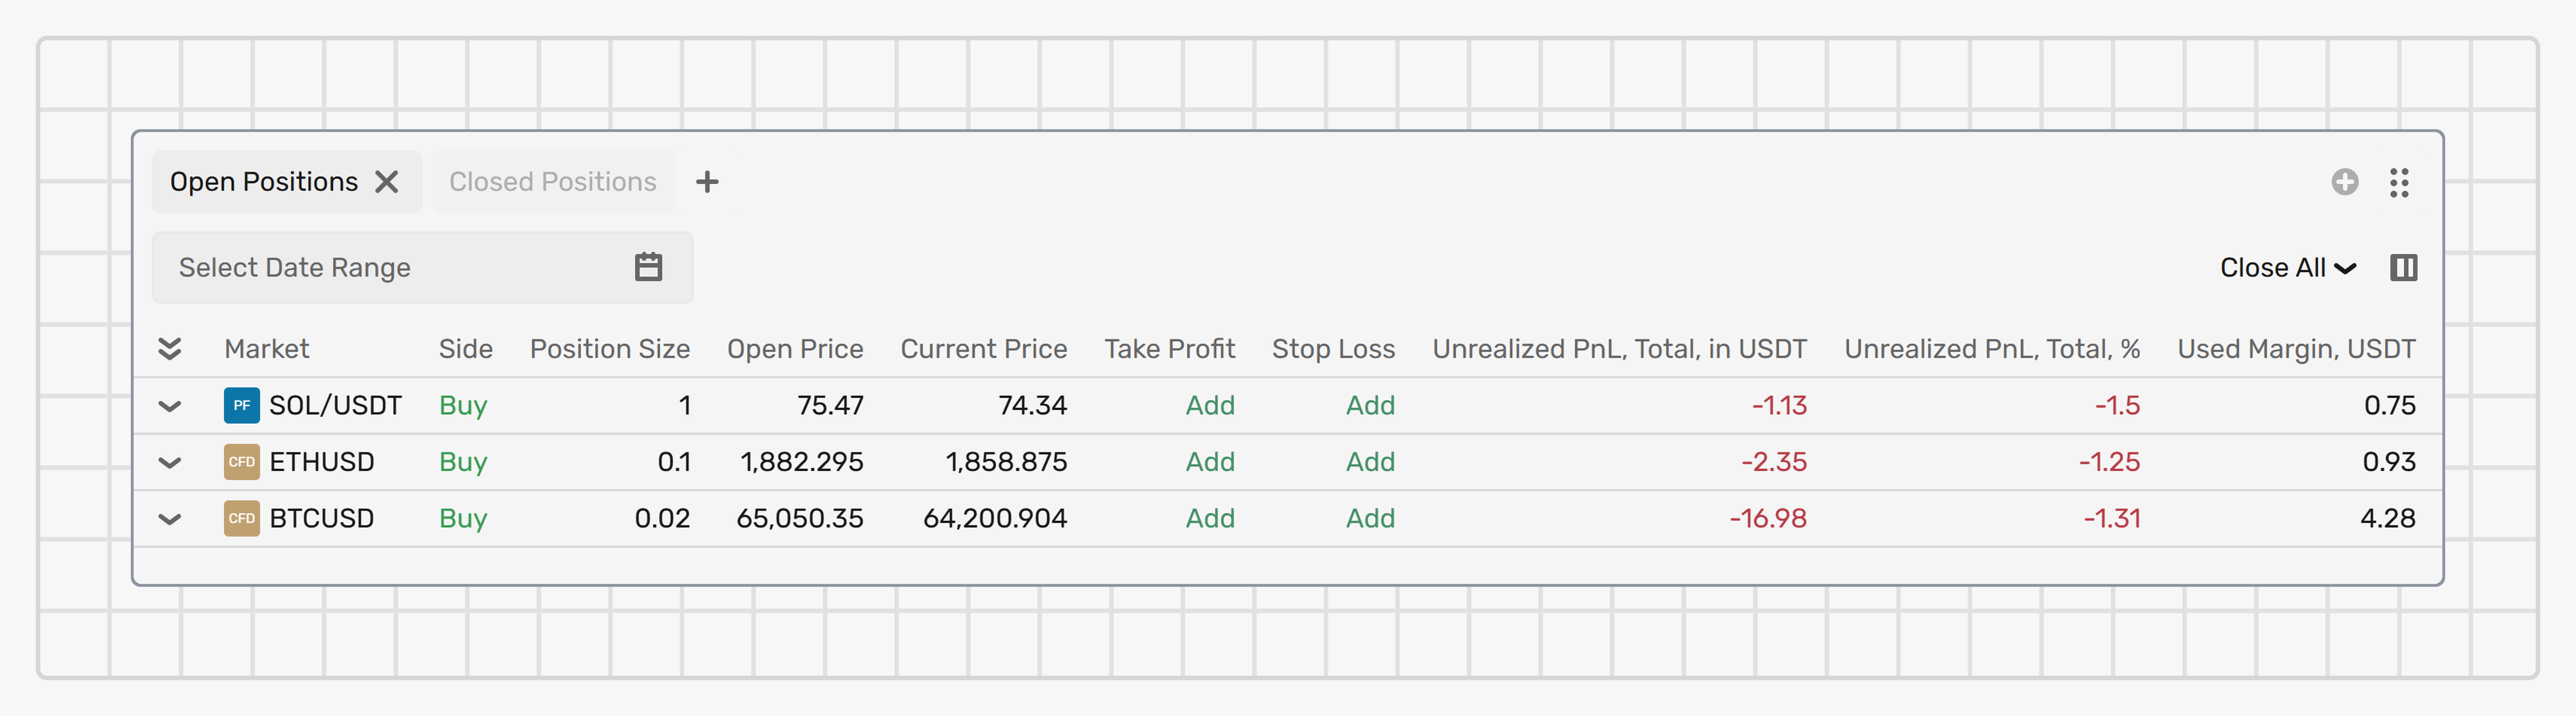
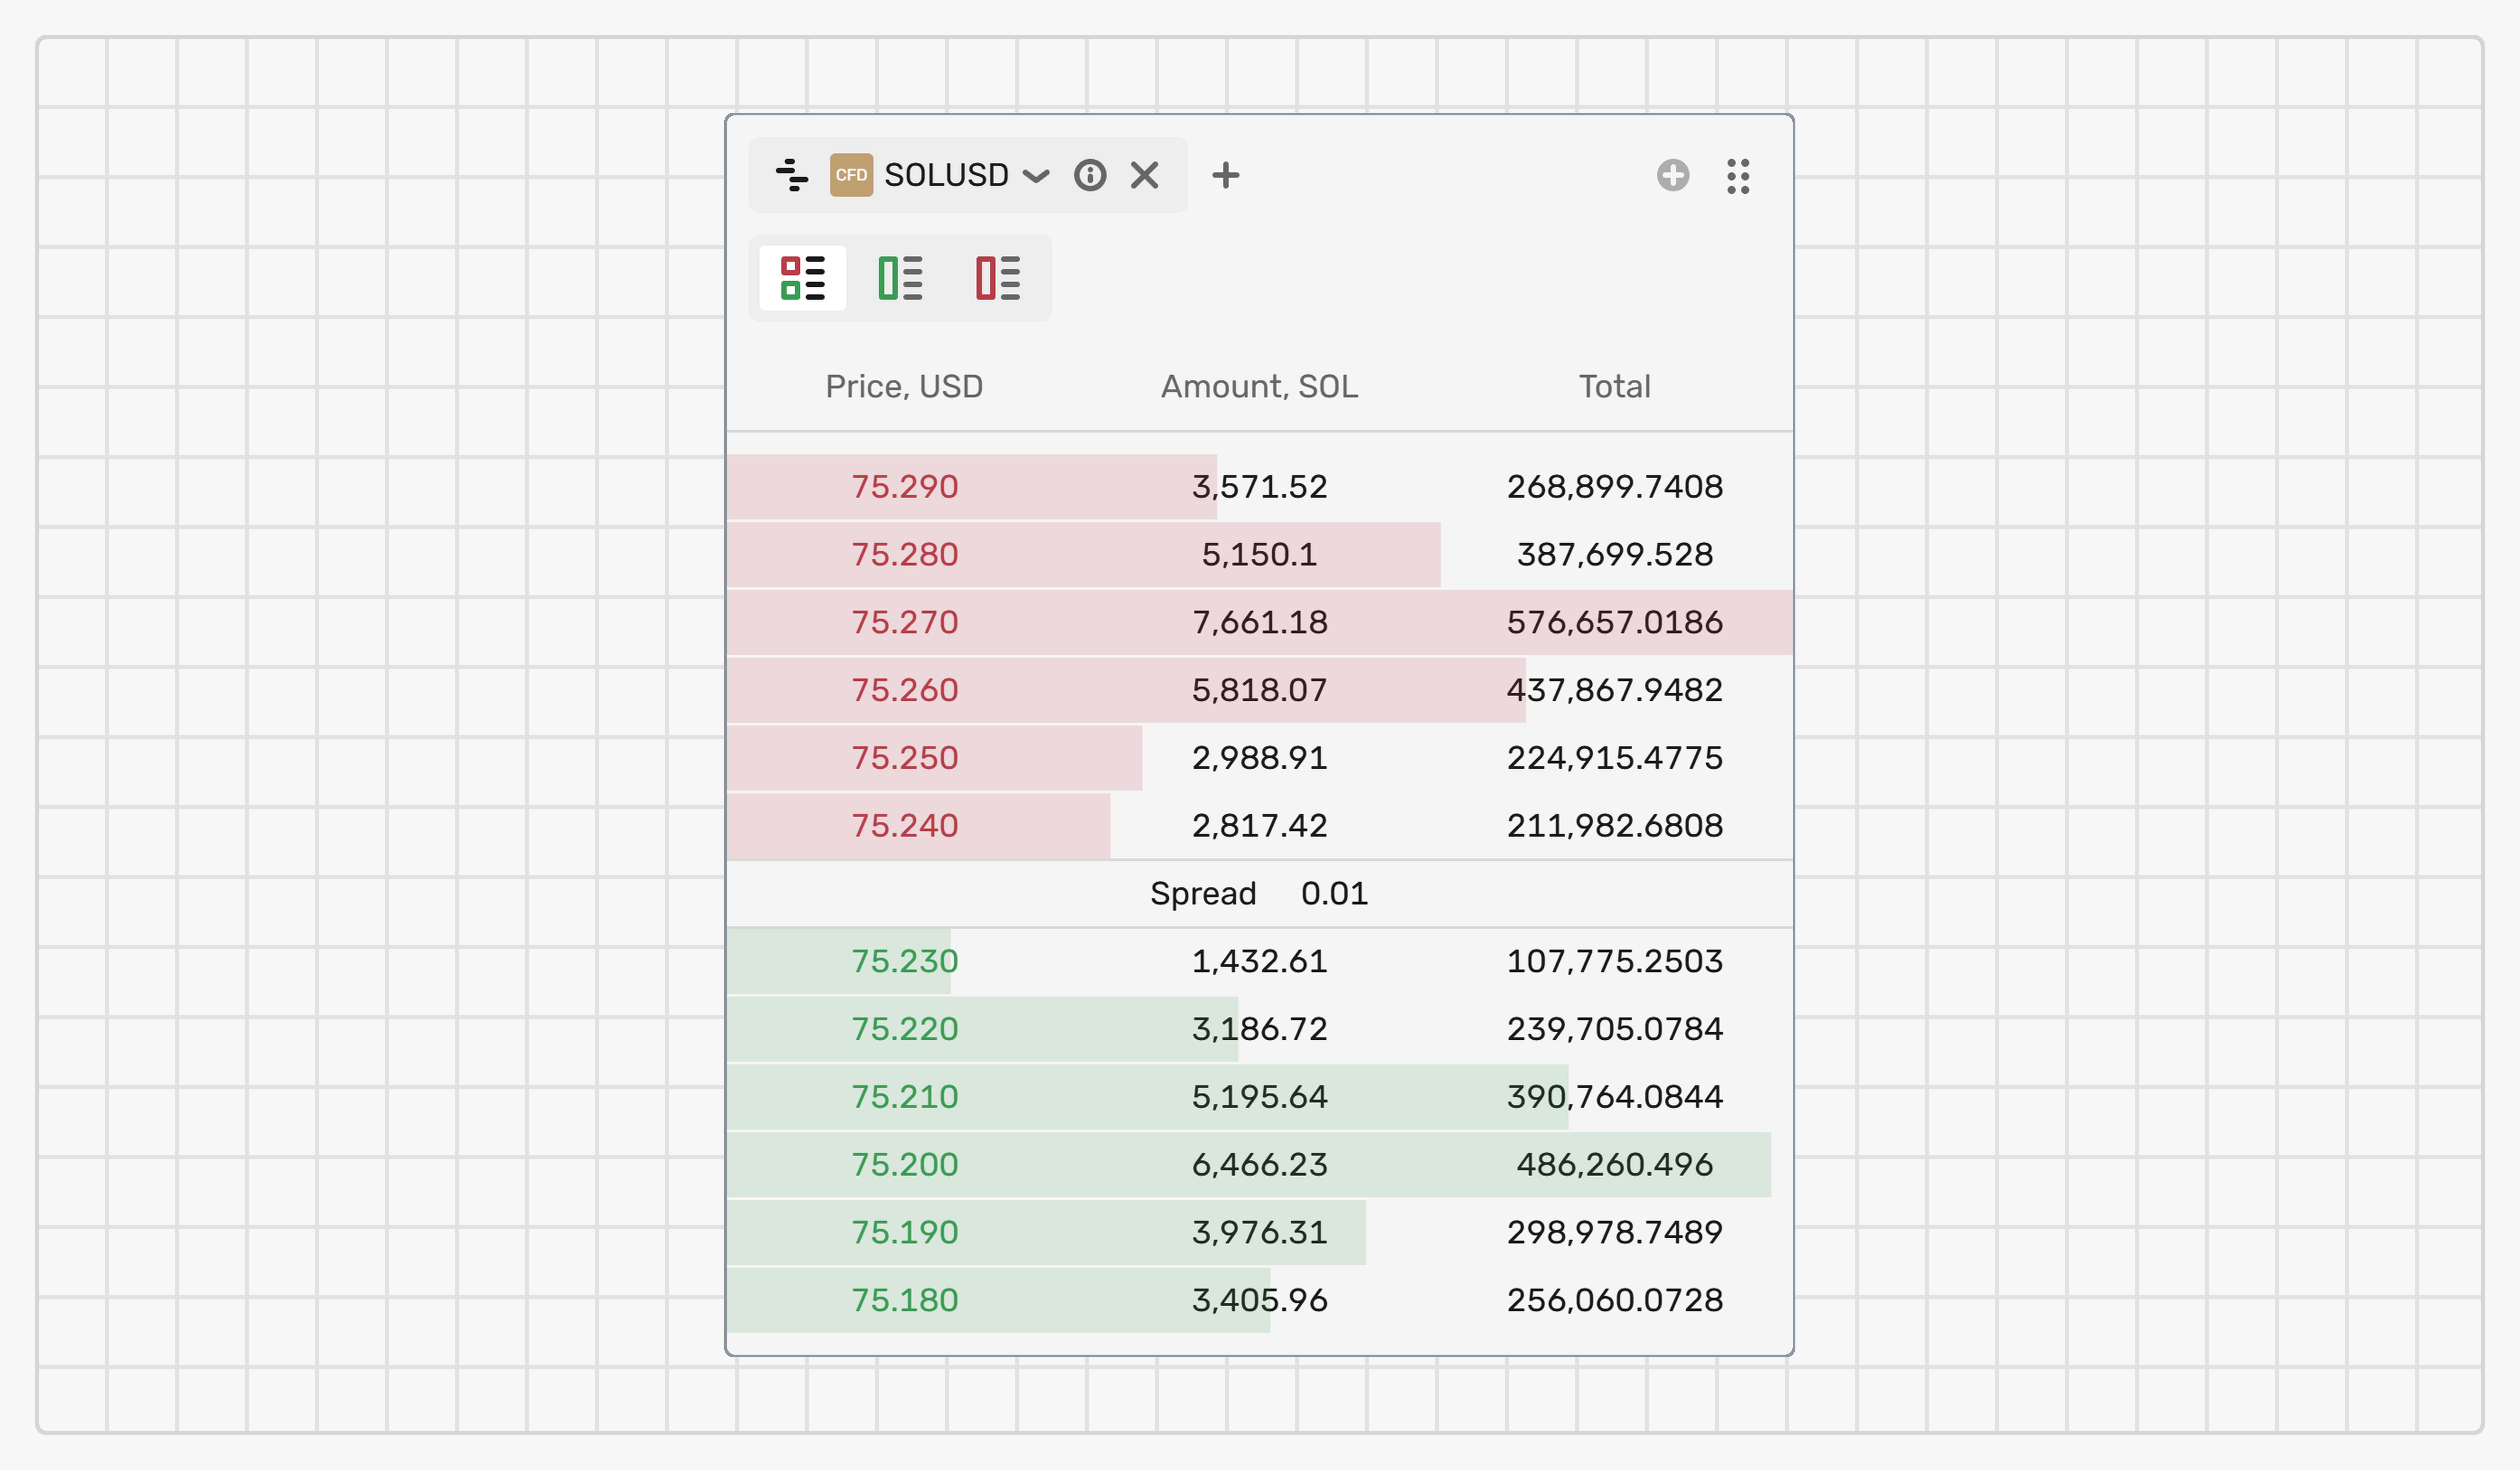 The widget is dynamic and is continuously updated in real time.
It provides three different sections displaying the following information:
* Open sell orders are highlighted in red and listed in the top section. The best ask, which is the sell order with the lowest price, is displayed at the bottom of this list.
* Open buy orders are highlighted in green and listed in the bottom section. The best bid, which is the buy order with the highest price, is displayed at the top of this list.
* The middle section displays the current bid-ask spread indicating the gap between the best ask and bid prices declared for an asset.
## Settings [#settings]
### Select a market [#select-a-market]
The current market is displayed in the widget header.
To change the market, click the market symbol and select a different one from the list.
### Display only asks/bids [#display-only-asksbids]
In the upper part of the widget, you can choose how to display the Order book:
* Full view.
* Buy orders only + spread.
* Sell orders only + spread.
## Fields [#fields]
Each row of the Order book provides the following information about a selected market:
**Price, \{QUOTE}**
The price, in the quote asset.
***
**Amount, \{BASE}**
The total amount of the base asset available at a corresponding price level.
***
**Total**
The total amount, in the quote asset, required to fully execute the orders at a corresponding price level.
The widget is dynamic and is continuously updated in real time.
It provides three different sections displaying the following information:
* Open sell orders are highlighted in red and listed in the top section. The best ask, which is the sell order with the lowest price, is displayed at the bottom of this list.
* Open buy orders are highlighted in green and listed in the bottom section. The best bid, which is the buy order with the highest price, is displayed at the top of this list.
* The middle section displays the current bid-ask spread indicating the gap between the best ask and bid prices declared for an asset.
## Settings [#settings]
### Select a market [#select-a-market]
The current market is displayed in the widget header.
To change the market, click the market symbol and select a different one from the list.
### Display only asks/bids [#display-only-asksbids]
In the upper part of the widget, you can choose how to display the Order book:
* Full view.
* Buy orders only + spread.
* Sell orders only + spread.
## Fields [#fields]
Each row of the Order book provides the following information about a selected market:
**Price, \{QUOTE}**
The price, in the quote asset.
***
**Amount, \{BASE}**
The total amount of the base asset available at a corresponding price level.
***
**Total**
The total amount, in the quote asset, required to fully execute the orders at a corresponding price level.
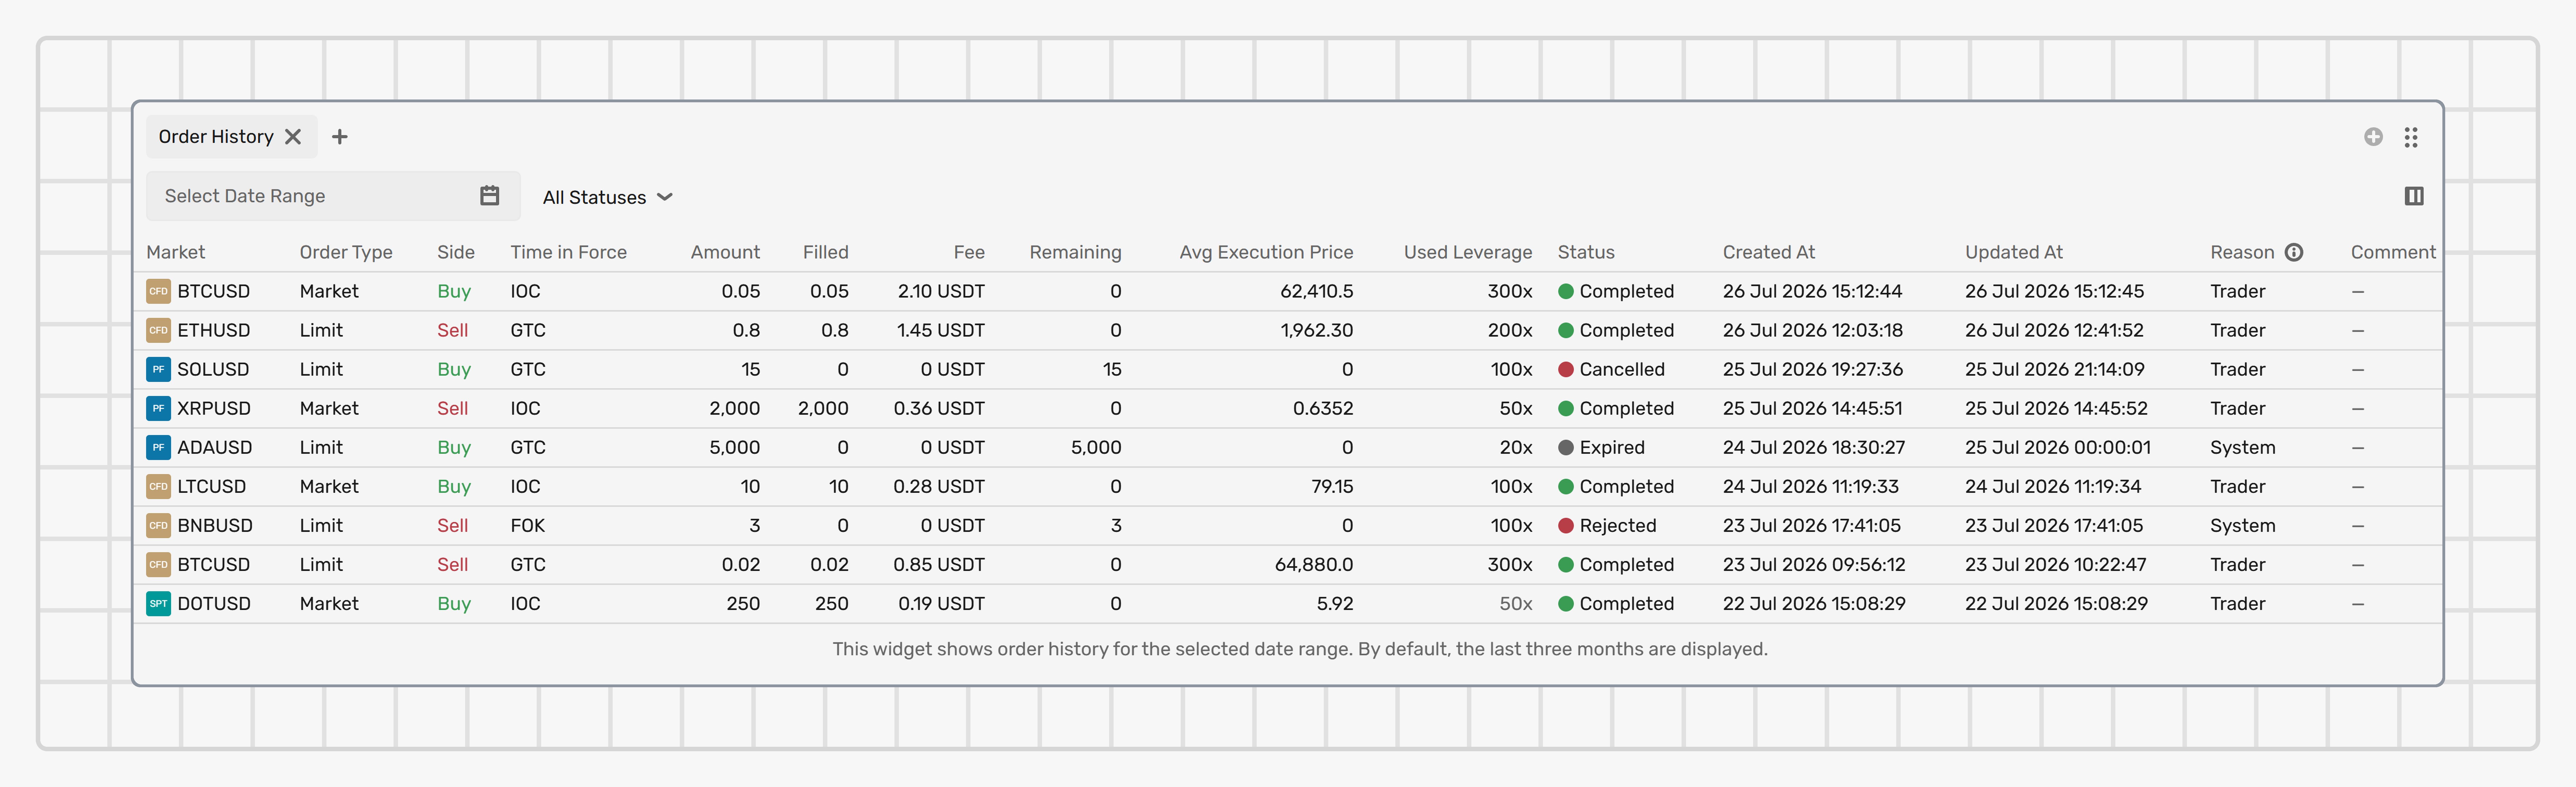
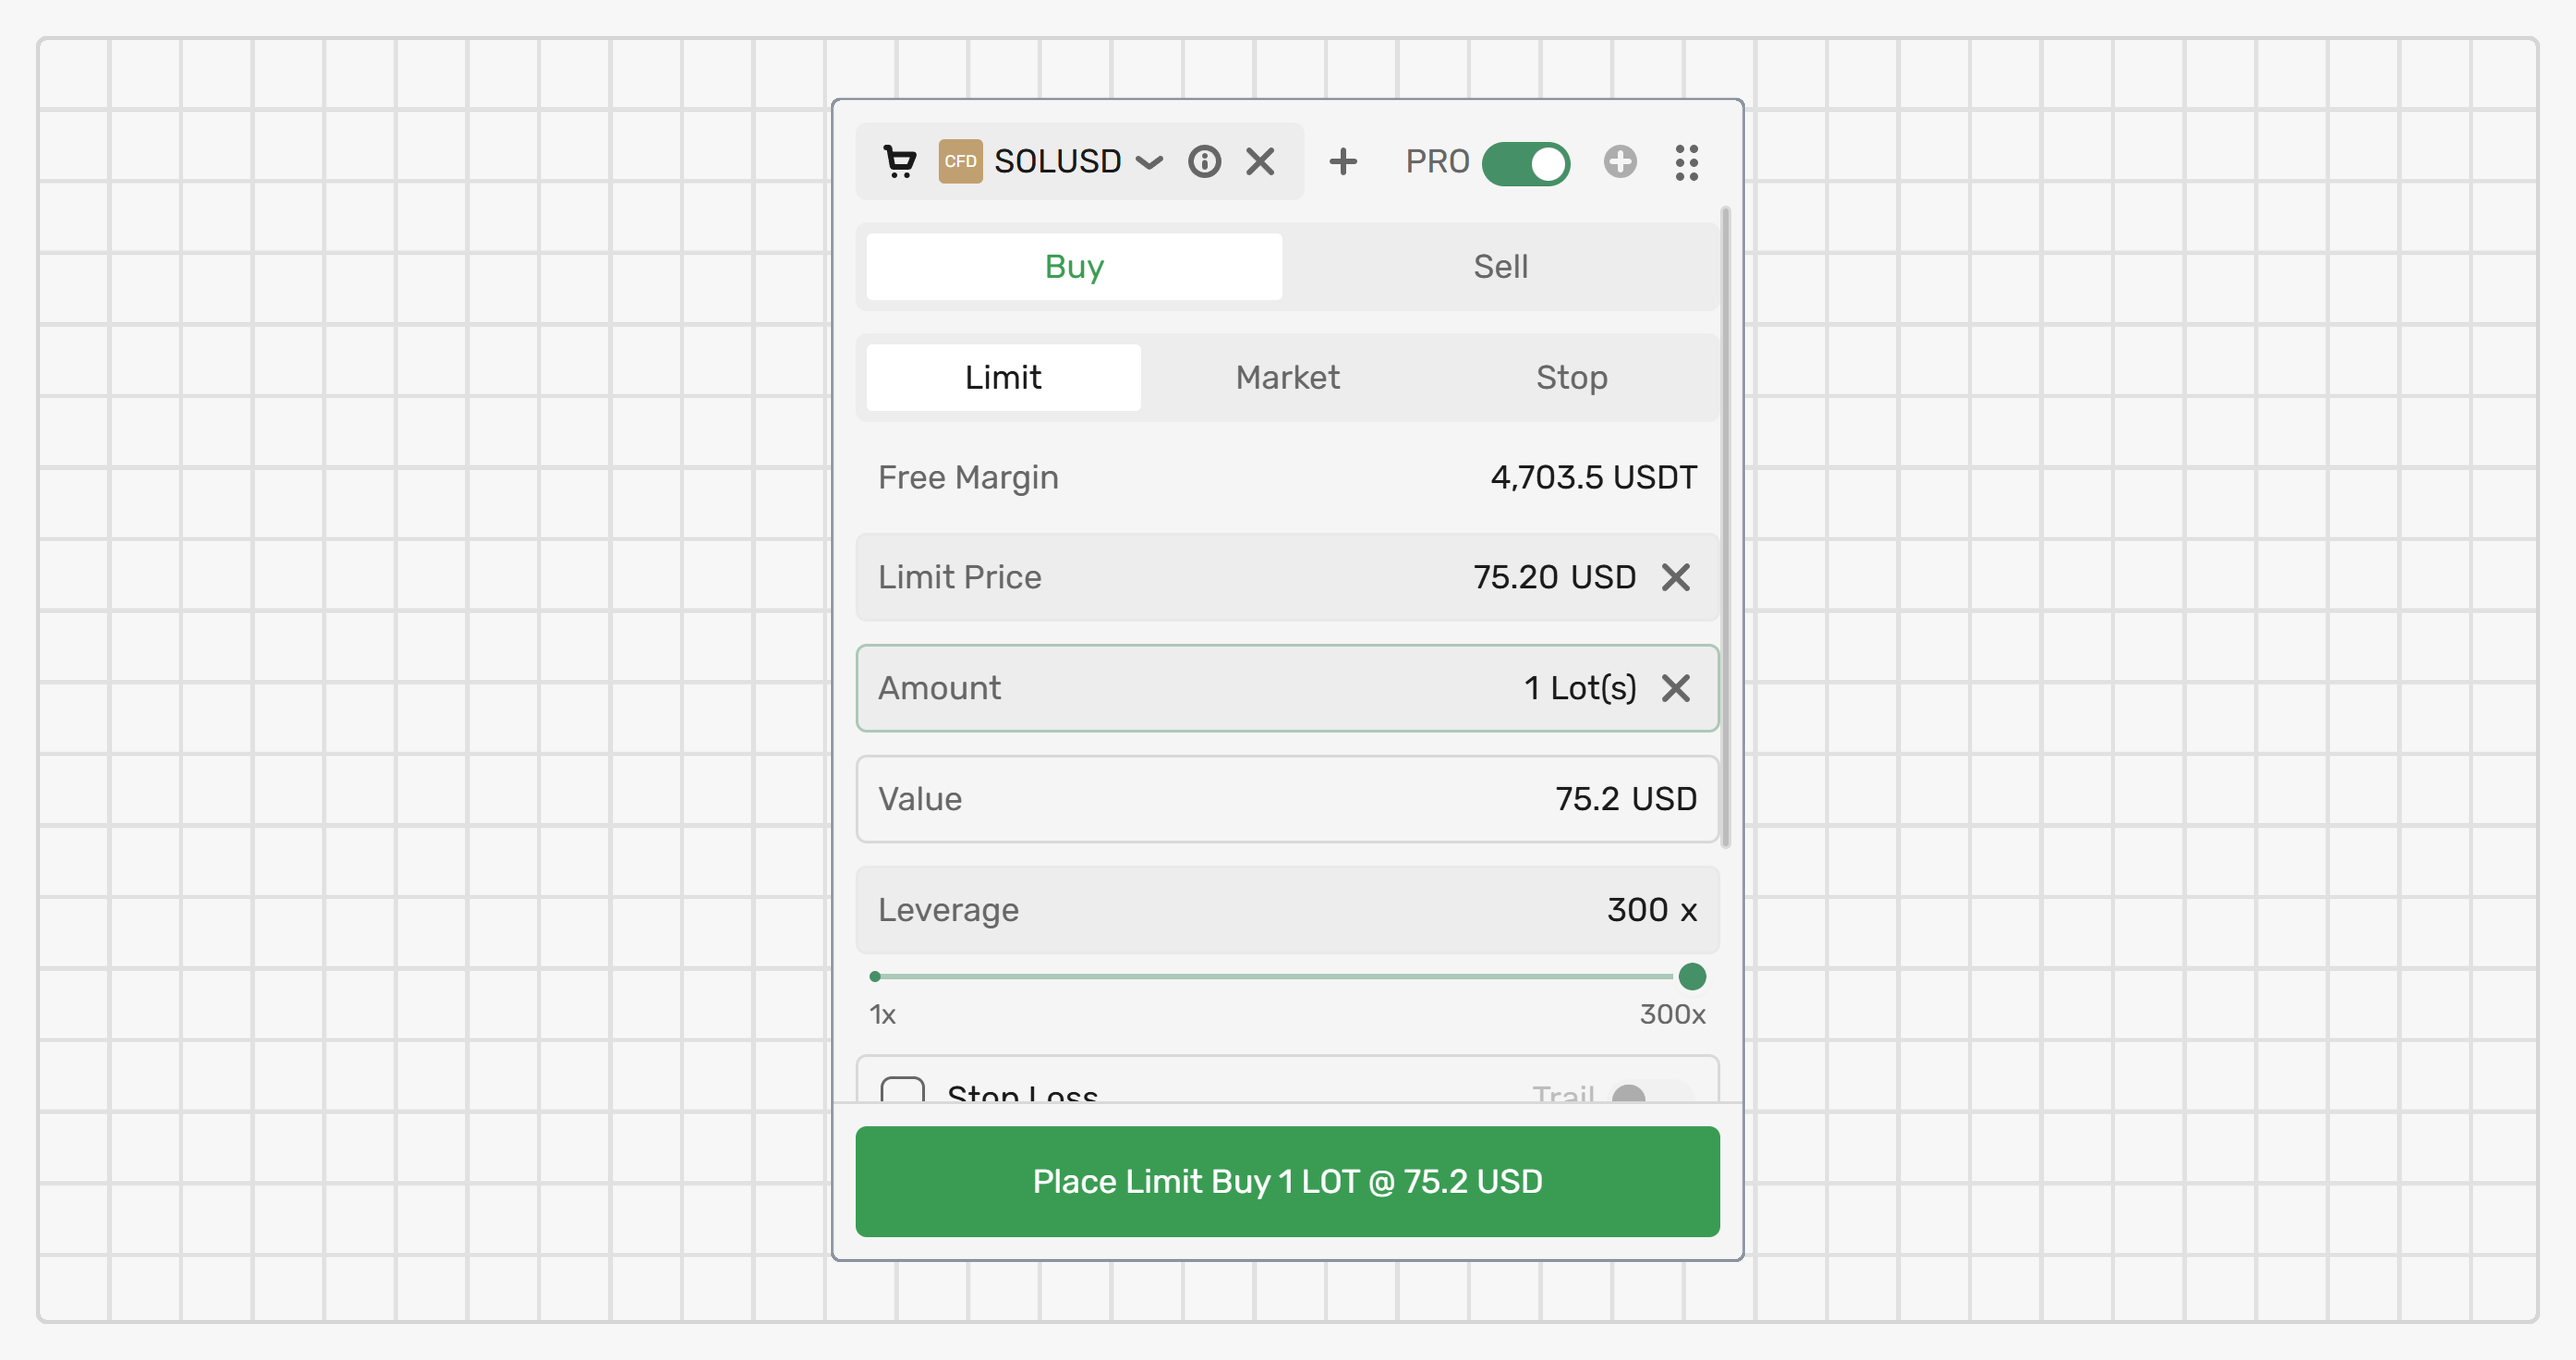 The widget has two states:
### The PRO toggle is disabled [#the-pro-toggle-is-disabled]
In this state, you can quickly place **IOC Market** and **GTC Limit** orders by selecting the order side (Buy/Sell) and type (Market/Limit), and specifying the order size (in lots) and price (for Limit orders).
You can also place orders on CFD markets with the maximum leverage automatically applied.
### The PRO toggle is enabled [#the-pro-toggle-is-enabled]
In this state, you get access to more precise order settings, such as:
* **Stop orders**
* **Time in force**
* **Leverage**
* **Take profit, Stop loss, Trailing stop**
* **Comment**
* **Complete order information**
The **Comment** field allows you to attach a text note to the order (up to 100 characters). The comment is inherited by the resulting position and can't be edited after the order is placed.
## Settings [#settings]
### Select a market [#select-a-market]
The market on which the order will be placed is displayed in the widget header.
To change the market, click the market symbol and select a different one from the list.
### Place an order [#place-an-order]
To place an order, fill in the parameters, review order details and preliminary calculated values, and then confirm the order by clicking the **Place** button.
The widget has two states:
### The PRO toggle is disabled [#the-pro-toggle-is-disabled]
In this state, you can quickly place **IOC Market** and **GTC Limit** orders by selecting the order side (Buy/Sell) and type (Market/Limit), and specifying the order size (in lots) and price (for Limit orders).
You can also place orders on CFD markets with the maximum leverage automatically applied.
### The PRO toggle is enabled [#the-pro-toggle-is-enabled]
In this state, you get access to more precise order settings, such as:
* **Stop orders**
* **Time in force**
* **Leverage**
* **Take profit, Stop loss, Trailing stop**
* **Comment**
* **Complete order information**
The **Comment** field allows you to attach a text note to the order (up to 100 characters). The comment is inherited by the resulting position and can't be edited after the order is placed.
## Settings [#settings]
### Select a market [#select-a-market]
The market on which the order will be placed is displayed in the widget header.
To change the market, click the market symbol and select a different one from the list.
### Place an order [#place-an-order]
To place an order, fill in the parameters, review order details and preliminary calculated values, and then confirm the order by clicking the **Place** button.
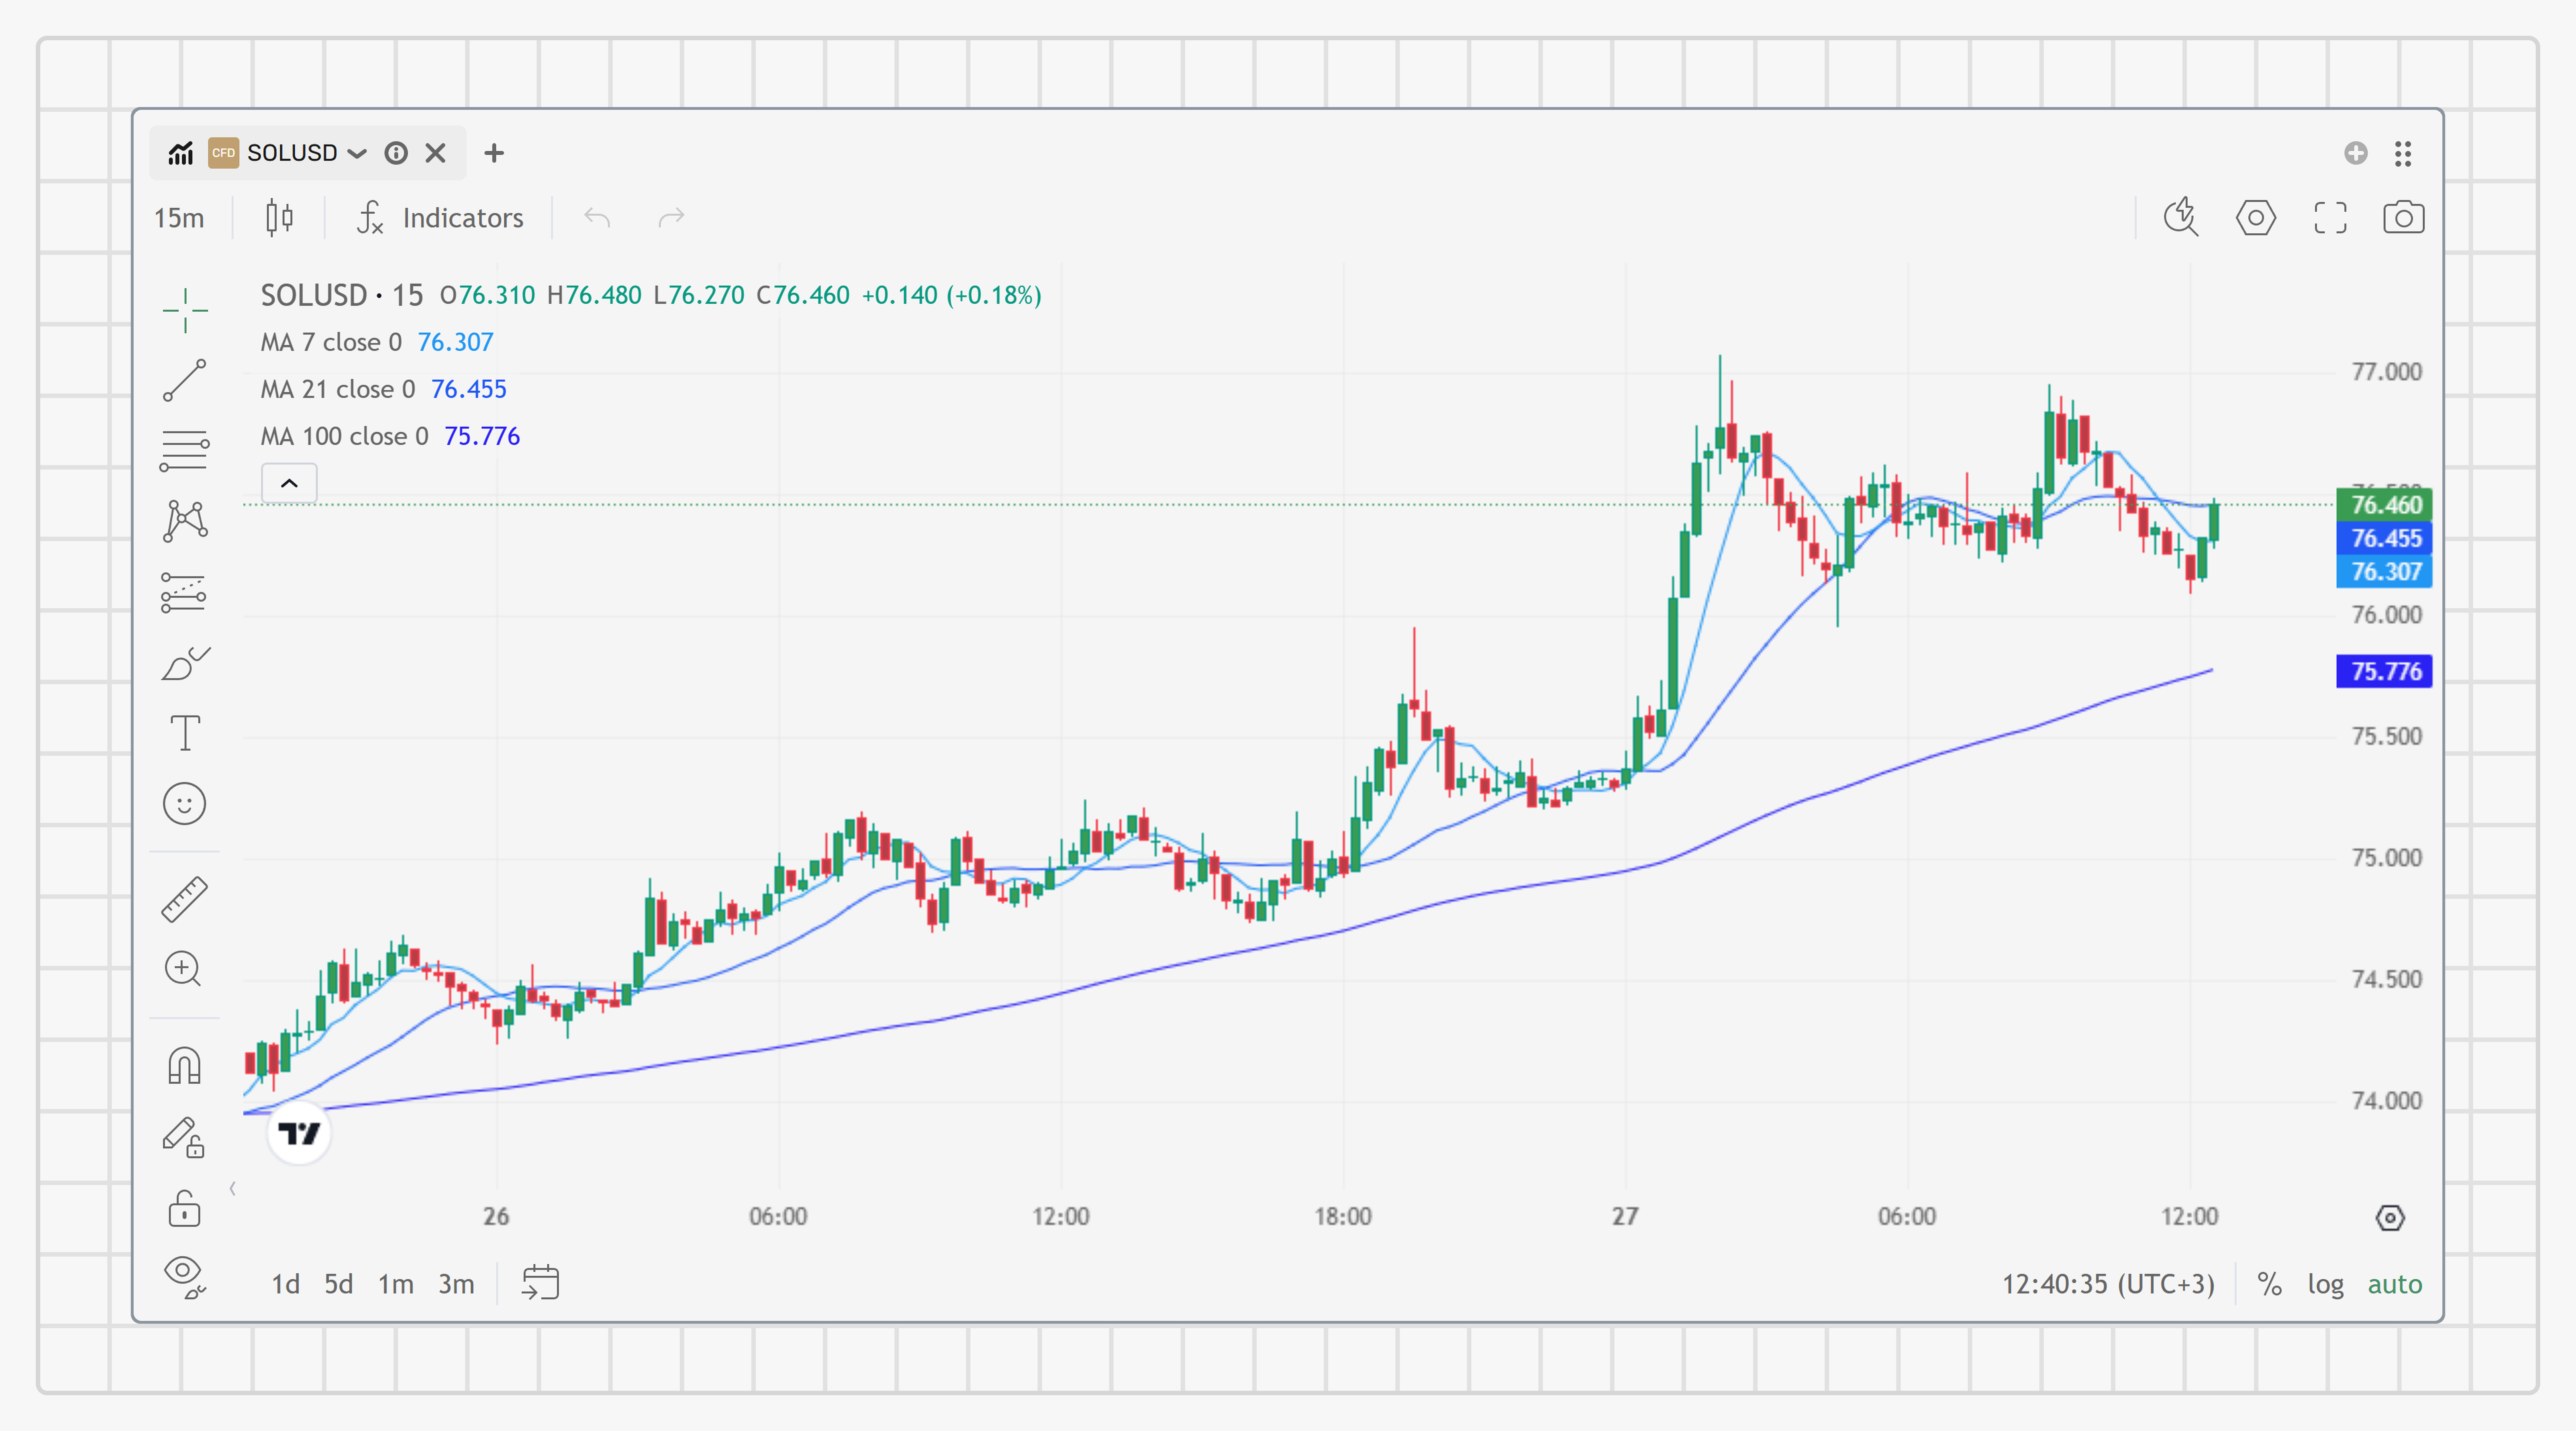 The horizontal axis (X-axis) represents the time scale, and the vertical axis (Y-axis) indicates the price level.
## Settings [#settings]
### Select a market [#select-a-market]
The current market is displayed in the widget header.
To change the market, click the market symbol and select a different one from the list.
### Customization [#customization]
Multiple customization options are provided, allowing you to configure the chart according to your preferences.
You can switch between bar, candle, Heikin Ashi, line, area and baseline views, as well as specify the time period for which data should be displayed.
The chart supports numerous financial indicators, such as moving averages and regressions, and can feature a variety of custom shapes, including arrows and lines, pitchforks, and various ranges, allowing you to perform an in-depth market analysis.
### Display options [#display-options]
The widget supports displaying of open positions, price triggers, open and executed orders.
Click the **gear icon** in the topbar and access [Price chart settings](../get-started/settings#price-chart) to enable desired options.
## Placing orders [#placing-orders]
### Enable placing orders [#enable-placing-orders]
To enable placing orders directly from the Price chart, you need to activate the corresponding settings:
1. Click the **gear icon** in the topbar and access [Price chart settings](../get-started/settings#price-chart).
2. Activate the **Market quick trade panel** or **Limit quick trade panel** toggle, or both.
3. If needed, adjust the amount presets. These amounts will be available for quick selection when placing an order.
### Market quick trade panel [#market-quick-trade-panel]
If the corresponding setting is activated, the draggable **Market quick trade panel** is constantly displayed on the Price chart.
### Limit quick trade panel [#limit-quick-trade-panel]
If the corresponding setting is activated, the **+** will appear when hovering over price levels on the chart.
Clicking it will open the **Limit quick trade panel**:
* in the upper half of the chart — to sell;
* in the lower half of the chart — to buy.
### Place a new order [#place-a-new-order]
To place a new Market or Limit order from the Price chart, when a corresponding panel is displayed:
1. Select the **amount** from configured presets.
2. Select a **leverage** ratio, if trading on CFD or PF markets.
3. Click **Buy** or **Sell**.
The order will be placed according to the selected type.
## Summary [#summary]
Use this widget to configure alerts that will be delivered to the [Messages](messages) widget when an instrument price reaches the specified level.
The horizontal axis (X-axis) represents the time scale, and the vertical axis (Y-axis) indicates the price level.
## Settings [#settings]
### Select a market [#select-a-market]
The current market is displayed in the widget header.
To change the market, click the market symbol and select a different one from the list.
### Customization [#customization]
Multiple customization options are provided, allowing you to configure the chart according to your preferences.
You can switch between bar, candle, Heikin Ashi, line, area and baseline views, as well as specify the time period for which data should be displayed.
The chart supports numerous financial indicators, such as moving averages and regressions, and can feature a variety of custom shapes, including arrows and lines, pitchforks, and various ranges, allowing you to perform an in-depth market analysis.
### Display options [#display-options]
The widget supports displaying of open positions, price triggers, open and executed orders.
Click the **gear icon** in the topbar and access [Price chart settings](../get-started/settings#price-chart) to enable desired options.
## Placing orders [#placing-orders]
### Enable placing orders [#enable-placing-orders]
To enable placing orders directly from the Price chart, you need to activate the corresponding settings:
1. Click the **gear icon** in the topbar and access [Price chart settings](../get-started/settings#price-chart).
2. Activate the **Market quick trade panel** or **Limit quick trade panel** toggle, or both.
3. If needed, adjust the amount presets. These amounts will be available for quick selection when placing an order.
### Market quick trade panel [#market-quick-trade-panel]
If the corresponding setting is activated, the draggable **Market quick trade panel** is constantly displayed on the Price chart.
### Limit quick trade panel [#limit-quick-trade-panel]
If the corresponding setting is activated, the **+** will appear when hovering over price levels on the chart.
Clicking it will open the **Limit quick trade panel**:
* in the upper half of the chart — to sell;
* in the lower half of the chart — to buy.
### Place a new order [#place-a-new-order]
To place a new Market or Limit order from the Price chart, when a corresponding panel is displayed:
1. Select the **amount** from configured presets.
2. Select a **leverage** ratio, if trading on CFD or PF markets.
3. Click **Buy** or **Sell**.
The order will be placed according to the selected type.
## Summary [#summary]
Use this widget to configure alerts that will be delivered to the [Messages](messages) widget when an instrument price reaches the specified level.
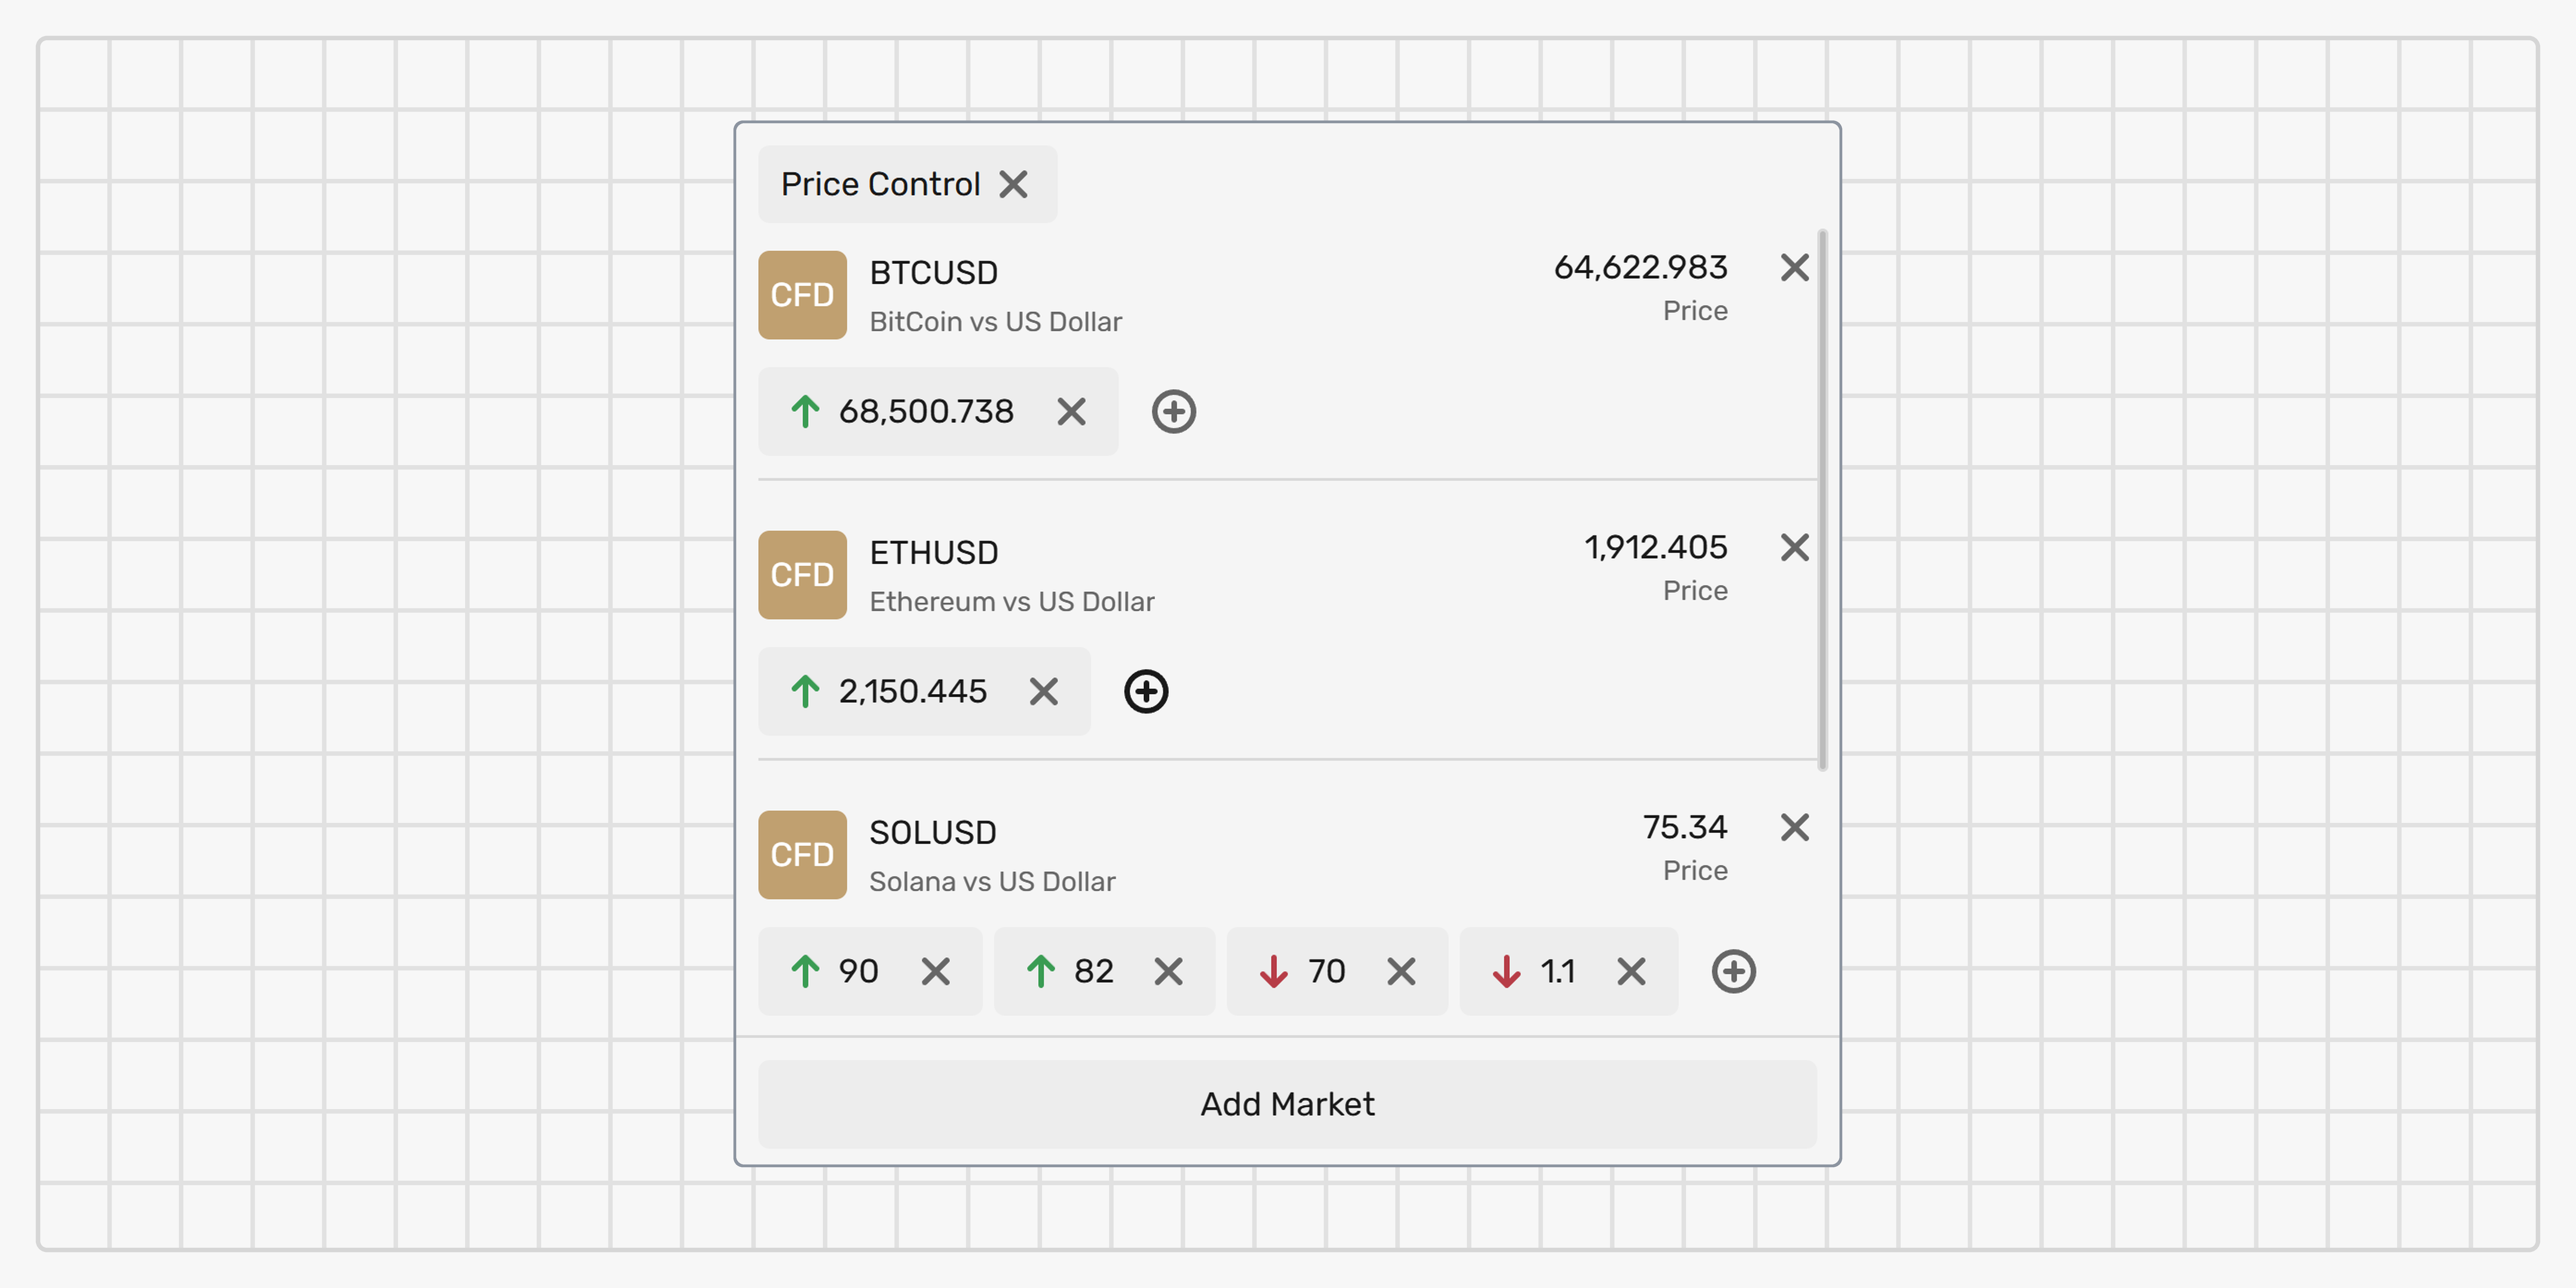 ## Settings [#settings]
### Configure a new alert [#configure-a-new-alert]
To configure a new alert:
1. Click the **Add market** button to select a required market from the list.
2. Click the **+** icon below the instrument name to add a new alert trigger.
3. In the displayed fields, specify the exact price or the price change in percents (positive or negative). The other value will be calculated automatically.
4. Click the **check mark icon** to add the trigger.
Now you will receive a notification in the [Messages](messages) widget, once the instrument price hits the specified level.
You can configure multiple triggers for each instrument.
### Edit alerts [#edit-alerts]
Click the price to edit the existing alert.
### Remove alerts [#remove-alerts]
Click the **×** button on the trigger panel to remove it and stop receiving corresponding notifications.
Click the **×** button in the instrument row to remove it from the list and stop monitoring.
## Summary [#summary]
This widget displays a list of untriggered Stop orders created on the selected account.
Once a market price reaches your predetermined Stop price, the Stop order is activated and submitted as either a Market or Limit order.
It's then removed from this widget.
You can now find it in either the [Open orders](open-orders) or [Order history](order-history) widget, depending on its current status.
## Settings [#settings]
### Configure a new alert [#configure-a-new-alert]
To configure a new alert:
1. Click the **Add market** button to select a required market from the list.
2. Click the **+** icon below the instrument name to add a new alert trigger.
3. In the displayed fields, specify the exact price or the price change in percents (positive or negative). The other value will be calculated automatically.
4. Click the **check mark icon** to add the trigger.
Now you will receive a notification in the [Messages](messages) widget, once the instrument price hits the specified level.
You can configure multiple triggers for each instrument.
### Edit alerts [#edit-alerts]
Click the price to edit the existing alert.
### Remove alerts [#remove-alerts]
Click the **×** button on the trigger panel to remove it and stop receiving corresponding notifications.
Click the **×** button in the instrument row to remove it from the list and stop monitoring.
## Summary [#summary]
This widget displays a list of untriggered Stop orders created on the selected account.
Once a market price reaches your predetermined Stop price, the Stop order is activated and submitted as either a Market or Limit order.
It's then removed from this widget.
You can now find it in either the [Open orders](open-orders) or [Order history](order-history) widget, depending on its current status.
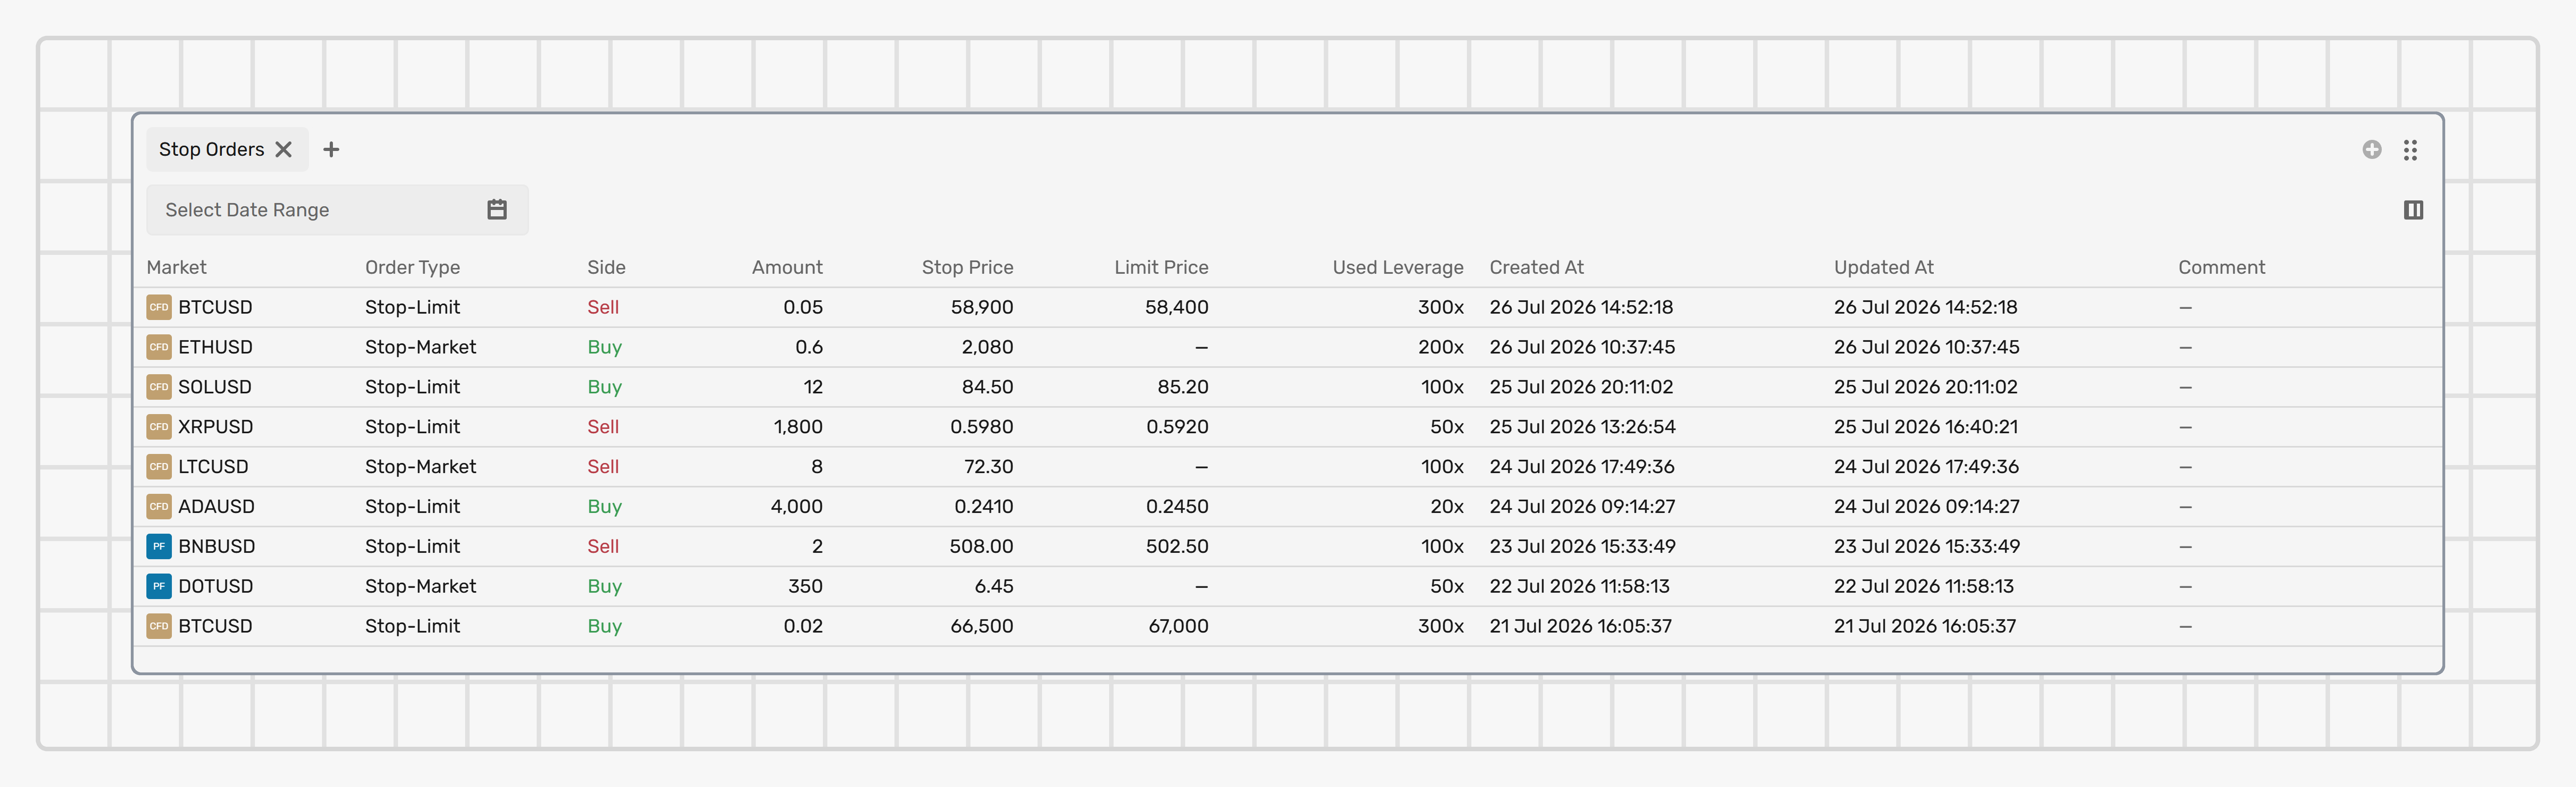 ## Stop orders outside trading hours [#stop-orders-outside-trading-hours]
You can place Stop Market and Stop Limit orders while a market is closed according to its trading calendar, so you can prepare an entry or a protective level before the session opens. This applies to every channel: the Trading terminal, the REST API, the FIX API, and TradingView.
An order placed this way behaves as follows:
* It is accepted right away and appears in this widget with the standard **Waiting for activation** status. No new status was introduced for orders placed outside trading hours.
* It is validated at placement against the price and amount scales and the market minimum amount. The stop price is also checked against the best bid and ask whenever a price is available — while the market is closed there may be no live price to check it against.
* No balance or margin is reserved at placement. The margin check happens when the order triggers.
* It stays Waiting for activation across sessions until it triggers, you cancel it, or it expires under its [Time in force](../knowledge-base/time-in-force). A Stop order placed on Friday evening is still there on Monday, and an unexpected holiday does not cancel it.
* You can view and cancel it while the market is still closed.
When the session opens, the order is evaluated against the first available price. If the market gapped past your stop price while it was closed, the order triggers at the open. For an order placed while no price was available, the first incoming price is used to finalise the order's internal pricing before it can trigger, so activation can take one extra price update. If the margin check fails when the order triggers, the order is cancelled and you receive the failure reason — it is never dropped silently.
## Stop orders outside trading hours [#stop-orders-outside-trading-hours]
You can place Stop Market and Stop Limit orders while a market is closed according to its trading calendar, so you can prepare an entry or a protective level before the session opens. This applies to every channel: the Trading terminal, the REST API, the FIX API, and TradingView.
An order placed this way behaves as follows:
* It is accepted right away and appears in this widget with the standard **Waiting for activation** status. No new status was introduced for orders placed outside trading hours.
* It is validated at placement against the price and amount scales and the market minimum amount. The stop price is also checked against the best bid and ask whenever a price is available — while the market is closed there may be no live price to check it against.
* No balance or margin is reserved at placement. The margin check happens when the order triggers.
* It stays Waiting for activation across sessions until it triggers, you cancel it, or it expires under its [Time in force](../knowledge-base/time-in-force). A Stop order placed on Friday evening is still there on Monday, and an unexpected holiday does not cancel it.
* You can view and cancel it while the market is still closed.
When the session opens, the order is evaluated against the first available price. If the market gapped past your stop price while it was closed, the order triggers at the open. For an order placed while no price was available, the first incoming price is used to finalise the order's internal pricing before it can trigger, so activation can take one extra price update. If the margin check fails when the order triggers, the order is cancelled and you receive the failure reason — it is never dropped silently.
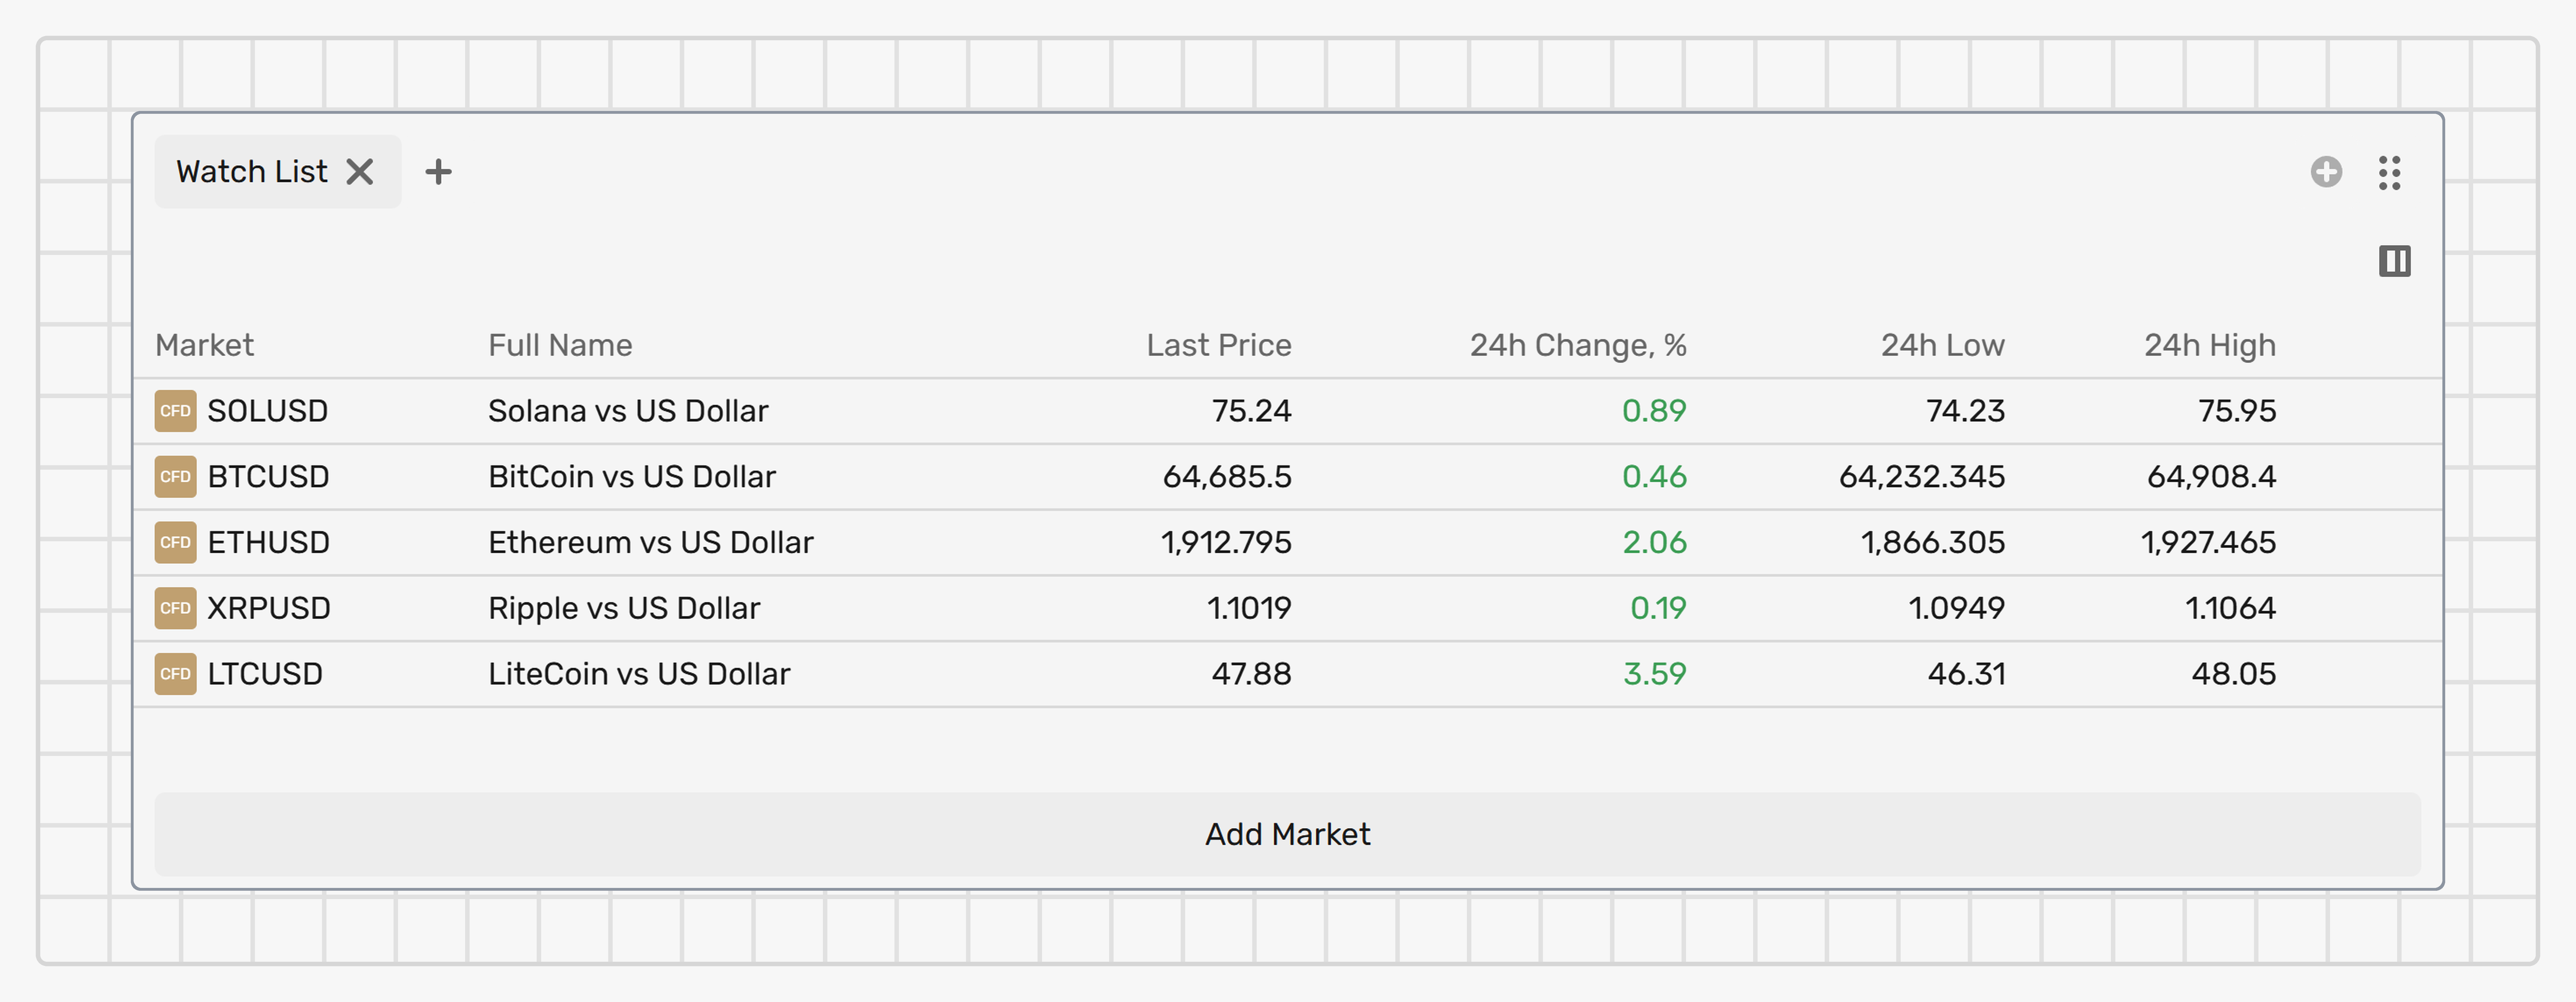 ## Settings [#settings]
### Add/remove instruments [#addremove-instruments]
Click the **Add market** button to select a required market from the list.
Click the **×** button in the instrument row to remove it from the list and stop monitoring.
### Configure columns [#configure-columns]
Click the **Configure columns** button in the widget header to adjust the displayed information:
* **Mark or unmark column checkboxes**: To display or hide them; the column checkboxes highlighted in grey can’t be unmarked.
* **Drag and drop the columns**: To adjust their order in the table.
## Fields [#fields]
The following information is provided about each instrument:
**Market**
The market type (Spot, CFD, or Perpetual) and market ticker.
***
**Full name**
The market full name or description.
***
**Last price**
The price of the last trade.
***
**24h change, %**
The price change over the last 24 hours, in percents.
This value is calculated as ((*Current price* – *Price 24h ago*) / *Current price*) × 100.
This value is green if the price is rising and red if it's falling.
A dash in this field means that there is no *Price 24h ago* data available.
***
**24h low**
The lowest trade price over the last 24 hours.
***
**24h high**
The highest trade price over the last 24 hours.
Welcome to **B2TRANSLATE**, a comprehensive web-based localization tool integrated with B2BROKER products.
This tool enables you to efficiently translate your product's web user interfaces (WebUIs) into multiple languages, ensuring global accessibility for your applications.
B2TRANSLATE organizes translations using a clear hierarchy that makes managing complex localization projects intuitive:
1. **Project types**: Your B2BROKER products.
2. **Projects**: Individual WebUIs within each product, such as test and production websites.
3. **Keys and translations**: Specific UI elements and their localized texts.
Let's explore each component in more detail.
## Project types [#project-types]
**Project types** correspond directly to your purchased B2BROKER products.
They're automatically added to your B2TRANSLATE.
If you have multiple products, all of them can be accessed on a single page for your convenience.
Each product may have one or more WebUIs, for example if you have several instances.
In this case, the project type encompasses different **projects** that represent these WebUIs.
## Settings [#settings]
### Add/remove instruments [#addremove-instruments]
Click the **Add market** button to select a required market from the list.
Click the **×** button in the instrument row to remove it from the list and stop monitoring.
### Configure columns [#configure-columns]
Click the **Configure columns** button in the widget header to adjust the displayed information:
* **Mark or unmark column checkboxes**: To display or hide them; the column checkboxes highlighted in grey can’t be unmarked.
* **Drag and drop the columns**: To adjust their order in the table.
## Fields [#fields]
The following information is provided about each instrument:
**Market**
The market type (Spot, CFD, or Perpetual) and market ticker.
***
**Full name**
The market full name or description.
***
**Last price**
The price of the last trade.
***
**24h change, %**
The price change over the last 24 hours, in percents.
This value is calculated as ((*Current price* – *Price 24h ago*) / *Current price*) × 100.
This value is green if the price is rising and red if it's falling.
A dash in this field means that there is no *Price 24h ago* data available.
***
**24h low**
The lowest trade price over the last 24 hours.
***
**24h high**
The highest trade price over the last 24 hours.
Welcome to **B2TRANSLATE**, a comprehensive web-based localization tool integrated with B2BROKER products.
This tool enables you to efficiently translate your product's web user interfaces (WebUIs) into multiple languages, ensuring global accessibility for your applications.
B2TRANSLATE organizes translations using a clear hierarchy that makes managing complex localization projects intuitive:
1. **Project types**: Your B2BROKER products.
2. **Projects**: Individual WebUIs within each product, such as test and production websites.
3. **Keys and translations**: Specific UI elements and their localized texts.
Let's explore each component in more detail.
## Project types [#project-types]
**Project types** correspond directly to your purchased B2BROKER products.
They're automatically added to your B2TRANSLATE.
If you have multiple products, all of them can be accessed on a single page for your convenience.
Each product may have one or more WebUIs, for example if you have several instances.
In this case, the project type encompasses different **projects** that represent these WebUIs.
 ## Open your account settings [#open-your-account-settings]
To open your account settings, click **Account** (the gear icon) in the sidebar. The **Settings** page opens with two tabs:
* **Personal API tokens** — create and revoke tokens for programmatic API access.
* **Change password** — update the password you use to sign in.
These settings apply to your own account only.
## Change your password [#change-your-password]
## Open your account settings [#open-your-account-settings]
To open your account settings, click **Account** (the gear icon) in the sidebar. The **Settings** page opens with two tabs:
* **Personal API tokens** — create and revoke tokens for programmatic API access.
* **Change password** — update the password you use to sign in.
These settings apply to your own account only.
## Change your password [#change-your-password]
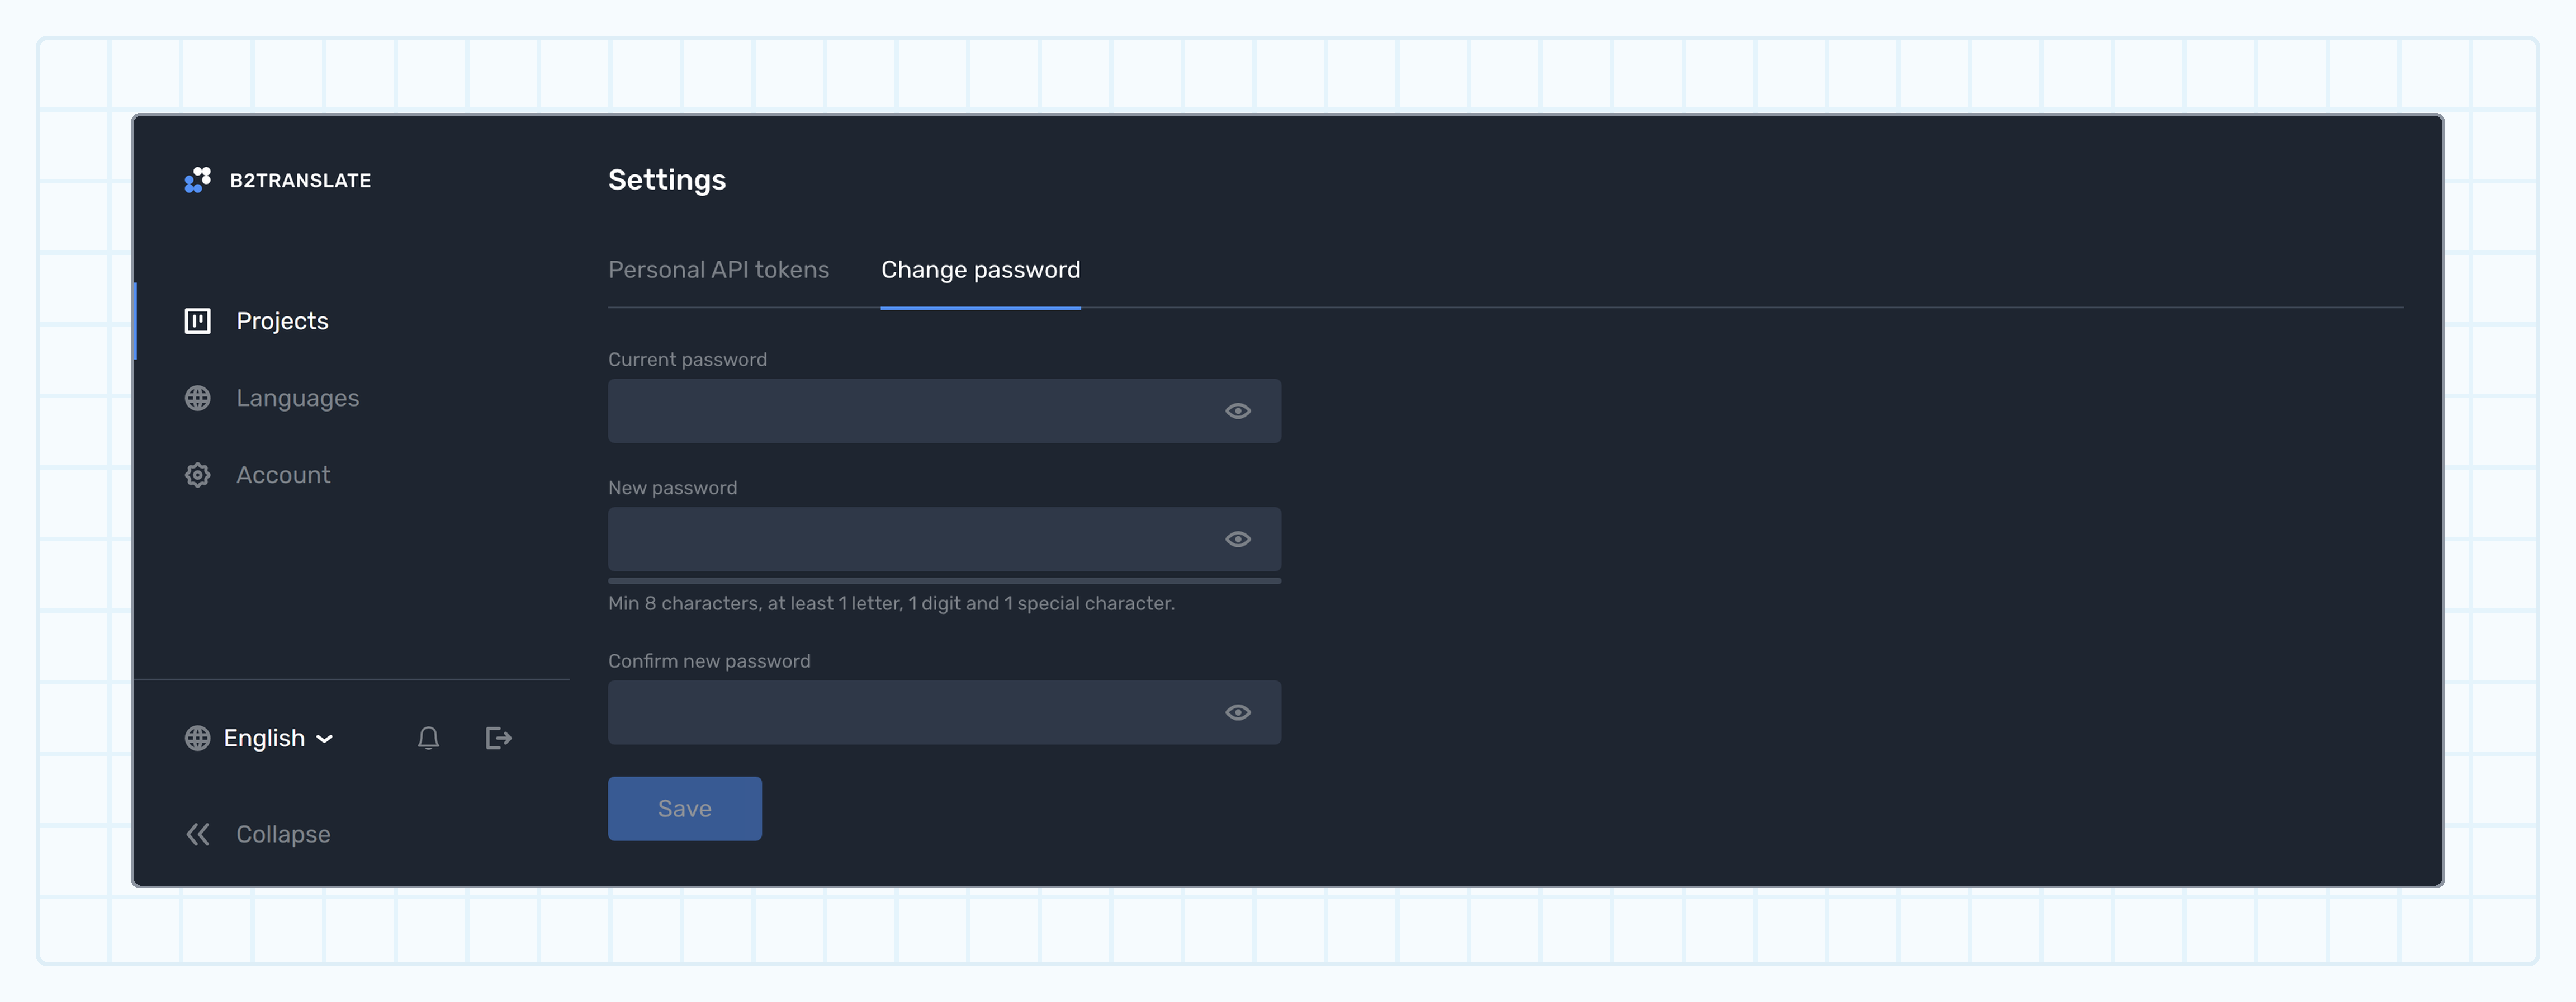 ## Manage personal API tokens [#manage-personal-api-tokens]
Personal API tokens are an authentication method for programmatic access to the B2TRANSLATE API, useful for integrations and automation workflows. A token acts on your behalf, so you don't need to share your sign-in credentials.
## Manage personal API tokens [#manage-personal-api-tokens]
Personal API tokens are an authentication method for programmatic access to the B2TRANSLATE API, useful for integrations and automation workflows. A token acts on your behalf, so you don't need to share your sign-in credentials.
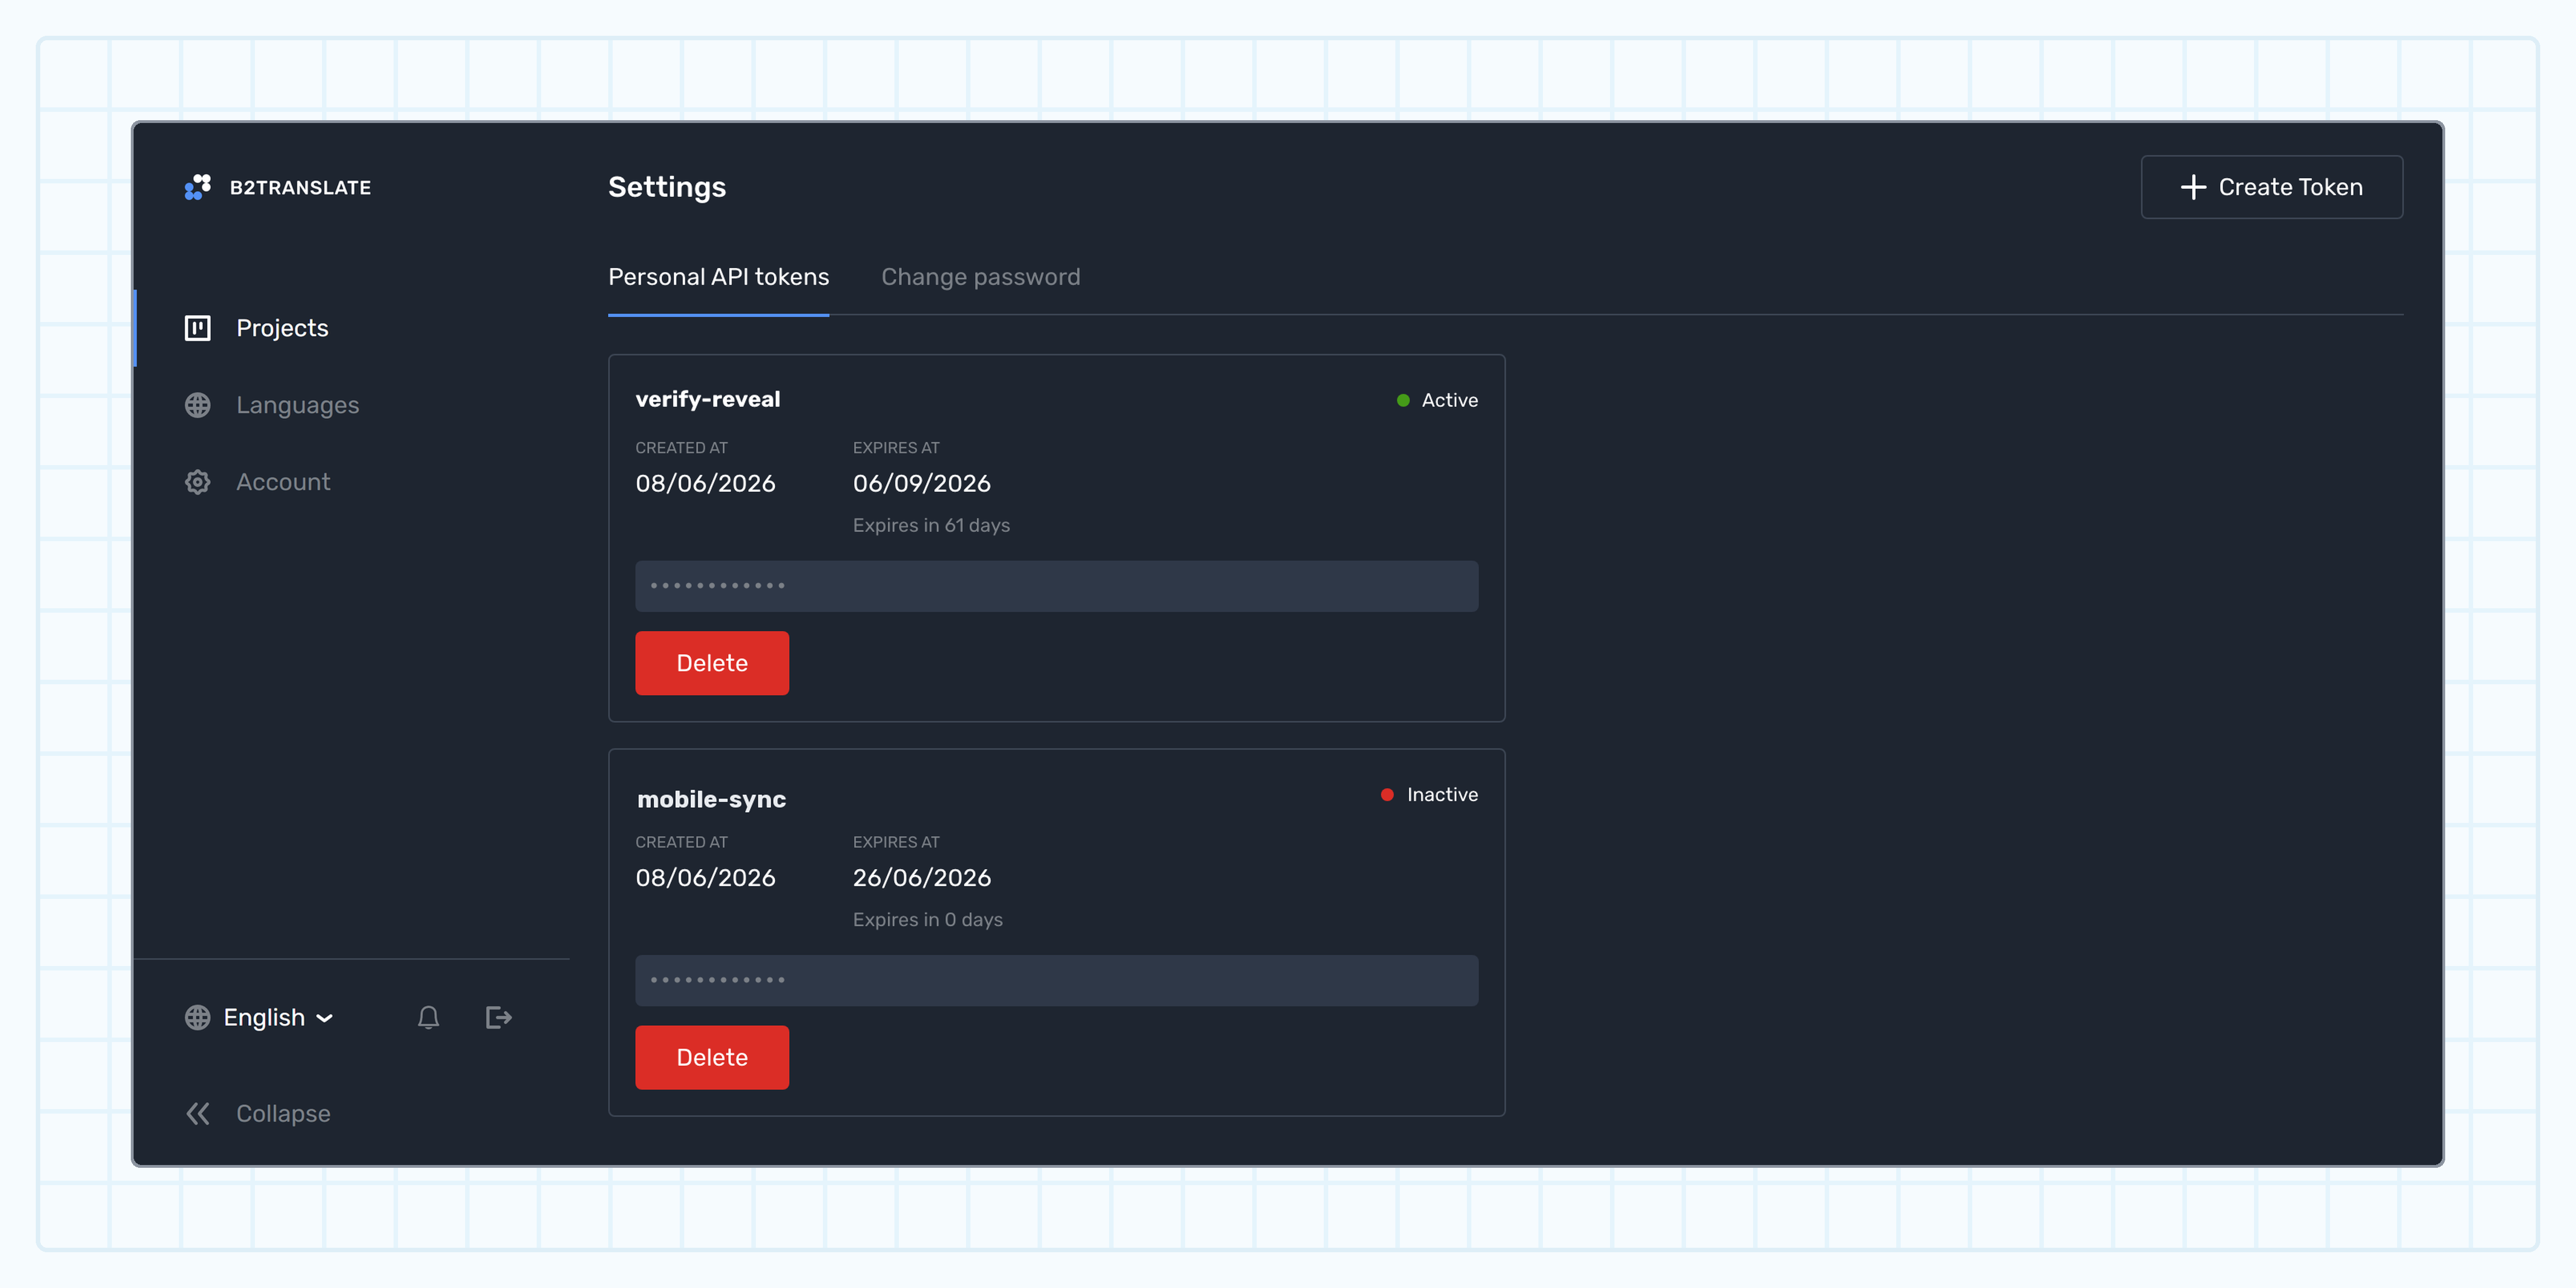 ### Create a token [#create-a-token]
 ### Revoke a token [#revoke-a-token]
To revoke a token you no longer need, find it in the list on the **Personal API tokens** tab and click **Delete**. Any integration that uses the token stops working immediately.
## View your notifications [#view-your-notifications]
B2TRANSLATE keeps you informed about background events — such as a finished AI translation, a ready export, or a completed import — through the notification bell at the bottom of the sidebar.
* A red badge on the bell shows the number of unread notifications.
* To see your most recent notifications, click the bell.
* Mark a notification as read to clear it, or click **Mark all as read** to clear them all at once.
* When you have more than five notifications, click **All notifications** to open the full history.
### Revoke a token [#revoke-a-token]
To revoke a token you no longer need, find it in the list on the **Personal API tokens** tab and click **Delete**. Any integration that uses the token stops working immediately.
## View your notifications [#view-your-notifications]
B2TRANSLATE keeps you informed about background events — such as a finished AI translation, a ready export, or a completed import — through the notification bell at the bottom of the sidebar.
* A red badge on the bell shows the number of unread notifications.
* To see your most recent notifications, click the bell.
* Mark a notification as read to clear it, or click **Mark all as read** to clear them all at once.
* When you have more than five notifications, click **All notifications** to open the full history.
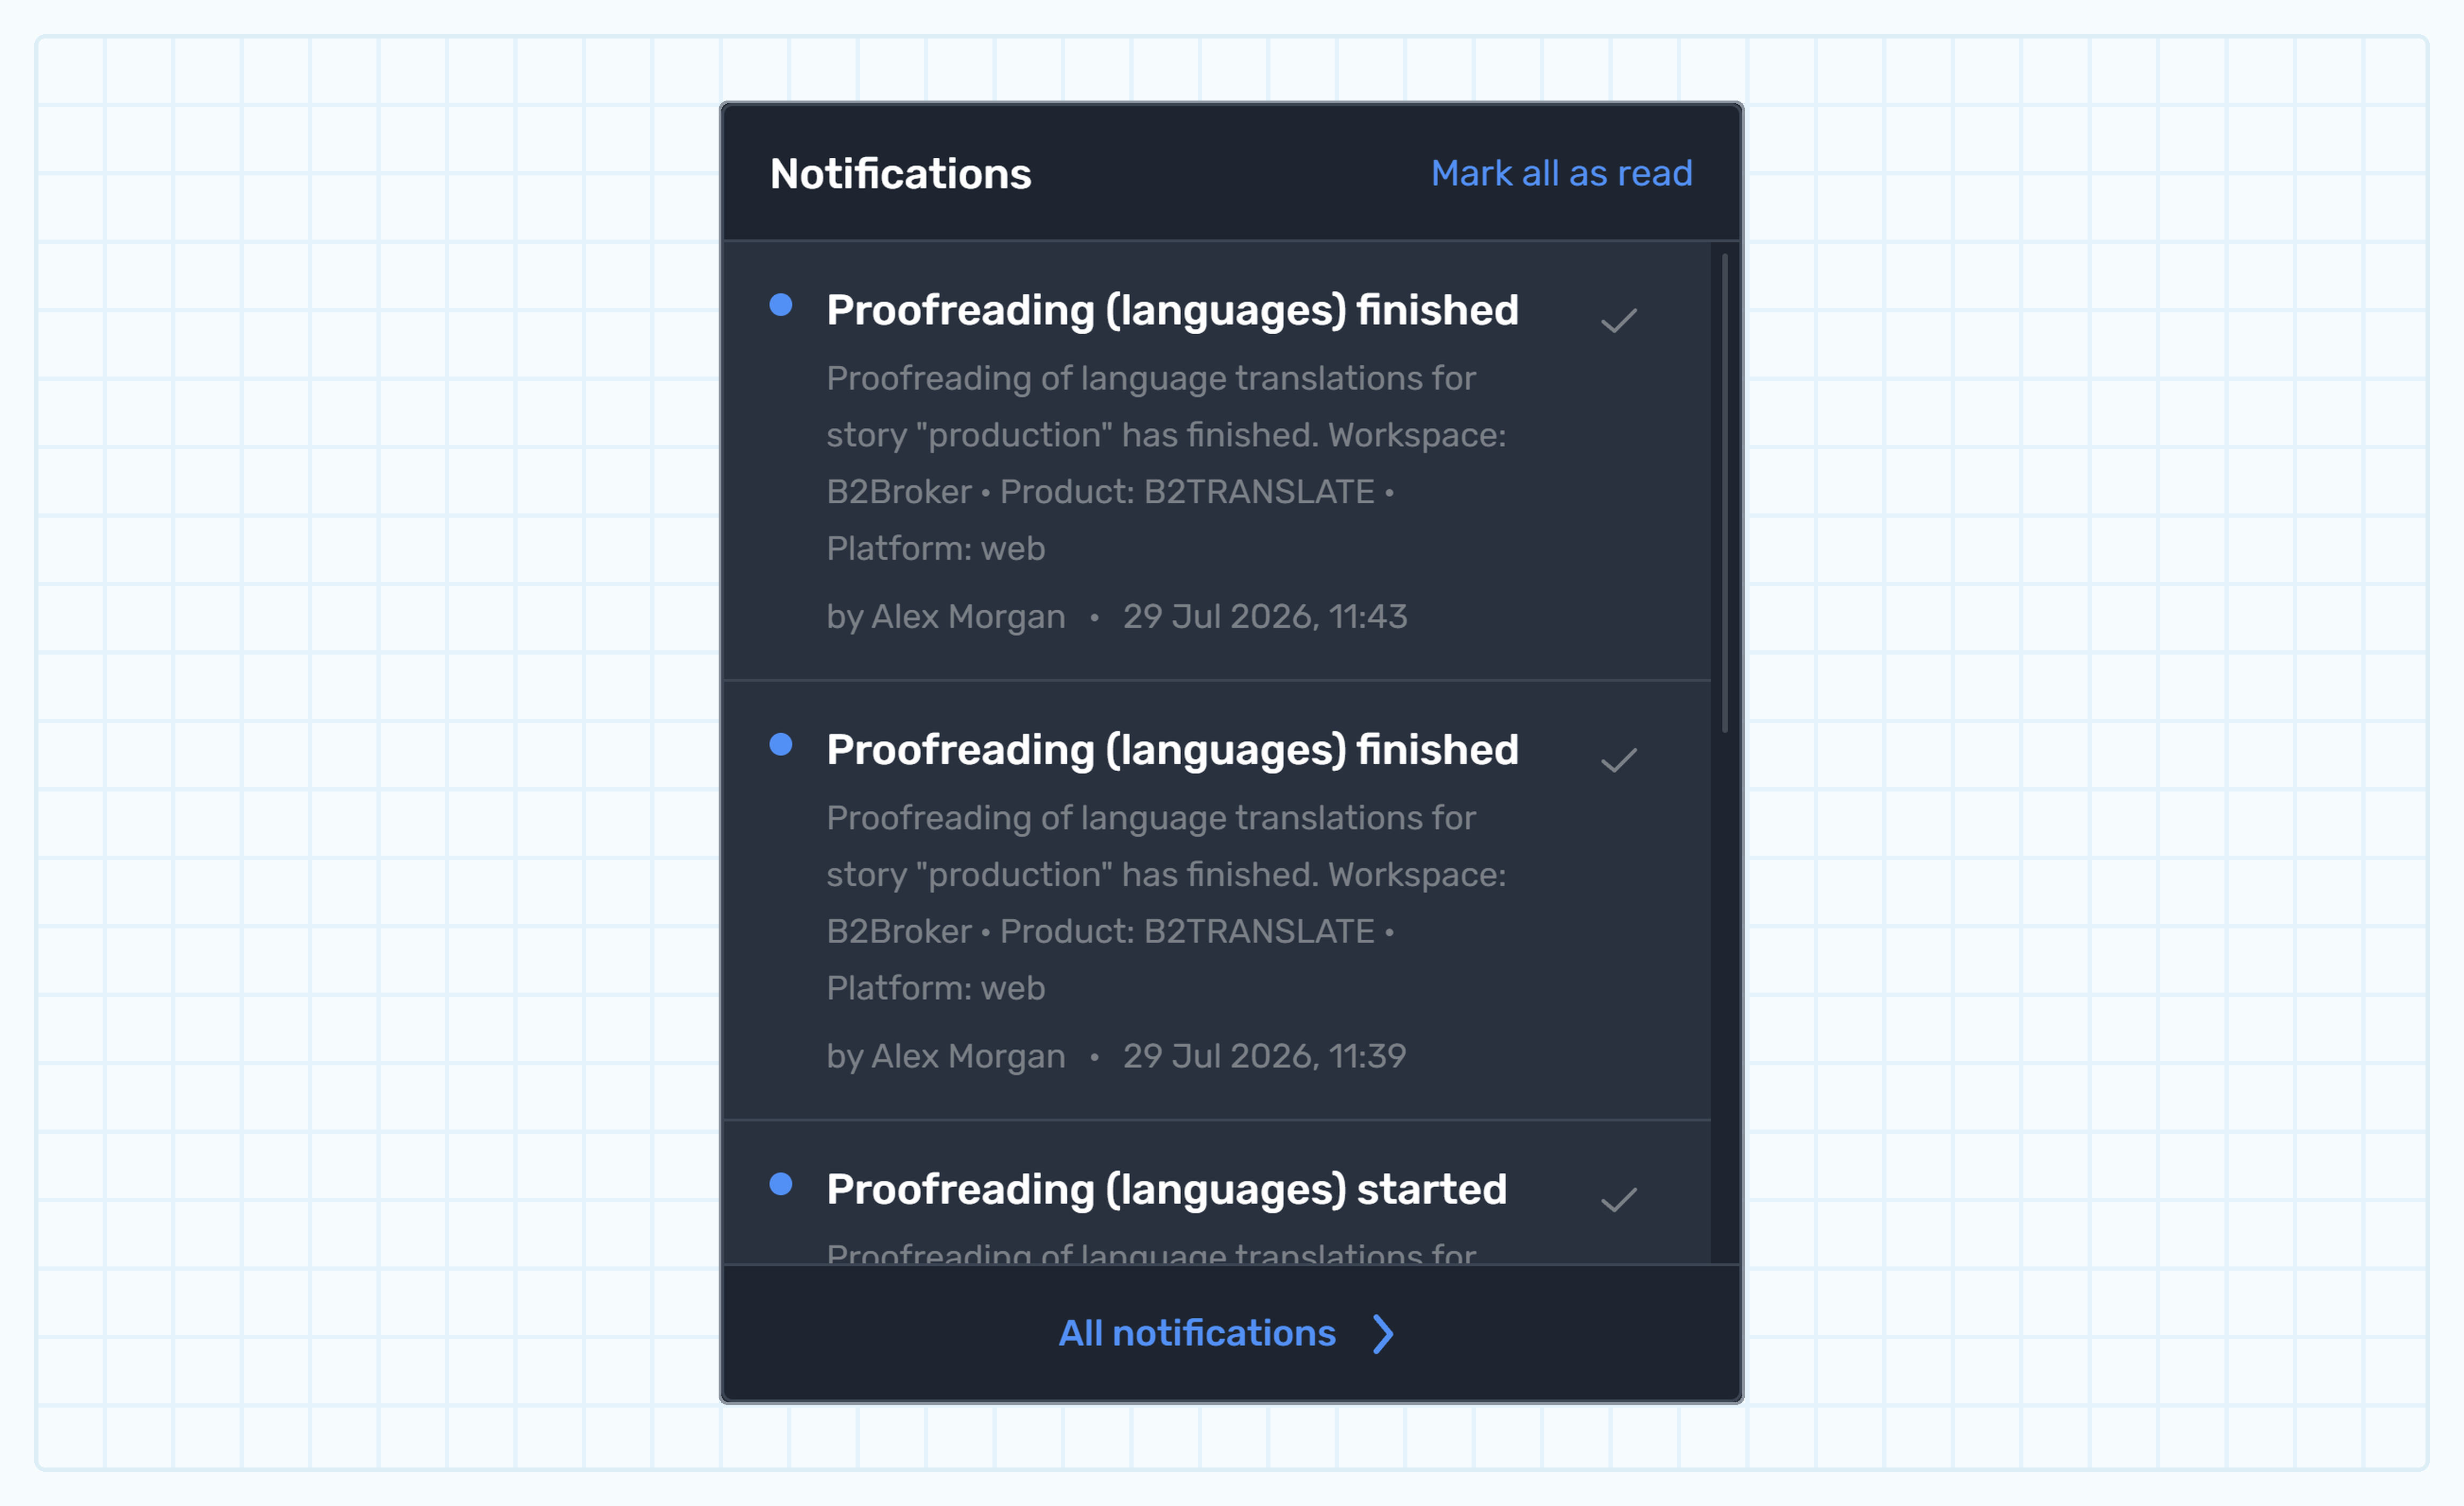 ## Change the interface language [#change-the-interface-language]
B2TRANSLATE is available in multiple languages. To change the language of the interface, click the language selector (the globe icon) at the bottom-left of the sidebar, and then select a language from the list. Your choice is saved for the next time you sign in.
## Sign out [#sign-out]
To sign out, click the log-out icon at the bottom of the sidebar. B2TRANSLATE ends your session and returns you to the **Sign in** page.
The credentials for signing in to B2TRANSLATE are sent to you after setting up the product you have purchased.
To access your B2TRANSLATE account, go to the **Sign in** page, enter your email and password, and click **Sign in**.
If you forgot your password, click the **Forgot password?** link and follow the instructions.
**Two-factor authentication (2FA)**
For security purposes, 2FA using codes generated by an authenticator app is obligatory for all B2TRANSLATE accounts.
* If 2FA is enabled for your B2TRANSLATE account, complete the sign-in process by entering a 2FA code from an app, such as **Google Authenticator** or **Twilio Authy**.
* If 2FA hasn't yet been enabled for your account, you'll be prompted to set it up during sign-in. Follow the on-screen instructions to install an authenticator app on your phone and set it up to generate 2FA codes for B2TRANSLATE.
To filter keys, while on the **Translations** page, click the **Filters** button in the upper-right page corner.
## Change the interface language [#change-the-interface-language]
B2TRANSLATE is available in multiple languages. To change the language of the interface, click the language selector (the globe icon) at the bottom-left of the sidebar, and then select a language from the list. Your choice is saved for the next time you sign in.
## Sign out [#sign-out]
To sign out, click the log-out icon at the bottom of the sidebar. B2TRANSLATE ends your session and returns you to the **Sign in** page.
The credentials for signing in to B2TRANSLATE are sent to you after setting up the product you have purchased.
To access your B2TRANSLATE account, go to the **Sign in** page, enter your email and password, and click **Sign in**.
If you forgot your password, click the **Forgot password?** link and follow the instructions.
**Two-factor authentication (2FA)**
For security purposes, 2FA using codes generated by an authenticator app is obligatory for all B2TRANSLATE accounts.
* If 2FA is enabled for your B2TRANSLATE account, complete the sign-in process by entering a 2FA code from an app, such as **Google Authenticator** or **Twilio Authy**.
* If 2FA hasn't yet been enabled for your account, you'll be prompted to set it up during sign-in. Follow the on-screen instructions to install an authenticator app on your phone and set it up to generate 2FA codes for B2TRANSLATE.
To filter keys, while on the **Translations** page, click the **Filters** button in the upper-right page corner.
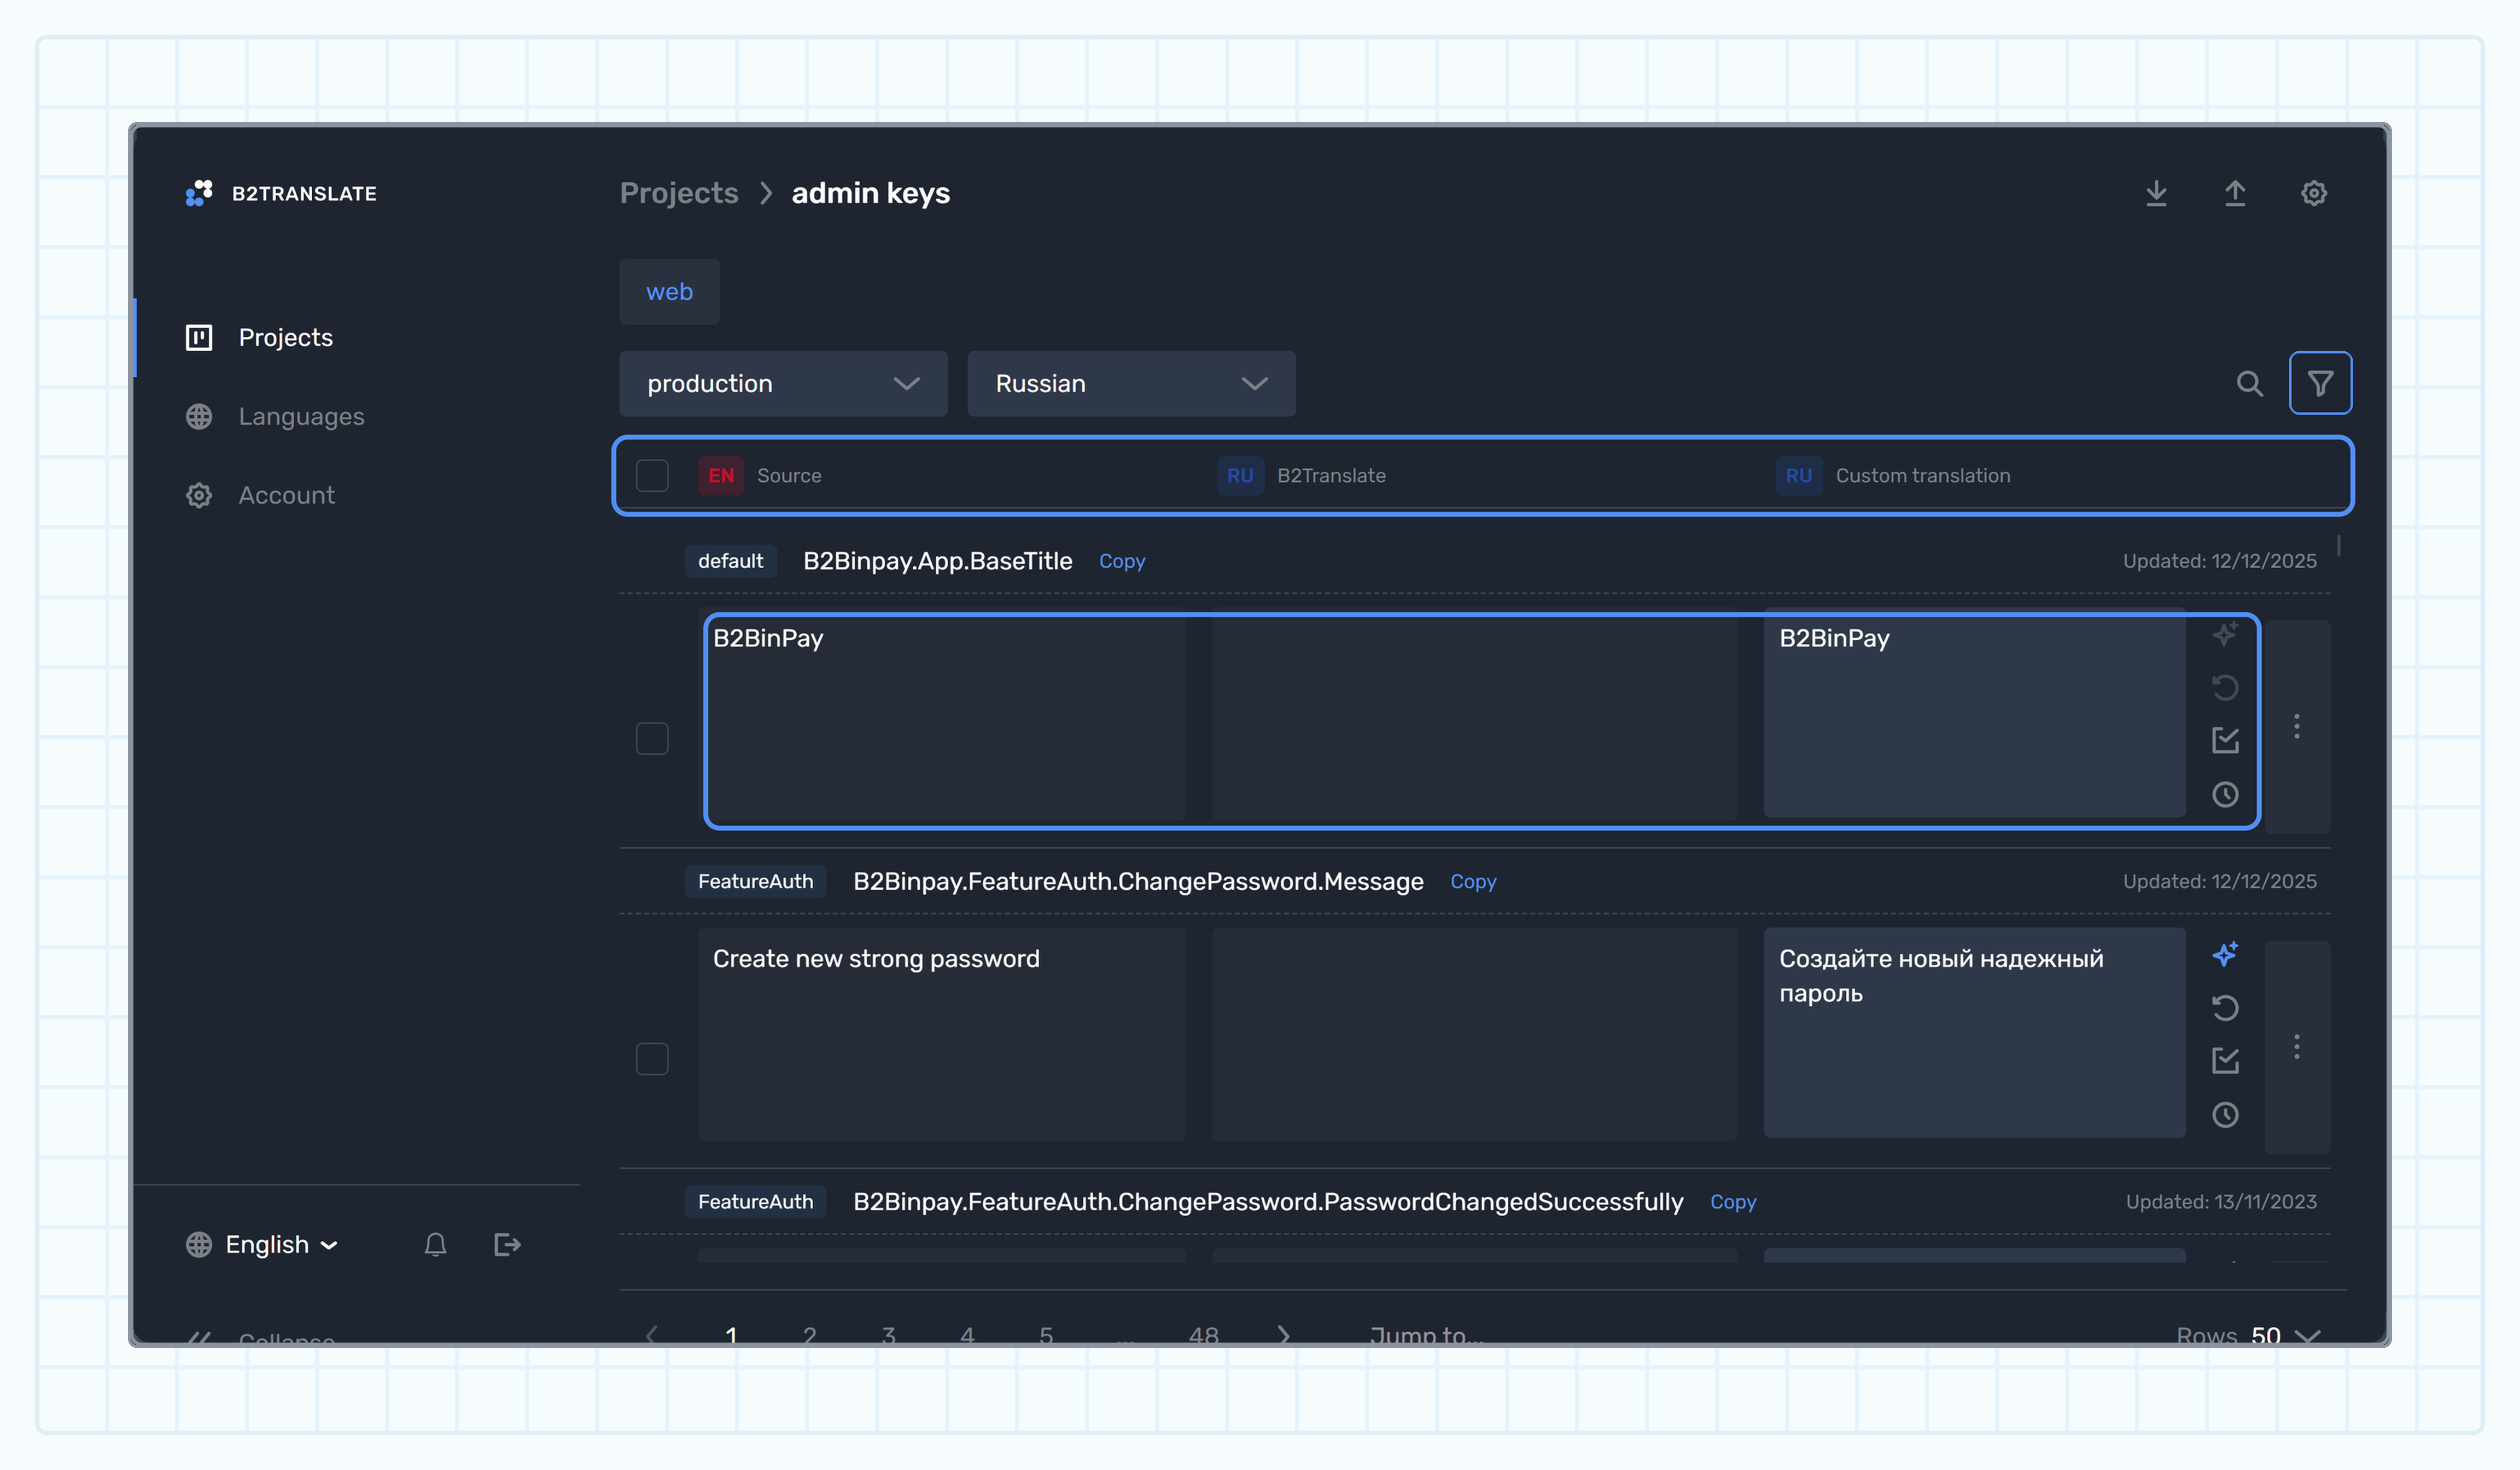 You can filter keys by the following parameters:
**Filter by**
Select one of the following:
* **Empty keys**: To filter keys for which empty translations are saved. For such keys, an empty string is displayed in the WebUI.
* **No translation**: To filter keys with no custom translations. For such keys, a default translation is displayed in the WebUI.
* **New keys in the last 2 weeks**: To filter keys that have been added within the previous 2 weeks.
* **New keys in the last 4 weeks**: To filter keys that have been added within the previous 4 weeks.
***
**Created between**
Pick up a date range to filter keys added during it.
***
**Updated between**
Pick up a date range to filter keys modified during it.
***
**Category**
Select a category to filter keys included in it.
***
**Key**
Enter a key identifier or a keyword to filter keys with matching identifiers.
***
**Source**
Enter a translation or a keyword to filter keys with the matching default English translations.
***
**Custom translation**
Enter a translation or a keyword to filter keys with matching custom translations.
***
Click **Apply** to filter keys.
To reset filters, click **Clear all**.
You can filter keys by the following parameters:
**Filter by**
Select one of the following:
* **Empty keys**: To filter keys for which empty translations are saved. For such keys, an empty string is displayed in the WebUI.
* **No translation**: To filter keys with no custom translations. For such keys, a default translation is displayed in the WebUI.
* **New keys in the last 2 weeks**: To filter keys that have been added within the previous 2 weeks.
* **New keys in the last 4 weeks**: To filter keys that have been added within the previous 4 weeks.
***
**Created between**
Pick up a date range to filter keys added during it.
***
**Updated between**
Pick up a date range to filter keys modified during it.
***
**Category**
Select a category to filter keys included in it.
***
**Key**
Enter a key identifier or a keyword to filter keys with matching identifiers.
***
**Source**
Enter a translation or a keyword to filter keys with the matching default English translations.
***
**Custom translation**
Enter a translation or a keyword to filter keys with matching custom translations.
***
Click **Apply** to filter keys.
To reset filters, click **Clear all**.
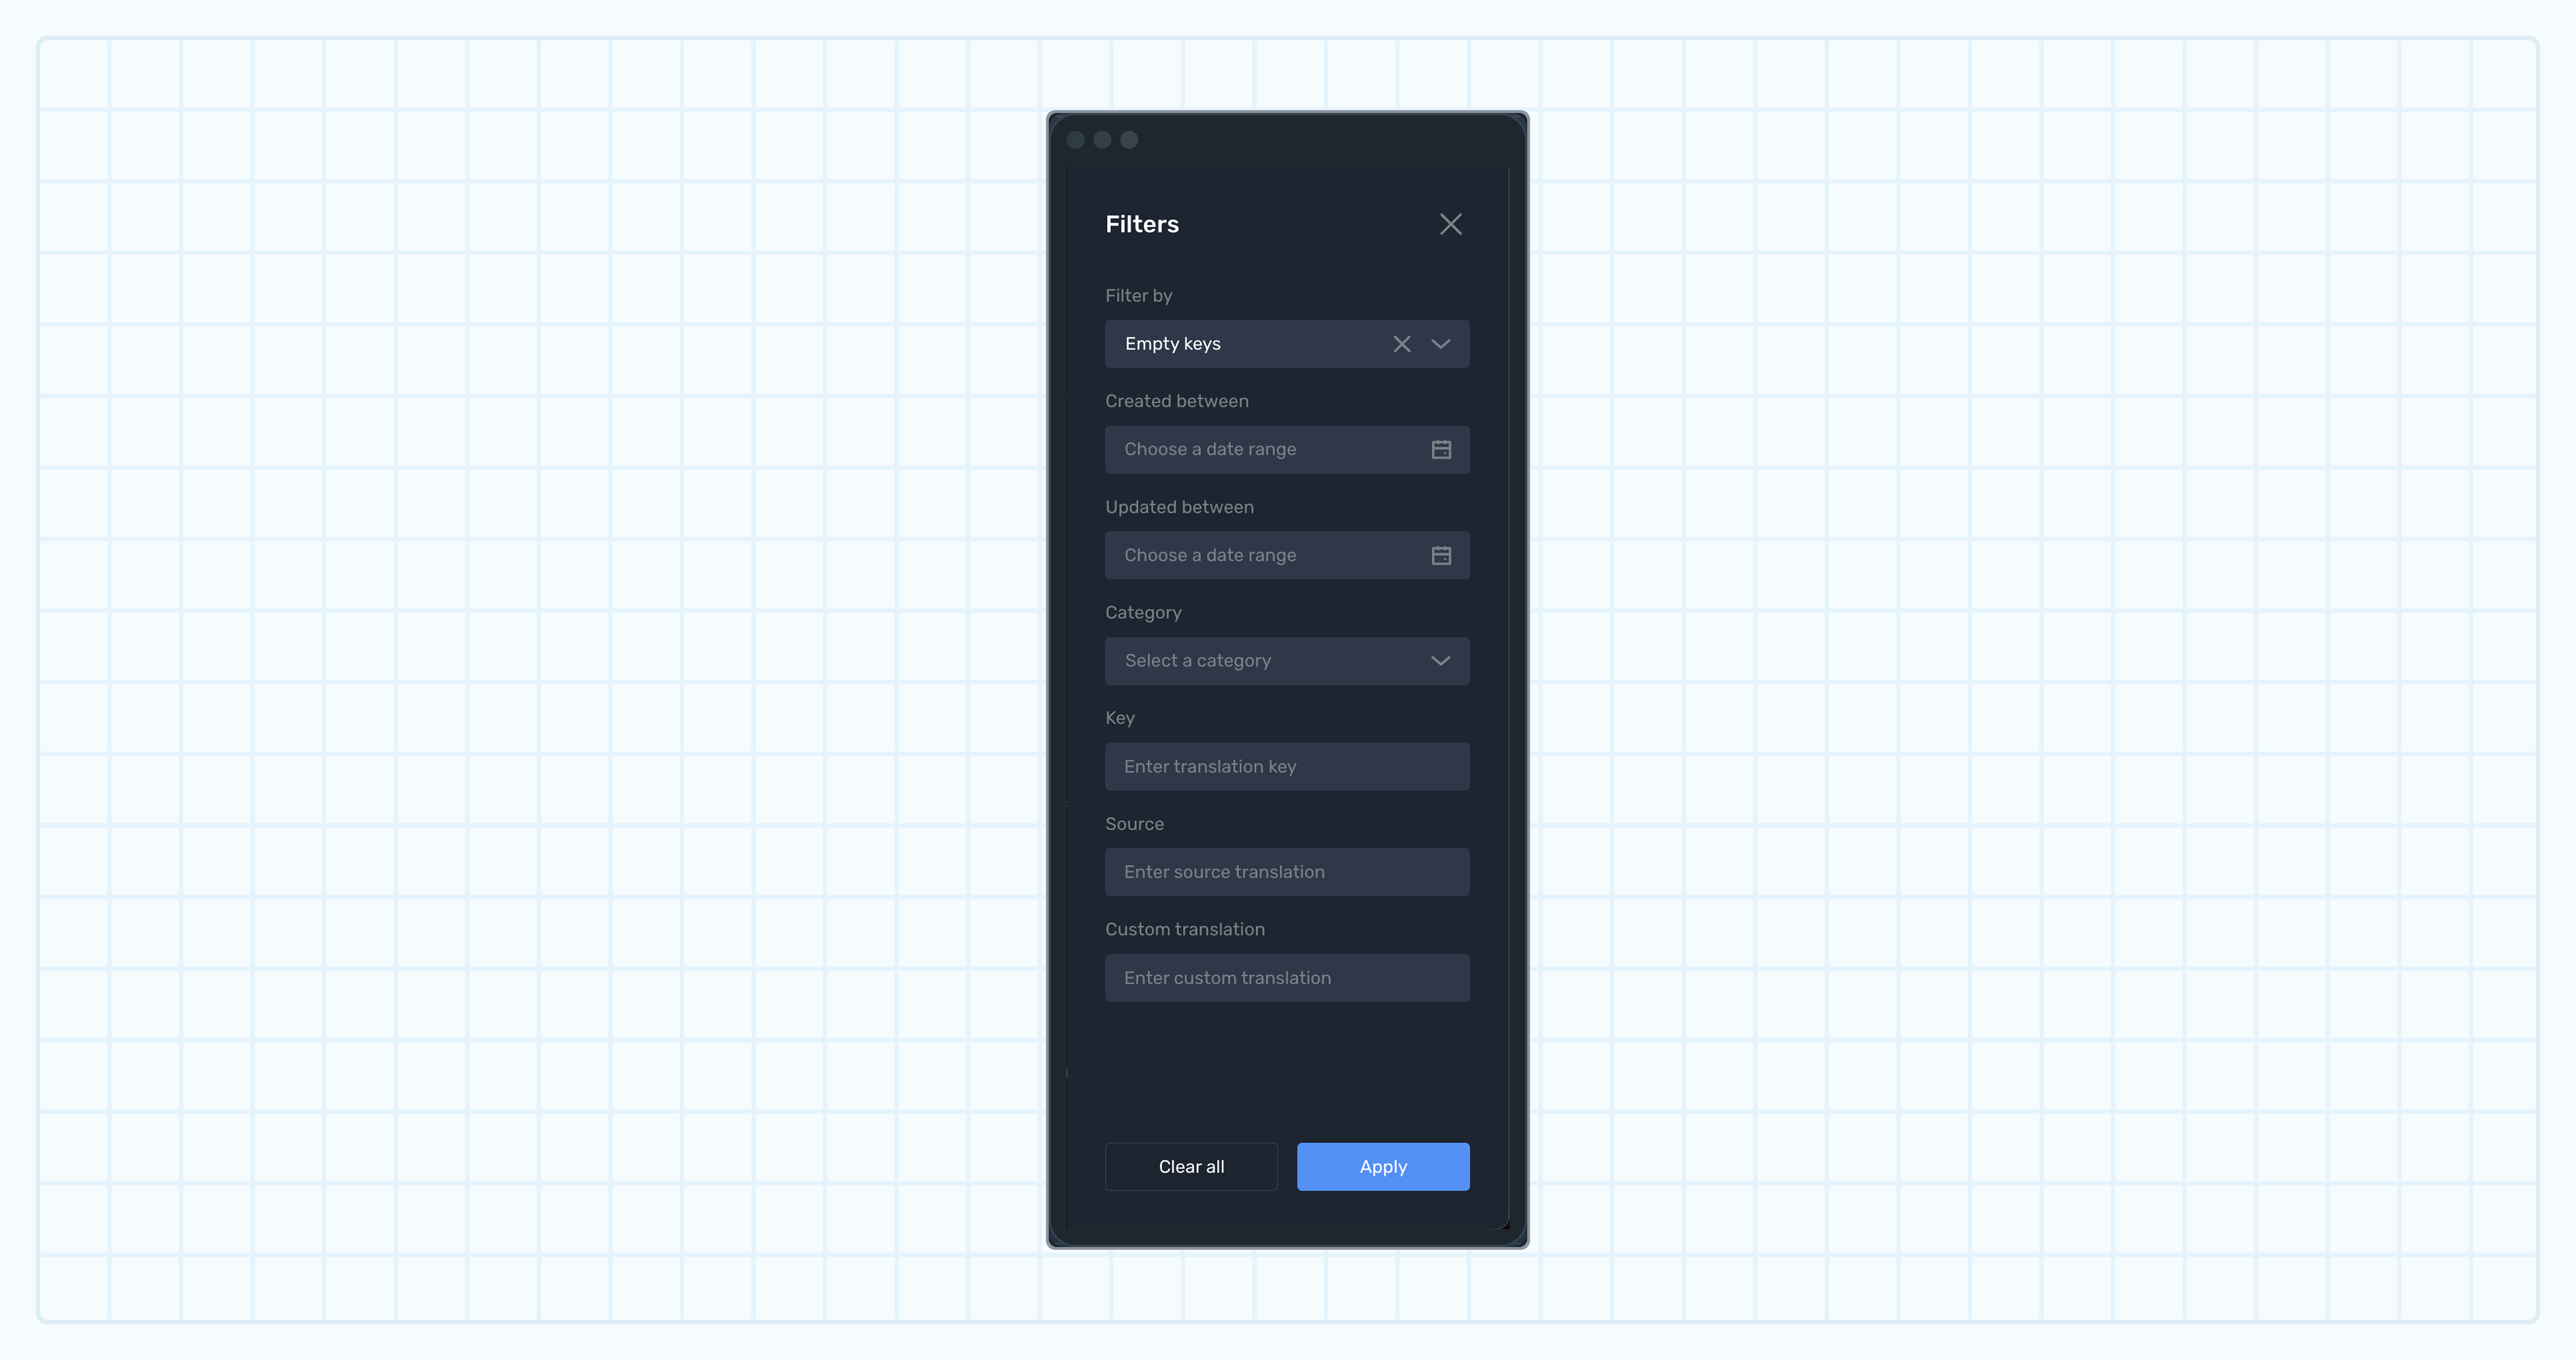 On this page, you can view a list of languages available for your projects.
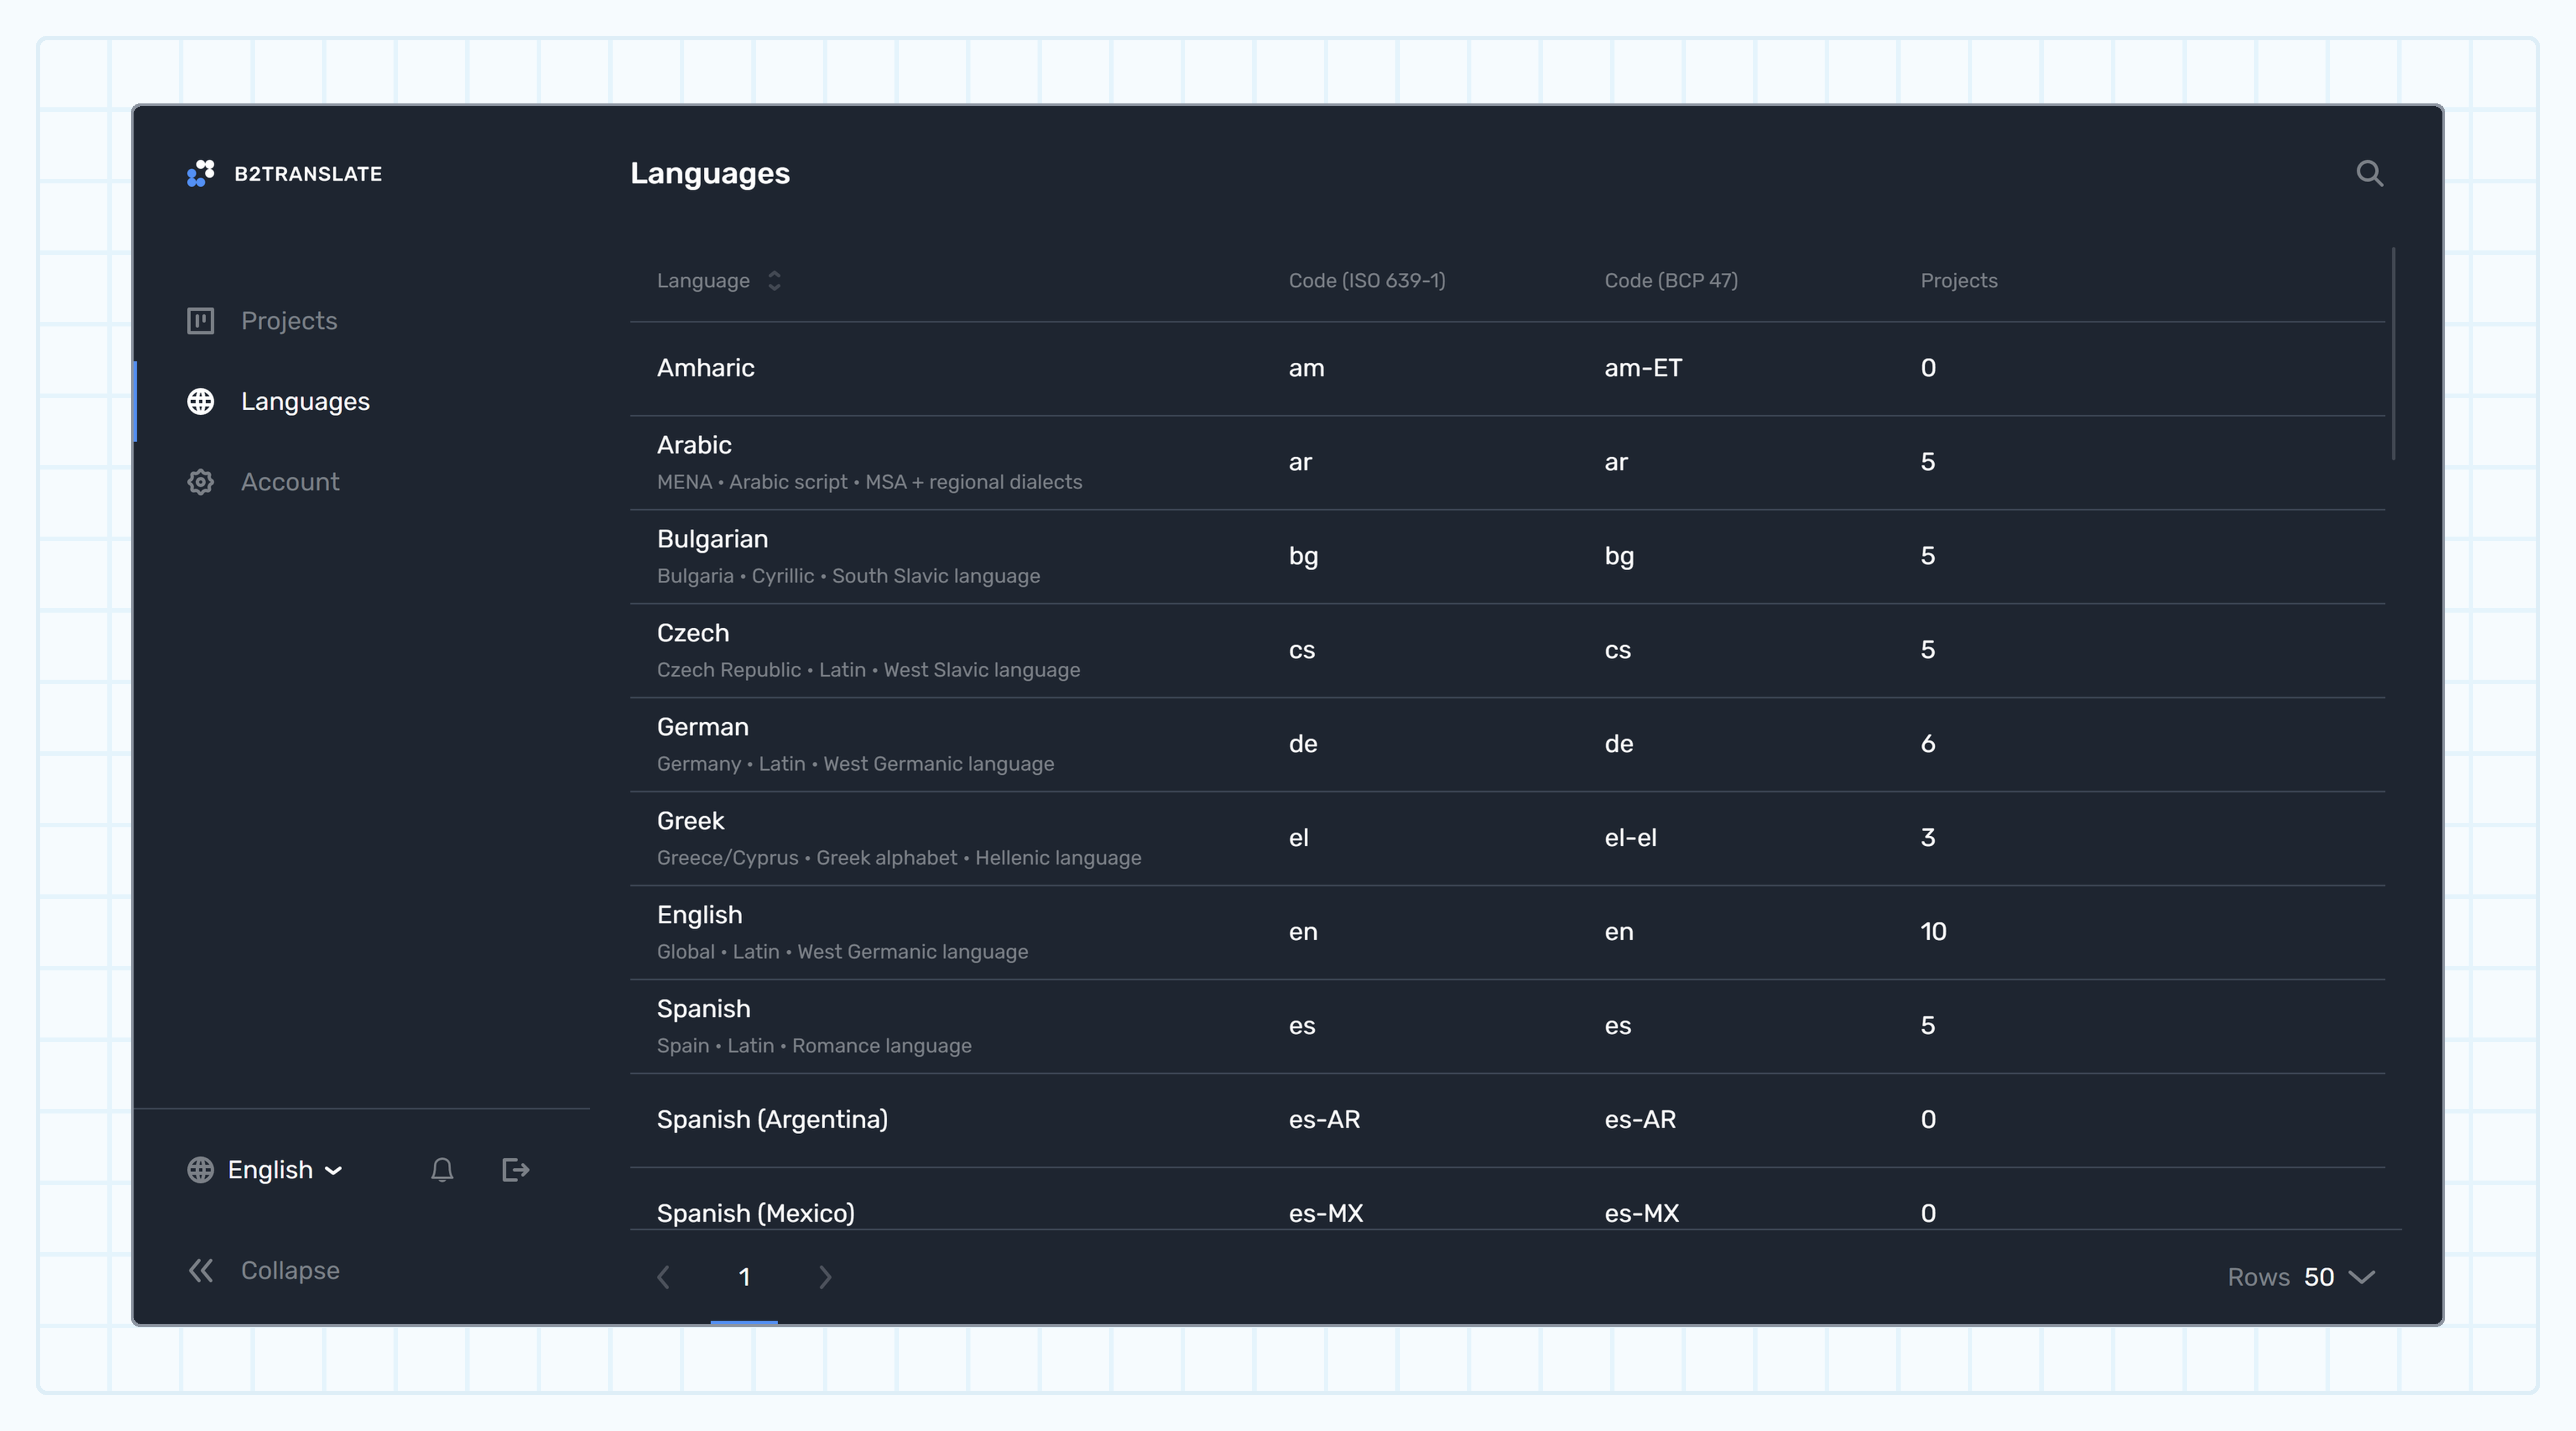 View the following information about each language:
**Language**
The name of a language.
***
**Code**
The two-letter code of a language, as per ISO 639-1.
***
**Projects**
The number of projects where the language is added and used.
## Project list [#project-list]
On this page, you can view a list of your projects.
Projects are grouped under project types, that are displayed as tabs above the project list.
View the following information about each language:
**Language**
The name of a language.
***
**Code**
The two-letter code of a language, as per ISO 639-1.
***
**Projects**
The number of projects where the language is added and used.
## Project list [#project-list]
On this page, you can view a list of your projects.
Projects are grouped under project types, that are displayed as tabs above the project list.
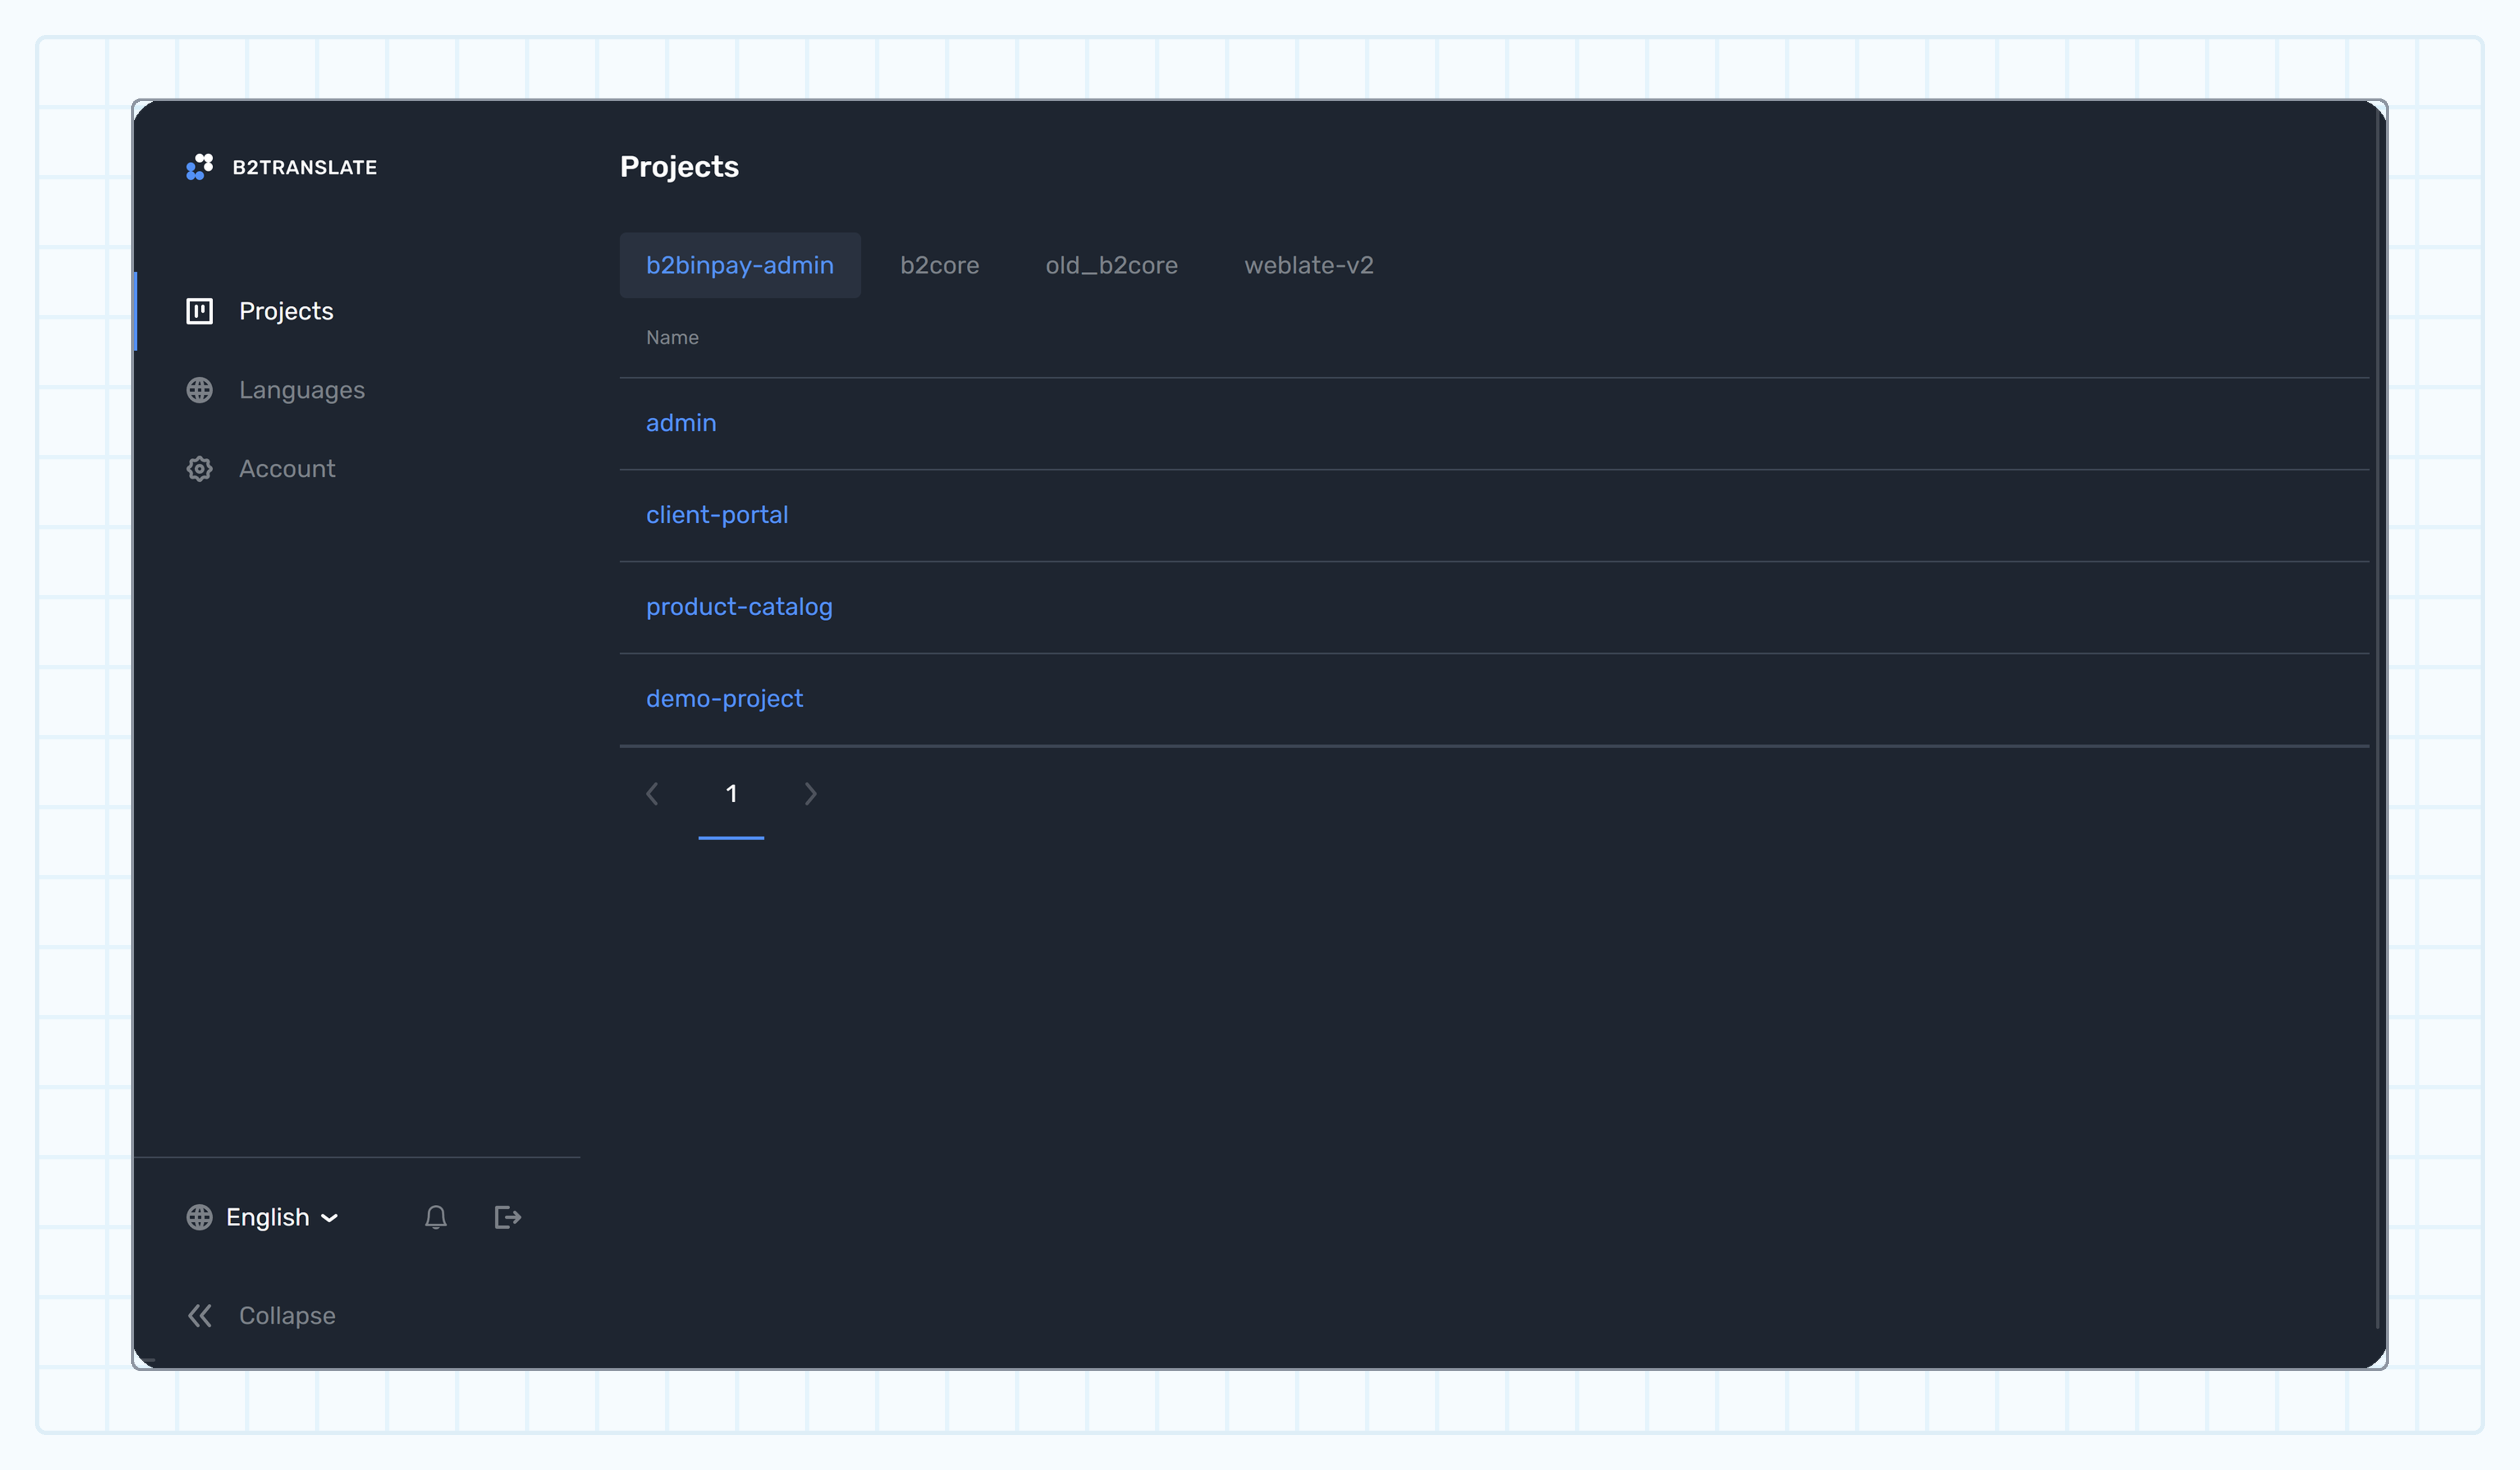 The following information is provided about each project:
**Name**
The project name.
Click it to navigate to the list of project categories.
***
**Languages**
The number of languages available for a project.
***
**All keys**
The total number of keys in a project, both translated and untranslated.
***
**UUID**
The system identifier of a project, in the UUID format.
***
**Actions**
Click the **three dots** in a project row to access [Download and upload translations](manage-translations/download-and-upload-translations) functionality.
## Translations [#translations]
To open the translation view for a project, click its name in the project list.
The following information is provided about each project:
**Name**
The project name.
Click it to navigate to the list of project categories.
***
**Languages**
The number of languages available for a project.
***
**All keys**
The total number of keys in a project, both translated and untranslated.
***
**UUID**
The system identifier of a project, in the UUID format.
***
**Actions**
Click the **three dots** in a project row to access [Download and upload translations](manage-translations/download-and-upload-translations) functionality.
## Translations [#translations]
To open the translation view for a project, click its name in the project list.
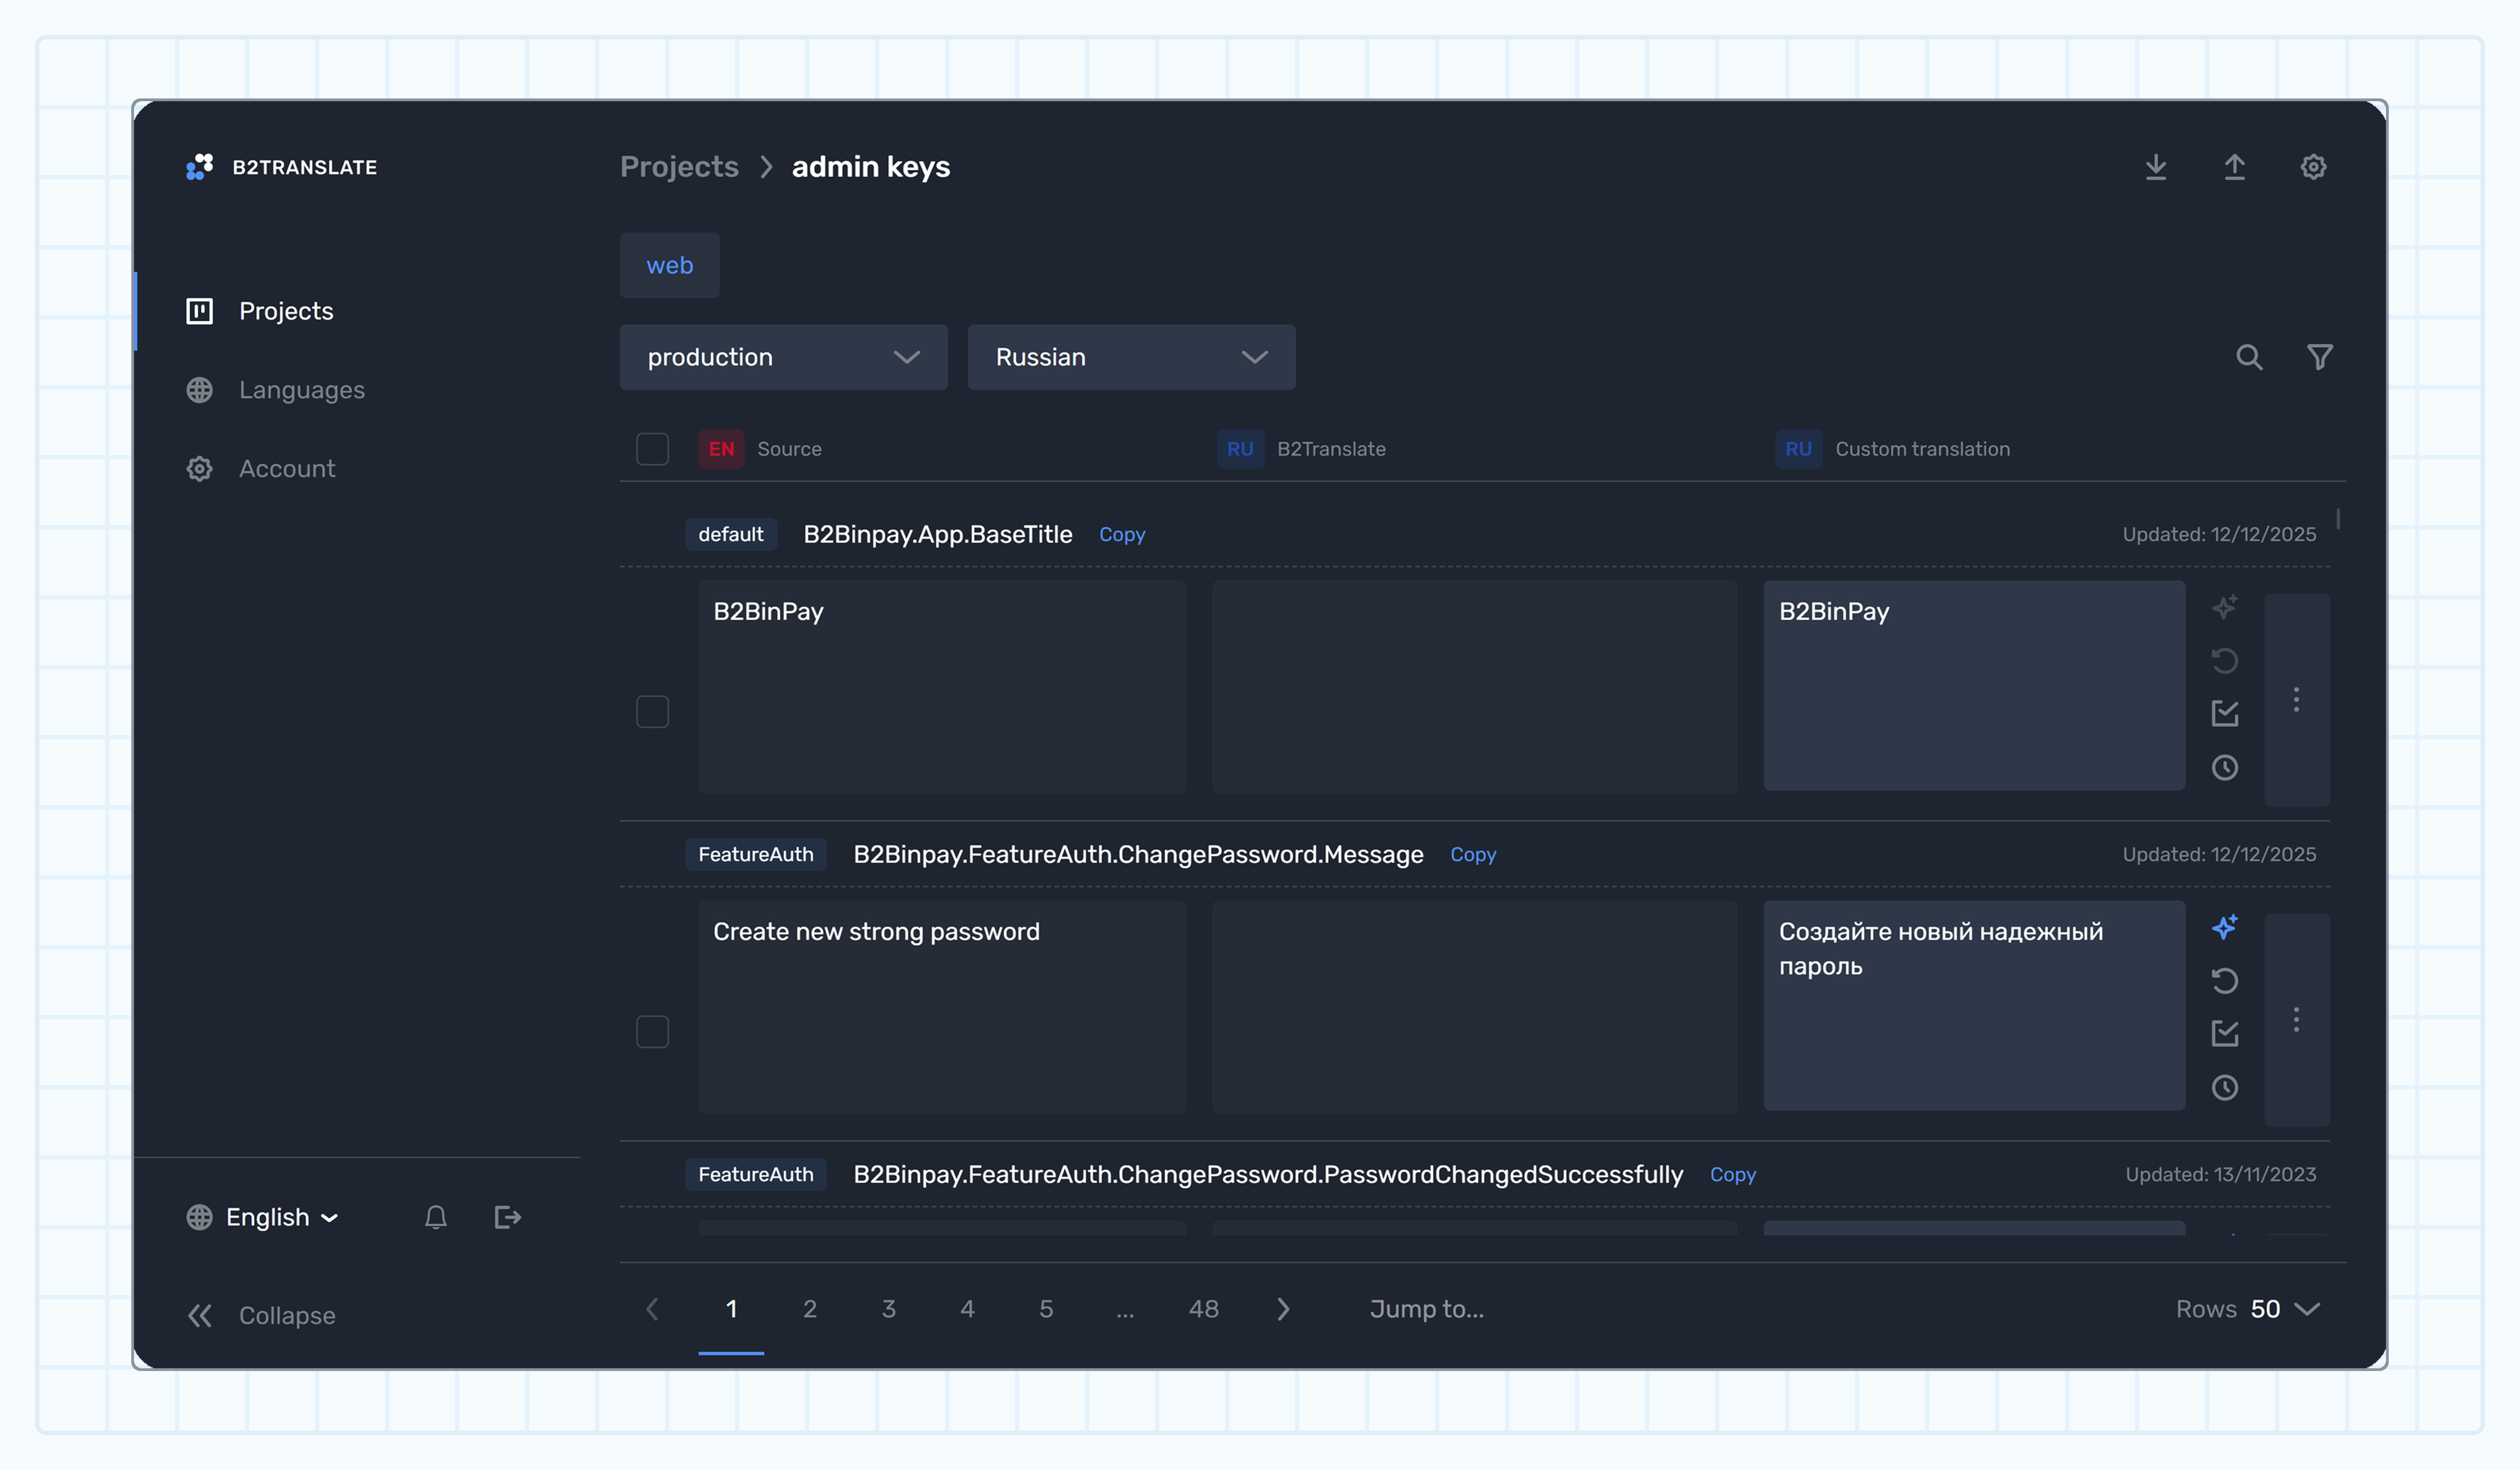 ### Available controls [#available-controls]
Above the table, you can find:
* The **environment** dropdown: For the *Customer* role, only `production` is available.
* The **language** dropdown: Use it to quickly switch between languages available for you project.
* The **quick search** field: Click the **magnifying glass icon** to search keys by identifier or translations.
* The **Filters** button: Click it to open filter panel. For more details, refer to [Filter keys](filter-keys).
### Available controls [#available-controls]
Above the table, you can find:
* The **environment** dropdown: For the *Customer* role, only `production` is available.
* The **language** dropdown: Use it to quickly switch between languages available for you project.
* The **quick search** field: Click the **magnifying glass icon** to search keys by identifier or translations.
* The **Filters** button: Click it to open filter panel. For more details, refer to [Filter keys](filter-keys).
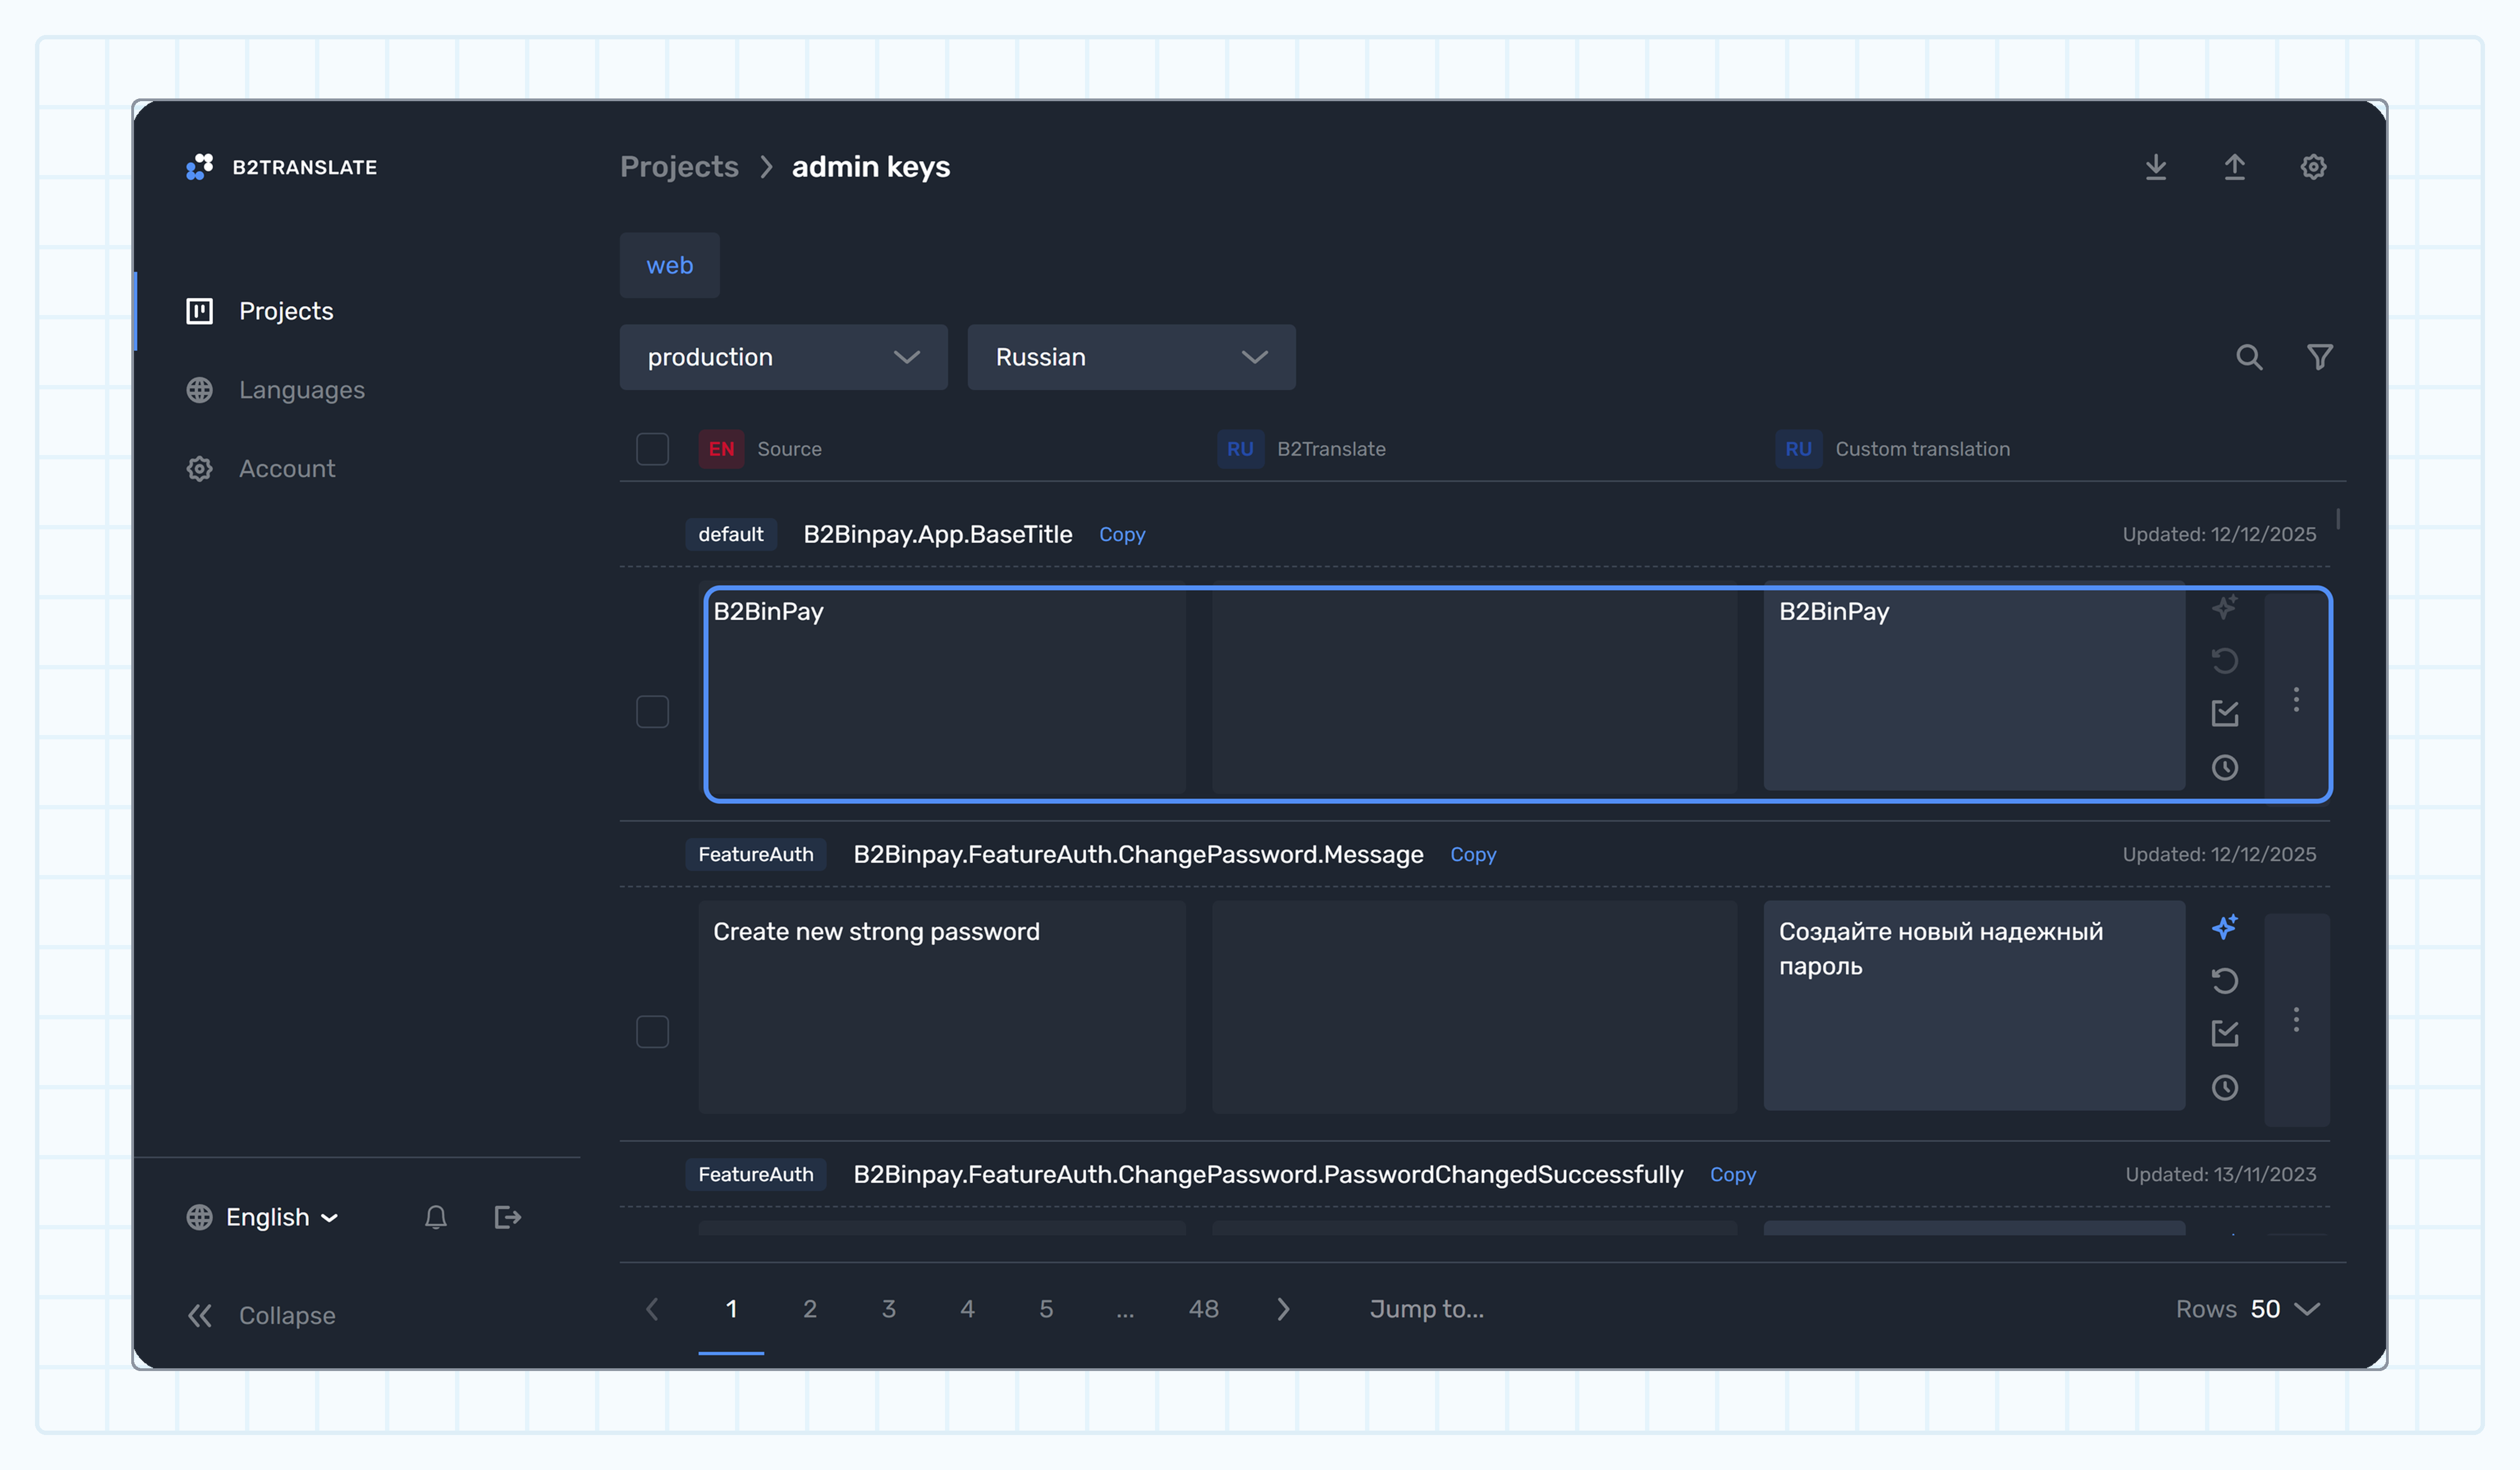 ***
**Translations**
* **Source**: The pre-defined translation to English. This column is read‑only and helps you understand the meaning and context of the key.
* **B2TRANSLATE**: The pre-defined translation to a selected language, if distinct from English. This column is read-only.
* **Custom translation**: The custom translation to a selected language. This field is initially empty and editable at any time. For keys containing plural forms, this value displays [the Other form](manage-translations/handle-plural-forms#the-other-form).
Each column displays a badge with the corresponding language code.
Refer to [Display logic in WebUI](../get-started/introduction-to-b2translate#display-logic-in-webui) to understand the translation priorities.
For step-by-step instructions on managing translations, refer to the [Manage translations](manage-translations) section of this guide.
***
**Translations**
* **Source**: The pre-defined translation to English. This column is read‑only and helps you understand the meaning and context of the key.
* **B2TRANSLATE**: The pre-defined translation to a selected language, if distinct from English. This column is read-only.
* **Custom translation**: The custom translation to a selected language. This field is initially empty and editable at any time. For keys containing plural forms, this value displays [the Other form](manage-translations/handle-plural-forms#the-other-form).
Each column displays a badge with the corresponding language code.
Refer to [Display logic in WebUI](../get-started/introduction-to-b2translate#display-logic-in-webui) to understand the translation priorities.
For step-by-step instructions on managing translations, refer to the [Manage translations](manage-translations) section of this guide.
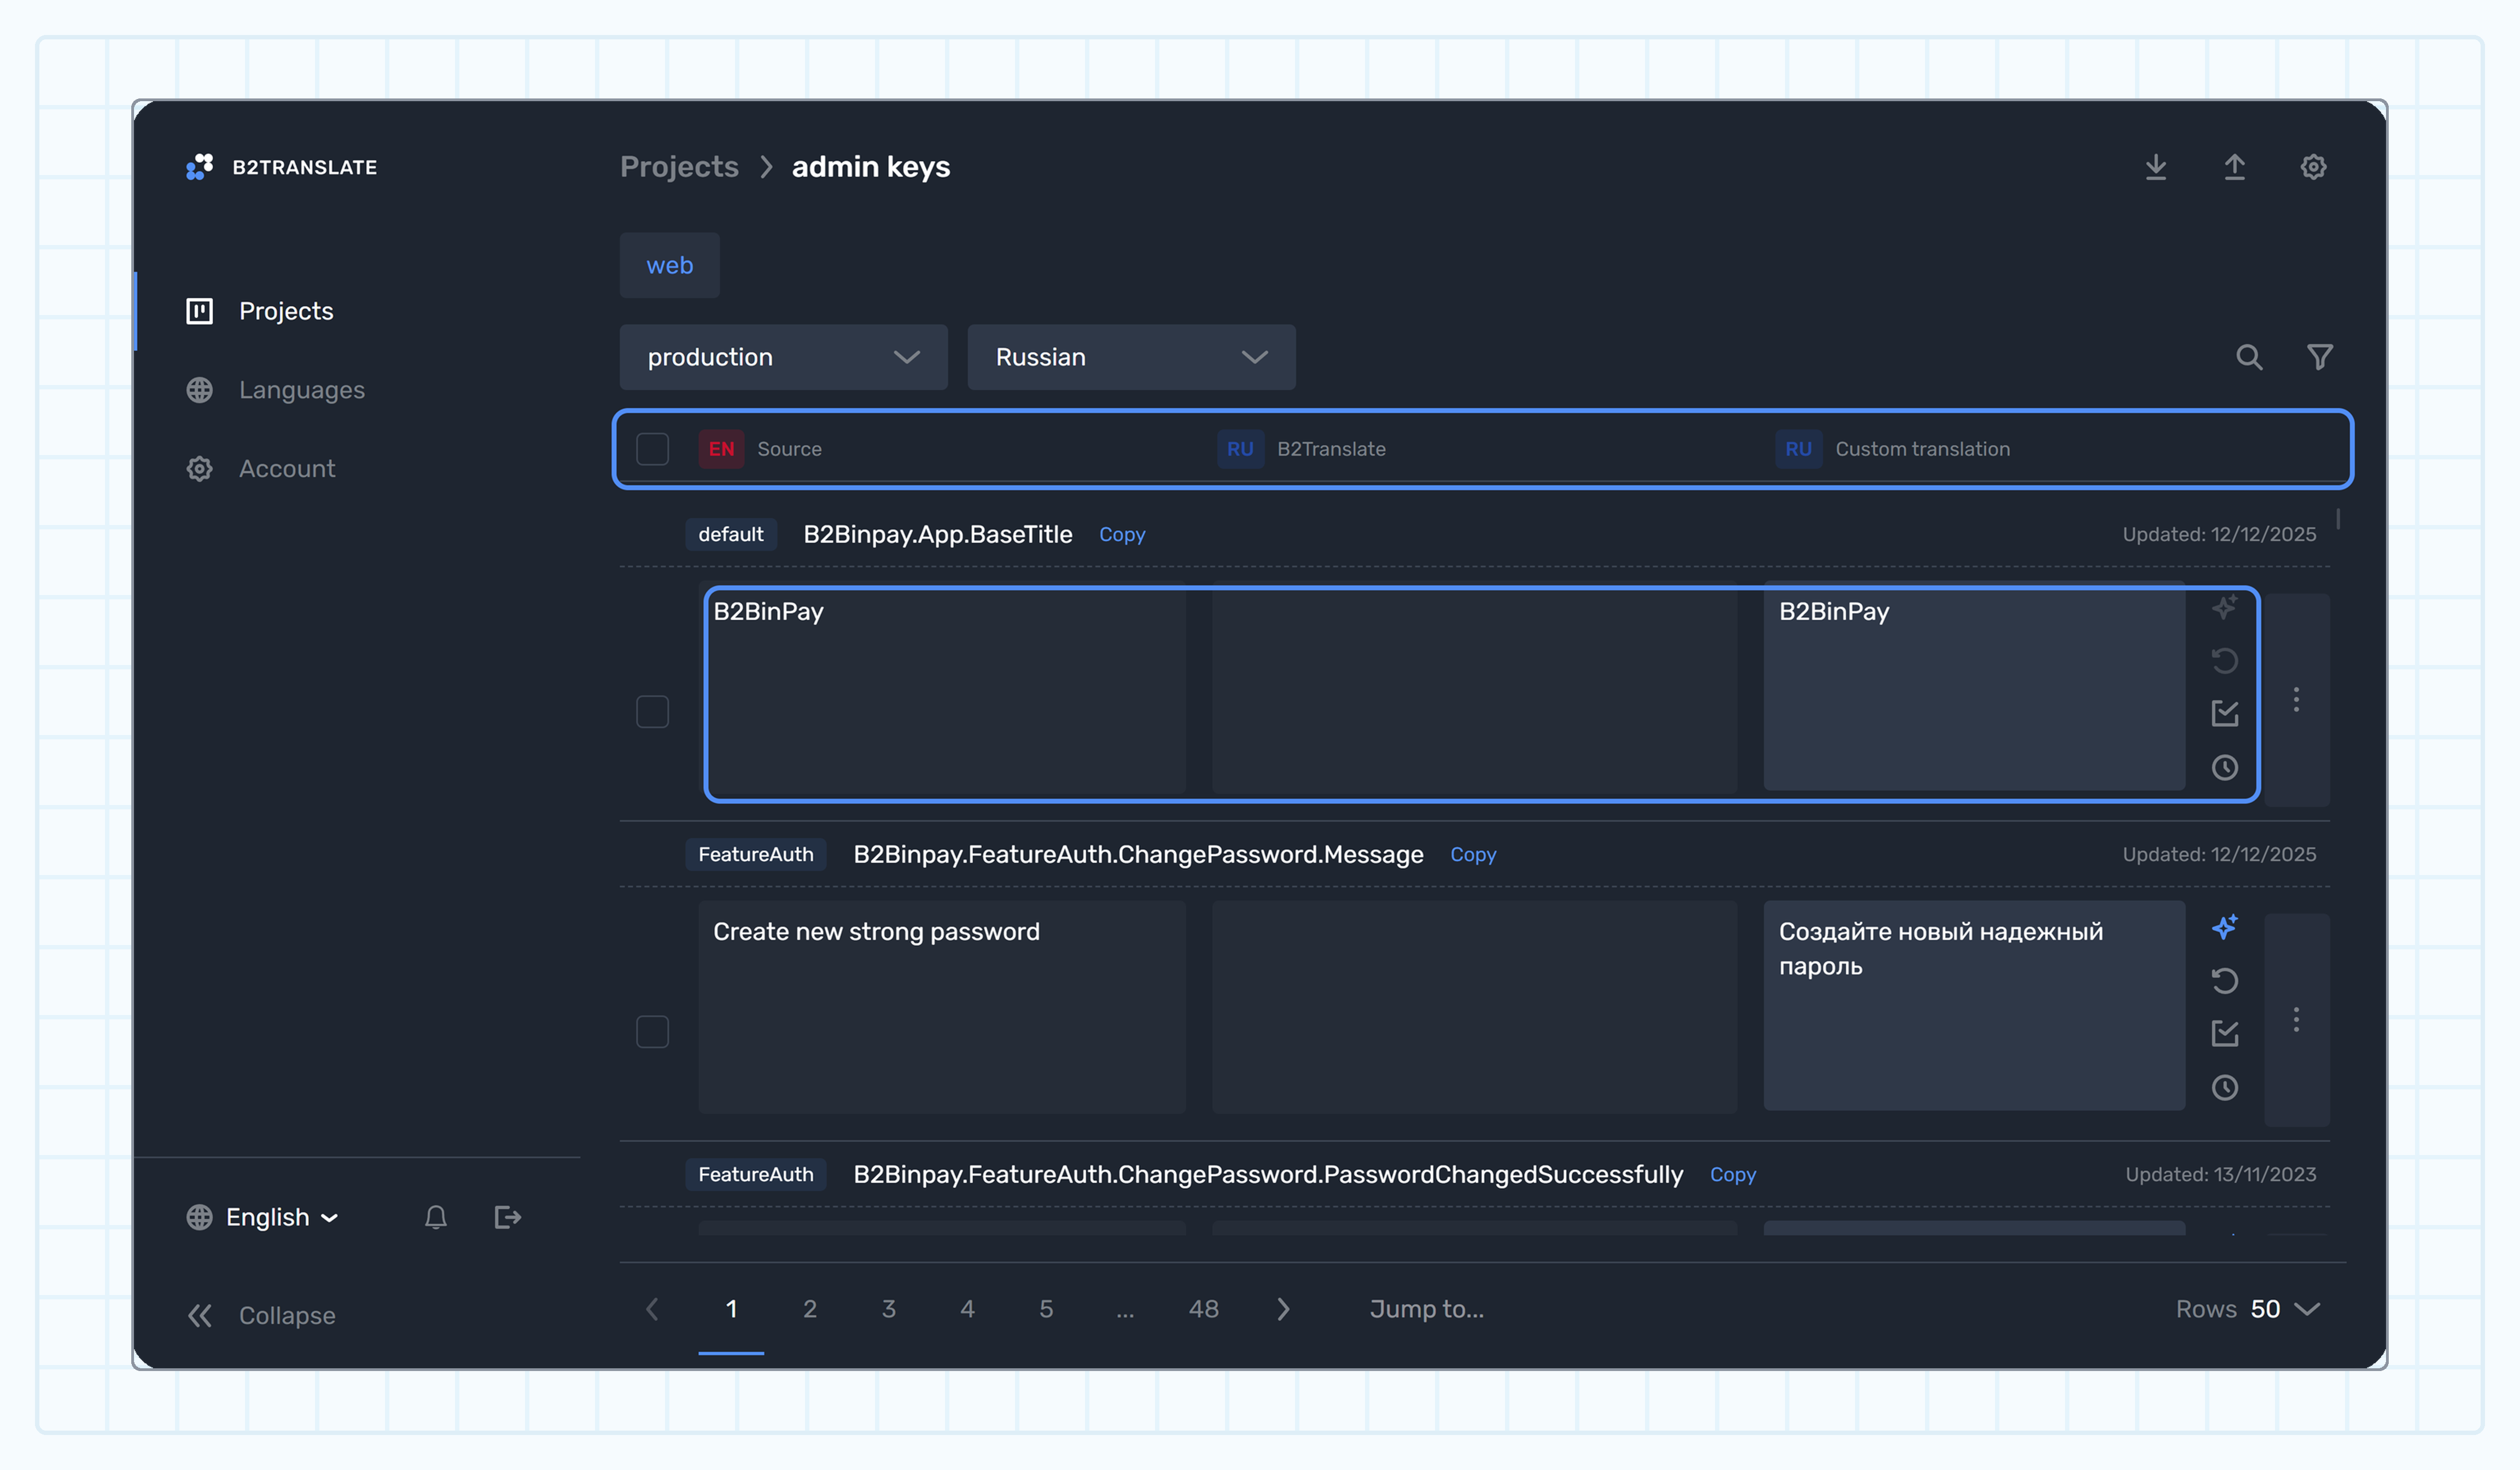 ***
**Actions**
* **Translate with AI**: Translate the source English translation to a selected language using ChatGPT. For details, refer to [Translate with AI](manage-translations/translate-with-ai).
* **Reset to source translation**: Revert the custom translation to a pre-defined one — either to a selected language (if the default translation for this language is provided) or to English.
* **Save as empty**: Explicitly set an empty translation for this key.
* **Show history**: View the change history of the translation.
***
**Actions**
* **Translate with AI**: Translate the source English translation to a selected language using ChatGPT. For details, refer to [Translate with AI](manage-translations/translate-with-ai).
* **Reset to source translation**: Revert the custom translation to a pre-defined one — either to a selected language (if the default translation for this language is provided) or to English.
* **Save as empty**: Explicitly set an empty translation for this key.
* **Show history**: View the change history of the translation.
 ***
**Details**
Click the **three dots** to open details:
* **Info** tab: It's displayed for any key and contains information on when the custom translation was added and when it was last modified.
* **Pluralization** tab: It's displayed for keys containing plural forms. Refer to [Handle plural forms](manage-translations/handle-plural-forms) to learn how to properly configure quantity-dependent content based on grammatical requirements of the selected language.
***
**Details**
Click the **three dots** to open details:
* **Info** tab: It's displayed for any key and contains information on when the custom translation was added and when it was last modified.
* **Pluralization** tab: It's displayed for keys containing plural forms. Refer to [Handle plural forms](manage-translations/handle-plural-forms) to learn how to properly configure quantity-dependent content based on grammatical requirements of the selected language.
 On this page, you can view a full list of bonuses credited to clients, monitor bonus statuses, and manually credit bonuses to clients as needed. For details of the process of awarding bonuses to clients, refer to [Introduction to bonuses](./#introduction-to-bonuses).
## General information [#general-information]
The following information is provided about each bonus:
**ID**
The bonus identifier.
***
**Client ID**
The client identifier.
***
**Client name**
The client’s name.
***
**Client email**
The client’s email address.
***
**Tags**
The tags assigned to a client, which are used to sort the client list displayed to [Back Office administrators](../system/users/users).
***
**Account**
The number of a trading account to which a bonus is credited.
***
**Current amount**
The current bonus amount.
***
**Initial amount**
The initial bonus amount.
***
**Bonus name**
The bonus name, displayed to a client in the B2CORE UI.
For temporary bonuses, the default name is the name of a temporary bonus program from which a bonus was claimed. To display a different name in the B2CORE UI, enter the desired name in the **Caption** field within the [bonus details](#details).
For manually credited bonuses, the bonus name is the value specified in the **Caption** field when [manually adding bonuses to clients](../../how-to-articles/manage-bonuses/how-to-manually-credit-bonuses-to-clients).
***
**State**
The bonus status:
* `Queued` — a bonus was awarded to a client trading account, but hasn’t yet been added to the account as credit.
* `Pending` — a bonus was added to a client trading account as credit, and the required volume that must be traded by the client was calculated.
* `Processing` — a bonus is currently being processed for burning.
* `Completed` — bonus requirements were successfully met, indicating that the required volume was achieved by the client within the specified number of days, and the bonus credit has been received on the account balance.
* `On completing` — the bonus credit is being added to the account balance.
* `Expired` — bonus requirements weren’t met, resulting in the bonus credit being revoked from the account.
* `Error` — an error occurred while processing a bonus.
***
**Created by**
The email address and ID of a Back Office user who created a bonus for a client. Clicking the ID opens the profile of the respective Back Office user.
***
**Created at**
The date and time when a bonus was credited to a client trading account.
To view bonus details, click
On this page, you can view a full list of bonuses credited to clients, monitor bonus statuses, and manually credit bonuses to clients as needed. For details of the process of awarding bonuses to clients, refer to [Introduction to bonuses](./#introduction-to-bonuses).
## General information [#general-information]
The following information is provided about each bonus:
**ID**
The bonus identifier.
***
**Client ID**
The client identifier.
***
**Client name**
The client’s name.
***
**Client email**
The client’s email address.
***
**Tags**
The tags assigned to a client, which are used to sort the client list displayed to [Back Office administrators](../system/users/users).
***
**Account**
The number of a trading account to which a bonus is credited.
***
**Current amount**
The current bonus amount.
***
**Initial amount**
The initial bonus amount.
***
**Bonus name**
The bonus name, displayed to a client in the B2CORE UI.
For temporary bonuses, the default name is the name of a temporary bonus program from which a bonus was claimed. To display a different name in the B2CORE UI, enter the desired name in the **Caption** field within the [bonus details](#details).
For manually credited bonuses, the bonus name is the value specified in the **Caption** field when [manually adding bonuses to clients](../../how-to-articles/manage-bonuses/how-to-manually-credit-bonuses-to-clients).
***
**State**
The bonus status:
* `Queued` — a bonus was awarded to a client trading account, but hasn’t yet been added to the account as credit.
* `Pending` — a bonus was added to a client trading account as credit, and the required volume that must be traded by the client was calculated.
* `Processing` — a bonus is currently being processed for burning.
* `Completed` — bonus requirements were successfully met, indicating that the required volume was achieved by the client within the specified number of days, and the bonus credit has been received on the account balance.
* `On completing` — the bonus credit is being added to the account balance.
* `Expired` — bonus requirements weren’t met, resulting in the bonus credit being revoked from the account.
* `Error` — an error occurred while processing a bonus.
***
**Created by**
The email address and ID of a Back Office user who created a bonus for a client. Clicking the ID opens the profile of the respective Back Office user.
***
**Created at**
The date and time when a bonus was credited to a client trading account.
To view bonus details, click  (**View**).
If any transaction related to crediting or deducting a specific bonus on the client's trading account fails, the respective bonus row is highlighted, and the **exclamation** icon appears next to the **View** button. You can view the bonus transaction history on the [Bonus transactions tab](#bonus-transactions) in the bonus details.
***
**Expired at**
The date and time when a credited bonus is scheduled to expire or has already expired.
## Details [#details]
The details page is divided into two tabs:
* [Bonus details](#bonus-details)
* [Bonus transactions](#bonus-transactions)
### Bonus details [#bonus-details]
On the details tab, you can view the bonus setting and requirements that a client must meet to receive a bonus credit on their account balance.
Additionally, you can reactivate bonuses that have the `Expired` status and revoke bonuses with the `Pending` status. To do this, click the **Actions** button in the upper-right page corner and select the appropriate option in the dropdown.
The following information is provided on the tab:
**Created at**
The date and time when a bonus was credited to a client trading account.
***
**Amount**
The bonus amount.
***
**State**
The bonus status.
***
**Volume closed**
The volume of closed positions counted towards the required volume that a client must achieve to receive a bonus credit on their account balance.
***
**Temporary Bonus**\
*Applicable for temporary bonuses only*
The name of a temporary bonus program from which a bonus was claimed.
***
**Activated at**
The date and time when a bonus amount was added to a client trading account as credit.
***
**Client**
The client’s email address.
***
**Account**
The number of a trading account to which a bonus was credited.
***
**Fictive Volume**
This field is used for reactivation of the expired bonus.
***
**Caption**
The bonus name, displayed to a client in the B2CORE UI.
If this field is empty:
* For temporary bonuses, the name of a temporary bonus program from which a bonus was claimed will be displayed to the client in the B2CORE UI.
* For manually credited bonuses, the name of the platform associated with the account receiving a bonus will be displayed to the client in the B2CORE UI.
***
**Lifetime (days)**
The number of days to fulfill the bonus requirements. After the bonus amount is added to a client trading account as credit, the client must trade the required volume within the specified number of days to receive the bonus credit on the account balance.
***
**Lot per unit**
The ratio applied to the bonus amount to determine the volume that must be traded by a client to receive the bonus credit on their account balance:
`Required volume = Bonus amount / Lot per unit`
Suppose that the bonus amount is 100 USD and the **Lot per unit** option is set to 2. In order to receive the bonus credit of 100 USD to their account balance, a client must trade the following volume:
`100 / 2 = 50 lots`.
***
**Set credit immediately**
* If **Enabled**, when a client claims bonuses from multiple programs at a time using the same trading account, all claimed bonuses are immediately added to their account as credit, enabling the client to use credit funds for trading.
* If **Disabled**, when a client claims bonuses from multiple programs at a time using the same trading account, the claimed bonuses are added to their account one after another. Only after the first claimed bonus is processed and assigned the final status (`Completed` or `Expired`), the second claimed bonus is added to the client trading account as credit, and so on.
***
**Ignored open/close interval (sec)**
The minimum duration, in seconds, for which a client must keep a position open for it to be counted towards the traded volume of the bonus program.
***
**Autoenable trading if balance > 0**
When the account balance changes from zero or negative to positive, the permission named `Trade Enabled` is either automatically restored for the account or not, depending on this setting:
* If **Enabled**, when the account balance becomes positive, the `Trade Enabled` permission is automatically restored, enabling the client to resume trading on their account, including the use of the bonus credit.
* If **Disabled**, when the account balance becomes positive, the `Trade Enabled` permission isn’t automatically restored.
***
**Ignored symbol groups**
One or more symbol groups in which trades aren't counted towards the traded volume of the bonus program.
For cTrader, individual symbols must be selected in this field instead of symbol groups, even though symbol groups are available on the cTrader platform.
This field is optional and can be empty.
### Bonus transactions [#bonus-transactions]
On the transactions tab, you can view the history of transactions related to crediting or deducting a specific bonus on the client's trading account, check their statuses, and retry failed transactions if necessary.
For failed transactions with the `Error` status,
(**View**).
If any transaction related to crediting or deducting a specific bonus on the client's trading account fails, the respective bonus row is highlighted, and the **exclamation** icon appears next to the **View** button. You can view the bonus transaction history on the [Bonus transactions tab](#bonus-transactions) in the bonus details.
***
**Expired at**
The date and time when a credited bonus is scheduled to expire or has already expired.
## Details [#details]
The details page is divided into two tabs:
* [Bonus details](#bonus-details)
* [Bonus transactions](#bonus-transactions)
### Bonus details [#bonus-details]
On the details tab, you can view the bonus setting and requirements that a client must meet to receive a bonus credit on their account balance.
Additionally, you can reactivate bonuses that have the `Expired` status and revoke bonuses with the `Pending` status. To do this, click the **Actions** button in the upper-right page corner and select the appropriate option in the dropdown.
The following information is provided on the tab:
**Created at**
The date and time when a bonus was credited to a client trading account.
***
**Amount**
The bonus amount.
***
**State**
The bonus status.
***
**Volume closed**
The volume of closed positions counted towards the required volume that a client must achieve to receive a bonus credit on their account balance.
***
**Temporary Bonus**\
*Applicable for temporary bonuses only*
The name of a temporary bonus program from which a bonus was claimed.
***
**Activated at**
The date and time when a bonus amount was added to a client trading account as credit.
***
**Client**
The client’s email address.
***
**Account**
The number of a trading account to which a bonus was credited.
***
**Fictive Volume**
This field is used for reactivation of the expired bonus.
***
**Caption**
The bonus name, displayed to a client in the B2CORE UI.
If this field is empty:
* For temporary bonuses, the name of a temporary bonus program from which a bonus was claimed will be displayed to the client in the B2CORE UI.
* For manually credited bonuses, the name of the platform associated with the account receiving a bonus will be displayed to the client in the B2CORE UI.
***
**Lifetime (days)**
The number of days to fulfill the bonus requirements. After the bonus amount is added to a client trading account as credit, the client must trade the required volume within the specified number of days to receive the bonus credit on the account balance.
***
**Lot per unit**
The ratio applied to the bonus amount to determine the volume that must be traded by a client to receive the bonus credit on their account balance:
`Required volume = Bonus amount / Lot per unit`
Suppose that the bonus amount is 100 USD and the **Lot per unit** option is set to 2. In order to receive the bonus credit of 100 USD to their account balance, a client must trade the following volume:
`100 / 2 = 50 lots`.
***
**Set credit immediately**
* If **Enabled**, when a client claims bonuses from multiple programs at a time using the same trading account, all claimed bonuses are immediately added to their account as credit, enabling the client to use credit funds for trading.
* If **Disabled**, when a client claims bonuses from multiple programs at a time using the same trading account, the claimed bonuses are added to their account one after another. Only after the first claimed bonus is processed and assigned the final status (`Completed` or `Expired`), the second claimed bonus is added to the client trading account as credit, and so on.
***
**Ignored open/close interval (sec)**
The minimum duration, in seconds, for which a client must keep a position open for it to be counted towards the traded volume of the bonus program.
***
**Autoenable trading if balance > 0**
When the account balance changes from zero or negative to positive, the permission named `Trade Enabled` is either automatically restored for the account or not, depending on this setting:
* If **Enabled**, when the account balance becomes positive, the `Trade Enabled` permission is automatically restored, enabling the client to resume trading on their account, including the use of the bonus credit.
* If **Disabled**, when the account balance becomes positive, the `Trade Enabled` permission isn’t automatically restored.
***
**Ignored symbol groups**
One or more symbol groups in which trades aren't counted towards the traded volume of the bonus program.
For cTrader, individual symbols must be selected in this field instead of symbol groups, even though symbol groups are available on the cTrader platform.
This field is optional and can be empty.
### Bonus transactions [#bonus-transactions]
On the transactions tab, you can view the history of transactions related to crediting or deducting a specific bonus on the client's trading account, check their statuses, and retry failed transactions if necessary.
For failed transactions with the `Error` status,  (**Retry**) is displayed. Click the button to attempt processing the transaction again.
 (**Refresh**) displayed in the upper-right corner.
The following information is provided on the tab:
**Operation ID**
The identifier assigned to the bonus transaction.
***
**Oder ID**
The identifier of the order associated with the bonus transaction, if applicable.
***
**Amount**
The bonus amount.
***
**Status**
The transaction status:
* `New` — the transaction has been initiated.
* `In progress` — the transaction is being processed.
The `New` and `In progress` statuses are intermediate and appear only for a very brief moment.
* `Success` — the transaction was successfully executed.
* `Error` — the transaction failed due to an issue.
***
**Num of attempts**
The number of attempts made to execute the transaction.
***
**Last attempt date**
The date and time of the most recent attempt to process the transaction.
***
**Comment**
A description identifying the transaction:
* **Credit accrued** — the bonus amount is added to the client’s trading account as credit.
* **Credit cleared** — the credited bonus is deducted from the account once the bonus requirements have been met. This occurs just before adding the bonus amount to the account balance.
* **Balance accrued** — the credited bonus is added to the account balance after the bonus requirements have been met.
* **Credit expired** — the credited bonus has expired and is deducted from the account.
* **Bonus cancelled** — the credited bonus is revoked when funds are withdrawn from the account.
***
**Error message**
For transactions with the `Error` status, this field displays details about the error.
***
**Creation date**
The date and time when the transaction was initiated.
(**Refresh**) displayed in the upper-right corner.
The following information is provided on the tab:
**Operation ID**
The identifier assigned to the bonus transaction.
***
**Oder ID**
The identifier of the order associated with the bonus transaction, if applicable.
***
**Amount**
The bonus amount.
***
**Status**
The transaction status:
* `New` — the transaction has been initiated.
* `In progress` — the transaction is being processed.
The `New` and `In progress` statuses are intermediate and appear only for a very brief moment.
* `Success` — the transaction was successfully executed.
* `Error` — the transaction failed due to an issue.
***
**Num of attempts**
The number of attempts made to execute the transaction.
***
**Last attempt date**
The date and time of the most recent attempt to process the transaction.
***
**Comment**
A description identifying the transaction:
* **Credit accrued** — the bonus amount is added to the client’s trading account as credit.
* **Credit cleared** — the credited bonus is deducted from the account once the bonus requirements have been met. This occurs just before adding the bonus amount to the account balance.
* **Balance accrued** — the credited bonus is added to the account balance after the bonus requirements have been met.
* **Credit expired** — the credited bonus has expired and is deducted from the account.
* **Bonus cancelled** — the credited bonus is revoked when funds are withdrawn from the account.
***
**Error message**
For transactions with the `Error` status, this field displays details about the error.
***
**Creation date**
The date and time when the transaction was initiated.
 | BCH | bch |
|
| BCH | bch |
|  | BTC | btc |
|
| BTC | btc |
|  | DASH | dash |
|
| DASH | dash |
|  | DOGE | doge |
|
| DOGE | doge |
|  | ETH | eth-etherium |
|
| ETH | eth-etherium |
|  | ETH-ARB | eth-arb |
|
| ETH-ARB | eth-arb |
|  | ETH-BASE | eth-base |
|
| ETH-BASE | eth-base |
|  | LTC | ltc |
|
| LTC | ltc |
|  | TRX | trx |
|
| TRX | trx |
|  | XLM | xlm-stellar |
|
| XLM | xlm-stellar |
|  | XMR | xmr |
|
| XMR | xmr |
|  | XRP | xrp |
|
| XRP | xrp |
|  | ZEC | zec |
## Stablecoins [#stablecoins]
| Icon | Method | Icon name |
| --------------------------------------------------- | ------------- | ------------- |
|
| ZEC | zec |
## Stablecoins [#stablecoins]
| Icon | Method | Icon name |
| --------------------------------------------------- | ------------- | ------------- |
|  | BUSD-BSC | busd-bsc |
|
| BUSD-BSC | busd-bsc |
|  | BUSD-T-BSC | busd-t-bsc |
|
| BUSD-T-BSC | busd-t-bsc |
|  | BUSD-ETH | busd-eth |
|
| BUSD-ETH | busd-eth |
|  | DAI-BSC | dai-bsc |
|
| DAI-BSC | dai-bsc |
|  | DAI-ETH | dai-eth |
|
| DAI-ETH | dai-eth |
|  | USDC-ARB | usdc-arb |
|
| USDC-ARB | usdc-arb |
|  | USDC-AVAX | usdc-avax |
|
| USDC-AVAX | usdc-avax |
|  | USDC-BSC | usdc-bsc |
|
| USDC-BSC | usdc-bsc |
|  | USDC-ETH | usdc-eth |
|
| USDC-ETH | usdc-eth |
|  | USDC-SOL | usdc-sol |
|
| USDC-SOL | usdc-sol |
|  | USDC-TRX | usdc-trx |
|
| USDC-TRX | usdc-trx |
|  | USDP-BSC | usdp-bsc |
|
| USDP-BSC | usdp-bsc |
|  | USDP-ETH | usdp-eth |
|
| USDP-ETH | usdp-eth |
|  | USDT-ARB | usdp-arb |
|
| USDT-ARB | usdp-arb |
|  | USDT-AVAX | usdt-avax |
|
| USDT-AVAX | usdt-avax |
|  | USDT-BNB | usdt-bnb |
|
| USDT-BNB | usdt-bnb |
|  | USDT-BSC | usdt-bsc |
|
| USDT-BSC | usdt-bsc |
|  | USDT-ETH | usdt-eth |
|
| USDT-ETH | usdt-eth |
|  | USDT-OMNI | usdt-omni |
|
| USDT-OMNI | usdt-omni |
|  | USDT-Optimism | usdt-optimism |
|
| USDT-Optimism | usdt-optimism |
|  | USDT-SOL | usdt-sol |
|
| USDT-SOL | usdt-sol |
|  | USDT-TON | usdt-ton |
|
| USDT-TON | usdt-ton |
|  | USDT-TRX | usdt-trx |
|
| USDT-TRX | usdt-trx |
|  | UST-BSC | ust-bsc |
|
| UST-BSC | ust-bsc |
|  | UST-ETH | ust-eth |
|
| UST-ETH | ust-eth |
|  | TUSD-ETH | tusd-eth |
## Tokens [#tokens]
| Icon | Method | Icon name |
| ------------------------------------------------ | ---------- | ---------- |
|
| TUSD-ETH | tusd-eth |
## Tokens [#tokens]
| Icon | Method | Icon name |
| ------------------------------------------------ | ---------- | ---------- |
|  | 1INCH-BSC | 1inch-bsc |
|
| 1INCH-BSC | 1inch-bsc |
|  | 1INCH-ETH | 1inch-eth |
|
| 1INCH-ETH | 1inch-eth |
|  | AAVE-ETH | aave-eth |
|
| AAVE-ETH | aave-eth |
|  | AKRO-ETH | akro-eth |
|
| AKRO-ETH | akro-eth |
|  | ALPHA-ETH | alpha-eth |
|
| ALPHA-ETH | alpha-eth |
|  | ALPHA-BSC | alpha-bsc |
|
| ALPHA-BSC | alpha-bsc |
|  | AMP-ETH | amp-eth |
|
| AMP-ETH | amp-eth |
|  | AUDIO-ETH | audio-eth |
|
| AUDIO-ETH | audio-eth |
|  | AXS-ETH | axs-eth |
|
| AXS-ETH | axs-eth |
|  | BADGER-ETH | badger-eth |
|
| BADGER-ETH | badger-eth |
|  | BAL-ETH | bal-eth |
|
| BAL-ETH | bal-eth |
|  | BAND-BSC | band-bsc |
|
| BAND-BSC | band-bsc |
|  | BAND-ETH | band-eth |
|
| BAND-ETH | band-eth |
|  | BAT-BSC | bat-bsc |
|
| BAT-BSC | bat-bsc |
|  | BAT-ETH | bat-eth |
|
| BAT-ETH | bat-eth |
|  | BZRX-ETH | bzrx-eth |
|
| BZRX-ETH | bzrx-eth |
|  | CAKE-BSC | cake-bsc |
|
| CAKE-BSC | cake-bsc |
|  | CEL-ETH | cel-eth |
|
| CEL-ETH | cel-eth |
|  | CHR-ETH | chr-eth |
|
| CHR-ETH | chr-eth |
|  | CHZ-ETH | chz-eth |
|
| CHZ-ETH | chz-eth |
|  | COMP-ETH | comp-eth |
|
| COMP-ETH | comp-eth |
|  | CRV-ETH | crv-eth |
|
| CRV-ETH | crv-eth |
|  | ENJ-ETH | enj-eth |
|
| ENJ-ETH | enj-eth |
|  | FET-ETH | fet-eth |
|
| FET-ETH | fet-eth |
|  | FTM-BSC | ftm-bsc |
|
| FTM-BSC | ftm-bsc |
|  | FTM-ETH | ftm-eth |
|
| FTM-ETH | ftm-eth |
|  | FTT-ETH | ftt-eth |
|
| FTT-ETH | ftt-eth |
|  | GRT-ETH | grt-eth |
|
| GRT-ETH | grt-eth |
|  | HOT-ETH | hot-eth |
|
| HOT-ETH | hot-eth |
|  | LEO-ETH | leo-eth |
|
| LEO-ETH | leo-eth |
|  | LINK-BSC | link-bsc |
|
| LINK-BSC | link-bsc |
|  | LINK-ETH | link-eth |
|
| LINK-ETH | link-eth |
|  | LRC-ETH | lrc-eth |
|
| LRC-ETH | lrc-eth |
|  | MANA-ETH | mana-eth |
|
| MANA-ETH | mana-eth |
|  | MATIC-ETH | matic-eth |
|
| MATIC-ETH | matic-eth |
|  | MKR-BSC | mkr-bsc |
|
| MKR-BSC | mkr-bsc |
|  | MKR-ETH | mkr-eth |
|
| MKR-ETH | mkr-eth |
|  | NU-ETH | nu-eth |
|
| NU-ETH | nu-eth |
|  | OCEAN-ETH | ocean-eth |
|
| OCEAN-ETH | ocean-eth |
|  | OMG-ETH | omg-eth |
|
| OMG-ETH | omg-eth |
|  | QNT-ETH | qnt-eth |
|
| QNT-ETH | qnt-eth |
|  | RARI-ETH | rari-eth |
|
| RARI-ETH | rari-eth |
|  | REEF-BSC | reef-bsc |
|
| REEF-BSC | reef-bsc |
|  | REEF-ETH | reef-eth |
|
| REEF-ETH | reef-eth |
|  | REN-ETH | ren-eth |
|
| REN-ETH | ren-eth |
|  | REV-ETH | rev-eth |
|
| REV-ETH | rev-eth |
|  | RSR-ETH | rsr-eth |
|
| RSR-ETH | rsr-eth |
|  | SAND-ETH | sand-eth |
|
| SAND-ETH | sand-eth |
|  | SHIB-ETH | shib-eth |
|
| SHIB-ETH | shib-eth |
|  | SNX-BSC | snx-bsc |
|
| SNX-BSC | snx-bsc |
|  | SNX-ETH | snx-eth |
|
| SNX-ETH | snx-eth |
|  | SRM-ETH | srm-eth |
|
| SRM-ETH | srm-eth |
|  | SUSHI-BSC | sushi-bsc |
|
| SUSHI-BSC | sushi-bsc |
|  | SUSHI-ETH | sushi-eth |
|
| SUSHI-ETH | sushi-eth |
|  | SXP-BSC | sxp-bsc |
|
| SXP-BSC | sxp-bsc |
|  | SXP-ETH | sxp-eth |
|
| SXP-ETH | sxp-eth |
|  | TEL-ETH | tel-eth |
|
| TEL-ETH | tel-eth |
|  | UNI-BSC | uni-bsc |
|
| UNI-BSC | uni-bsc |
|  | UNI-ETH | uni-eth |
|
| UNI-ETH | uni-eth |
|  | YFI-BSC | yfi-bsc |
|
| YFI-BSC | yfi-bsc |
|  | YFI-ETH | yfi-eth |
|
| YFI-ETH | yfi-eth |
|  | ZRX-ETH | zrx-eth |
The tables below list the crypto- and fiat currencies supported in B2CORE. The ISO code, Alpha code, decimal precision, and icon (if available) are specified for each currency. The icons are used for graphical representation of currencies in the B2CORE UI.
## Fiat [#fiat]
| Icon | ISO code | Alpha code | Precision | Name |
| ----------------------------------------------------------- | -------- | ---------------- | --------- | ---------------------------------------------------------- |
|
| ZRX-ETH | zrx-eth |
The tables below list the crypto- and fiat currencies supported in B2CORE. The ISO code, Alpha code, decimal precision, and icon (if available) are specified for each currency. The icons are used for graphical representation of currencies in the B2CORE UI.
## Fiat [#fiat]
| Icon | ISO code | Alpha code | Precision | Name |
| ----------------------------------------------------------- | -------- | ---------------- | --------- | ---------------------------------------------------------- |
|  | 8 | ALL | 2 | Albanian lek |
|
| 8 | ALL | 2 | Albanian lek |
|  | 32 | ARS | 2 | Argentine peso |
|
| 32 | ARS | 2 | Argentine peso |
|  | 36 | AUD | 2 | Australian dollar |
|
| 36 | AUD | 2 | Australian dollar |
|  | 104 | MMK | 2 | Myanmar kyat |
|
| 104 | MMK | 2 | Myanmar kyat |
|  | 124 | CAD | 2 | Canadian dollar |
|
| 124 | CAD | 2 | Canadian dollar |
|  | 156 | CNY (alias: CNH) | 2 | Chinese yuan |
|
| 156 | CNY (alias: CNH) | 2 | Chinese yuan |
|  | 203 | CZK | 2 | Czech koruna |
|
| 203 | CZK | 2 | Czech koruna |
|  | 262 | DJF | 0 | Djiboutian franc |
|
| 262 | DJF | 0 | Djiboutian franc |
|  | 344 | HKD | 2 | Hong Kong dollar |
|
| 344 | HKD | 2 | Hong Kong dollar |
|  | 356 | INR | 2 | Indian rupee |
|
| 356 | INR | 2 | Indian rupee |
|  | 360 | IDR | 2 | Indonesian rupiah |
|
| 360 | IDR | 2 | Indonesian rupiah |
|  | 364 | IRR | 2 | Iranian rial |
|
| 364 | IRR | 2 | Iranian rial |
|  | 365 | IRT | 2 | Iranian Toman |
|
| 365 | IRT | 2 | Iranian Toman |
|  | 392 | JPY | 0 | Japanese yen |
|
| 392 | JPY | 0 | Japanese yen |
|  | 398 | KZT | 2 | Kazakhstani tenge |
|
| 398 | KZT | 2 | Kazakhstani tenge |
|  | 404 | KES | 2 | Kenyan shilling |
|
| 404 | KES | 2 | Kenyan shilling |
|  | 410 | KRW | 0 | South Korean won |
|
| 410 | KRW | 0 | South Korean won |
|  | 458 | MYR | 2 | Malaysian ringgit |
|
| 458 | MYR | 2 | Malaysian ringgit |
|  | 484 | MXN | 2 | Mexican peso |
|
| 484 | MXN | 2 | Mexican peso |
|  | 498 | MDL | 2 | Moldovan leu |
|
| 498 | MDL | 2 | Moldovan leu |
|  | 554 | NZD | 2 | New Zealand dollar |
|
| 554 | NZD | 2 | New Zealand dollar |
|  | 566 | NGN | 2 | Nigerian naira |
|
| 566 | NGN | 2 | Nigerian naira |
|  | 590 | PAB | 2 | Panamanian balboa |
|
| 590 | PAB | 2 | Panamanian balboa |
|  | 608 | PHP | 2 | Philippine peso |
|
| 608 | PHP | 2 | Philippine peso |
|  | 643 | RUB | 2 | Russian ruble |
|
| 643 | RUB | 2 | Russian ruble |
|  | 702 | SGD | 2 | Singapore dollar |
|
| 702 | SGD | 2 | Singapore dollar |
|  | 704 | VND | 0 | Vietnamese đồng |
|
| 704 | VND | 0 | Vietnamese đồng |
|  | 710 | ZAR | 2 | South African rand |
|
| 710 | ZAR | 2 | South African rand |
|  | 756 | CHF | 2 | Swiss franc |
|
| 756 | CHF | 2 | Swiss franc |
|  | 764 | THB | 2 | Thai baht |
|
| 764 | THB | 2 | Thai baht |
|  | 784 | AED | 2 | United Arab Emirates dirham |
|
| 784 | AED | 2 | United Arab Emirates dirham |
|  | 826 | GBP | 2 | Pound sterling |
|
| 826 | GBP | 2 | Pound sterling |
|  | 840 | USD | 2 | United States dollar |
|
| 840 | USD | 2 | United States dollar |
|  | 933 | BYN | 2 | Belarusian ruble |
|
| 933 | BYN | 2 | Belarusian ruble |
|  | 937 | VEF | 2 | Venezuelan bolívar |
|
| 937 | VEF | 2 | Venezuelan bolívar |
|  | 946 | RON | 2 | Romanian leu |
|
| 946 | RON | 2 | Romanian leu |
|  | 949 | TRY | 2 | Turkish lira |
|
| 949 | TRY | 2 | Turkish lira |
|  | 959 | XAU | 2 | Gold (one troy ounce) |
|
| 959 | XAU | 2 | Gold (one troy ounce) |
|  | 961 | XAG | 3 | Silver (one troy ounce) |
|
| 961 | XAG | 3 | Silver (one troy ounce) |
|  | 963 | XTS | | Code reserved for testing purposes |
|
| 963 | XTS | | Code reserved for testing purposes |
|  | 975 | BGN | 2 | Bulgarian lev |
|
| 975 | BGN | 2 | Bulgarian lev |
|  | 978 | EUR | 2 | Euro |
|
| 978 | EUR | 2 | Euro |
|  | 980 | UAH | 2 | Ukrainian hryvnia |
|
| 980 | UAH | 2 | Ukrainian hryvnia |
|  | 985 | PLN | 2 | Polish złoty |
|
| 985 | PLN | 2 | Polish złoty |
|  | 997 | USN | 2 | United States dollar (next day) (funds code) |
|
| 997 | USN | 2 | United States dollar (next day) (funds code) |
|  | 1004 | ETC | 8 | Ethereum Classic |
|
| 1004 | ETC | 8 | Ethereum Classic |
|  | 1009 | PZM | 8 | Prizm |
|
| 1009 | PZM | 8 | Prizm |
|  | 1012 | XEM | 8 | XEM |
|
| 1012 | XEM | 8 | XEM |
|  | 1015 | TFT | 8 | ThreeFold Token |
|
| 1015 | TFT | 8 | ThreeFold Token |
|  | 1018 | ADA | 8 | ADA |
|
| 1018 | ADA | 8 | ADA |
|  | 1022 | EOS | 8 | EOS |
|
| 1022 | EOS | 8 | EOS |
|  | 1025 | NSD | 8 | Nasdacoin |
|
| 1025 | NSD | 8 | Nasdacoin |
|  | 1027 | FUT | 8 | FutPlayCoin |
|
| 1027 | FUT | 8 | FutPlayCoin |
|  | 1029 | MPC | 8 | MediaPlayCash |
|
| 1029 | MPC | 8 | MediaPlayCash |
|  | 1995 | XTZ | 8 | Tezos |
|
| 1995 | XTZ | 8 | Tezos |
|  | 1996 | WAVES | 8 | Waves |
|
| 1996 | WAVES | 8 | Waves |
|  | 1997 | ICX | 8 | Icon |
|
| 1997 | ICX | 8 | Icon |
|  | 1999 | BSV | 8 | Bitcoin SV |
|
| 1999 | BSV | 8 | Bitcoin SV |
|  | 2000 | B2B (alias: B2BX) | 18 | B2BX |
|
| 2000 | B2B (alias: B2BX) | 18 | B2BX |
|  | 2005 | USDT | 8 | Tether |
|
| 2005 | USDT | 8 | Tether |
|  | 2006 | EURT | 8 | Tether EUR |
|
| 2006 | EURT | 8 | Tether EUR |
|  | 2007 | R | 8 | Revain |
|
| 2007 | R | 8 | Revain |
|  | 2008 | OMG | 8 | OmiseGO |
|
| 2008 | OMG | 8 | OmiseGO |
|  | 2009 | IOST | 8 | IOSToken |
|
| 2009 | IOST | 8 | IOSToken |
|  | 2010 | VIU | 8 | Viuly |
|
| 2010 | VIU | 8 | Viuly |
|  | 2012 | SRNT | 18 | Serenity |
|
| 2012 | SRNT | 18 | Serenity |
|  | 2014 | NEO | 8 | NEO |
|
| 2014 | NEO | 8 | NEO |
|  | 2018 | DTC | 8 | DateCoin |
|
| 2018 | DTC | 8 | DateCoin |
|  | 2020 | OLXA | 2 | OLXA |
|
| 2020 | OLXA | 2 | OLXA |
|  | 2021 | PAX | 8 | PAX |
|
| 2021 | PAX | 8 | PAX |
|  | 2022 | TUSD | 8 | TrueUSD |
|
| 2022 | TUSD | 8 | TrueUSD |
|  | 2023 | GUSD | 8 | Gemini Dollar |
|
| 2023 | GUSD | 8 | Gemini Dollar |
|  | 2024 | USDC | 8 | USD Coin |
|
| 2024 | USDC | 8 | USD Coin |
|  | 2025 | BNB | 8 | Binance Coin |
|
| 2025 | BNB | 8 | Binance Coin |
|  | 2030 | XGT | 8 | XGT |
|
| 2030 | XGT | 8 | XGT |
|  | 2032 | HDP | 4 | HedPay |
|
| 2032 | HDP | 4 | HedPay |
|  | 2034 | NOAH | 18 | NOAHCOIN |
|
| 2034 | NOAH | 18 | NOAHCOIN |
|  | 2036 | GGC | 18 | GG World Lottery |
|
| 2036 | GGC | 18 | GG World Lottery |
|  | 2038 | CTC | 18 | Catholic Coin |
|
| 2038 | CTC | 18 | Catholic Coin |
|  | 2039 | MYX | 8 | Myoho |
|
| 2039 | MYX | 8 | Myoho |
|  | 2040 | CRAFTR | 18 | CraftR |
|
| 2040 | CRAFTR | 18 | CraftR |
|  | 2041 | XRX | 8 | Global Property Register |
|
| 2041 | XRX | 8 | Global Property Register |
|  | 2042 | USDQ | 18 | USDQ |
|
| 2042 | USDQ | 18 | USDQ |
|  | 2044 | ANX | 8 | COINANX |
|
| 2044 | ANX | 8 | COINANX |
|  | 2045 | BNX | 8 | BTCNEXT Coin |
|
| 2045 | BNX | 8 | BTCNEXT Coin |
|  | 2046 | BFCL | 18 | BFCL Token |
|
| 2046 | BFCL | 18 | BFCL Token |
|  | 2047 | ERN | 8 | EURON |
|
| 2047 | ERN | 8 | EURON |
|  | 2050 | QDAO | 18 | Q DAO |
|
| 2050 | QDAO | 18 | Q DAO |
|  | 2051 | SPD | 18 | SPINDLE |
|
| 2051 | SPD | 18 | SPINDLE |
|  | 2055 | DEC | 8 | Darico Ecosystem Coin |
|
| 2055 | DEC | 8 | Darico Ecosystem Coin |
|  | 2057 | NZE | 8 | Nagezeni |
|
| 2057 | NZE | 8 | Nagezeni |
|  | 2058 | NIOX | 8 | NIOX |
|
| 2058 | NIOX | 8 | NIOX |
|  | 2060 | VEST | 8 | VestChain |
|
| 2060 | VEST | 8 | VestChain |
|  | 2061 | BKZ | 8 | Bitkruz Token |
|
| 2061 | BKZ | 8 | Bitkruz Token |
|  | 2066 | FMT | 8 | Free Market Token |
|
| 2066 | FMT | 8 | Free Market Token |
|  | 2068 | DAI | 8 | Dai Stablecoin |
|
| 2068 | DAI | 8 | Dai Stablecoin |
|  | 2070 | AZ | 8 | AZ Token |
|
| 2070 | AZ | 8 | AZ Token |
|  | 2071 | B21 | 8 | B21 Token |
|
| 2071 | B21 | 8 | B21 Token |
|  | 2075 | PDATA | 8 | PDATA |
|
| 2075 | PDATA | 8 | PDATA |
|  | 2077 | BUSD | 8 | Binance USD |
|
| 2077 | BUSD | 8 | Binance USD |
|  | 2078 | ZVC | 8 | Zeven Coin |
|
| 2078 | ZVC | 8 | Zeven Coin |
|  | 2081 | ARBIS | 8 | ARBIS |
|
| 2081 | ARBIS | 8 | ARBIS |
|  | 2084 | BDS | 8 | Bitcoin Dollar Stable |
|
| 2084 | BDS | 8 | Bitcoin Dollar Stable |
|  | 2088 | NEX | 8 | NEX |
|
| 2088 | NEX | 8 | NEX |
|  | 2090 | TEX | 8 | TEX |
|
| 2090 | TEX | 8 | TEX |
|  | 2110 | BZRX | 18 | bZx Protocol |
|
| 2110 | BZRX | 18 | bZx Protocol |
|  | 2121 | RSR | 18 | Reserve Rights |
|
| 2121 | RSR | 18 | Reserve Rights |
|  | 2133 | BAT | 18 | Basic Attention Token |
|
| 2133 | BAT | 18 | Basic Attention Token |
|  | 2136 | SUSHI | 18 | SushiSwap |
|
| 2136 | SUSHI | 18 | SushiSwap |
|  | 2947 | CAKE | 18 | PancakeSwap |
|
| 2947 | CAKE | 18 | PancakeSwap |
|  | 2949 | CRV | 18 | Curve DAO Token |
|
| 2949 | CRV | 18 | Curve DAO Token |
|  | 2962 | GRT | 18 | The Graph |
|
| 2962 | GRT | 18 | The Graph |
|  | 2972 | NOAHARK | 8 | NOAH’s DeFi ARK v.1 Governance Token |
|
| 2972 | NOAHARK | 8 | NOAH’s DeFi ARK v.1 Governance Token |
|  | 2973 | FLR | 8 | Spark |
|
| 2973 | FLR | 8 | Spark |
|  | 2975 | XYM | 8 | XYM |
|
| 2975 | XYM | 8 | XYM |
|  | 2980 | MILK2 | 8 | MILK2 Coin |
|
| 2980 | MILK2 | 8 | MILK2 Coin |
|  | 2981 | SHAKE | 8 | SHAKE Coin |
|
| 2981 | SHAKE | 8 | SHAKE Coin |
|  | 2982 | MATIC | 8 | Matic Network |
|
| 2982 | MATIC | 8 | Matic Network |
|  | 2983 | ERG | 8 | Ergo |
|
| 2983 | ERG | 8 | Ergo |
|  | 2984 | LTCP | 8 | Litecoin PoS |
|
| 2984 | LTCP | 8 | Litecoin PoS |
|  | 2985 | ZRX | 8 | 0x |
|
| 2985 | ZRX | 8 | 0x |
|  | 2986 | BIP | 8 | Minter |
|
| 2986 | BIP | 8 | Minter |
|  | 2987 | ATOM | 8 | Cosmos |
|
| 2987 | ATOM | 8 | Cosmos |
|  | 2988 | GRAM | 8 | Telegram Open Network IOU |
|
| 2988 | GRAM | 8 | Telegram Open Network IOU |
|  | 2994 | OWC | 8 | ODUWA Coin |
|
| 2994 | OWC | 8 | ODUWA Coin |
|  | 2999 | ABBC | 8 | ABBC |
|
| 2999 | ABBC | 8 | ABBC |
|  — indicates that some method settings need to be configured. Hovering over the icon displays a list of required settings, which can be adjusted in the method details.
If the column is empty, all required settings for the method have been specified.
To view deposit method details, click the **Edit** button.
### Details [#details]
The details page is divided into the following tabs:
* [Settings tab](deposit-system#settings-tab)
* [TR Currencies tab](deposit-system#tr-currencies-tab)
* [PS Currencies tab](deposit-system#ps-currencies-tab)
* [Commissions tab](deposit-system#commissions-tab)
* [Restrictions tab](deposit-system#restrictions-tab)
The set of displayed tabs may vary depending on the deposit method driver. For example, for methods connected via [PSS](../../integrations/payment-systems#payment-system-service-pss), the additional **Webhooks** and **Test configuration** tabs may be displayed.
#### Settings tab [#settings-tab]
On this tab, you can view or modify the general settings of the deposit method, as well as the connection settings of a payment provider.
**Name**
The unique name for the method. It can only contain Latin letters, numbers, dashes, and underscores.
***
**Enabled**
The method status:
* **No** — the method is inactive and unavailable for deposits.
* **Yes** — the method is active and available for for deposits.
***
**Group**
One or more [groups](deposit-system#deposit-groups) in which the method is included, such as **Crypto**, **Fiat**, or other.
***
**Caption**
The name assigned to the method in the Back Office, which is also visible to clients in the B2CORE UI.
***
**Provider**
The name of the payment system.
***
**Result URL**
The URL that receives callbacks with notifications about deposit status updates.
***
**Time to fund**
The hint text displayed to clients in the B2CORE UI, indicating the estimated processing time for deposits. Two standard options are available:
* `Depending on the Blockchain`
* `From 3 to 5 Days`
It's possible to modify the hint text of the standard options or add new ones in **System** > **Key storage** > **Key storage values**. Use the `method_time` tag to locate the relevant keys and update the text.
— indicates that some method settings need to be configured. Hovering over the icon displays a list of required settings, which can be adjusted in the method details.
If the column is empty, all required settings for the method have been specified.
To view deposit method details, click the **Edit** button.
### Details [#details]
The details page is divided into the following tabs:
* [Settings tab](deposit-system#settings-tab)
* [TR Currencies tab](deposit-system#tr-currencies-tab)
* [PS Currencies tab](deposit-system#ps-currencies-tab)
* [Commissions tab](deposit-system#commissions-tab)
* [Restrictions tab](deposit-system#restrictions-tab)
The set of displayed tabs may vary depending on the deposit method driver. For example, for methods connected via [PSS](../../integrations/payment-systems#payment-system-service-pss), the additional **Webhooks** and **Test configuration** tabs may be displayed.
#### Settings tab [#settings-tab]
On this tab, you can view or modify the general settings of the deposit method, as well as the connection settings of a payment provider.
**Name**
The unique name for the method. It can only contain Latin letters, numbers, dashes, and underscores.
***
**Enabled**
The method status:
* **No** — the method is inactive and unavailable for deposits.
* **Yes** — the method is active and available for for deposits.
***
**Group**
One or more [groups](deposit-system#deposit-groups) in which the method is included, such as **Crypto**, **Fiat**, or other.
***
**Caption**
The name assigned to the method in the Back Office, which is also visible to clients in the B2CORE UI.
***
**Provider**
The name of the payment system.
***
**Result URL**
The URL that receives callbacks with notifications about deposit status updates.
***
**Time to fund**
The hint text displayed to clients in the B2CORE UI, indicating the estimated processing time for deposits. Two standard options are available:
* `Depending on the Blockchain`
* `From 3 to 5 Days`
It's possible to modify the hint text of the standard options or add new ones in **System** > **Key storage** > **Key storage values**. Use the `method_time` tag to locate the relevant keys and update the text.
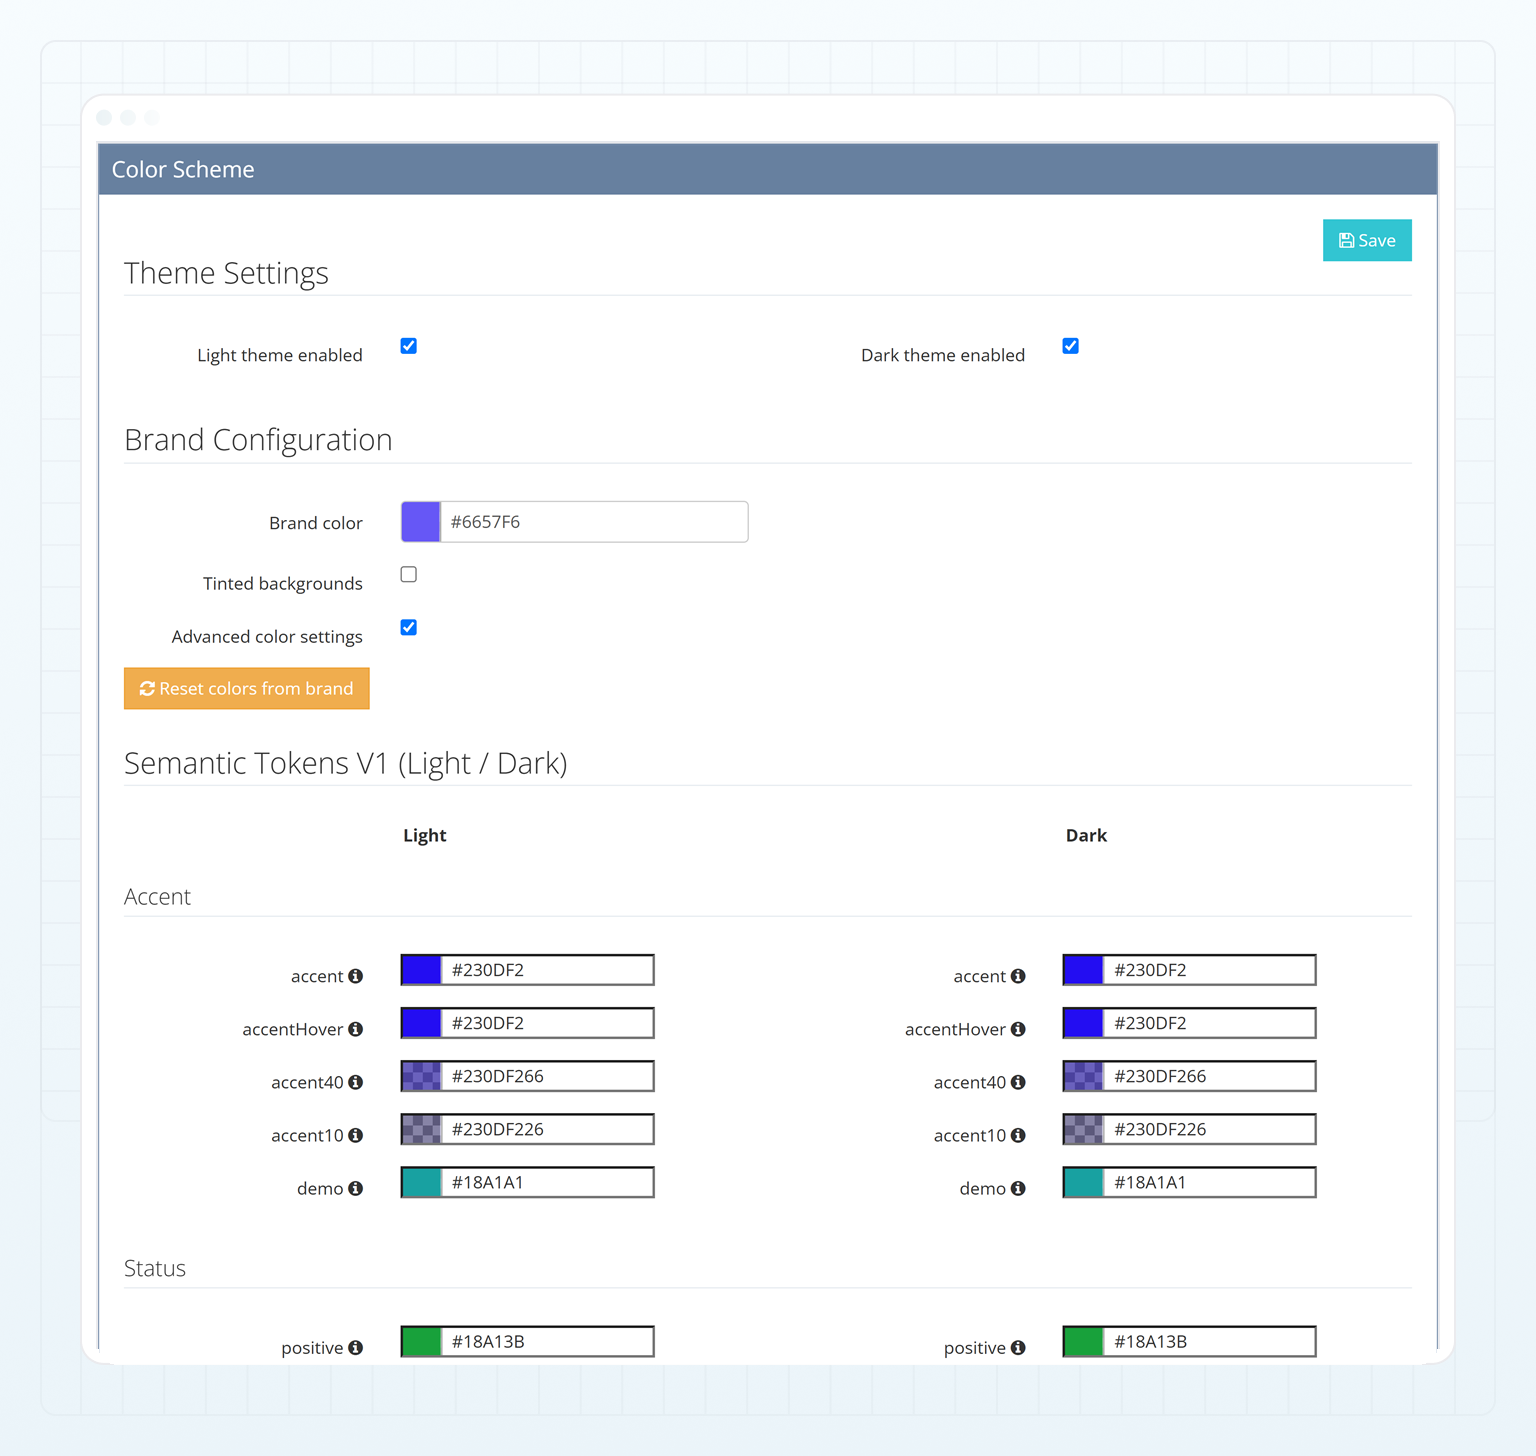
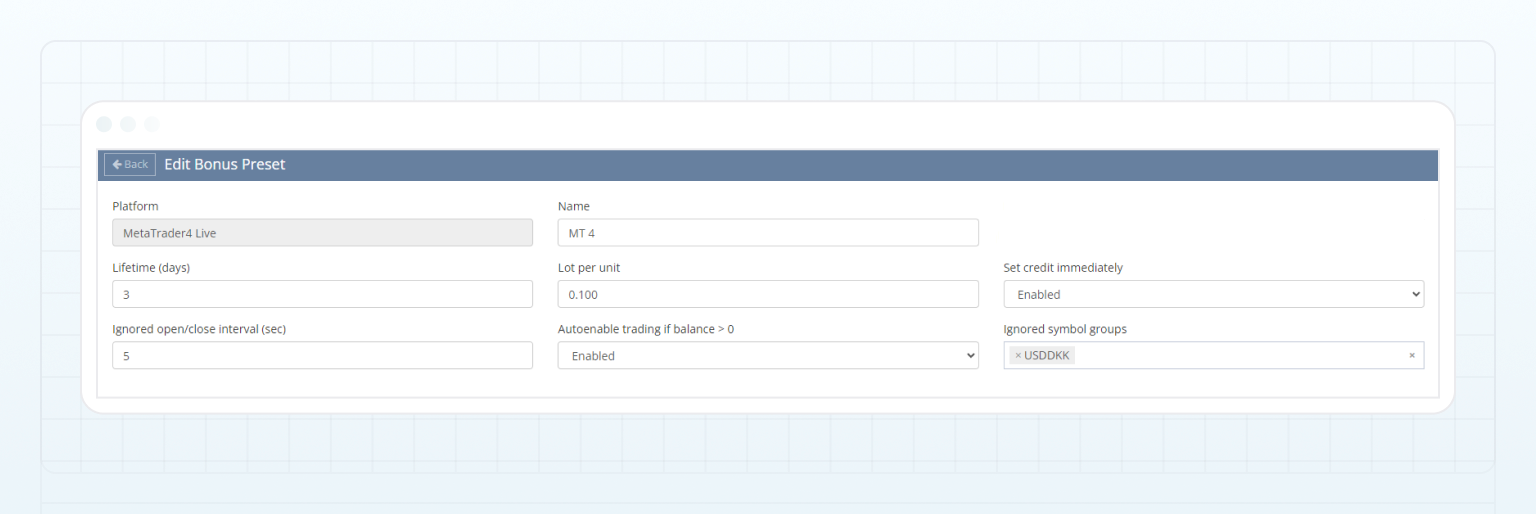 Suppose that a client deposits funds to their trading account opened on the `MetaTrader4 Live` platform. Given that **Autocreate from deposit** is set to **Enabled** and the bonus preset for `MetaTrader4 Live` is available on the **Bonus presets** page, the client is eligible to receive a bonus for their deposit. The requirements for receiving the bonus are detailed below:
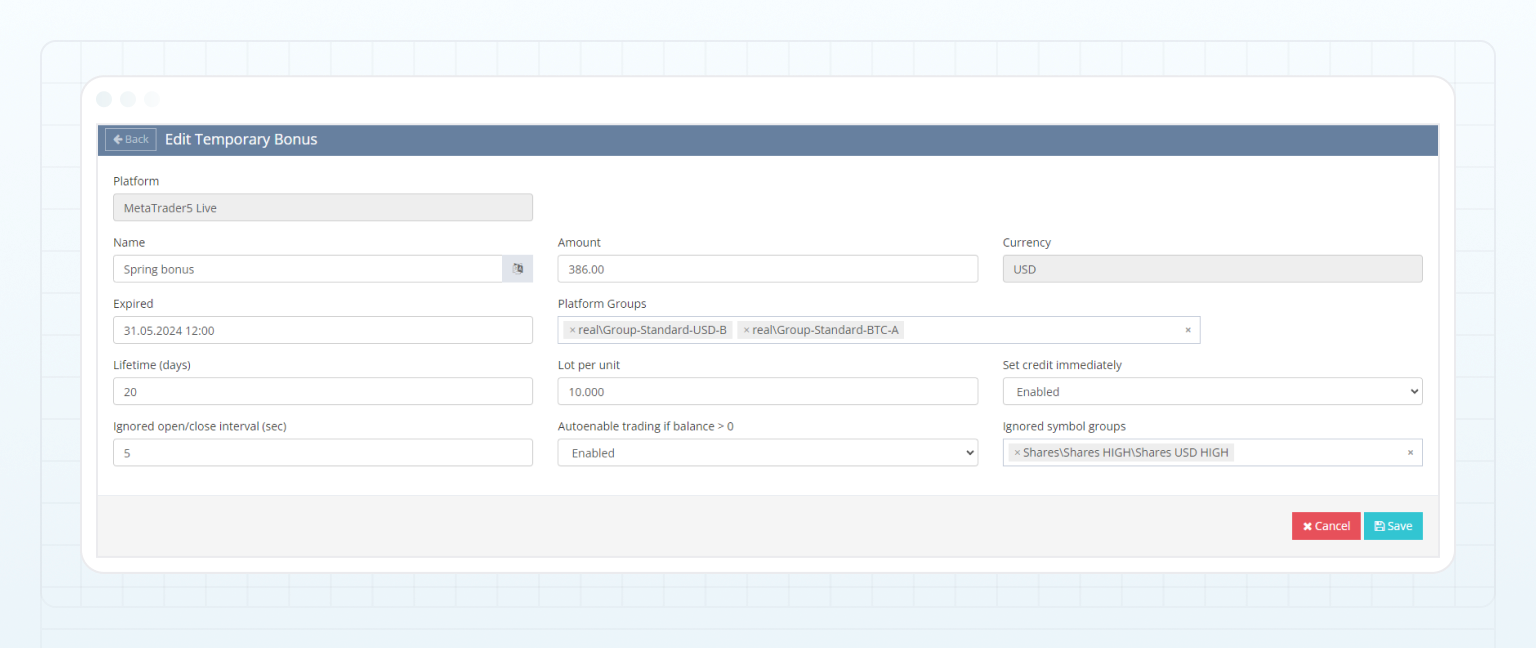 To receive the bonus amount of 386 USD from the bonus program, a client needs to claim the bonus in the B2CORE UI using their active trading account opened on the `MetaTrader 5 Live` platform and denominated in USD.
After claiming the bonus, the bonus is added to the client trading account as credit, enabling the client to use credit funds for trading. In order to receive the bonus credit on their account balance, the client must fulfill the following bonus program requirements:
To receive the bonus amount of 386 USD from the bonus program, a client needs to claim the bonus in the B2CORE UI using their active trading account opened on the `MetaTrader 5 Live` platform and denominated in USD.
After claiming the bonus, the bonus is added to the client trading account as credit, enabling the client to use credit funds for trading. In order to receive the bonus credit on their account balance, the client must fulfill the following bonus program requirements:
 displayed in the **Phones** section to dial a specified client's phone number using Twilio.
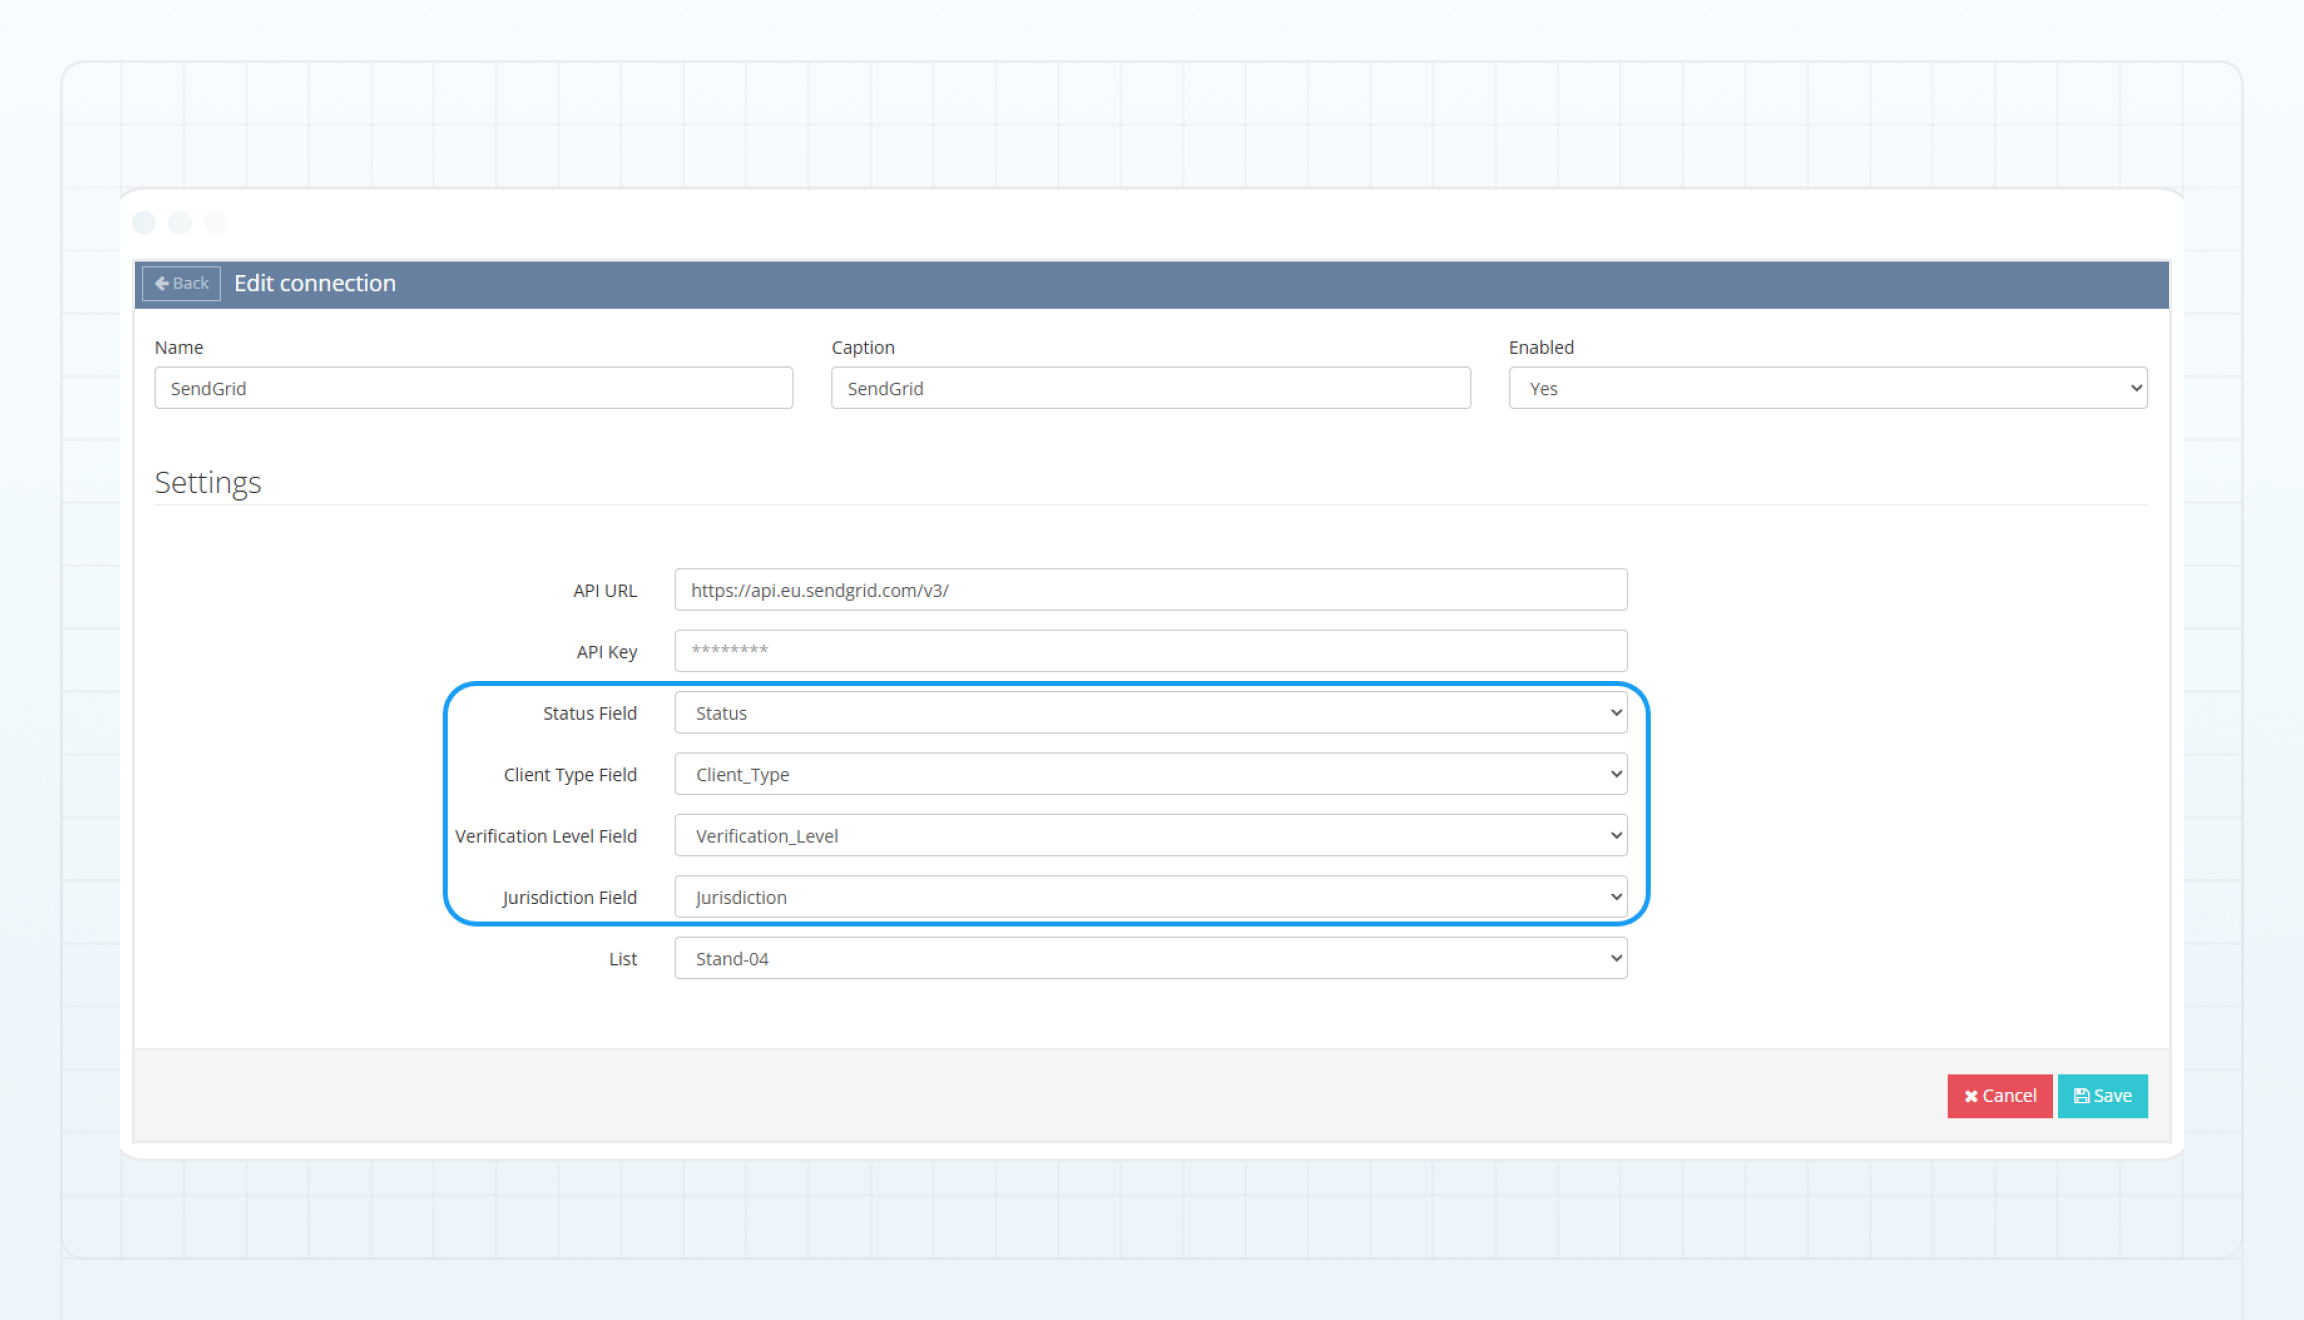
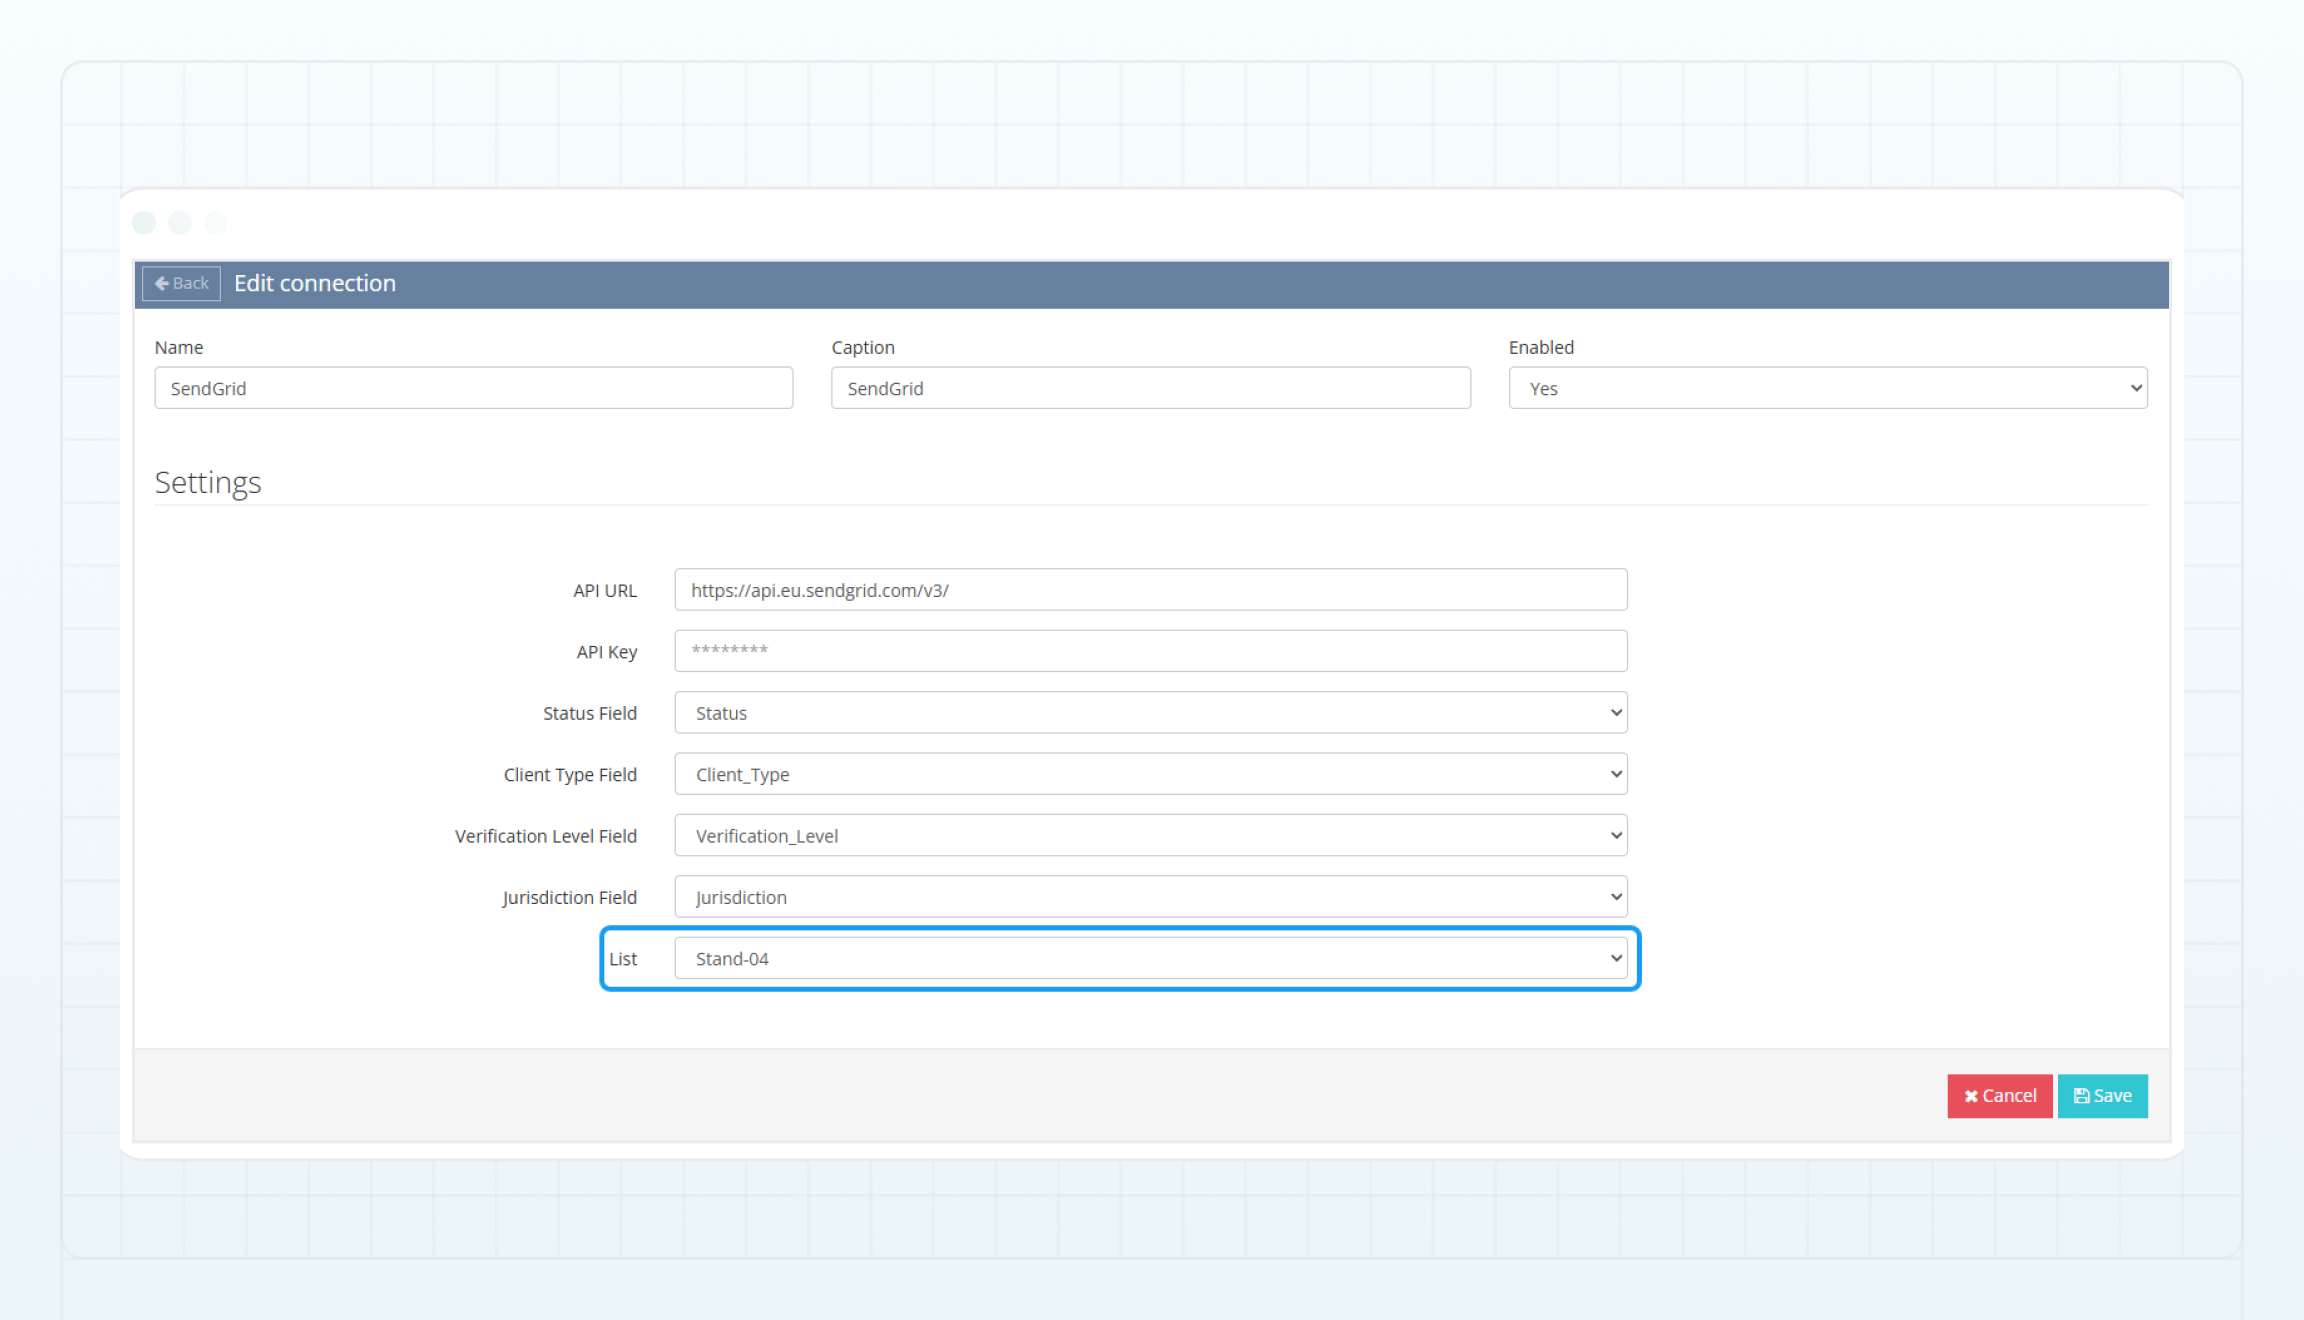
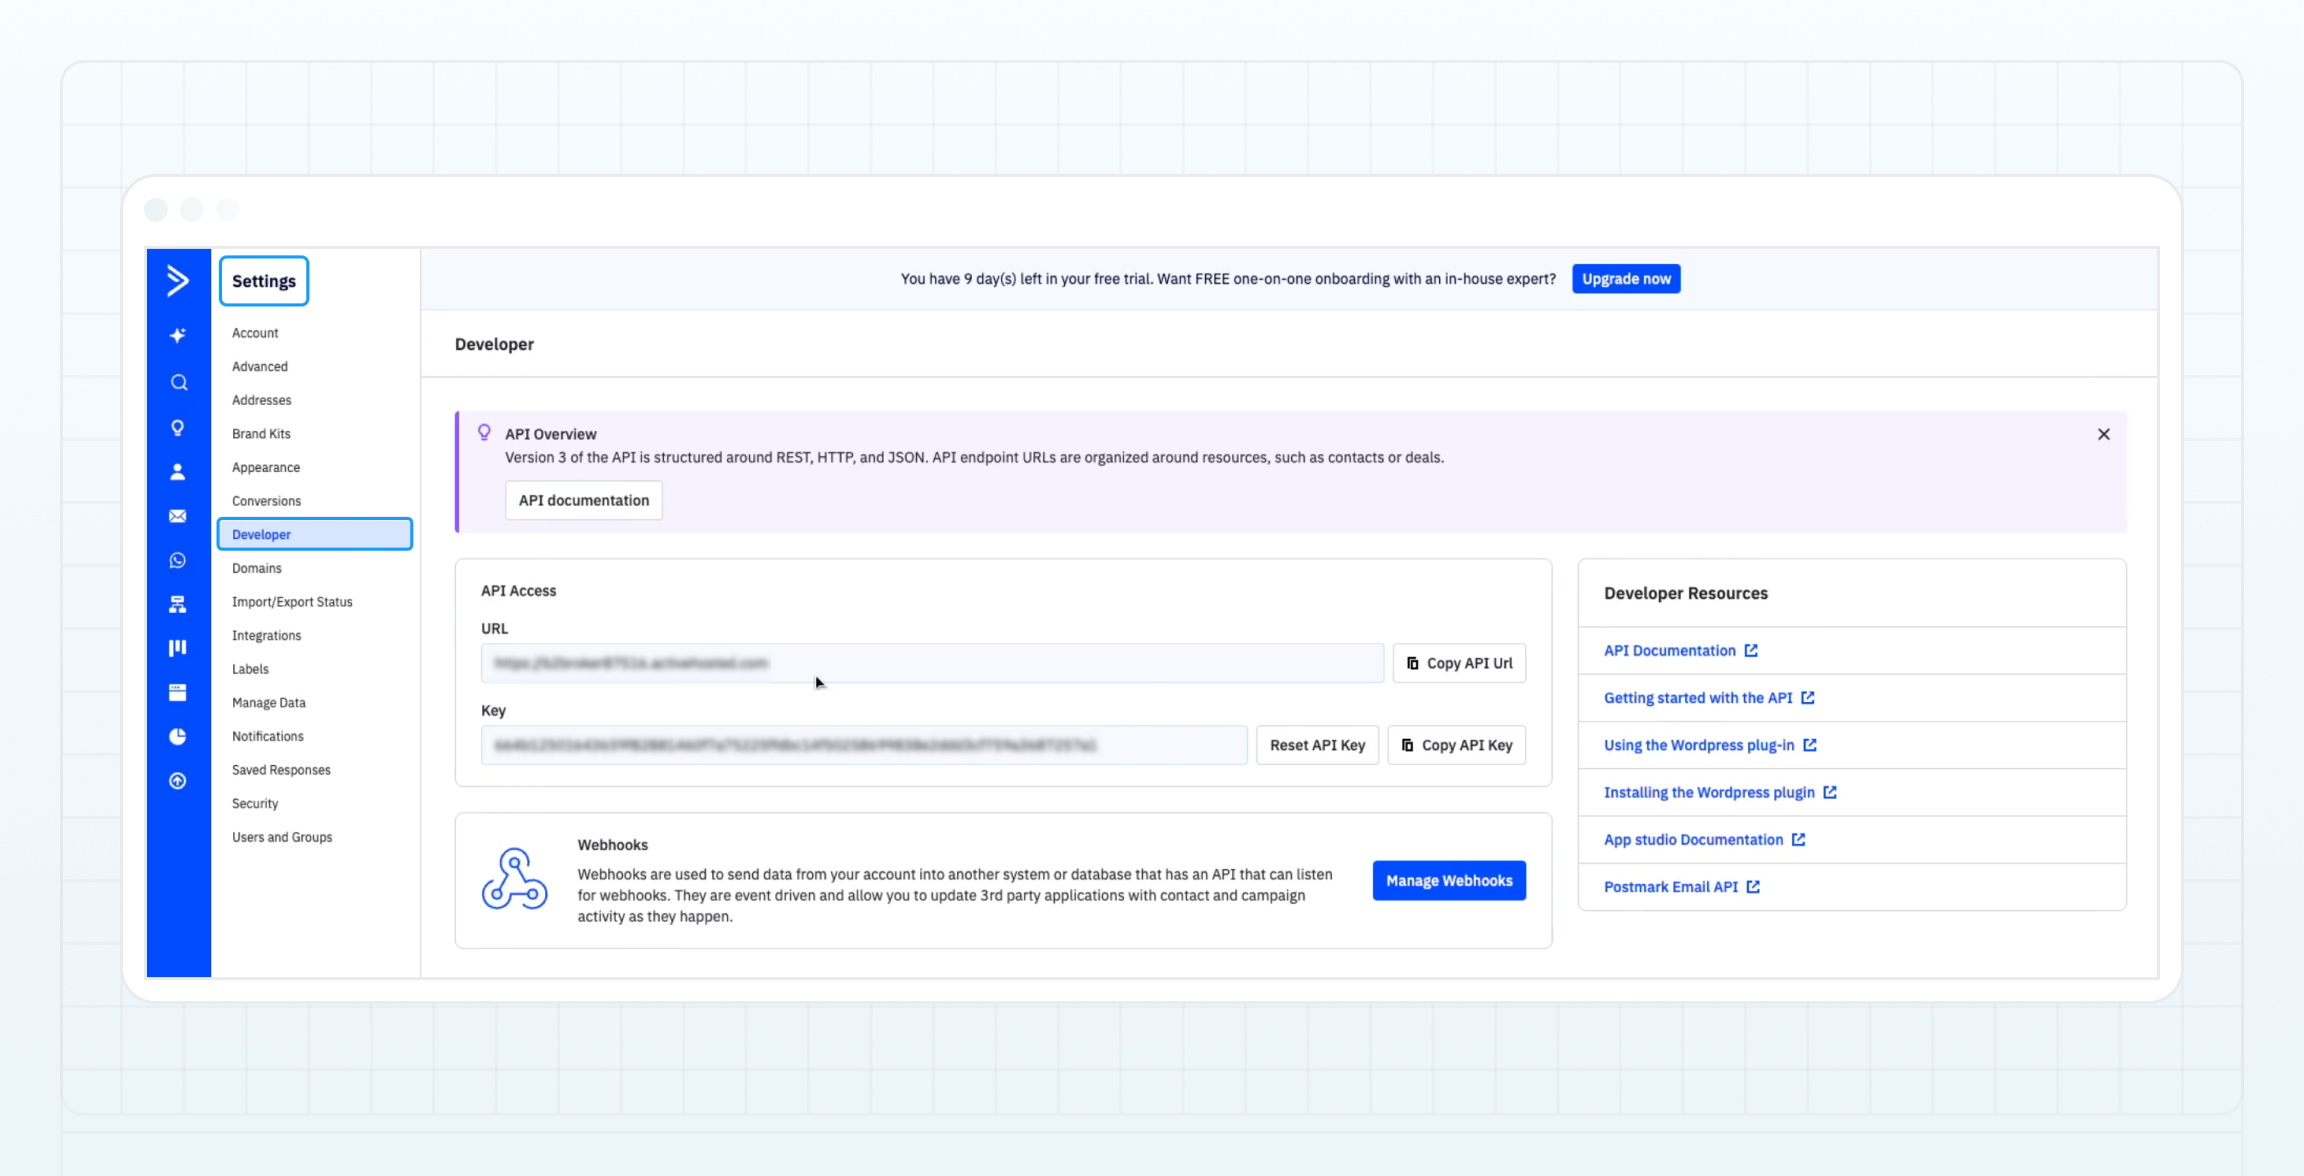
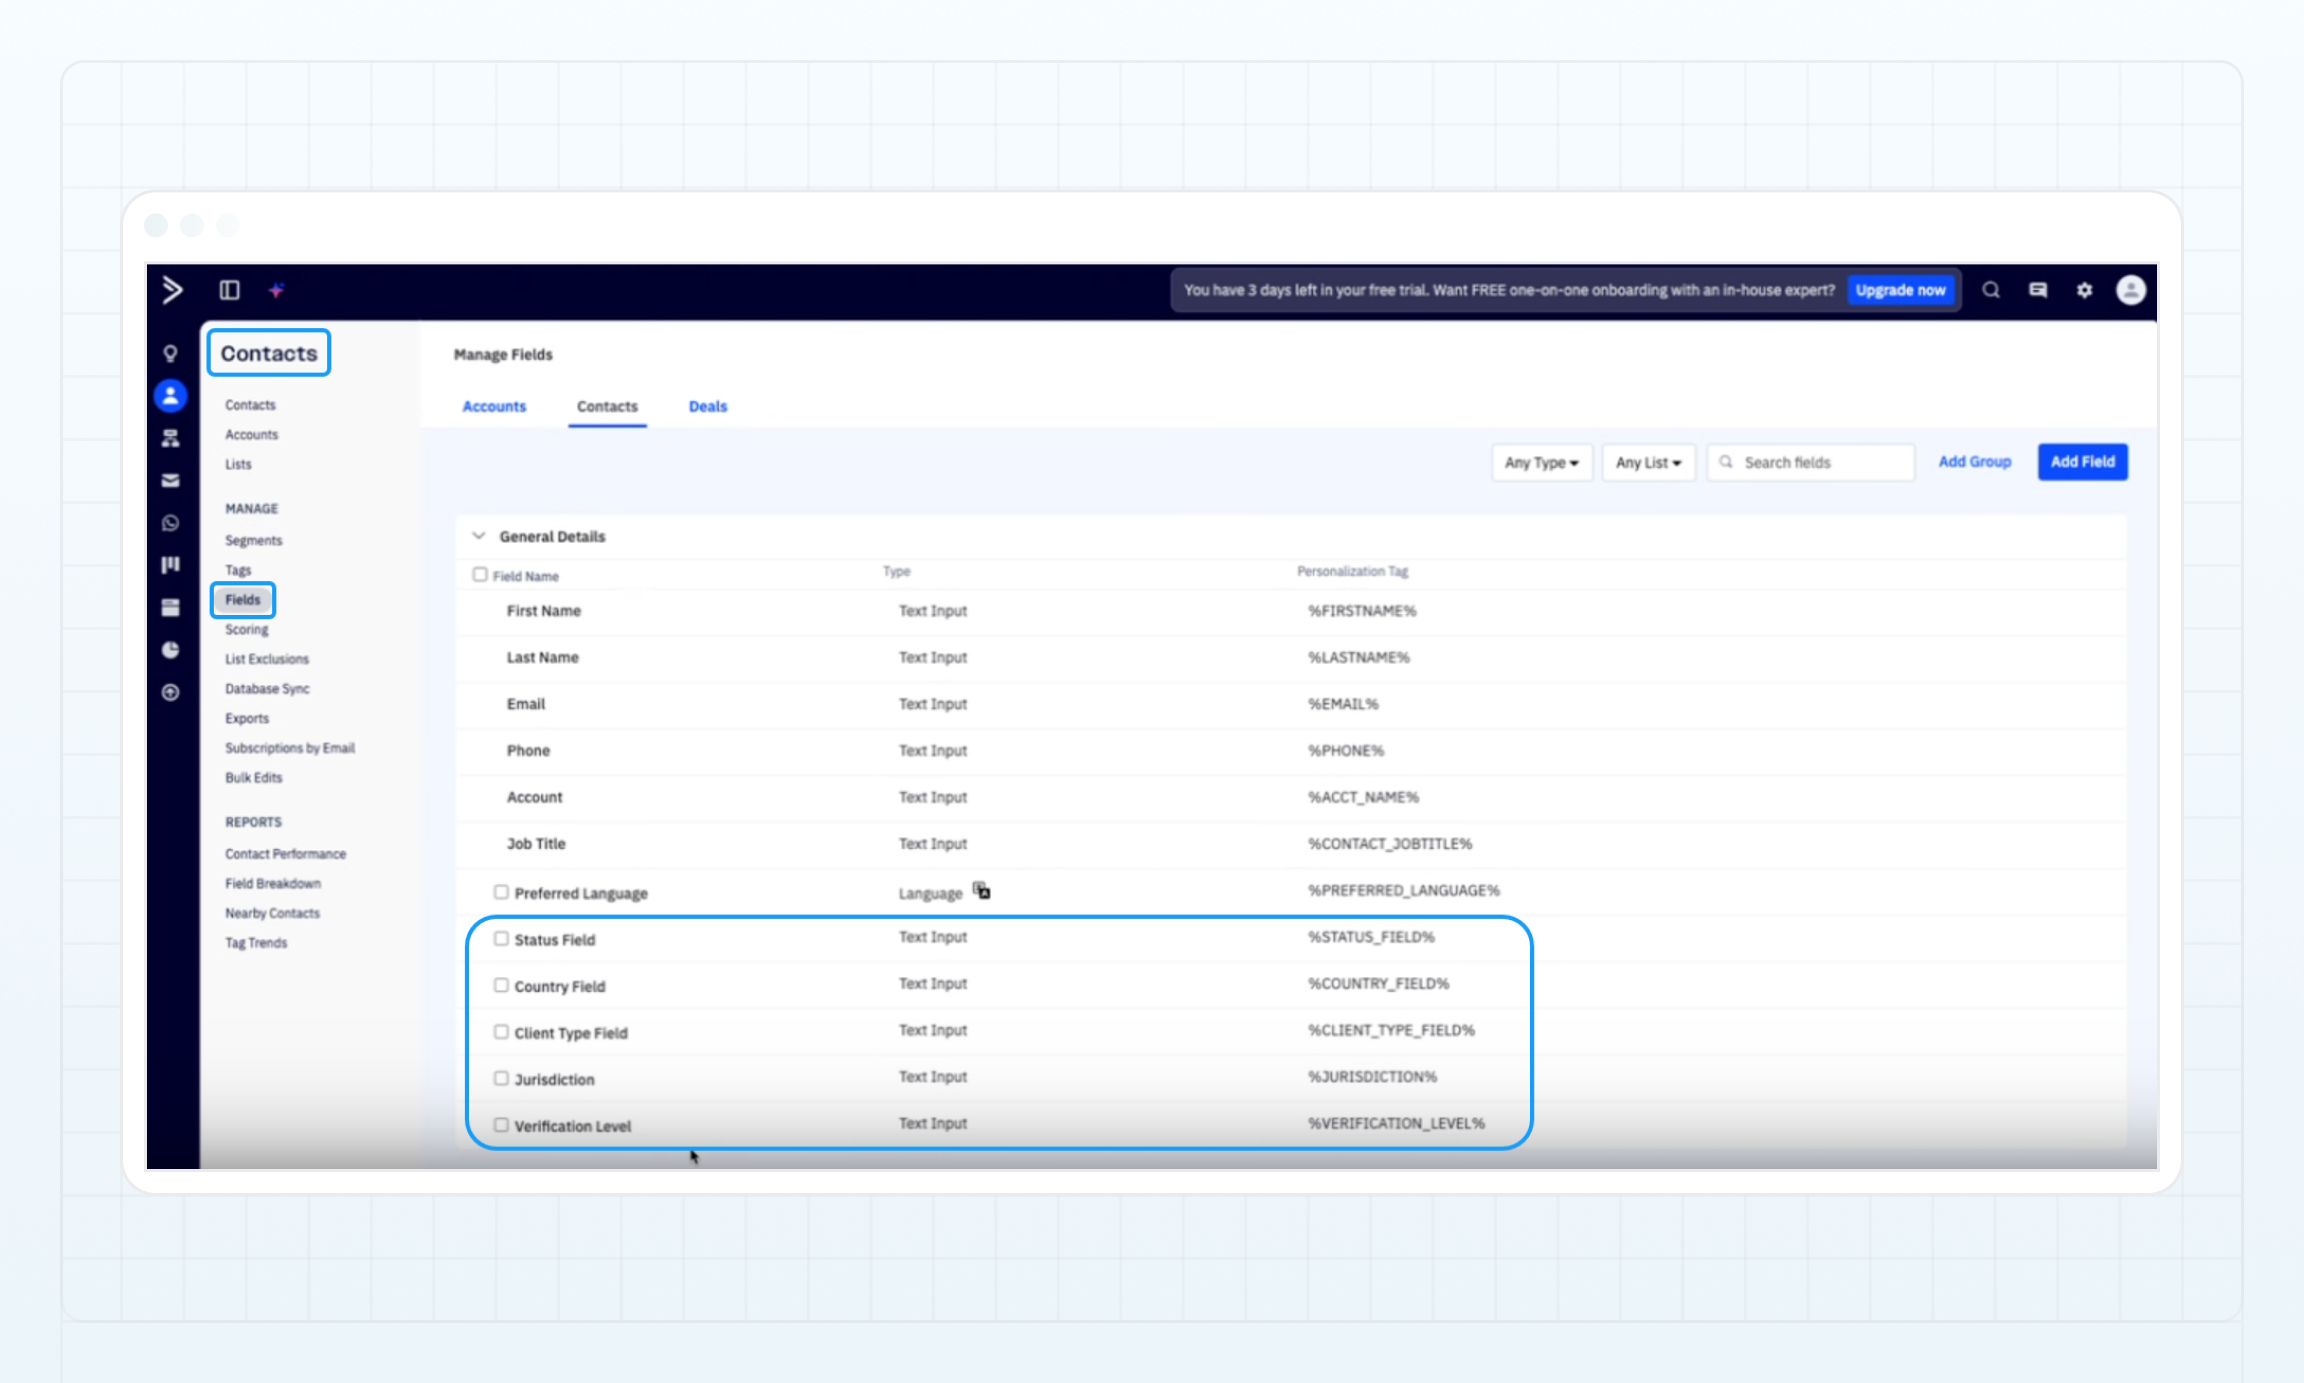
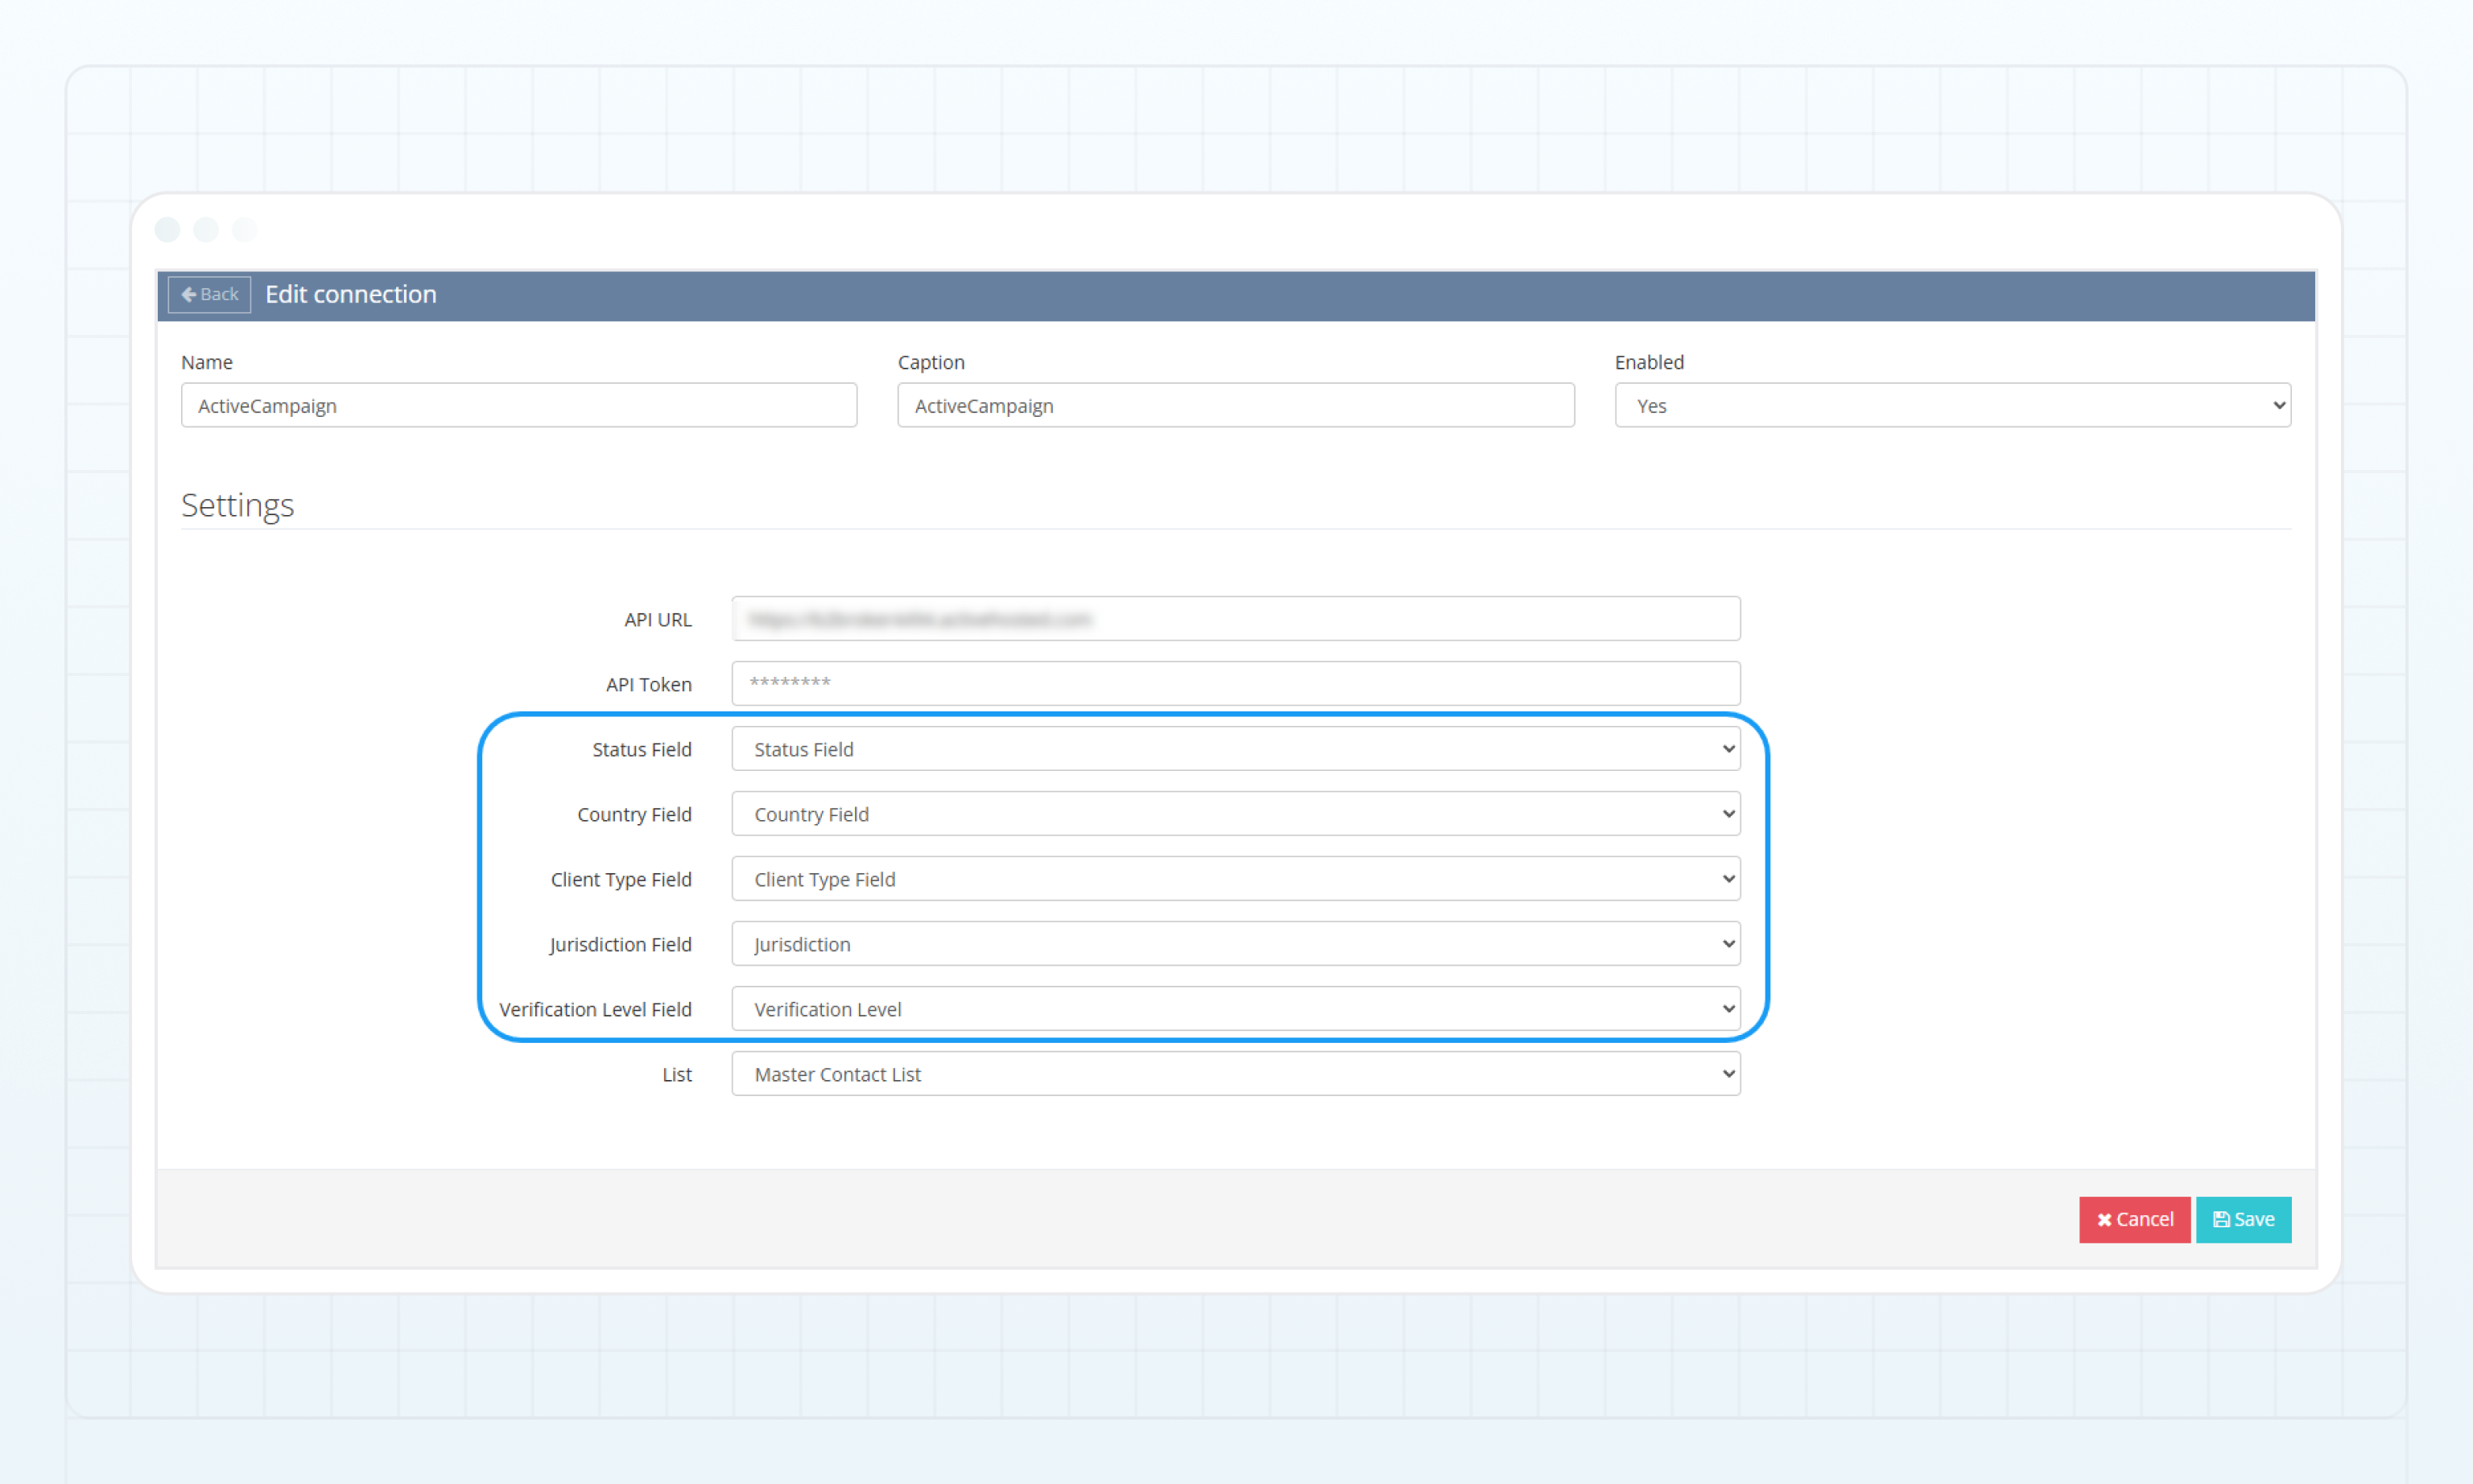
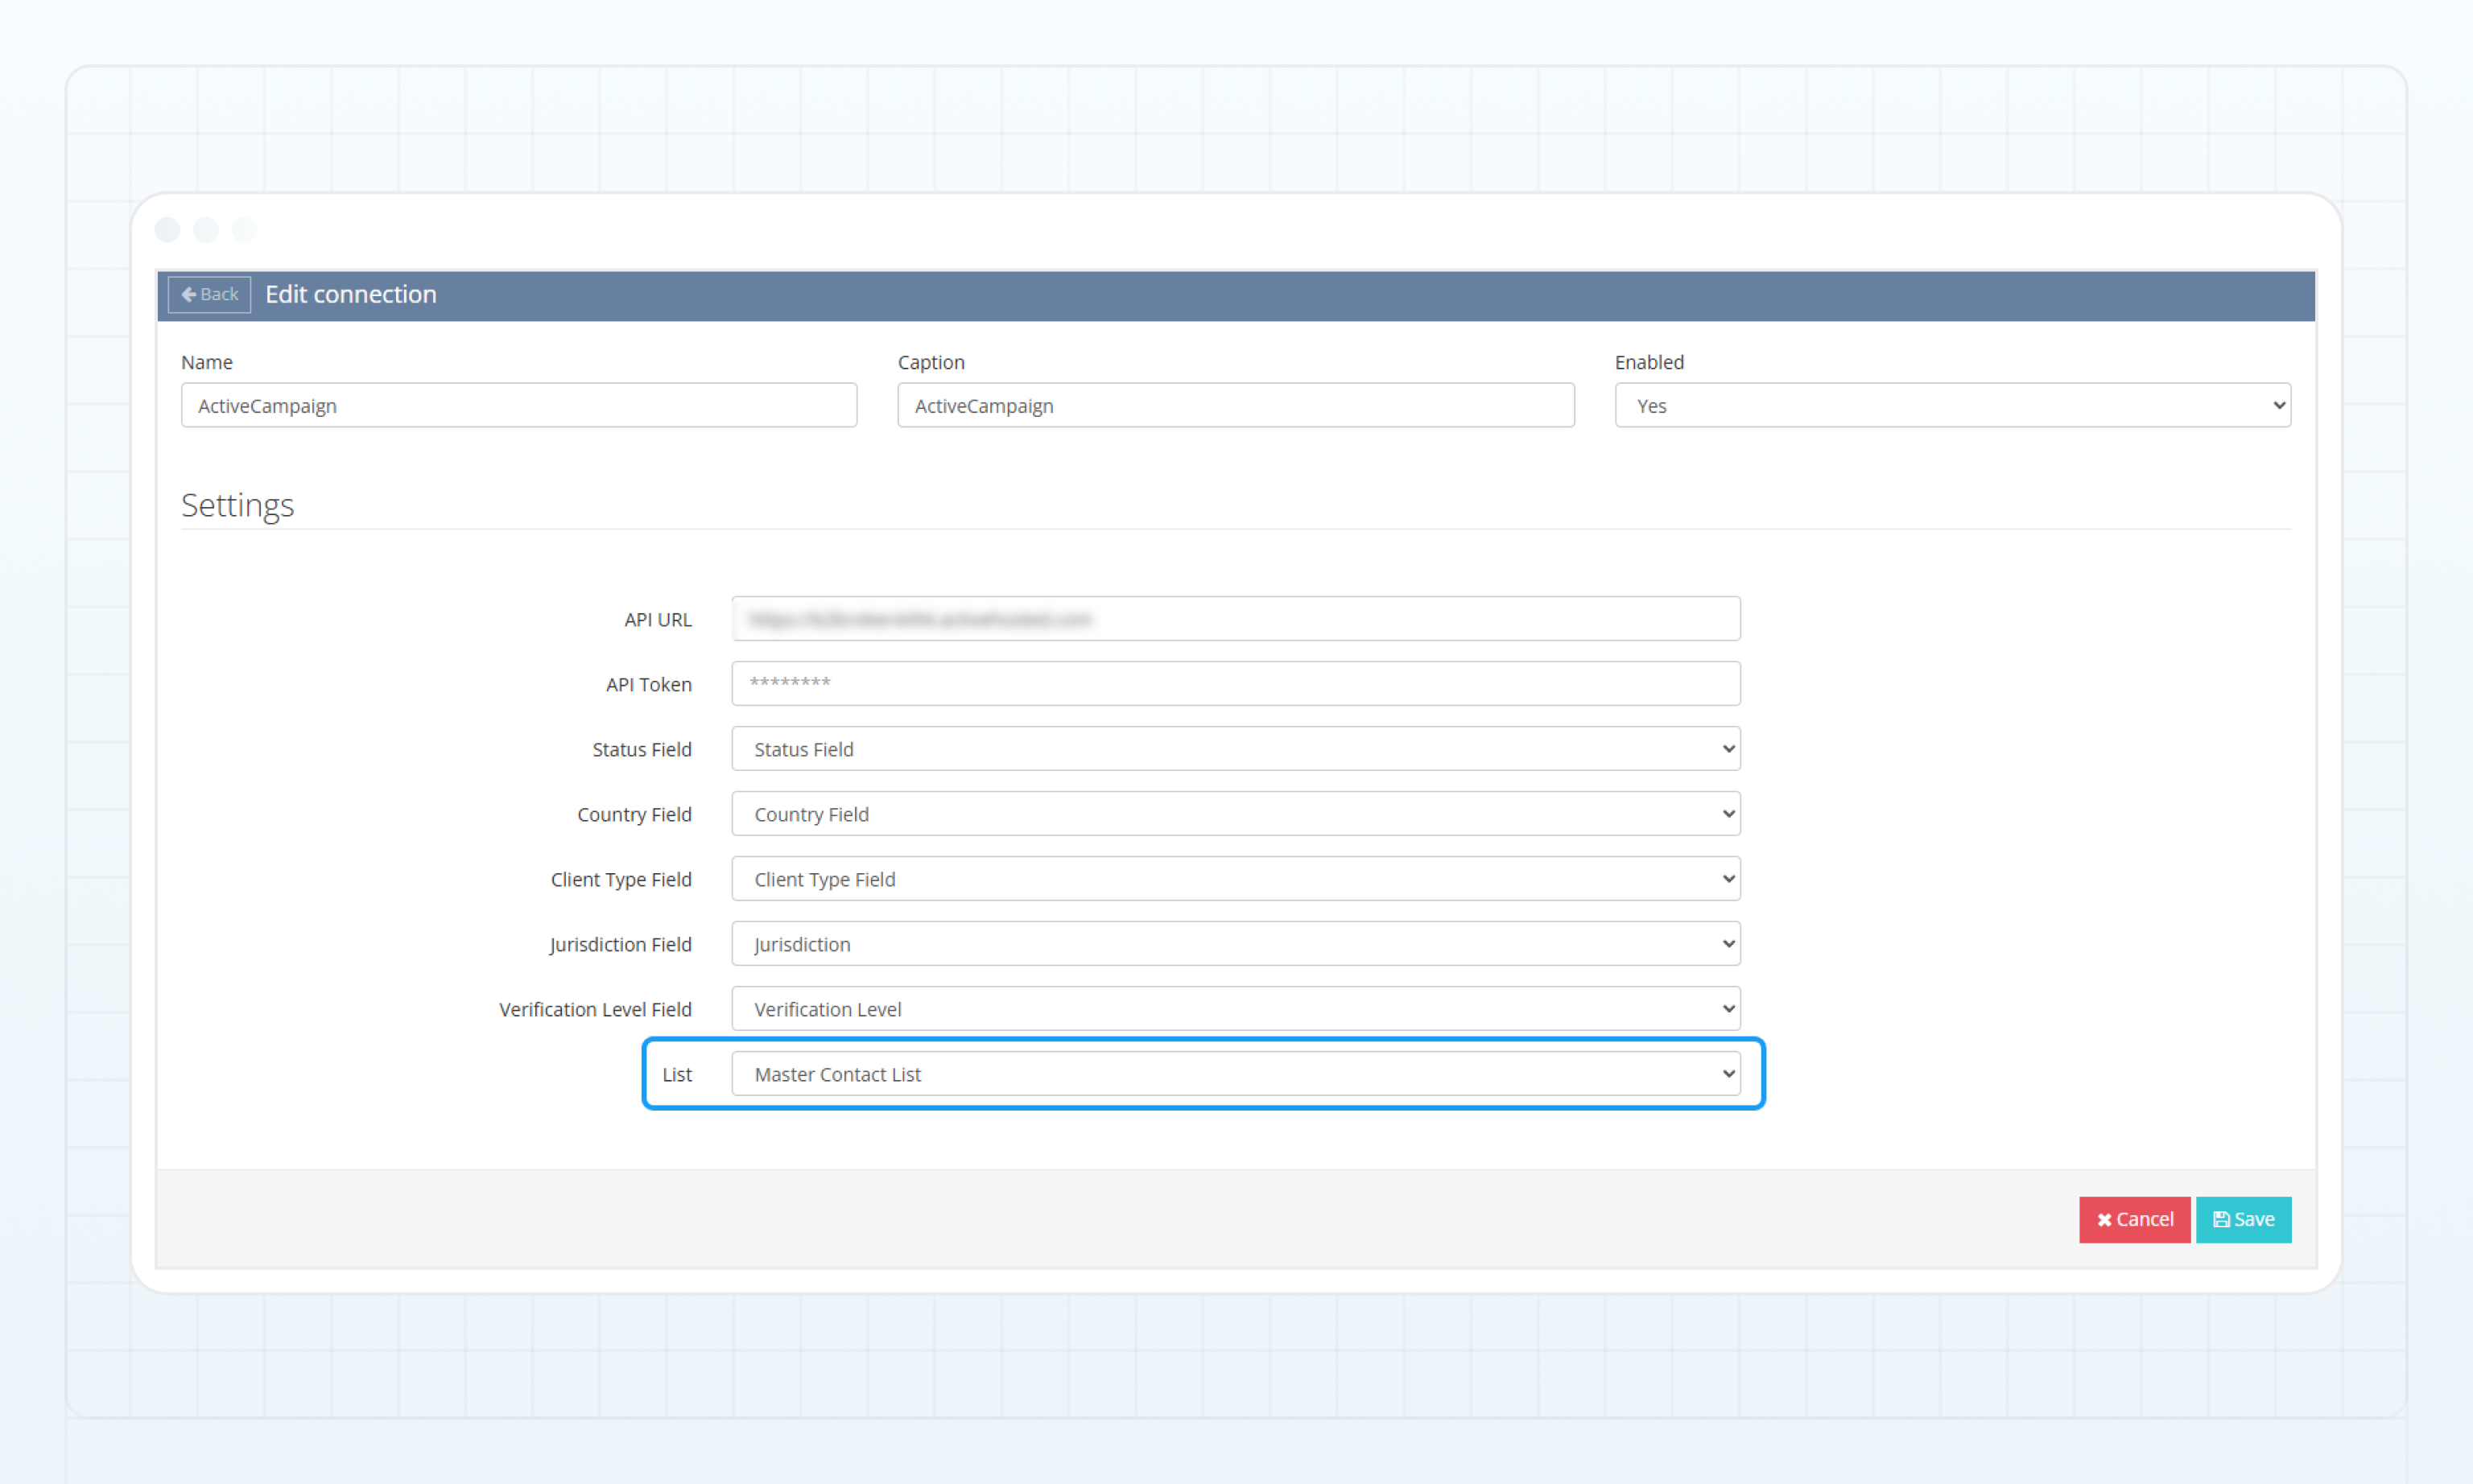
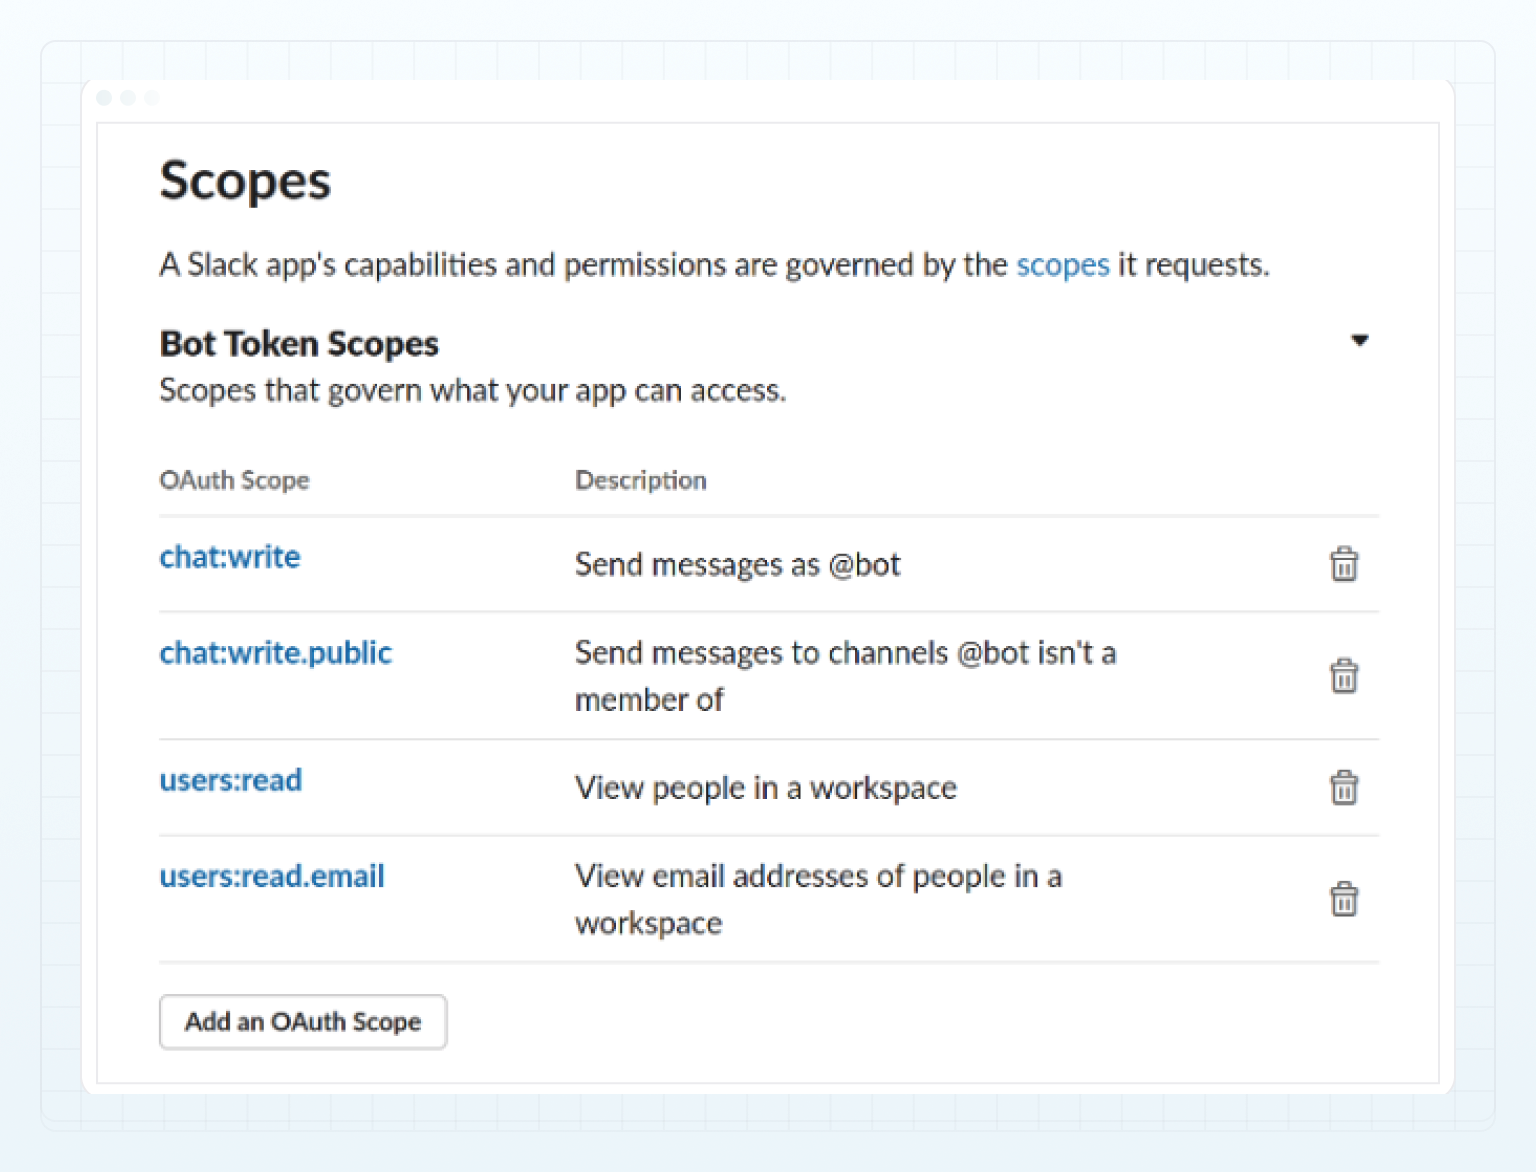
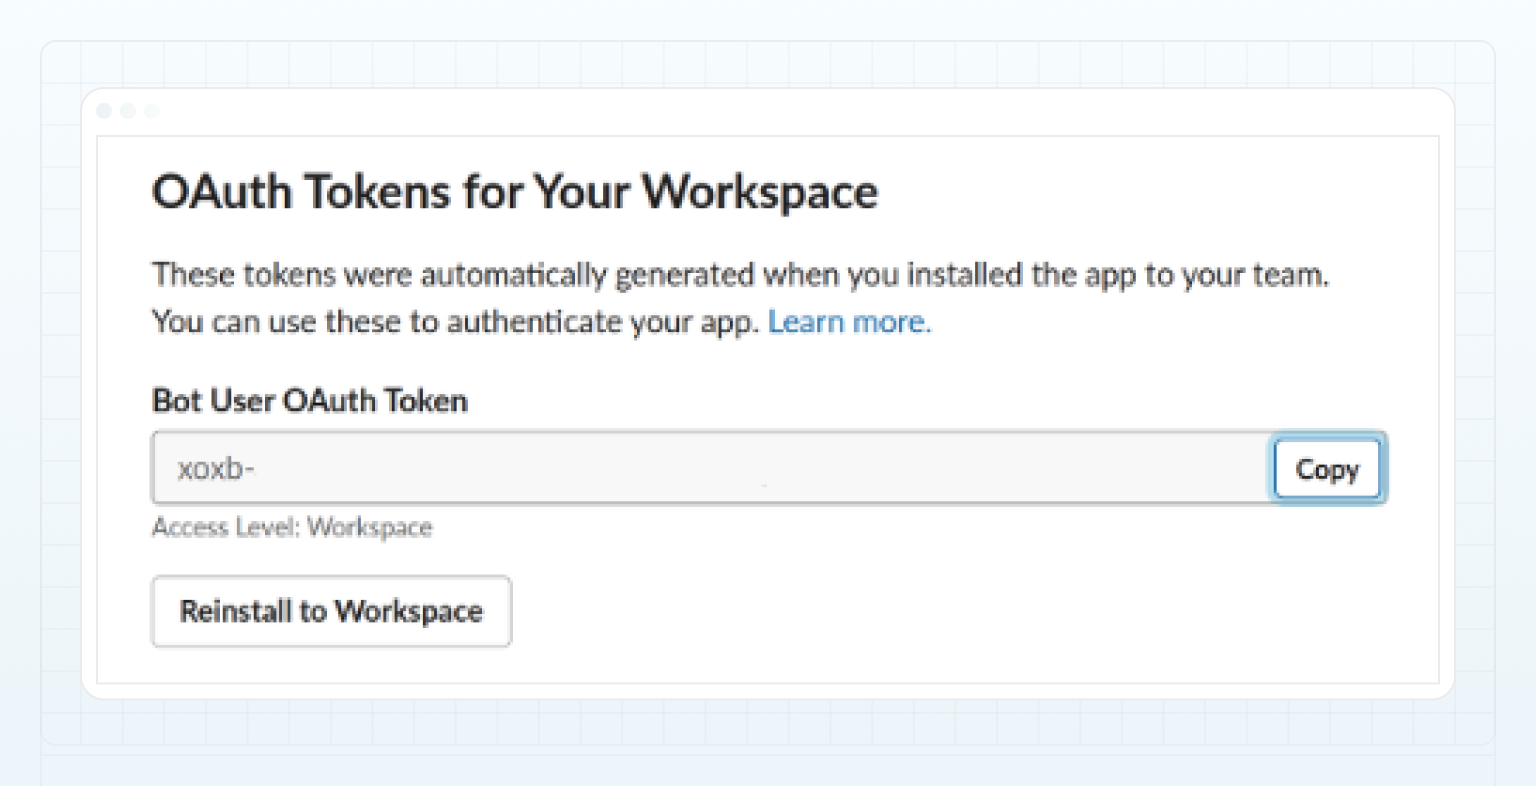
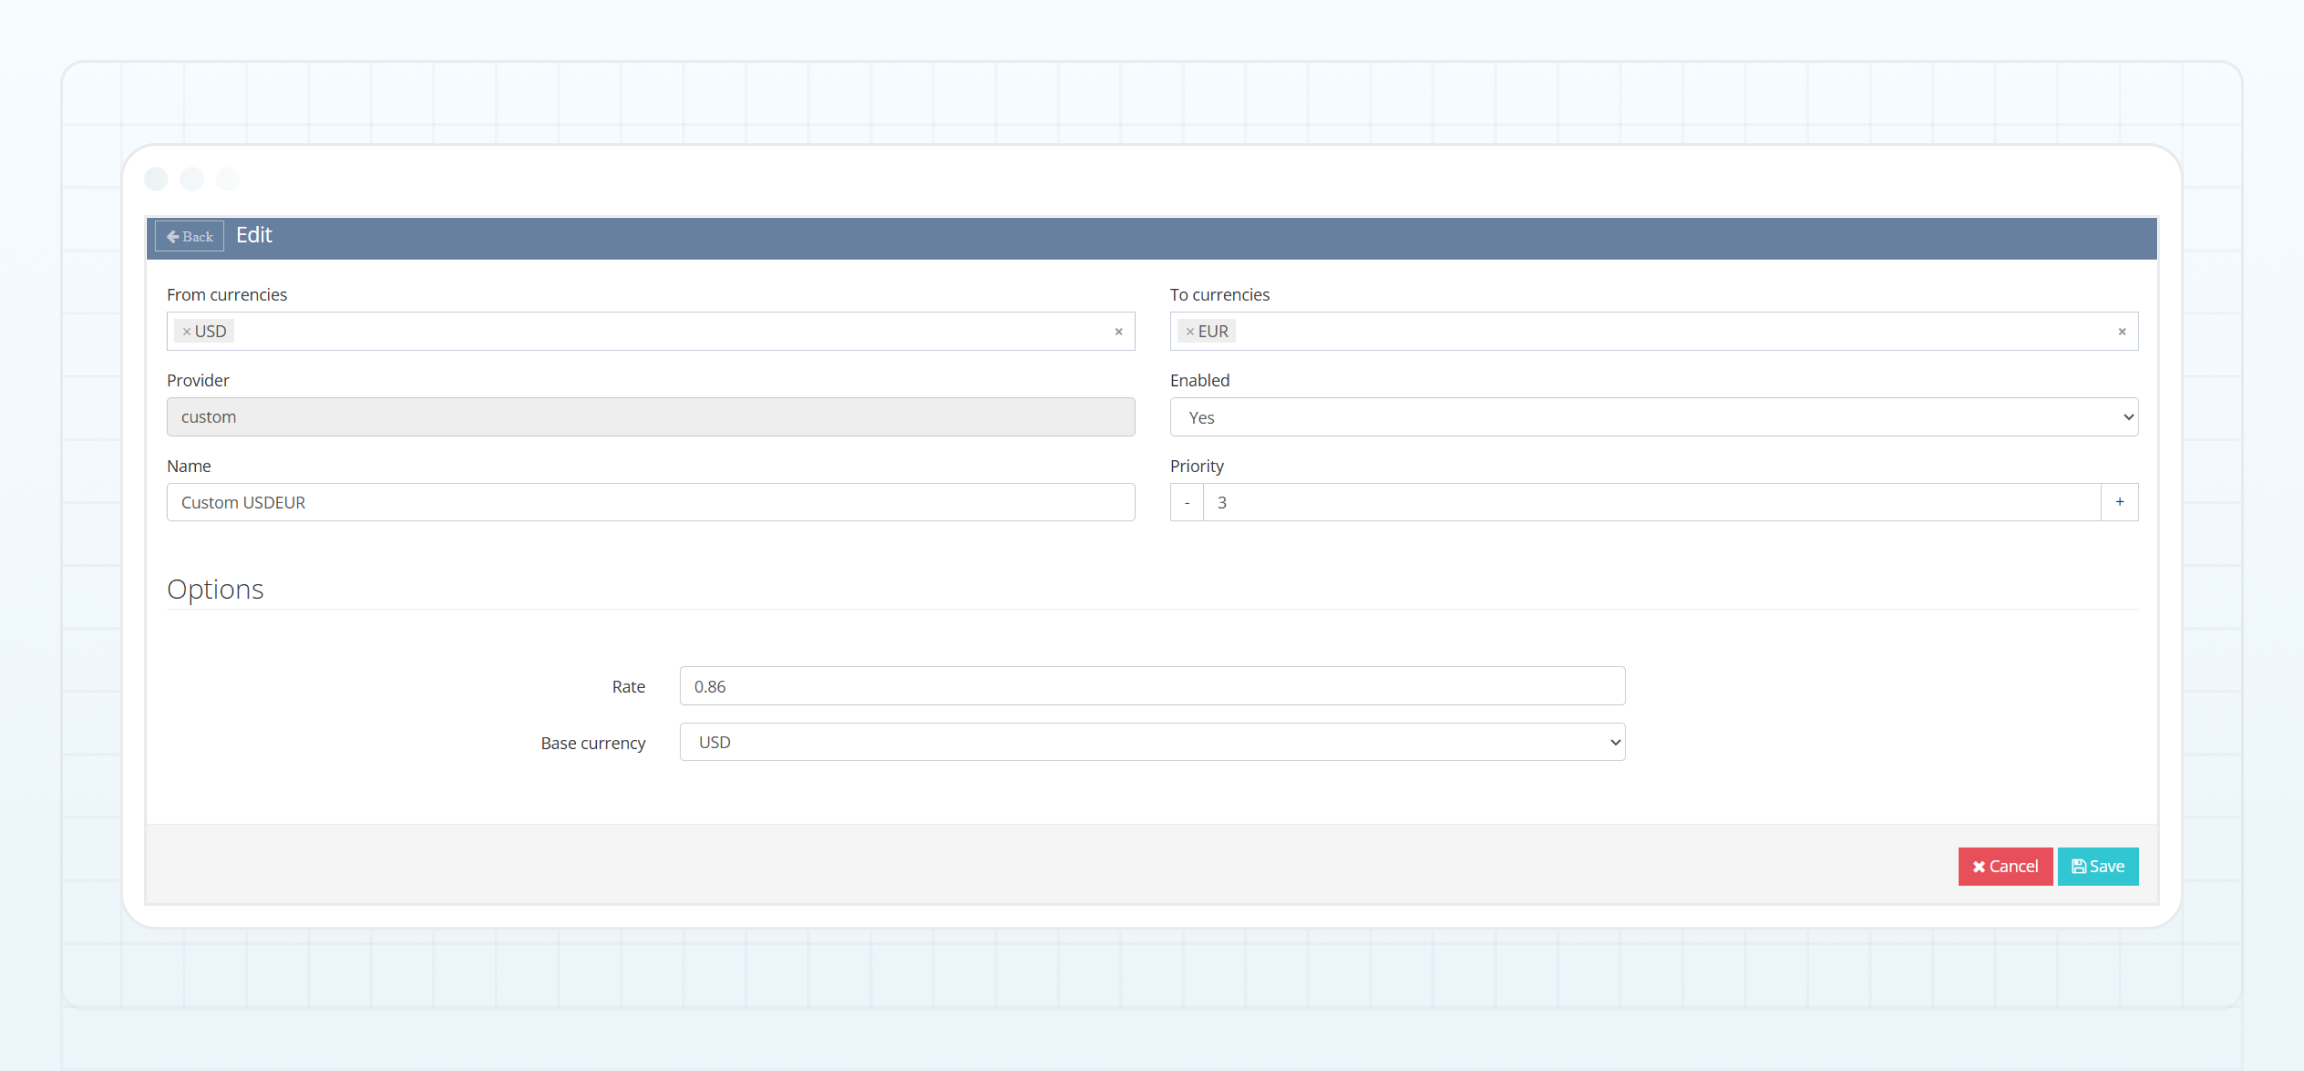 Exchanges initiated by clients in specific currency pairs through the B2CORE UI can be configured to require admin approval.
When clients create exchanges in these specific pairs, requests of the **Exchange** type are created and listed on the [Clients > Requests](../../back-office-guide/clients/requests) page. These exchanges are executed only after corresponding requests are approved by the admin, using the rates specified in the approved requests.
To enable requests for exchanges in a specific currency pair:
Exchanges initiated by clients in specific currency pairs through the B2CORE UI can be configured to require admin approval.
When clients create exchanges in these specific pairs, requests of the **Exchange** type are created and listed on the [Clients > Requests](../../back-office-guide/clients/requests) page. These exchanges are executed only after corresponding requests are approved by the admin, using the rates specified in the approved requests.
To enable requests for exchanges in a specific currency pair:
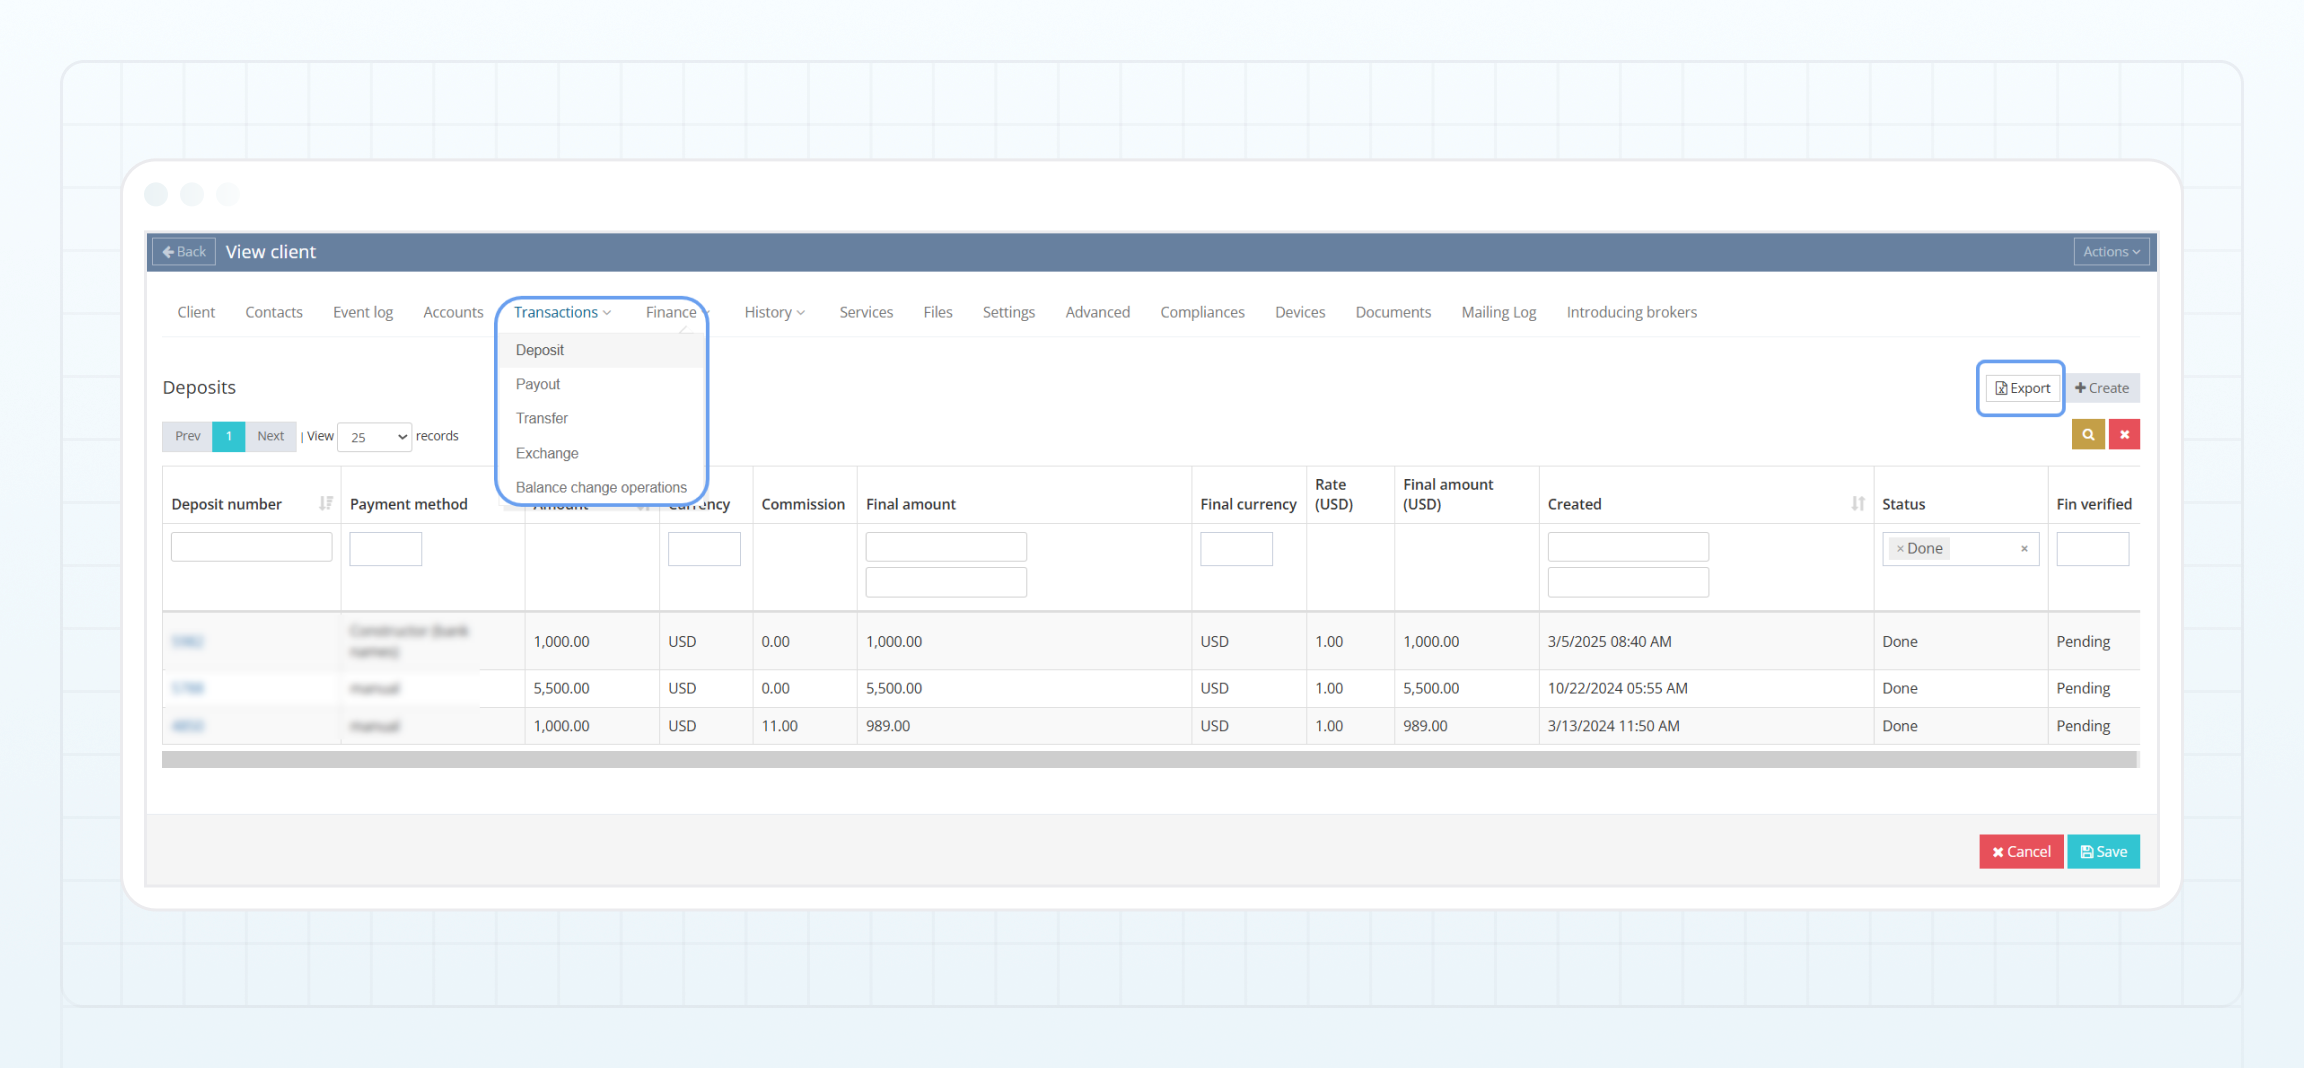
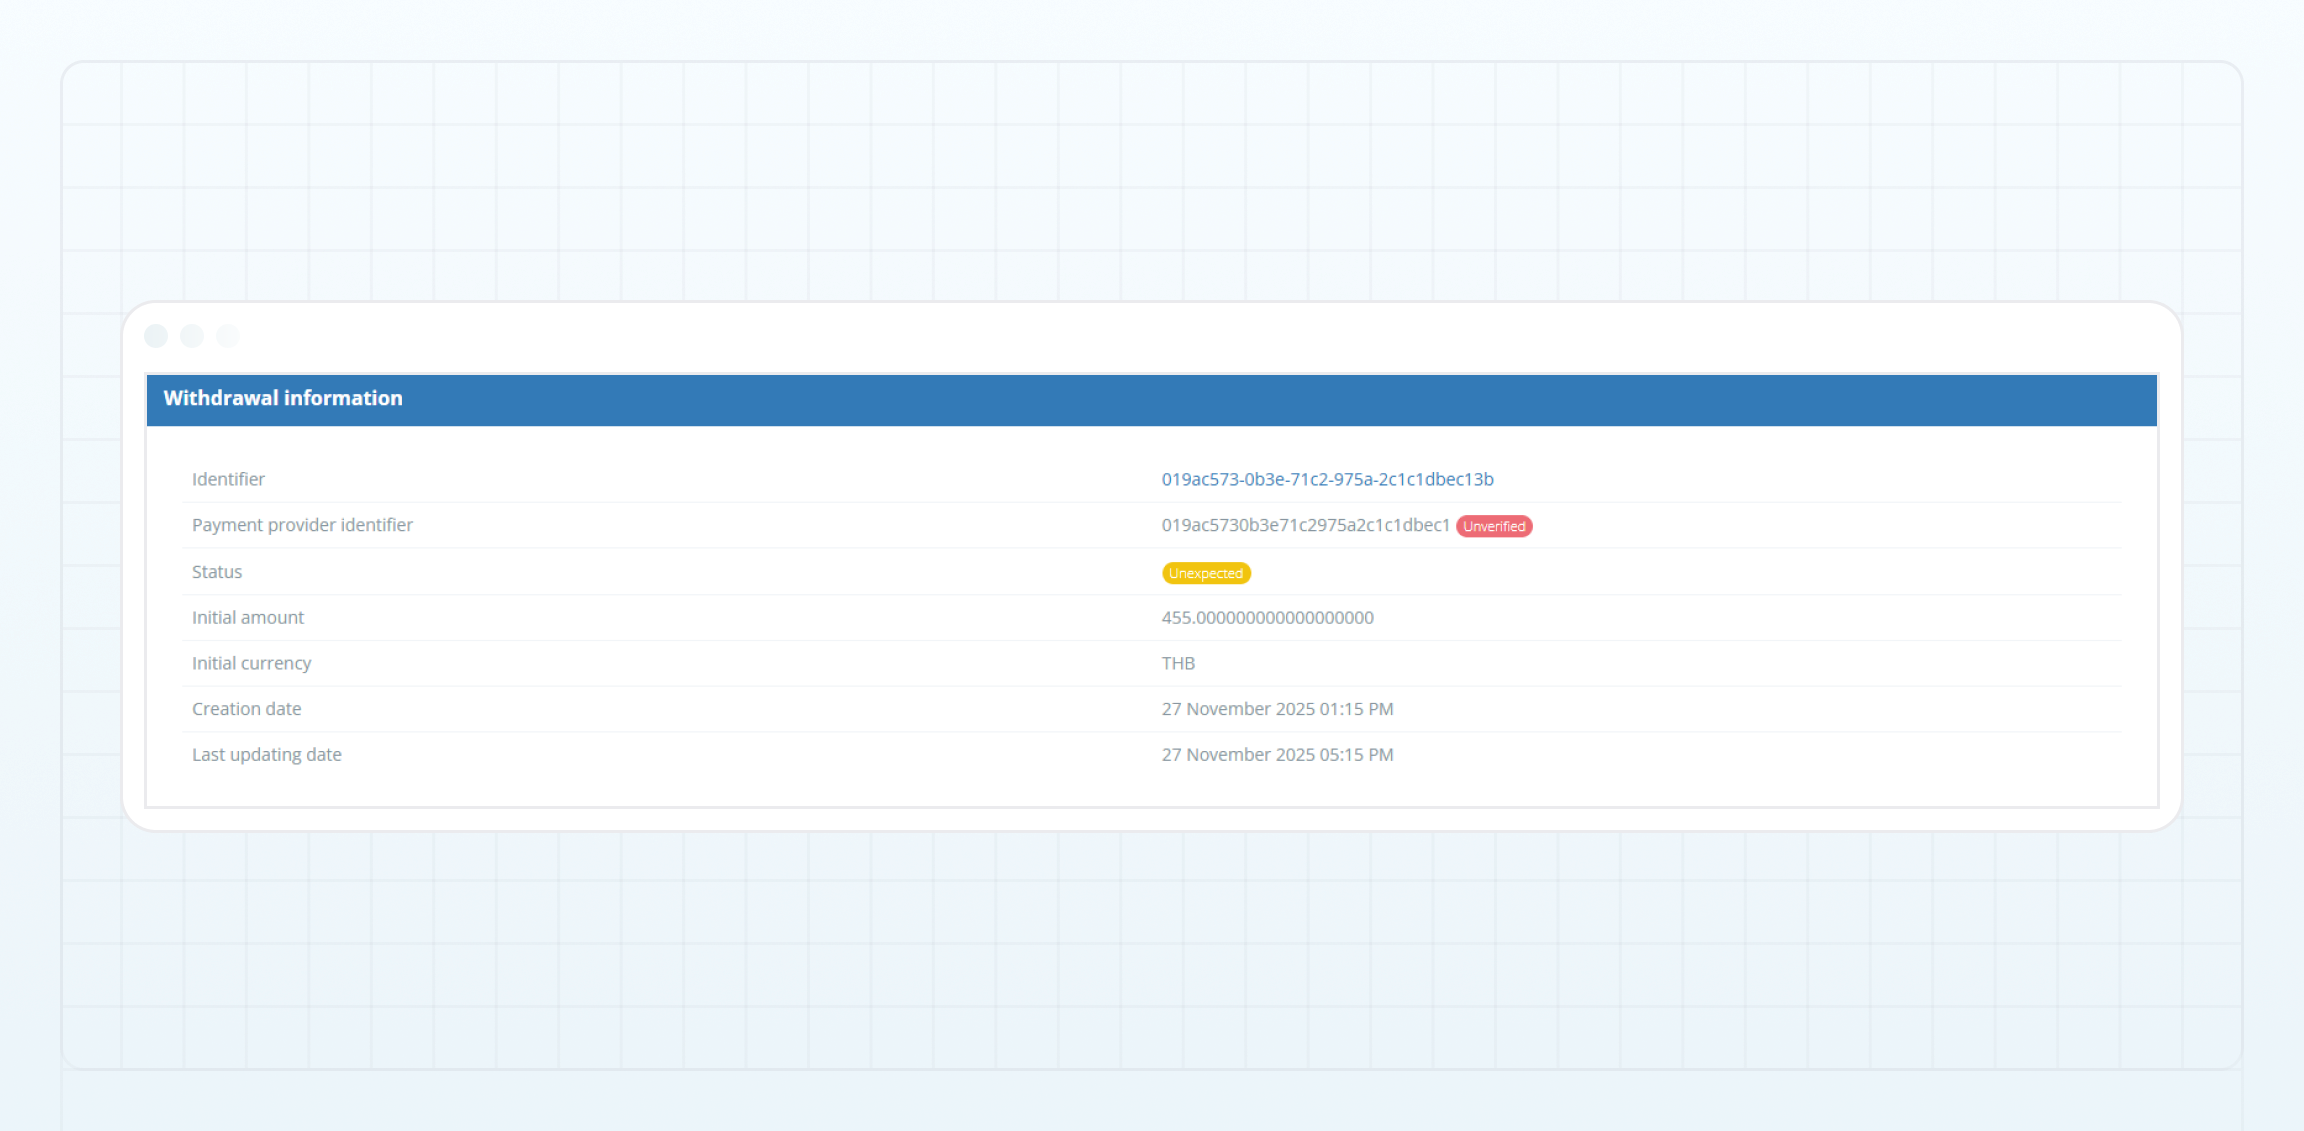 The main information about the transaction:
**Identifier**
The transaction identifier in the B2CORE Payment Systems Service (PSS). You can click it to navigate to the transaction details in **Finance** > **Deposits** or **Finance** > **Payouts**.
***
**Payment provider identifier**
The transaction identifier from the external payment system, which may have two statuses:
* `Verified` — a transaction with this identifier exists in the payment system.
* `Unverified` — a transaction with this identifier can't be found in the payment system.
***
**Status**
The status of the transaction in the B2CORE PSS:
* **Created** — a transaction was created.
* **In Progress** — a transaction is being processed.
* **Success** — a transaction was completed successfully. This is a final status.
* **Failed** — a transaction failed to complete. This is a final status.
* **Unexpected** — a transaction is in an unknown state. This status must be handled by the admin as part of the assistance process.
* **Unprocessable** — a transaction is in a state that requires manual actions, as no further actions can be taken automatically. This status must be handled by the admin as part of the assistance process.
***
**Initial amount**
The amount with which the transaction was initiated.
***
**Initial currency**
The currency in which the transaction was initiated.
***
**Creation date**
The date and time when the transaction was created.
***
**Last updating date**
The date and time when the transaction was last updated.
### Payment input snapshot [#payment-input-snapshot]
The information entered by a client on a payment form when initiating a deposit or withdrawal. The fields that clients must complete depend on the selected deposit or withdrawal method. This information is displayed as the field name and the value provided by the client.
For some methods, no information is required from clients. In this case, the message `The payment input snapshot is empty` is displayed.
The main information about the transaction:
**Identifier**
The transaction identifier in the B2CORE Payment Systems Service (PSS). You can click it to navigate to the transaction details in **Finance** > **Deposits** or **Finance** > **Payouts**.
***
**Payment provider identifier**
The transaction identifier from the external payment system, which may have two statuses:
* `Verified` — a transaction with this identifier exists in the payment system.
* `Unverified` — a transaction with this identifier can't be found in the payment system.
***
**Status**
The status of the transaction in the B2CORE PSS:
* **Created** — a transaction was created.
* **In Progress** — a transaction is being processed.
* **Success** — a transaction was completed successfully. This is a final status.
* **Failed** — a transaction failed to complete. This is a final status.
* **Unexpected** — a transaction is in an unknown state. This status must be handled by the admin as part of the assistance process.
* **Unprocessable** — a transaction is in a state that requires manual actions, as no further actions can be taken automatically. This status must be handled by the admin as part of the assistance process.
***
**Initial amount**
The amount with which the transaction was initiated.
***
**Initial currency**
The currency in which the transaction was initiated.
***
**Creation date**
The date and time when the transaction was created.
***
**Last updating date**
The date and time when the transaction was last updated.
### Payment input snapshot [#payment-input-snapshot]
The information entered by a client on a payment form when initiating a deposit or withdrawal. The fields that clients must complete depend on the selected deposit or withdrawal method. This information is displayed as the field name and the value provided by the client.
For some methods, no information is required from clients. In this case, the message `The payment input snapshot is empty` is displayed.
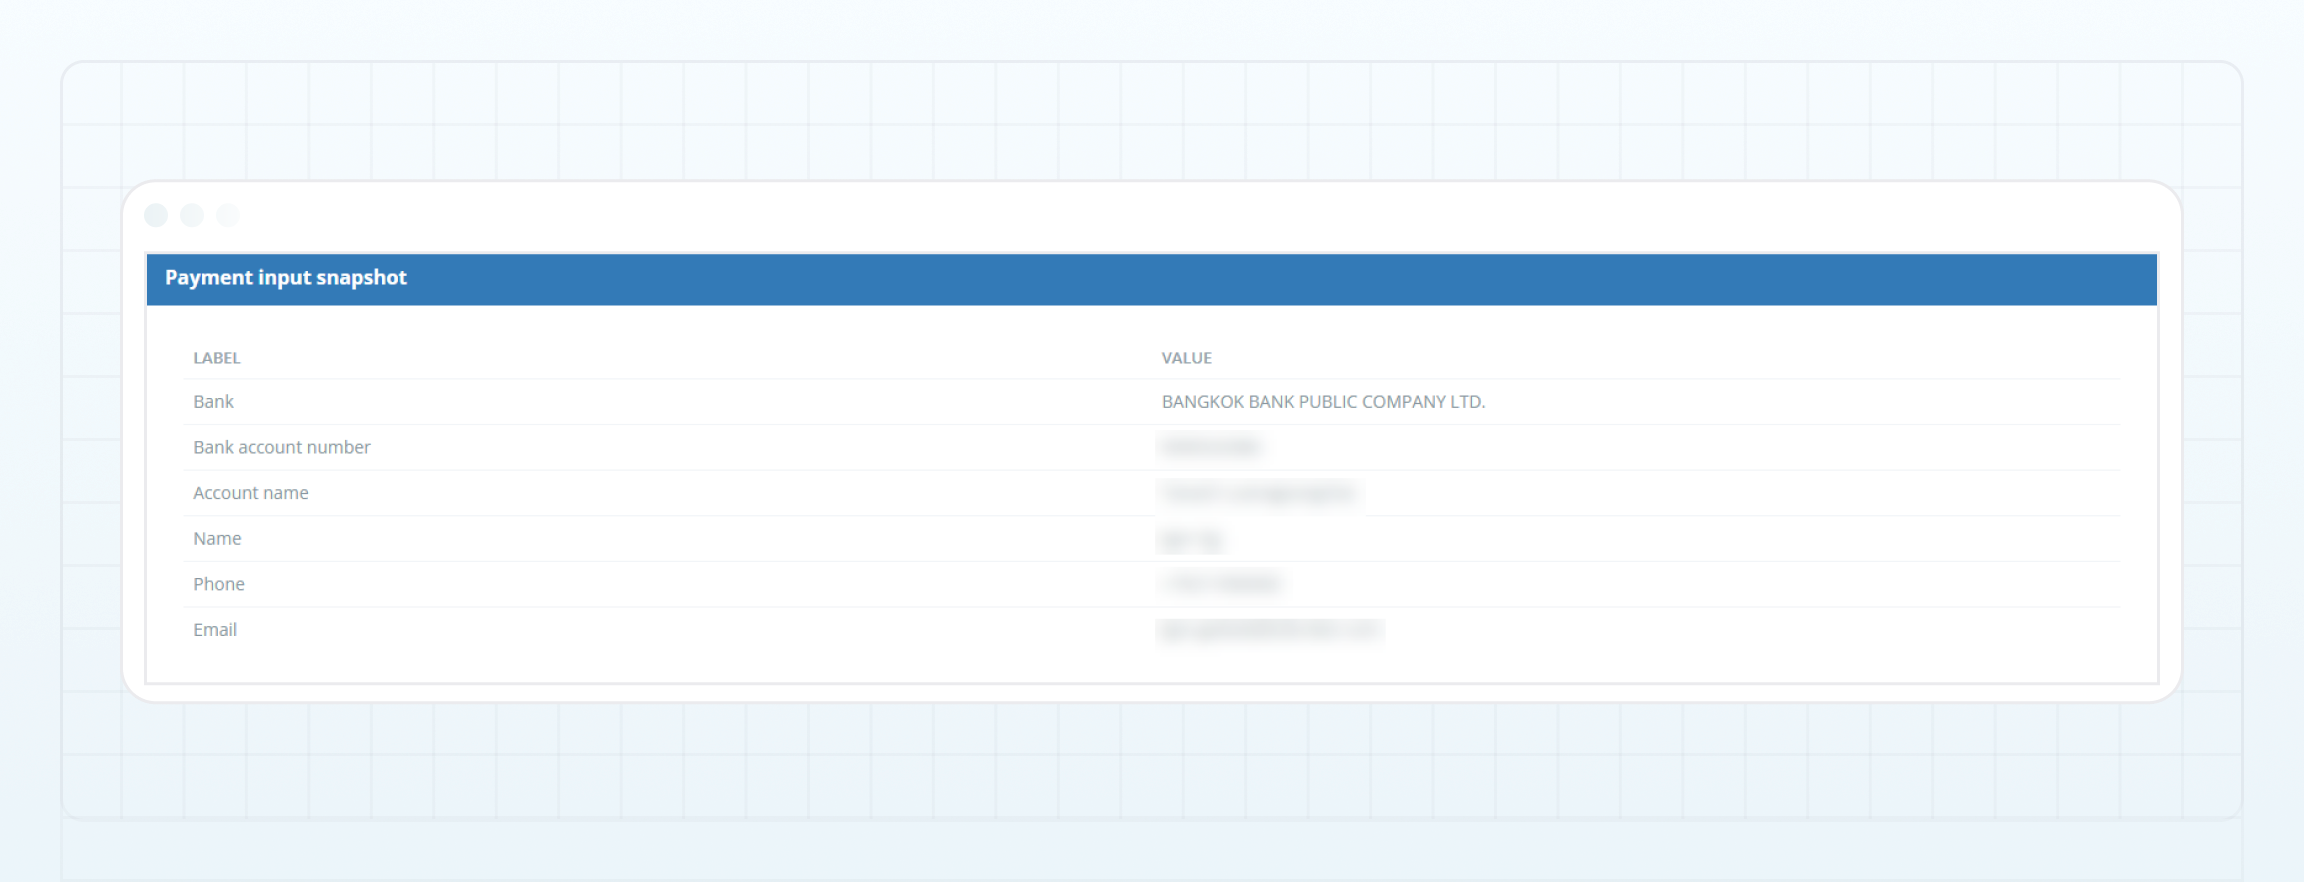 ### External details [#external-details]
Additional information about the transaction, including useful data from the payment system. The set of information depends on the specific payment system. During transaction processing, there are no details in this section.
### Timeline [#timeline]
Information about the transaction’s statuses within the B2CORE PSS. The data is presented in chronological order and includes useful details for each status.
### External details [#external-details]
Additional information about the transaction, including useful data from the payment system. The set of information depends on the specific payment system. During transaction processing, there are no details in this section.
### Timeline [#timeline]
Information about the transaction’s statuses within the B2CORE PSS. The data is presented in chronological order and includes useful details for each status.
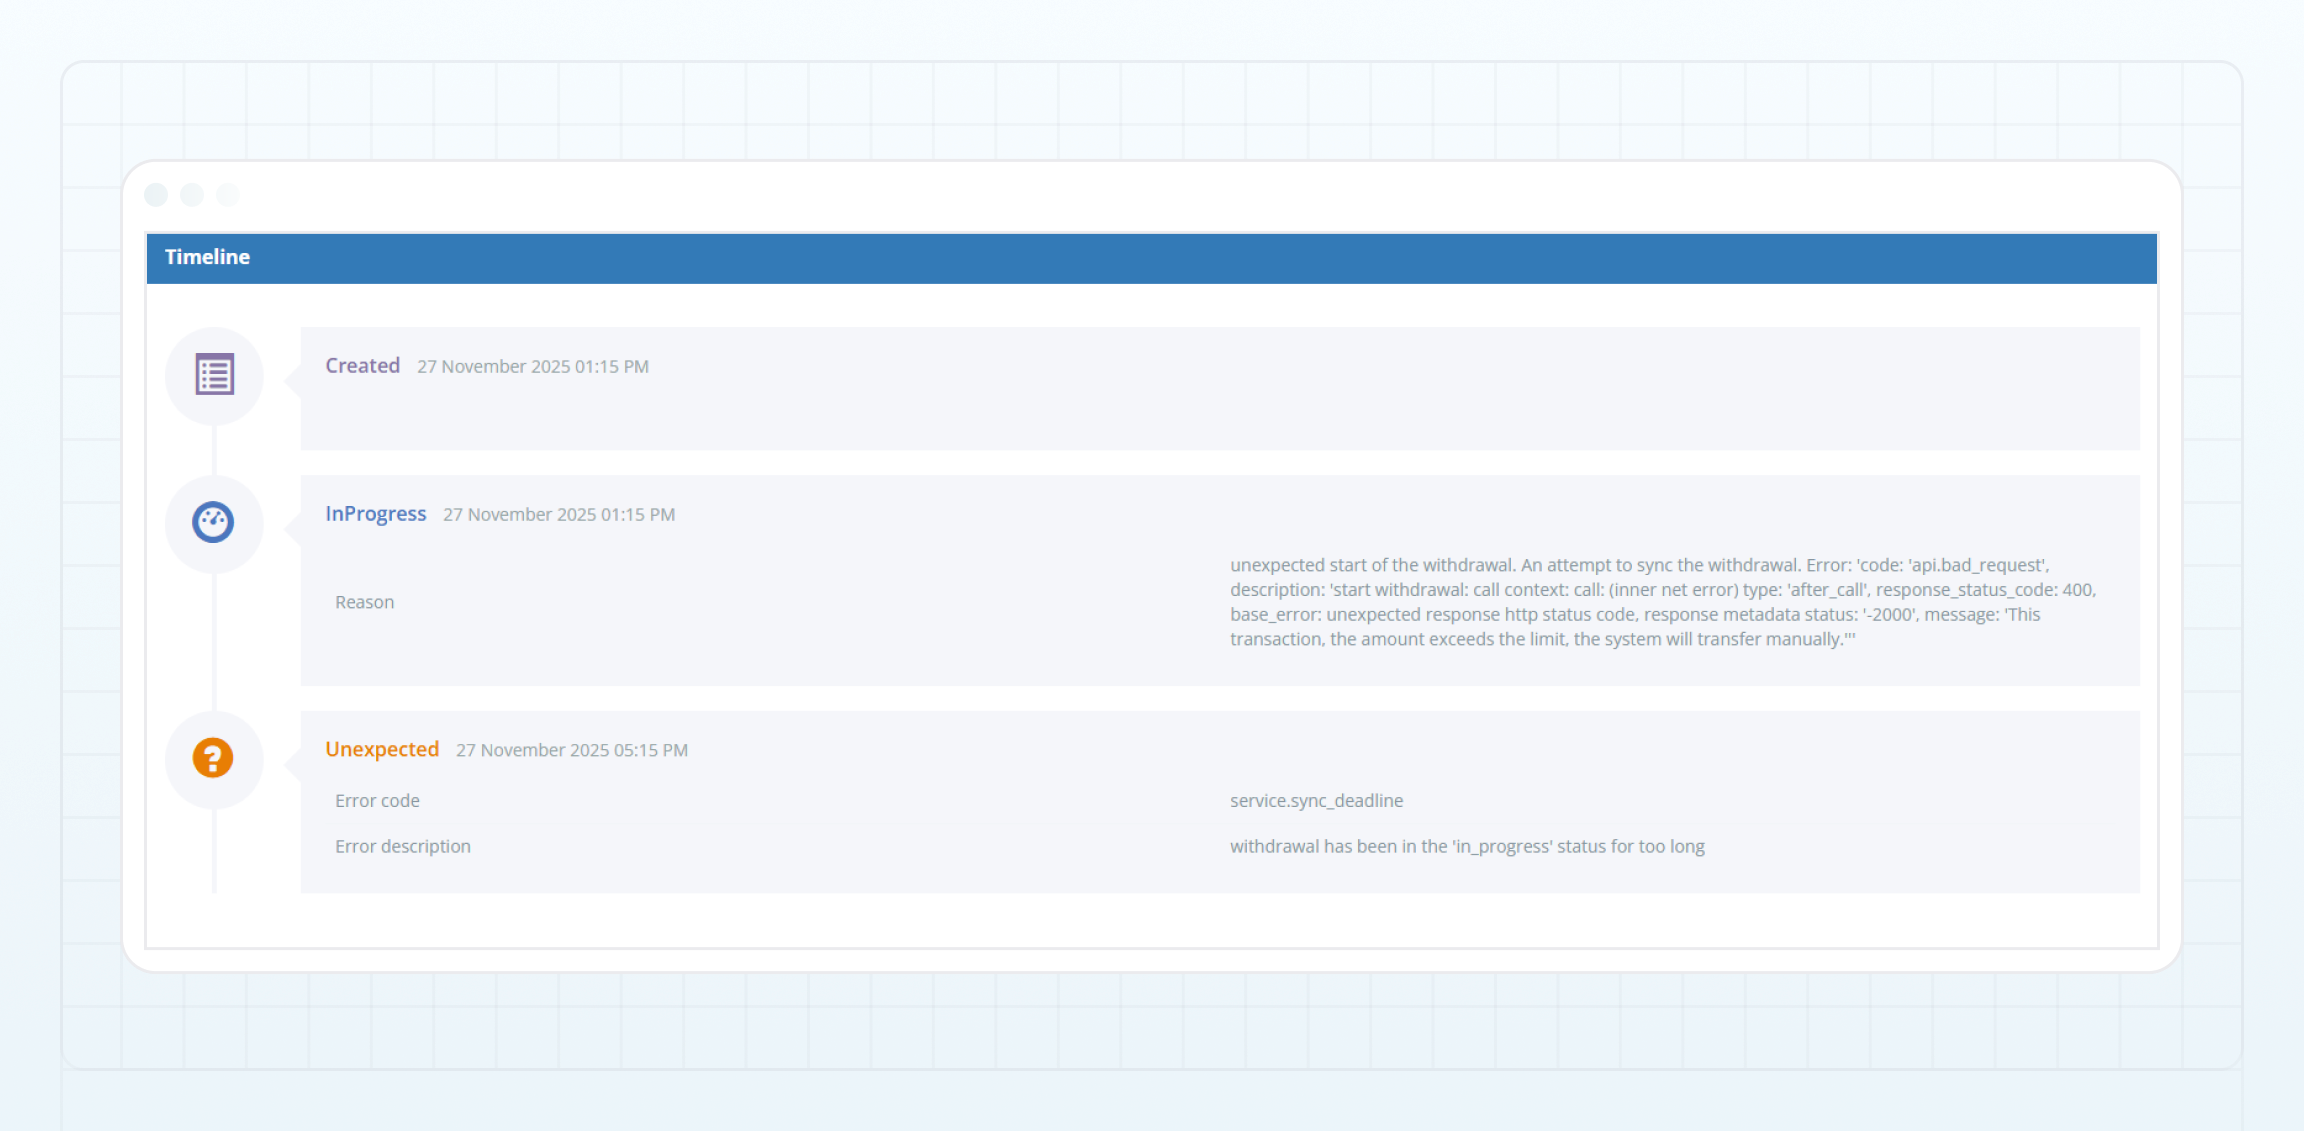 ### Polling job [#polling-job]
After a transaction is created within the B2CORE PSS, the service initiates periodic requests to the external payment system to check the current status of the transaction. This periodic status check is referred to as the **Polling job** process. Each polling job attempt includes information about the request date, status, and additional details about any errors, if applicable.
### Polling job [#polling-job]
After a transaction is created within the B2CORE PSS, the service initiates periodic requests to the external payment system to check the current status of the transaction. This periodic status check is referred to as the **Polling job** process. Each polling job attempt includes information about the request date, status, and additional details about any errors, if applicable.
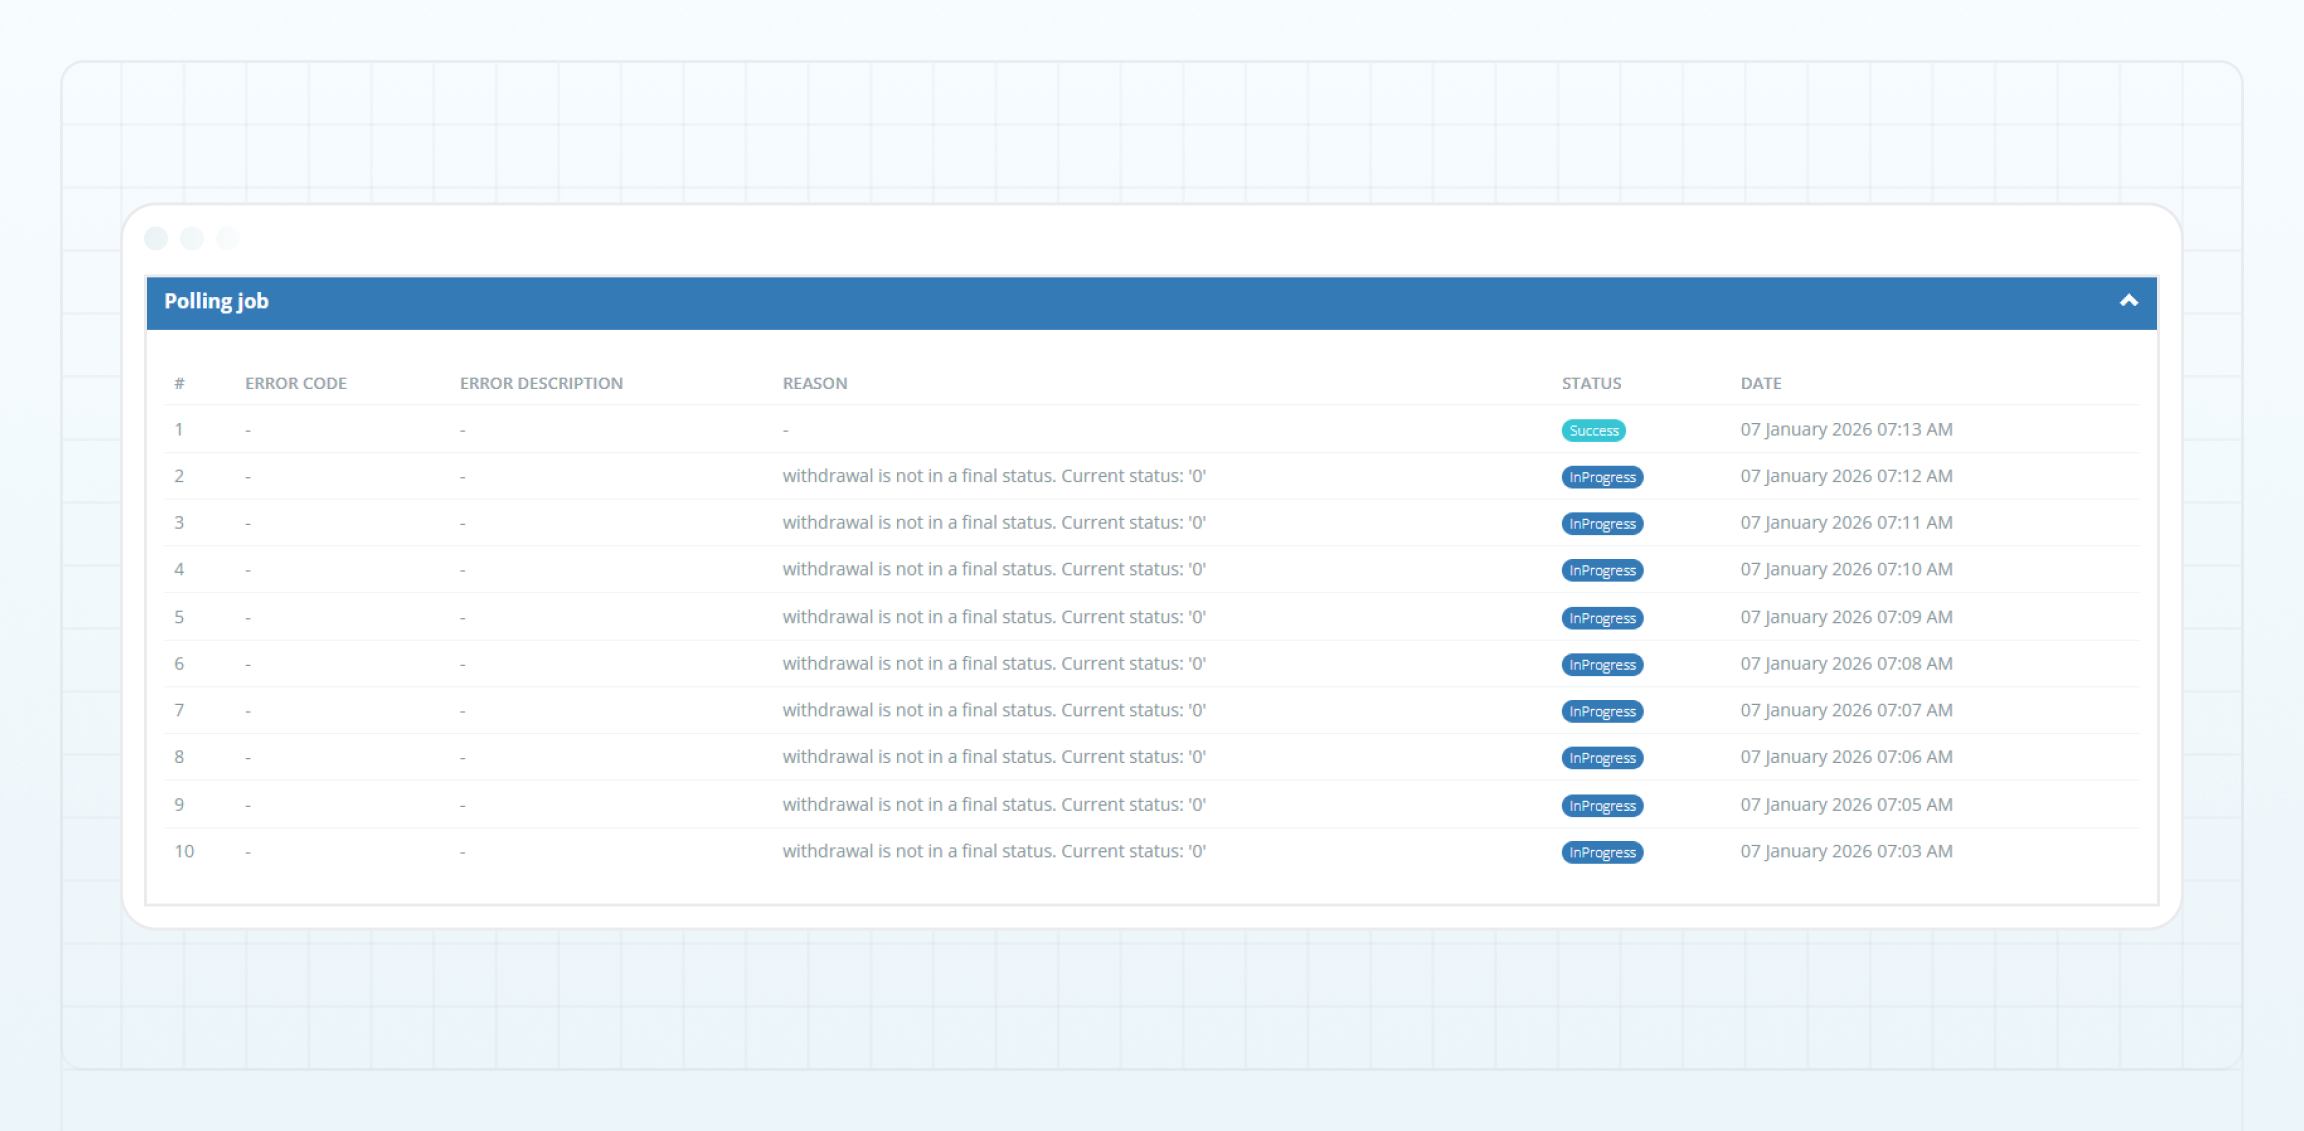 After the transaction is successfully completed, the information in all sections of the request is updated accordingly.
When transactions — such as deposits, transfers, or exchanges between wallets and trading accounts — have the `Partial` status, it indicates that processing wasn’t completed due to technical issues. These transactions should be processed manually.
To process a transaction with the `Partial` status:
After the transaction is successfully completed, the information in all sections of the request is updated accordingly.
When transactions — such as deposits, transfers, or exchanges between wallets and trading accounts — have the `Partial` status, it indicates that processing wasn’t completed due to technical issues. These transactions should be processed manually.
To process a transaction with the `Partial` status:
 displayed on the left side of the transaction row. The system will automatically attempt to determine the final status of the transaction.
* If successful, the transaction status is updated accordingly.
* If the final status isn’t found, the following error message is displayed: `Operation was not found` and two buttons appear:
*
displayed on the left side of the transaction row. The system will automatically attempt to determine the final status of the transaction.
* If successful, the transaction status is updated accordingly.
* If the final status isn’t found, the following error message is displayed: `Operation was not found` and two buttons appear:
*  — the **Process transaction** button
*
— the **Process transaction** button
*  — the **Set Done status** button
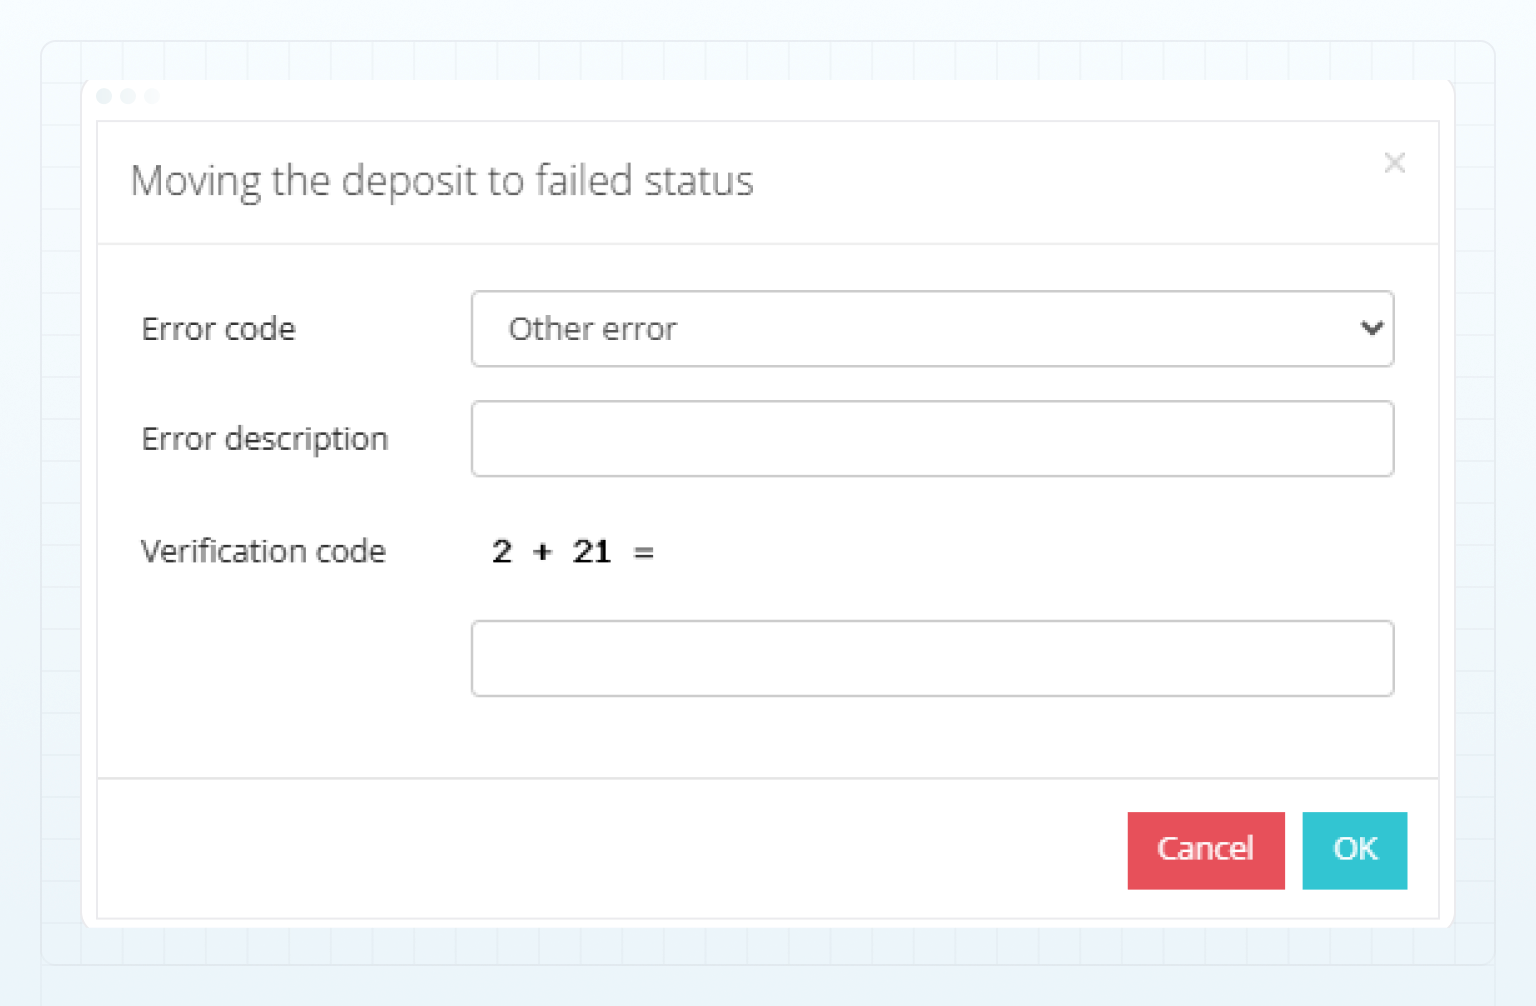
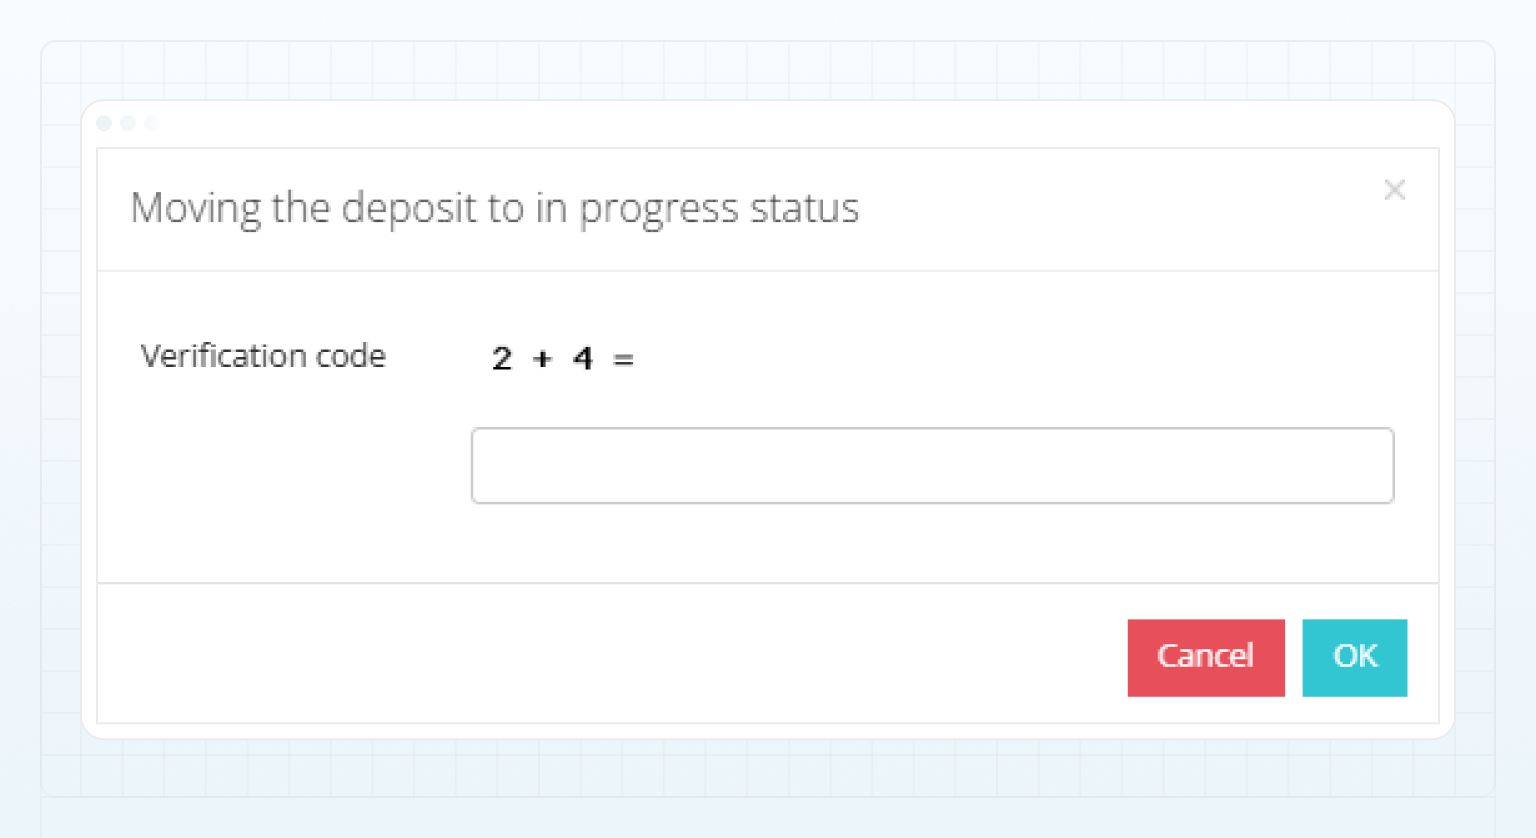 To confirm the action, solve a simple math problem and enter the result in the **Verification code** field.
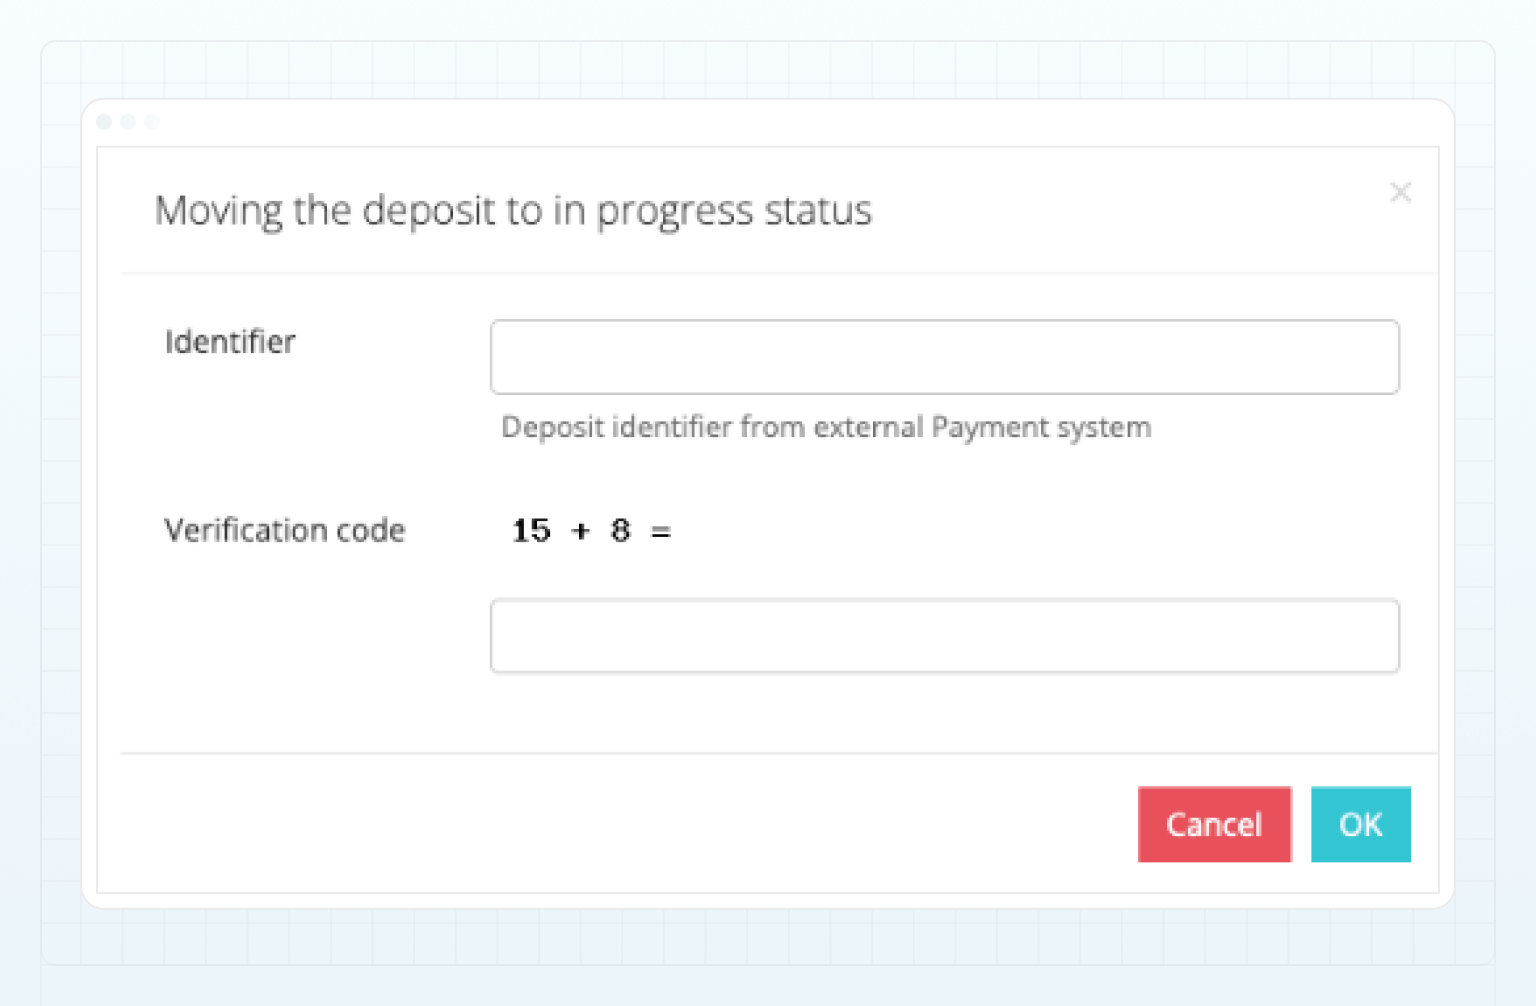 In the displayed popup, fill in the following fields:
* In the **Identifier** field, specify the transaction identifier from the external payment system.
* To confirm the action, solve a simple math problem and enter the result in the **Verification code** field.
In the displayed popup, fill in the following fields:
* In the **Identifier** field, specify the transaction identifier from the external payment system.
* To confirm the action, solve a simple math problem and enter the result in the **Verification code** field.
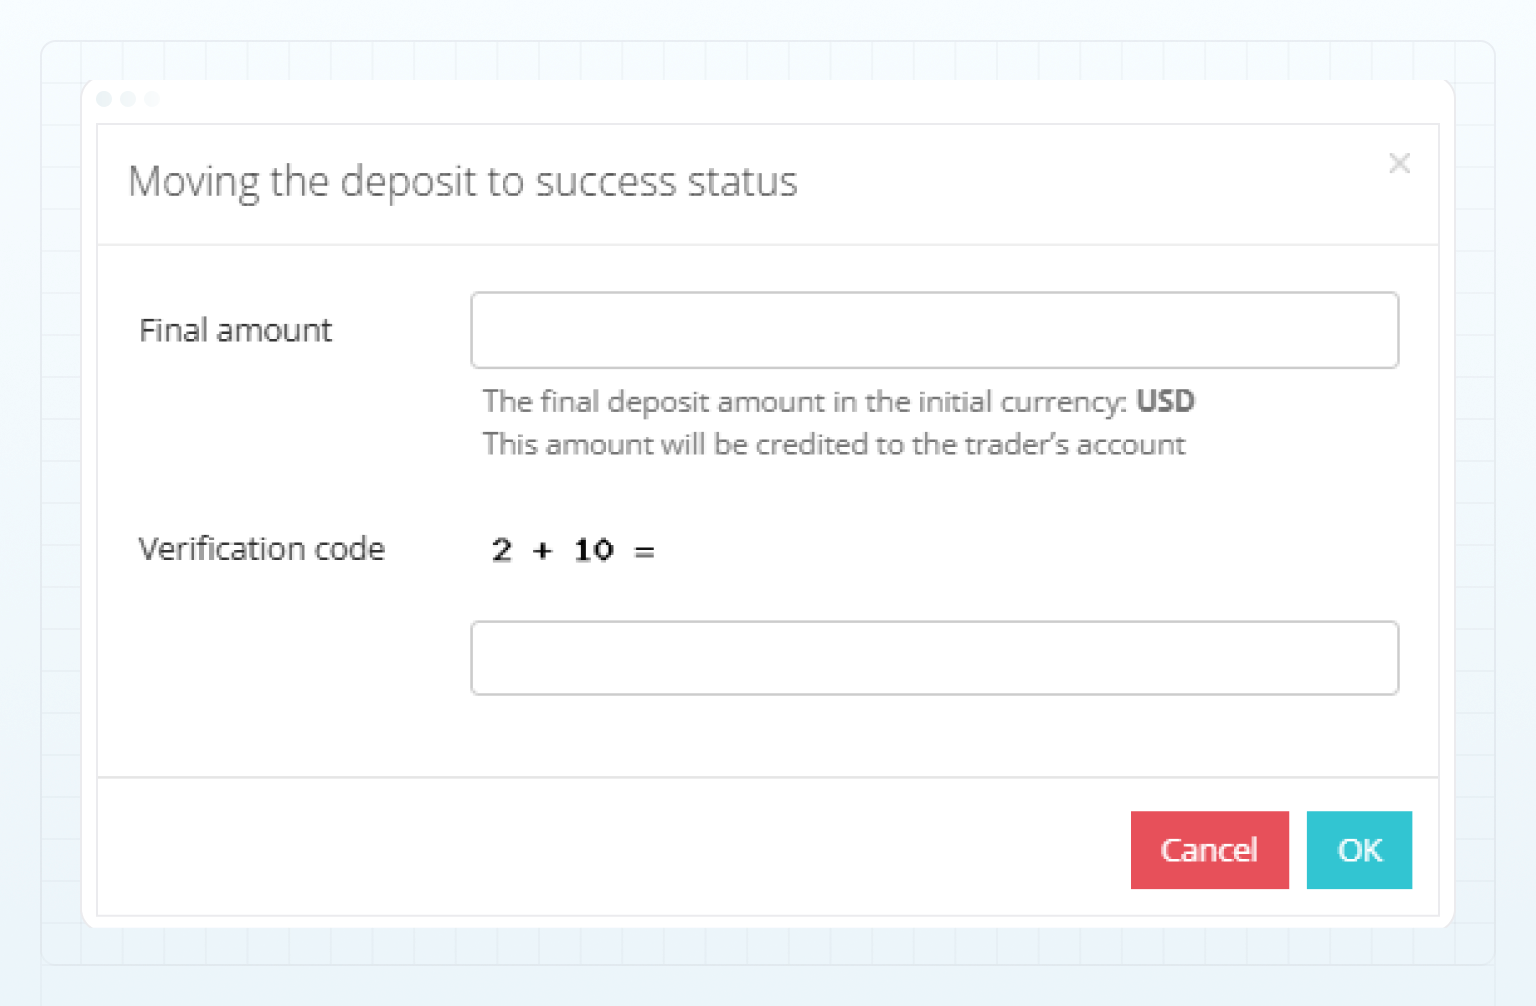
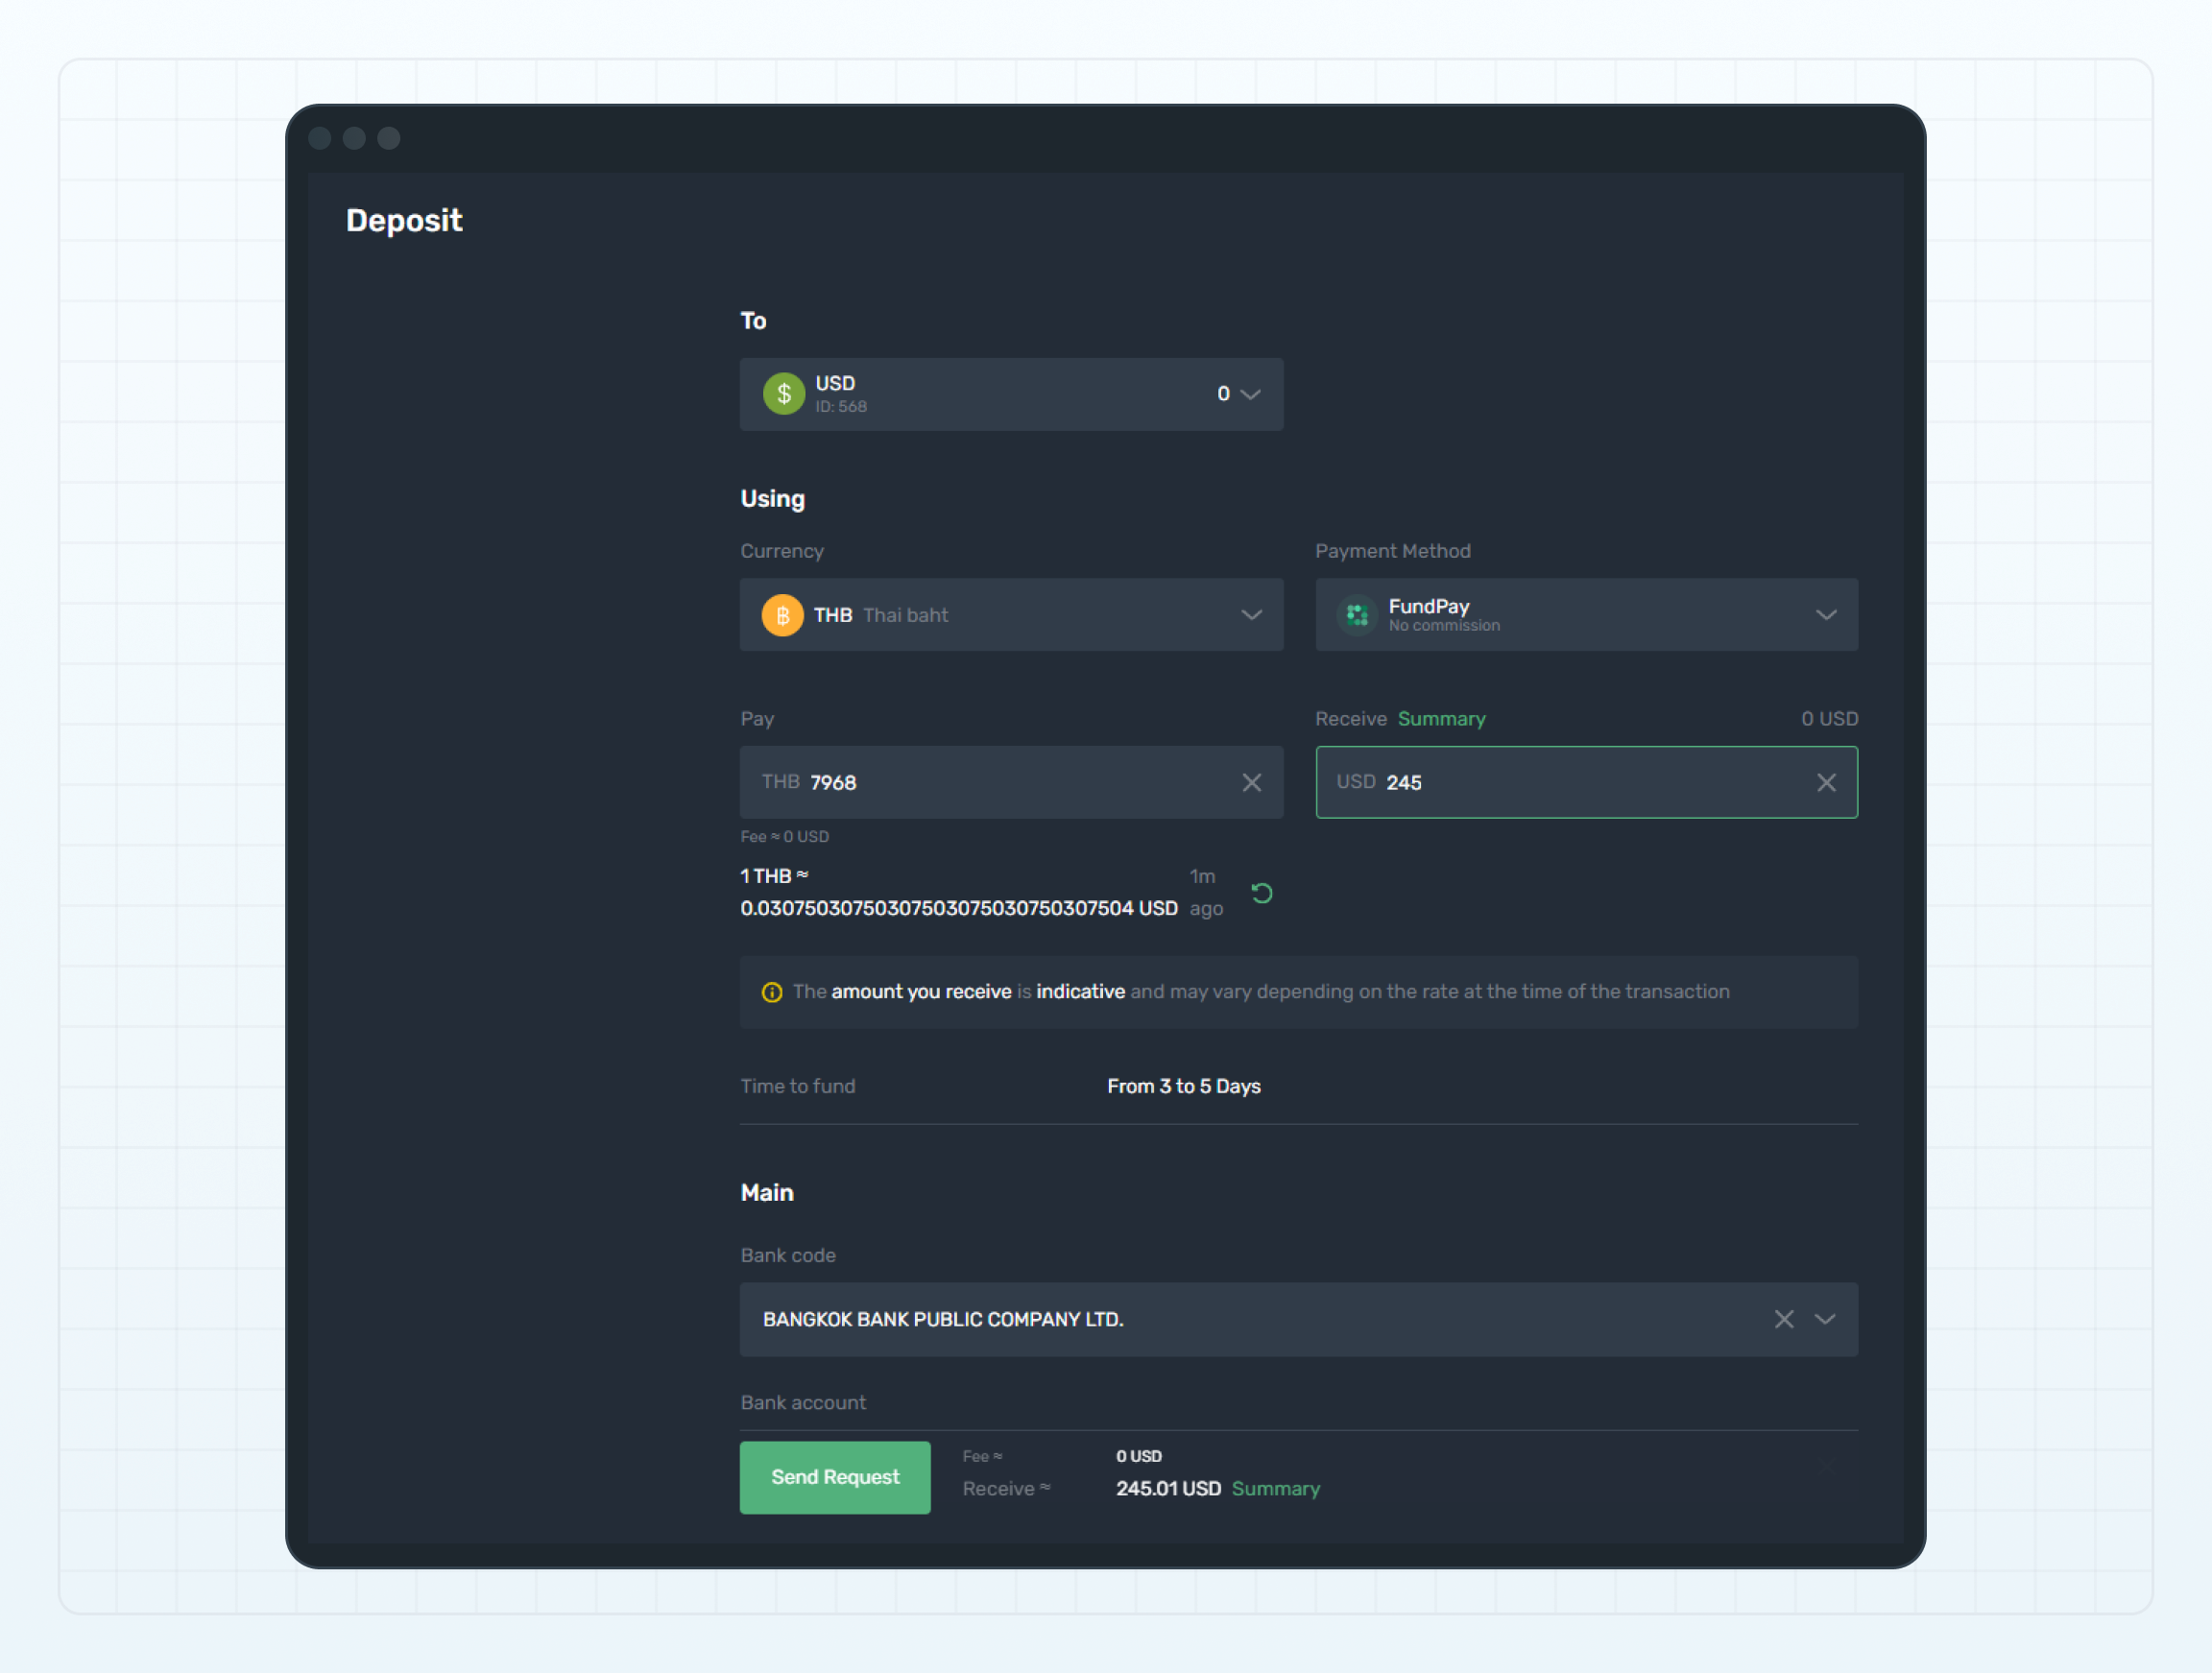 * When **THB** has a scale of `1` (one decimal):
* Enter **245 USD** in the **Receive** field → the **Pay** field displays **7,967.4 THB**.
* Enter **7,967.4 THB** in the **Pay** field → the **Receive** field displays **245 USD**.
* When **THB** has a scale of `1` (one decimal):
* Enter **245 USD** in the **Receive** field → the **Pay** field displays **7,967.4 THB**.
* Enter **7,967.4 THB** in the **Pay** field → the **Receive** field displays **245 USD**.
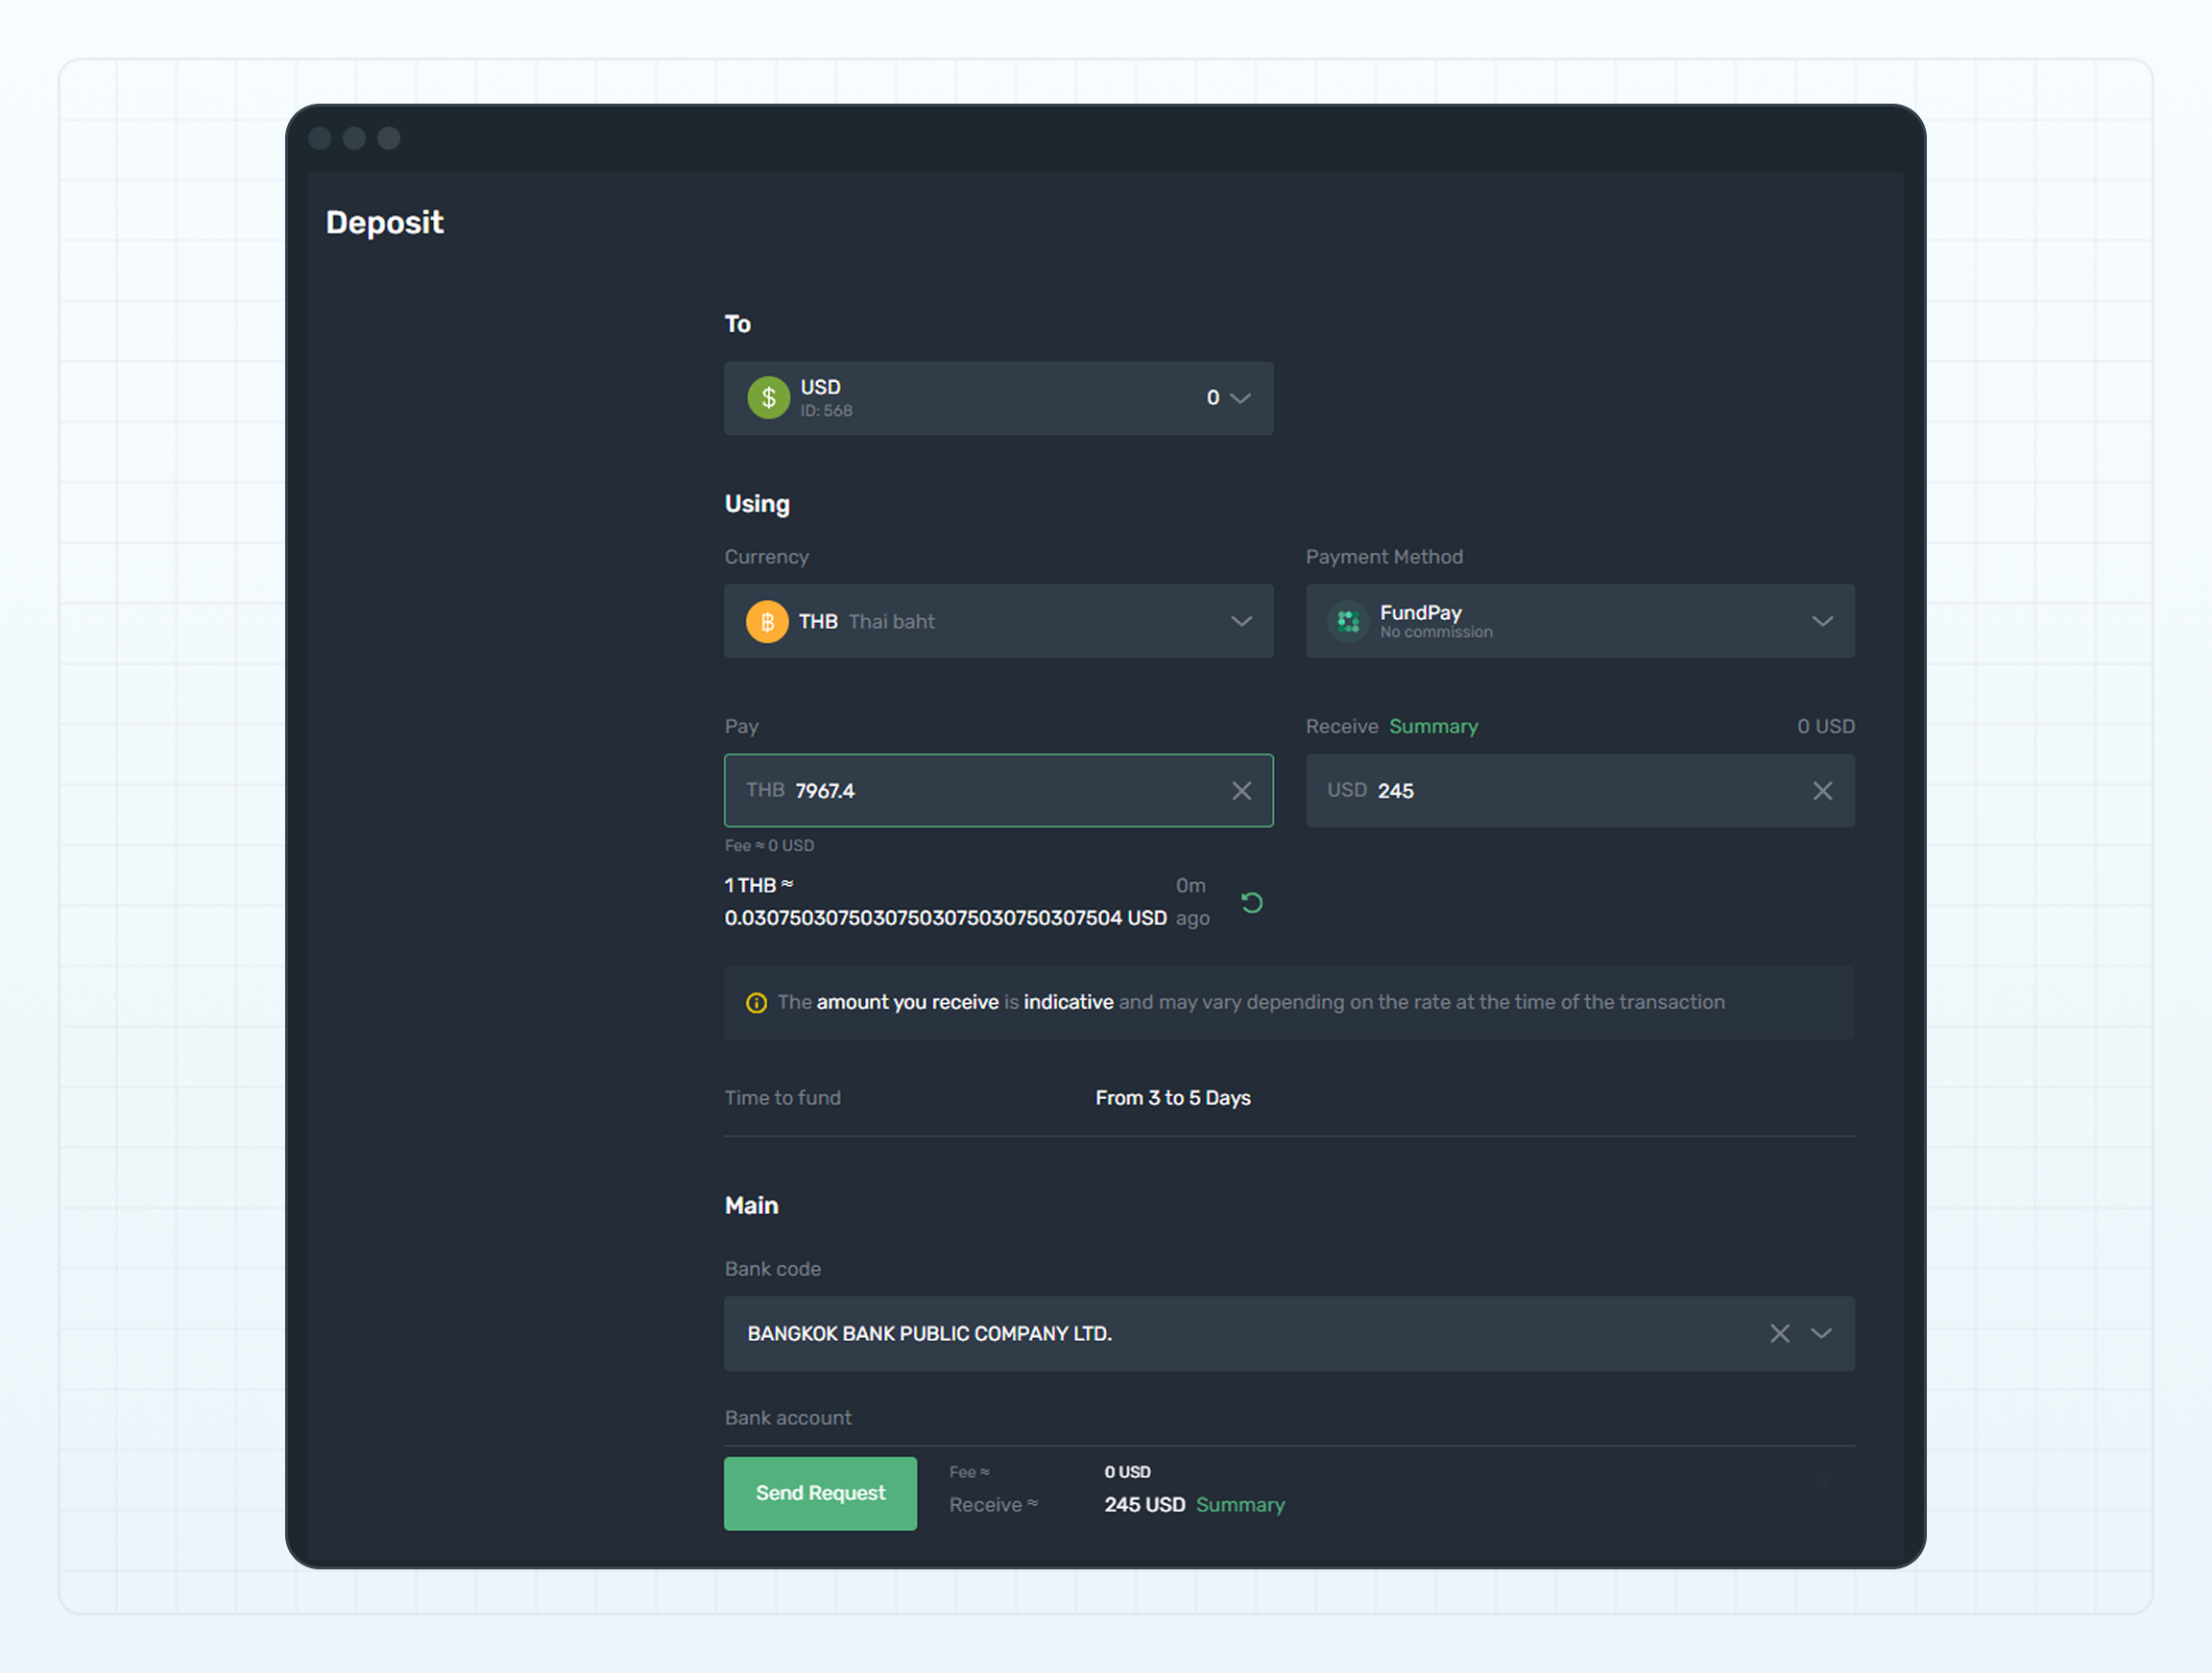 The mismatch occurs because the scale of `0` can't preserve decimal values, while scales of `1` or higher allow fractional amounts, resulting in more precise conversions.
This instruction explains how to add deposit and withdrawal methods that use payment systems that can be connected to B2CORE through PSS. Payment System Service (PSS) is a new B2CORE service that offers enhanced connections to external payment providers and cashier systems.
Payment systems marked with `Yes` in the **PSS-supported** column in [Integration > Payment systems](../../integrations/payment-systems) can be connected through PSS.
## General procedure [#general-procedure]
The mismatch occurs because the scale of `0` can't preserve decimal values, while scales of `1` or higher allow fractional amounts, resulting in more precise conversions.
This instruction explains how to add deposit and withdrawal methods that use payment systems that can be connected to B2CORE through PSS. Payment System Service (PSS) is a new B2CORE service that offers enhanced connections to external payment providers and cashier systems.
Payment systems marked with `Yes` in the **PSS-supported** column in [Integration > Payment systems](../../integrations/payment-systems) can be connected through PSS.
## General procedure [#general-procedure]
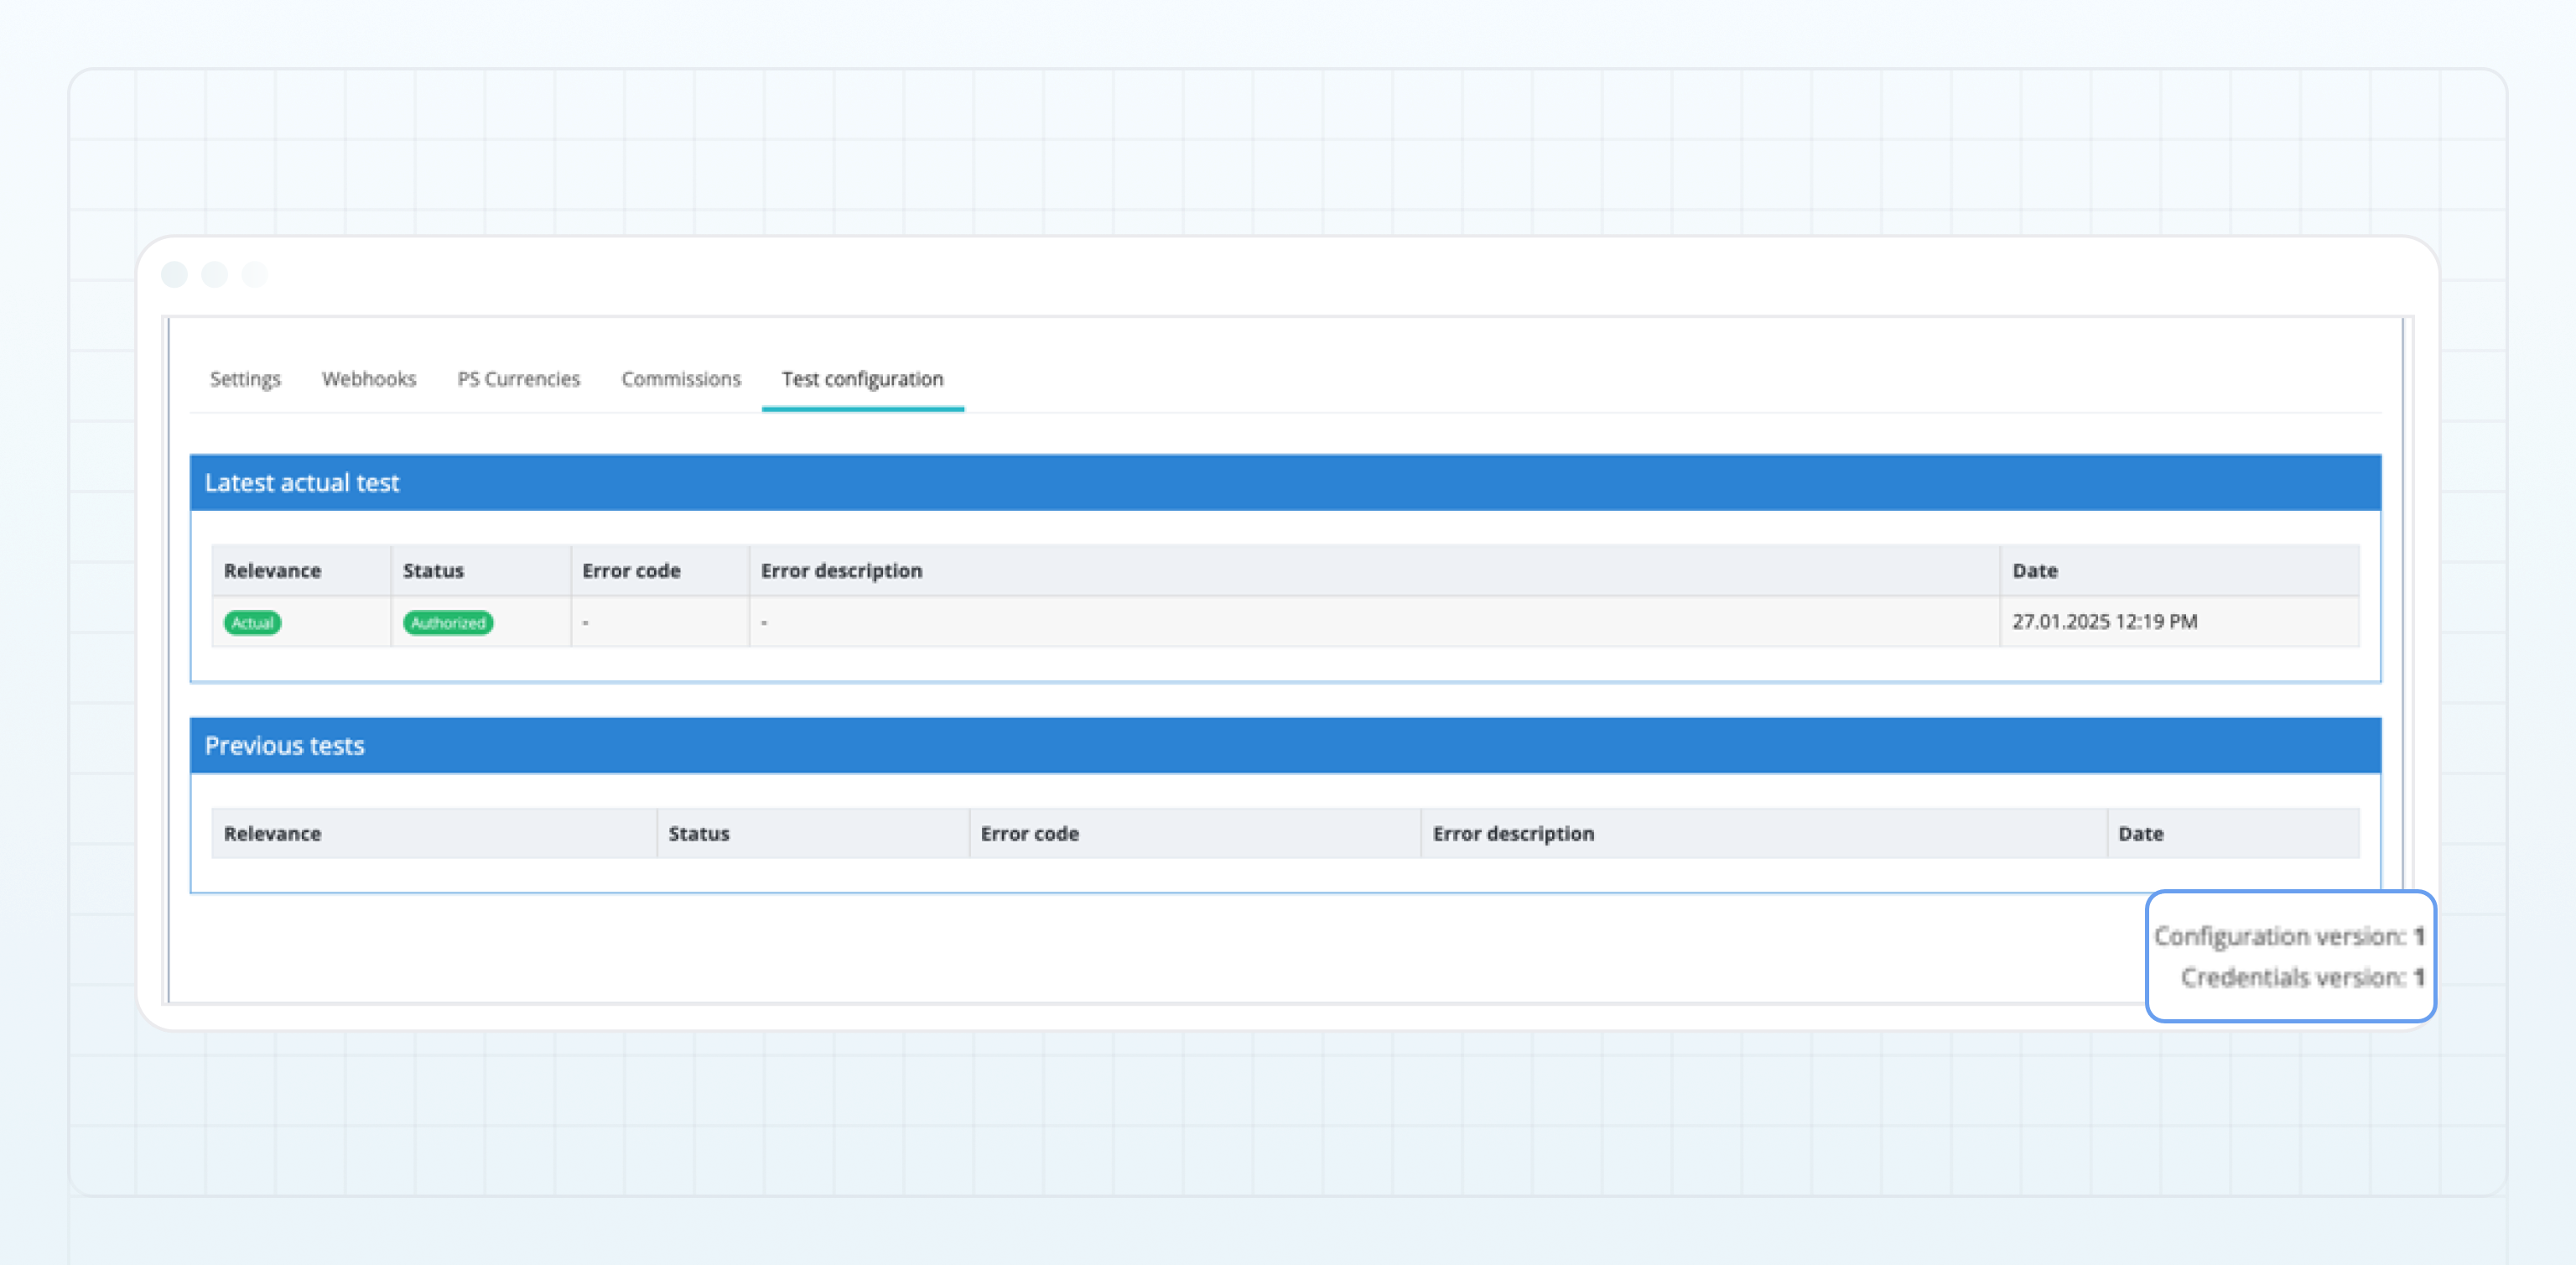 Each time the **Configuration** or the associated **Credentials** from the external connection used by the method are updated, the system automatically increments the corresponding version number. When a new version is created, background testing for that version starts automatically. As a result, the test outcome may differ from the previous one.
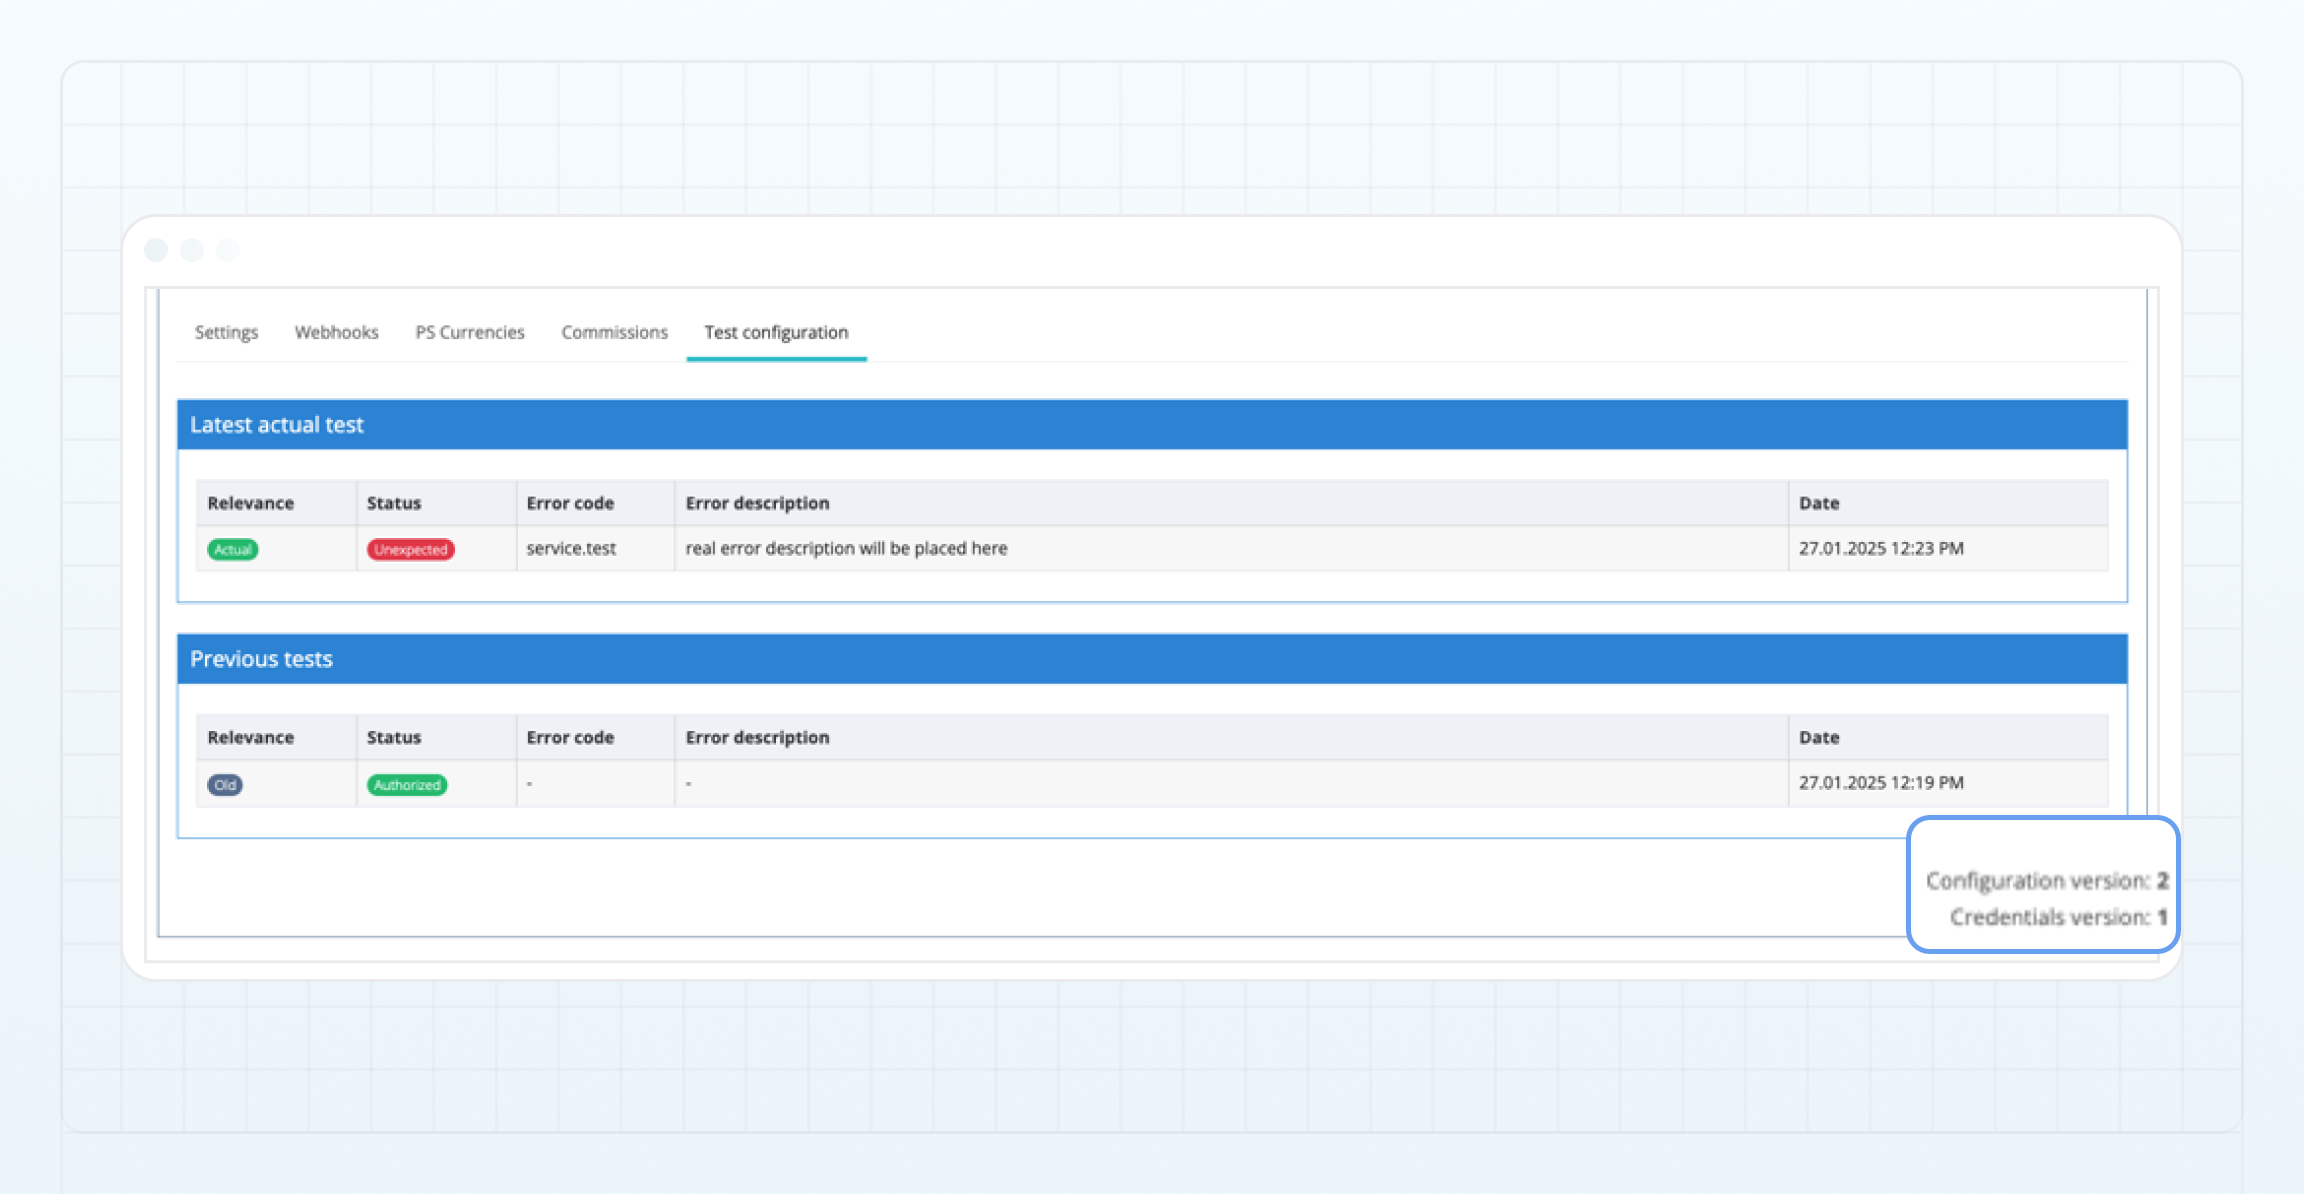 After the **Configuration** or **Credentials** are updated:
* The corresponding version is increased.
* Background testing of the new version starts and may take some time.
* Results of the previous tests become outdated:
* They are moved to the **Previous** tests section.
* Their **Relevance** value changes to `Old`.
Once background testing of the new version is completed:
* The latest test result becomes the current one.
* The **Relevance** value changes to `Actual`, indicating that the result corresponds to the current configuration version.
Background test result may also change without updating versions of the **Configuration** or **Credentials** from the respective external connection. This can occur for several reasons, including temporary unavailability of the external payment system, changes to the external service API, errors during the testing process. In such cases, a new background test result is also displayed on the tab.
### Method configuration test results [#method-configuration-test-results]
Configuration testing can return one of the following results, indicating the current status of a deposit or withdrawal method:
* **Authorized** — successful authentication with the payment system. The payment system account has sufficient permissions to perform financial operations.
After the **Configuration** or **Credentials** are updated:
* The corresponding version is increased.
* Background testing of the new version starts and may take some time.
* Results of the previous tests become outdated:
* They are moved to the **Previous** tests section.
* Their **Relevance** value changes to `Old`.
Once background testing of the new version is completed:
* The latest test result becomes the current one.
* The **Relevance** value changes to `Actual`, indicating that the result corresponds to the current configuration version.
Background test result may also change without updating versions of the **Configuration** or **Credentials** from the respective external connection. This can occur for several reasons, including temporary unavailability of the external payment system, changes to the external service API, errors during the testing process. In such cases, a new background test result is also displayed on the tab.
### Method configuration test results [#method-configuration-test-results]
Configuration testing can return one of the following results, indicating the current status of a deposit or withdrawal method:
* **Authorized** — successful authentication with the payment system. The payment system account has sufficient permissions to perform financial operations.
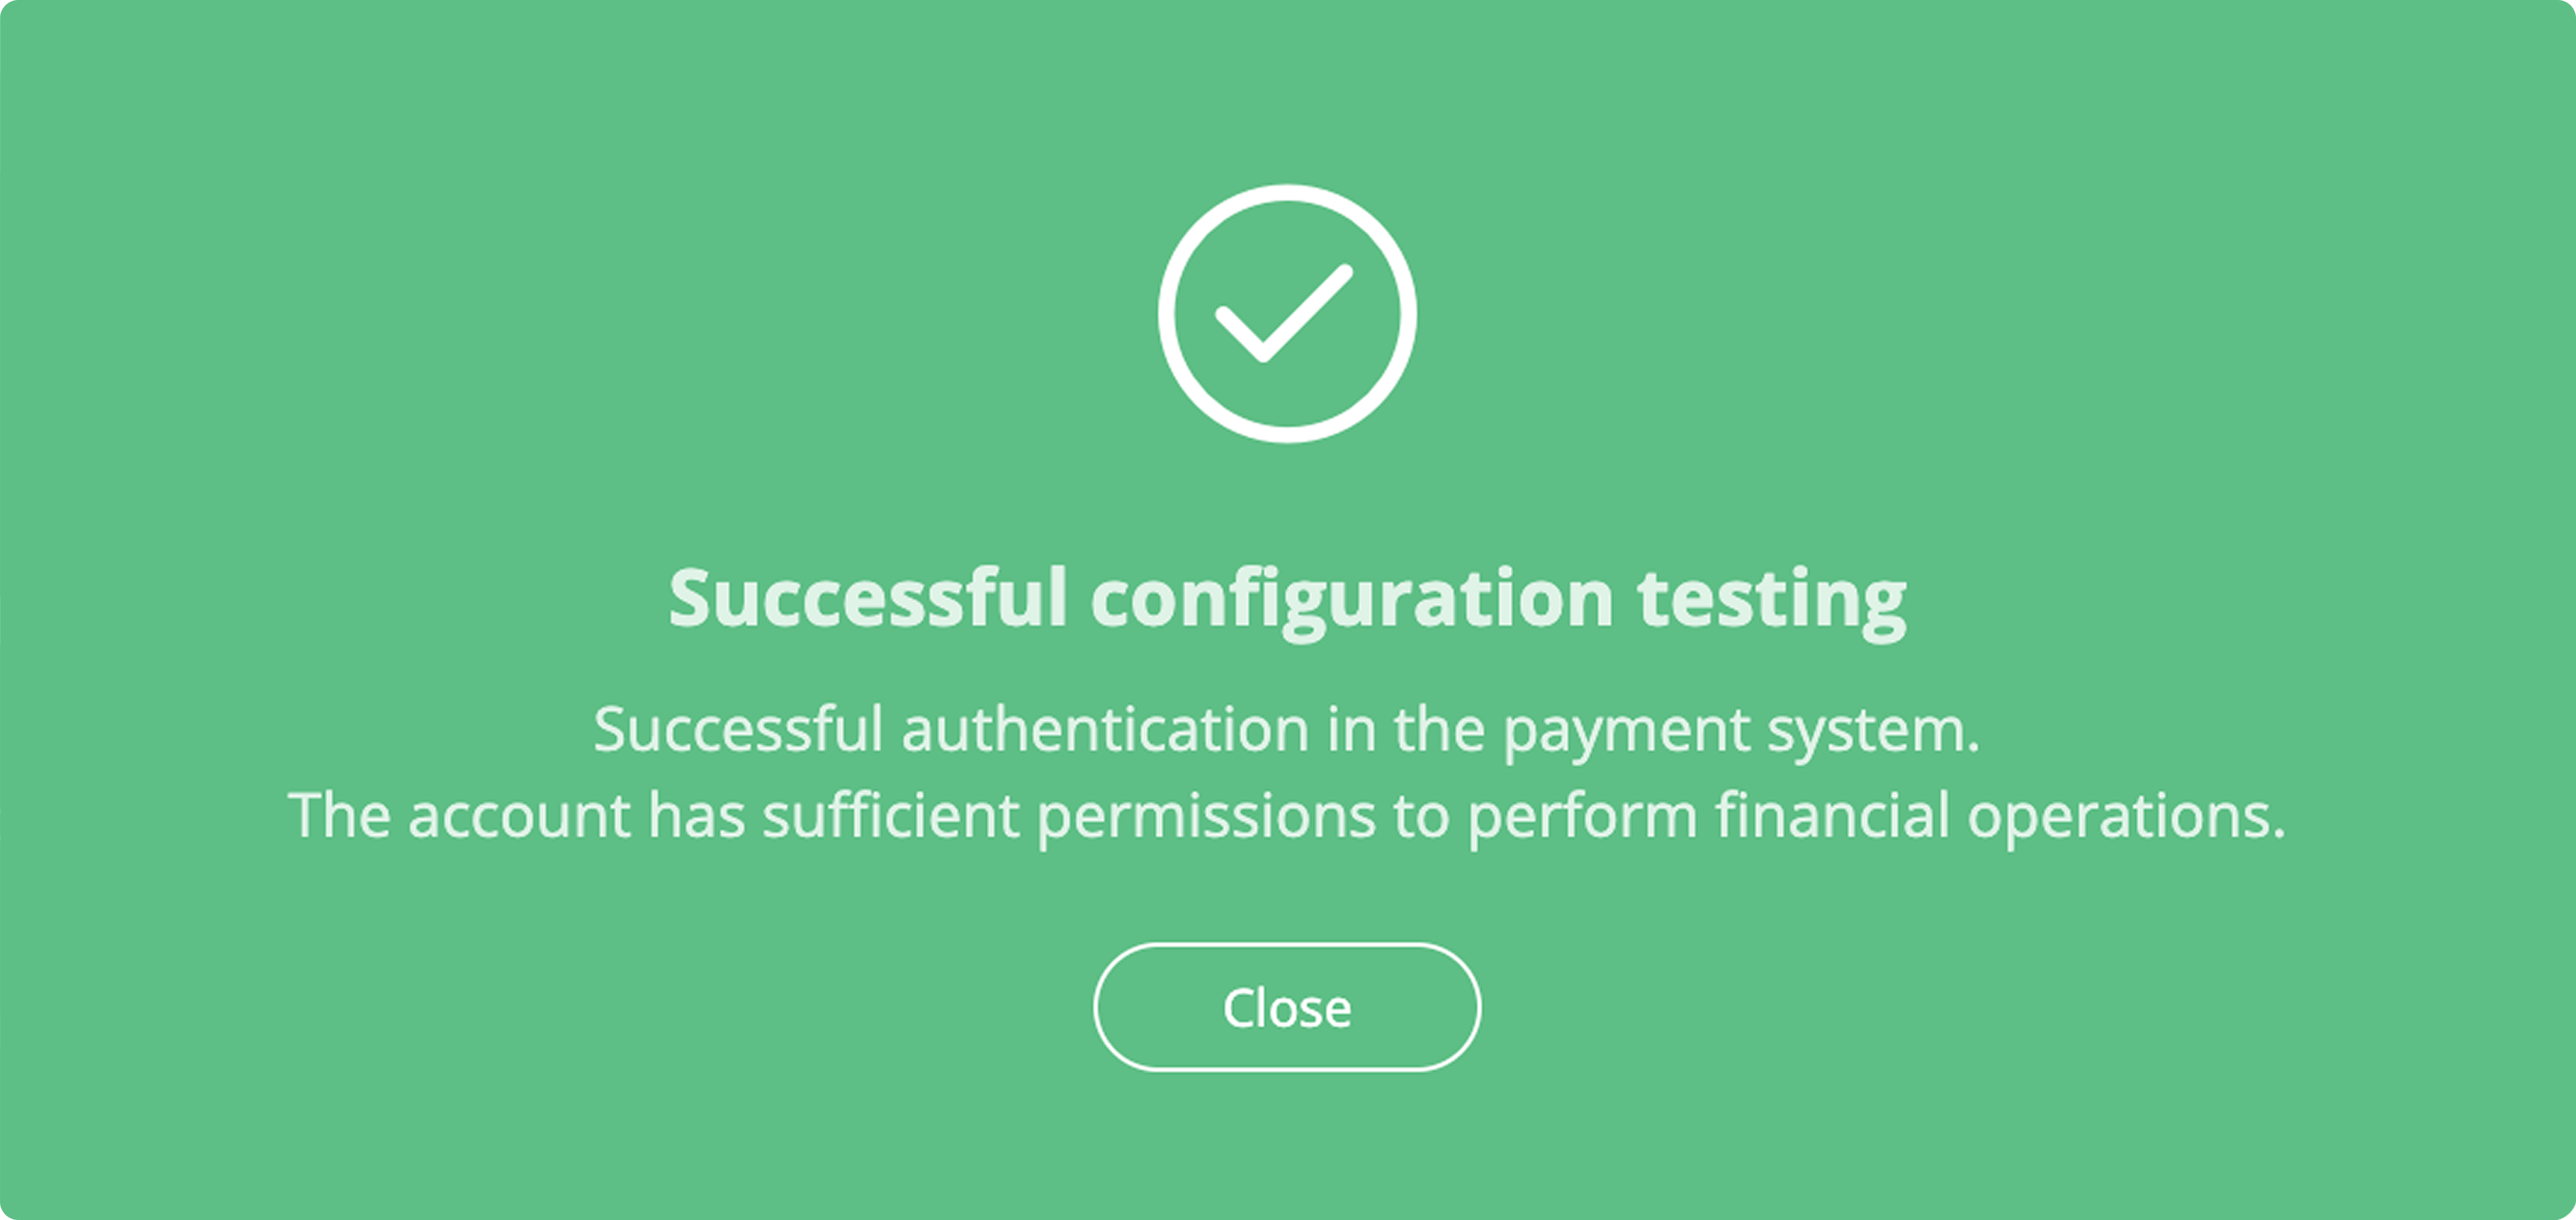 * **Available** — successful authentication with the payment system. This status doesn't guarantee that the account has permissions to create deposits or withdrawals.
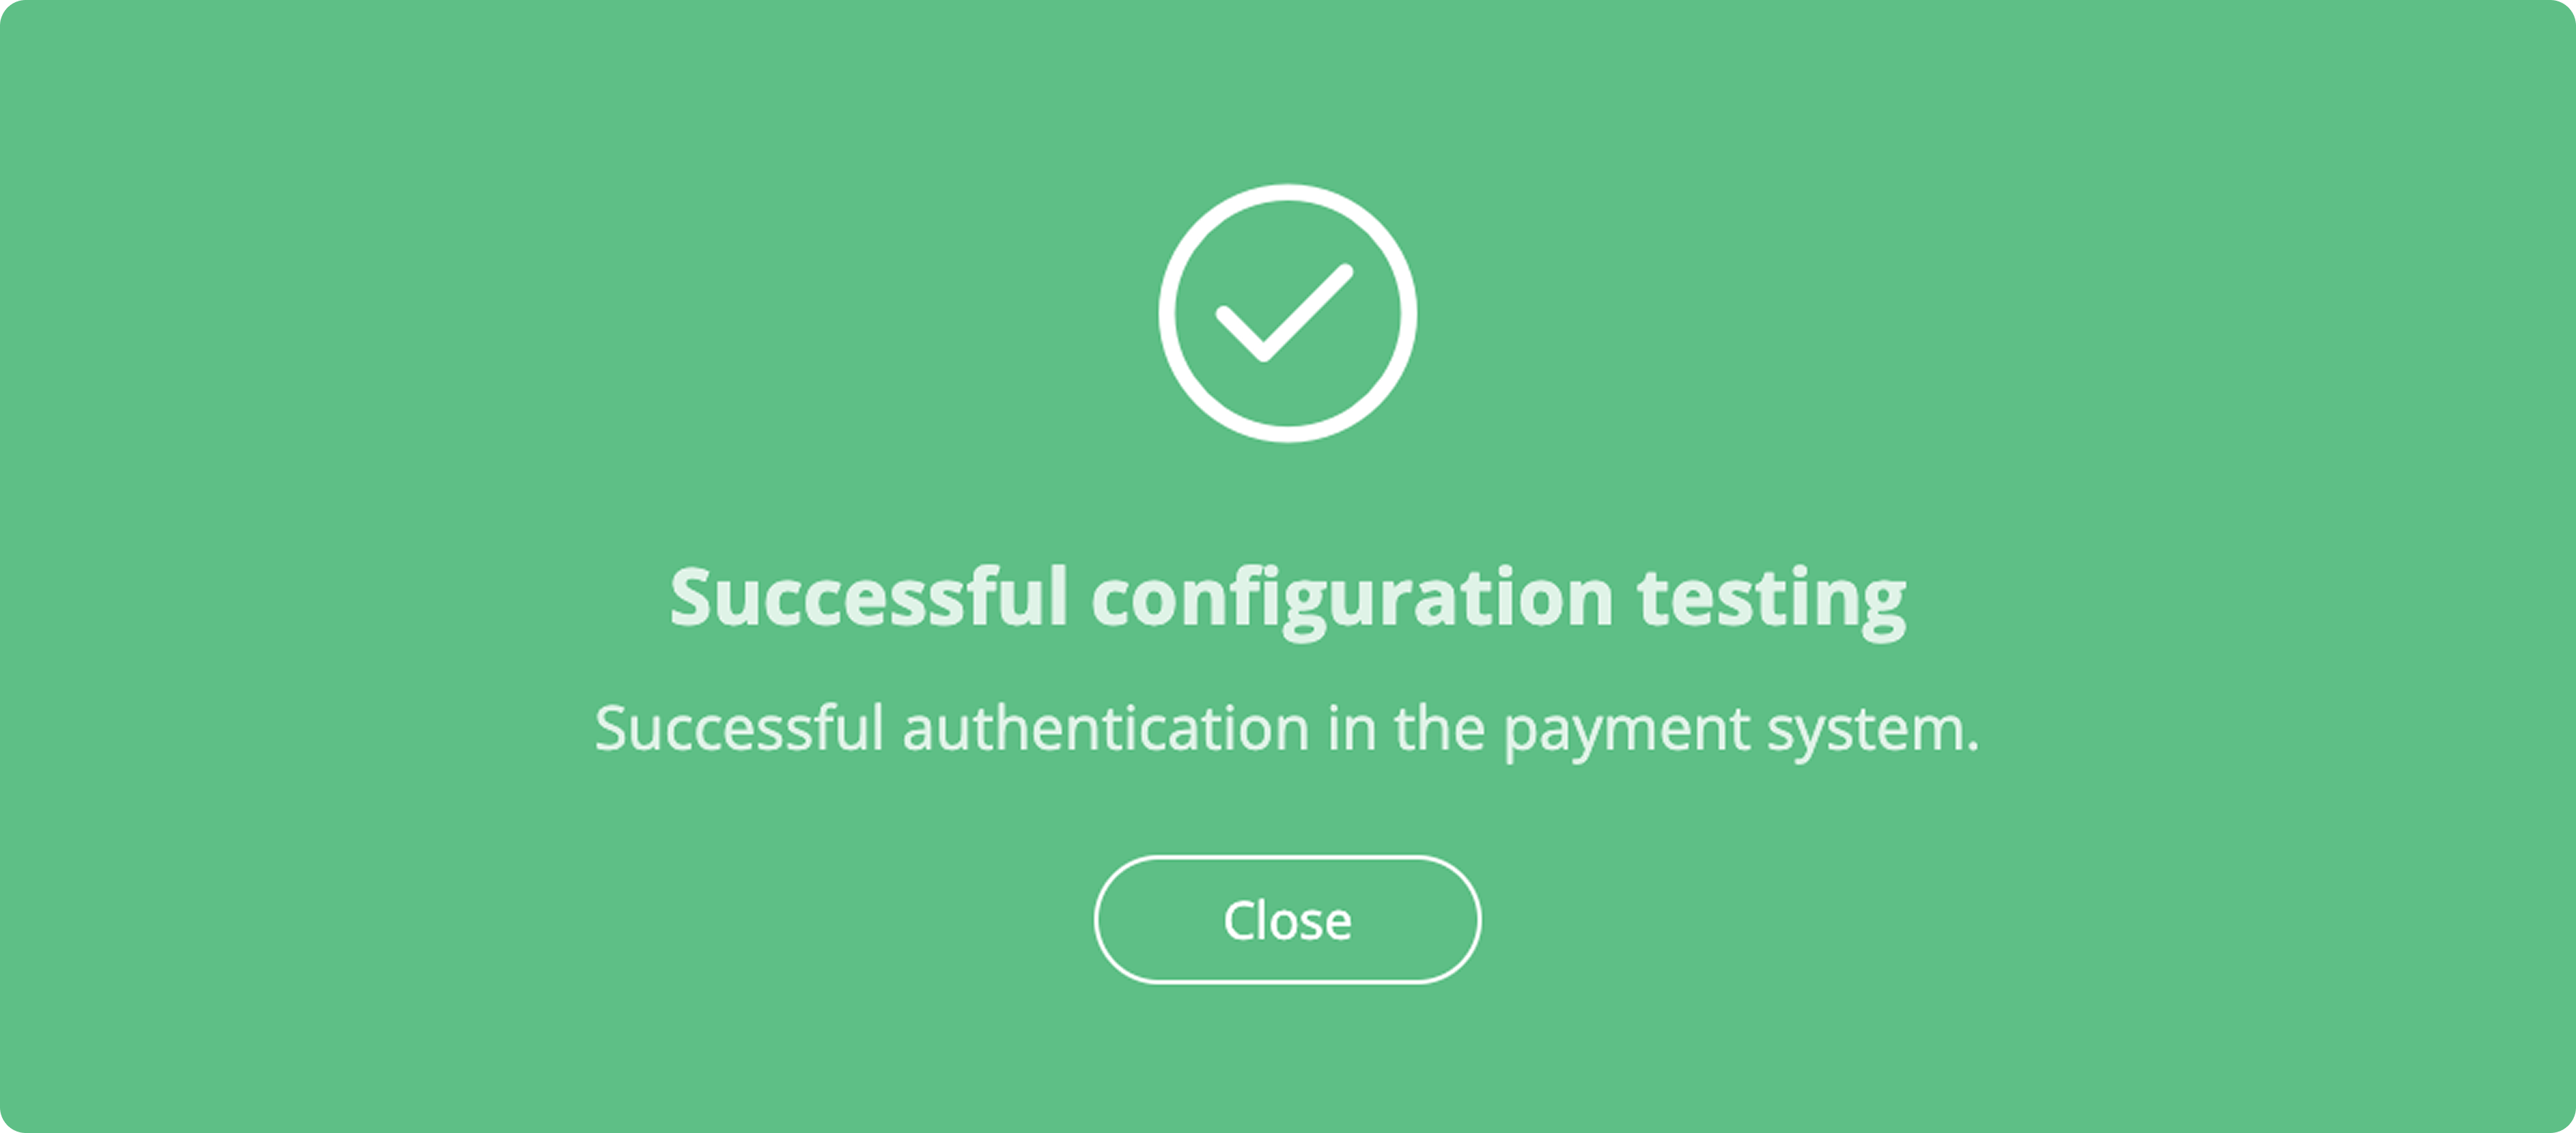 * **Failed** — configuration testing has failed. This status includes an error code and description.
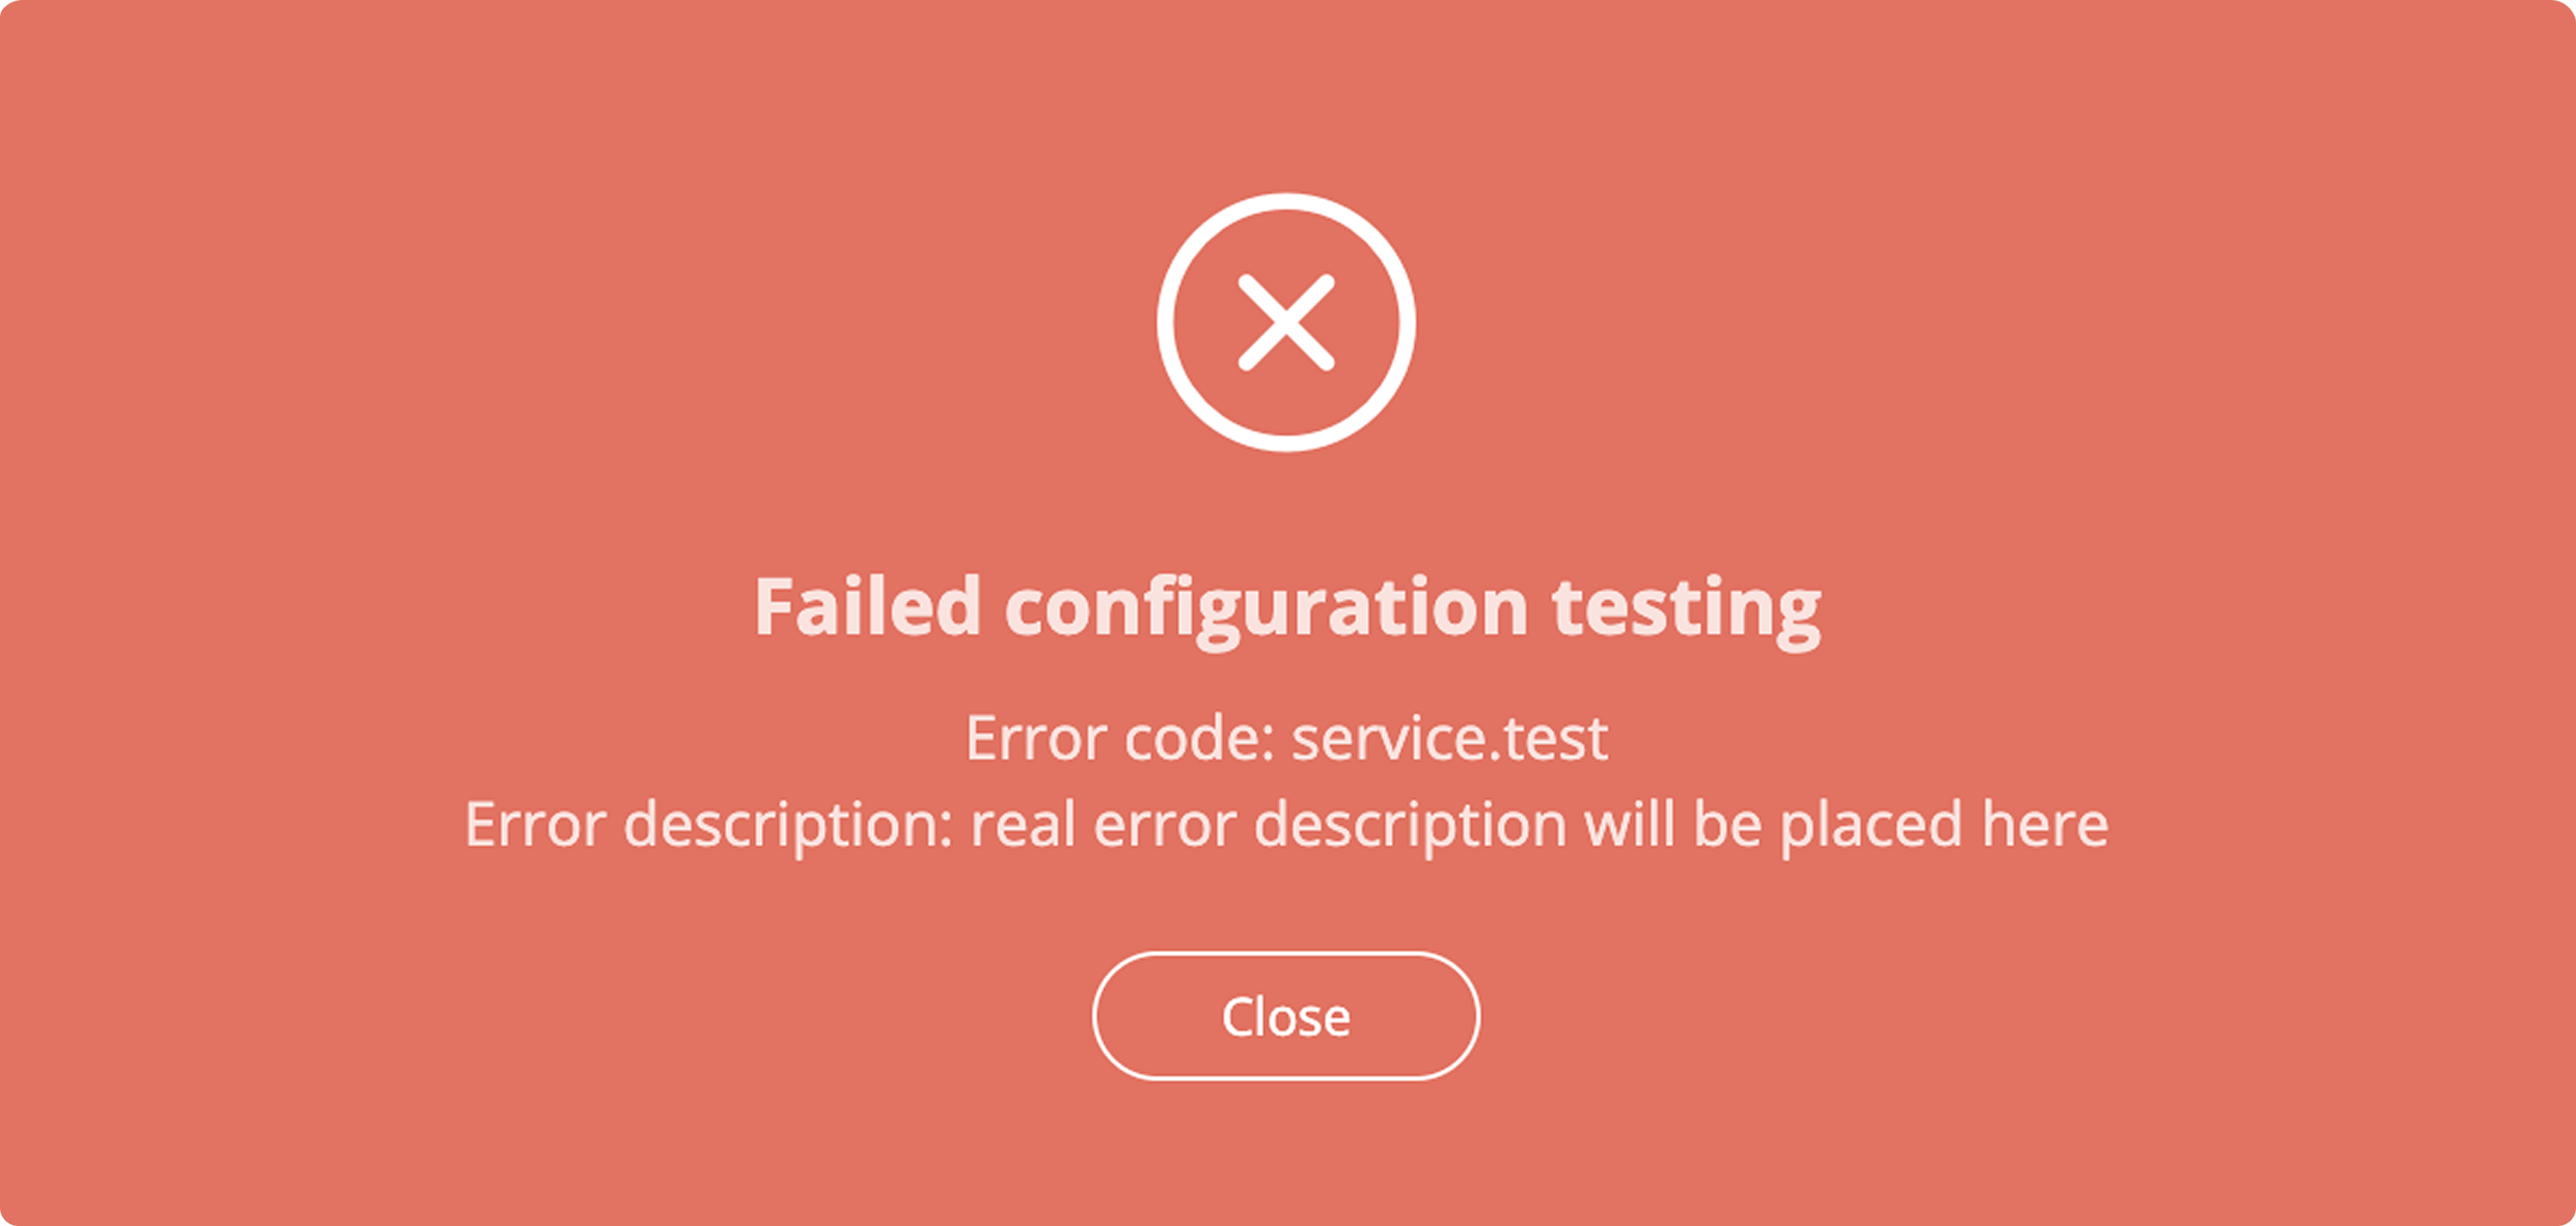 * **Unexpected** — an unexpected configuration test result. This status includes an error code and description.
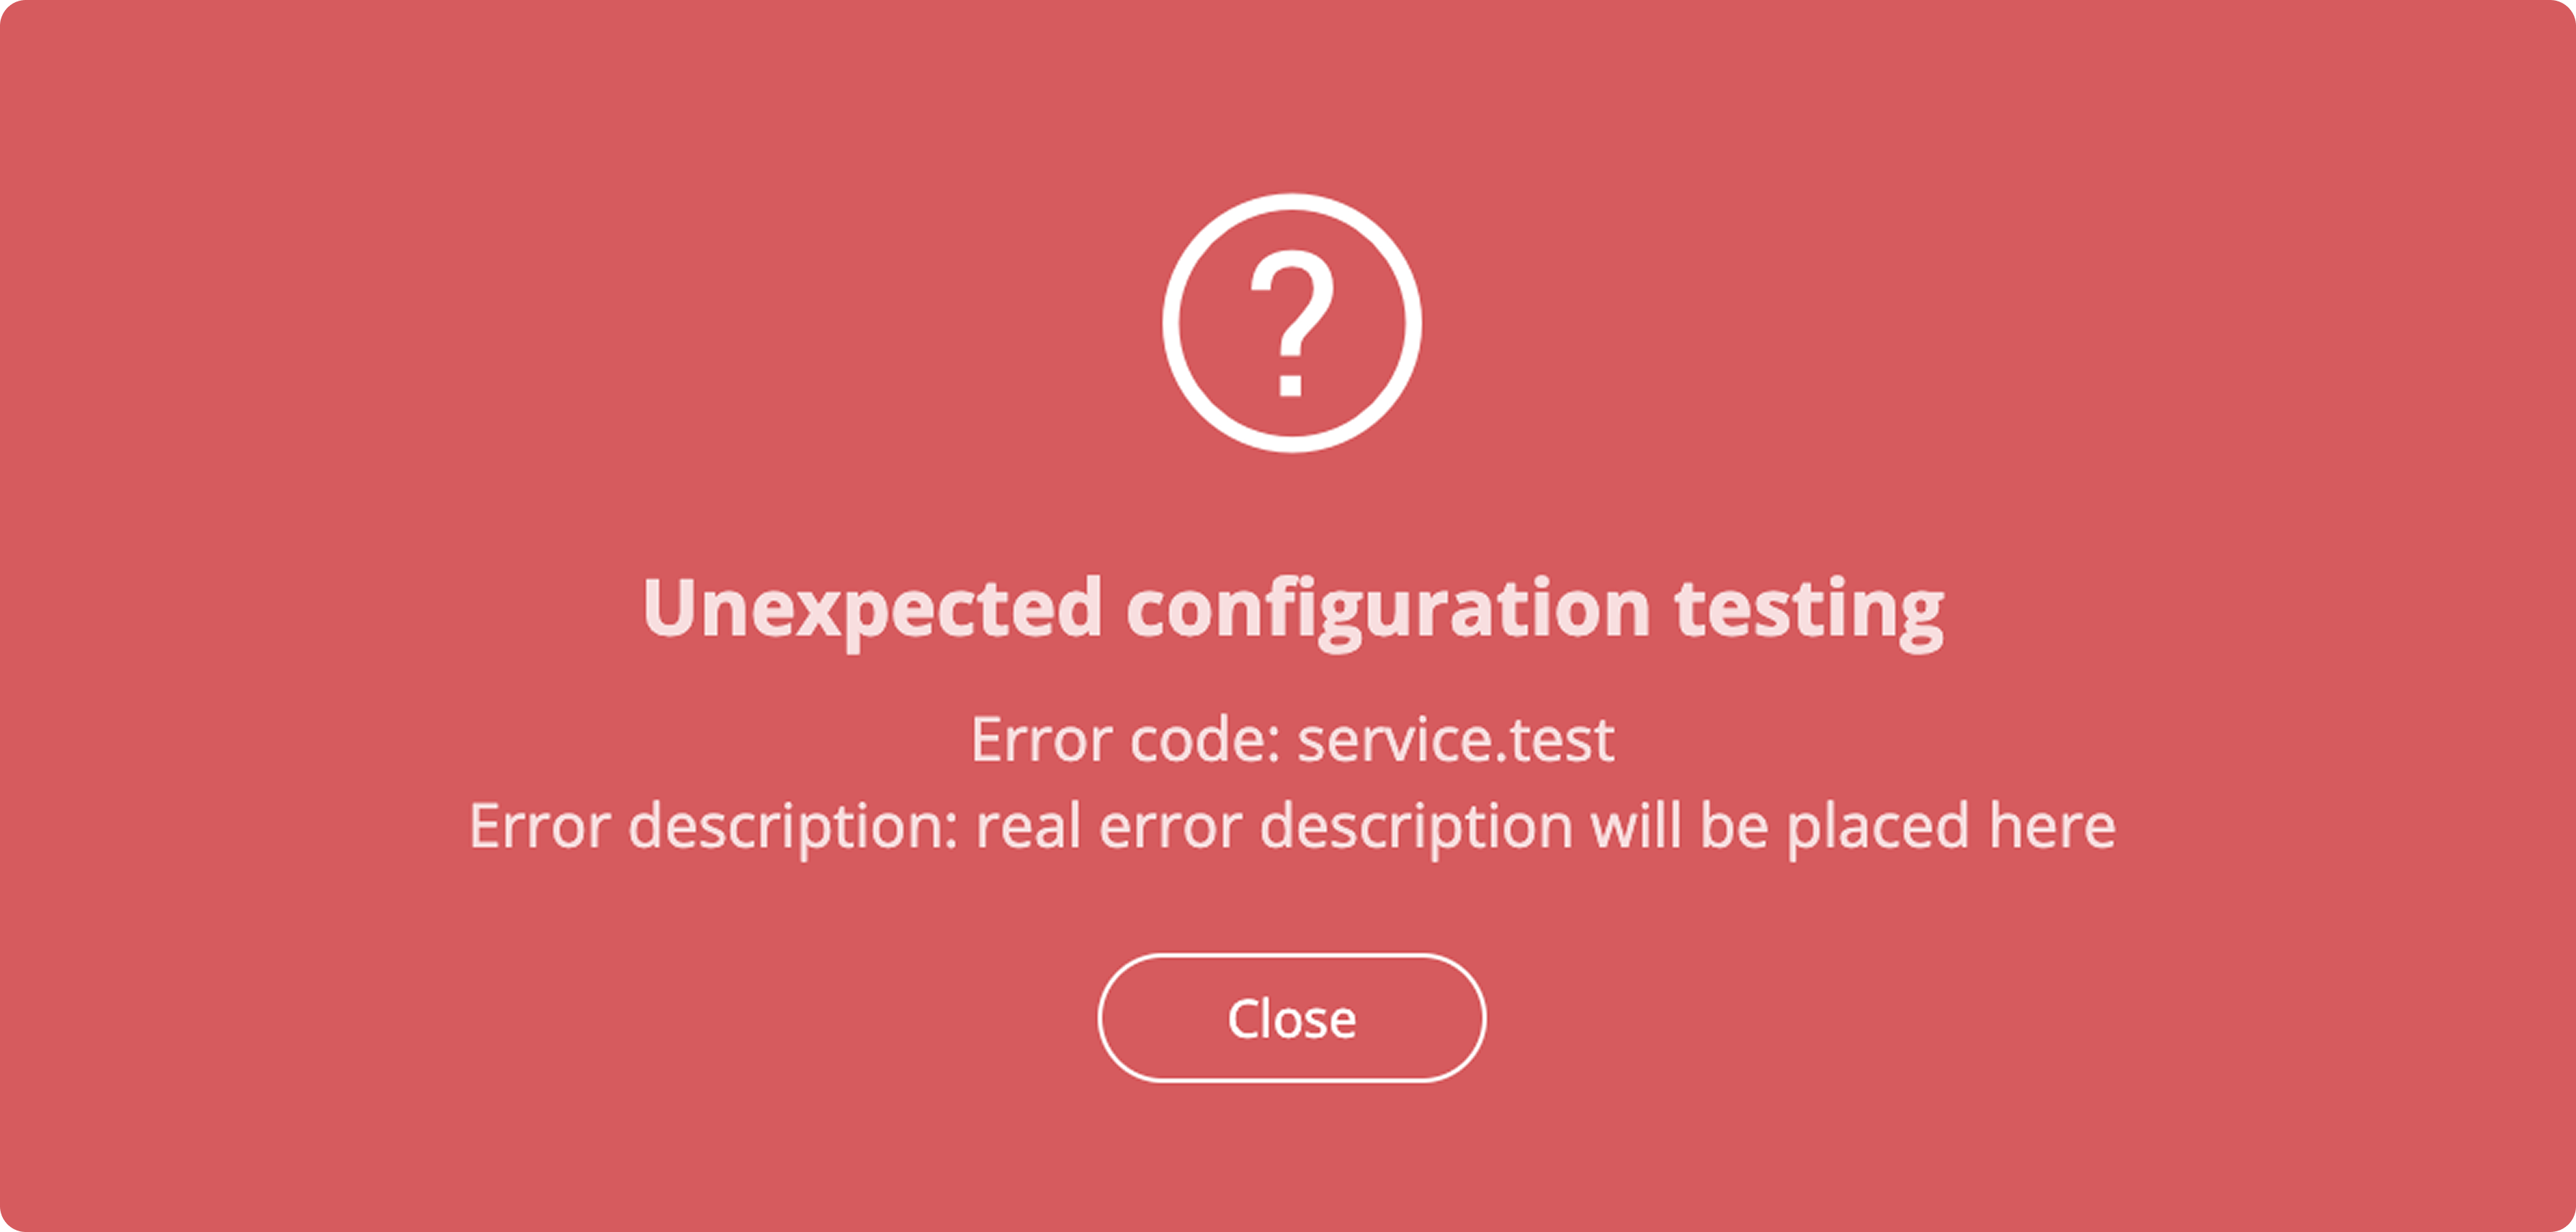 * **Not implemented** — configuration testing is not implemented for this payment driver.
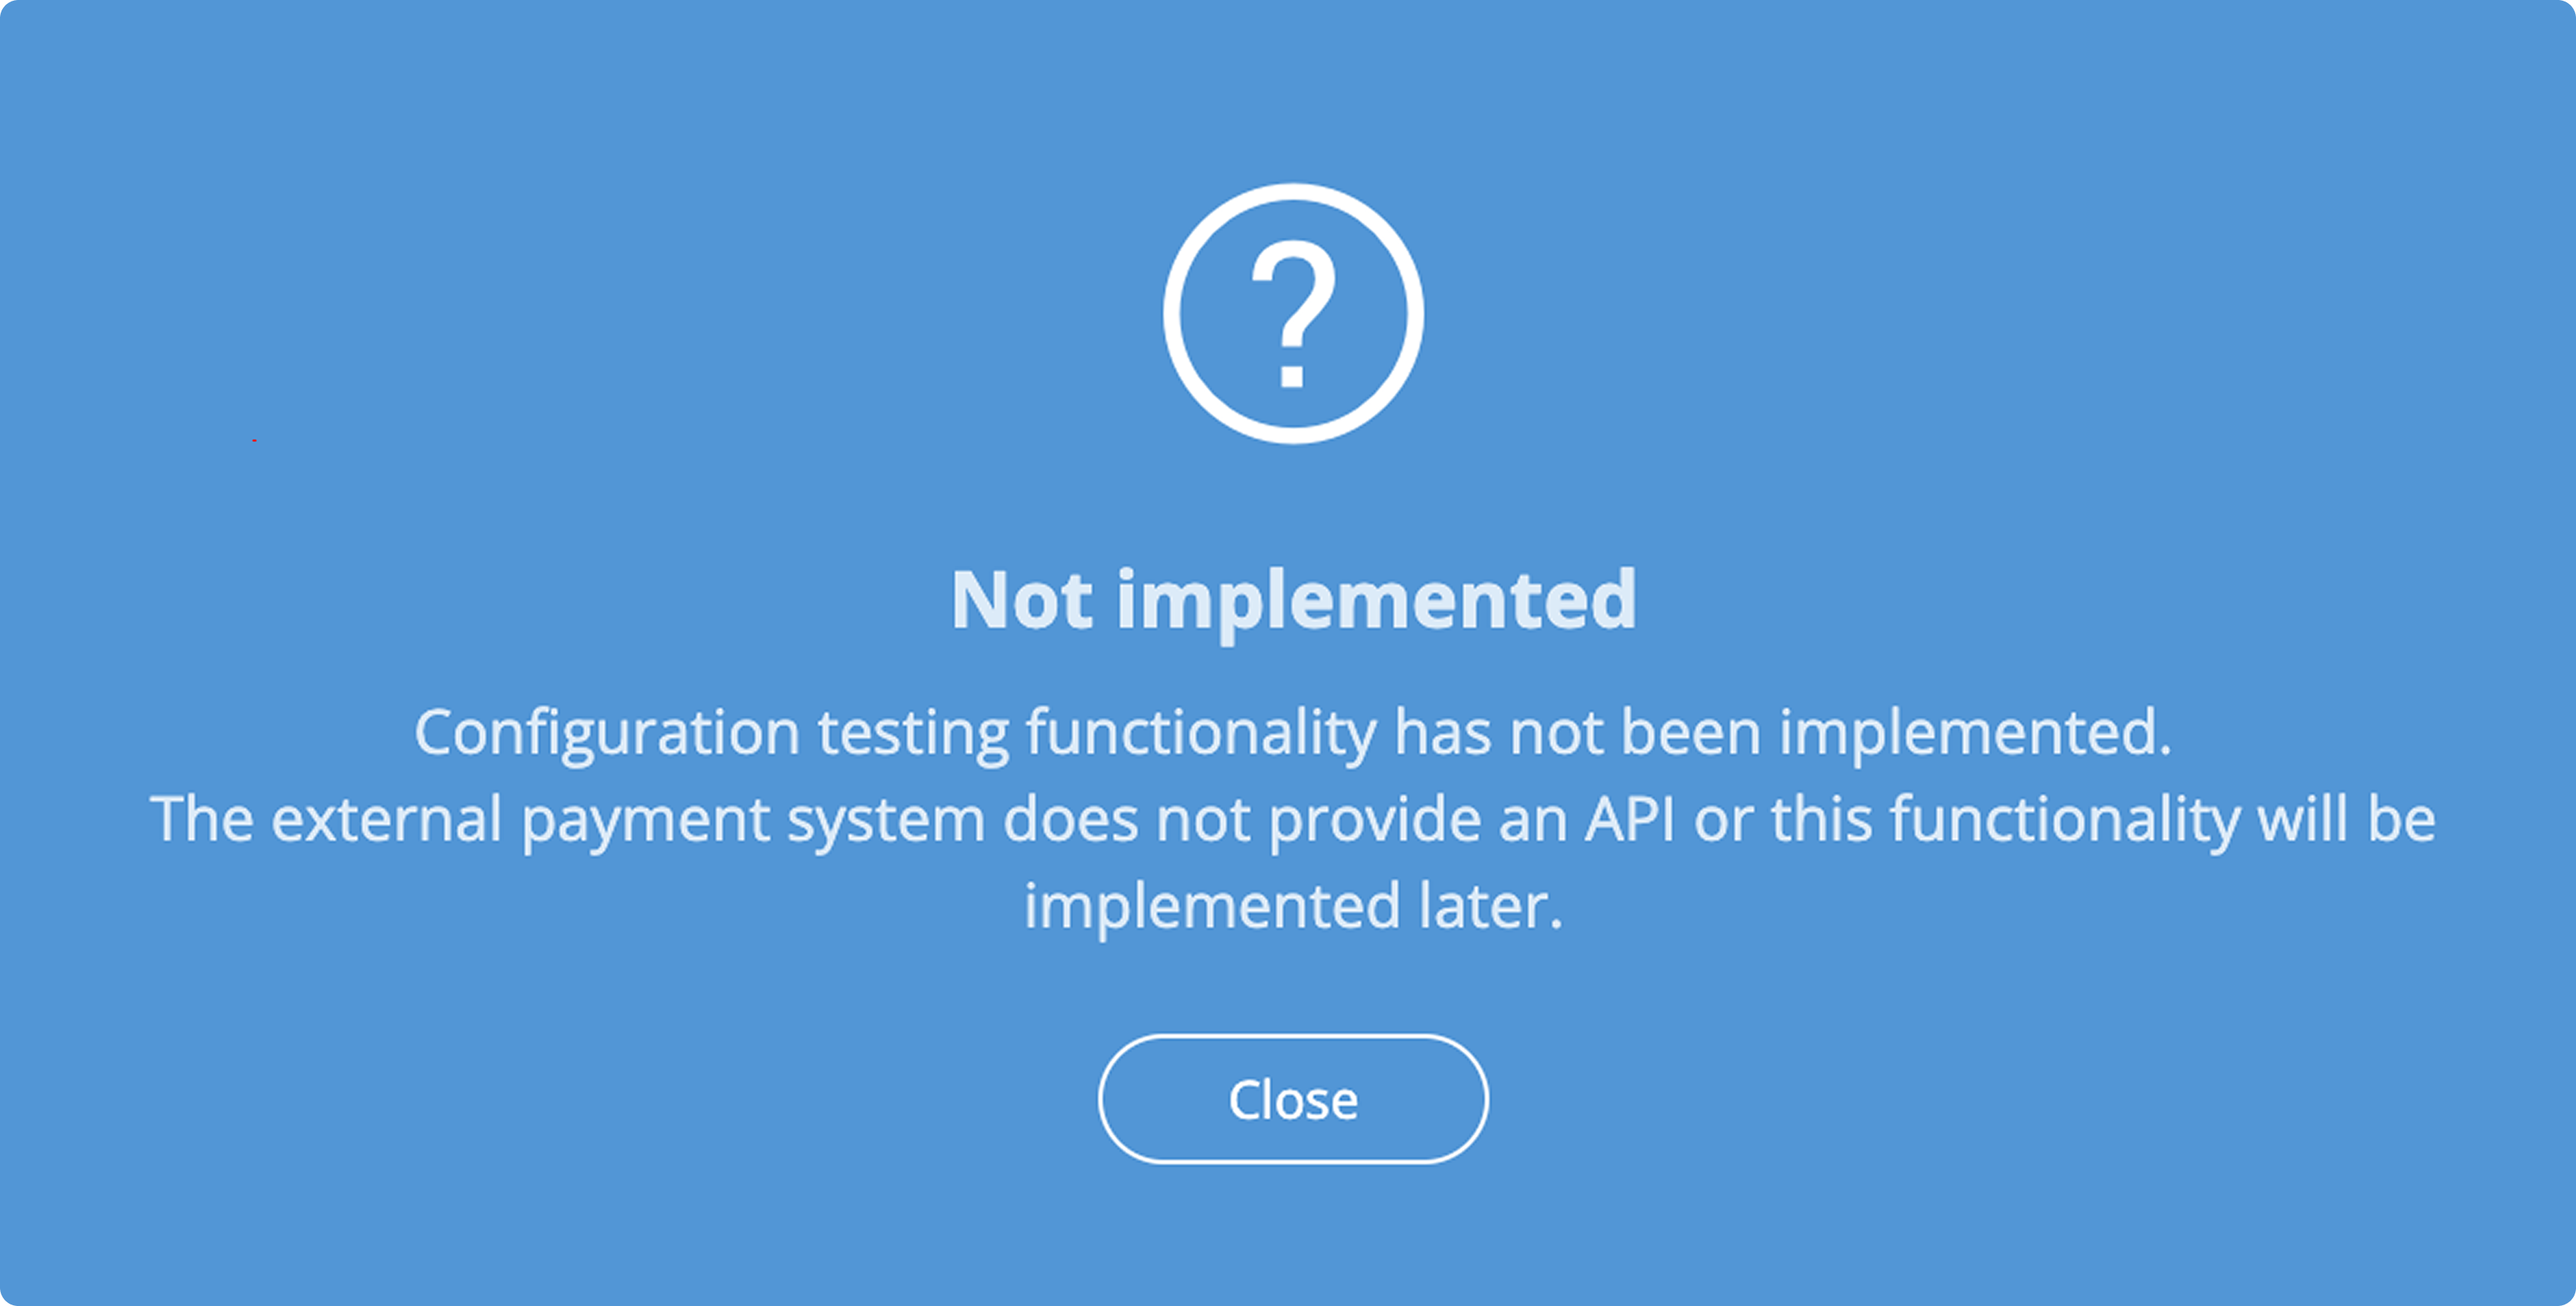
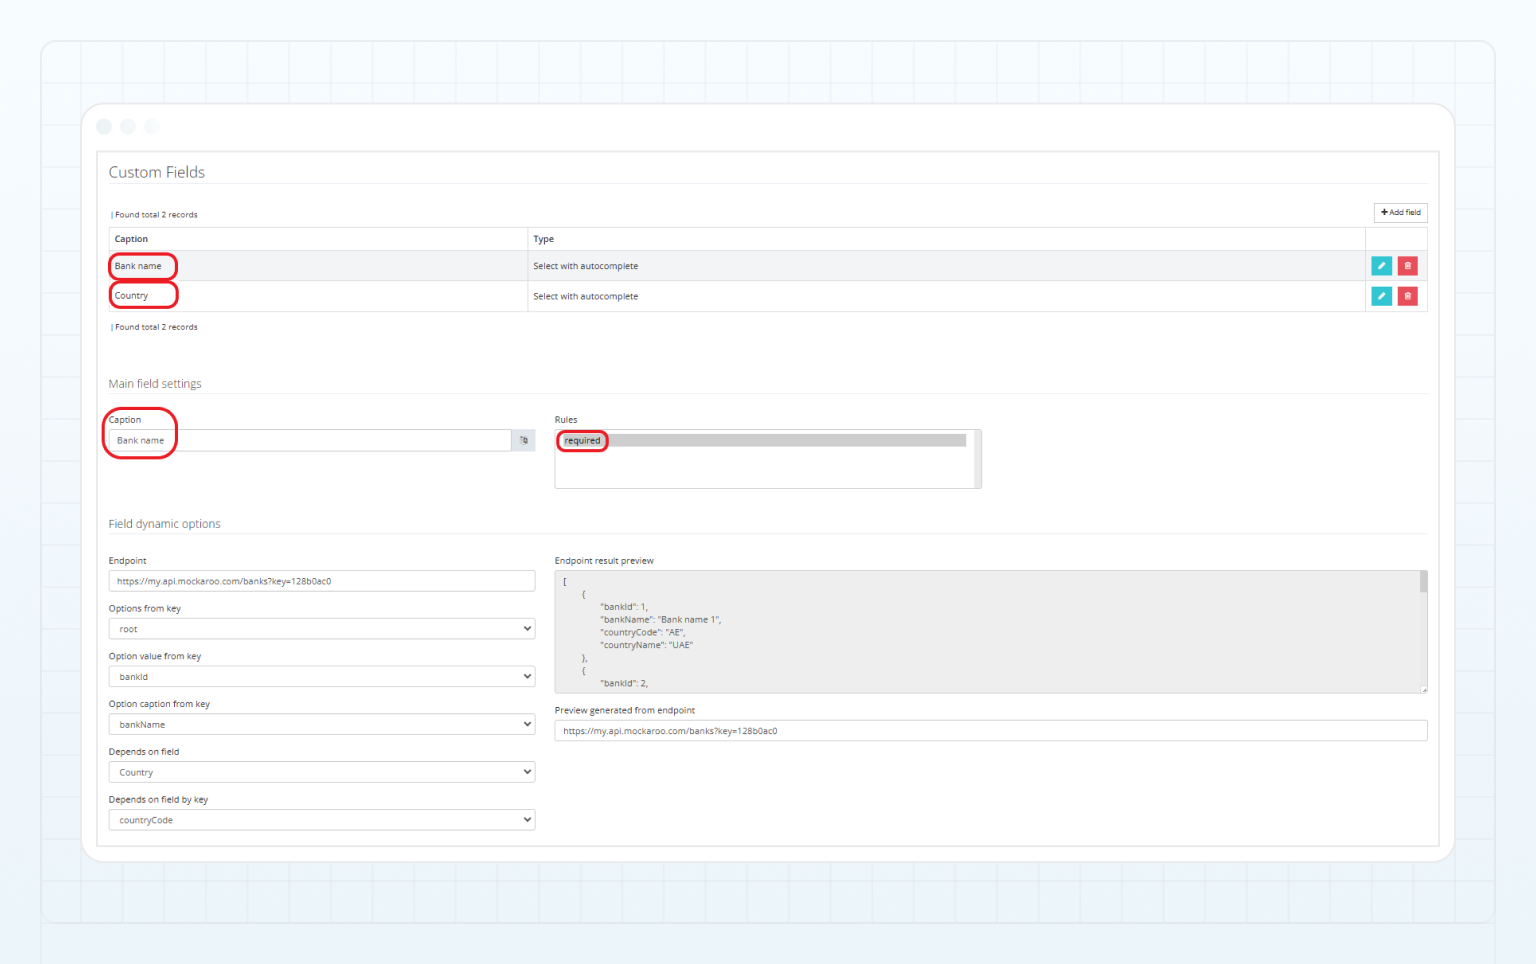
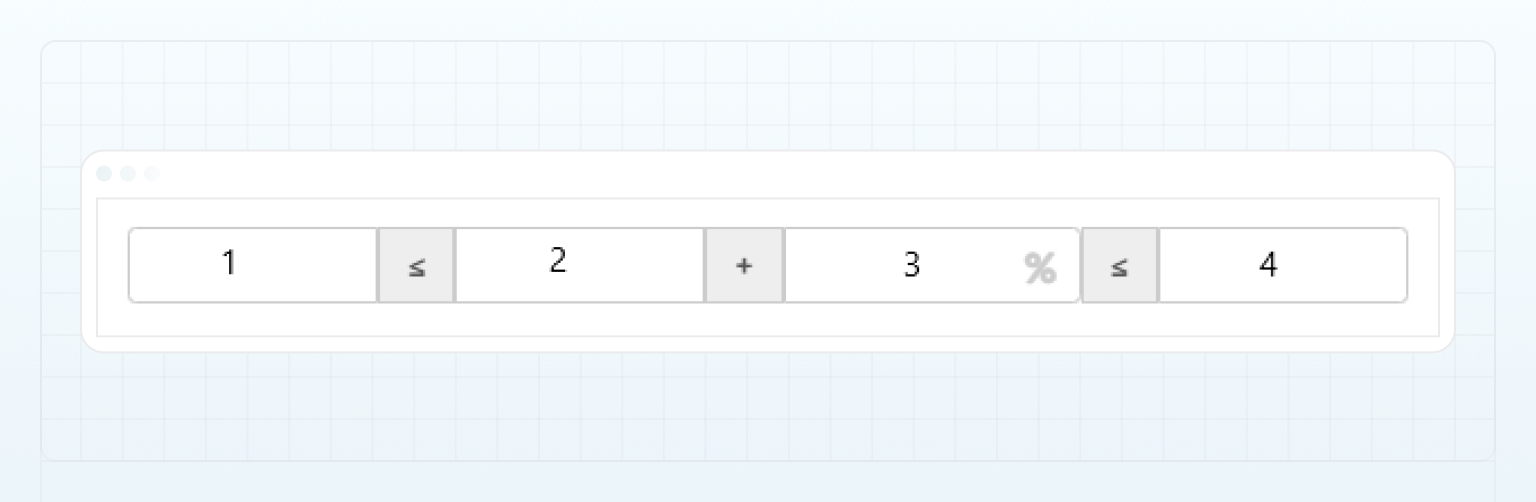 The use of these fields follows the formula:
`Minimum commission amount (1) <= Fixed rate (2) + Percentage rate % (3) <= Maximum commission amount (4)`
You can set a fixed commission rate, a percentage commission rate, or a combination of both.
* To set a fixed commission rate, enter the commission amount in the field `2`. The specified commission amount is charged for each deposit or withdrawal transaction regardless of the transaction amount.
For fixed commission rates, leave the other fields empty.
* To set a percentage commission rate, enter the percentage value in the field `3`. The specified percentage of a deposit or withdrawal amount is charged as a commission.
For percentage commission rates, it’s recommended that you set the minimum commission amount in the field `1` and the maximum commission amount in the field `4`. The commission can’t be be lower than the minimum amount or exceed the maximum amount.
* If both a fixed rate in the field `2` and a percentage rate in the field `3` are entered, the commission is calculated as the sum of the fixed amount and the specified percentage of a deposit or withdrawal amount.
For combined commissions, it’s also recommended that you set the minimum and maximum commission amounts.
The use of these fields follows the formula:
`Minimum commission amount (1) <= Fixed rate (2) + Percentage rate % (3) <= Maximum commission amount (4)`
You can set a fixed commission rate, a percentage commission rate, or a combination of both.
* To set a fixed commission rate, enter the commission amount in the field `2`. The specified commission amount is charged for each deposit or withdrawal transaction regardless of the transaction amount.
For fixed commission rates, leave the other fields empty.
* To set a percentage commission rate, enter the percentage value in the field `3`. The specified percentage of a deposit or withdrawal amount is charged as a commission.
For percentage commission rates, it’s recommended that you set the minimum commission amount in the field `1` and the maximum commission amount in the field `4`. The commission can’t be be lower than the minimum amount or exceed the maximum amount.
* If both a fixed rate in the field `2` and a percentage rate in the field `3` are entered, the commission is calculated as the sum of the fixed amount and the specified percentage of a deposit or withdrawal amount.
For combined commissions, it’s also recommended that you set the minimum and maximum commission amounts.
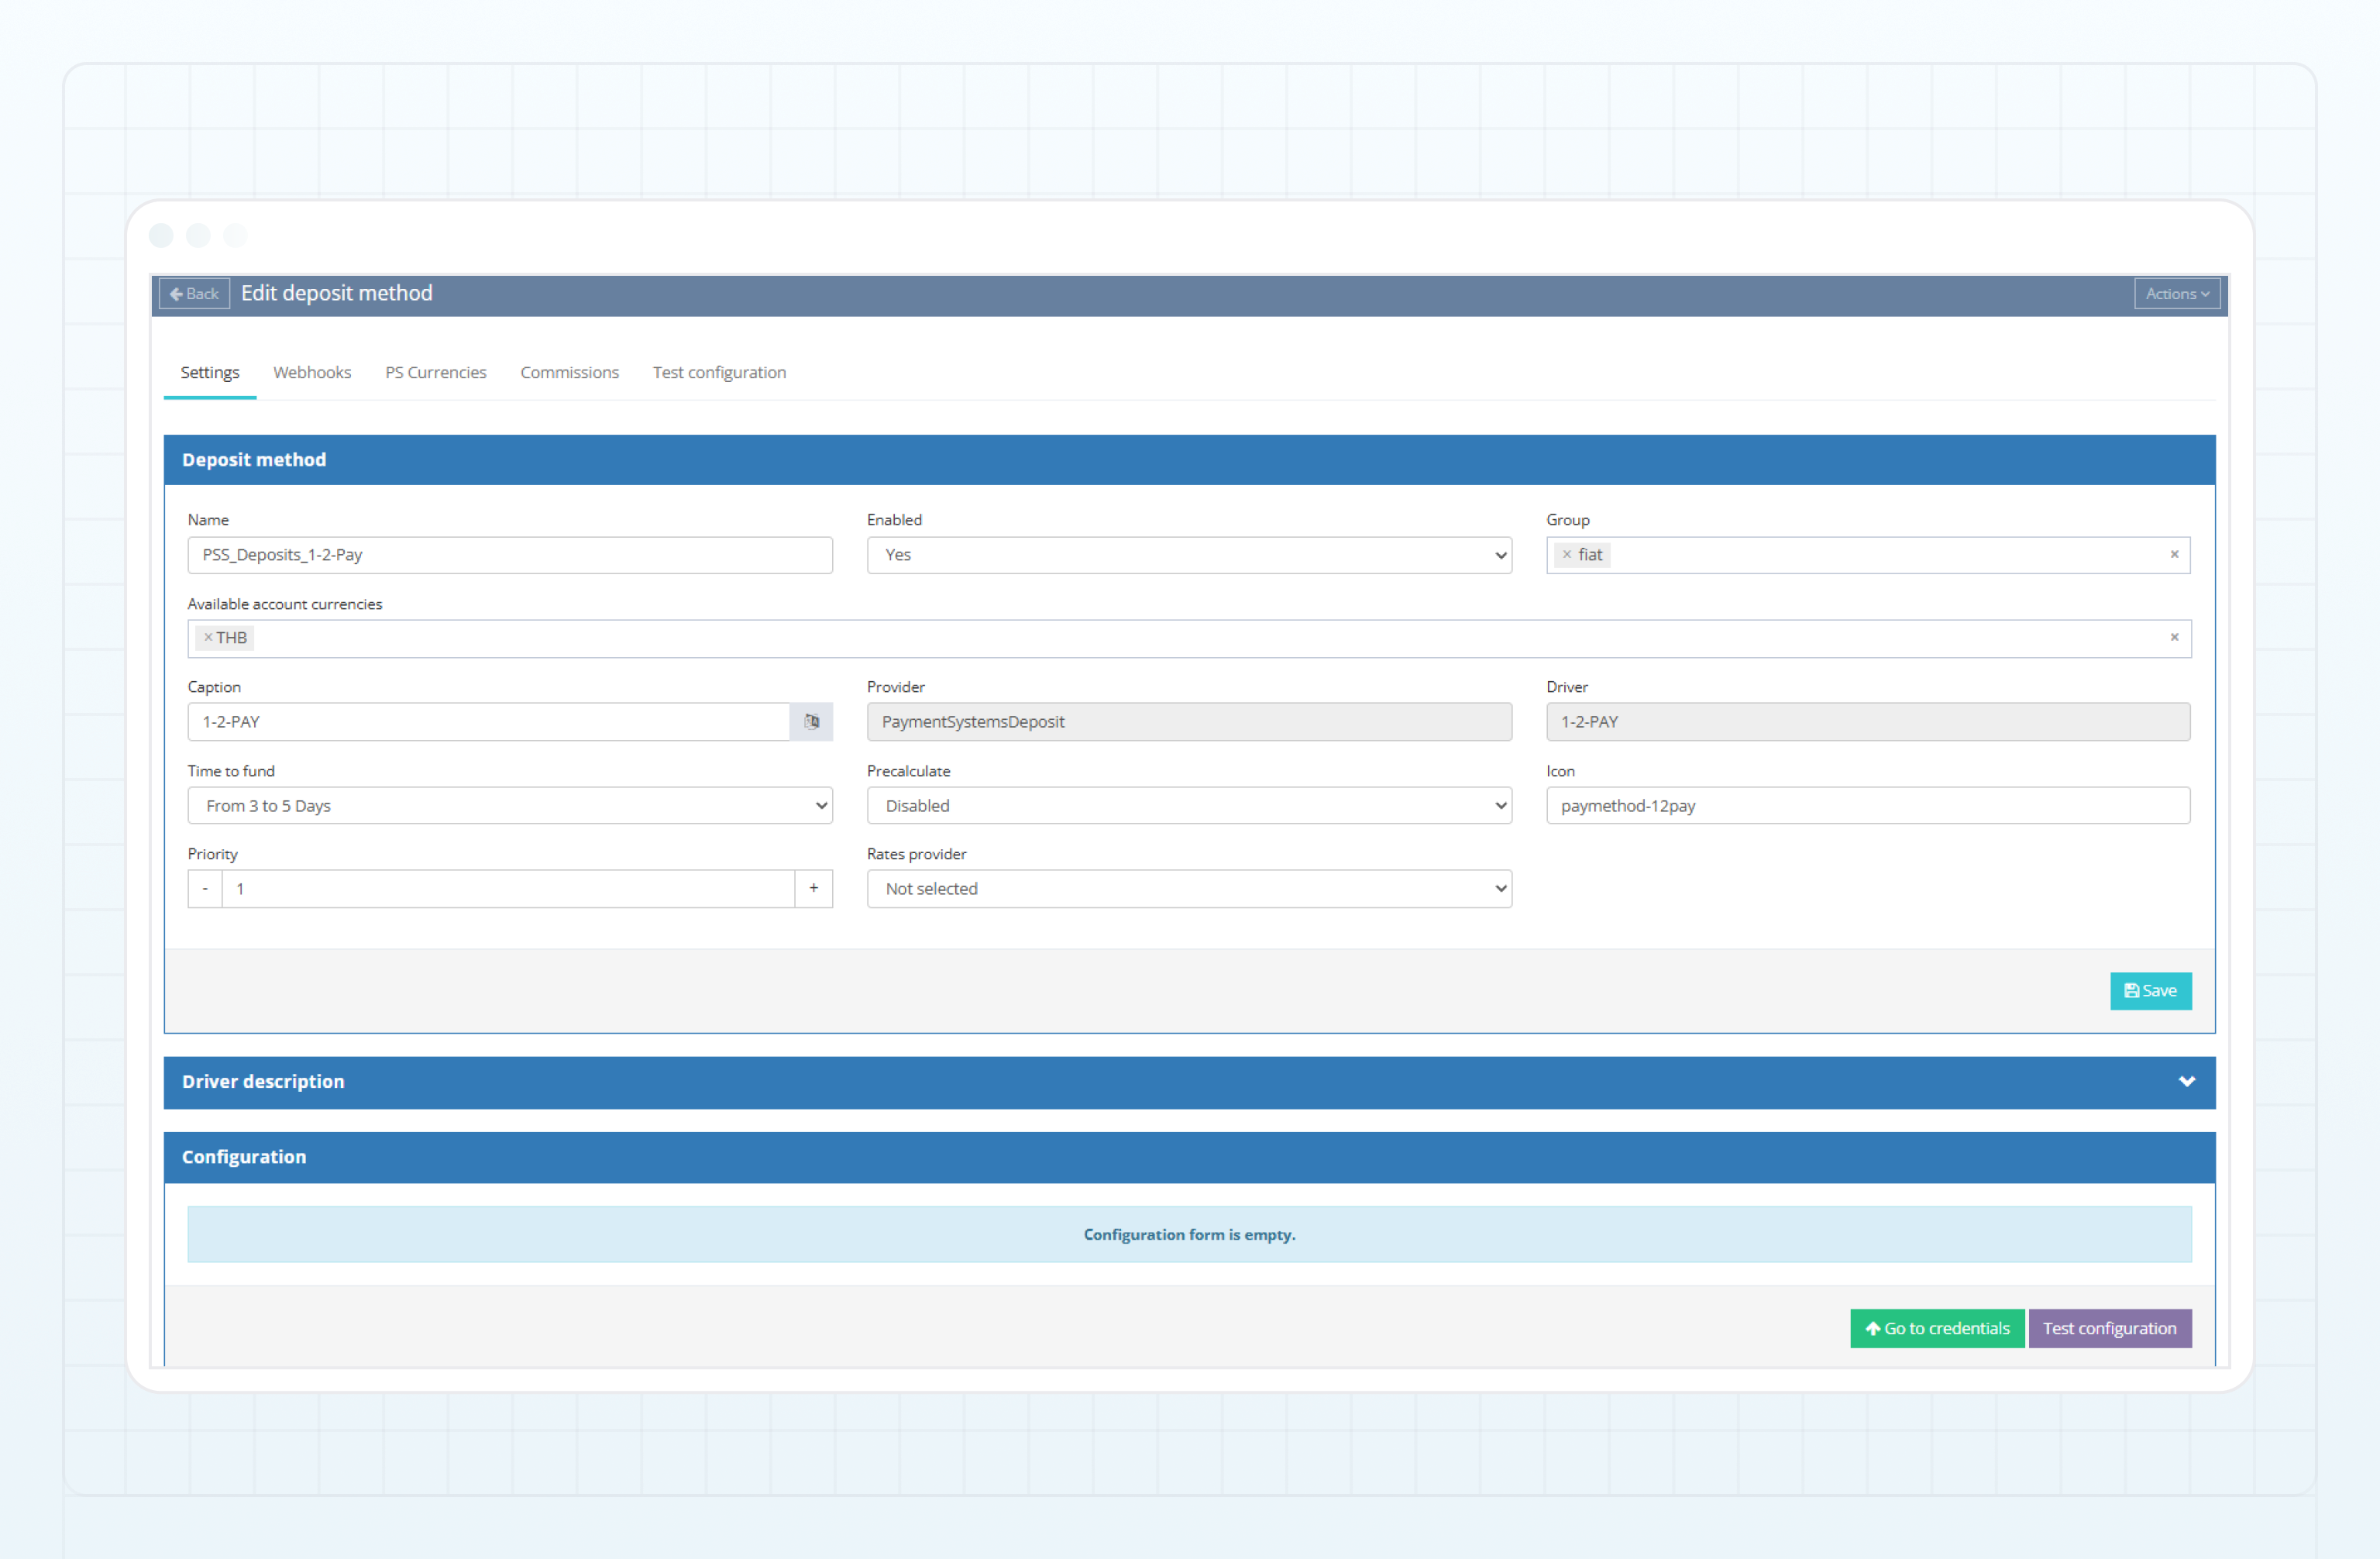
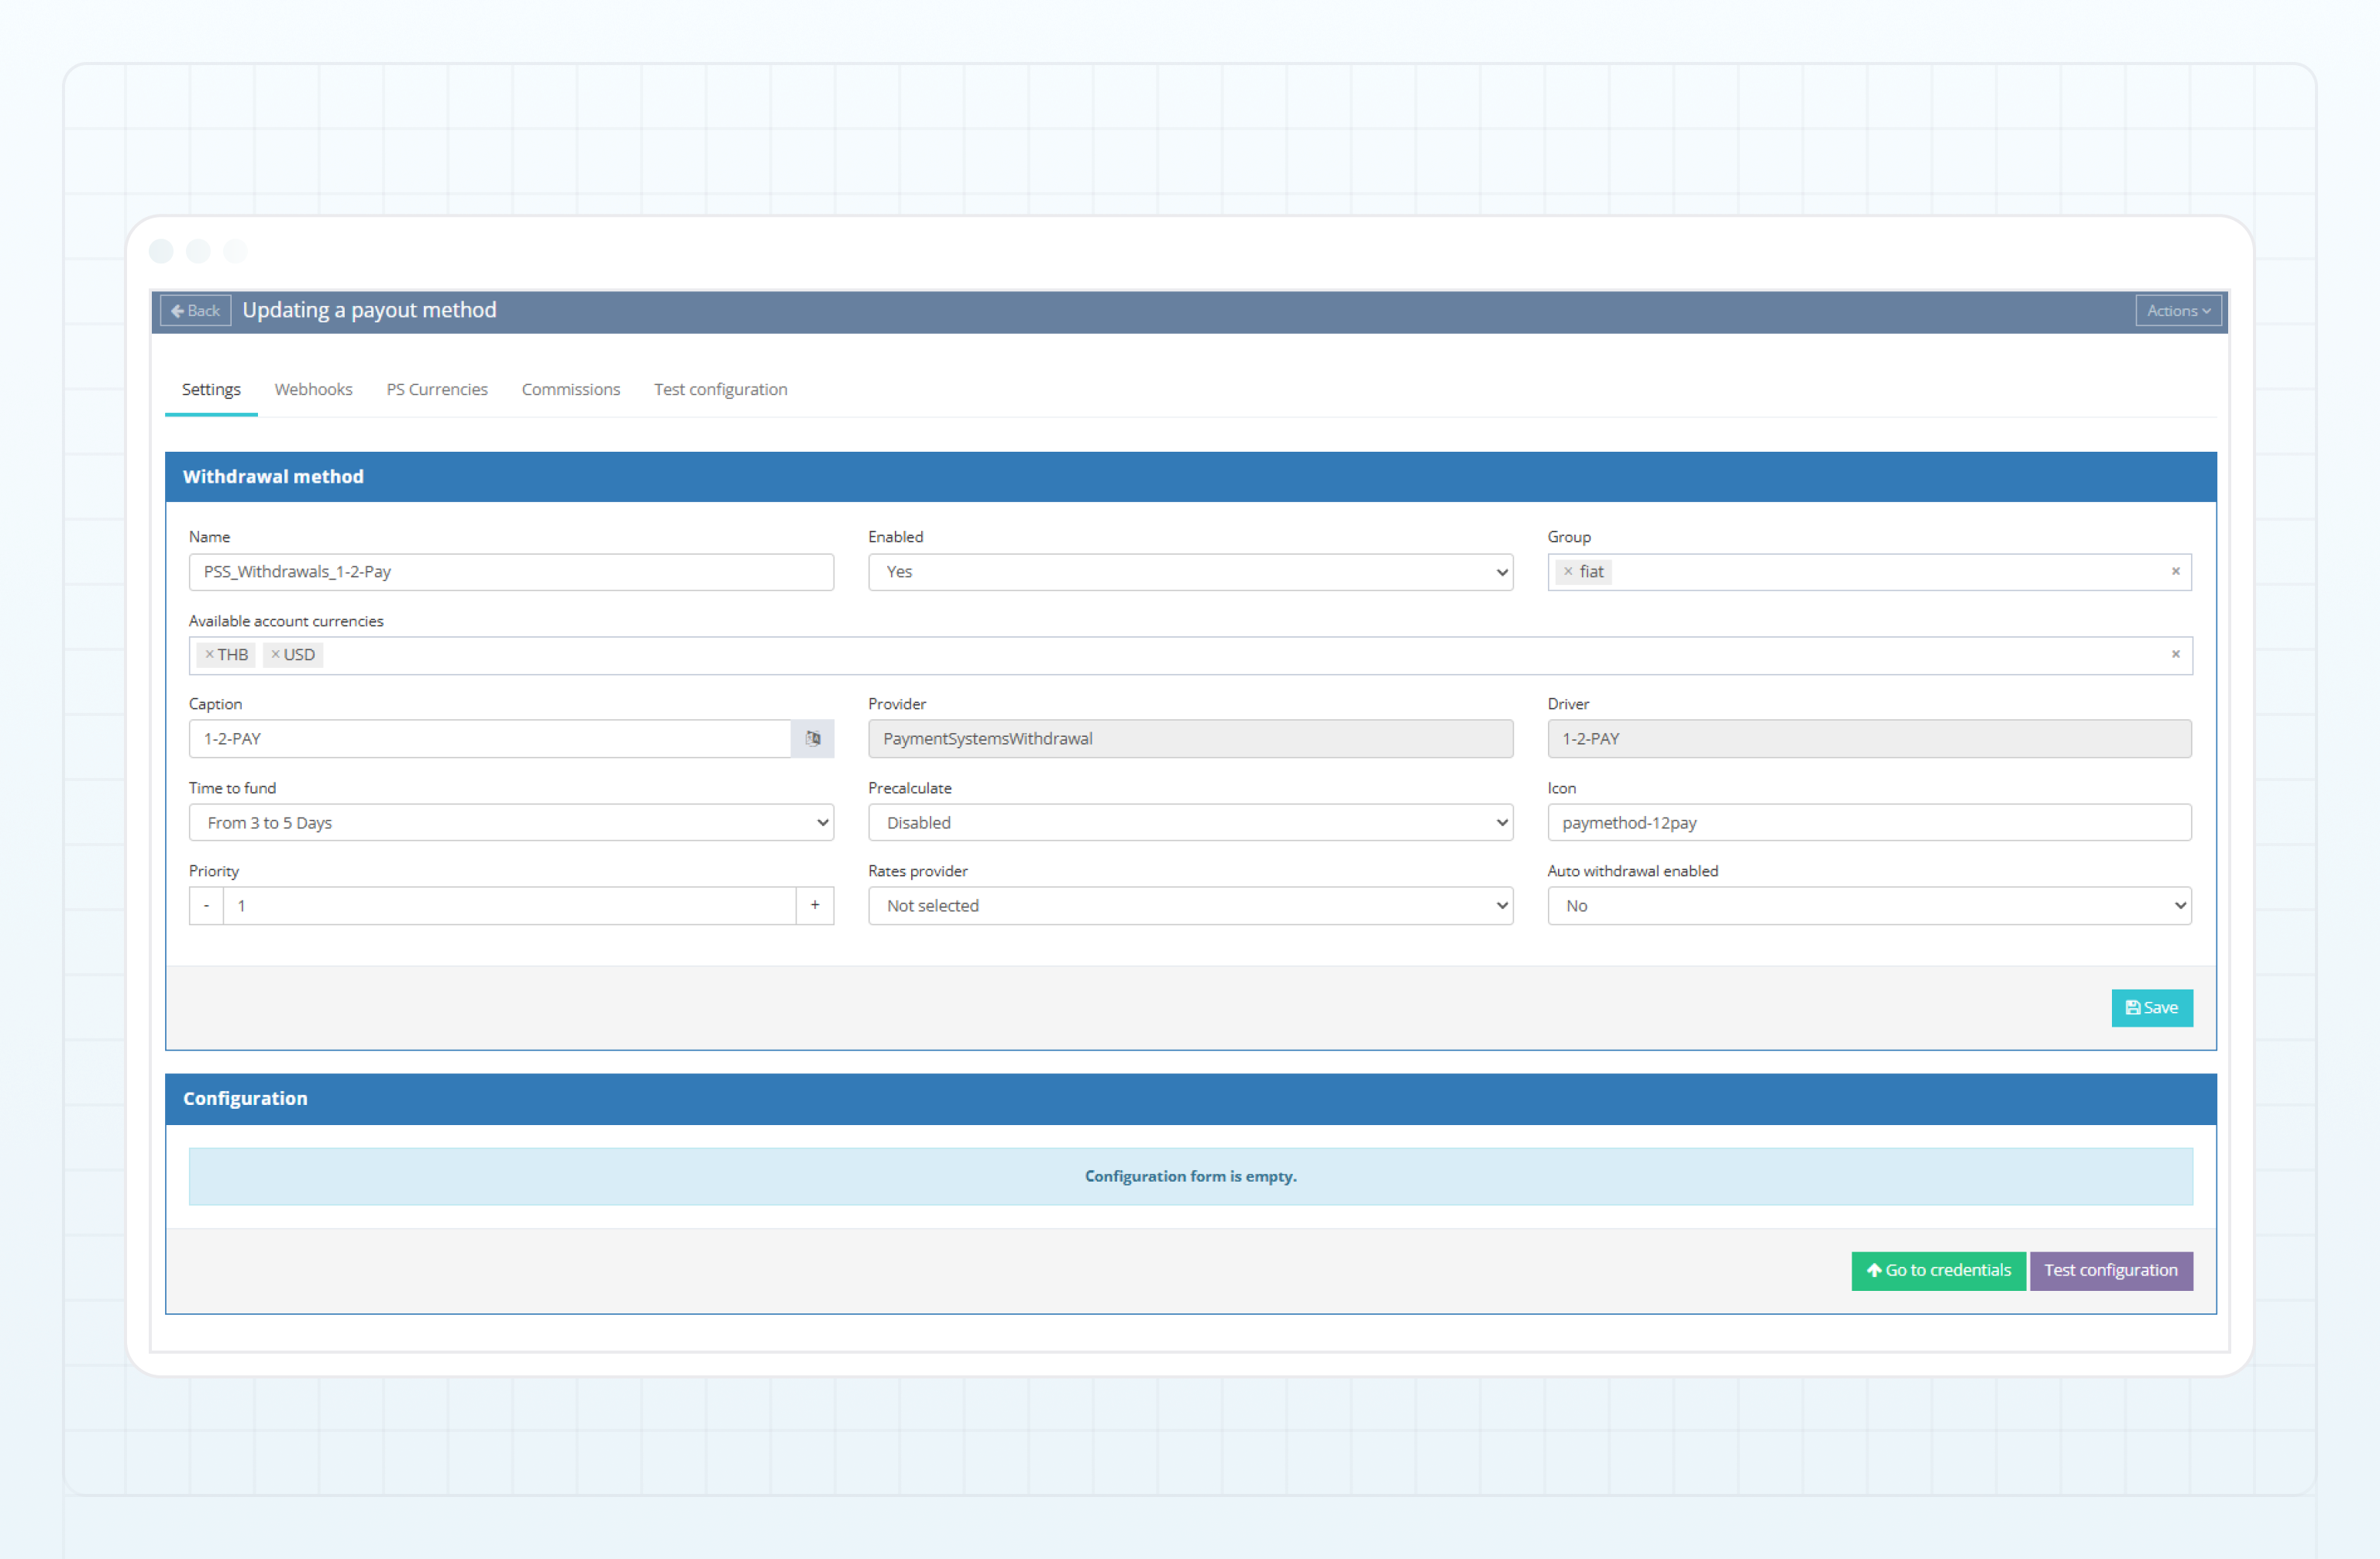
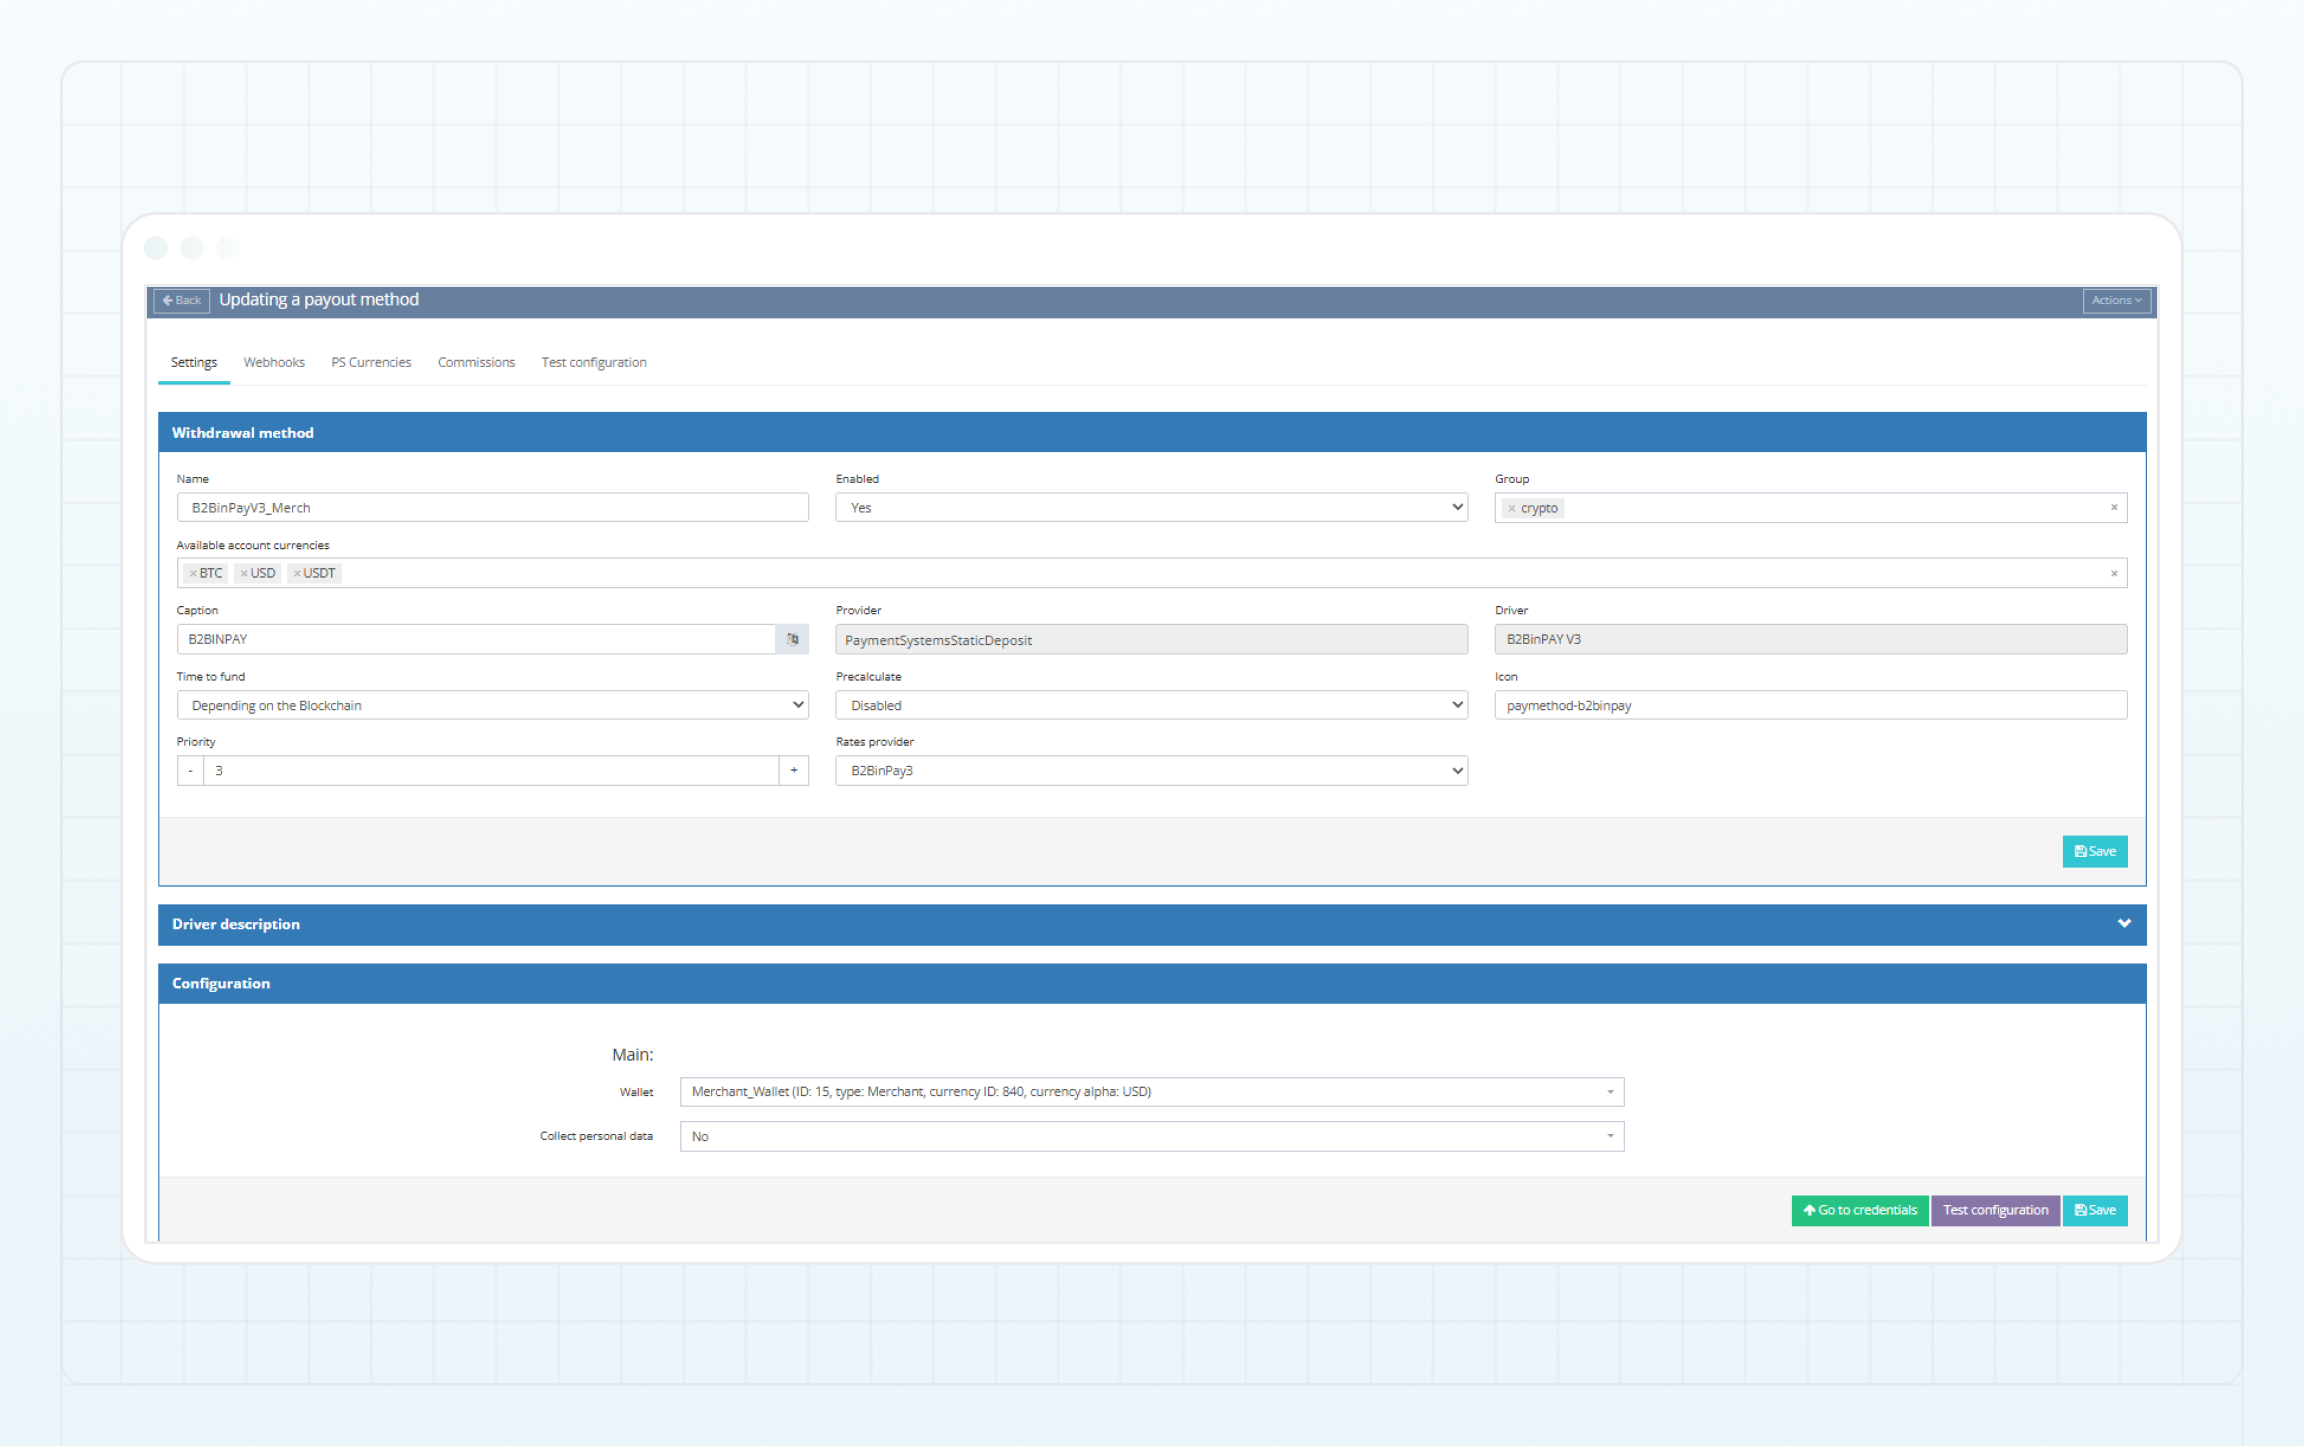
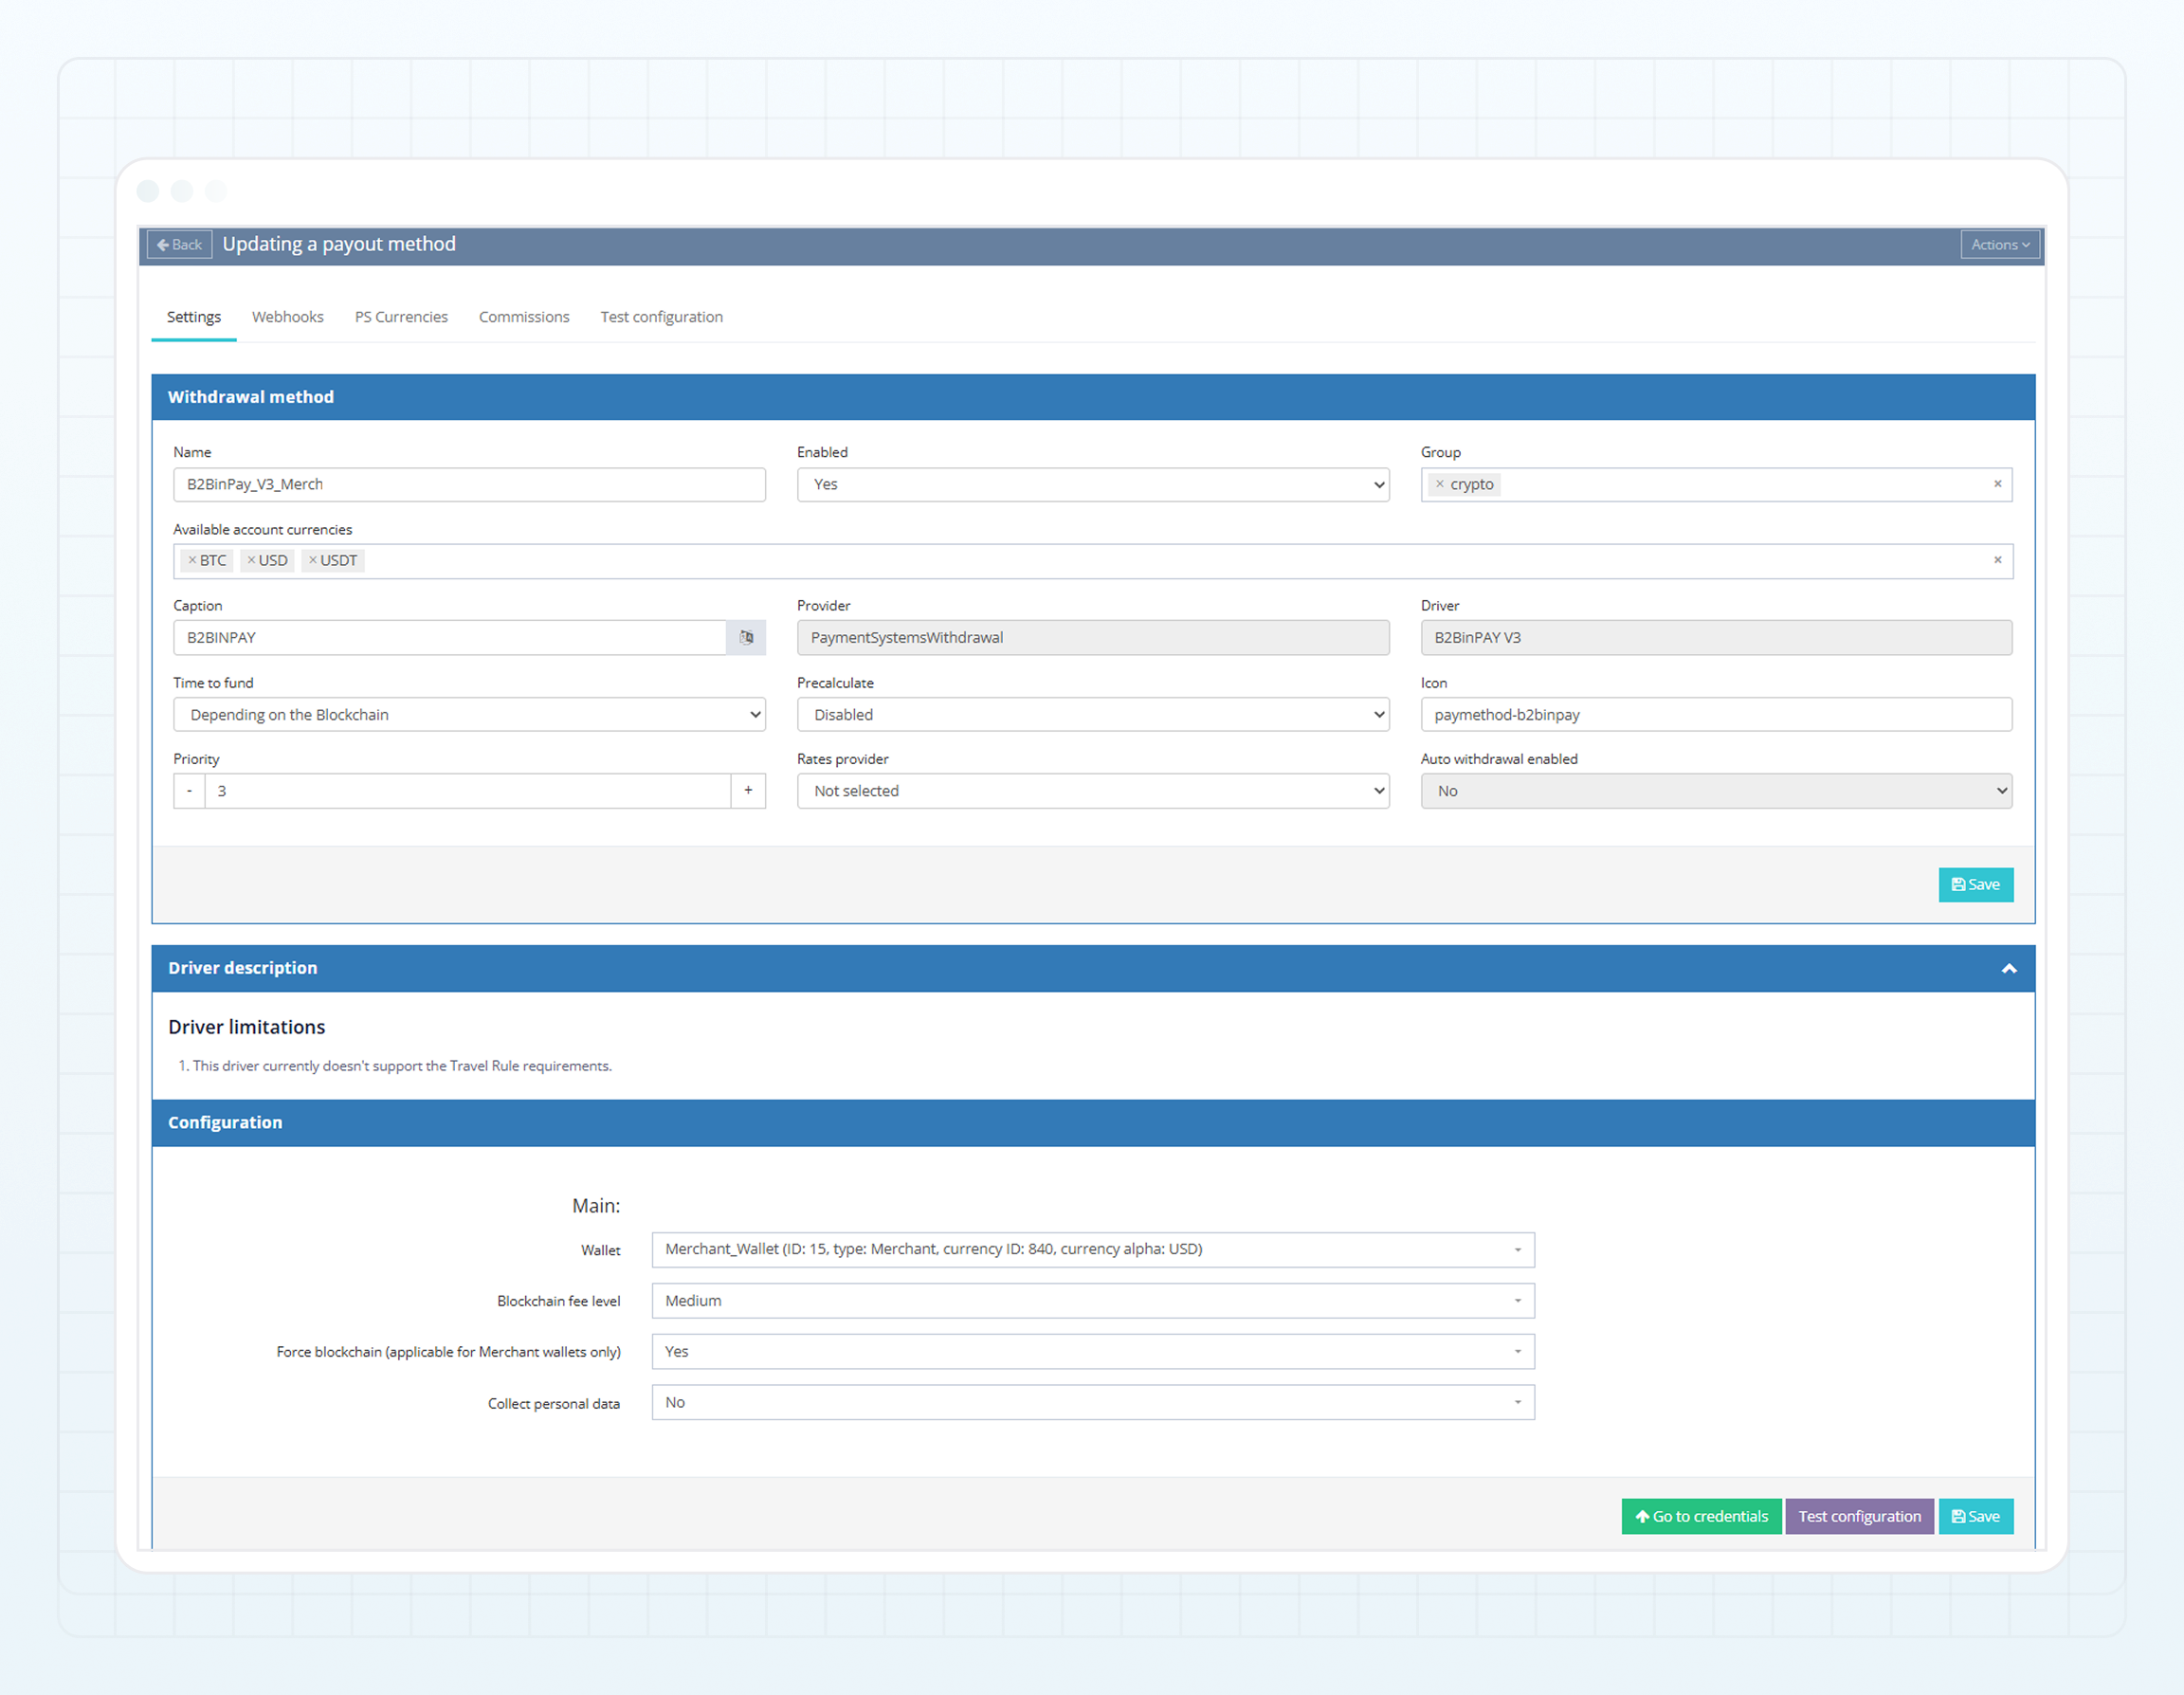
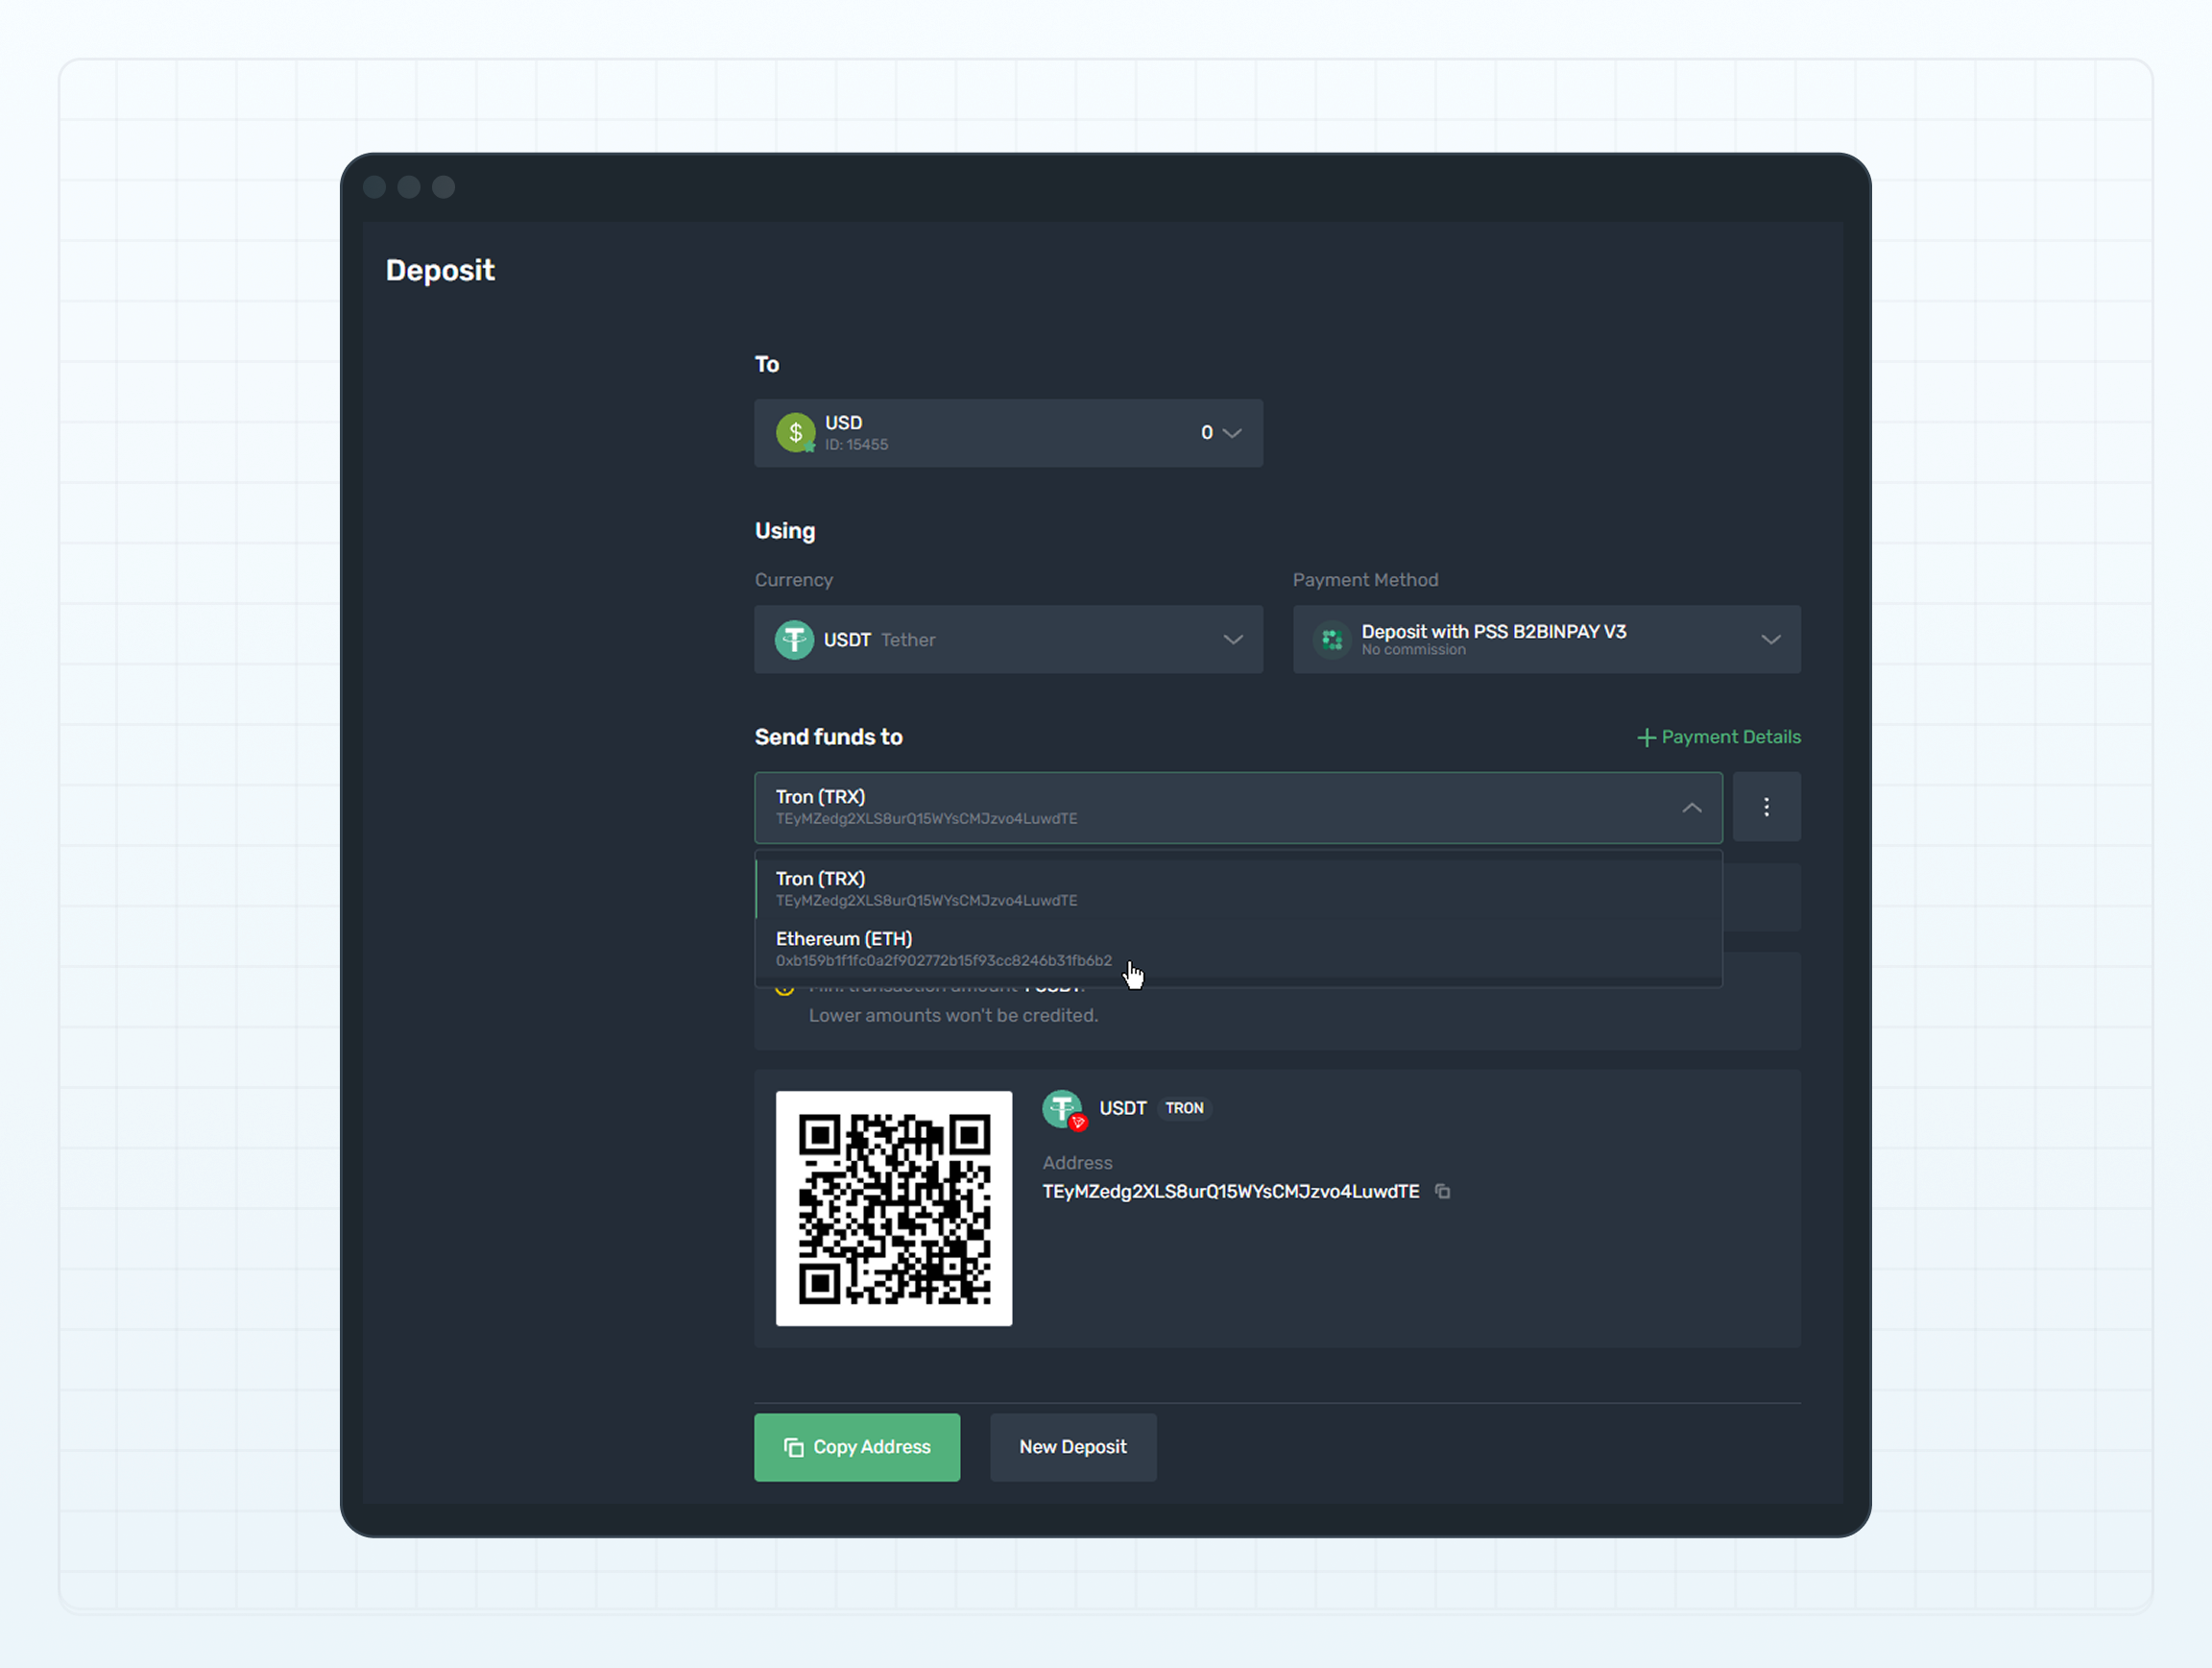 Follow the instructions below to configure a connection and set up deposit and withdrawal methods through [B2BINPAY](https://b2binpay.com/) in the B2CORE Back Office.
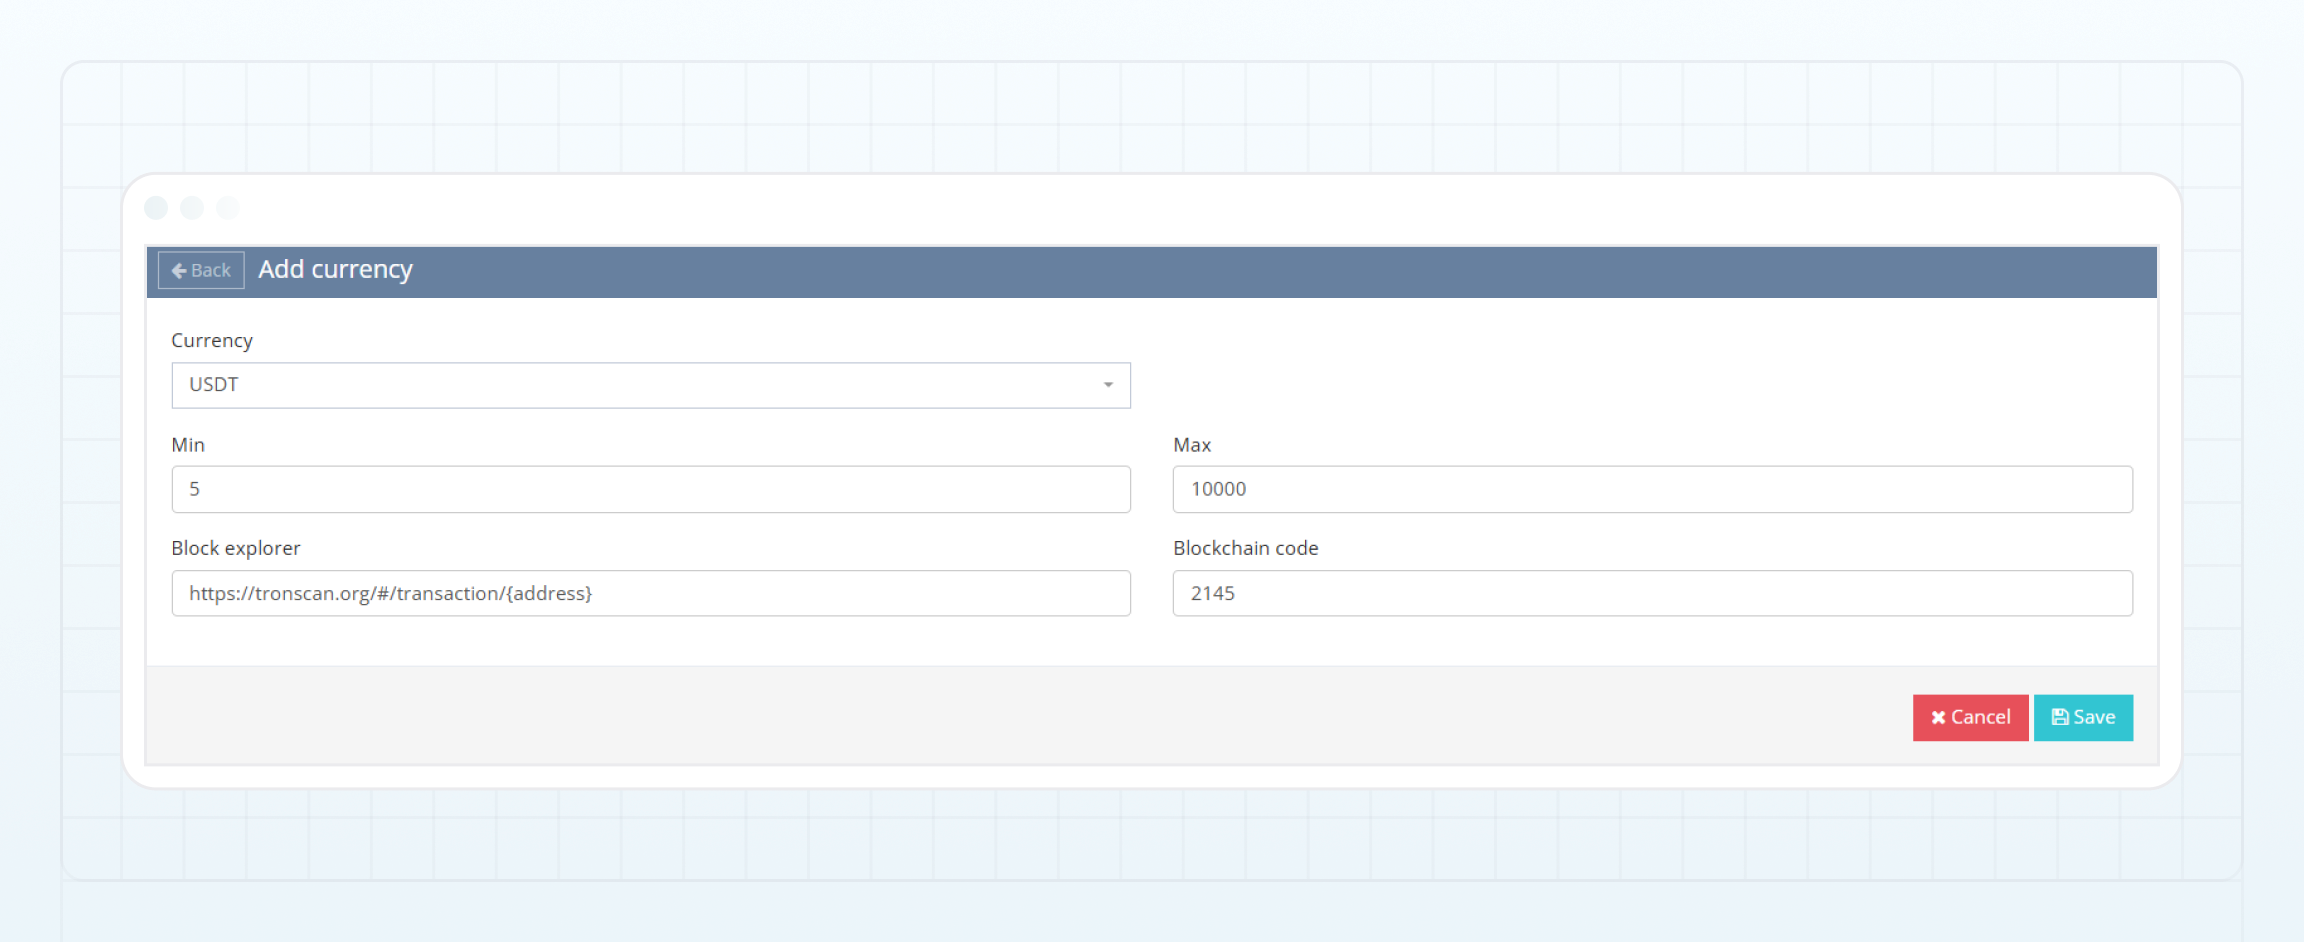
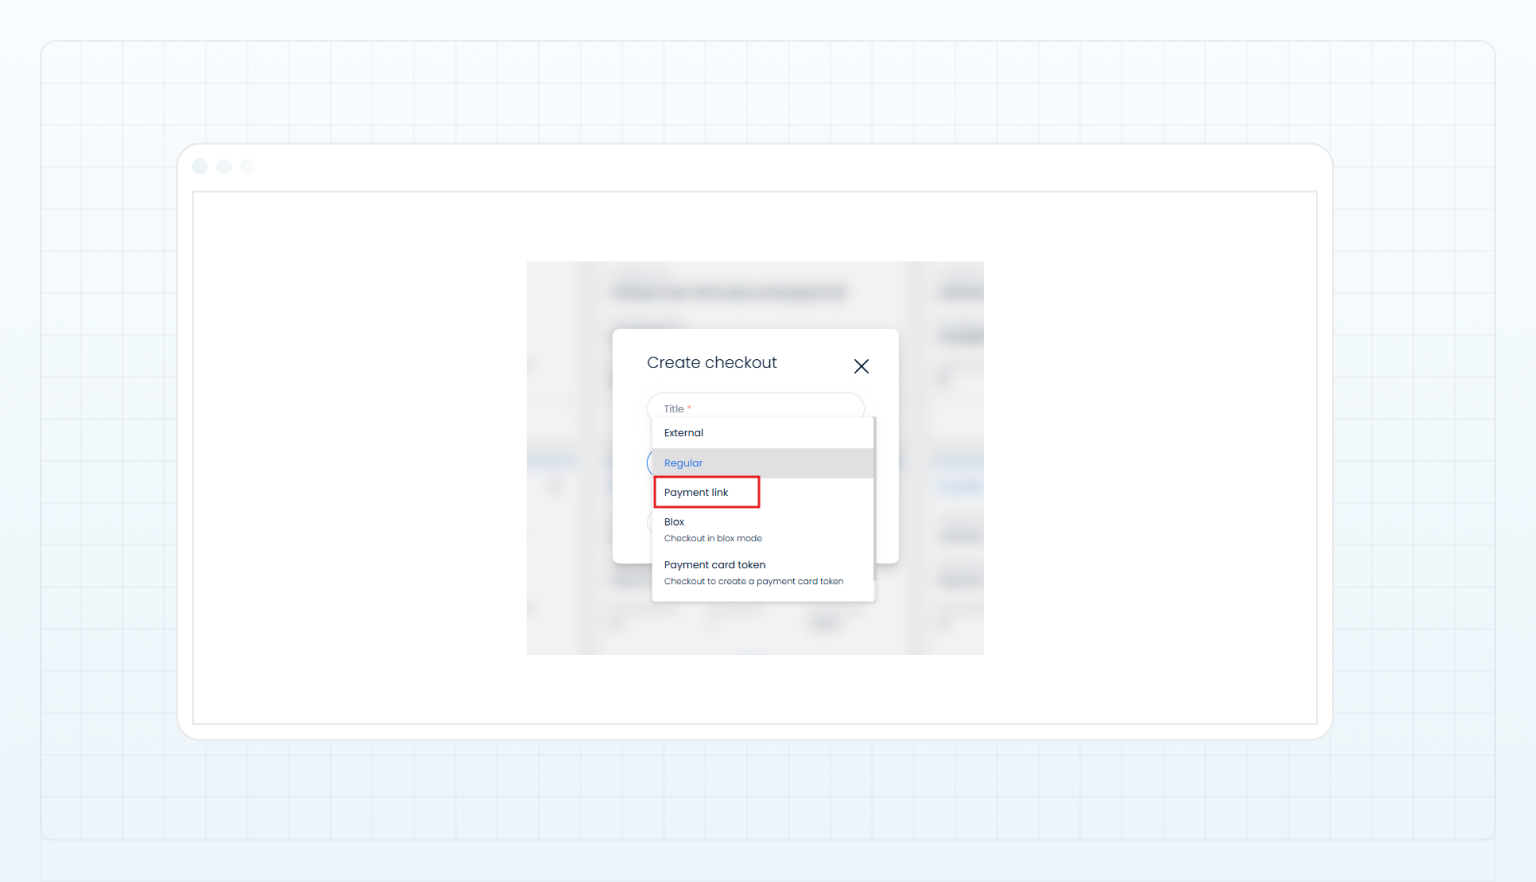
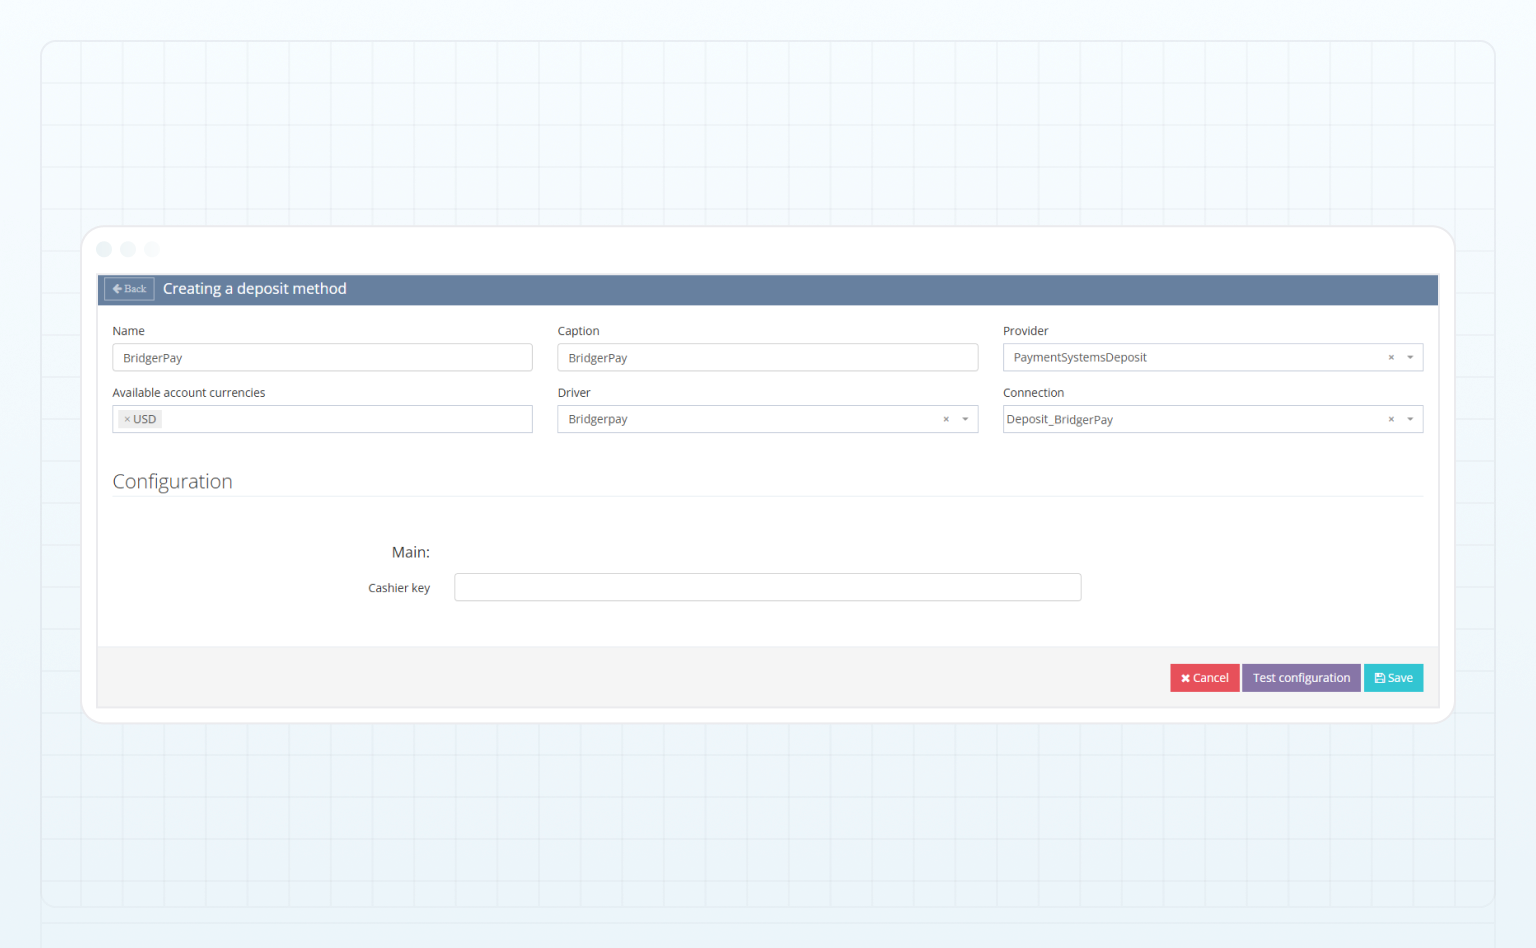
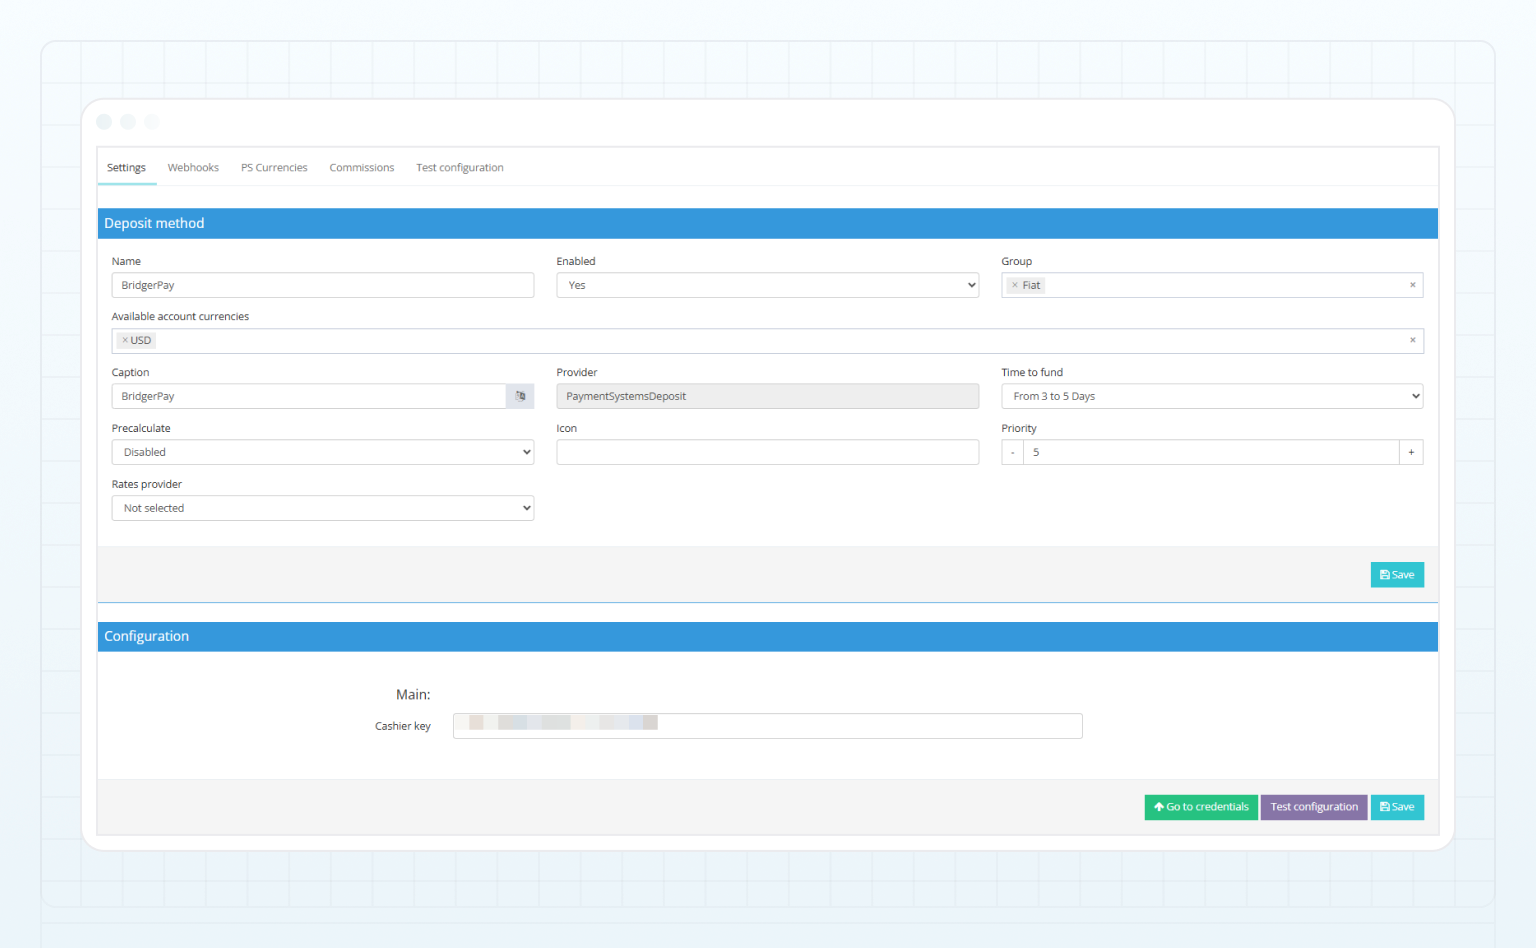
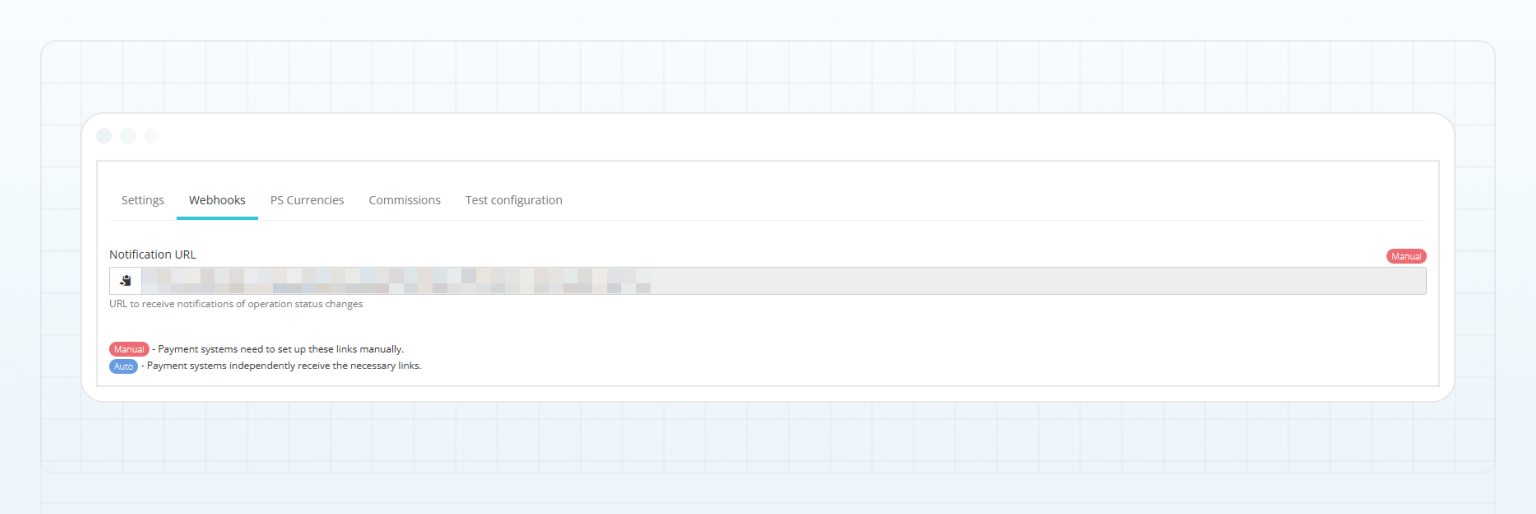
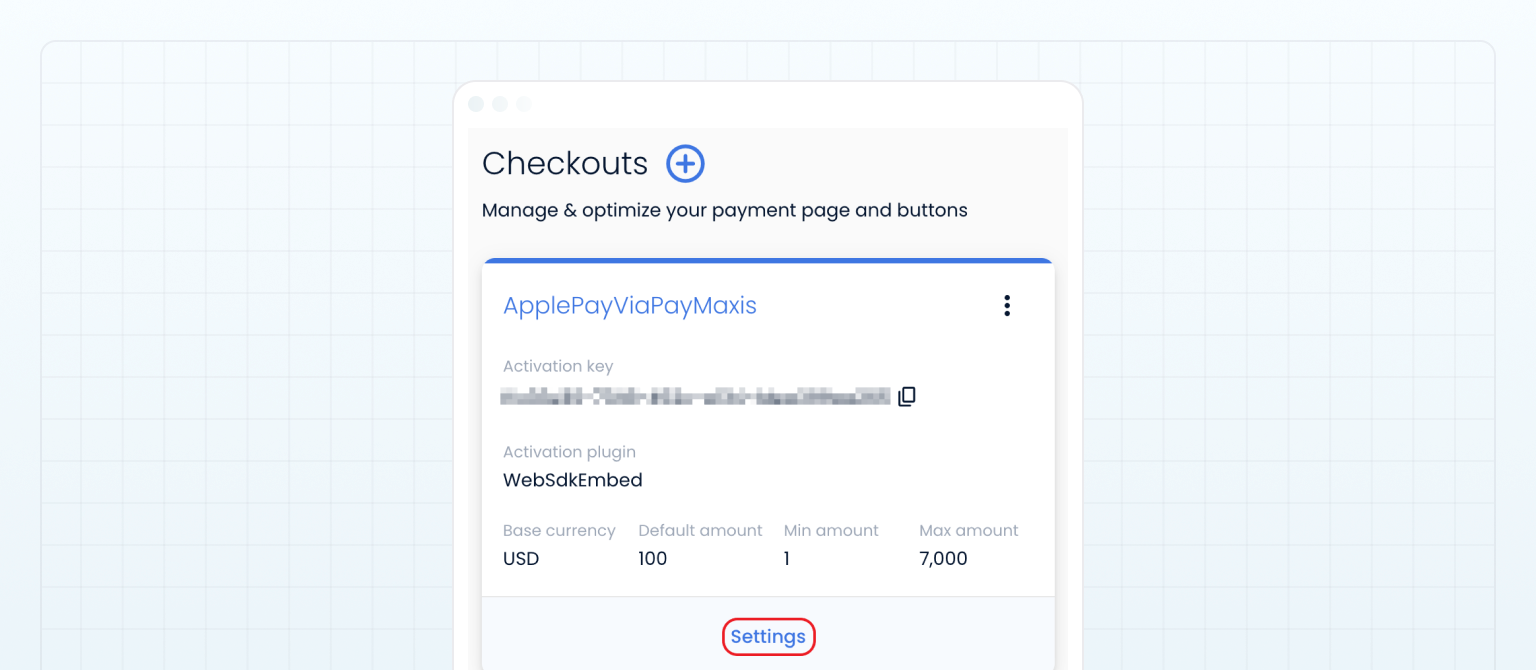
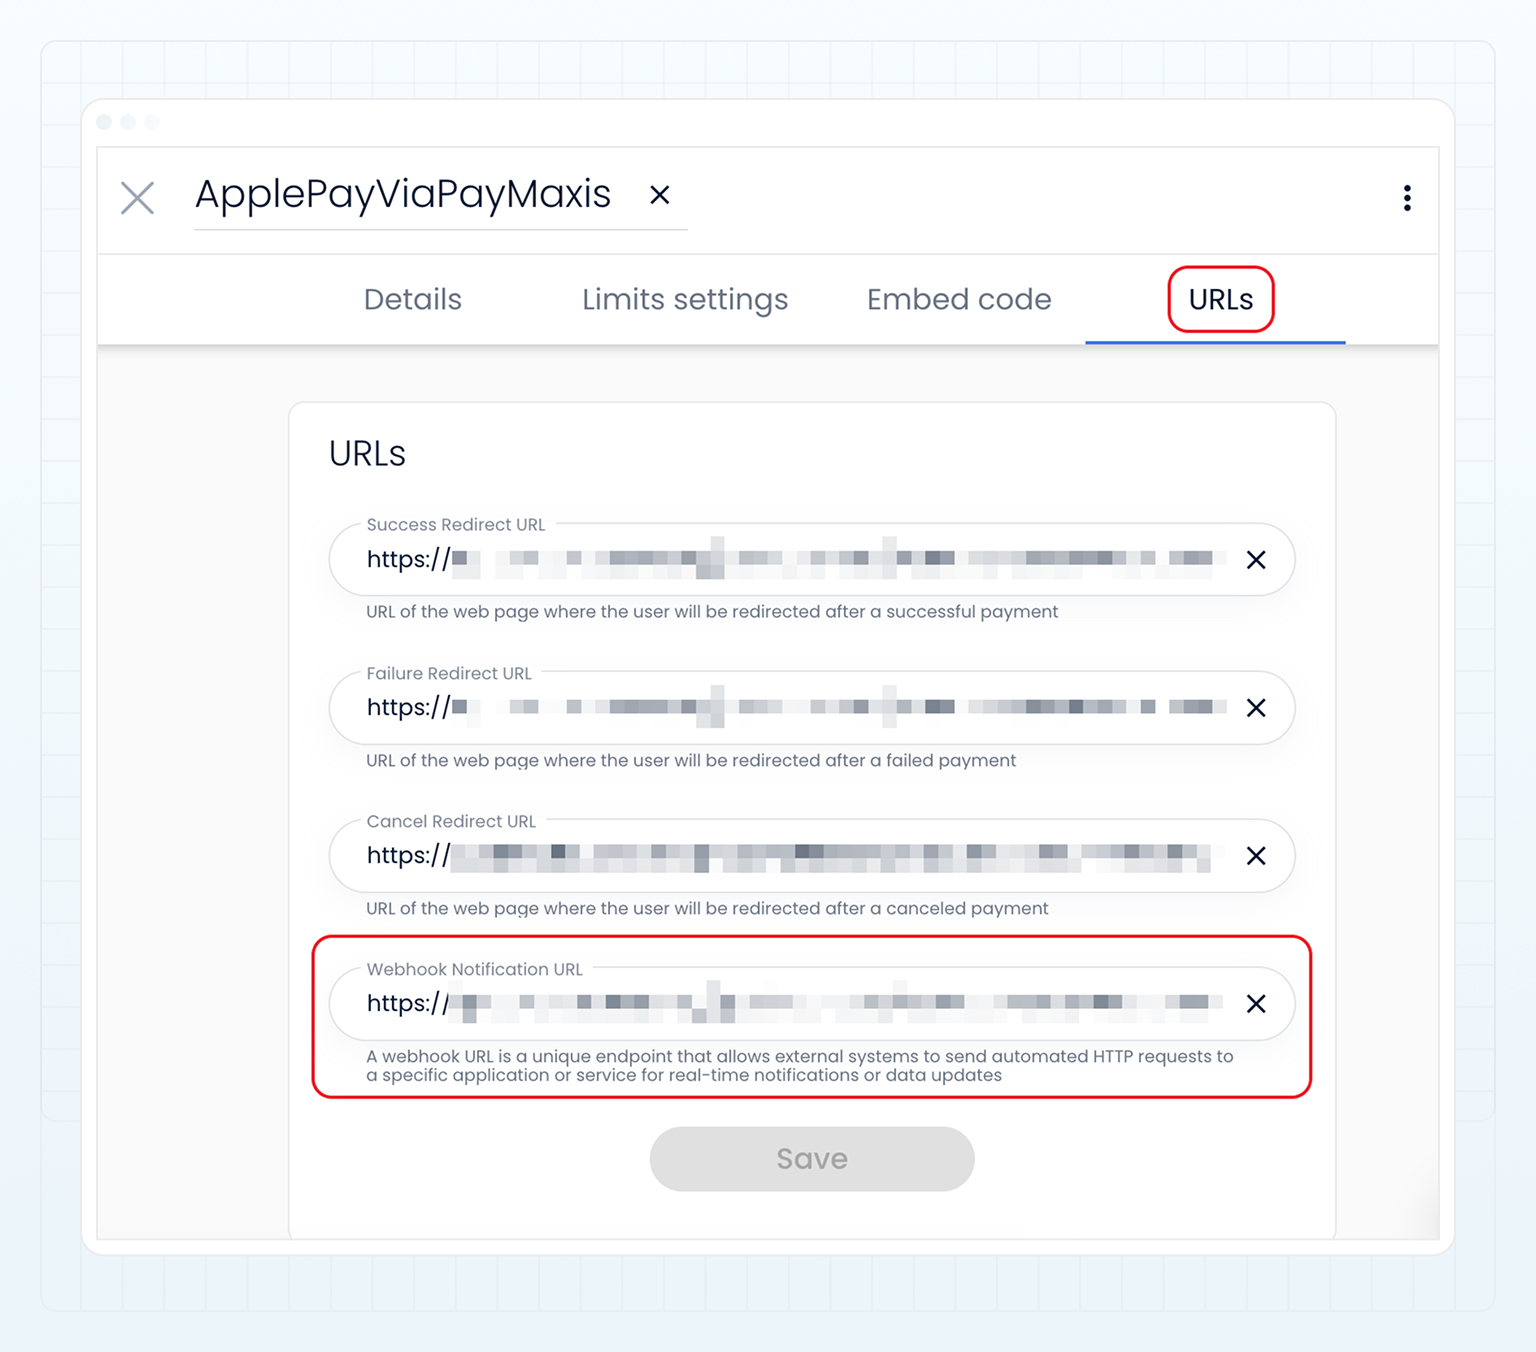
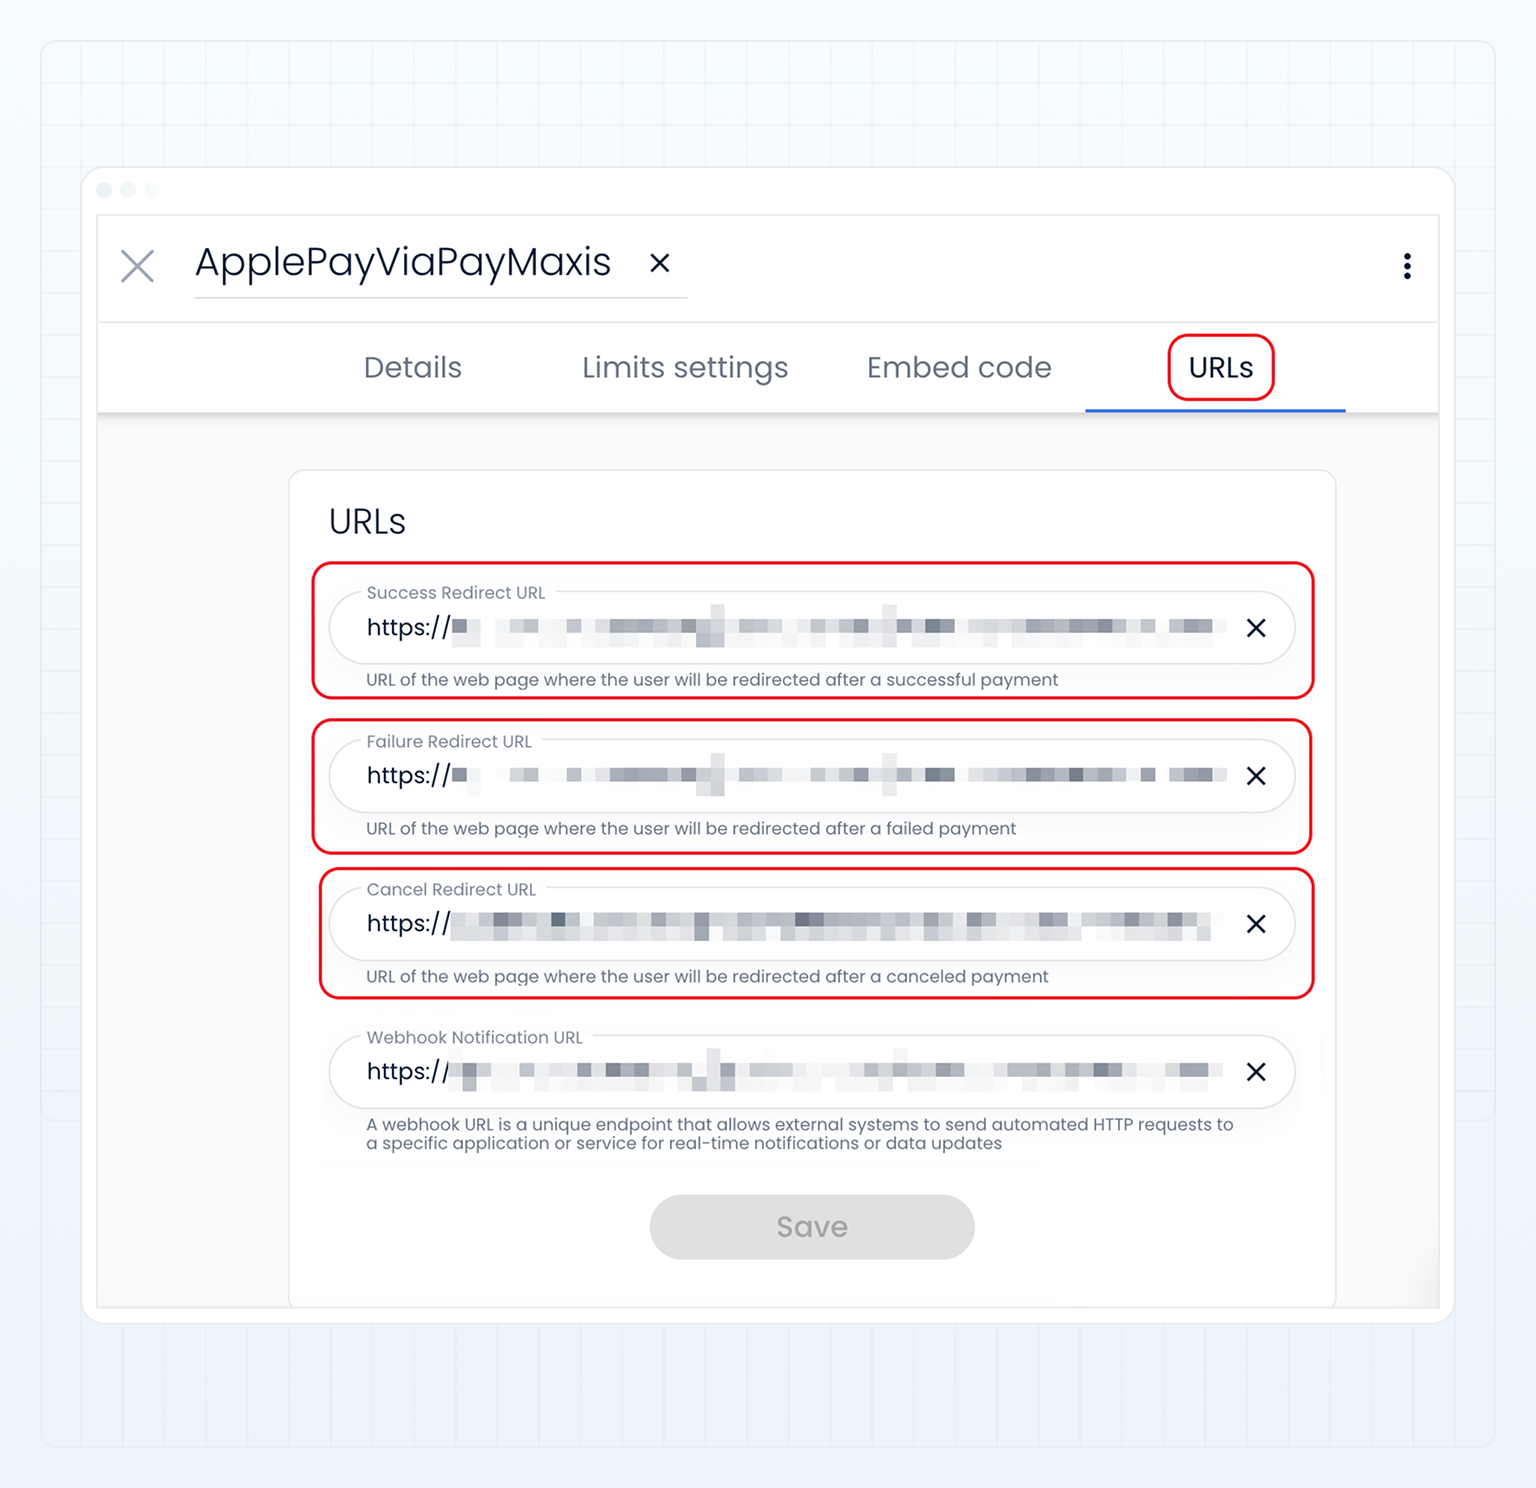
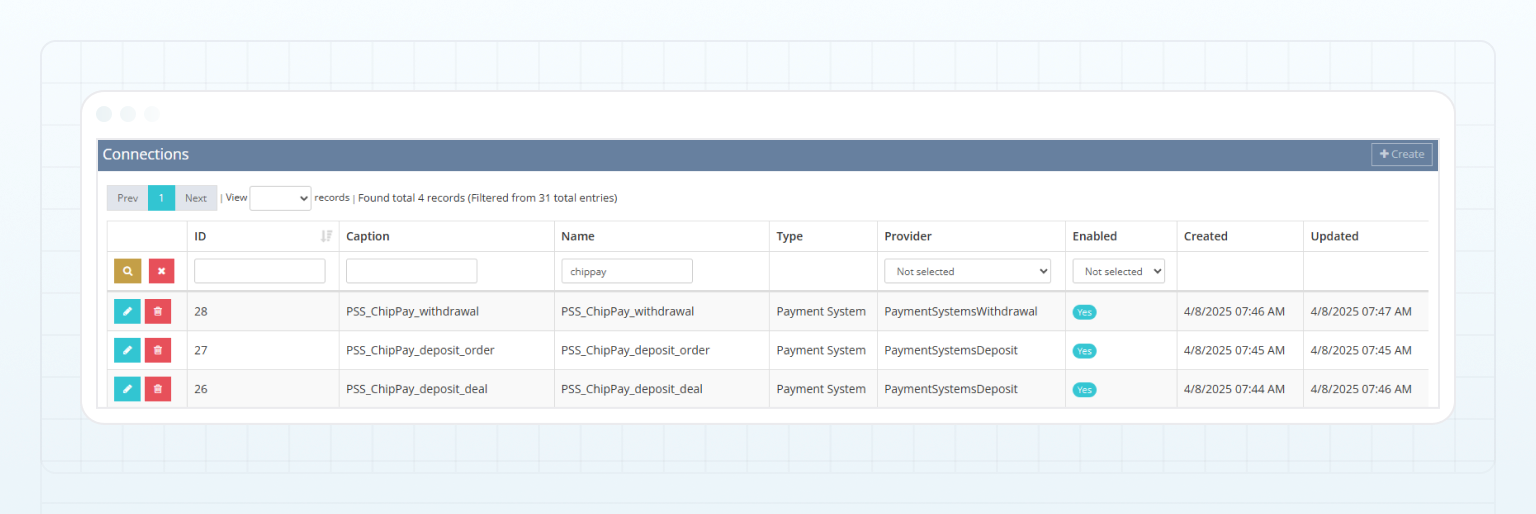 ## Add a deposit method through ChipPay [#add-a-deposit-method-through-chippay]
To add and set up a method for making deposits through ChipPay:
## Add a deposit method through ChipPay [#add-a-deposit-method-through-chippay]
To add and set up a method for making deposits through ChipPay:
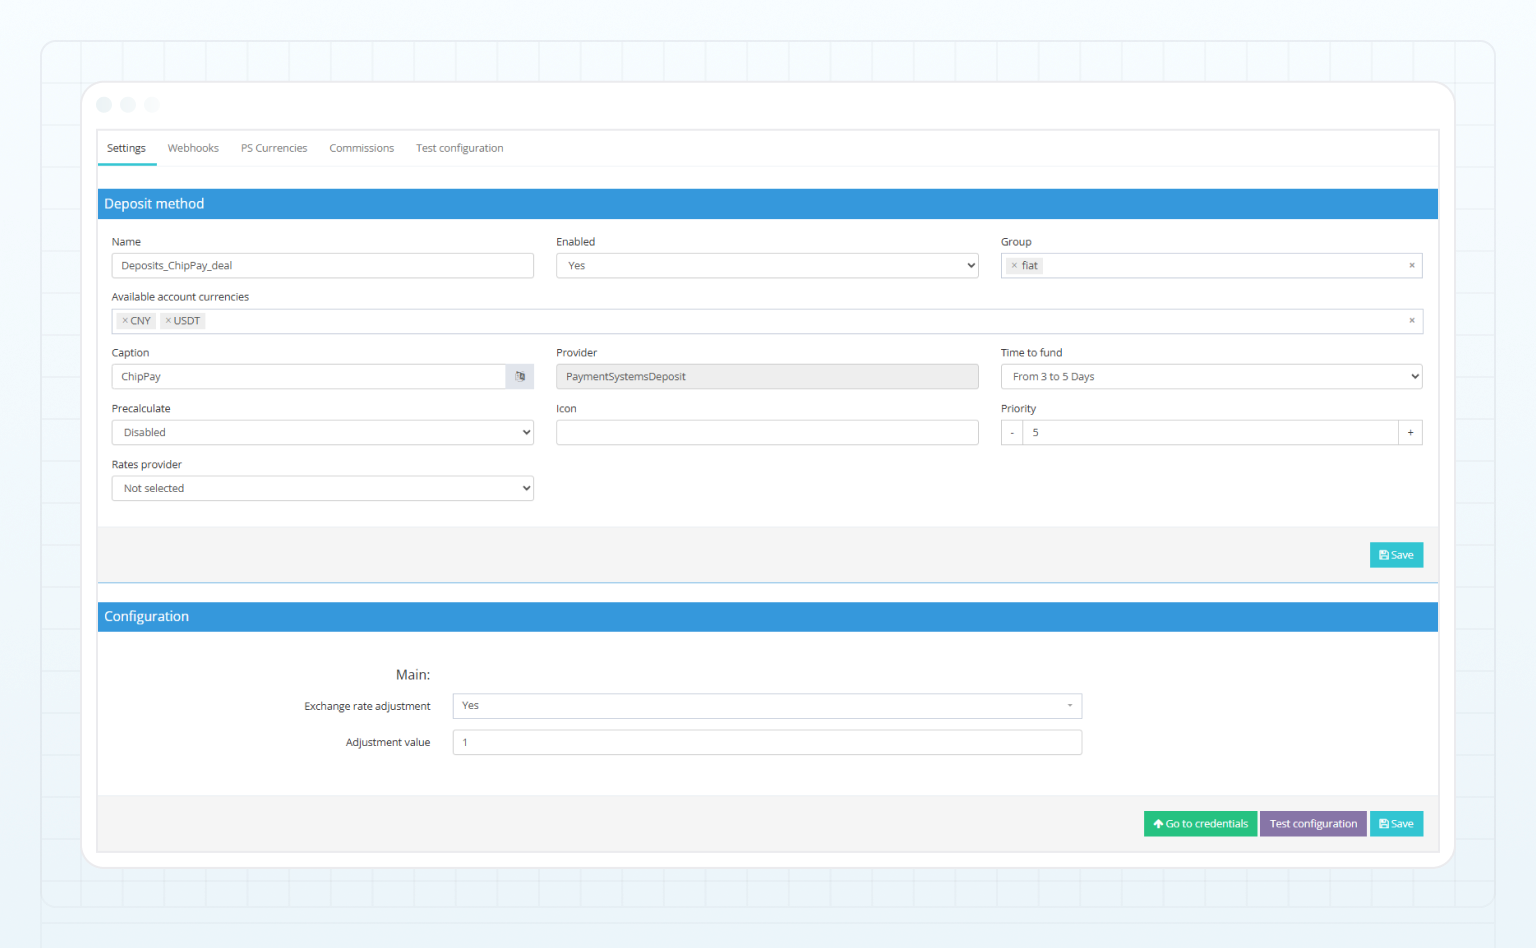
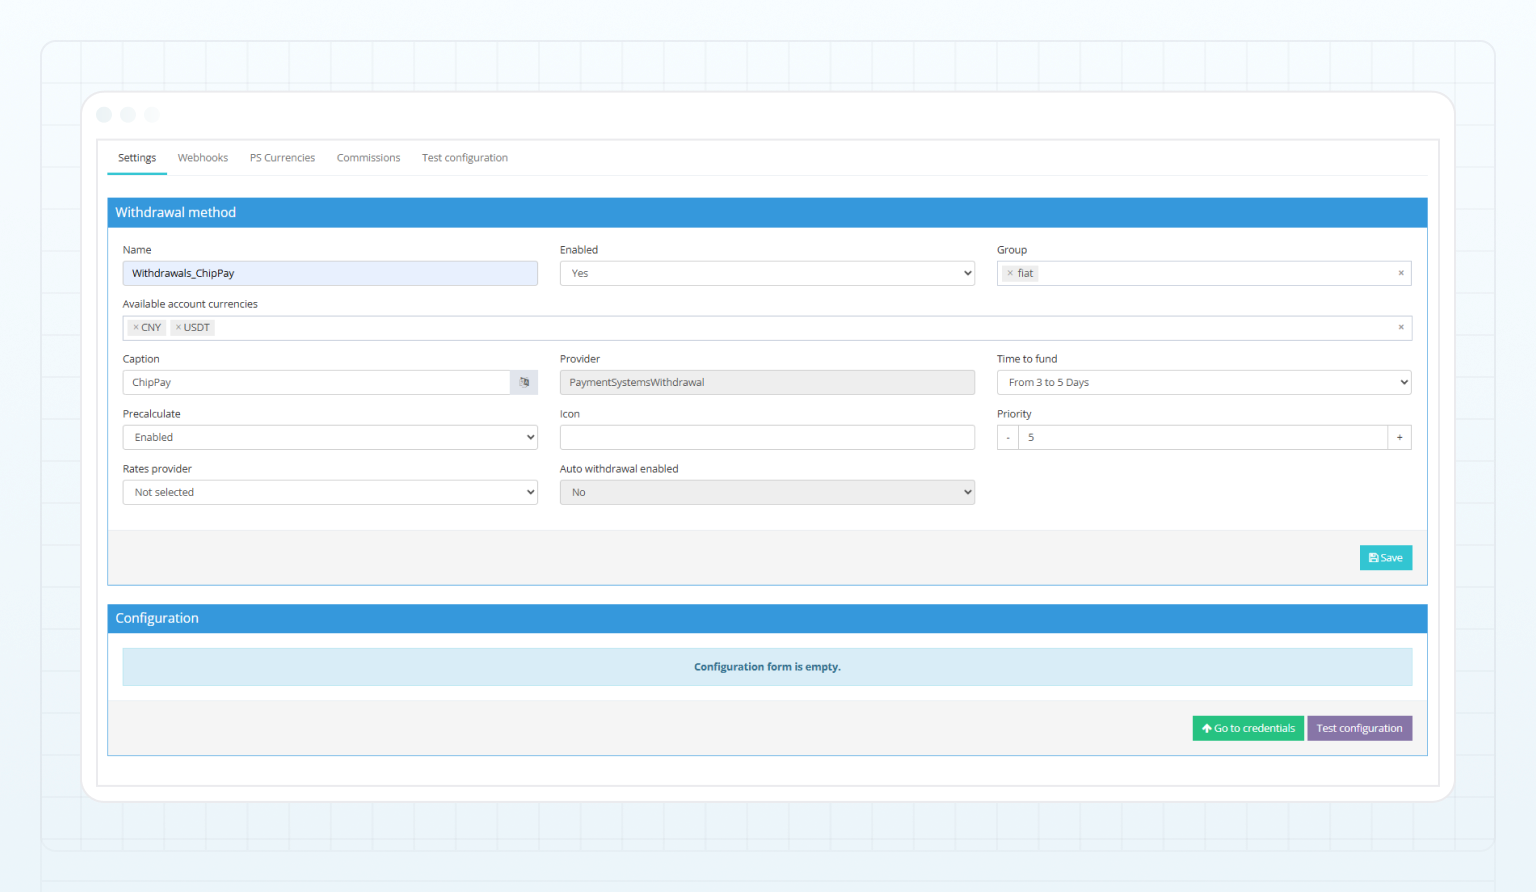
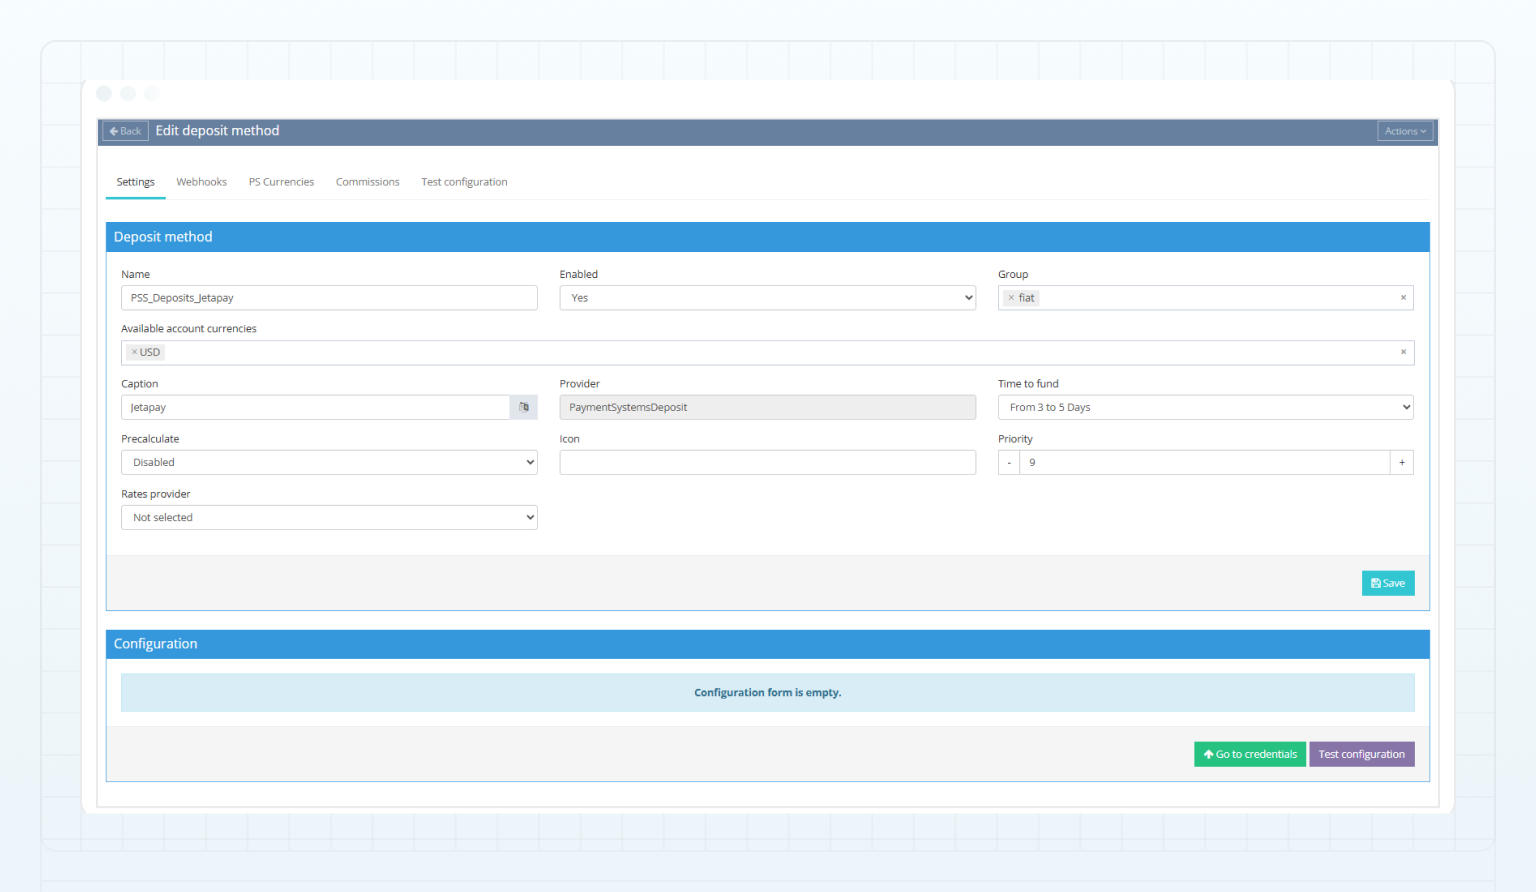
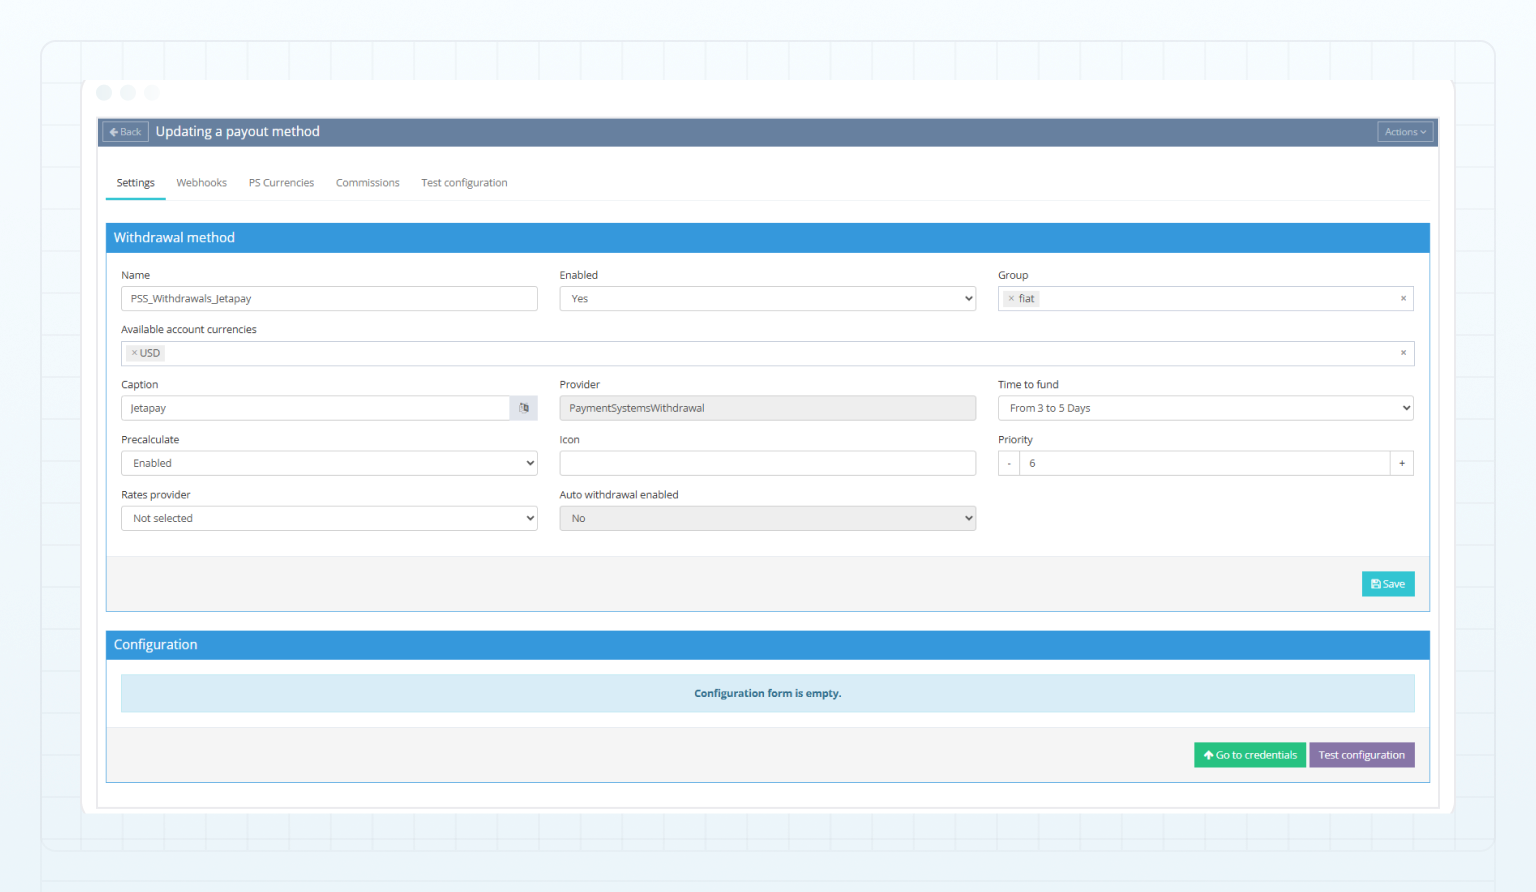
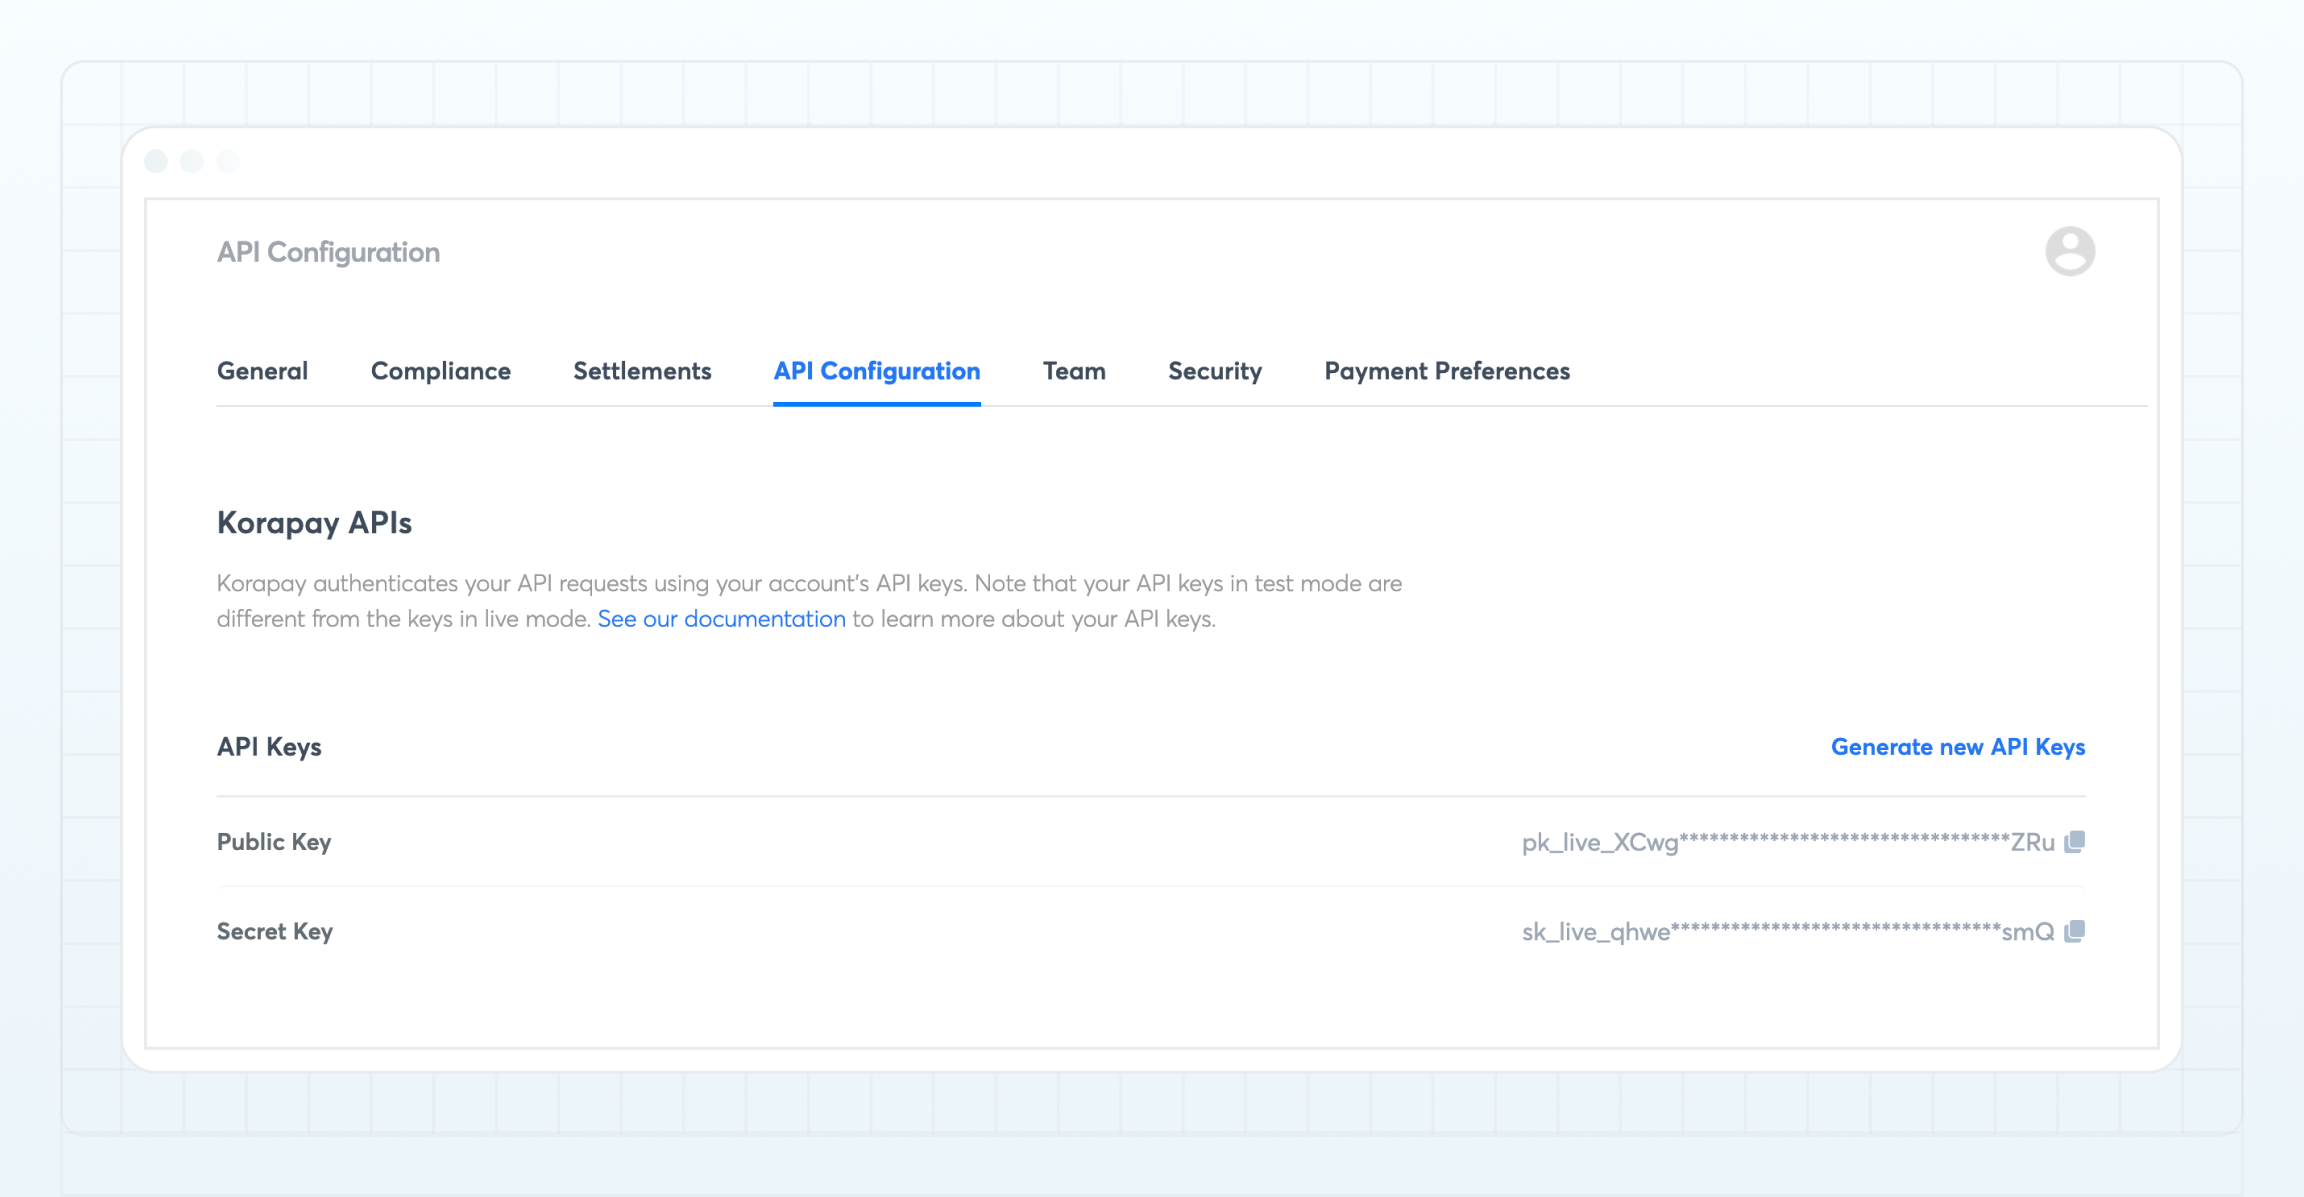
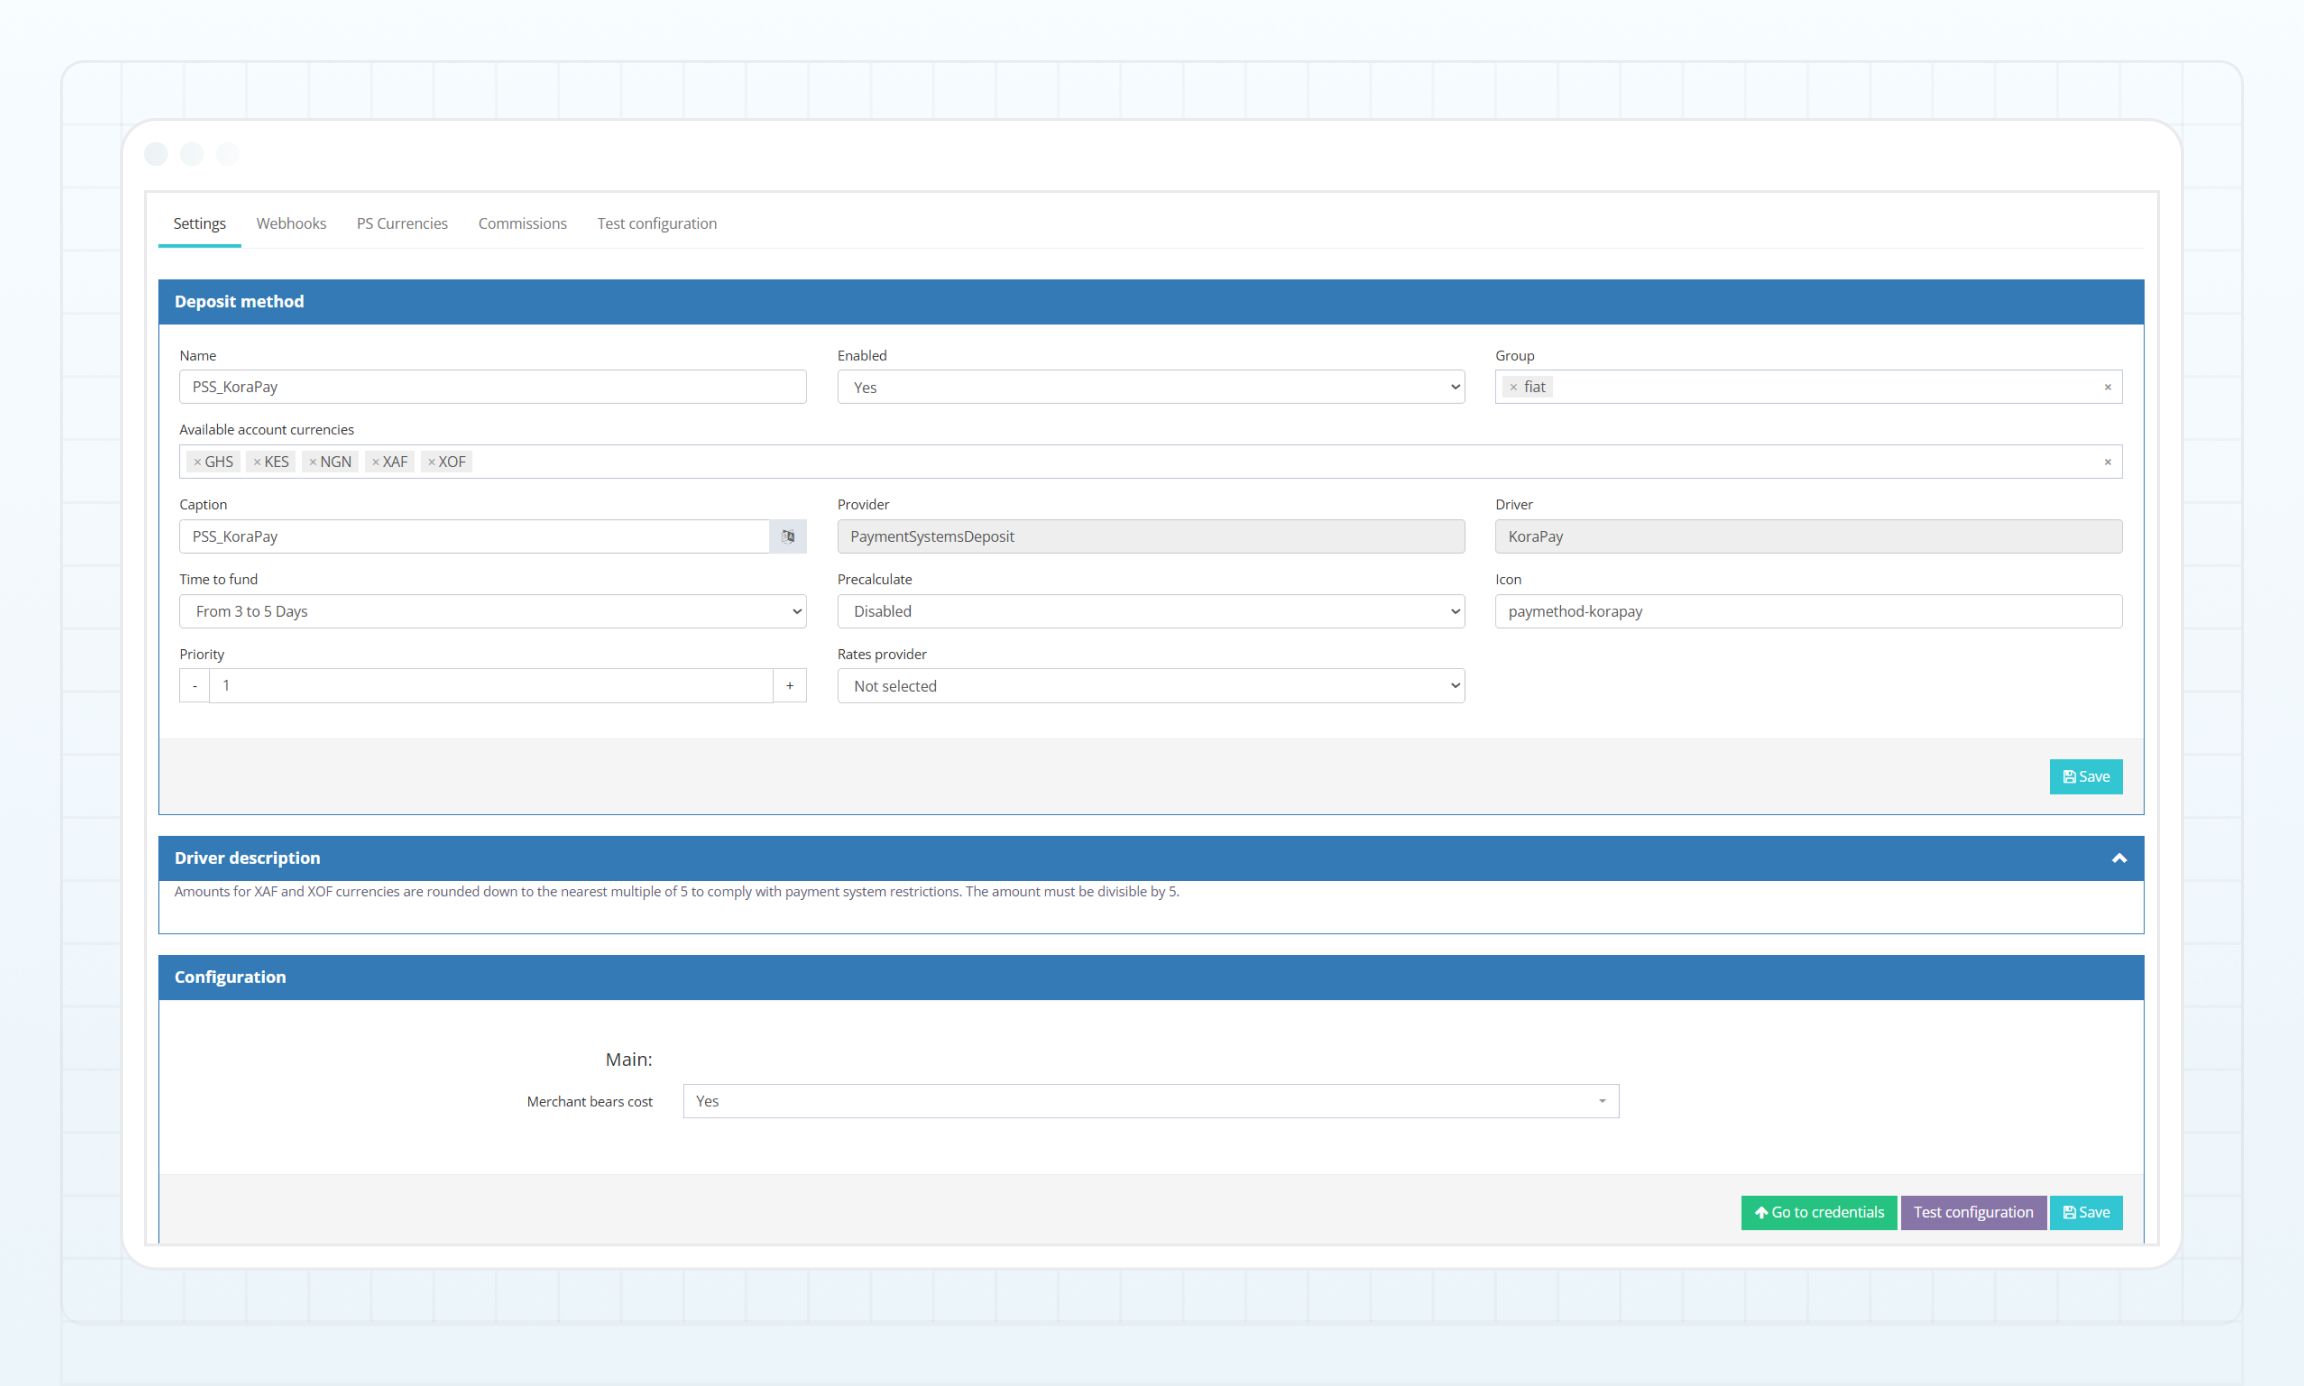
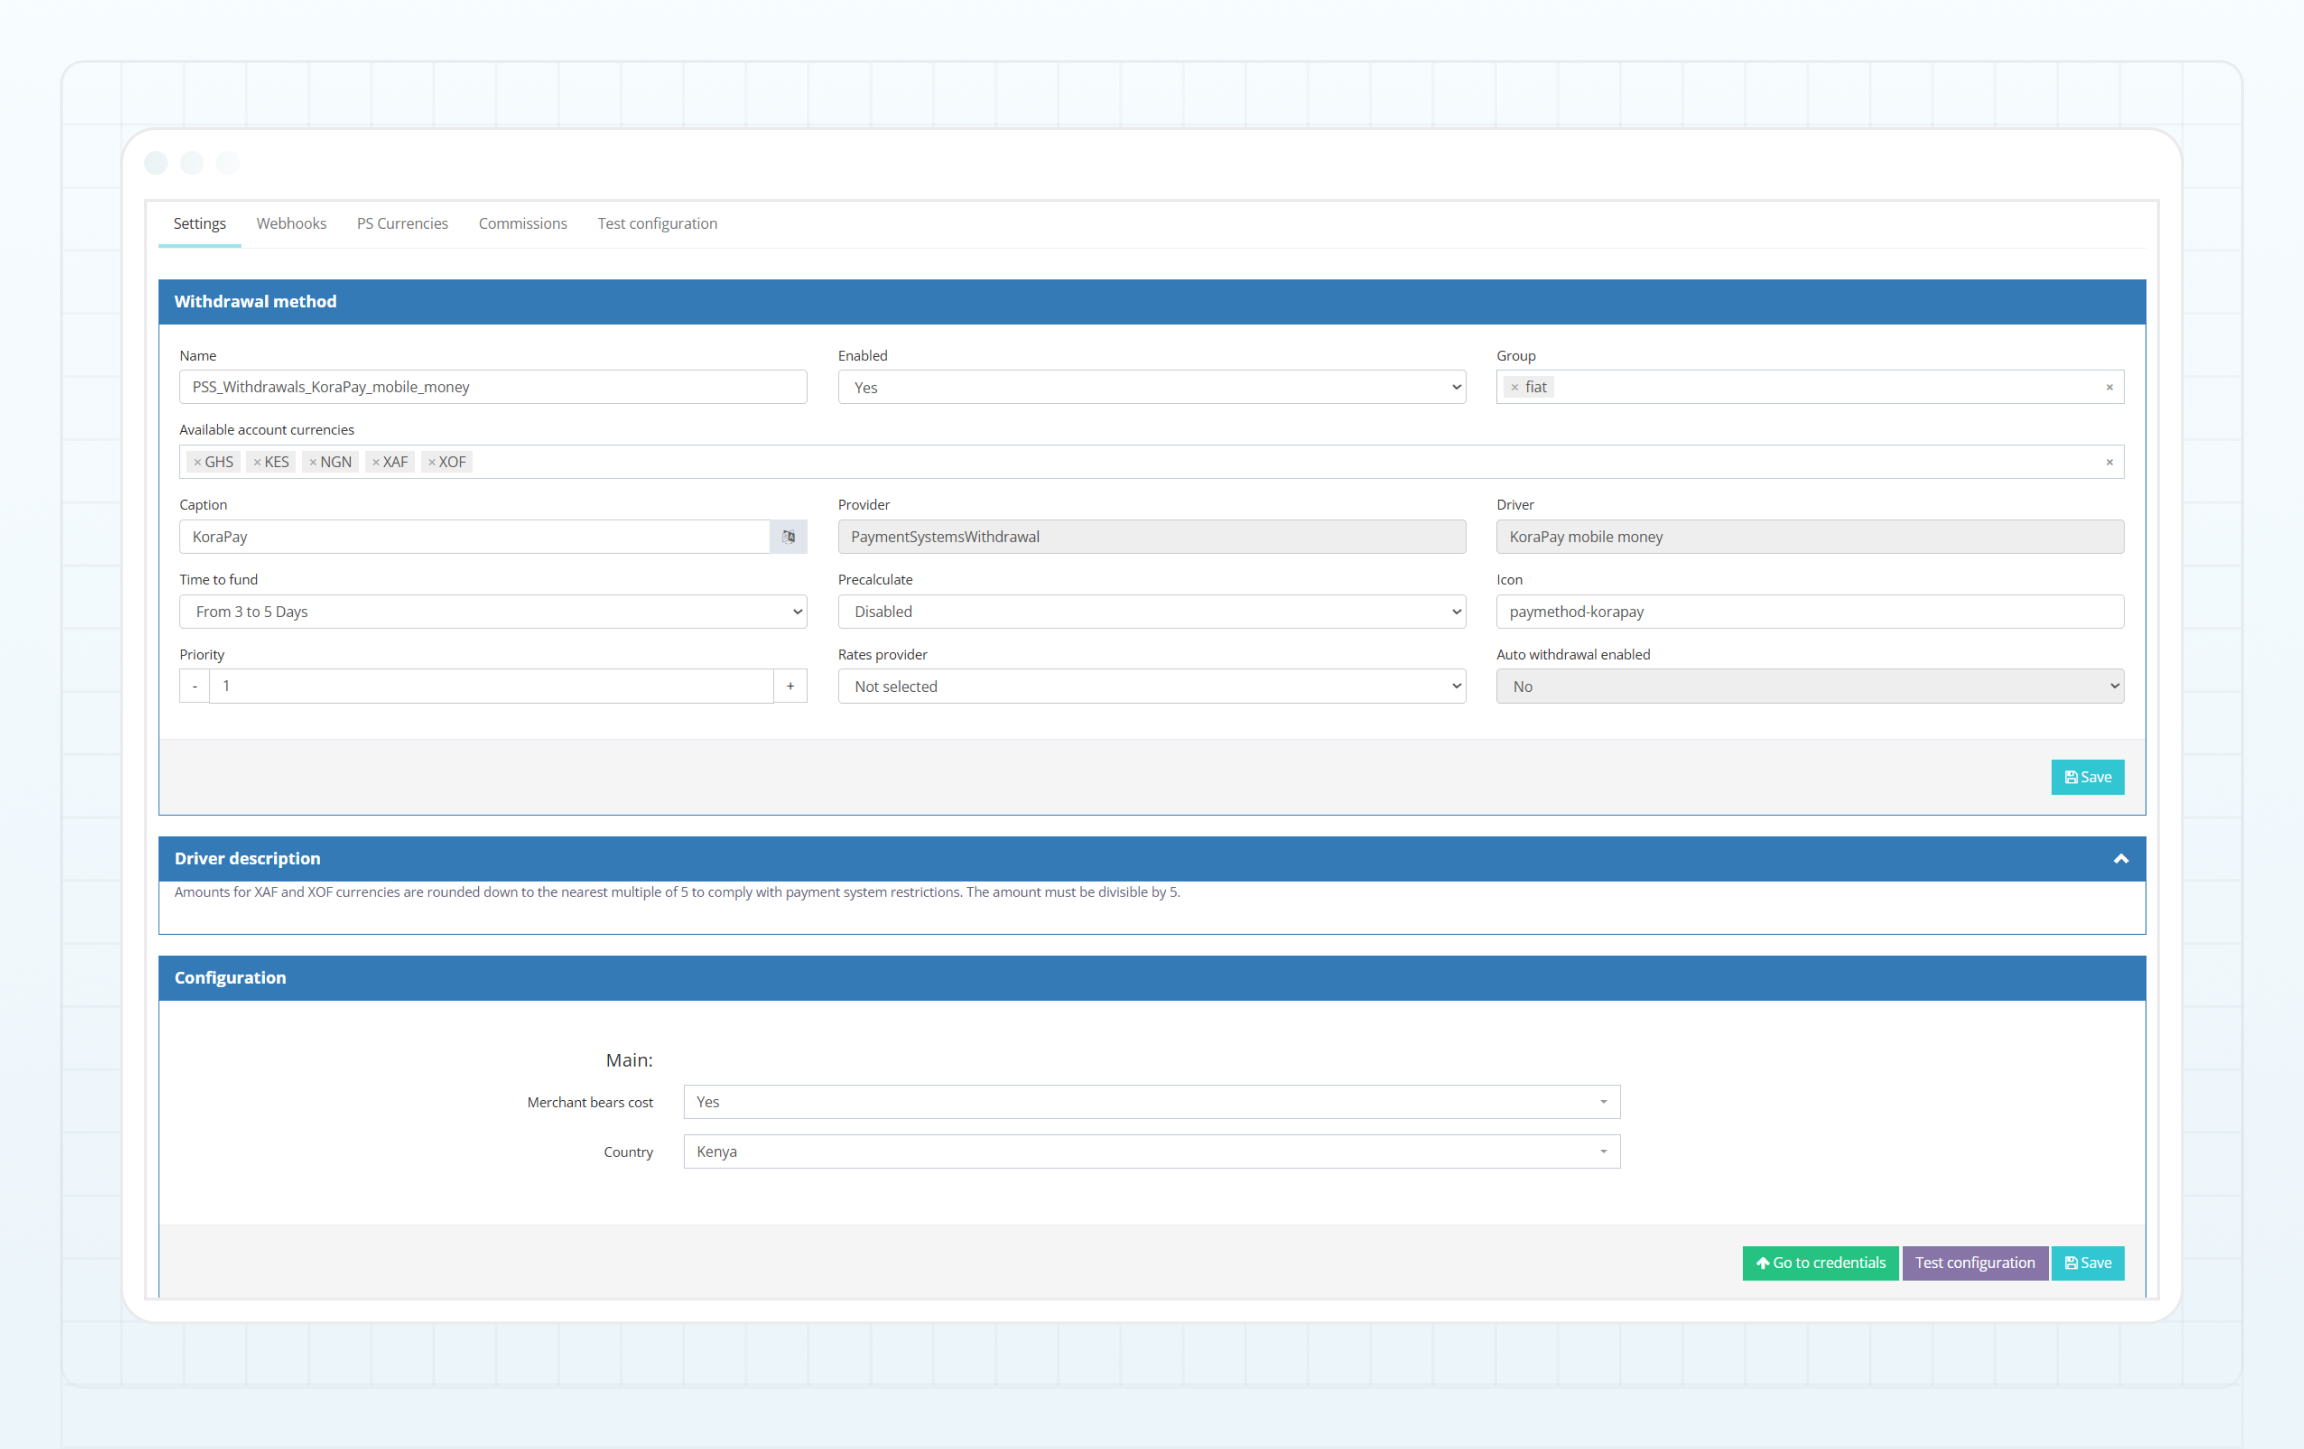
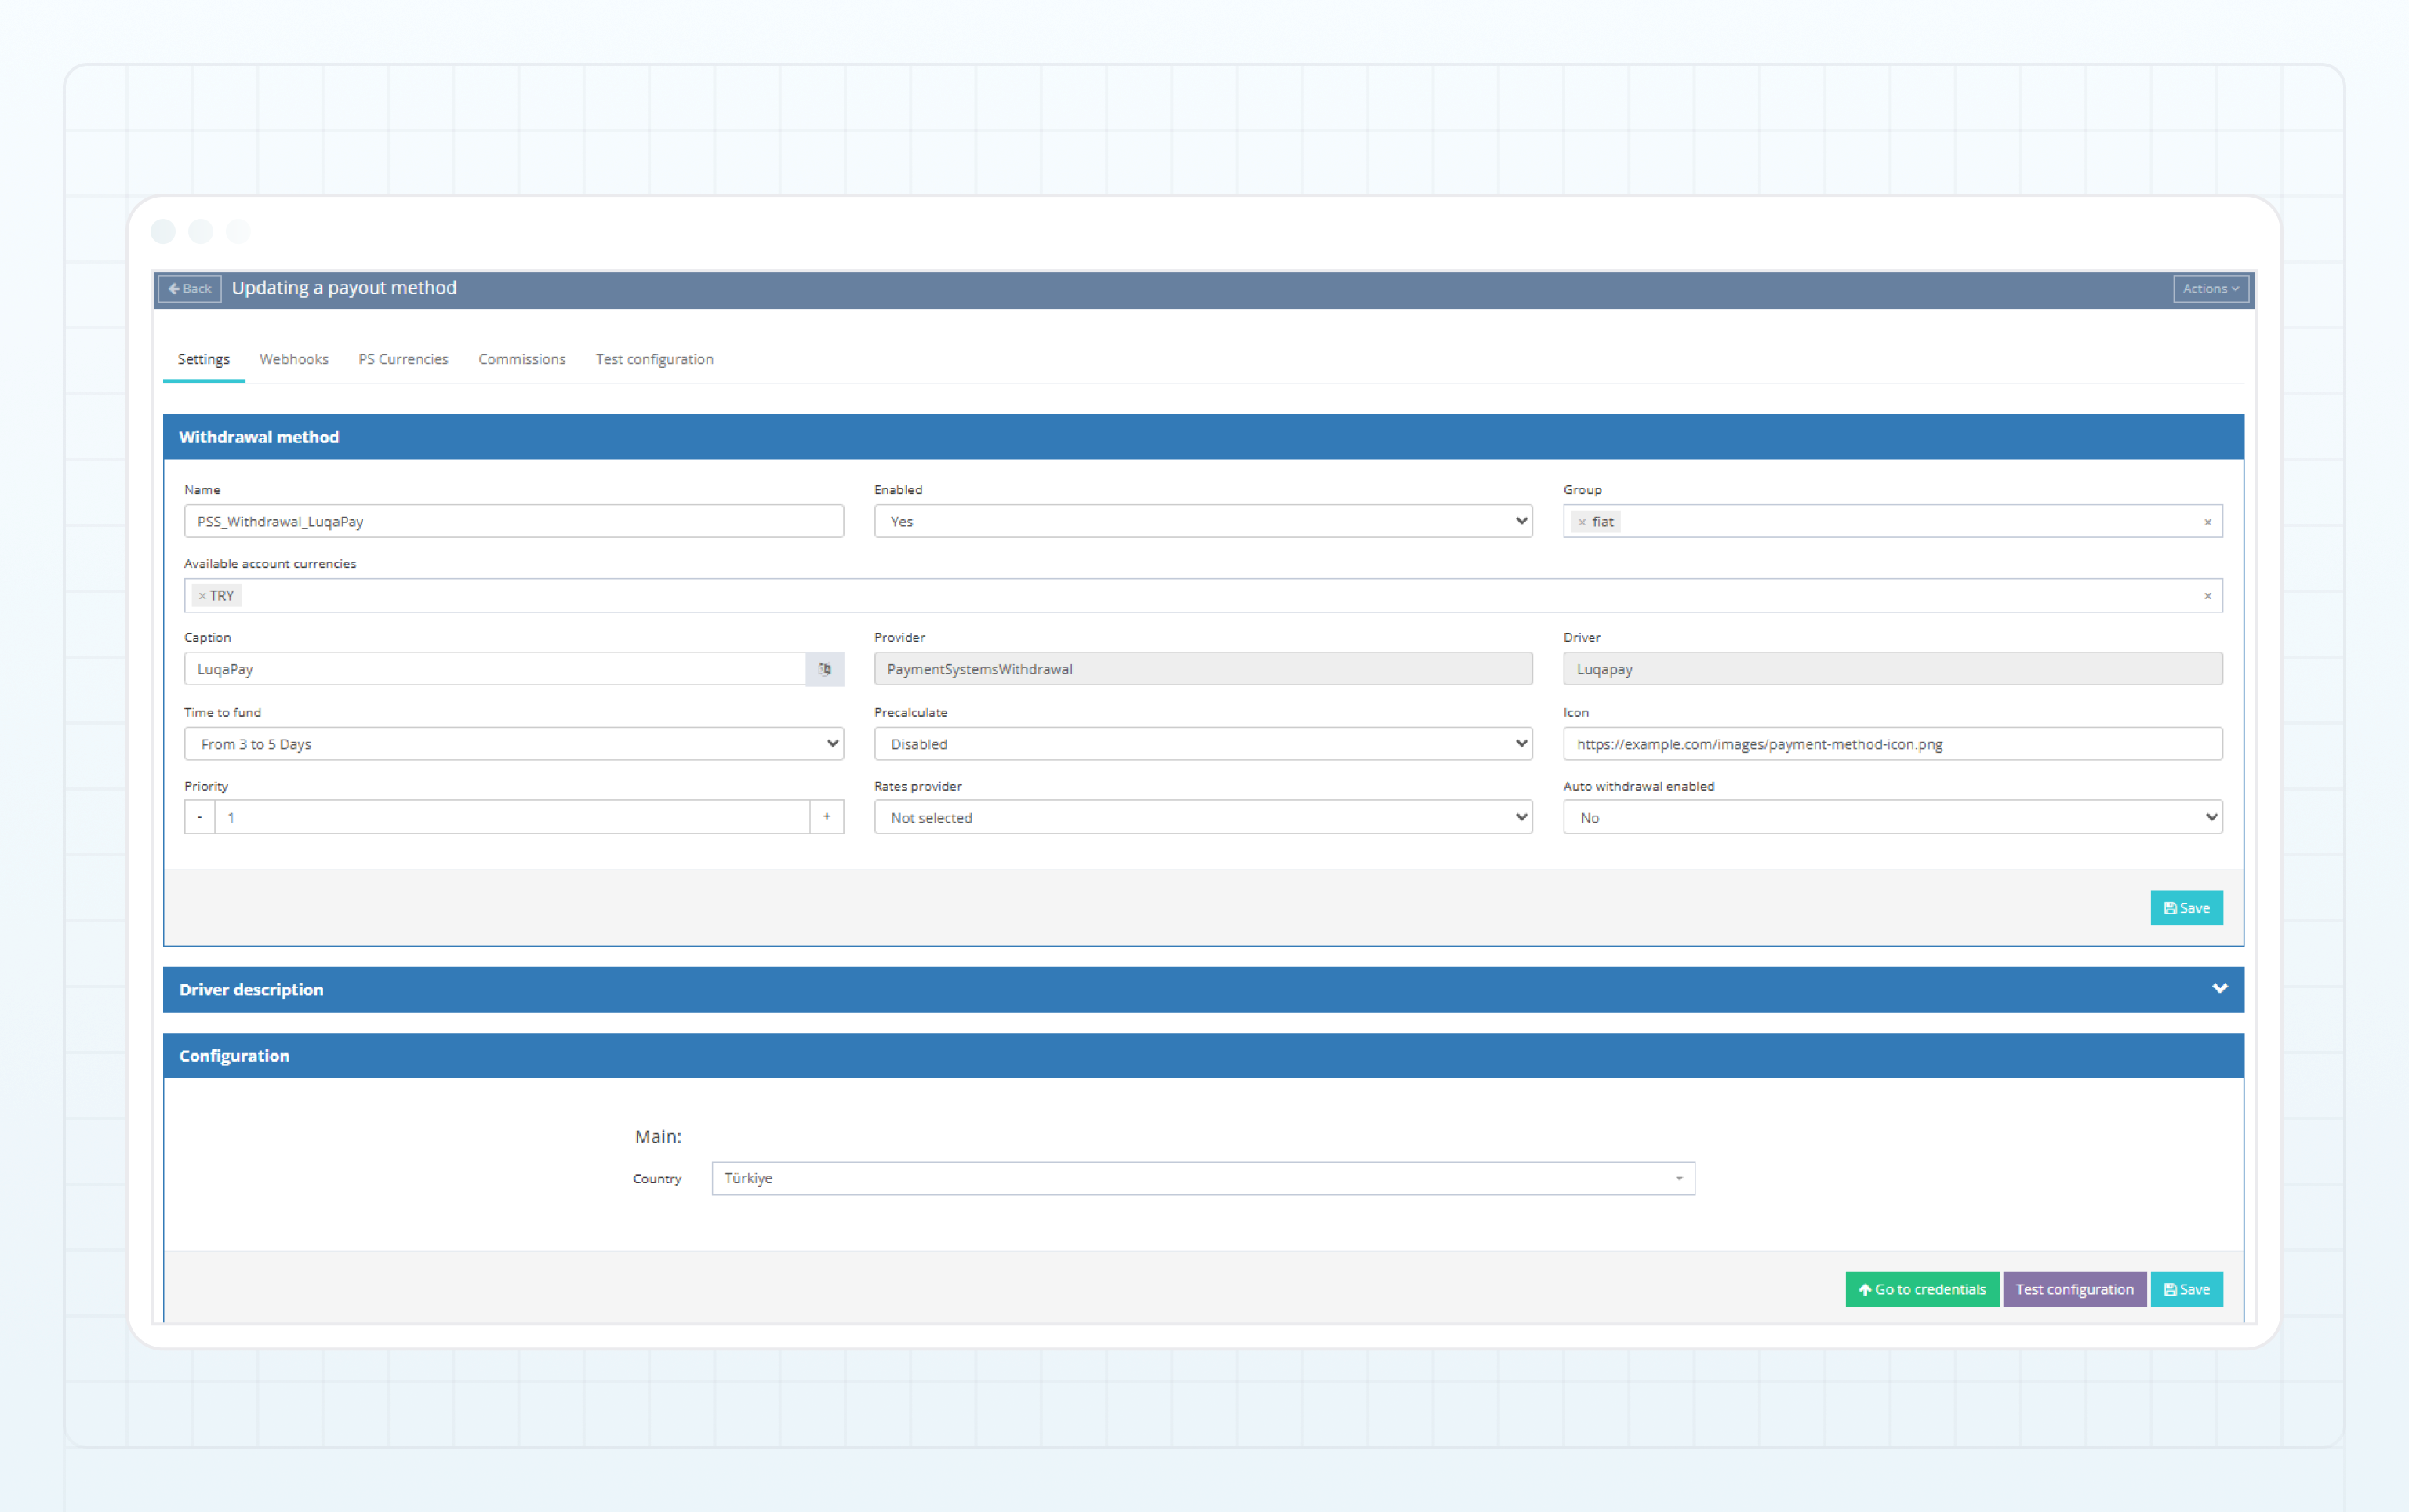
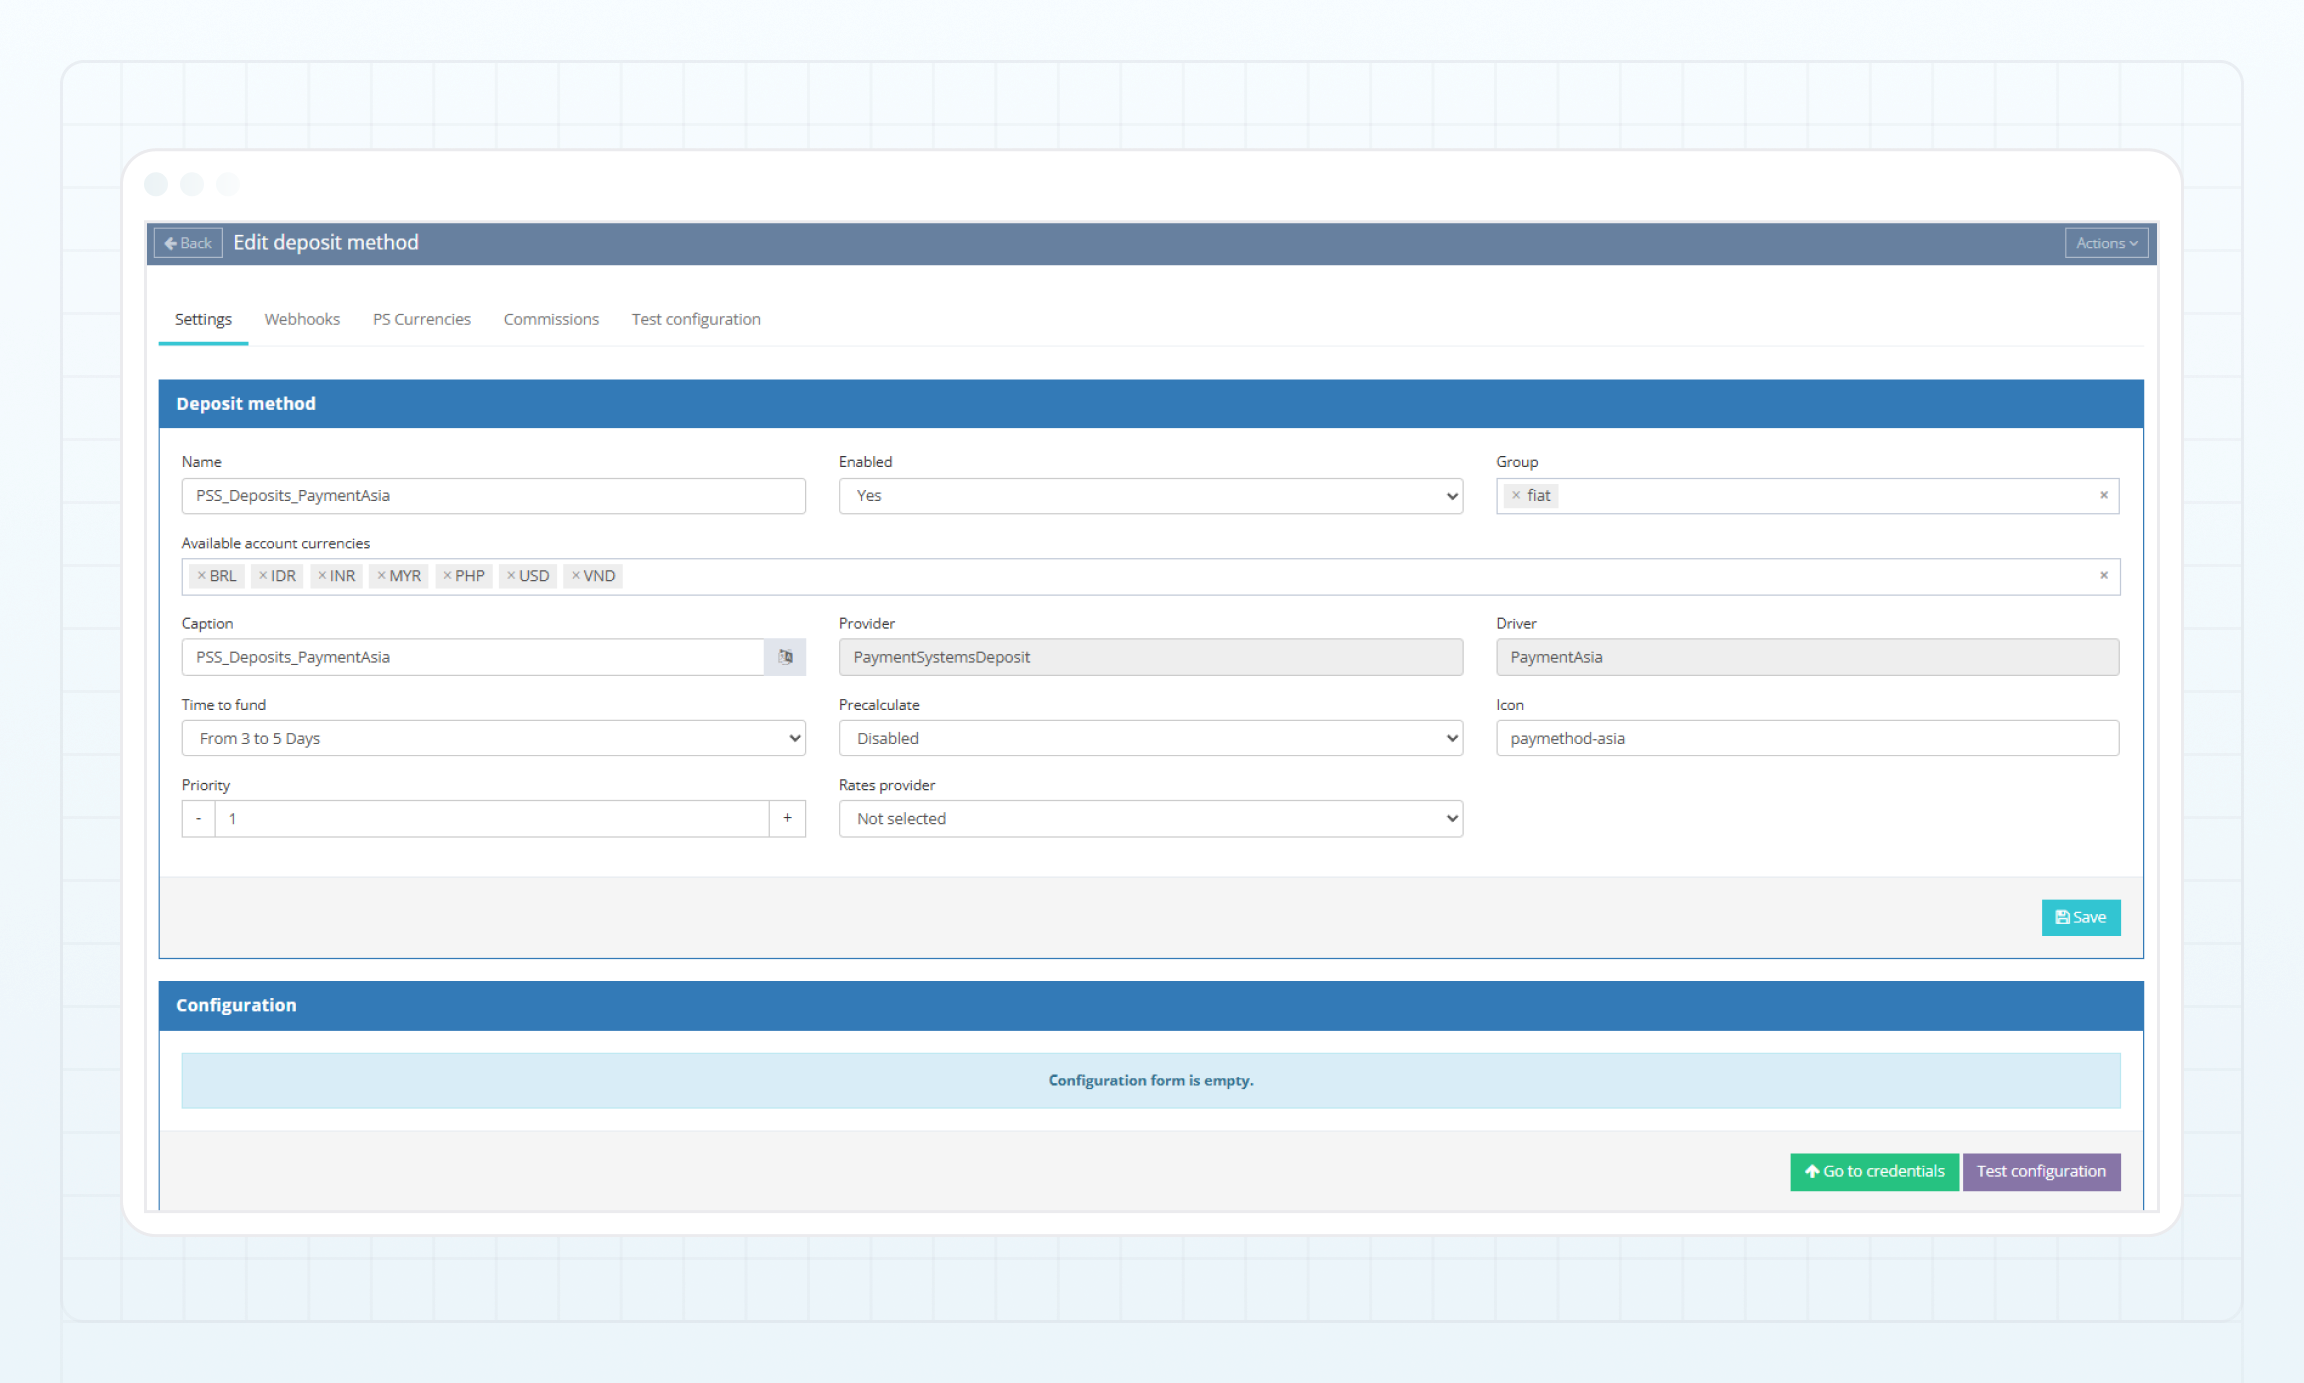
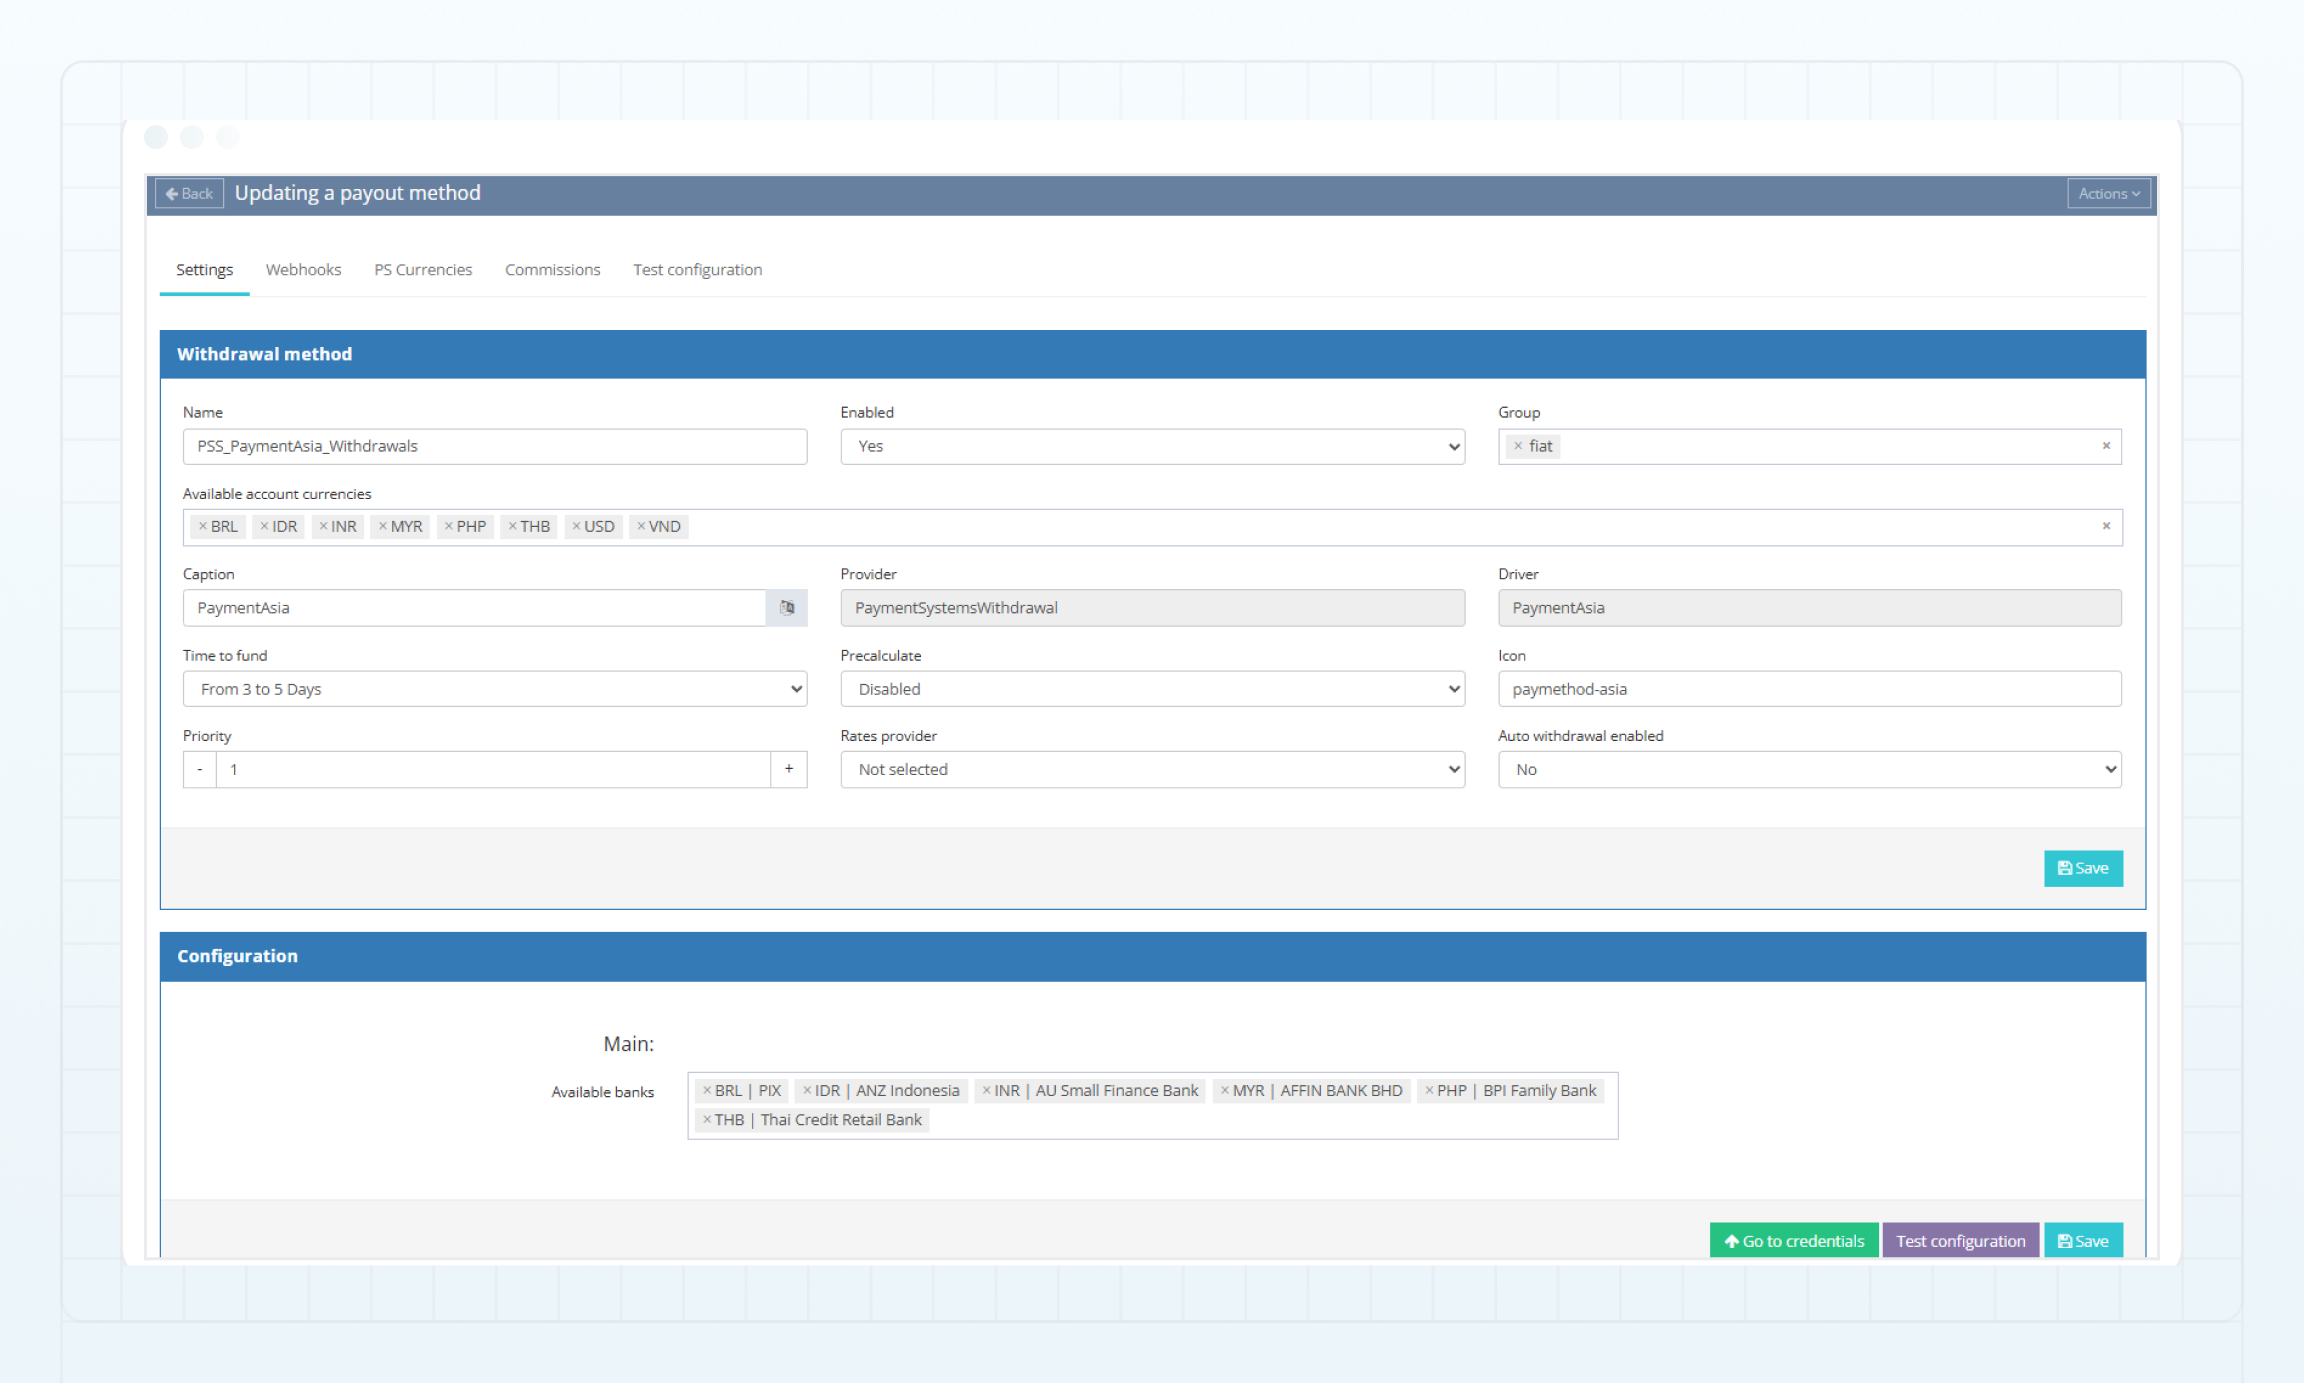
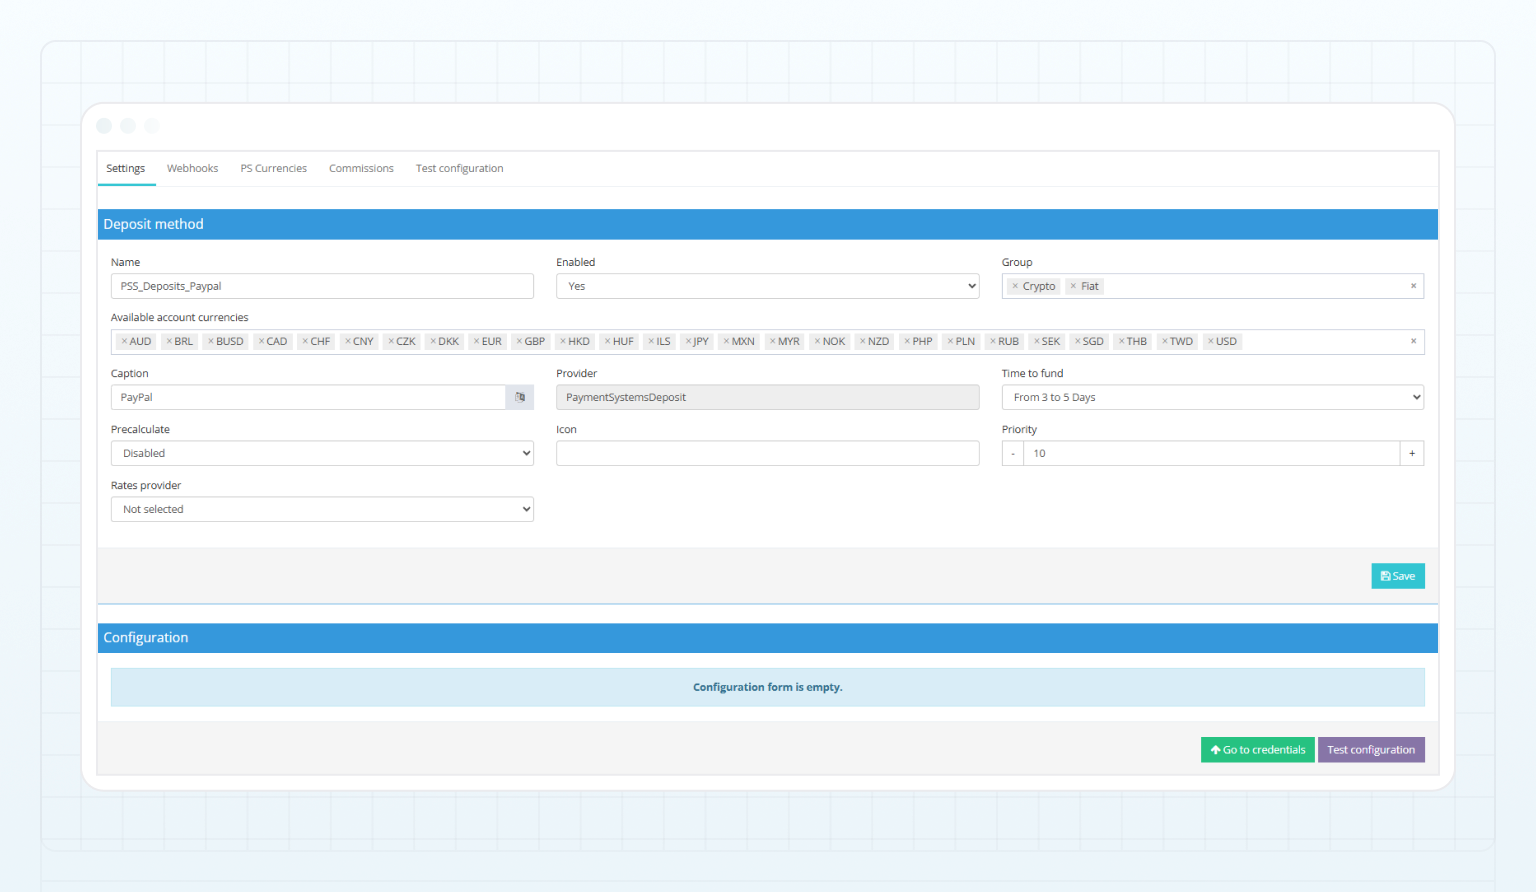
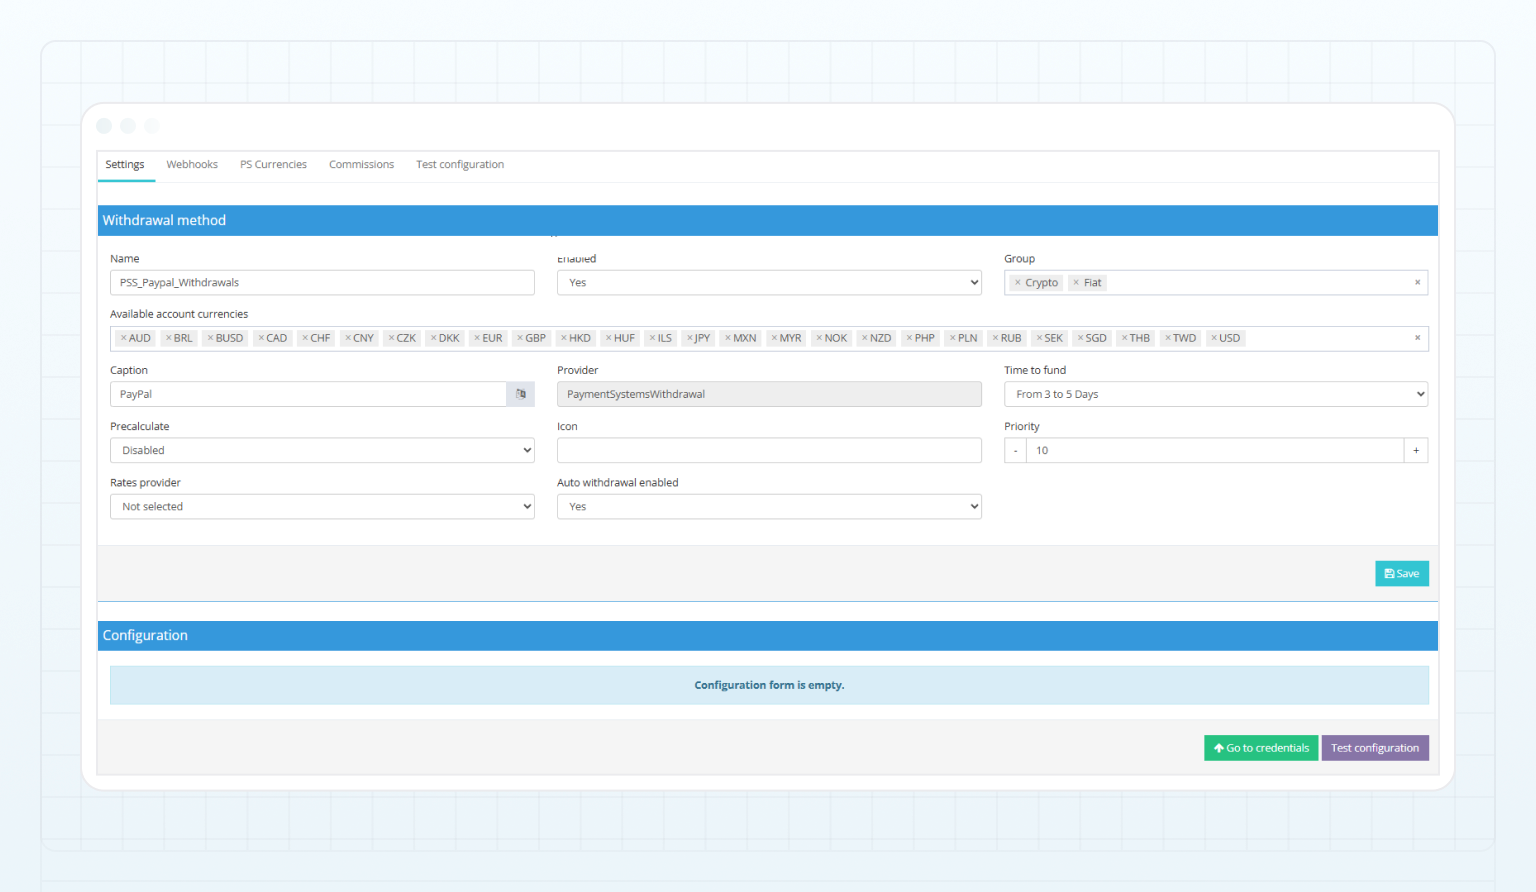
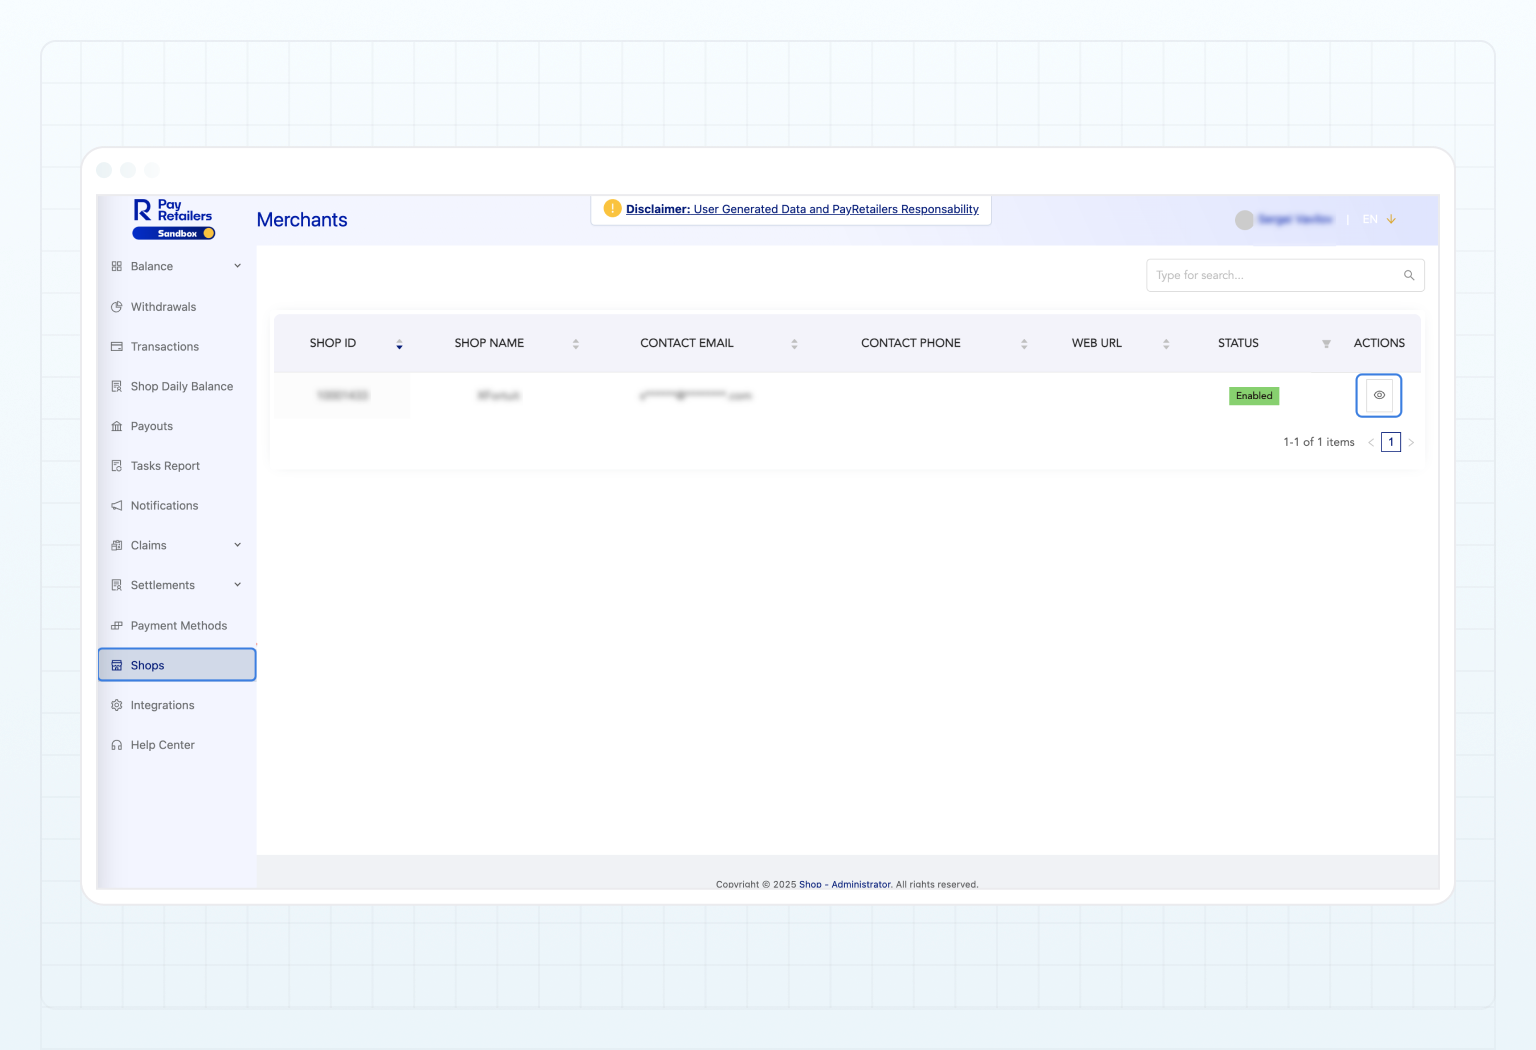
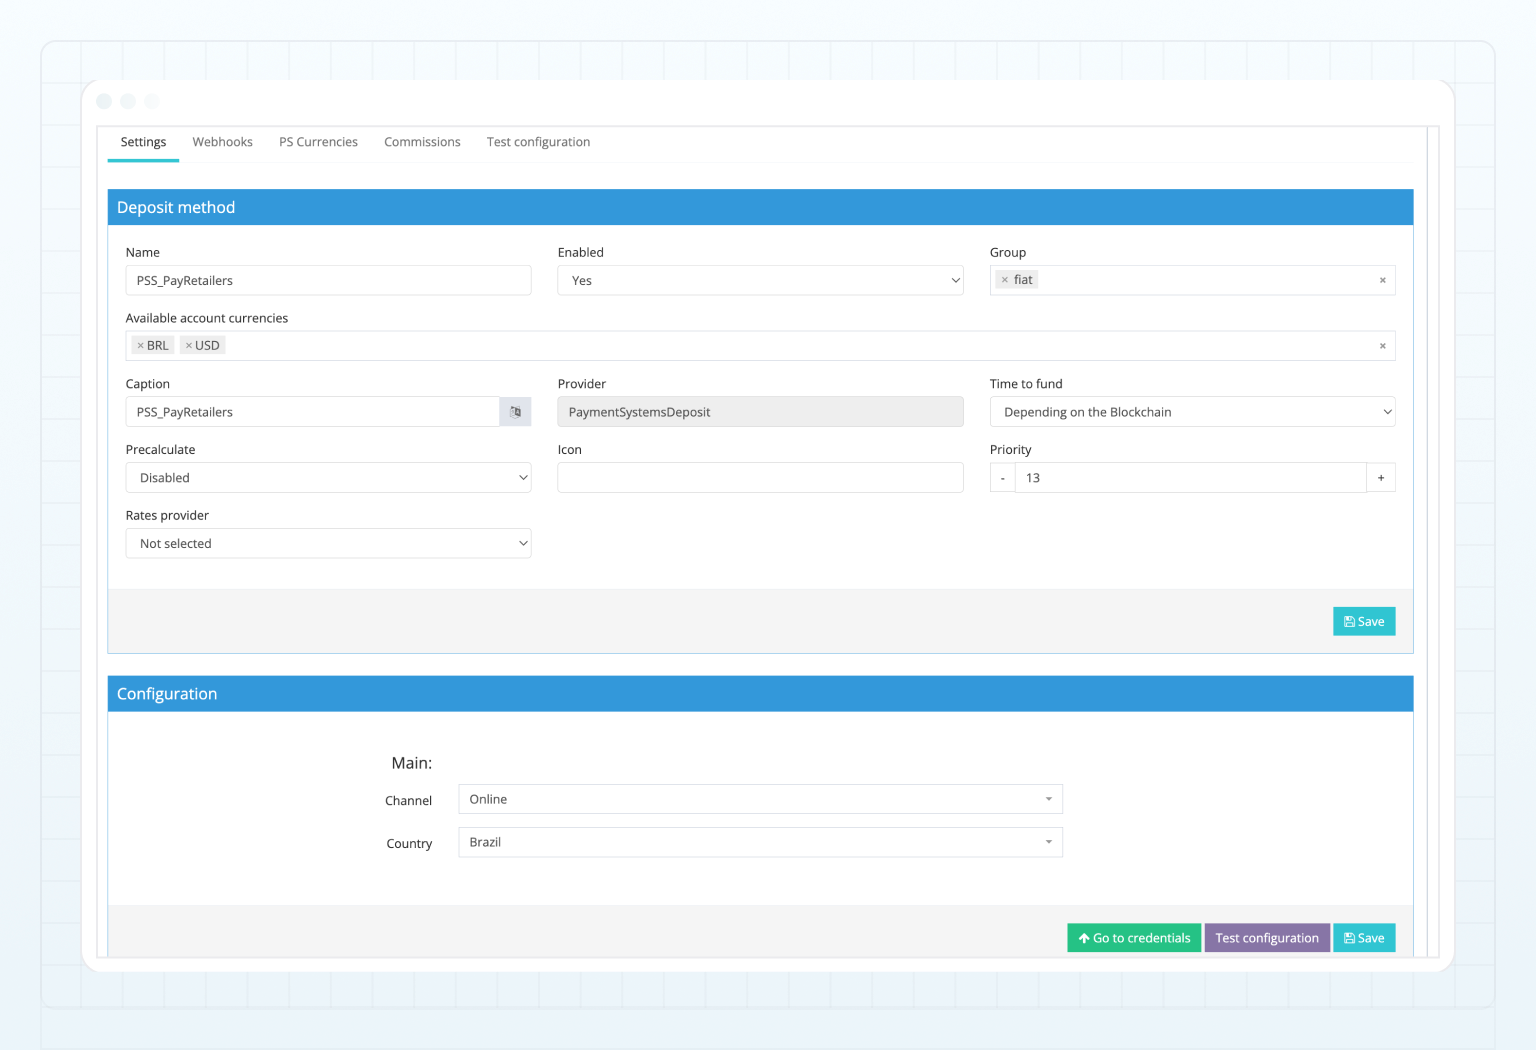
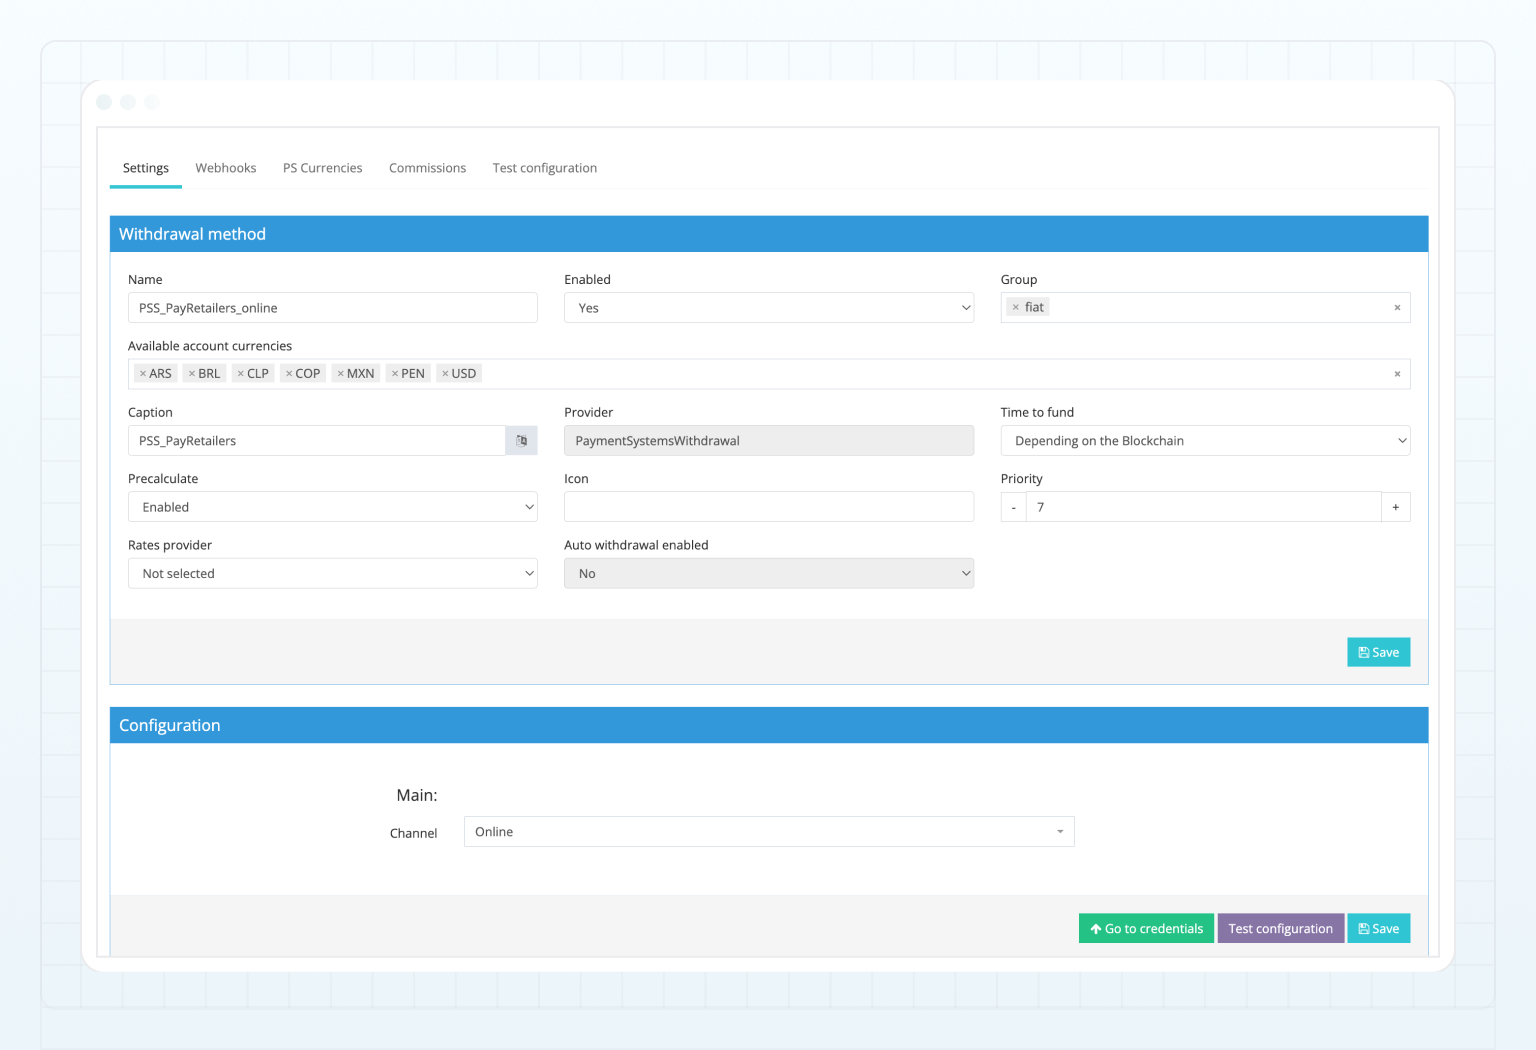
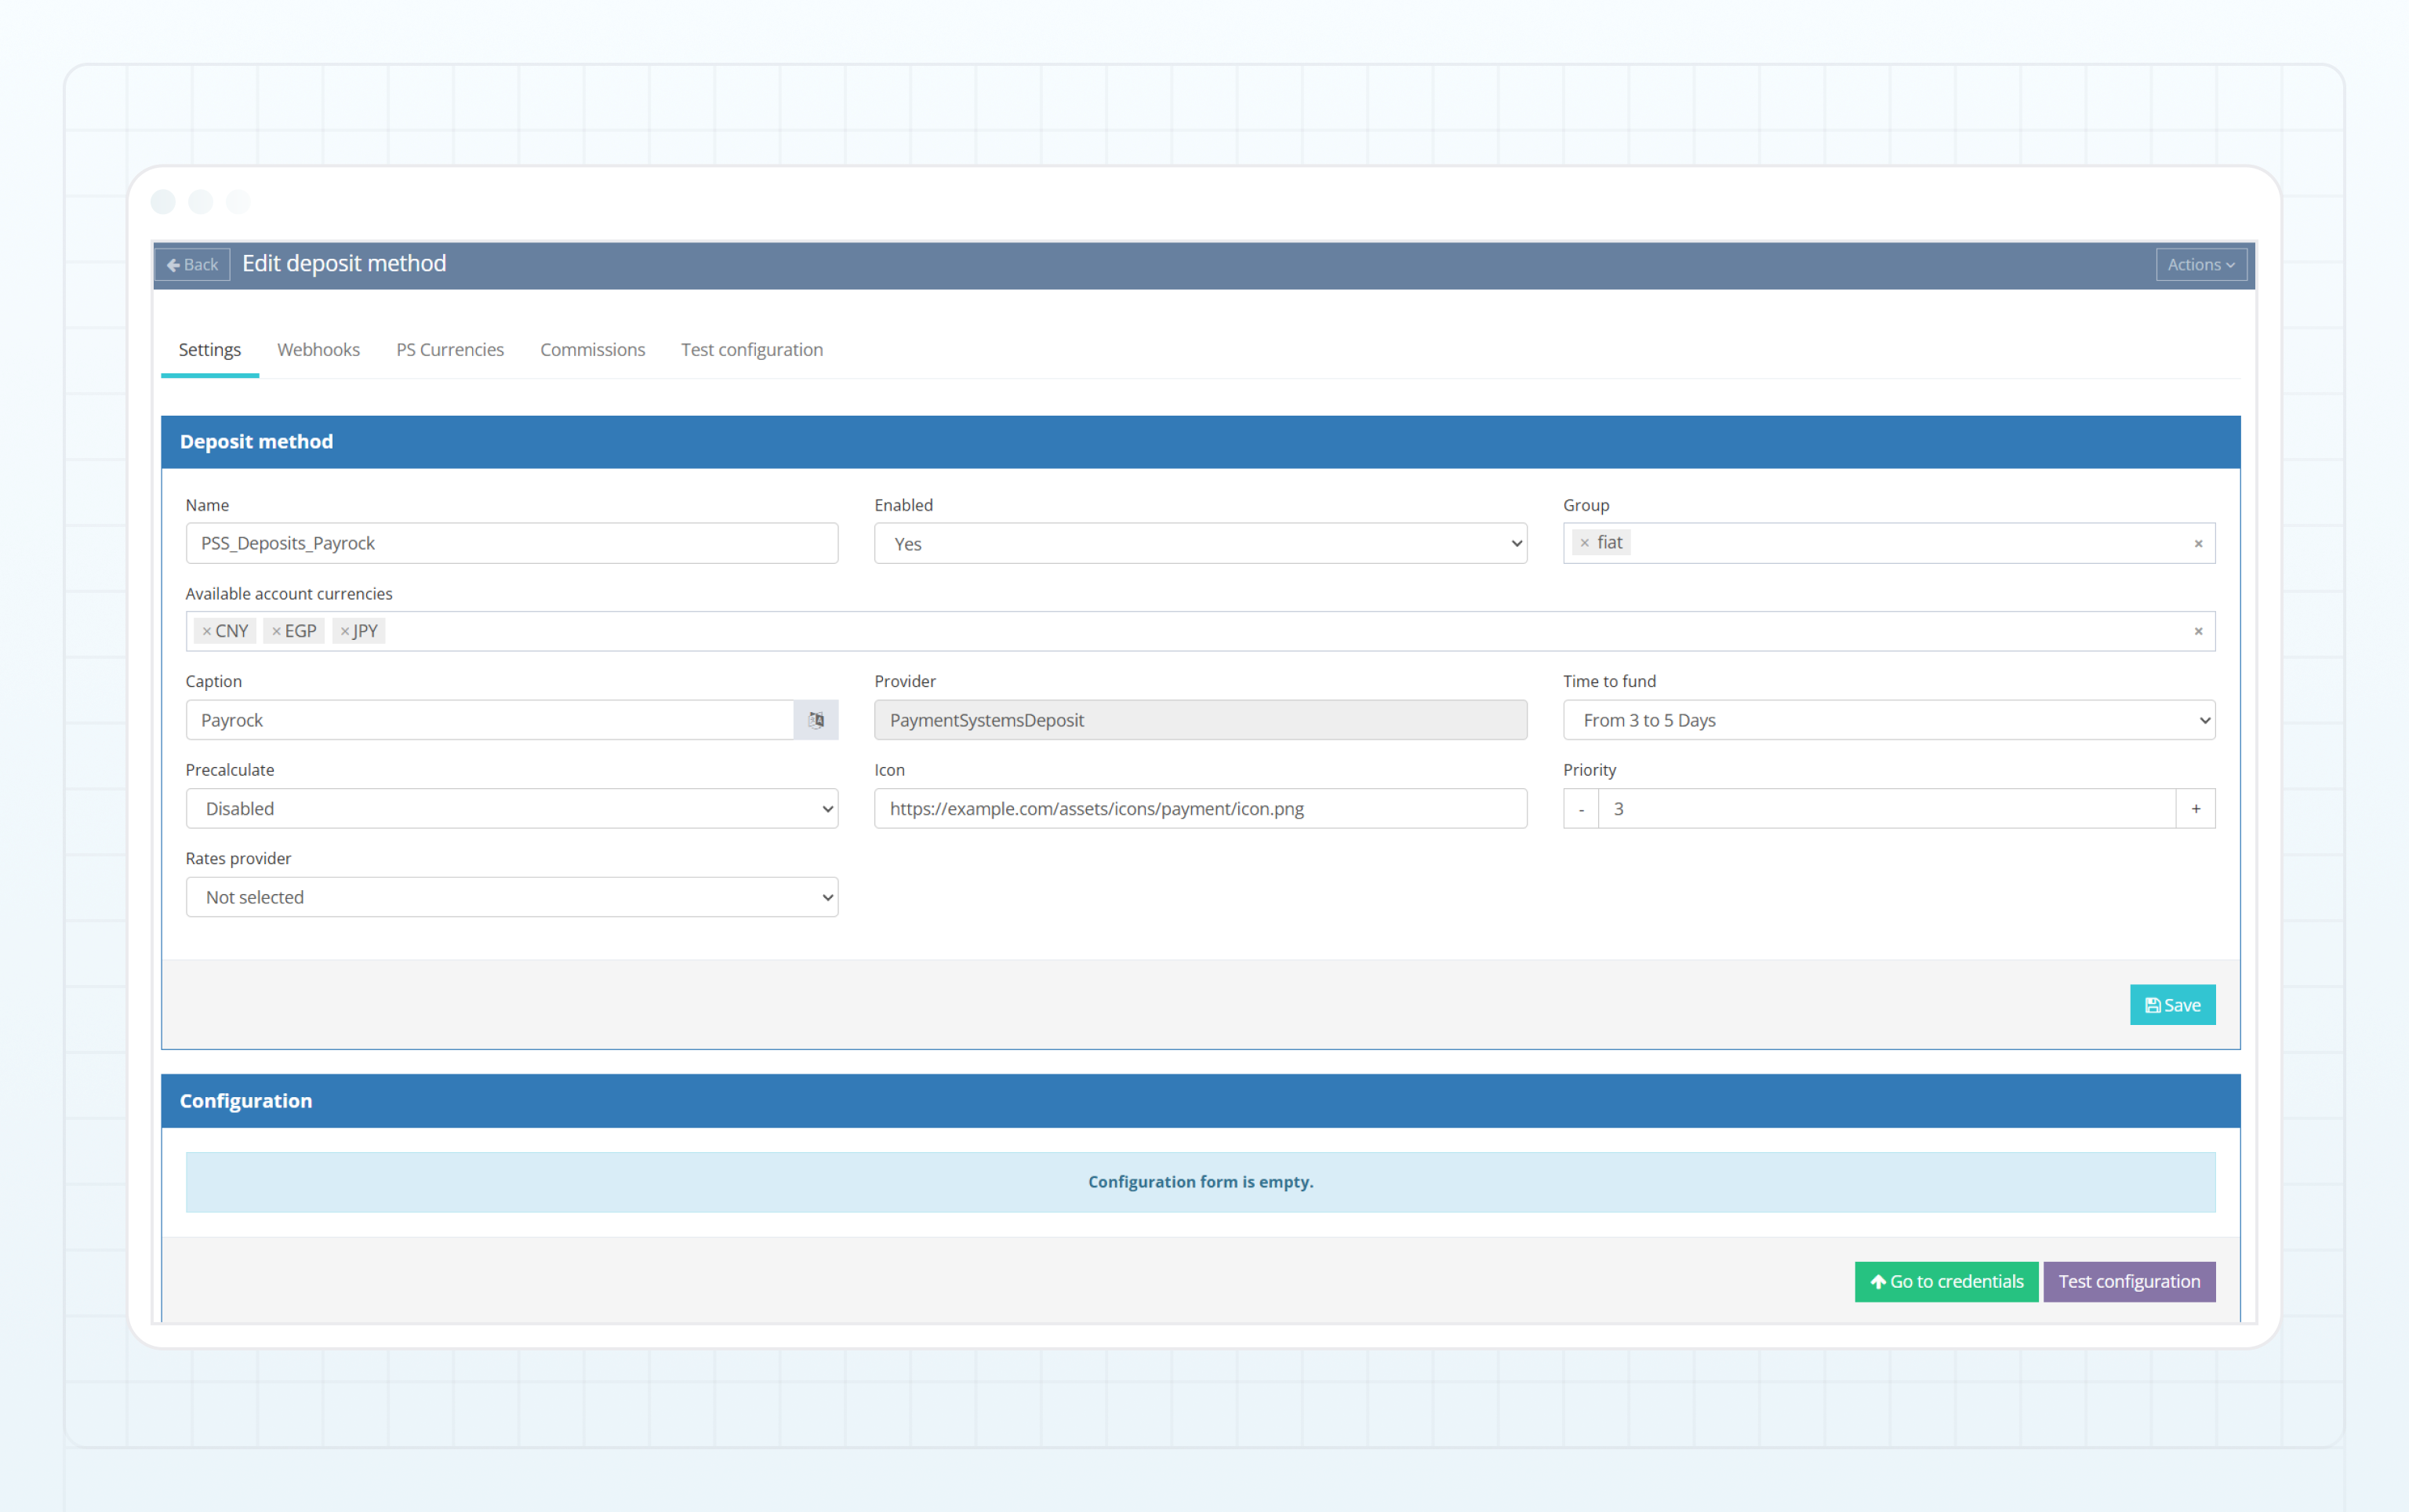
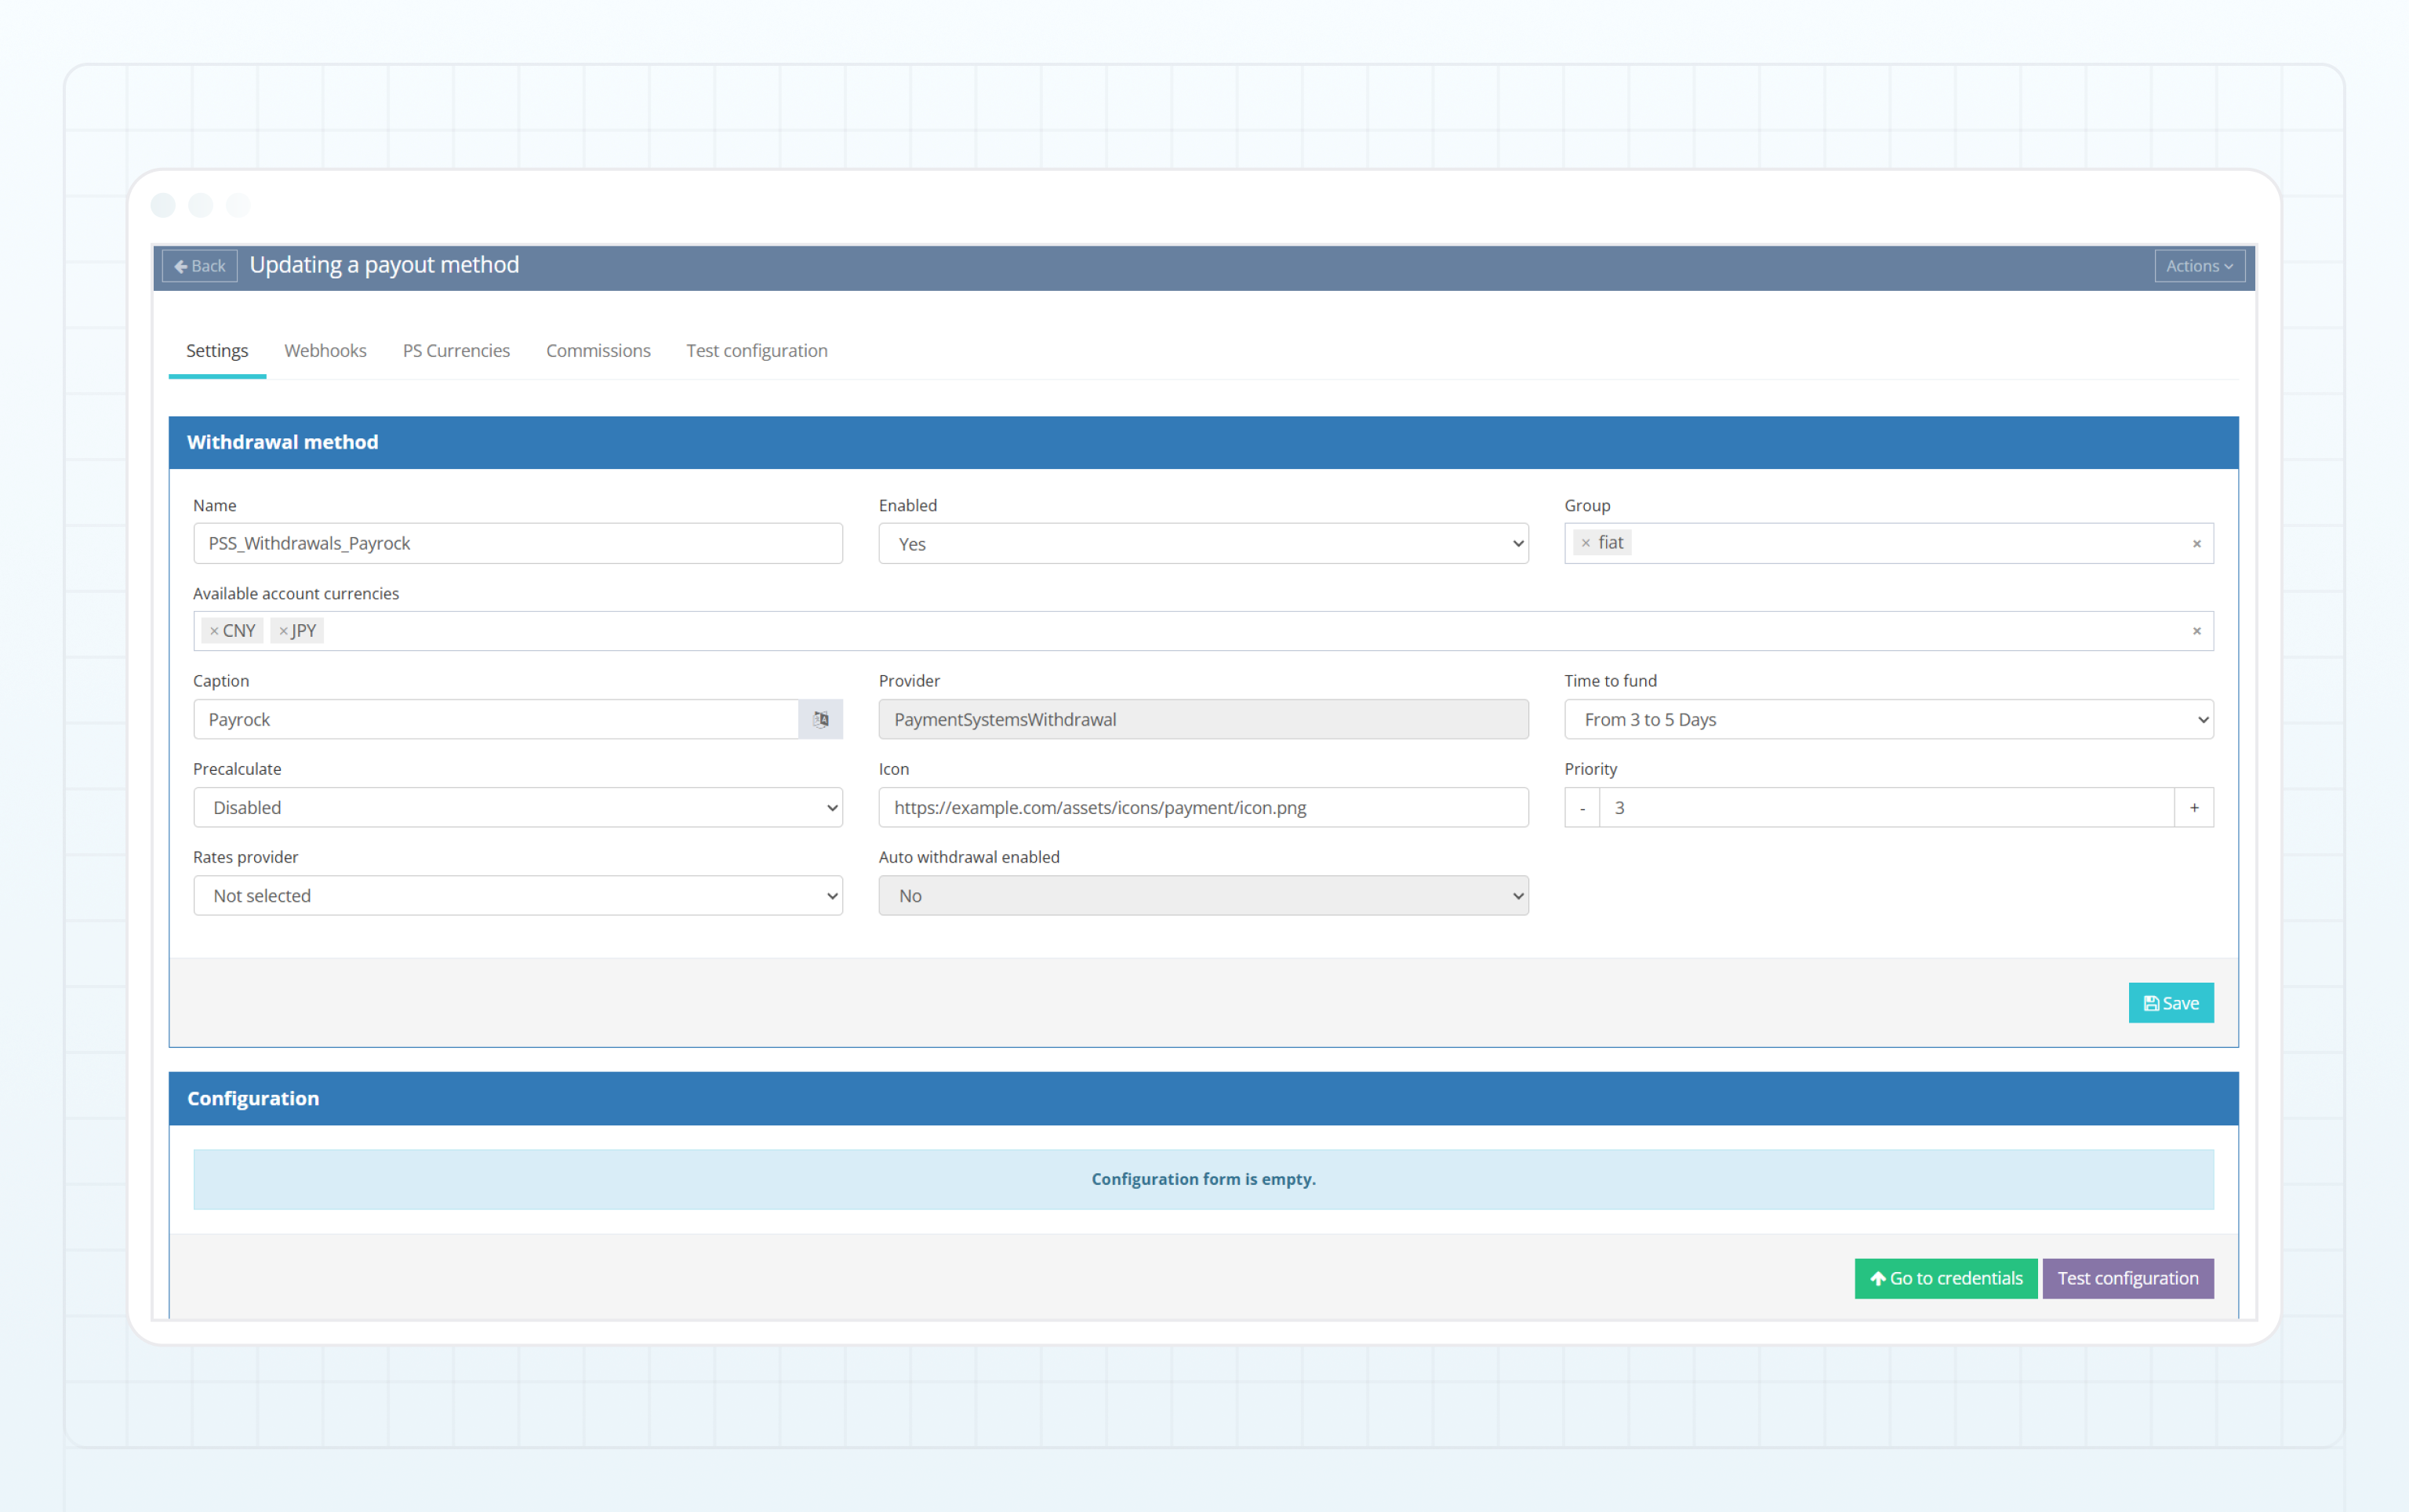
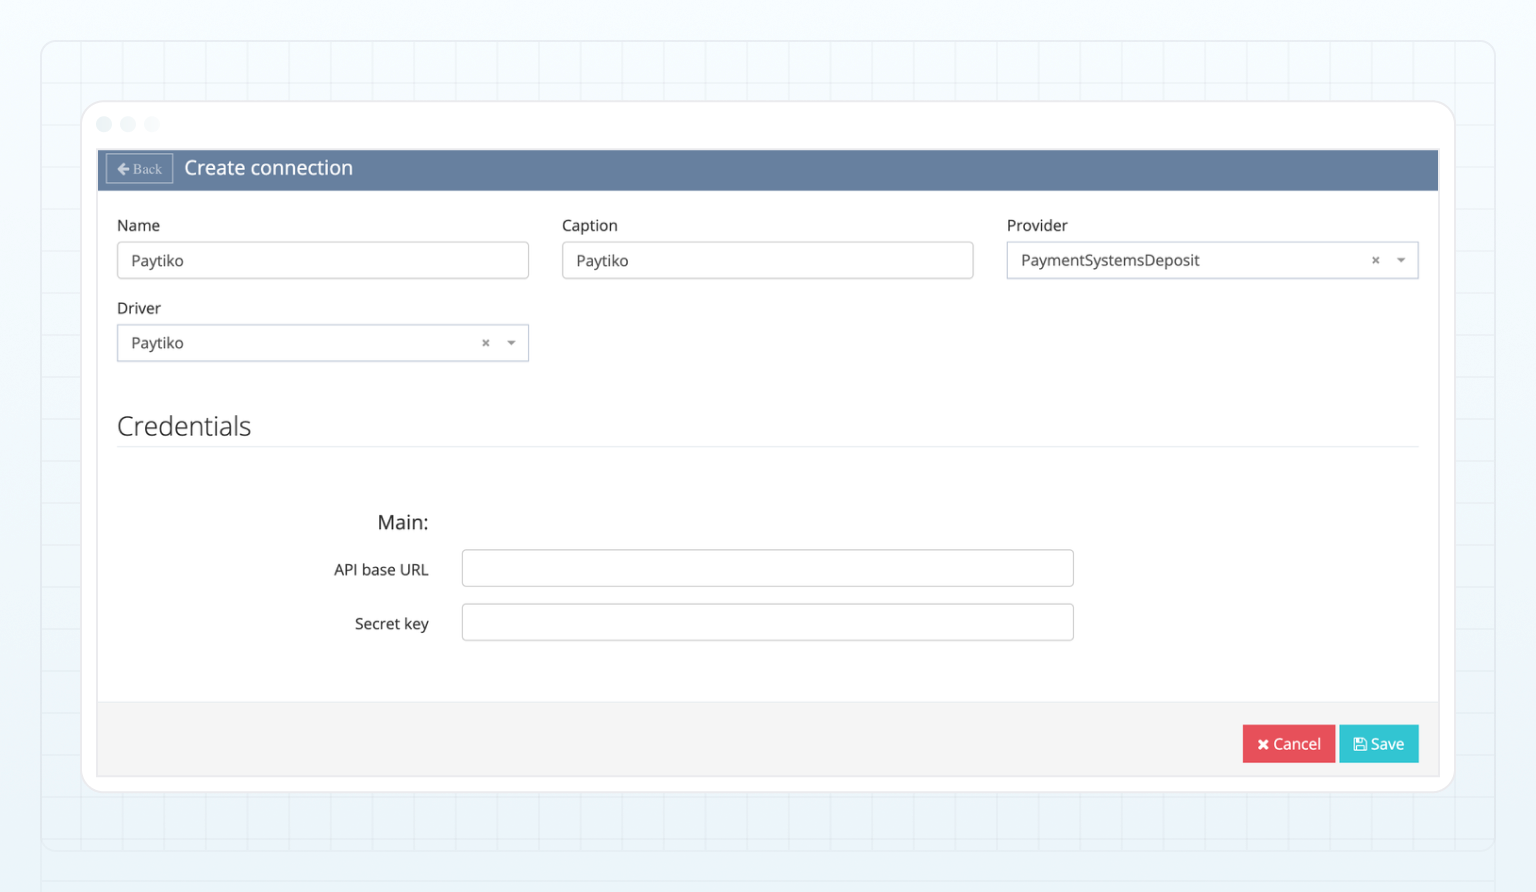
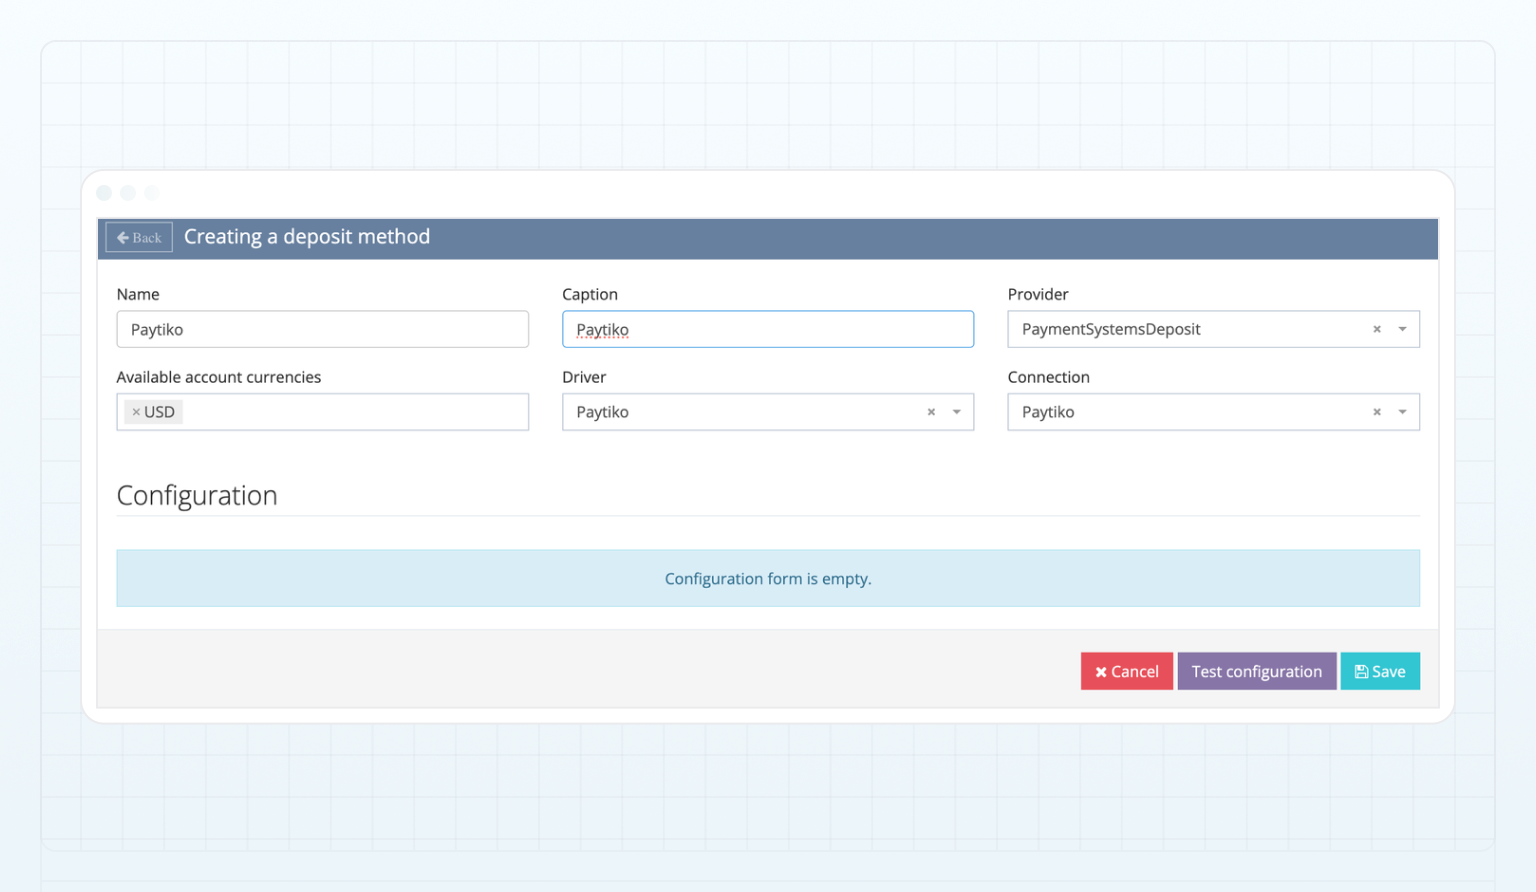
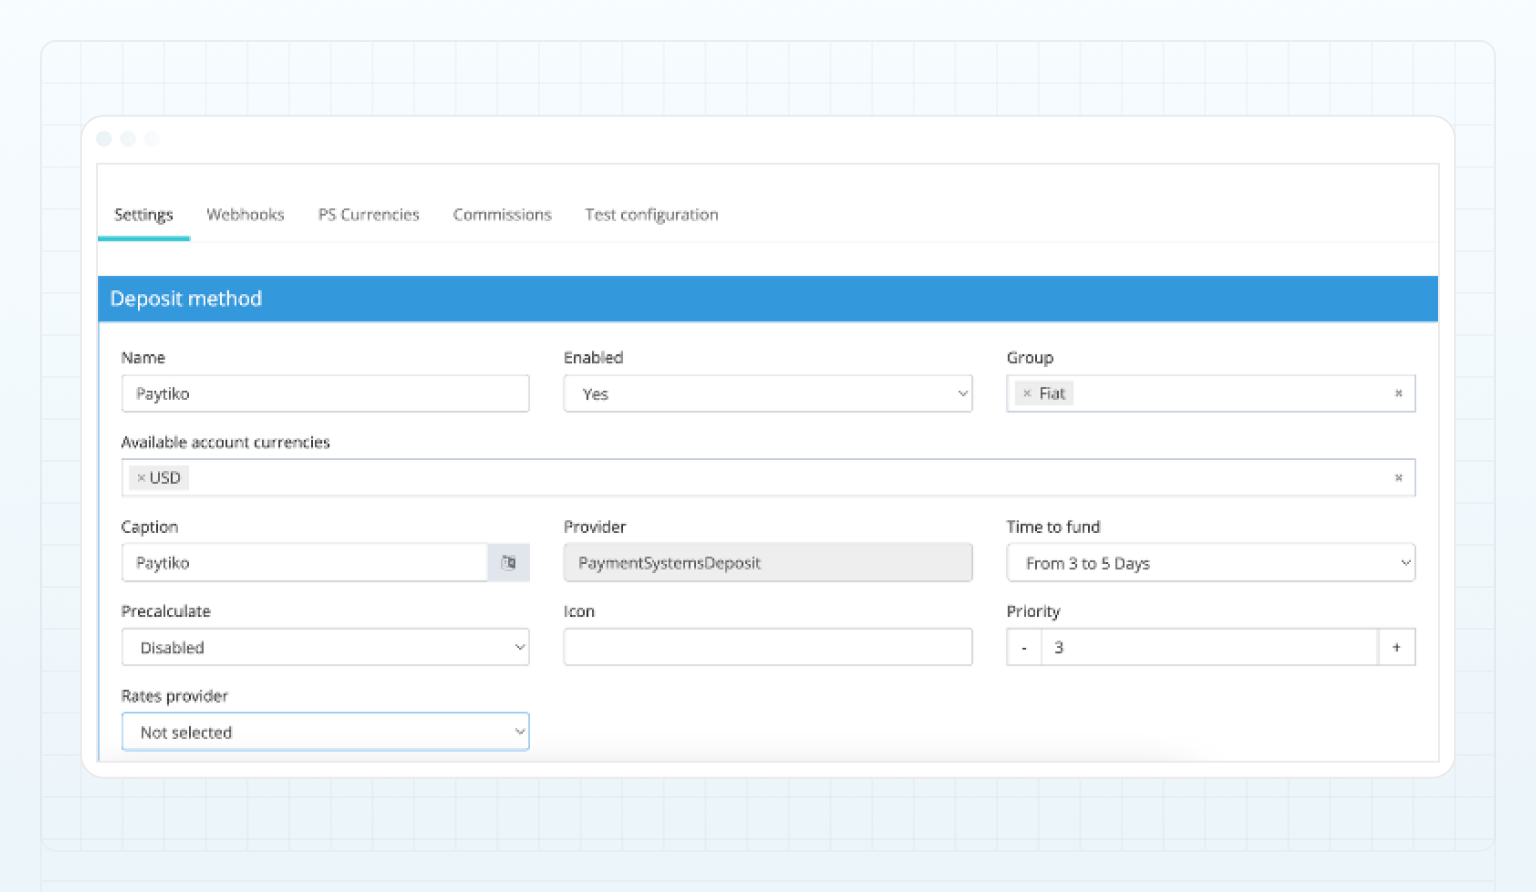
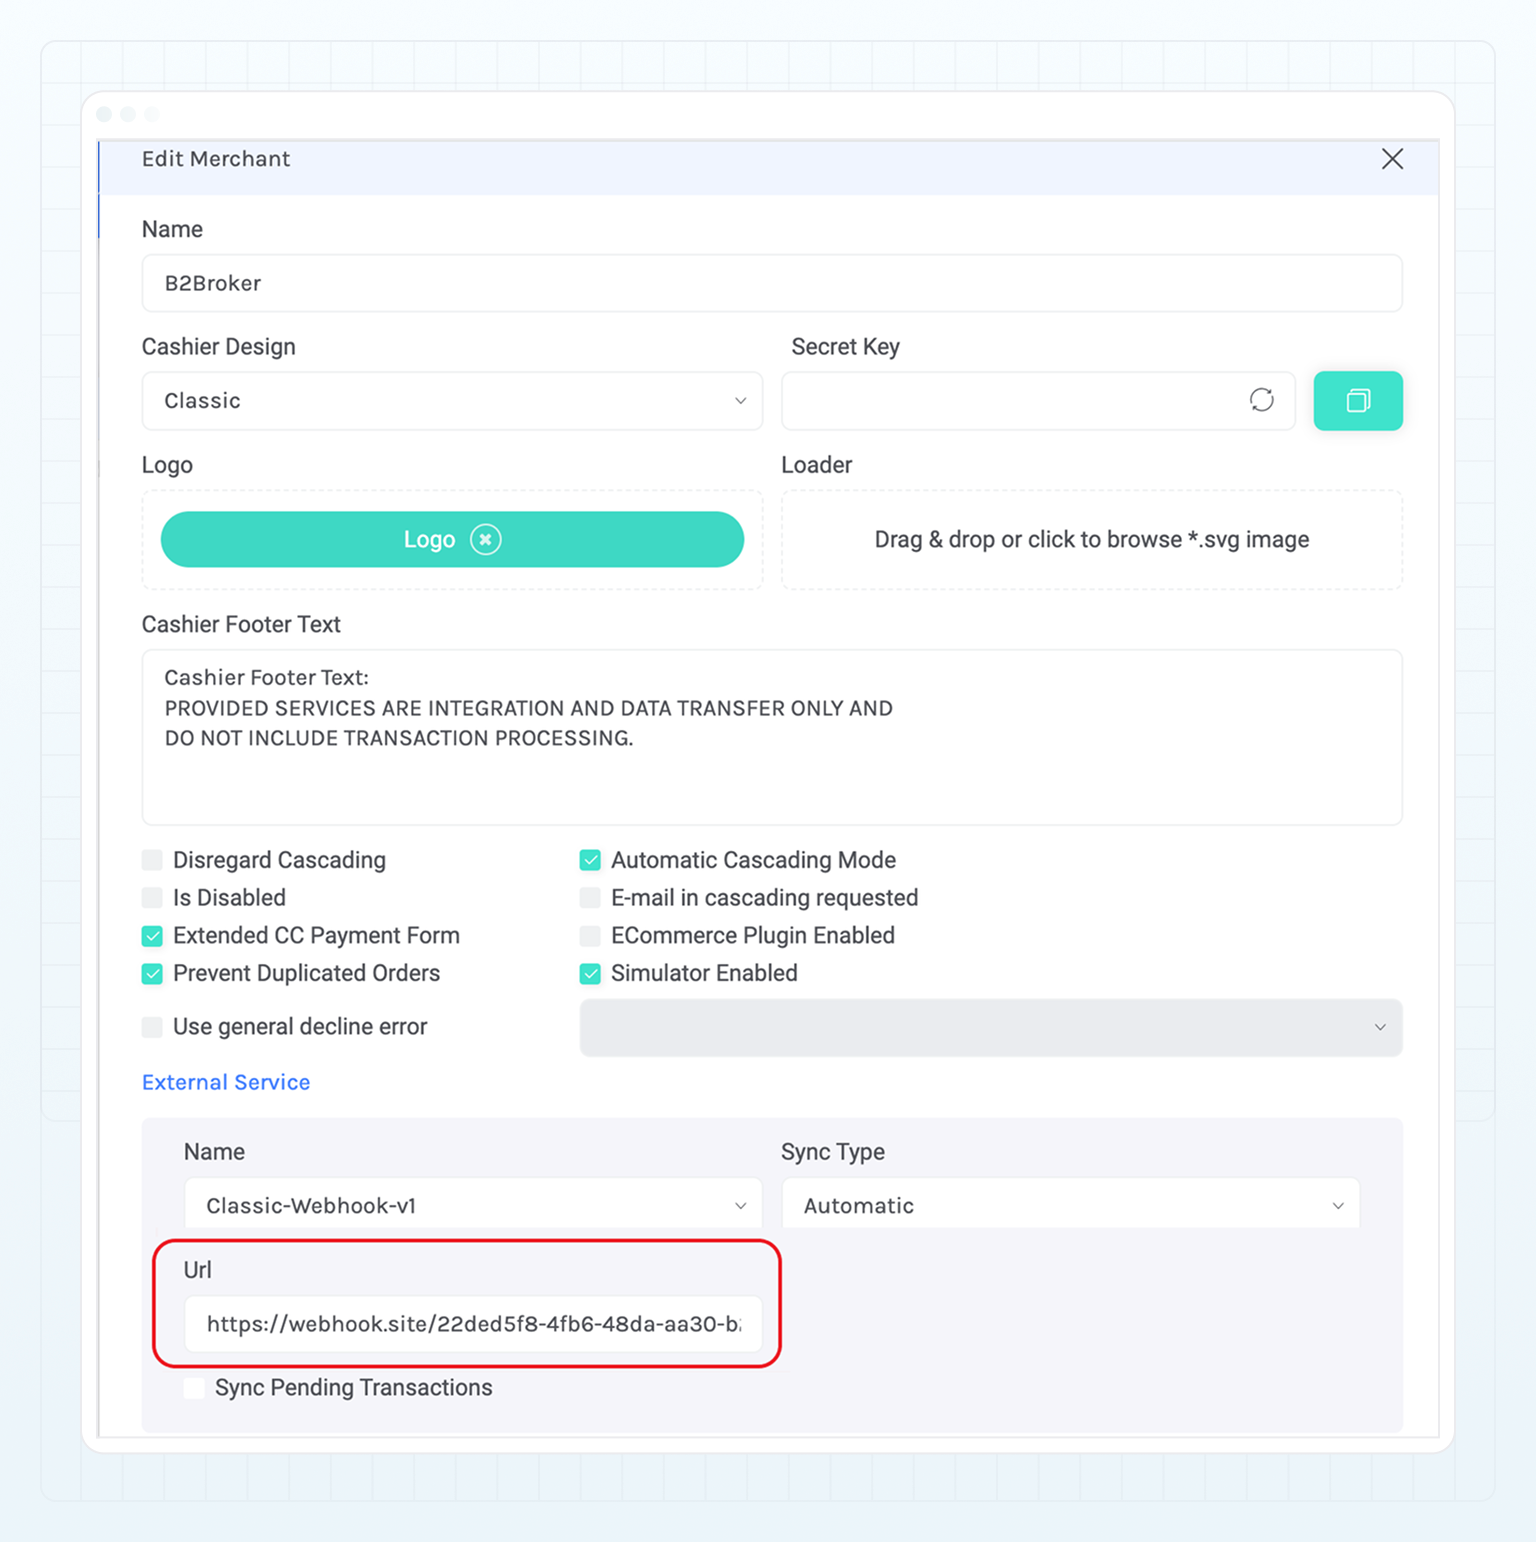
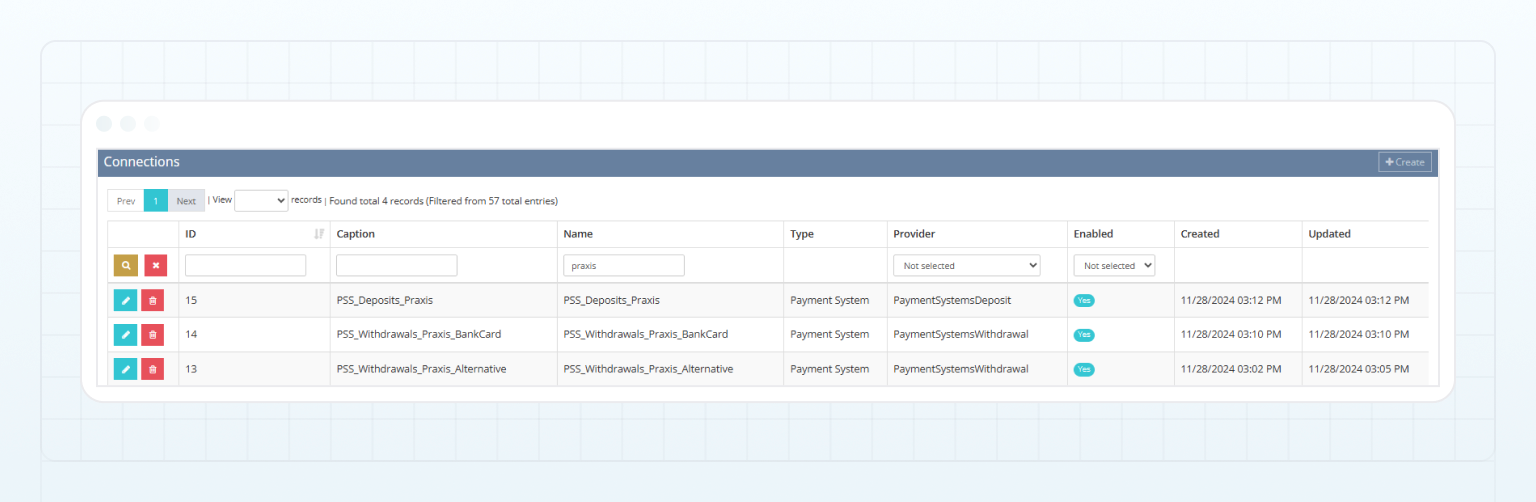 ## Add a deposit method through Praxis [#add-a-deposit-method-through-praxis]
To add and set up a method for making deposits through Praxis:
## Add a deposit method through Praxis [#add-a-deposit-method-through-praxis]
To add and set up a method for making deposits through Praxis:
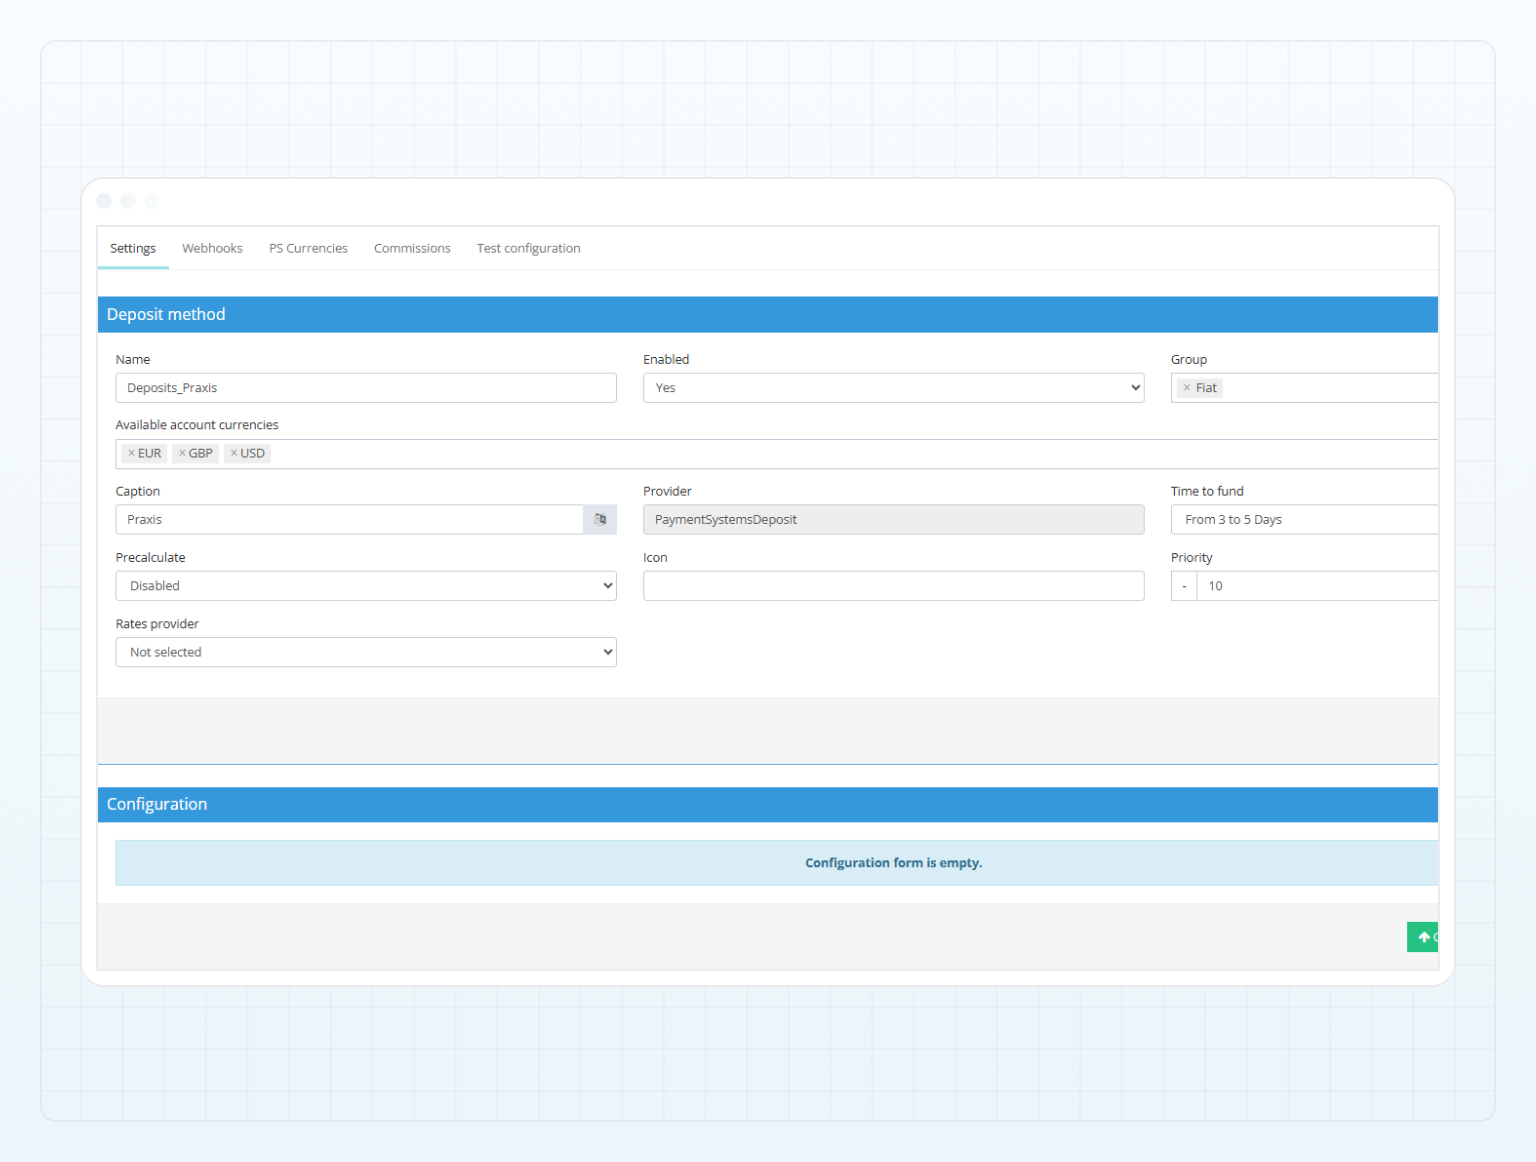
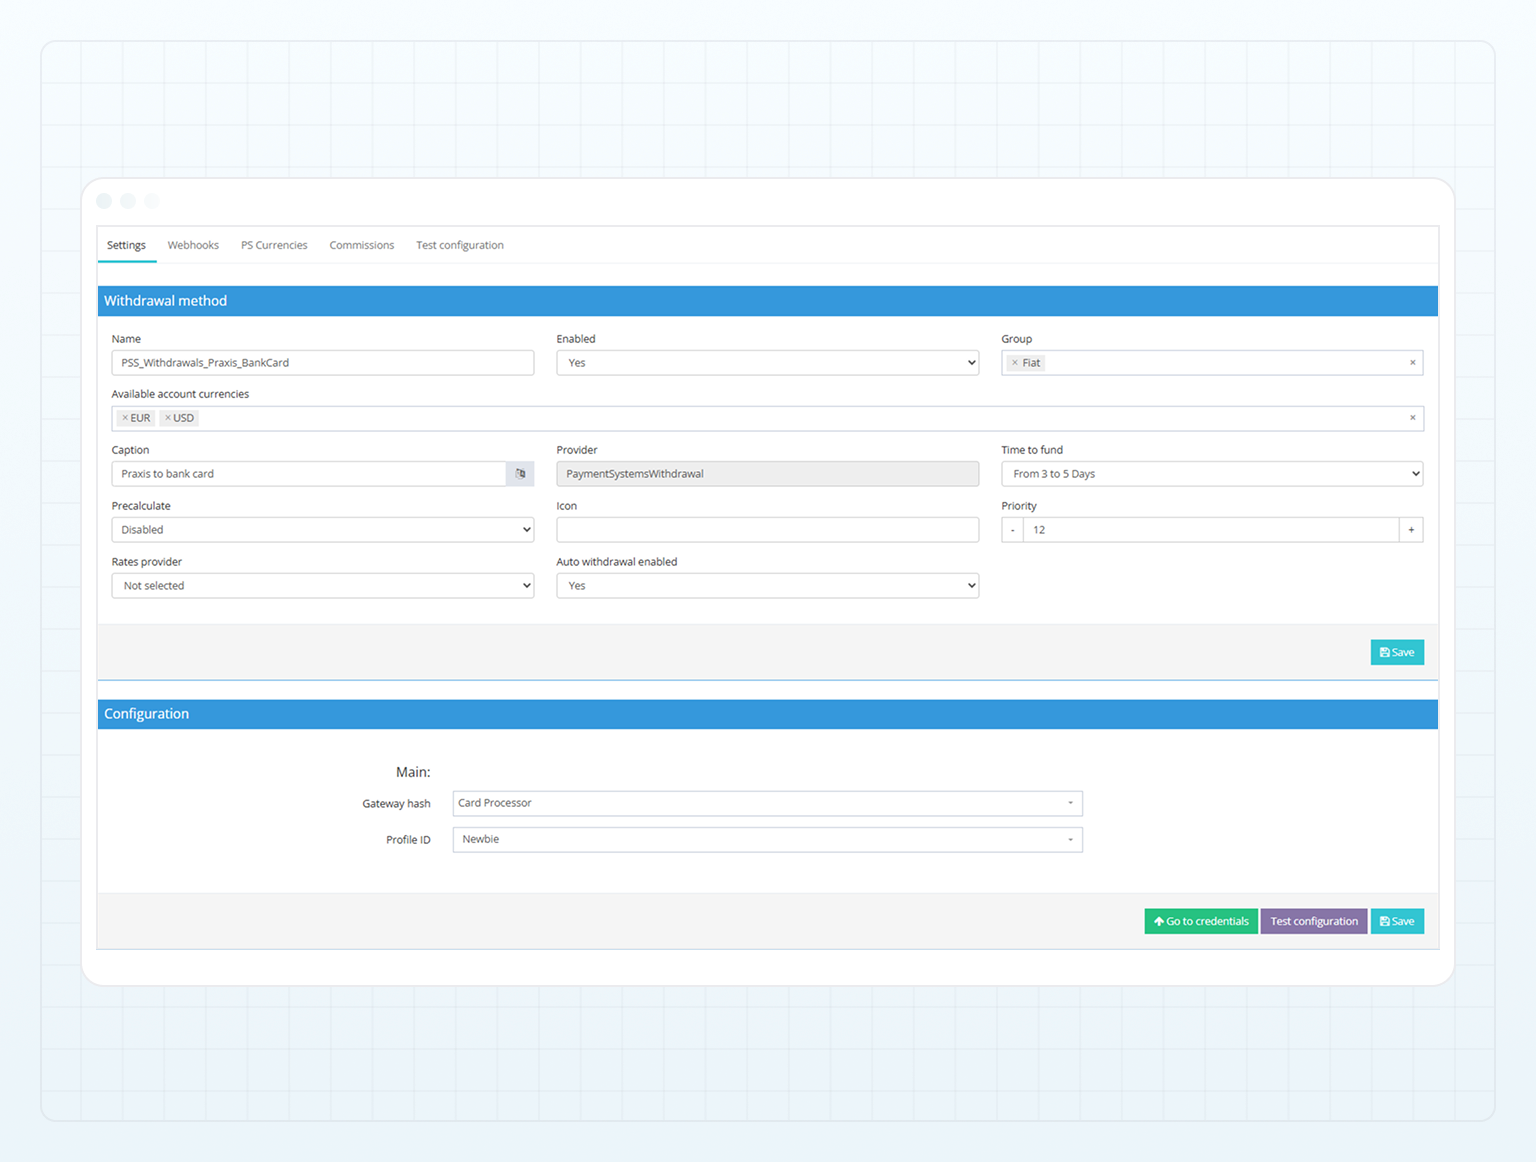
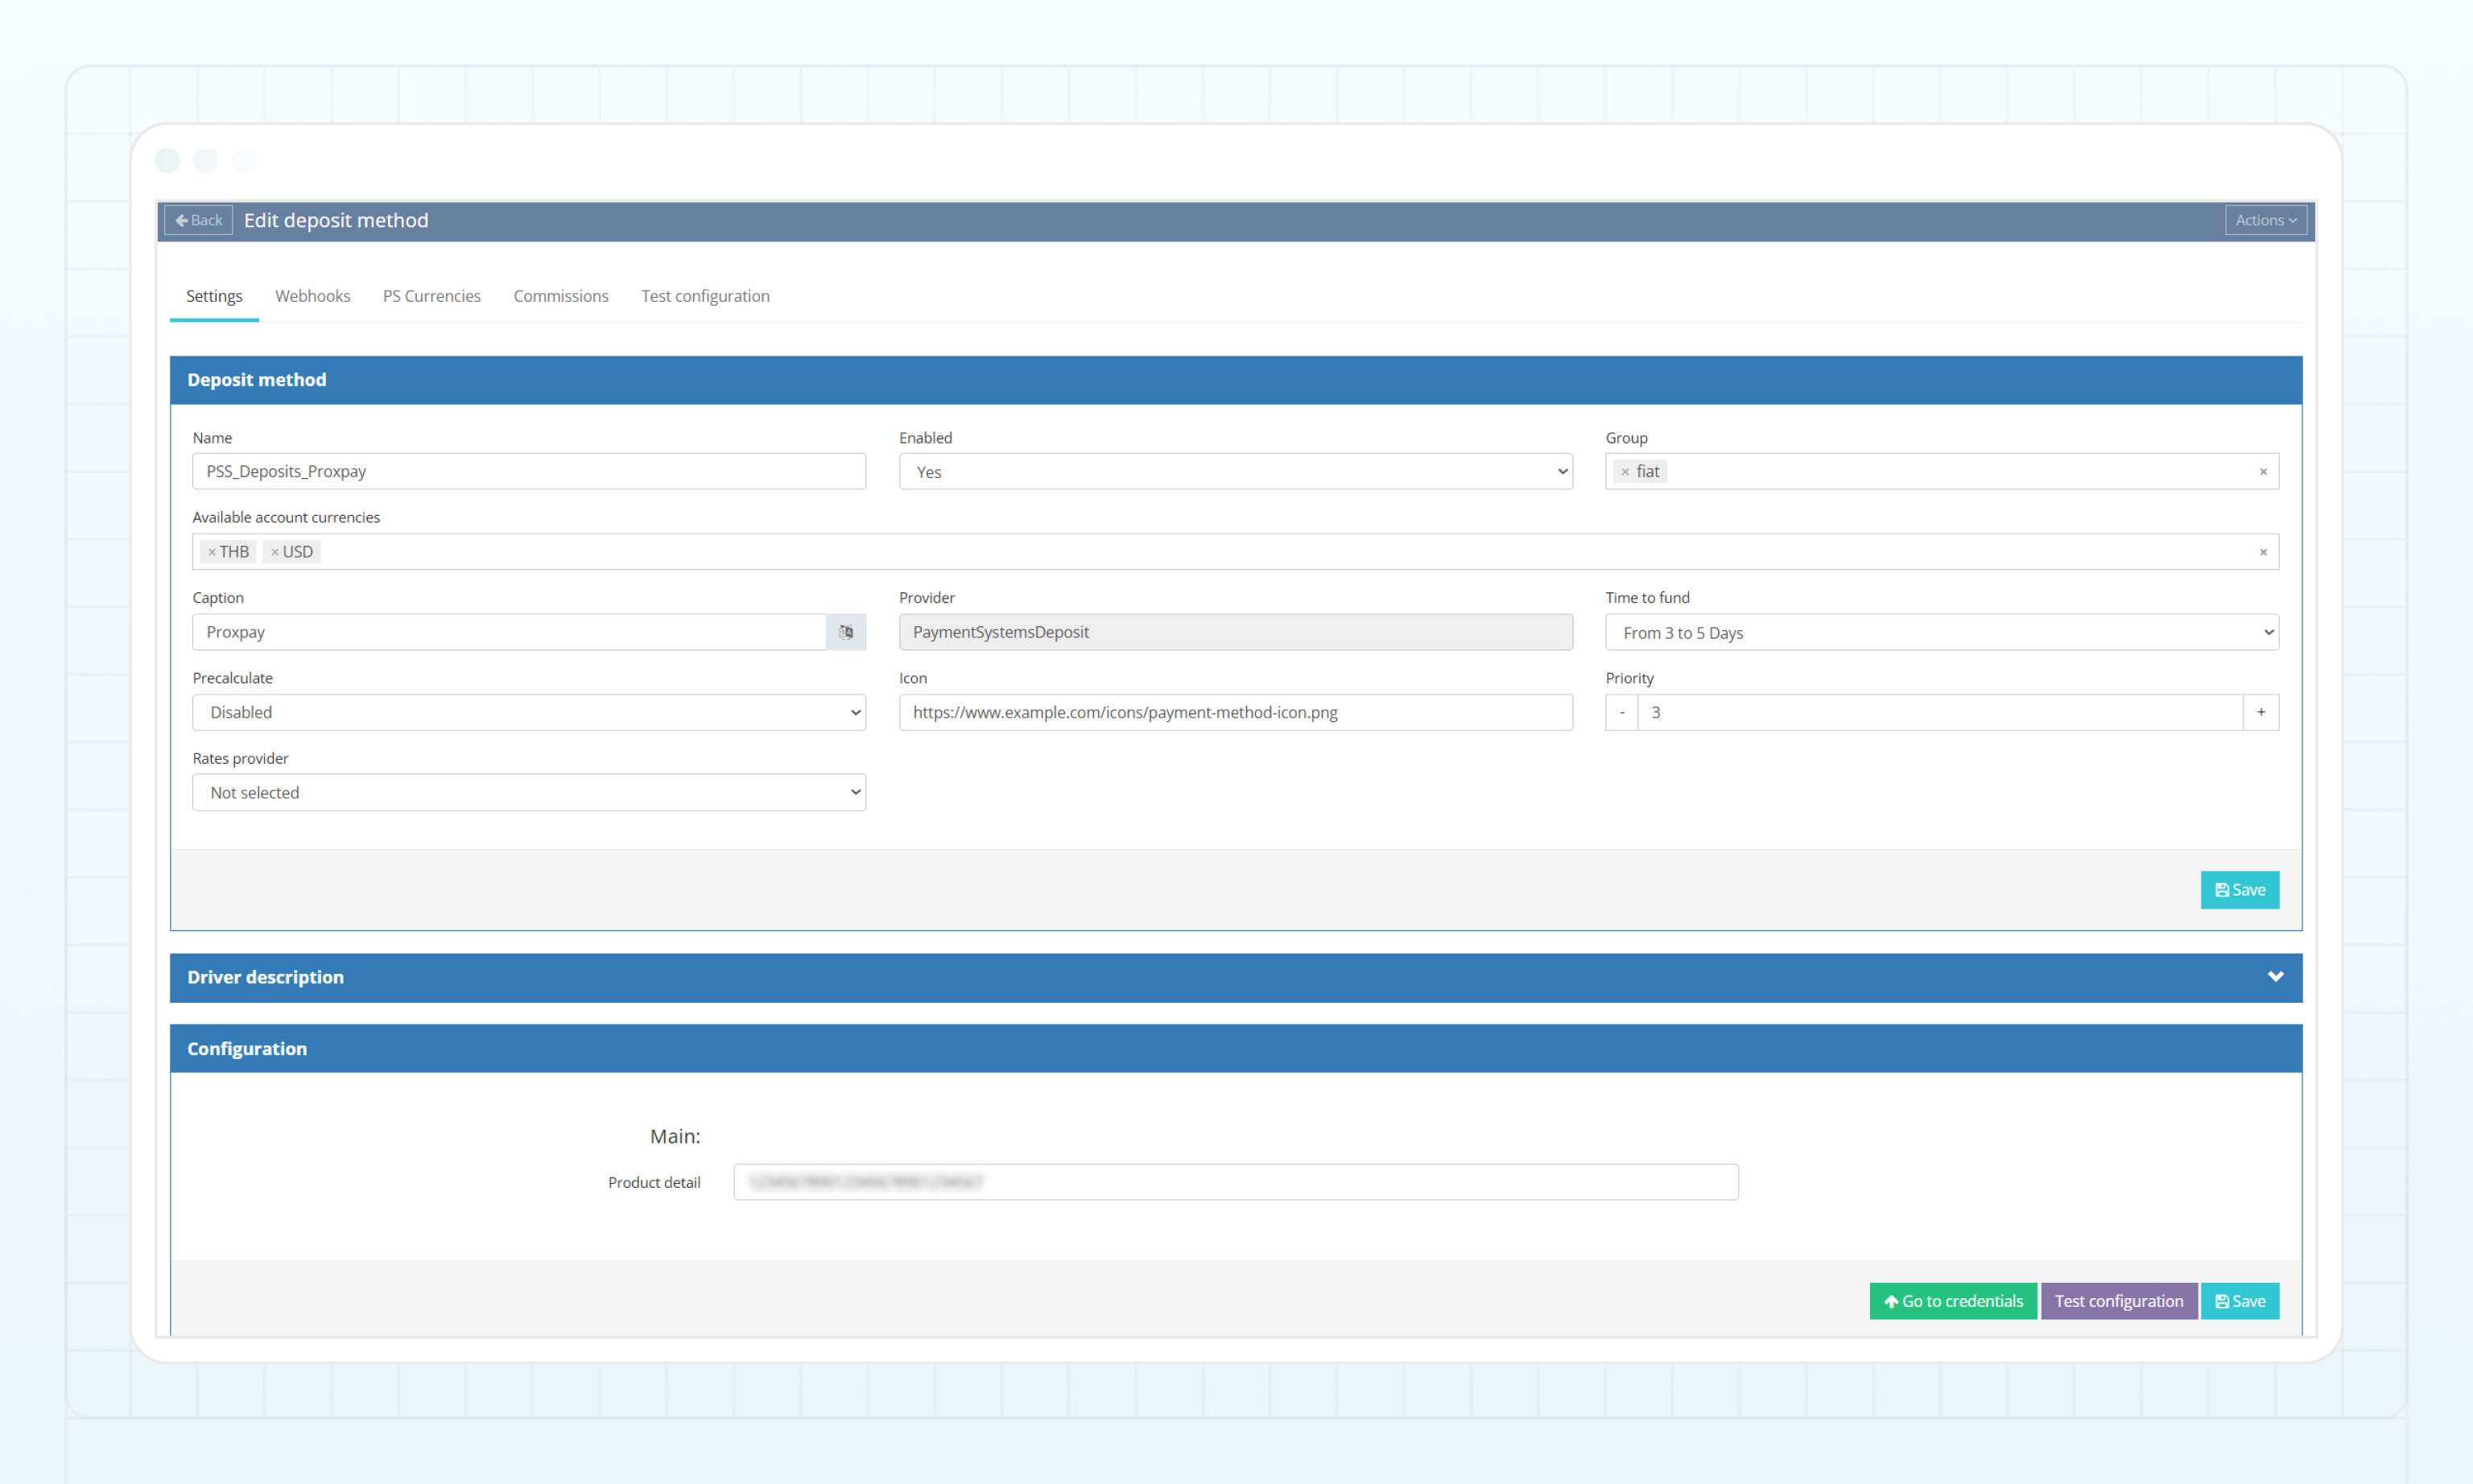
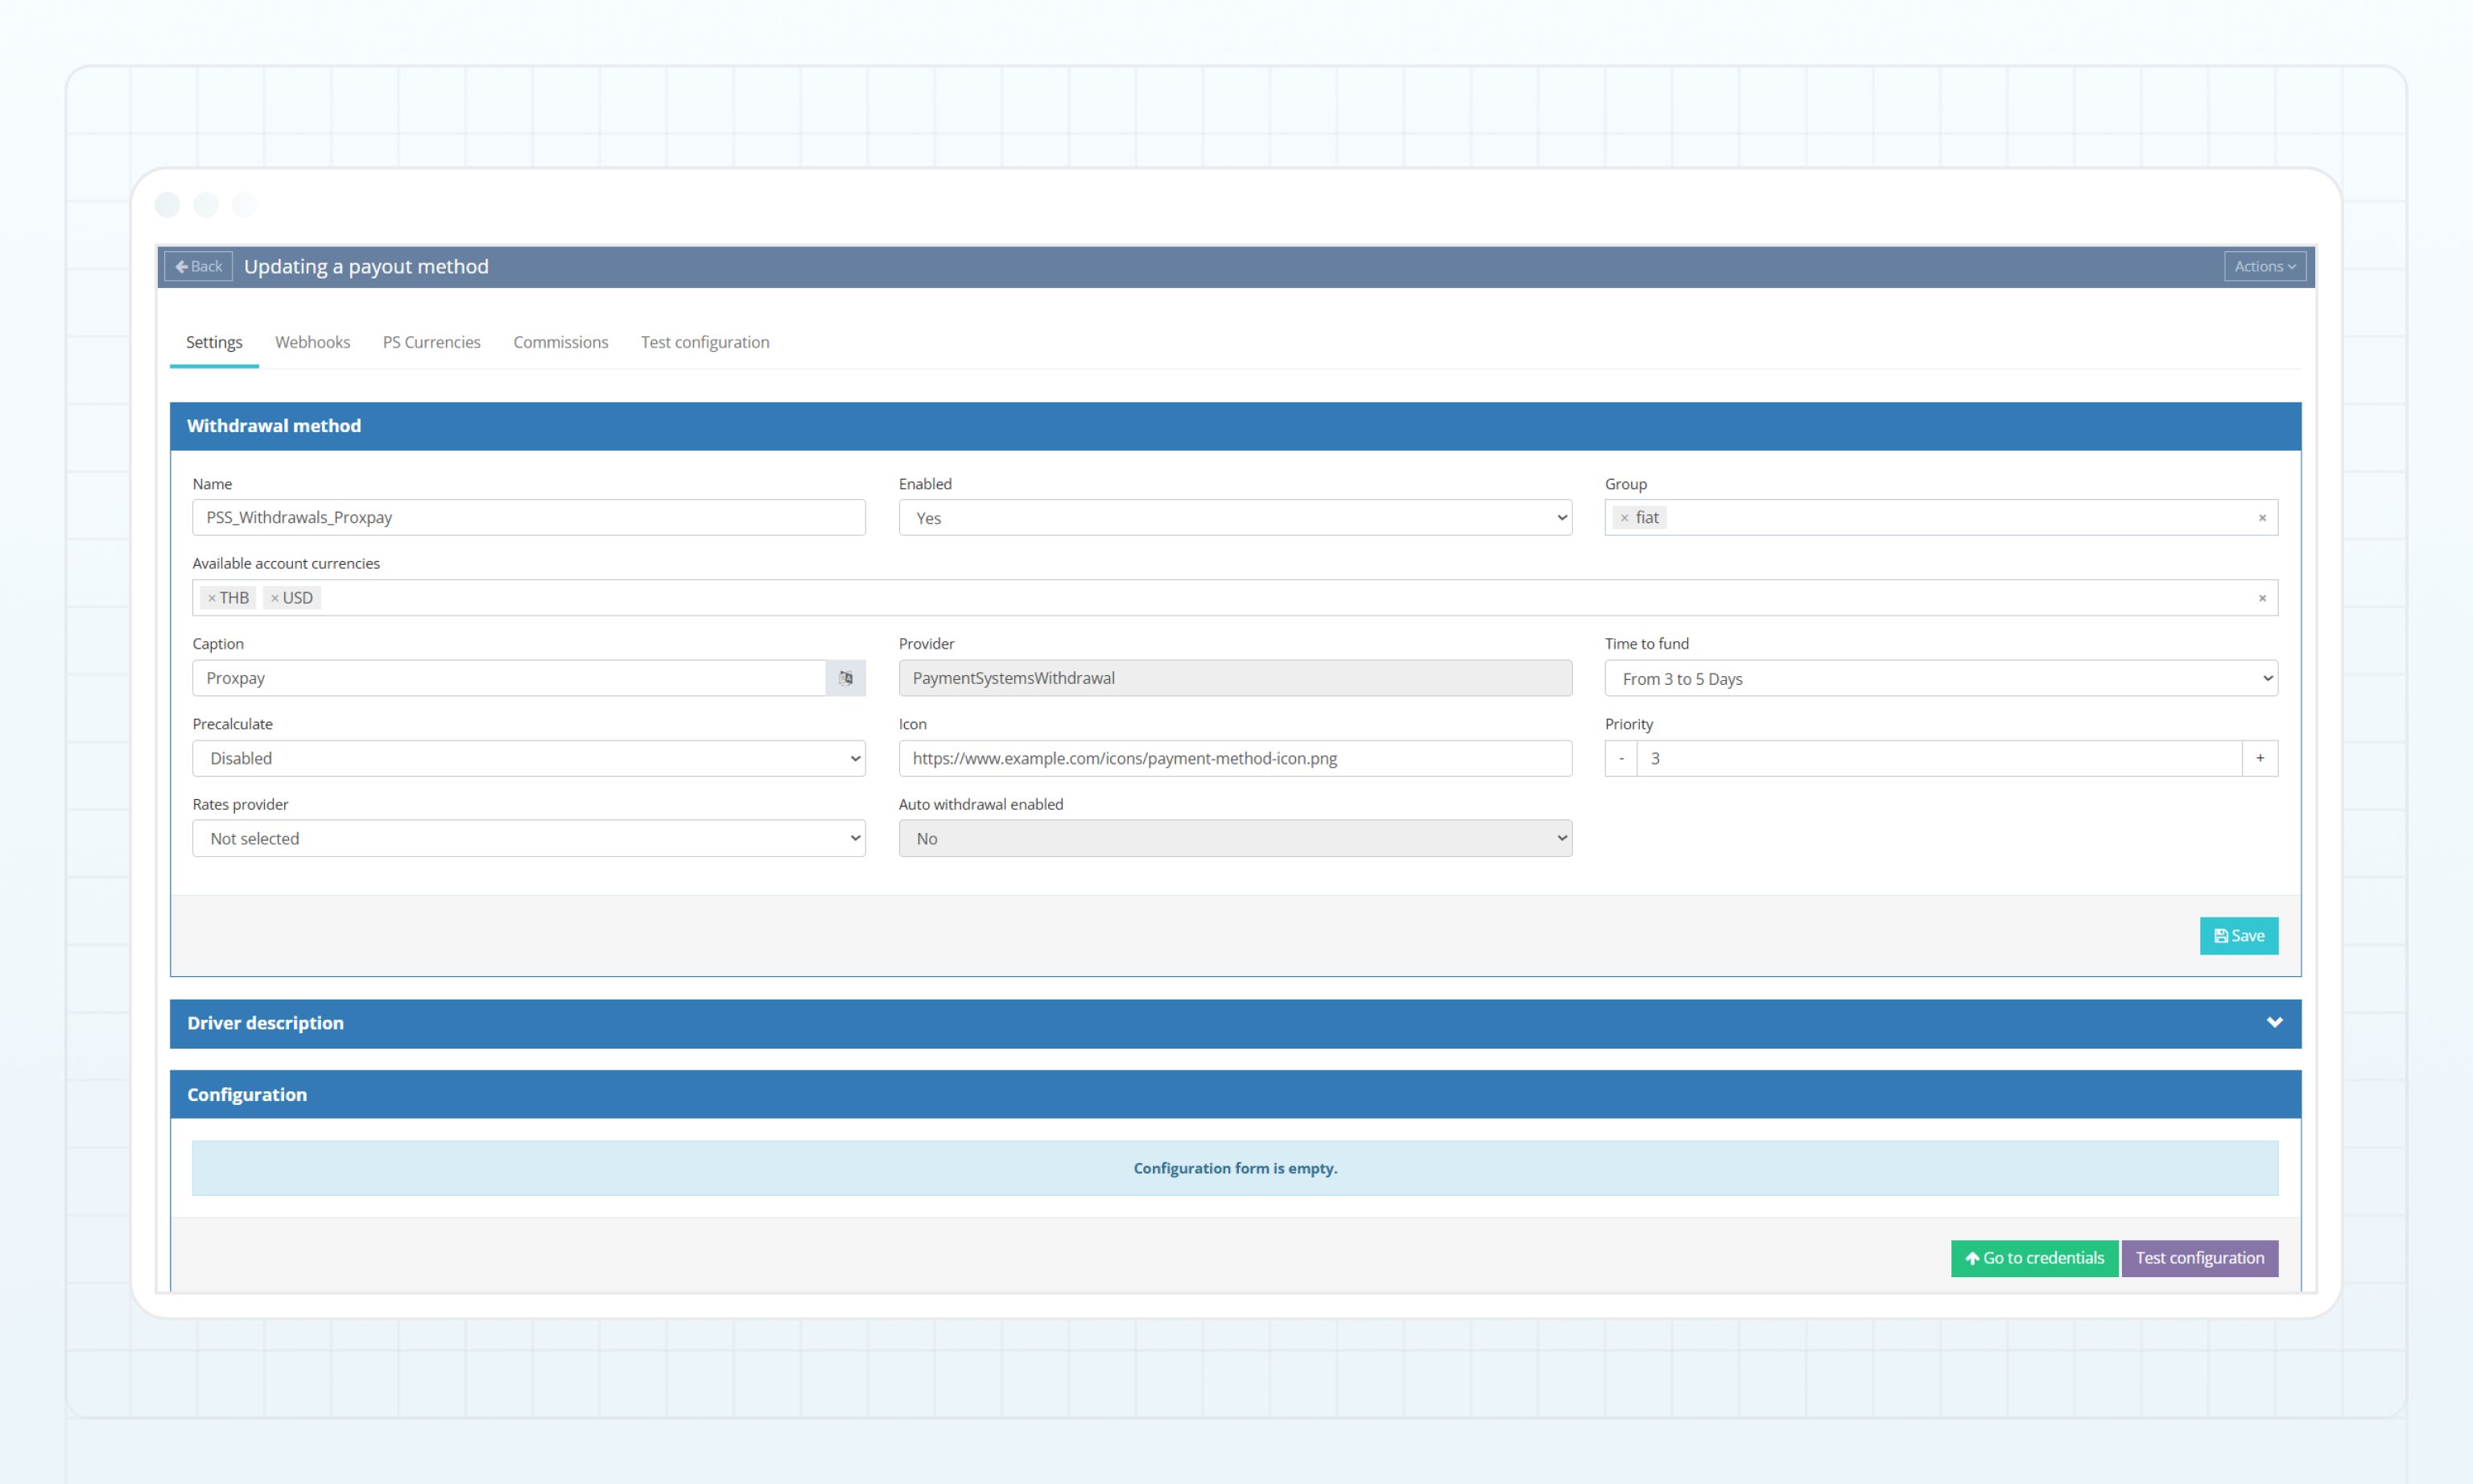
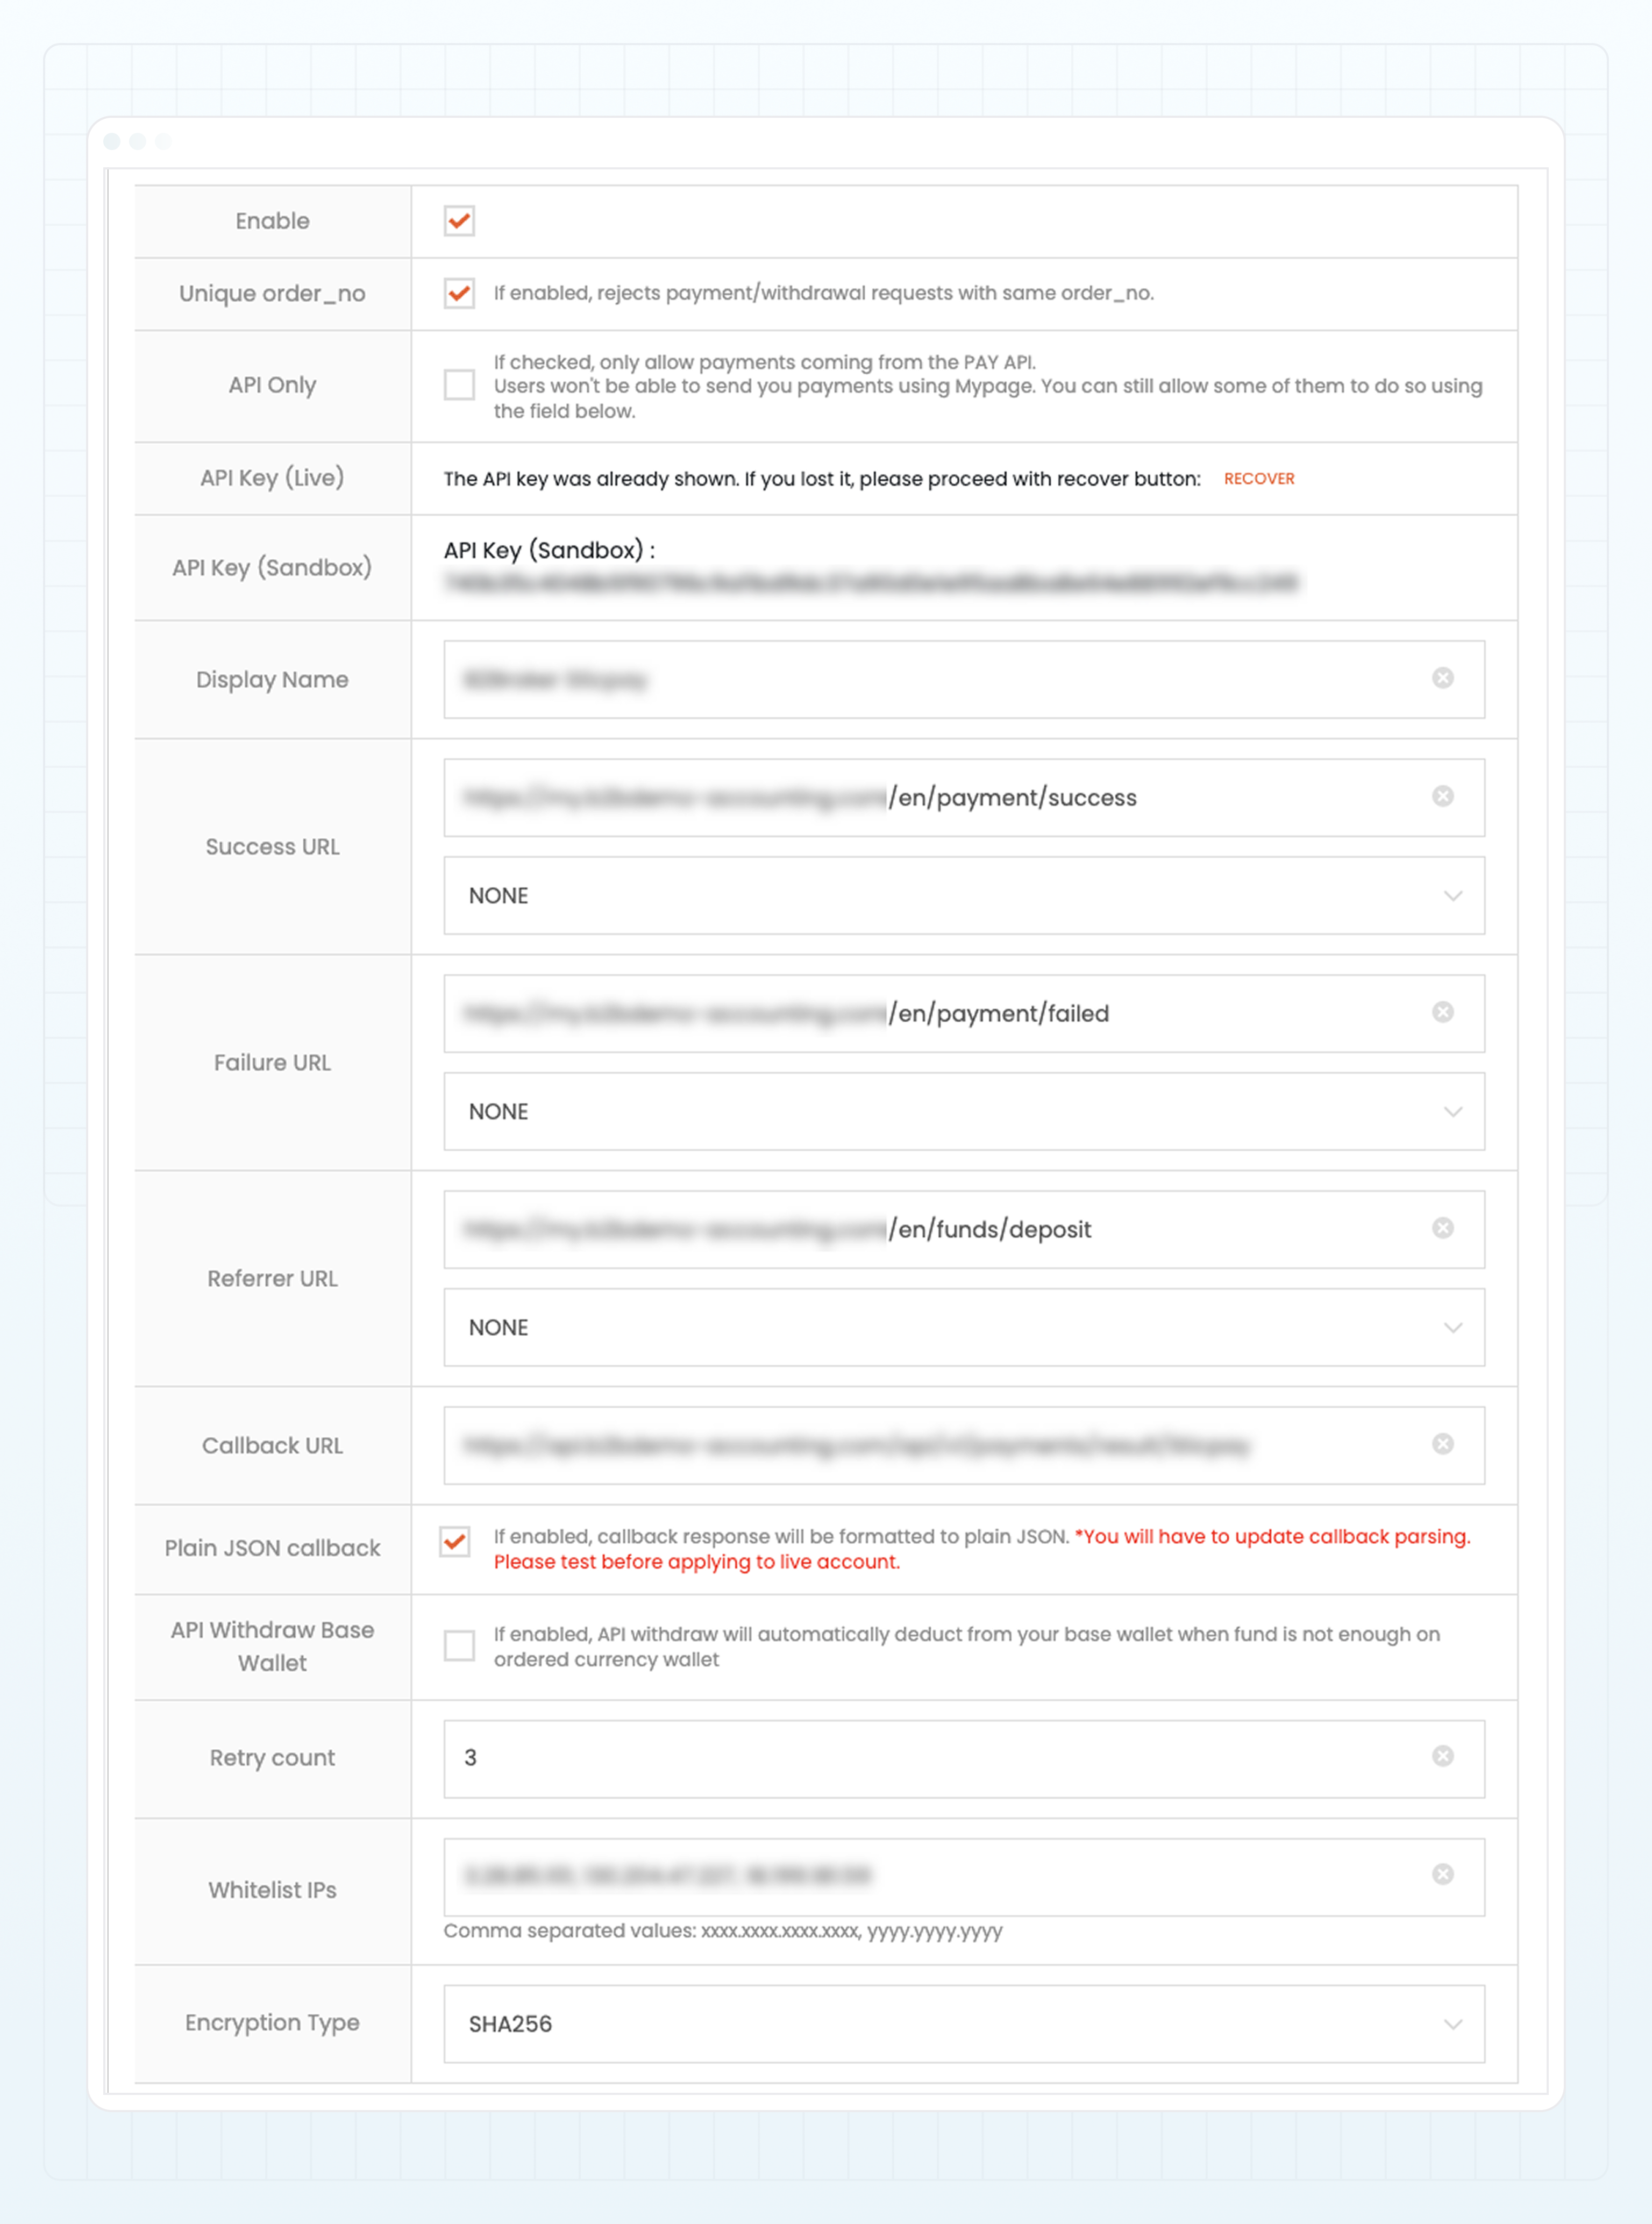
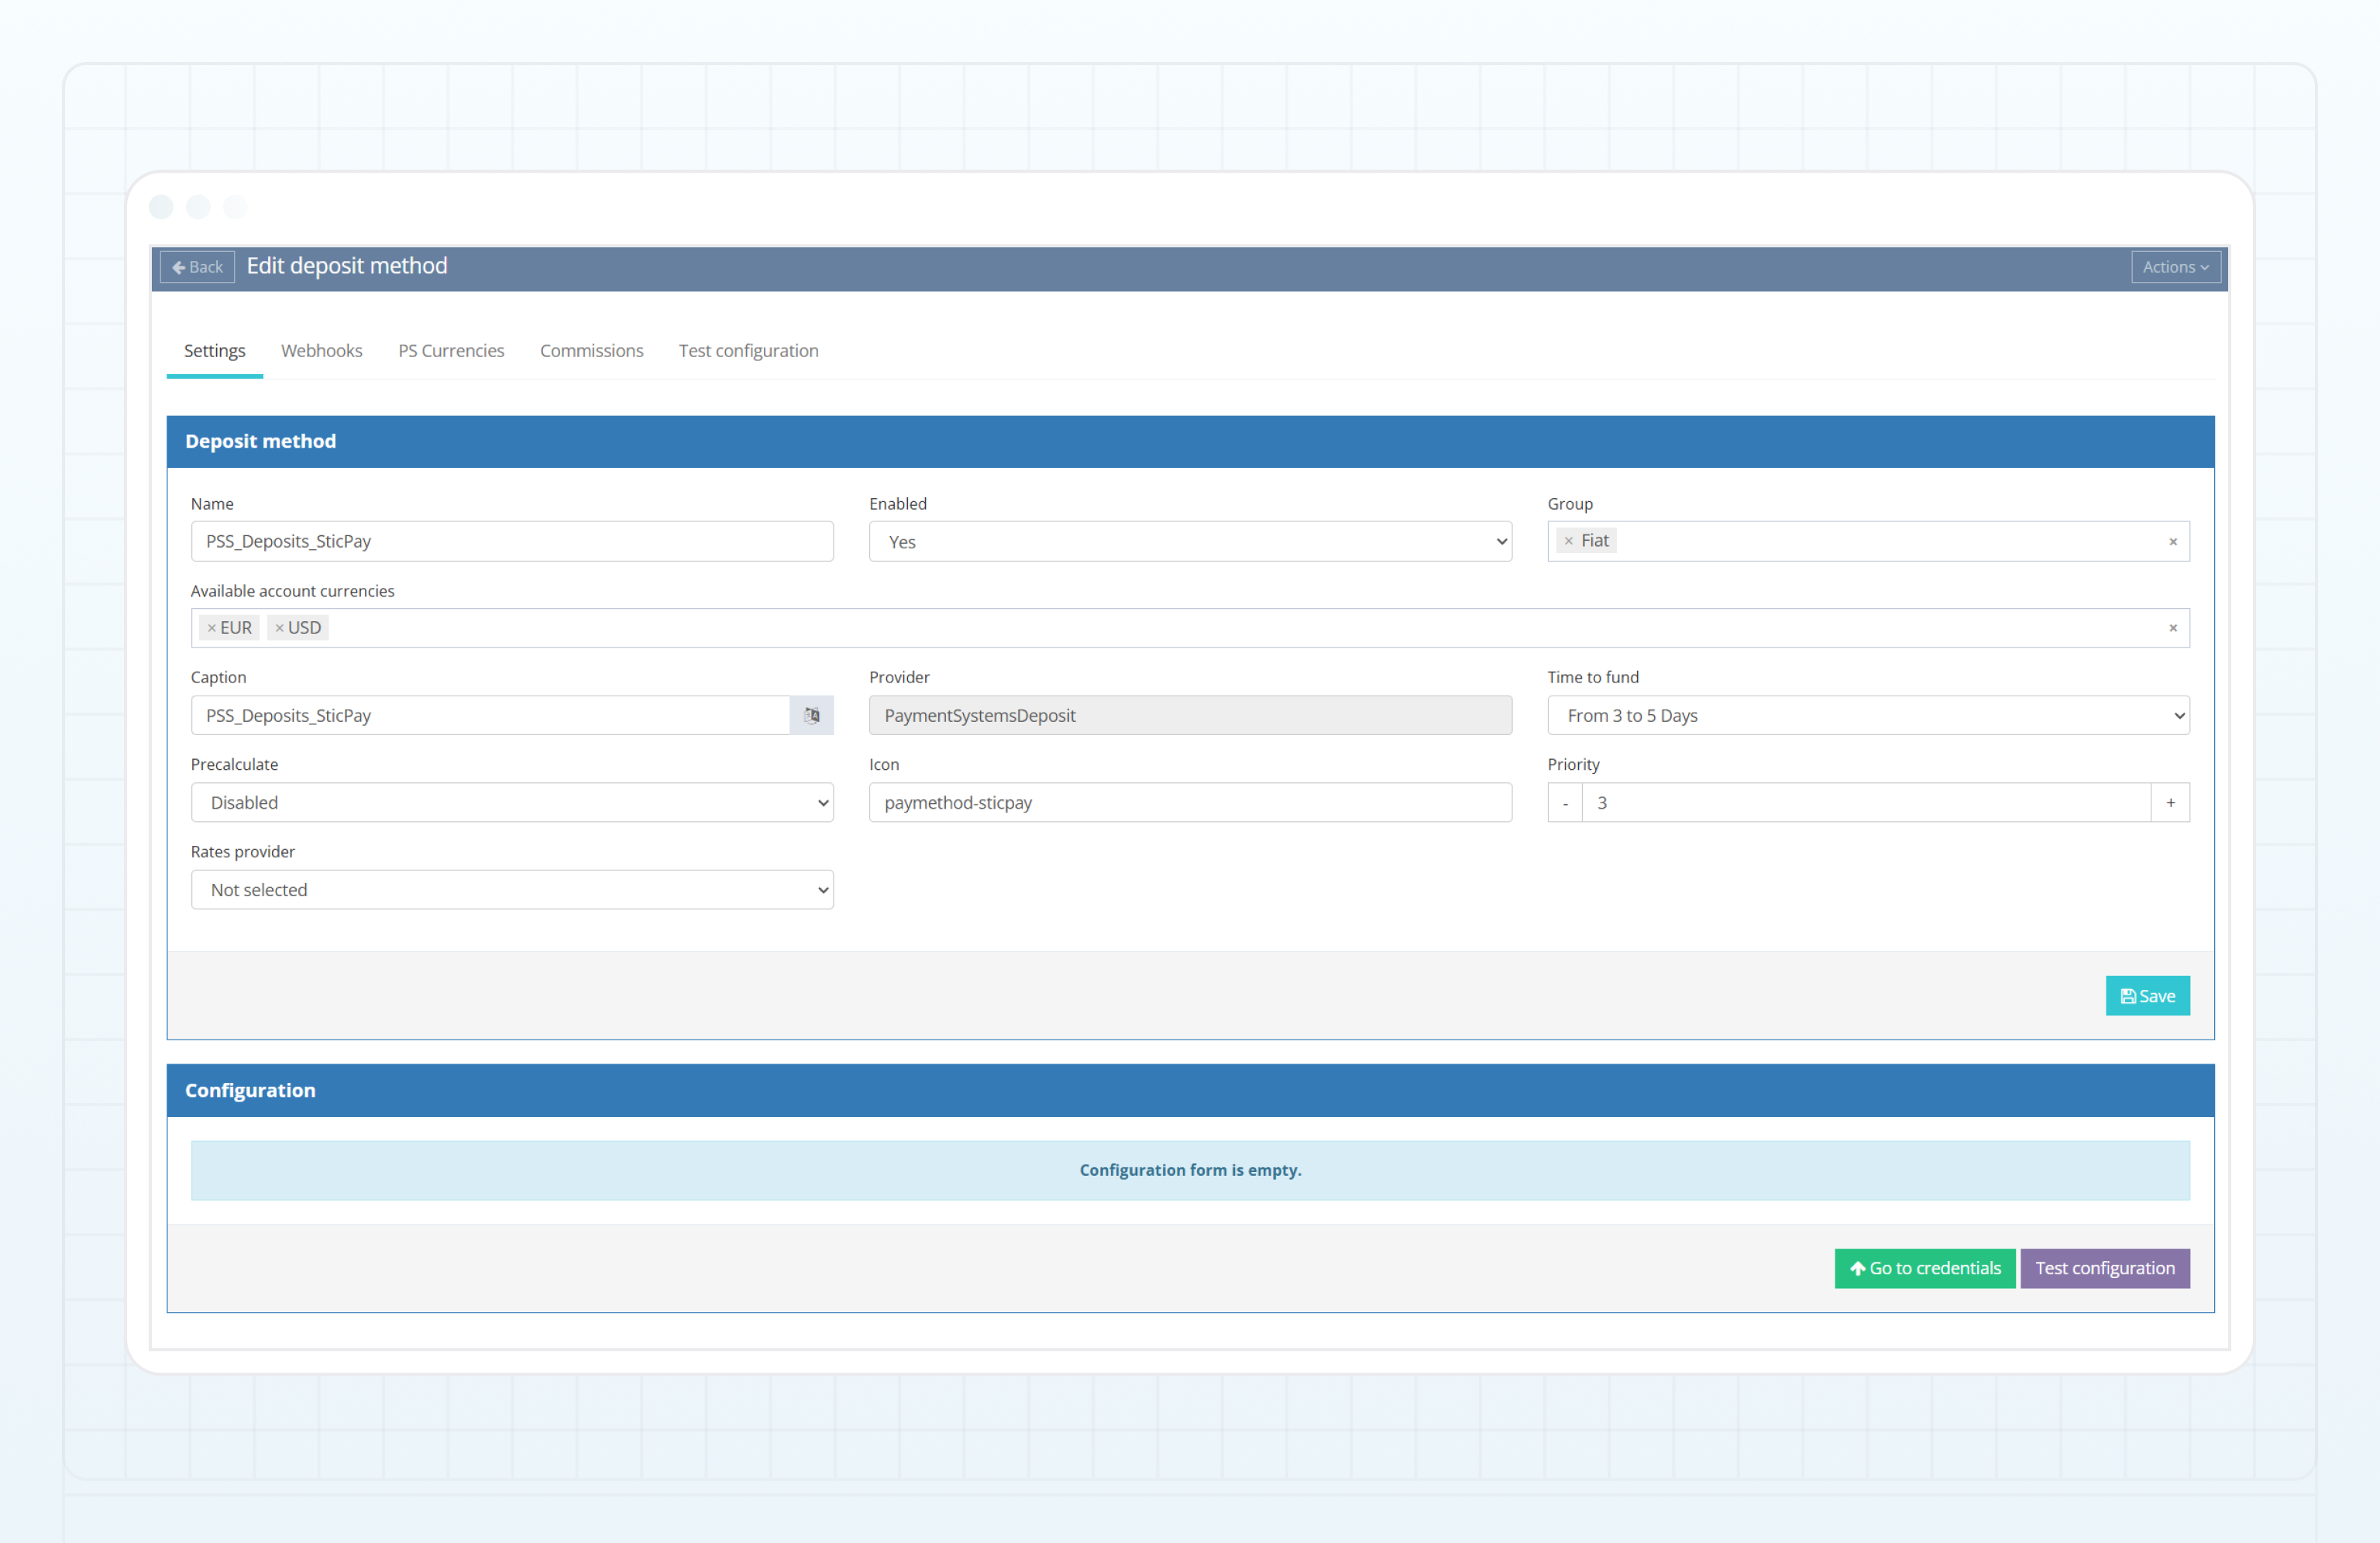
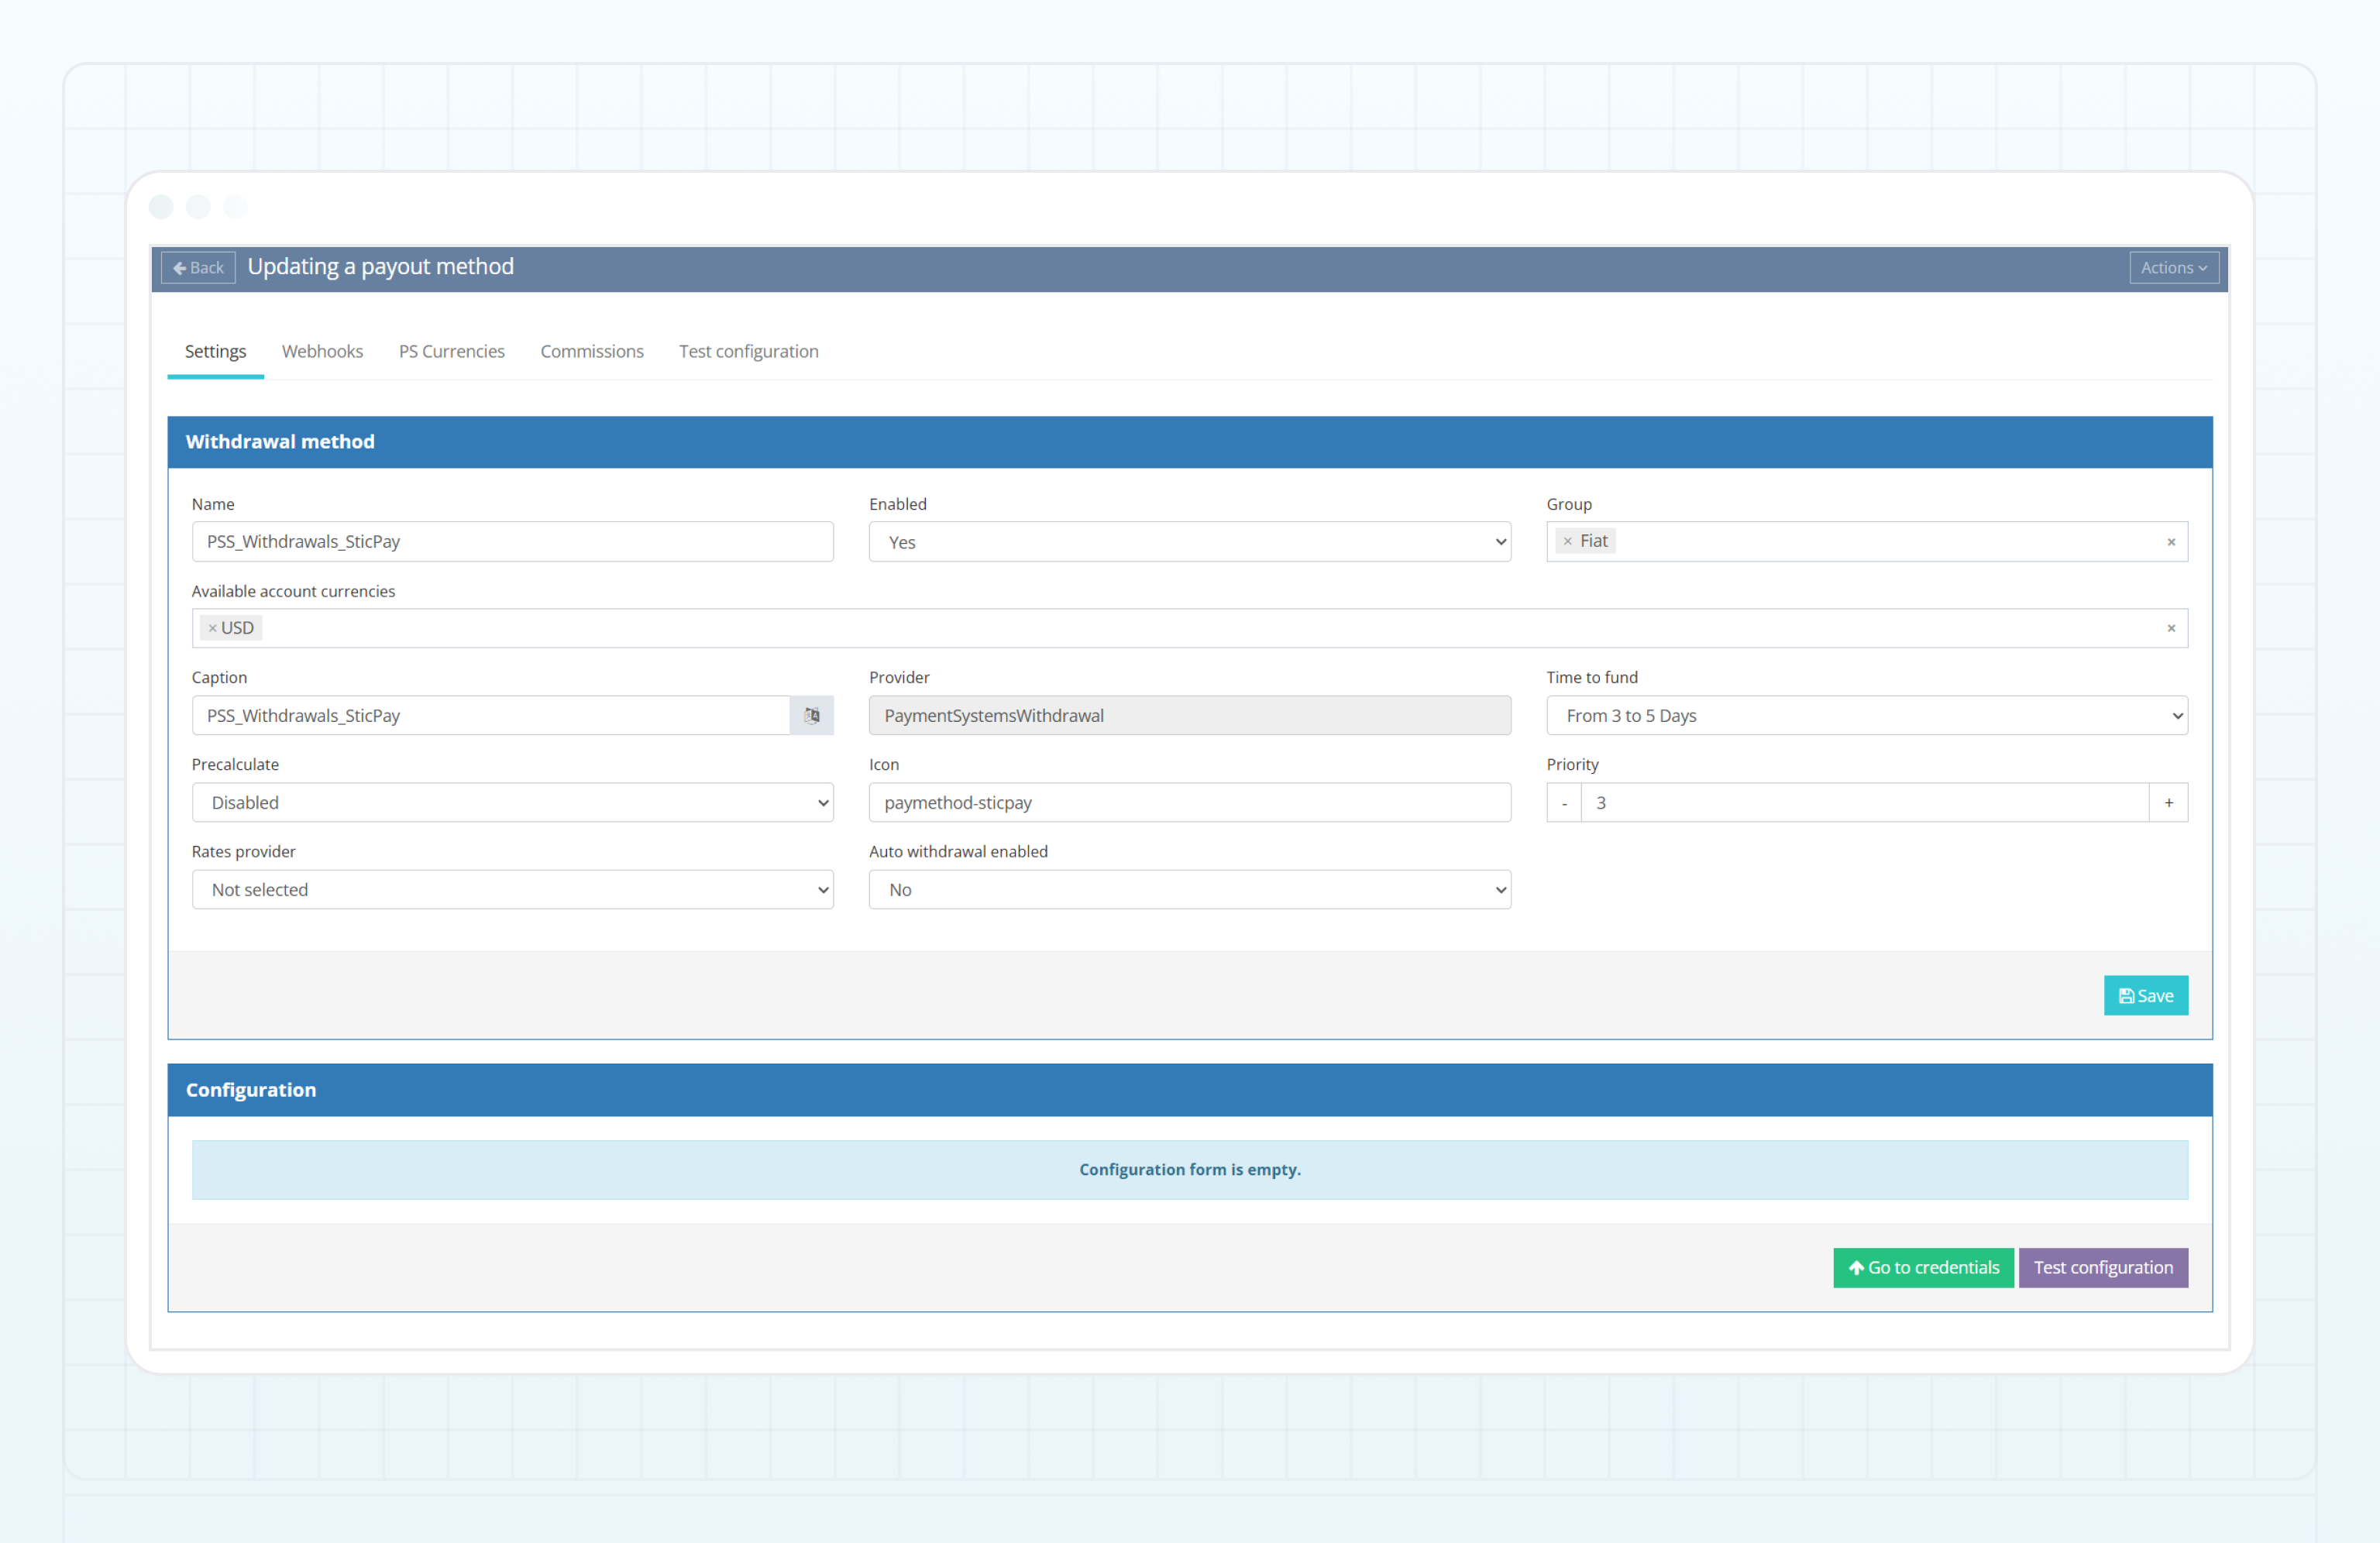
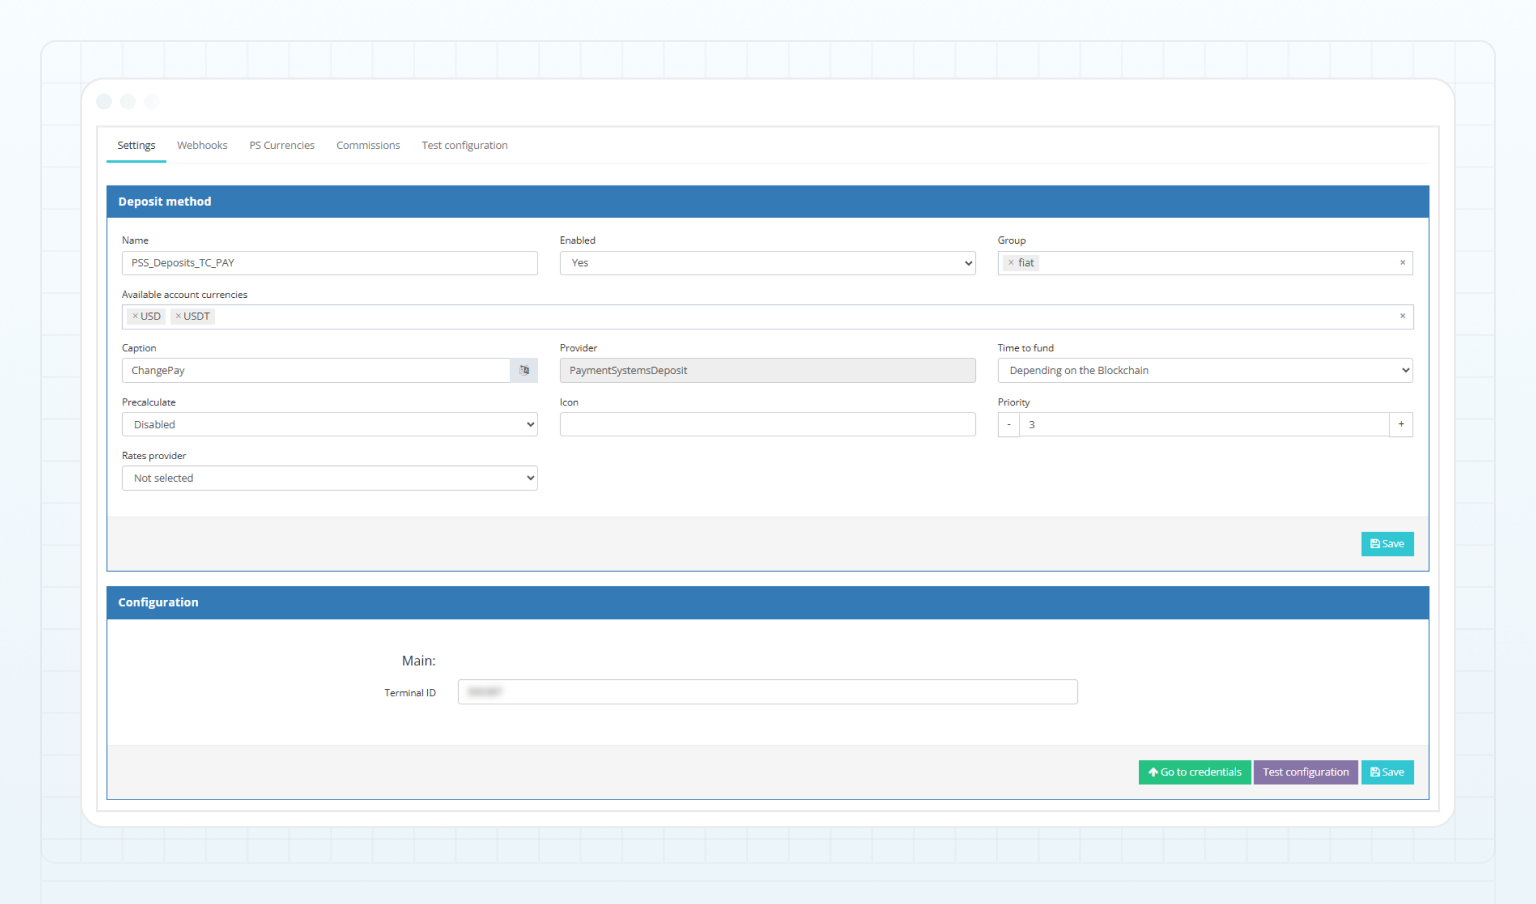
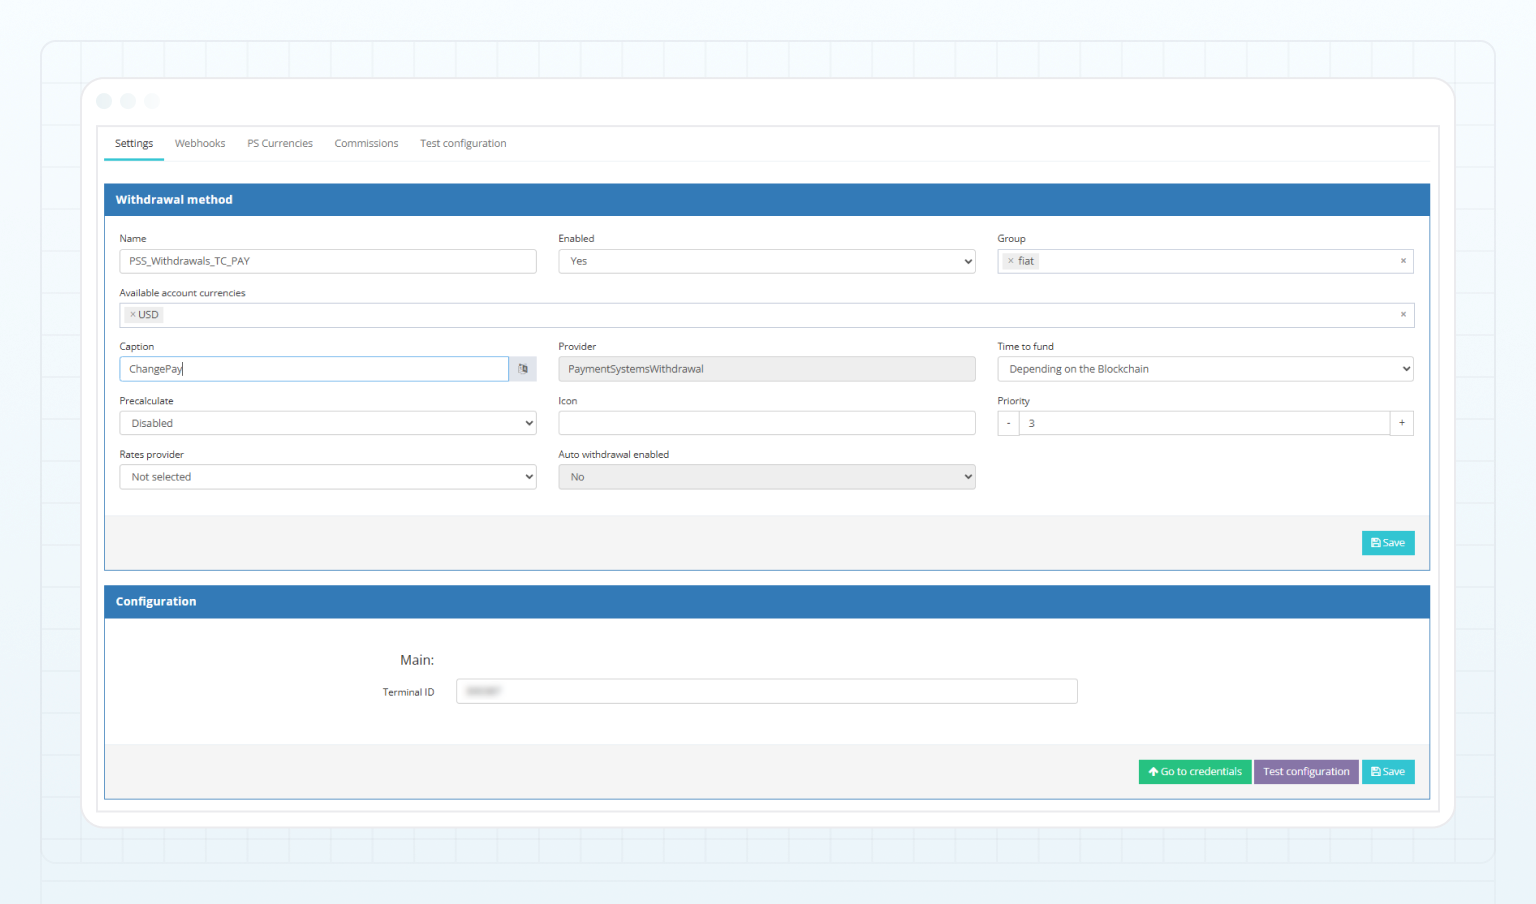
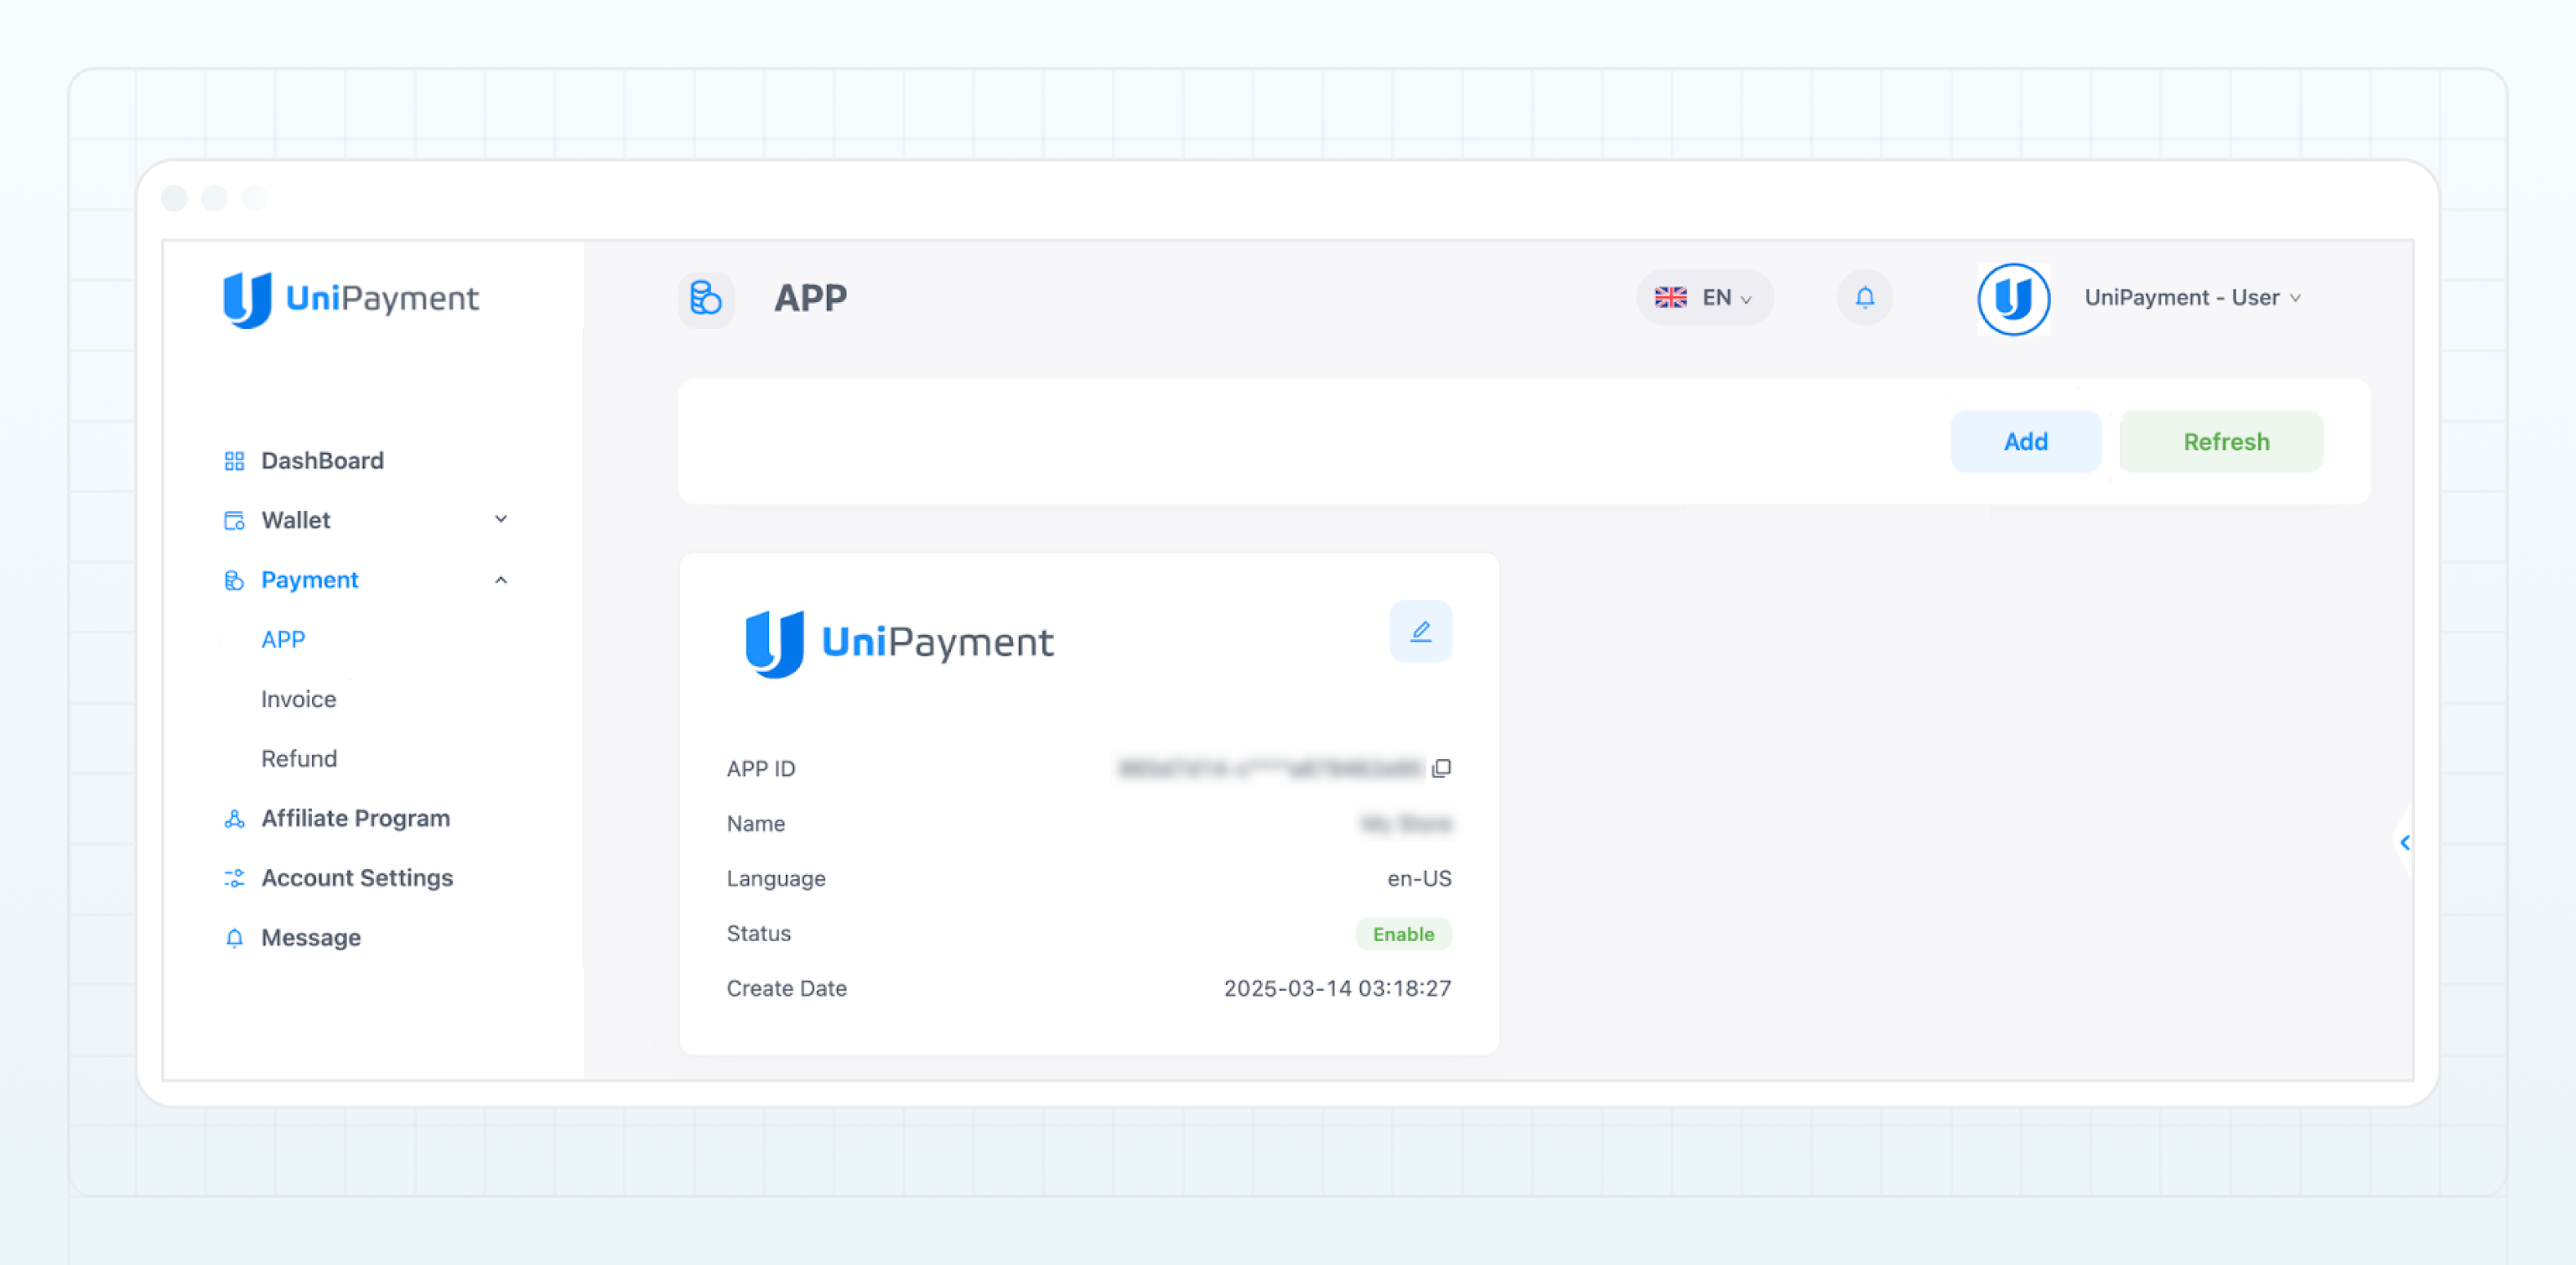
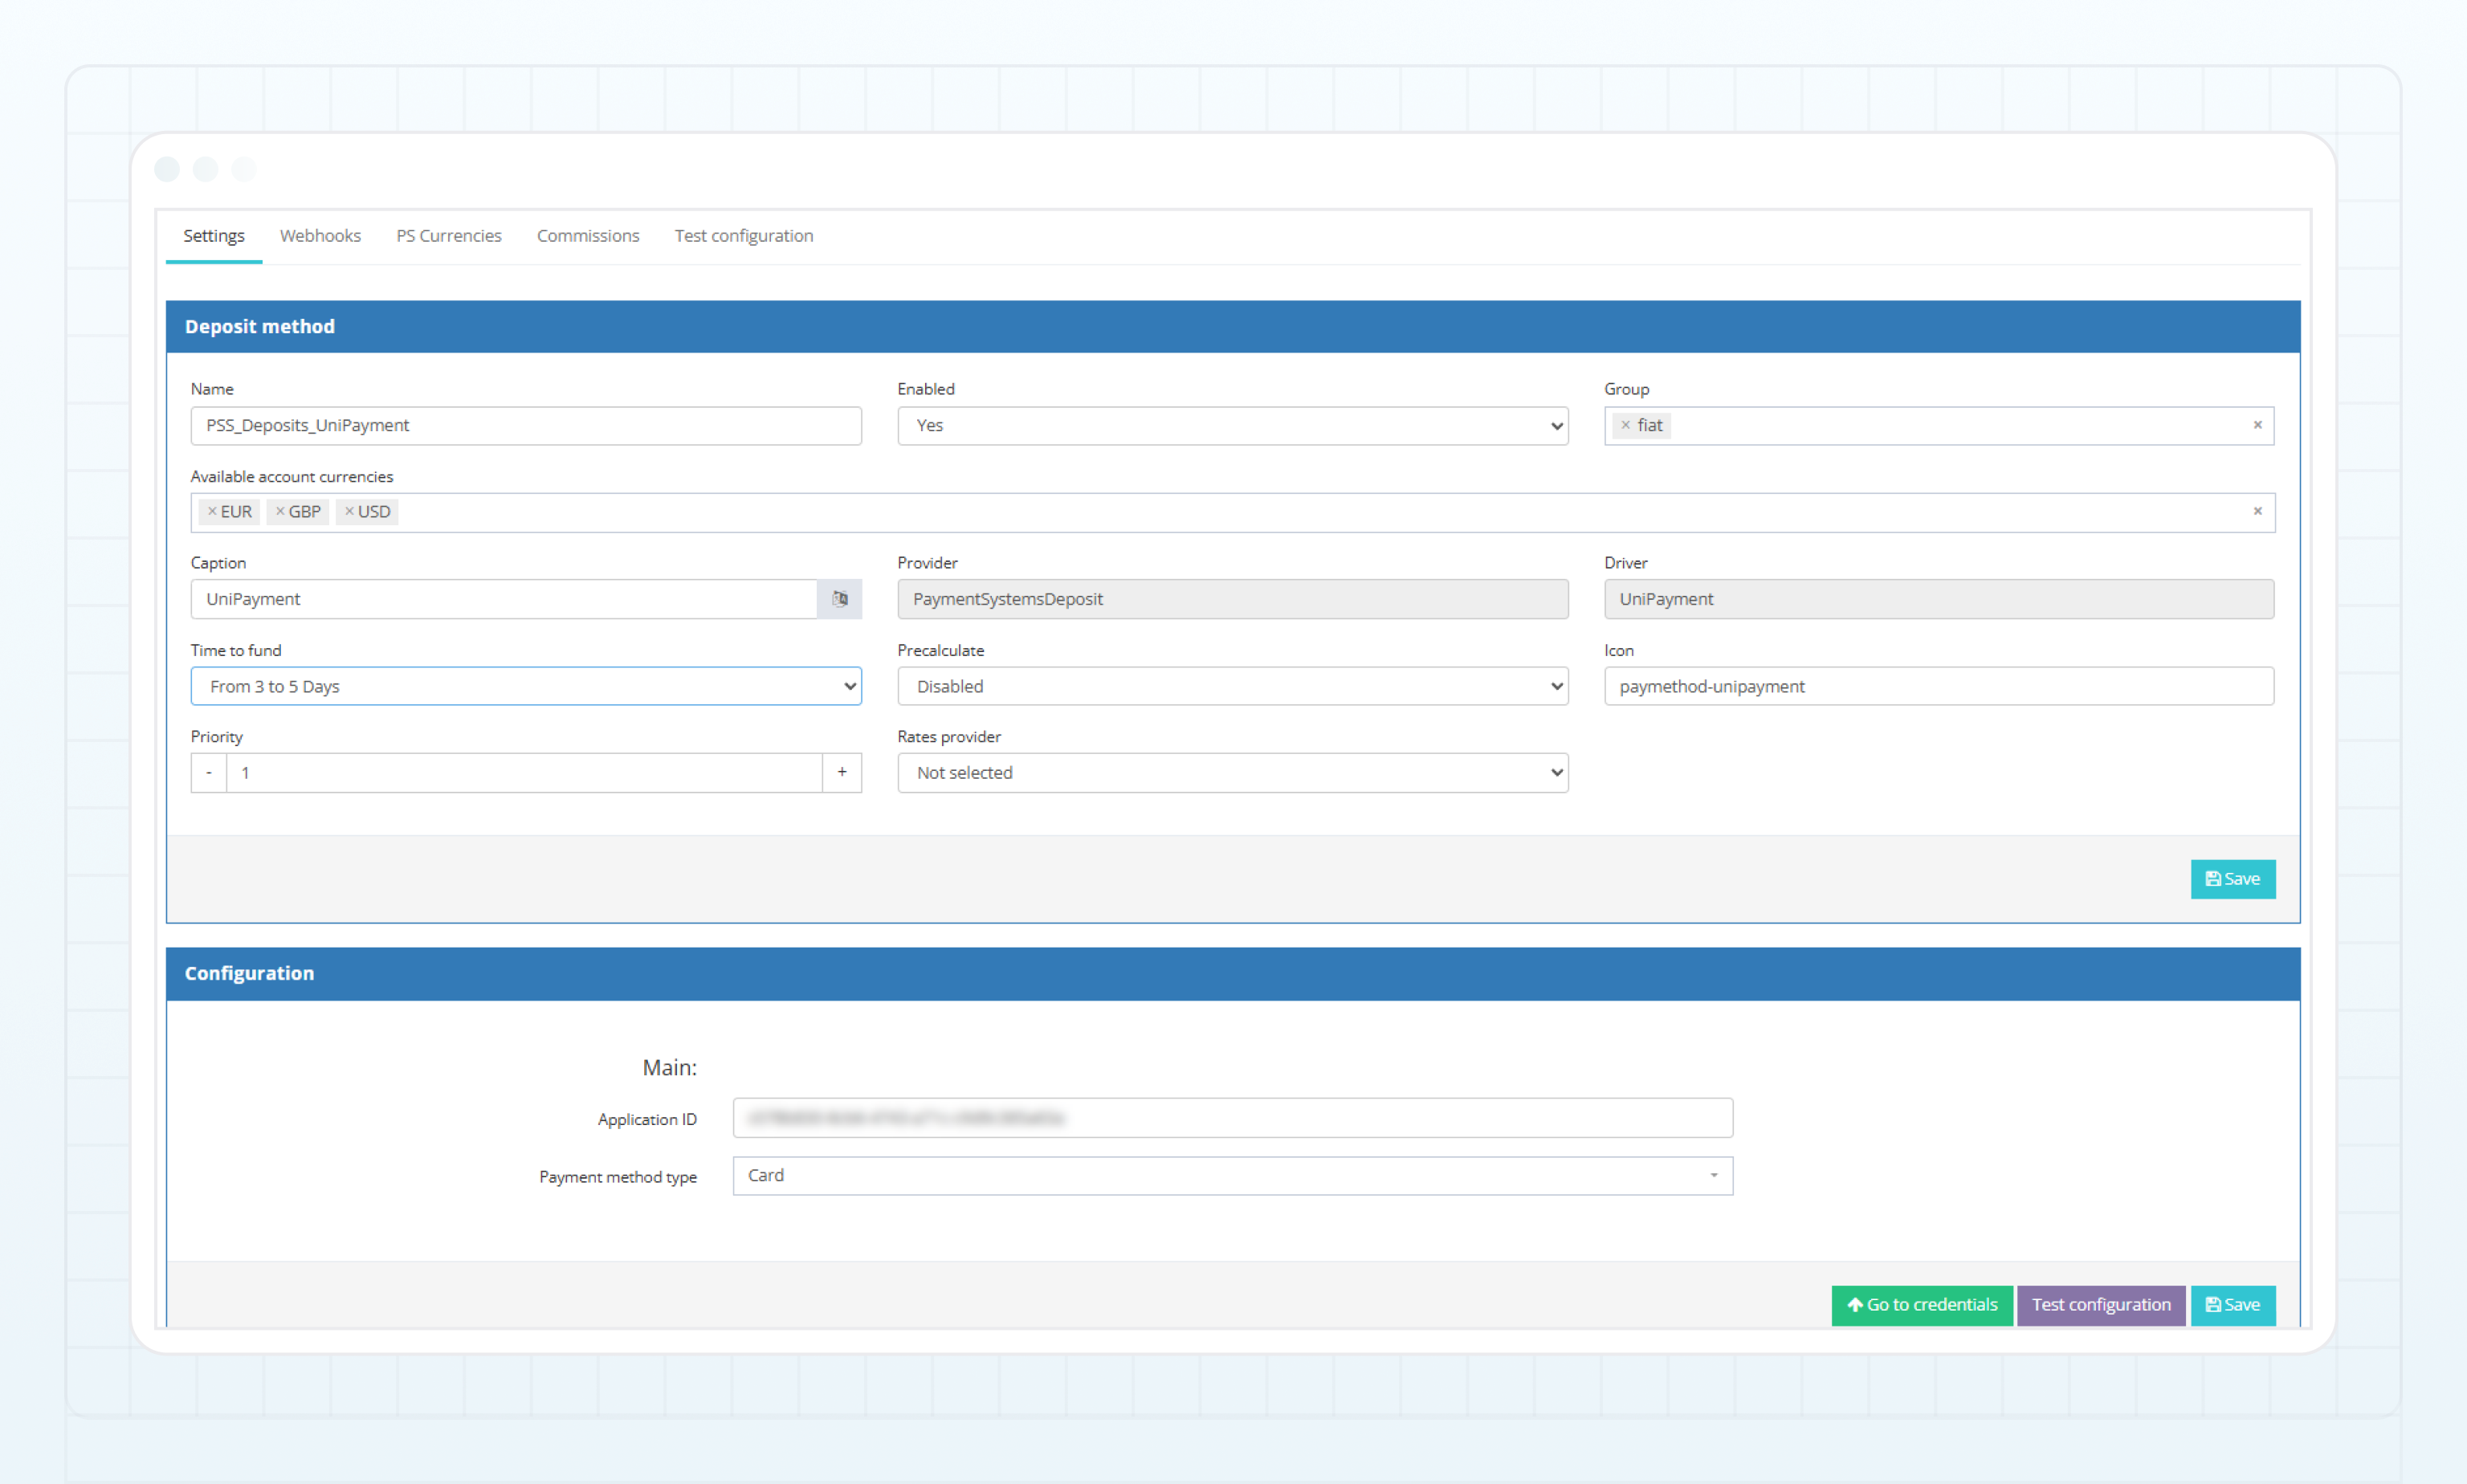
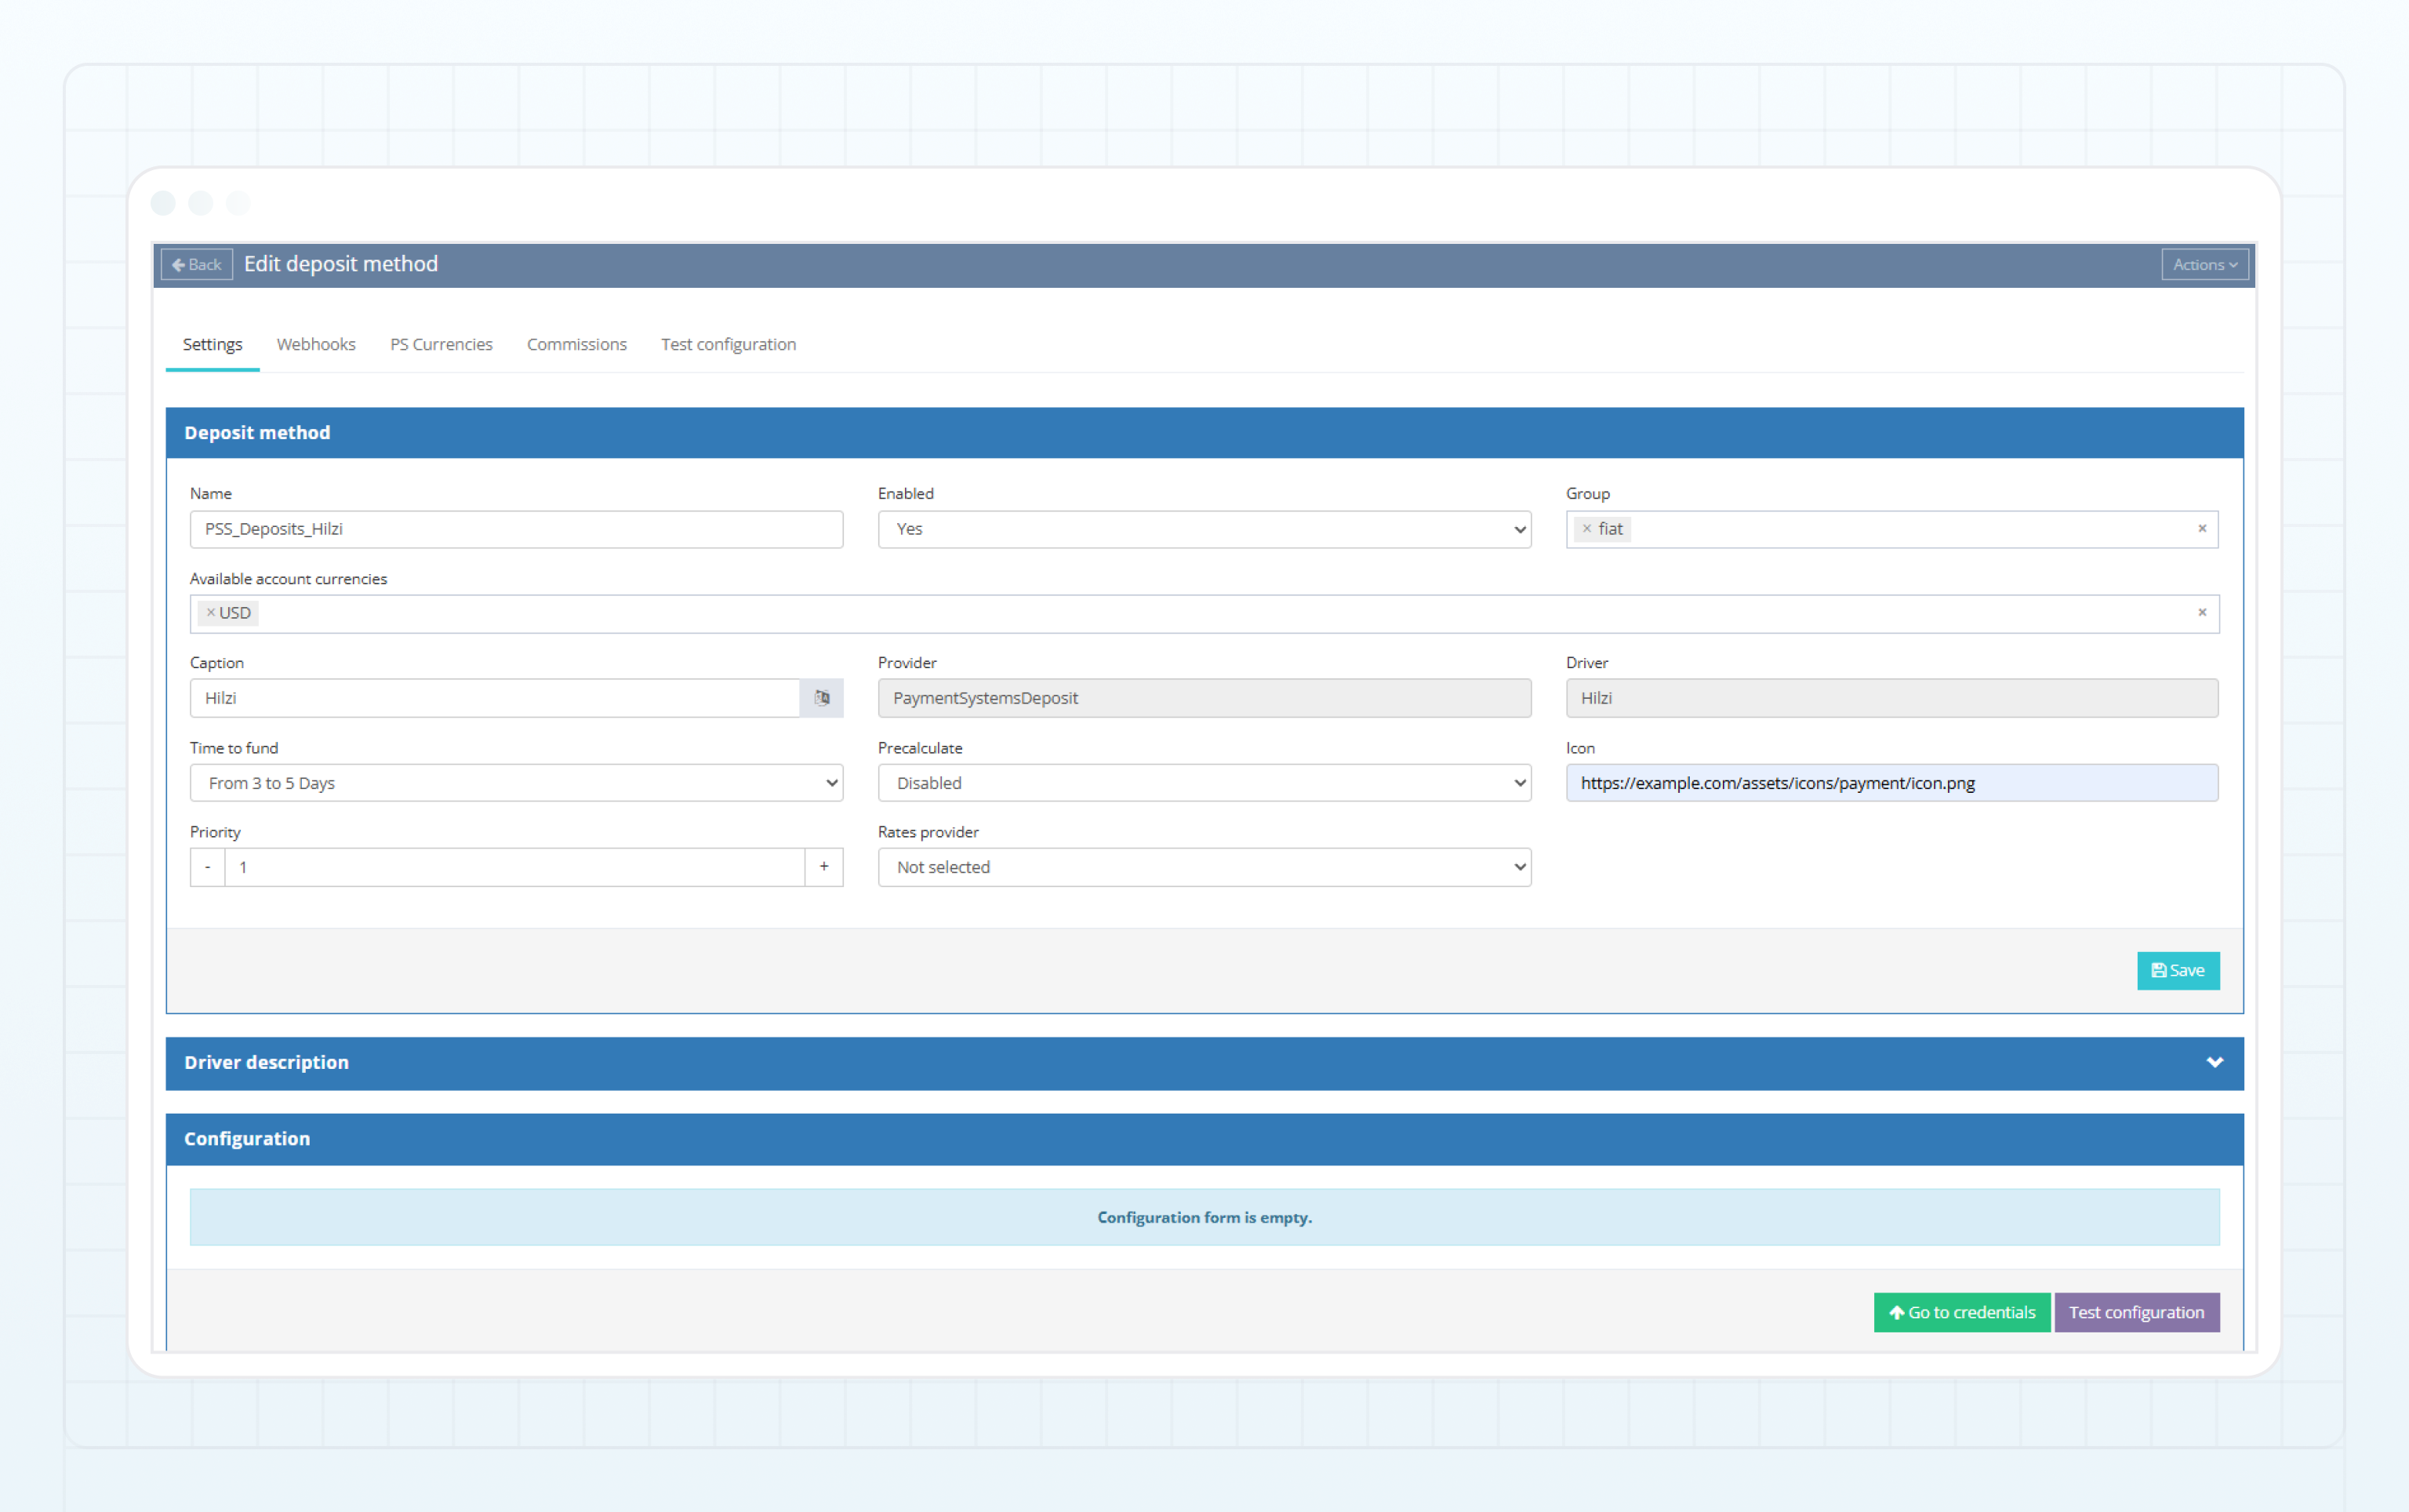
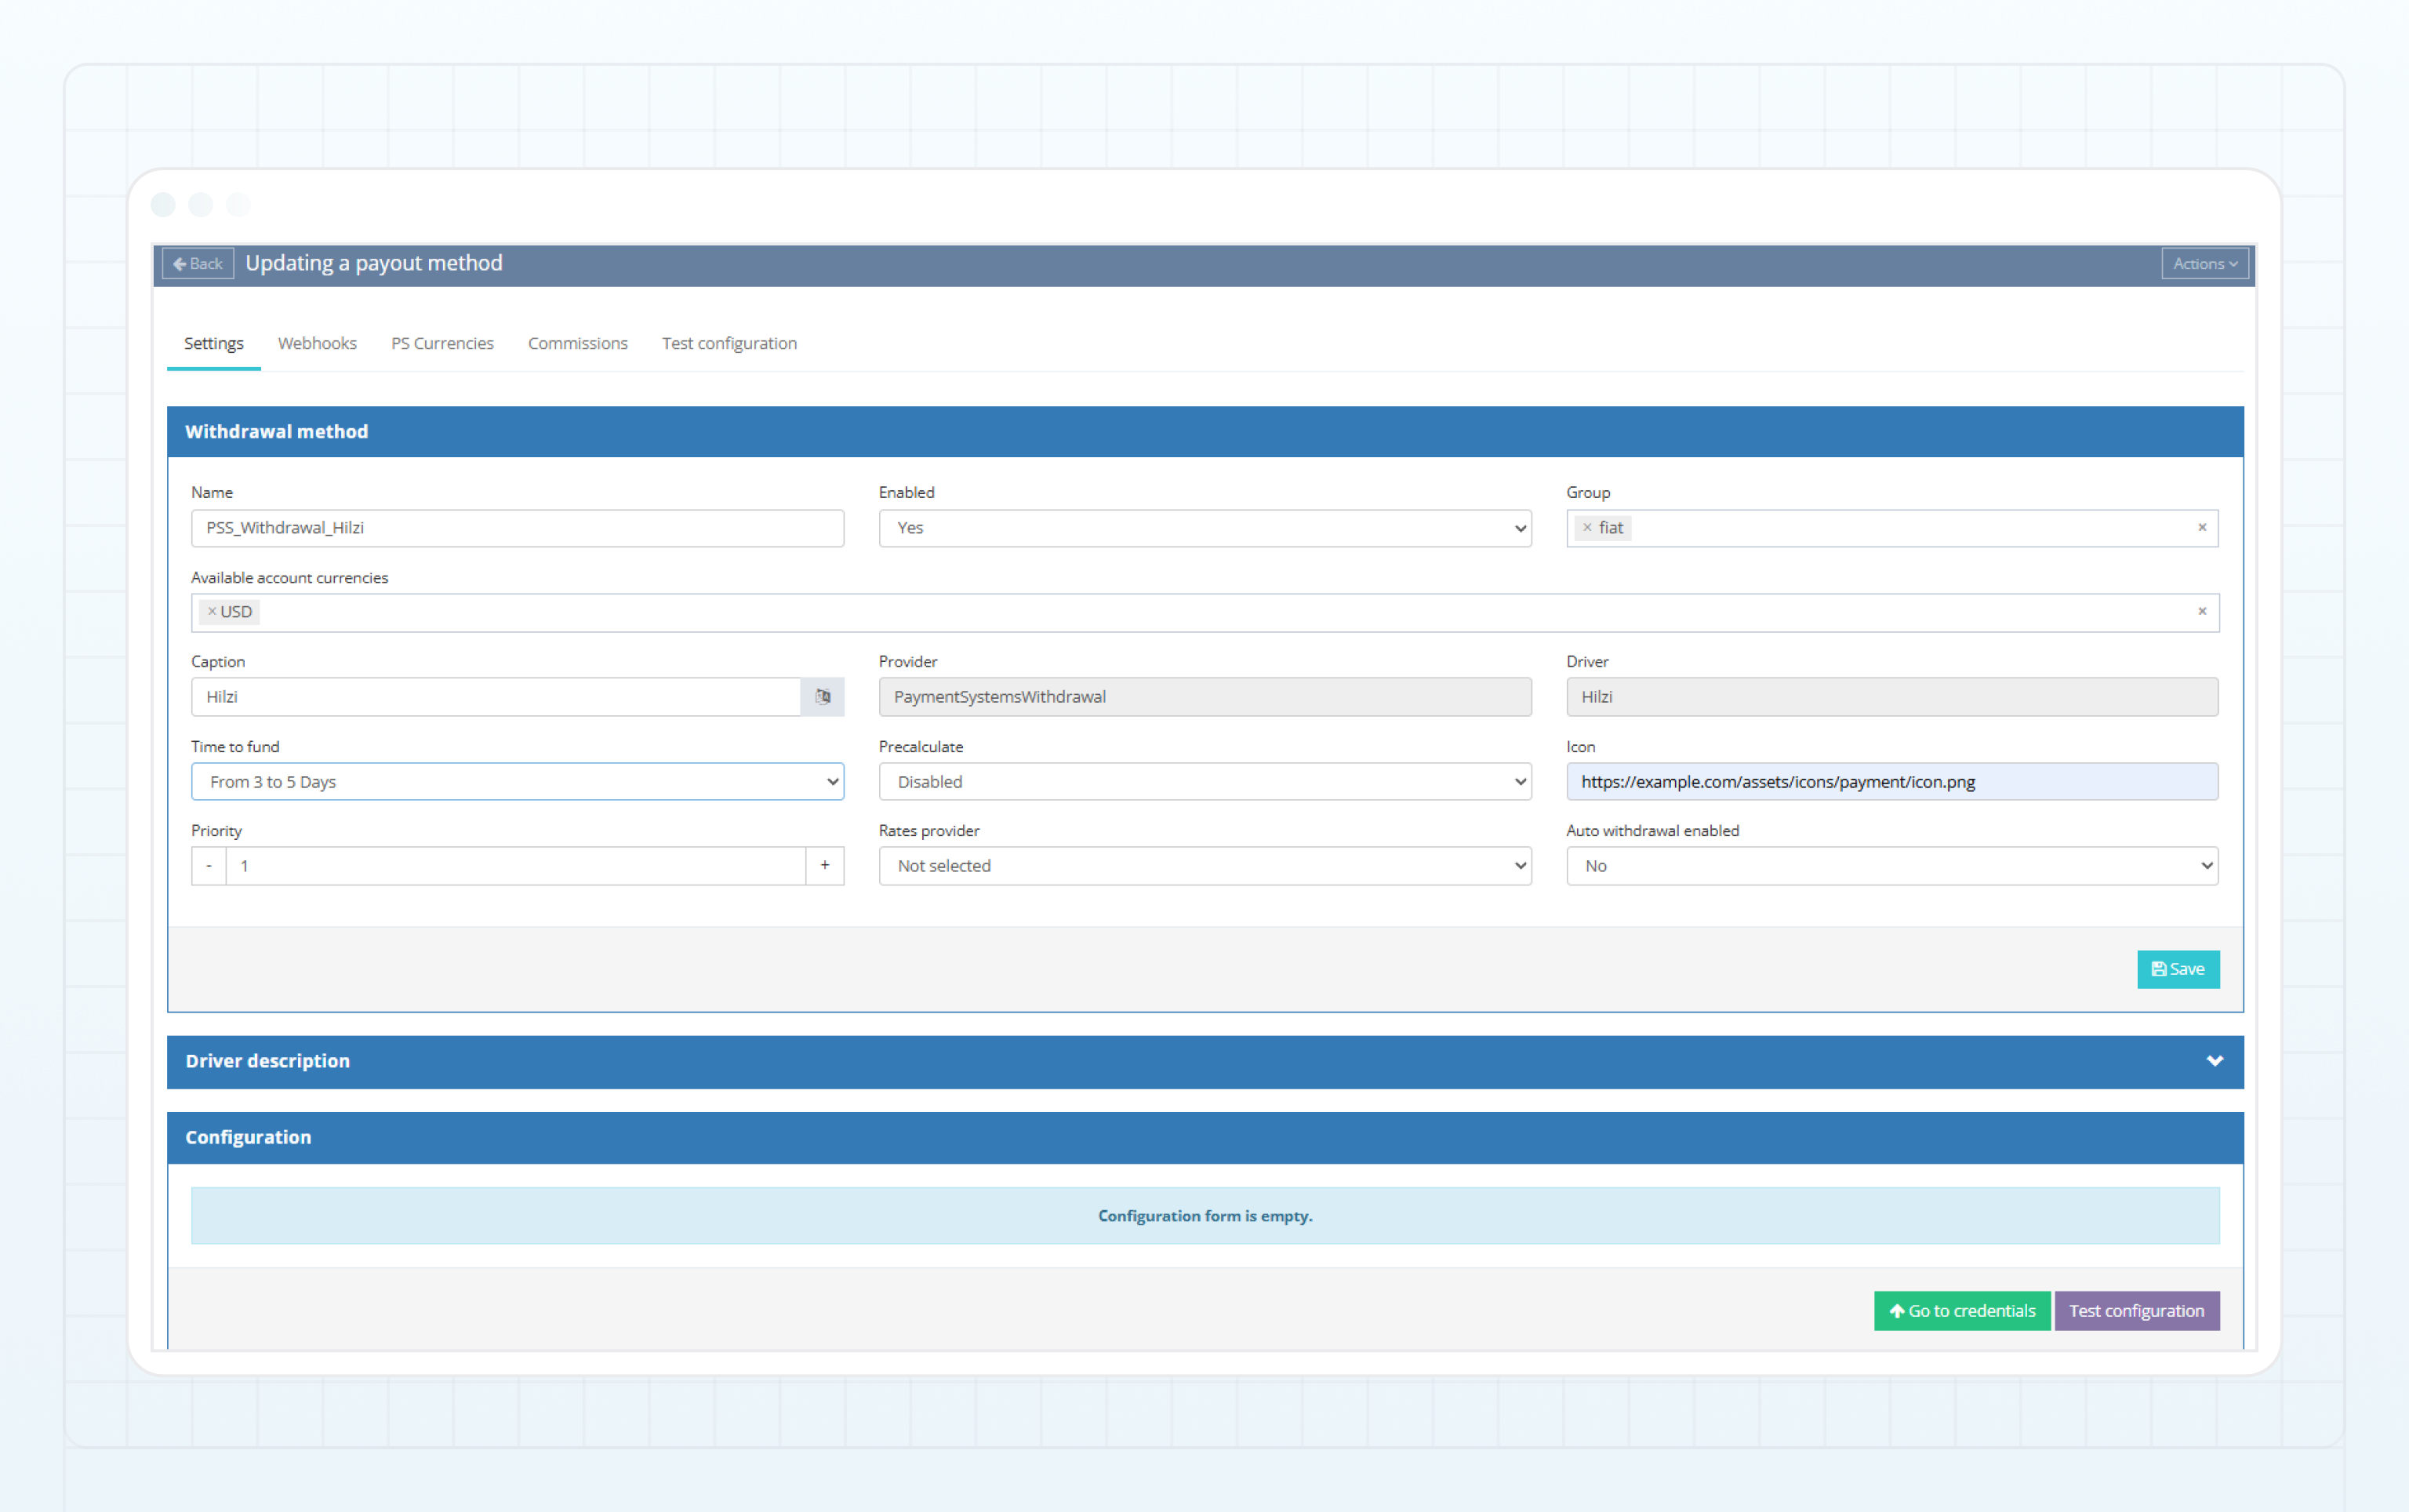
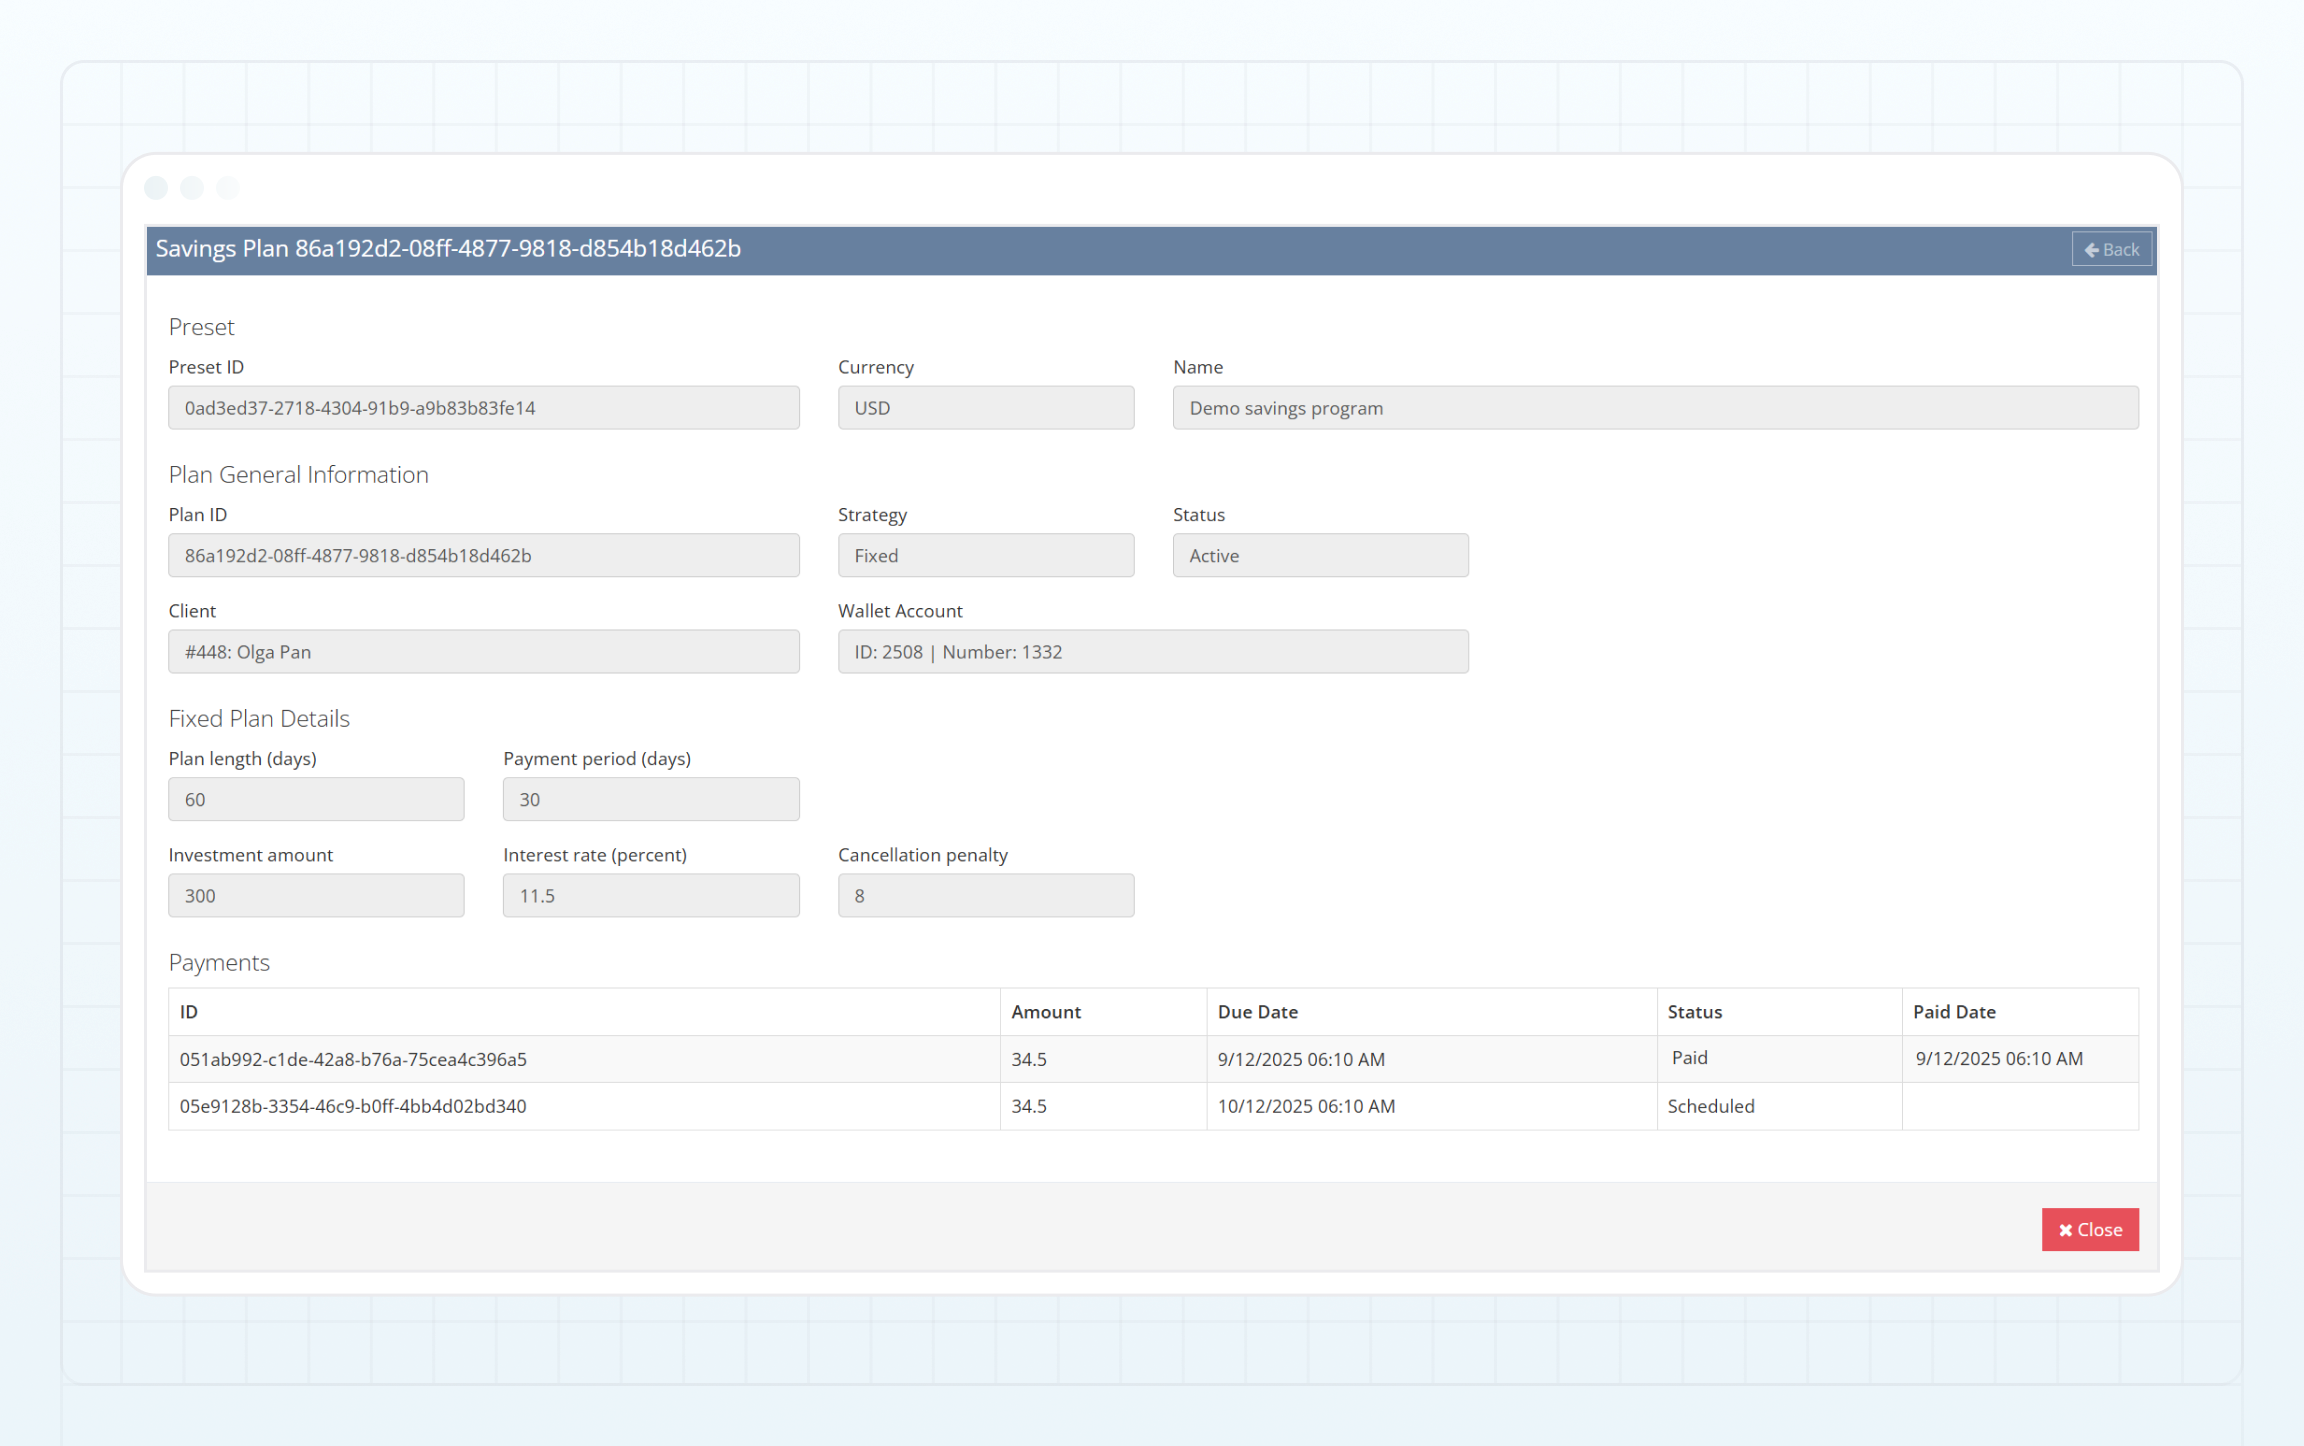 Payment details in a Fixed savings plan
 in the question row.
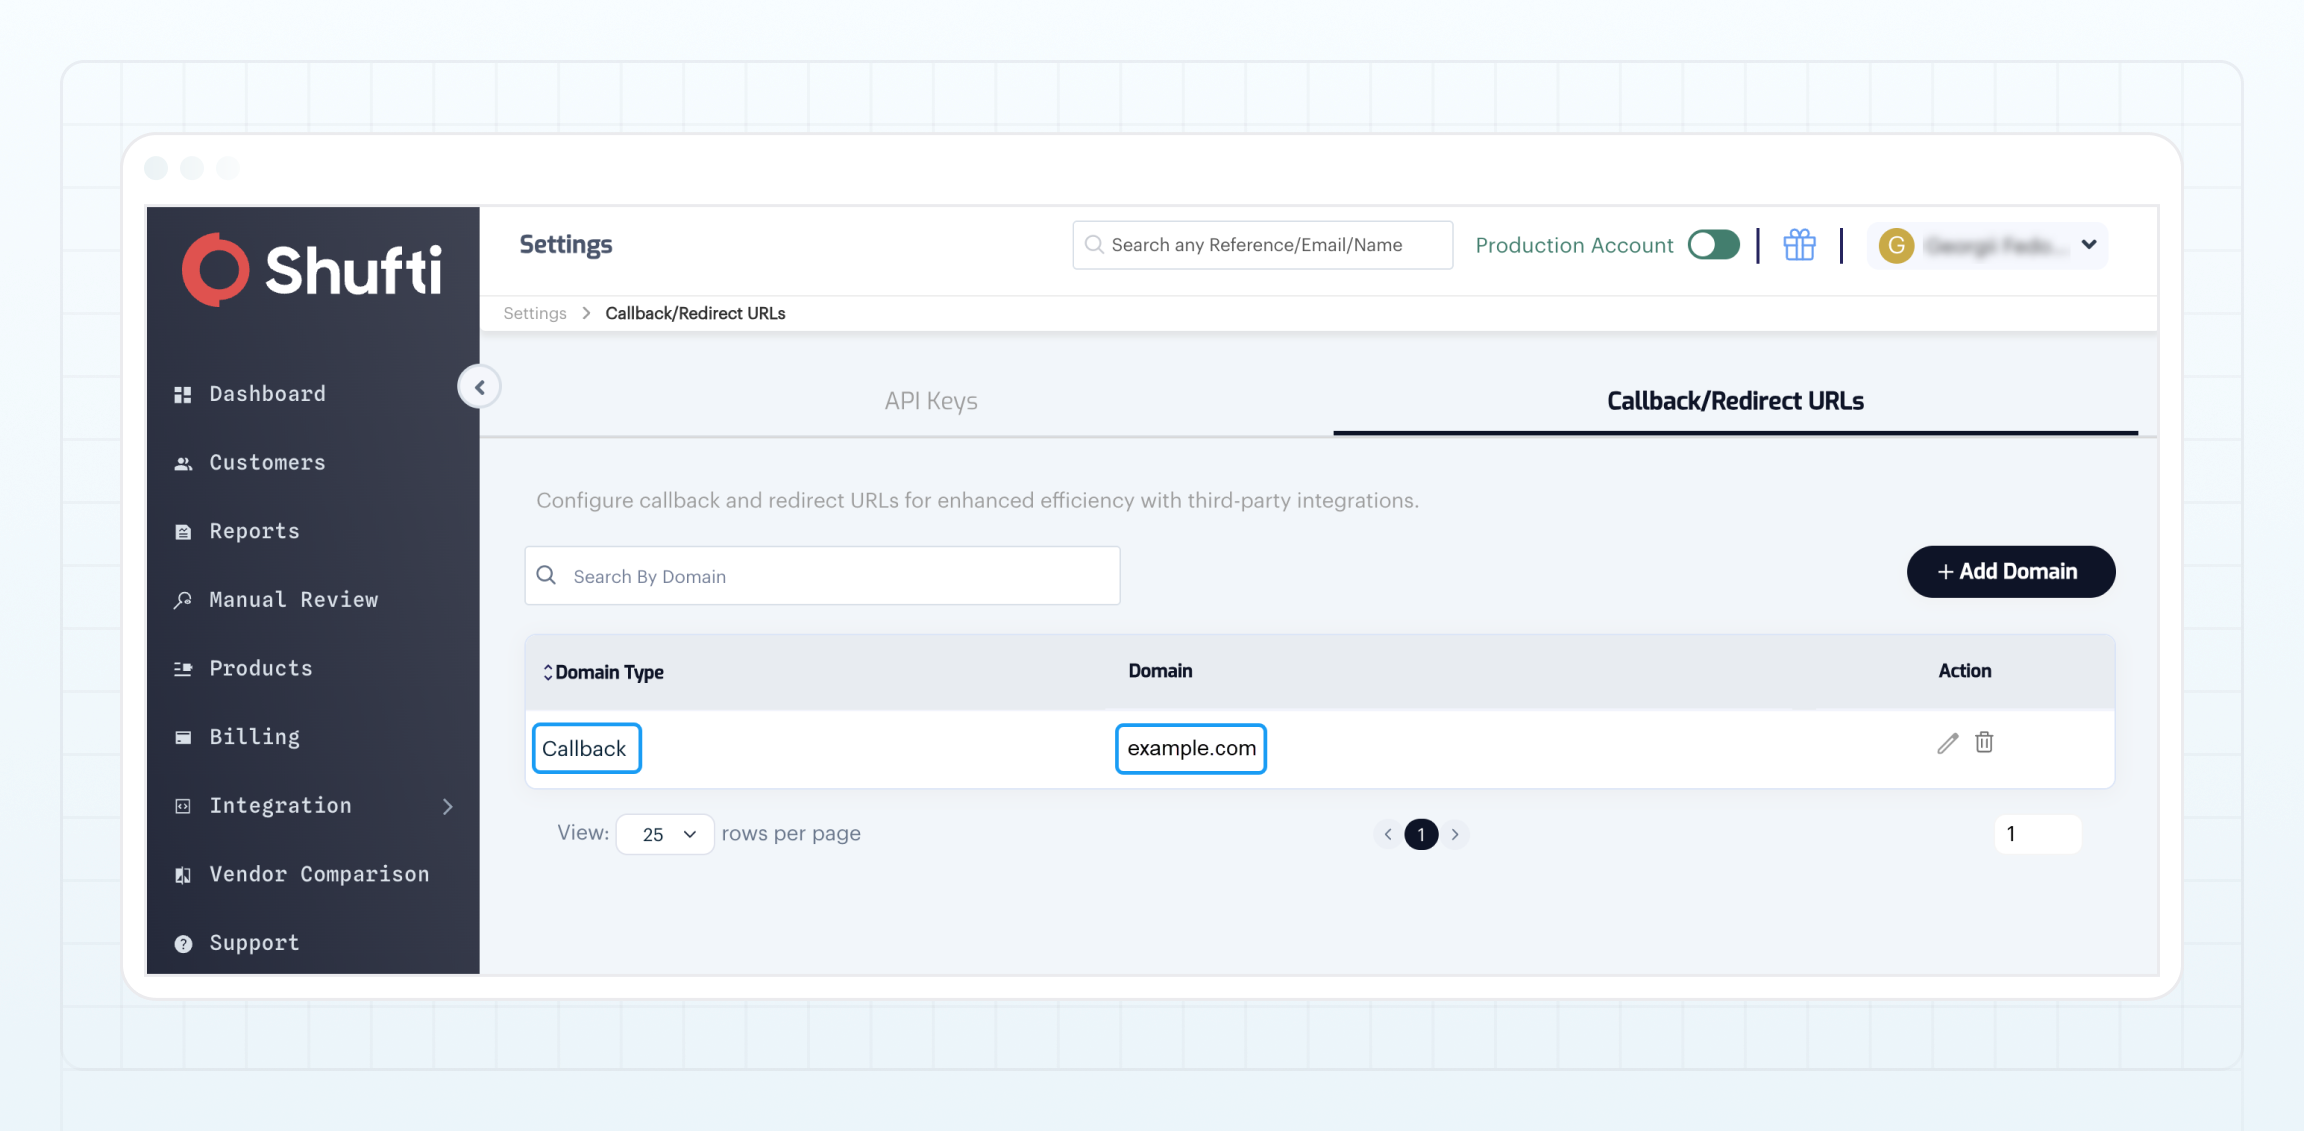
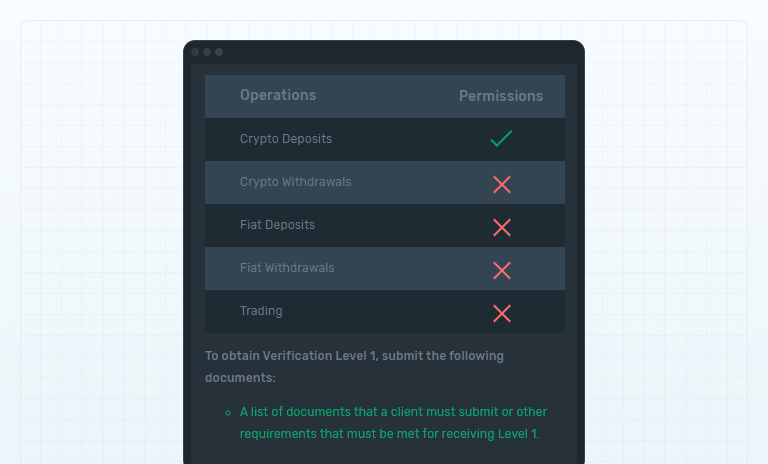 ## How to restrict the use of verification levels by client type [#how-to-restrict-the-use-of-verification-levels-by-client-type]
To configure separate verification procedures, for example for individual clients and corporate clients, indicate the levels that can be obtained only by clients of a specific type.
To apply client type restrictions to a verification level:
## How to restrict the use of verification levels by client type [#how-to-restrict-the-use-of-verification-levels-by-client-type]
To configure separate verification procedures, for example for individual clients and corporate clients, indicate the levels that can be obtained only by clients of a specific type.
To apply client type restrictions to a verification level:
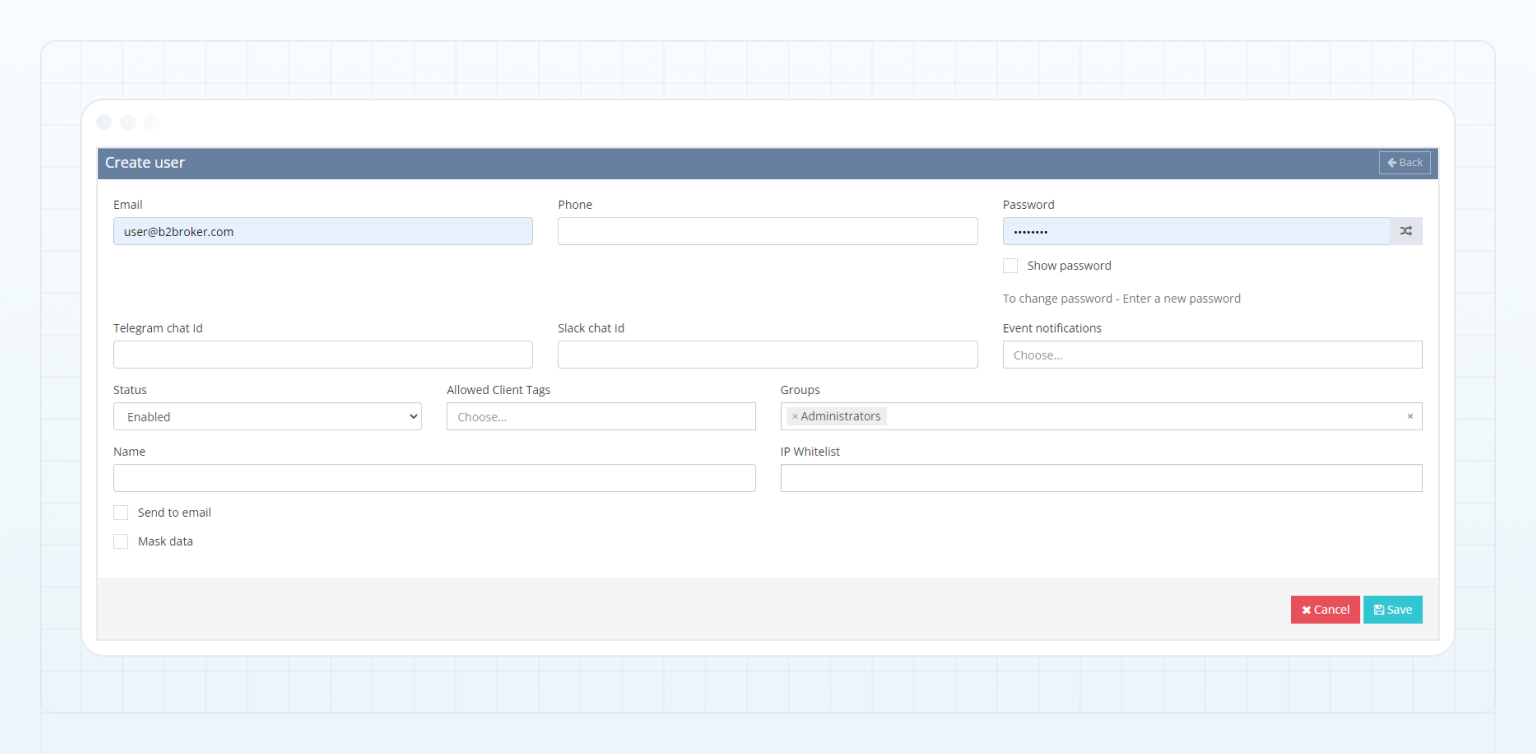 * In the **Email** field, enter the user's email address.
* In the **Password** field, enter a password.
You can also generate a secure password by clicking the **Generate** button on the right side of the field. To view the generated password, enable the **Show password** option.
* In the **Status** dropdown, select **Enabled**.
* In the **Groups** dropdown, select one or more groups in which the new user will be included (for details, refer to [How to add a user group and grant permissions](how-to-add-a-user-group-and-grant-permissions)).
* In the **Email** field, enter the user's email address.
* In the **Password** field, enter a password.
You can also generate a secure password by clicking the **Generate** button on the right side of the field. To view the generated password, enable the **Show password** option.
* In the **Status** dropdown, select **Enabled**.
* In the **Groups** dropdown, select one or more groups in which the new user will be included (for details, refer to [How to add a user group and grant permissions](how-to-add-a-user-group-and-grant-permissions)).
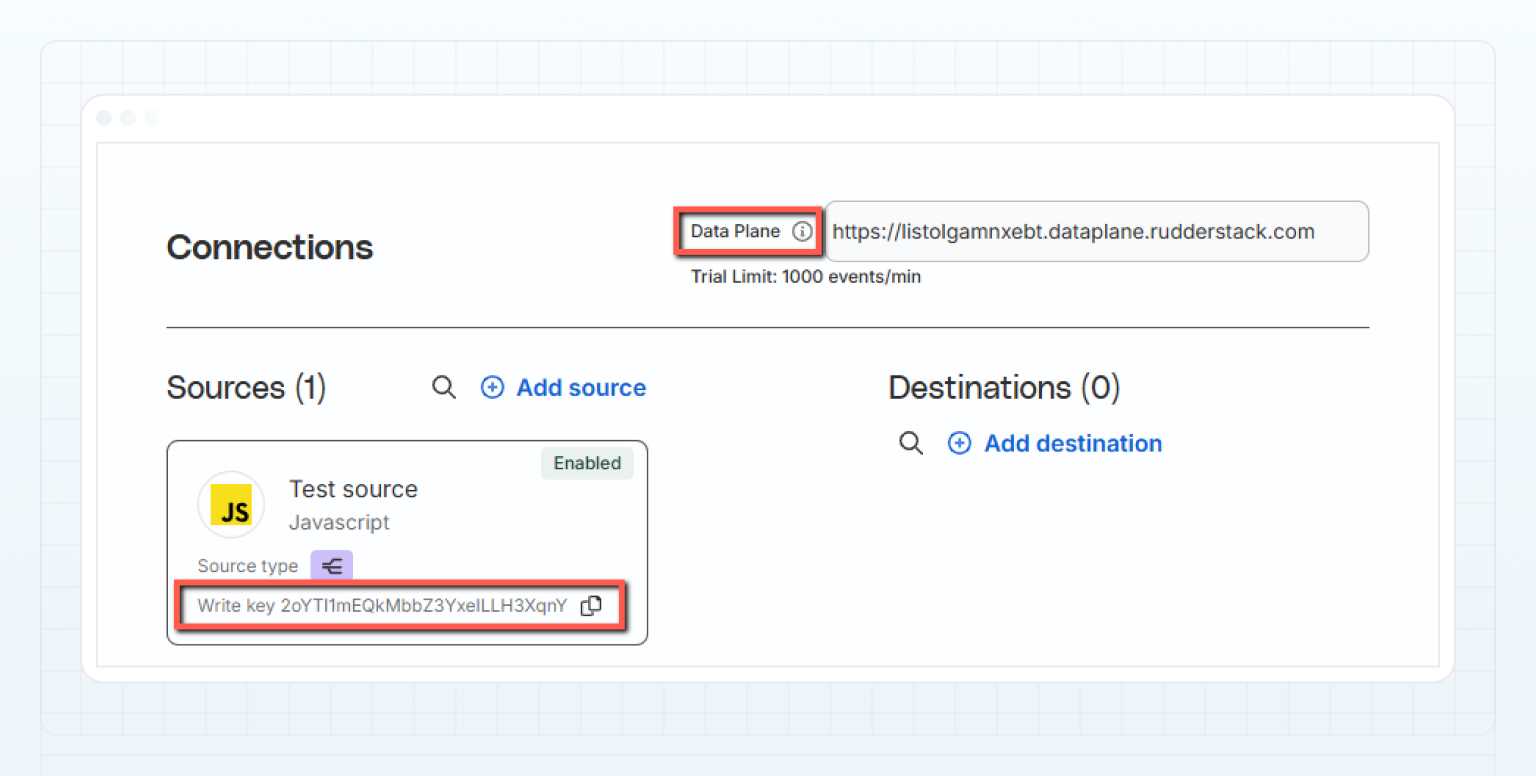 * In the **Enabled** dropdown, select **Yes**.
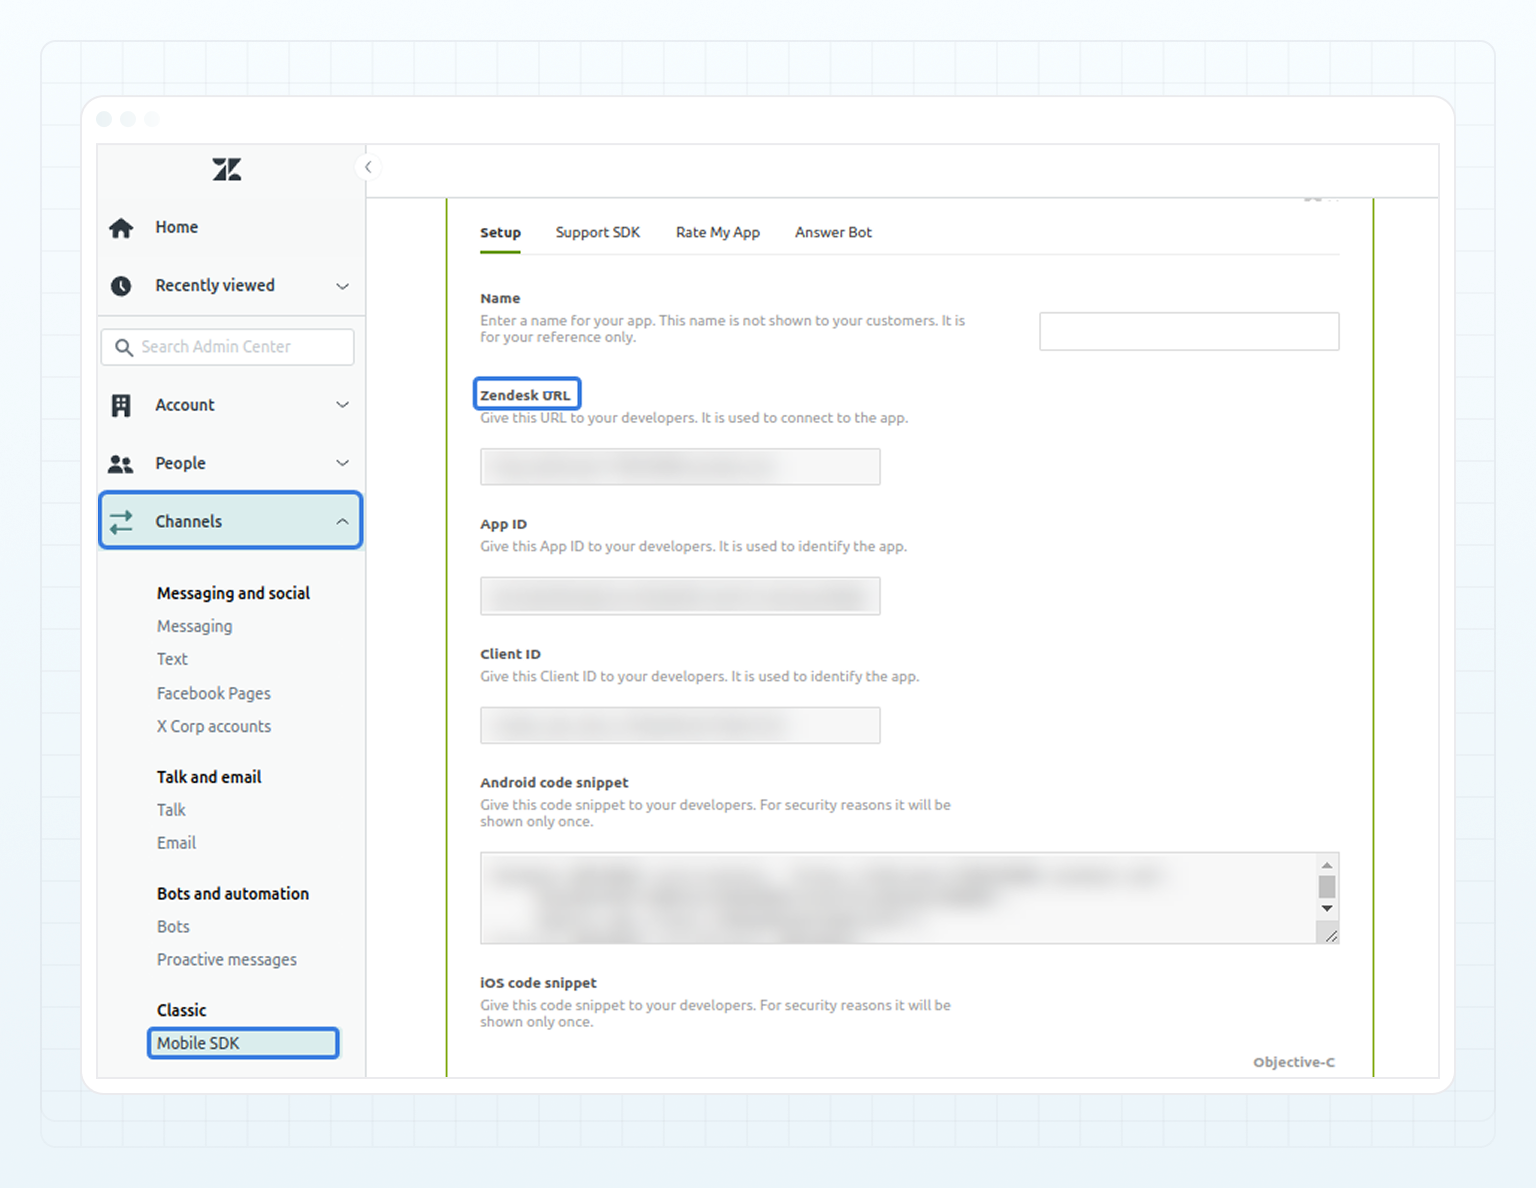 * In the **SSO Redirect URL (brand url)** field, specify the URL of the Zendesk page to which your clients will be redirected after successful authentication via single sign-on, such as:
`https://{your-subdomain}.zendesk.com/hc/en-us`
### SSO Settings [#sso-settings]
* In **SSO Shared Secret** field, specify the secret from Zendesk, which is used to generate JWTs required for single sign-on.
This secret is generated in the Zendesk **Admin Center** during SSO configuration and must be copied from there.
* In the **SSO Redirect URL (brand url)** field, specify the URL of the Zendesk page to which your clients will be redirected after successful authentication via single sign-on, such as:
`https://{your-subdomain}.zendesk.com/hc/en-us`
### SSO Settings [#sso-settings]
* In **SSO Shared Secret** field, specify the secret from Zendesk, which is used to generate JWTs required for single sign-on.
This secret is generated in the Zendesk **Admin Center** during SSO configuration and must be copied from there.
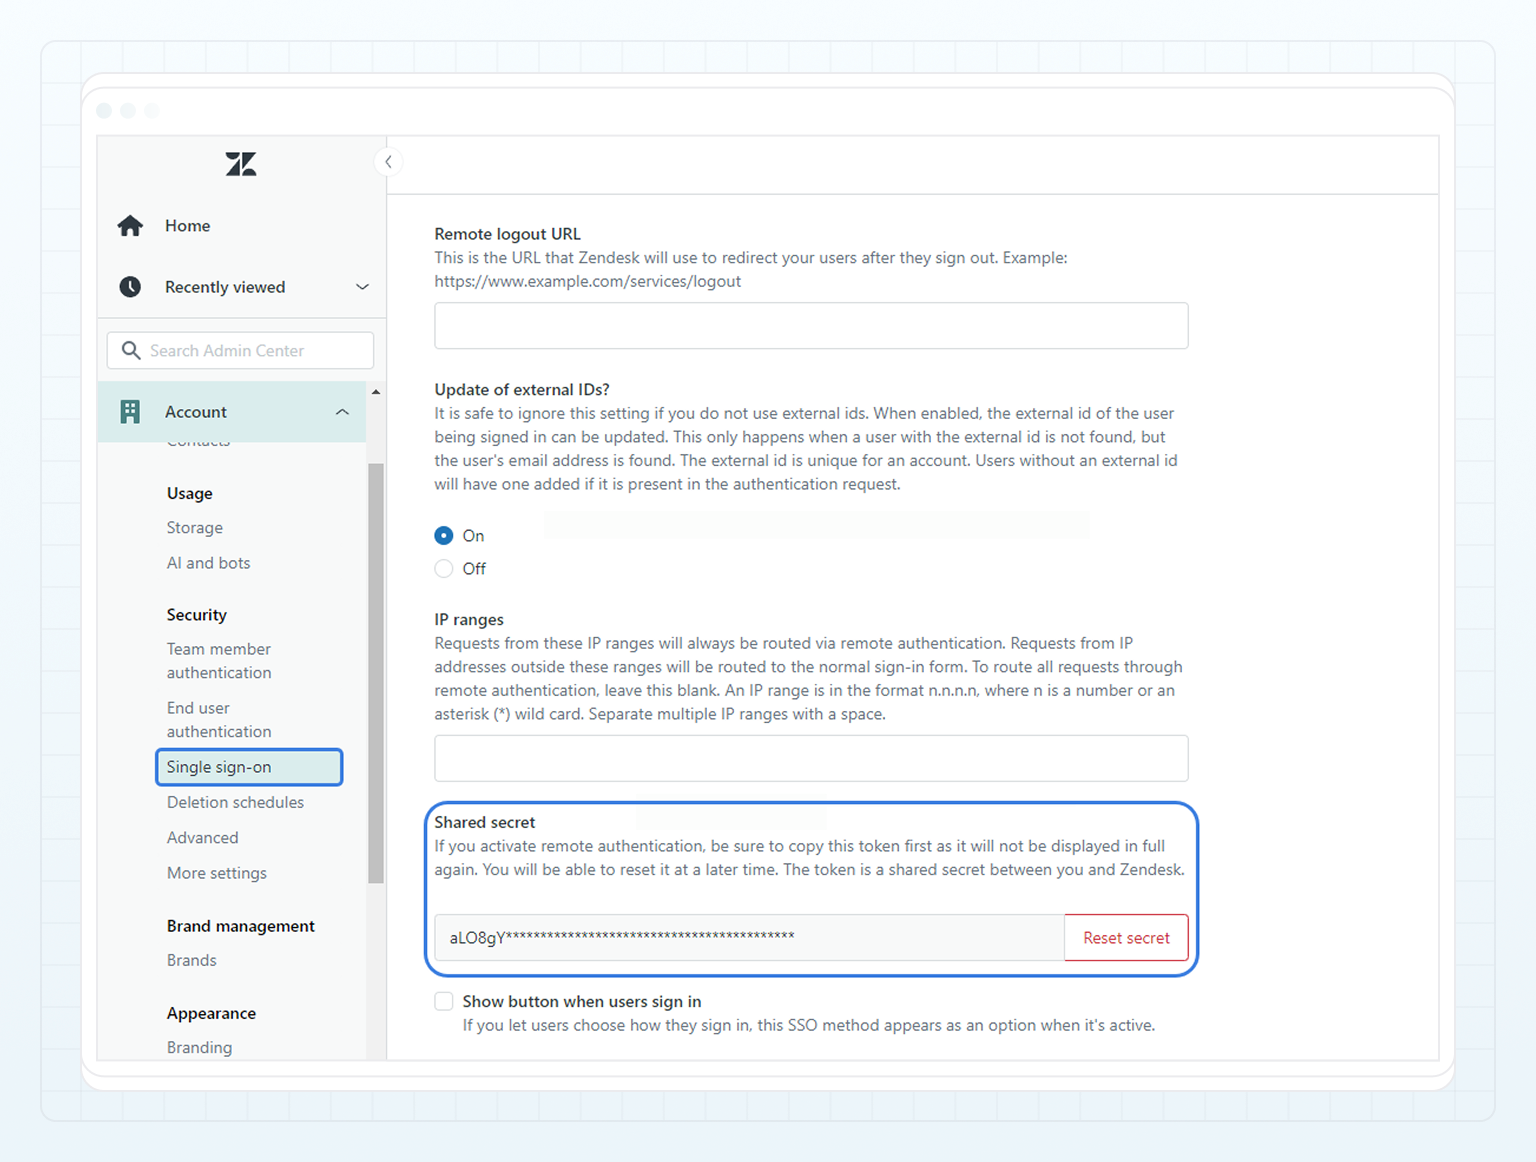 ### Mobile SDK Settings [#mobile-sdk-settings]
These settings are required only if you have a [mobile app](../../release-notes/release-notes-mobile) and need to enable SSO between your app and Zendesk. If you don't have the mobile app, these settings aren't necessary.
* In the **App ID** field, specify the app identifier from Zendesk.
* In the **Client ID** field, specify the client identifier from Zendesk.
* In the **SDK JWT Secret** field, specify the secret generated in Zendesk, which is used to sign JWTs sent from B2CORE to Zendesk for single sign-on.
All these values are generated in your Zendesk **Admin Center** when configuring SSO for the mobile SDK in the **Channels** > **Mobile SDK** menu and must be copied from there.
### Mobile SDK in Zendesk [#mobile-sdk-in-zendesk]
In Zendesk **Admin Center** in **Channels** > **Mobile SDK**, insert the **JWT URL**. The URL must have the following format:
`https://{your-Back-Office-URL}/api/v2/my/helpdesk/zendesk/auth/mobile/exchange`
Make sure to replace `{your-Back-Office-URL}` with the domain of your B2CORE Back Office.
### Mobile SDK Settings [#mobile-sdk-settings]
These settings are required only if you have a [mobile app](../../release-notes/release-notes-mobile) and need to enable SSO between your app and Zendesk. If you don't have the mobile app, these settings aren't necessary.
* In the **App ID** field, specify the app identifier from Zendesk.
* In the **Client ID** field, specify the client identifier from Zendesk.
* In the **SDK JWT Secret** field, specify the secret generated in Zendesk, which is used to sign JWTs sent from B2CORE to Zendesk for single sign-on.
All these values are generated in your Zendesk **Admin Center** when configuring SSO for the mobile SDK in the **Channels** > **Mobile SDK** menu and must be copied from there.
### Mobile SDK in Zendesk [#mobile-sdk-in-zendesk]
In Zendesk **Admin Center** in **Channels** > **Mobile SDK**, insert the **JWT URL**. The URL must have the following format:
`https://{your-Back-Office-URL}/api/v2/my/helpdesk/zendesk/auth/mobile/exchange`
Make sure to replace `{your-Back-Office-URL}` with the domain of your B2CORE Back Office.
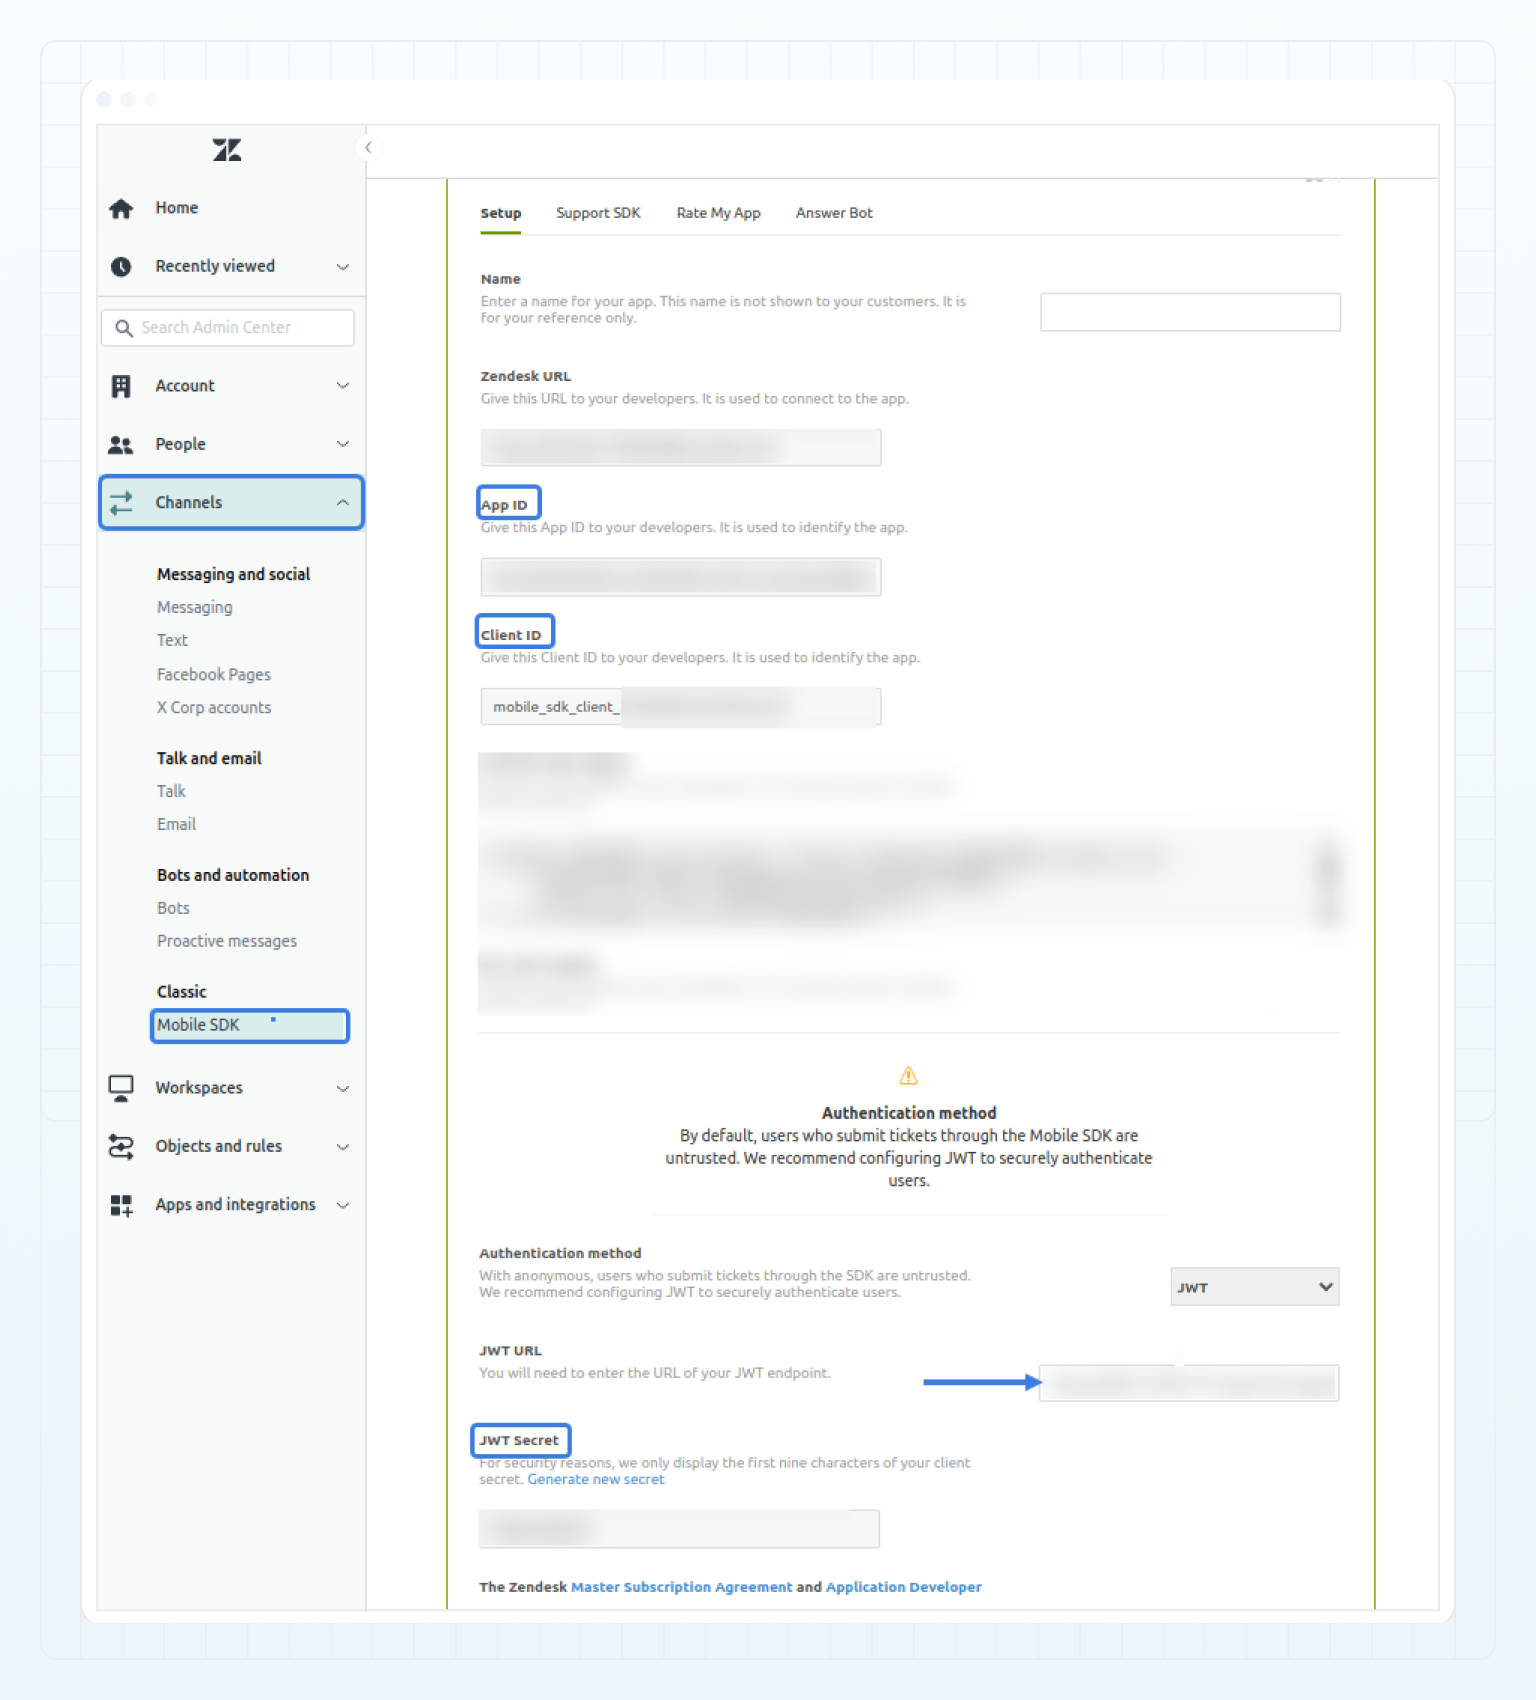
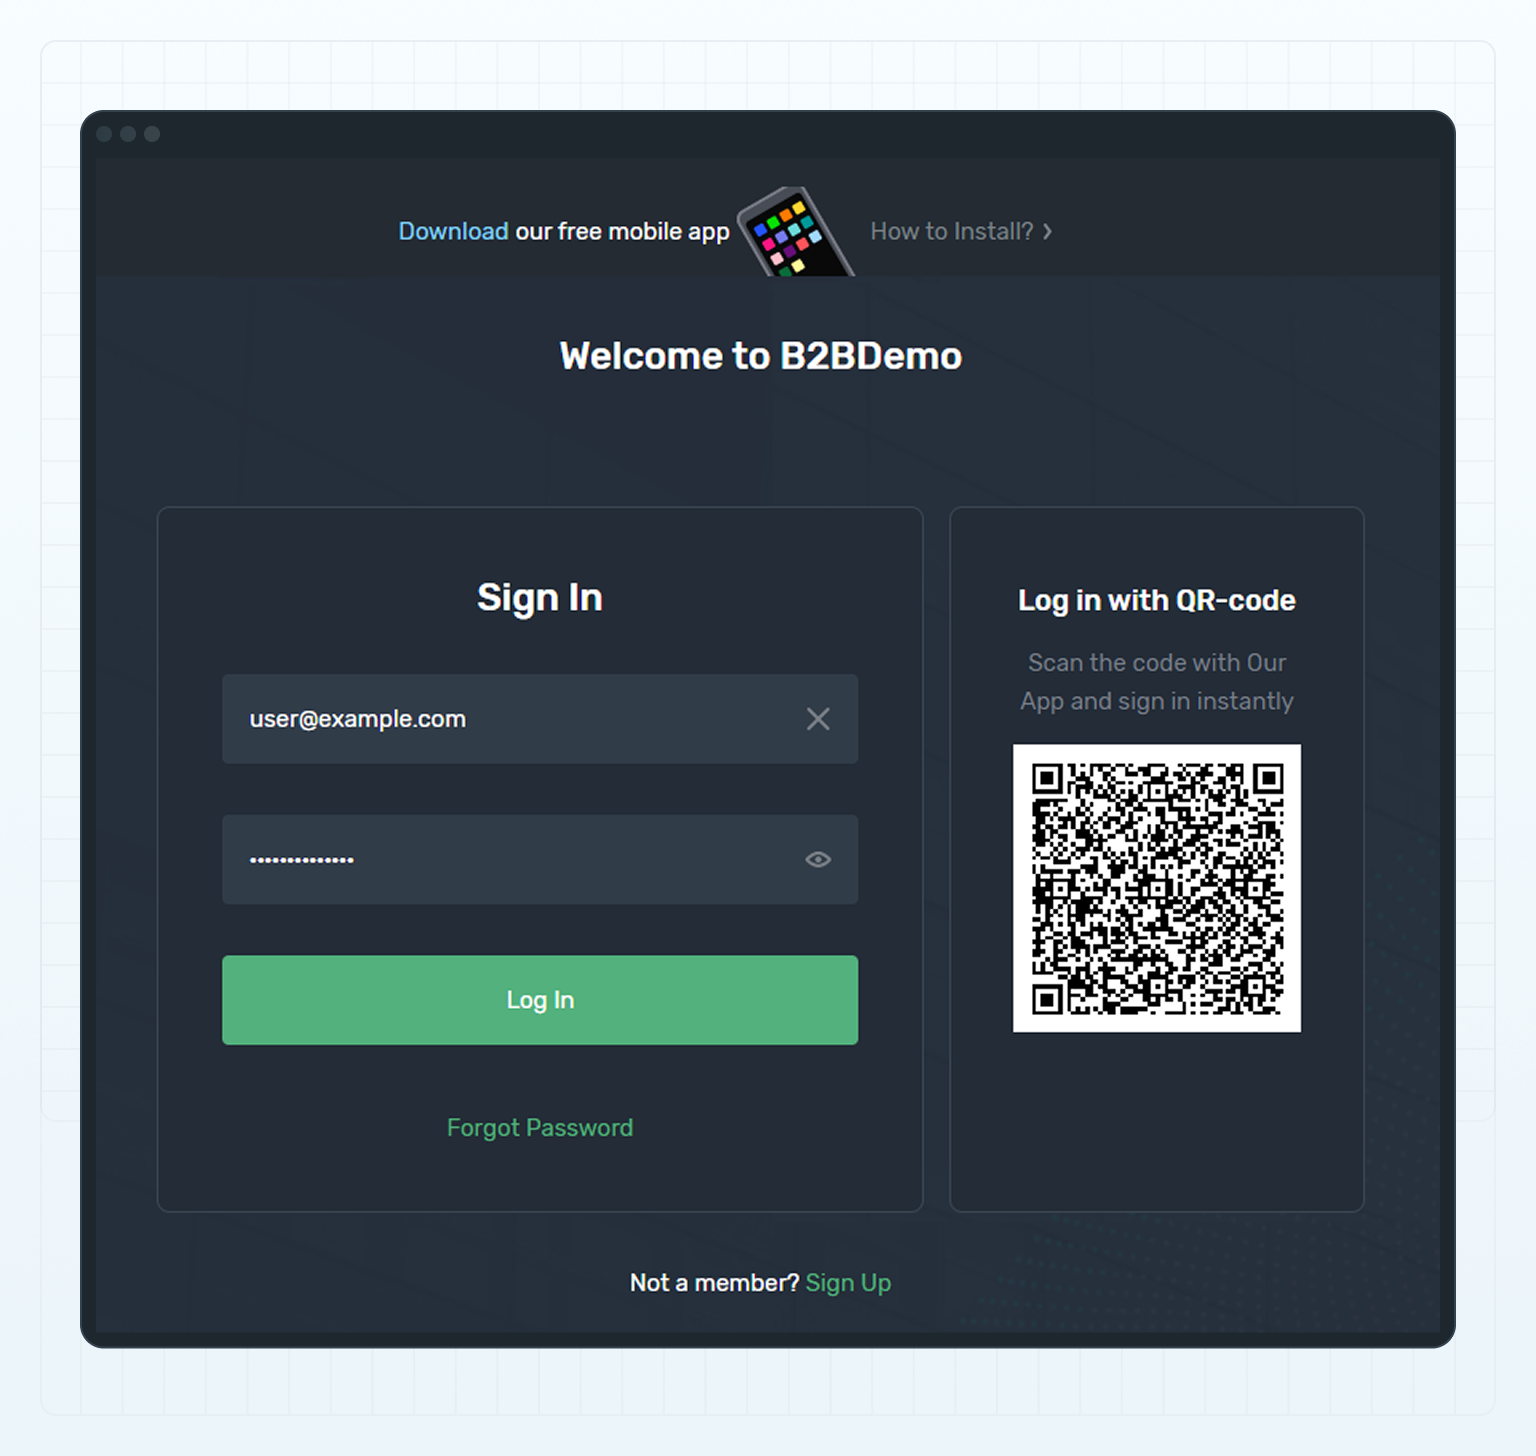 Upon clicking the button, the options for downloading the apps for the respective platforms are displayed.
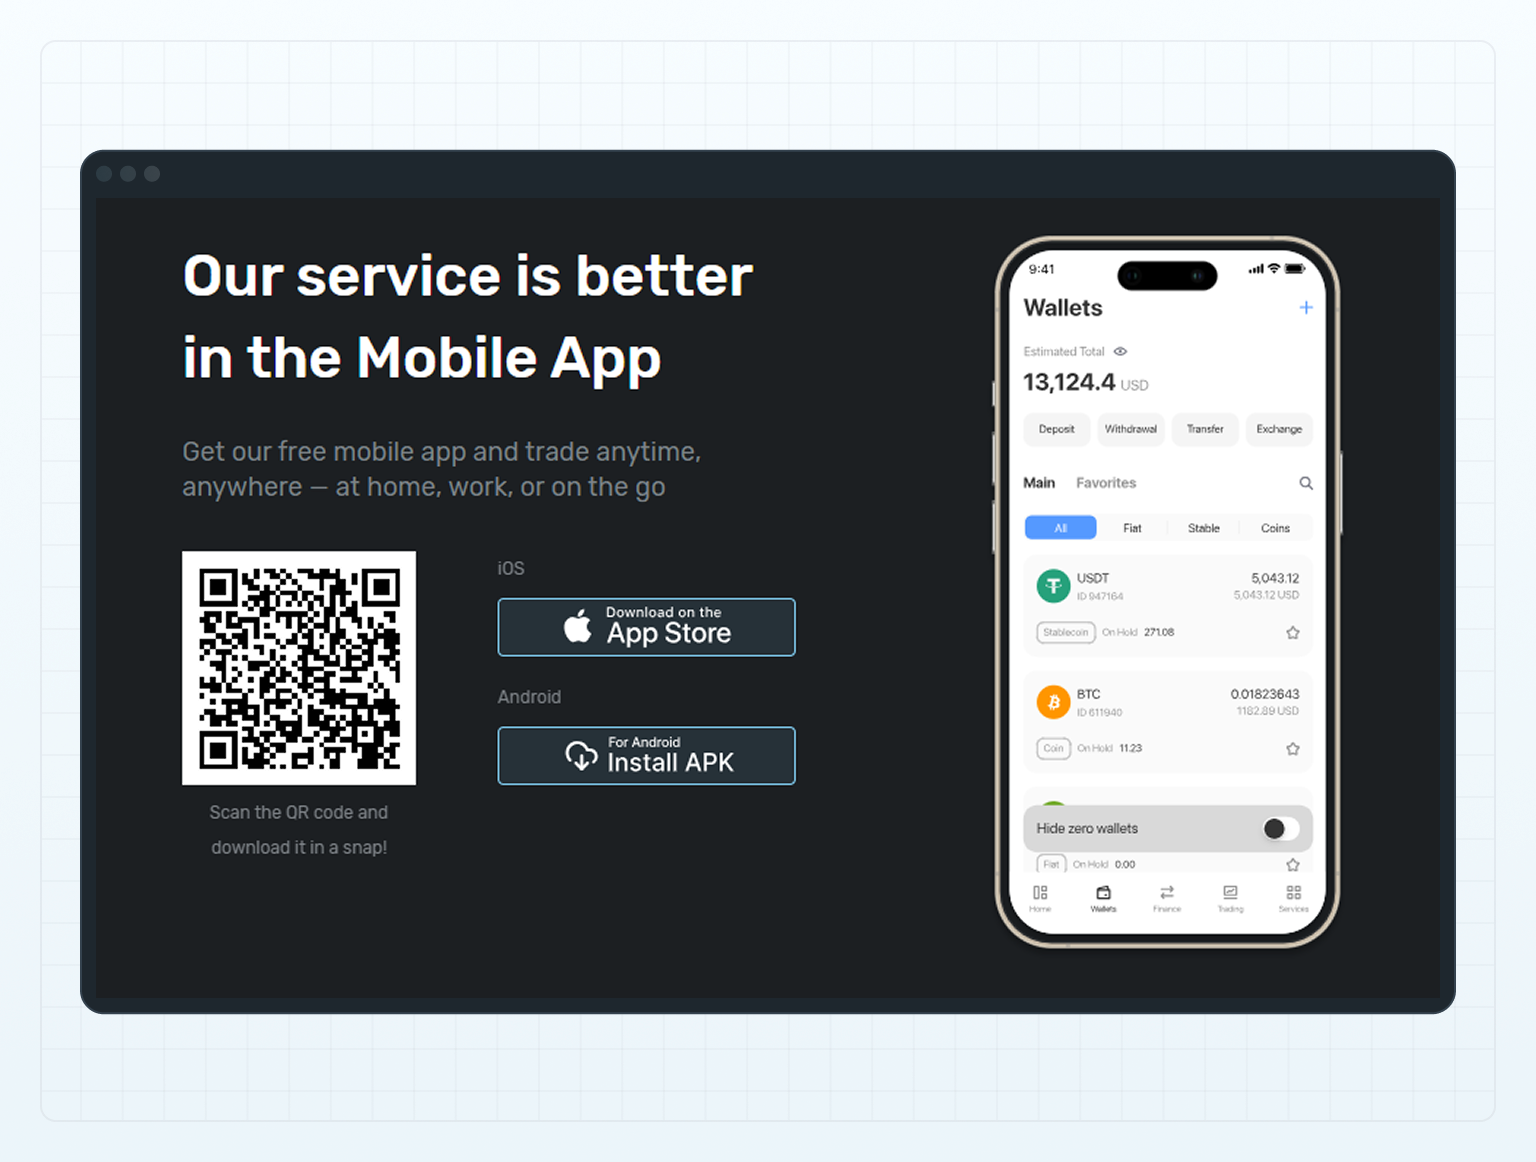
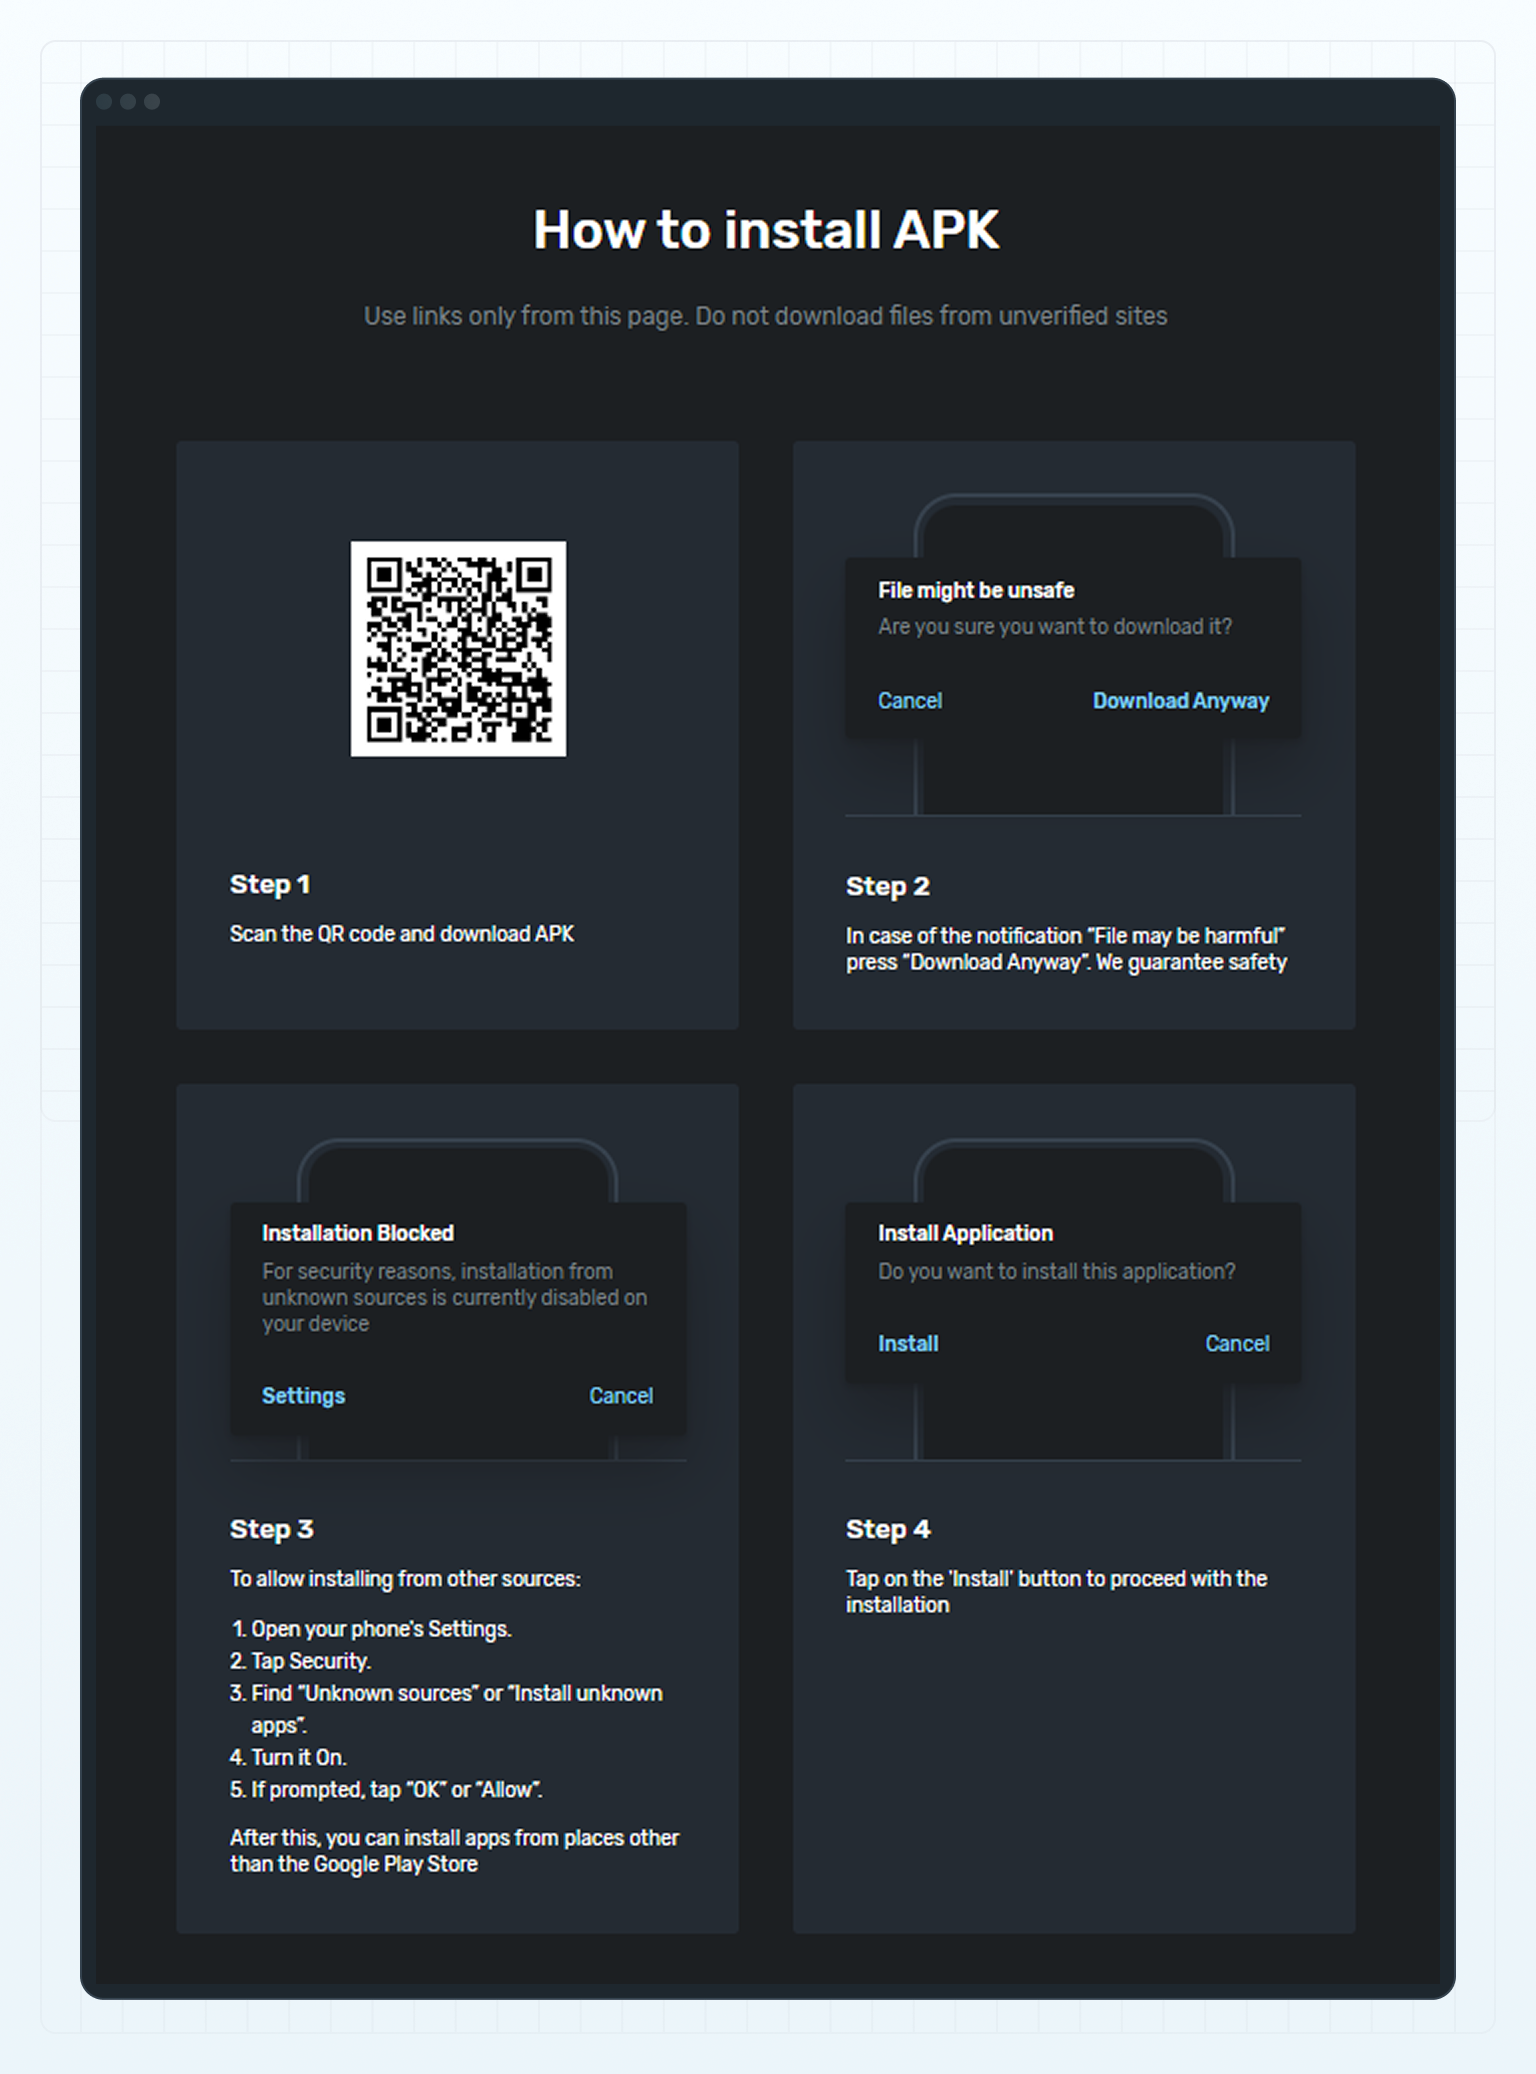
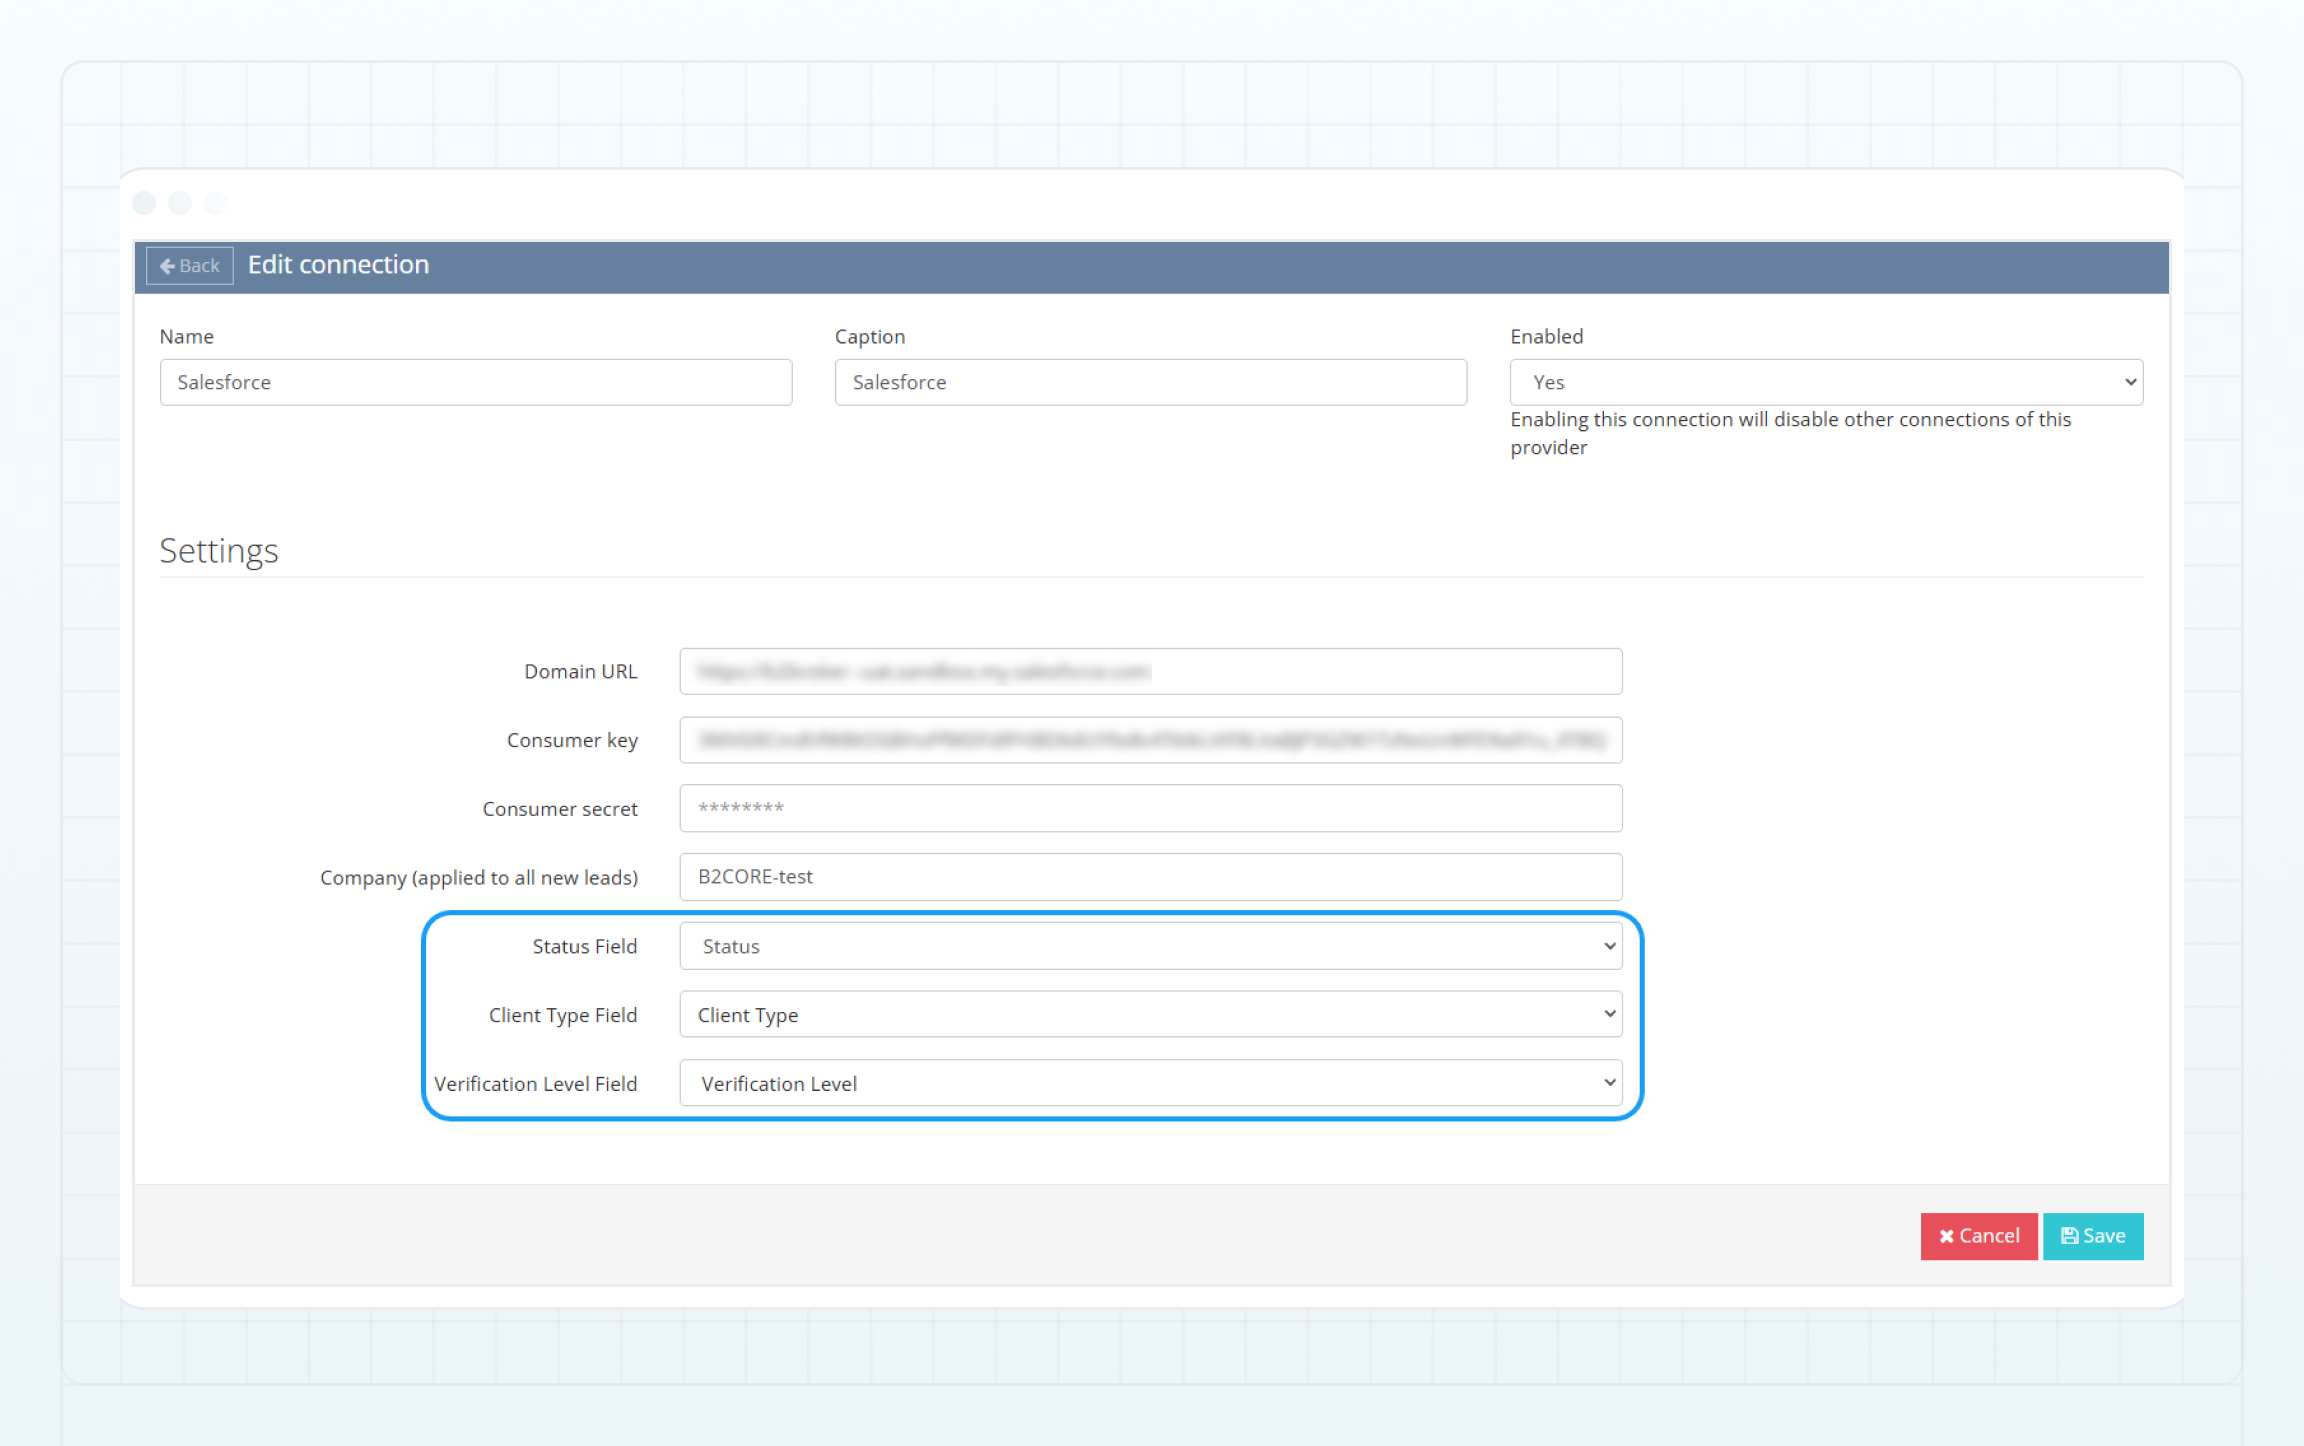
 After adding sources, share the generated API keys with B2BROKER so we can complete the SDK setup for you. This setup enables event data from your B2CORE to be sent to Amplitude.
## Check incoming events for Amplitude tracking [#check-incoming-events-for-amplitude-tracking]
Once sources are configured and your Amplitude project starts receiving data from B2CORE, all received events are collected in **Data** > **Events**, along with their event properties in **Data** > **Properties**.
You must verify incoming events with the `Unexpected` status against the documented events in **Tracking B2CORE Events with Amplitude** to understand their meaning and either add the events that you want to track to your Amplitude plan or delete the ones you don't need.
After adding sources, share the generated API keys with B2BROKER so we can complete the SDK setup for you. This setup enables event data from your B2CORE to be sent to Amplitude.
## Check incoming events for Amplitude tracking [#check-incoming-events-for-amplitude-tracking]
Once sources are configured and your Amplitude project starts receiving data from B2CORE, all received events are collected in **Data** > **Events**, along with their event properties in **Data** > **Properties**.
You must verify incoming events with the `Unexpected` status against the documented events in **Tracking B2CORE Events with Amplitude** to understand their meaning and either add the events that you want to track to your Amplitude plan or delete the ones you don't need.
 Events included in your Amplitude tracking plan are marked as `Live` and begin tracked in real time.
## Configure data representation in Amplitude [#configure-data-representation-in-amplitude]
In your Amplitude project, access the **Dashboard** on the **Home** page. By default, it includes a set of pre-defined widgets with collected data from the default Amplitude events. You can fully customize the **Dashboard** to display the information and charts that are most relevant to you.
Events included in your Amplitude tracking plan are marked as `Live` and begin tracked in real time.
## Configure data representation in Amplitude [#configure-data-representation-in-amplitude]
In your Amplitude project, access the **Dashboard** on the **Home** page. By default, it includes a set of pre-defined widgets with collected data from the default Amplitude events. You can fully customize the **Dashboard** to display the information and charts that are most relevant to you.
 ## Build charts in Amplitude [#build-charts-in-amplitude]
Charts in Amplitude turn raw event data into visual insights about how clients interact with B2CORE. Each chart is based on the events you track, enabling you to monitor engagement, conversion, retention, and user distribution. This makes it easier to understand client behavior and improve your services.
To create a chart, click **Create** > **Charts** and select the desired chart type.
For more details on working with charts, see the official [Amplitude documentation](https://amplitude.com/docs).
Below are several examples of simple charts that you can build in Amplitude. You can add charts to your **Dashboard**, share them, and export data if needed.
### Segmentation chart [#segmentation-chart]
The **Segmentation** chart compares or segments your events by event properties over a selected time period.
## Build charts in Amplitude [#build-charts-in-amplitude]
Charts in Amplitude turn raw event data into visual insights about how clients interact with B2CORE. Each chart is based on the events you track, enabling you to monitor engagement, conversion, retention, and user distribution. This makes it easier to understand client behavior and improve your services.
To create a chart, click **Create** > **Charts** and select the desired chart type.
For more details on working with charts, see the official [Amplitude documentation](https://amplitude.com/docs).
Below are several examples of simple charts that you can build in Amplitude. You can add charts to your **Dashboard**, share them, and export data if needed.
### Segmentation chart [#segmentation-chart]
The **Segmentation** chart compares or segments your events by event properties over a selected time period.
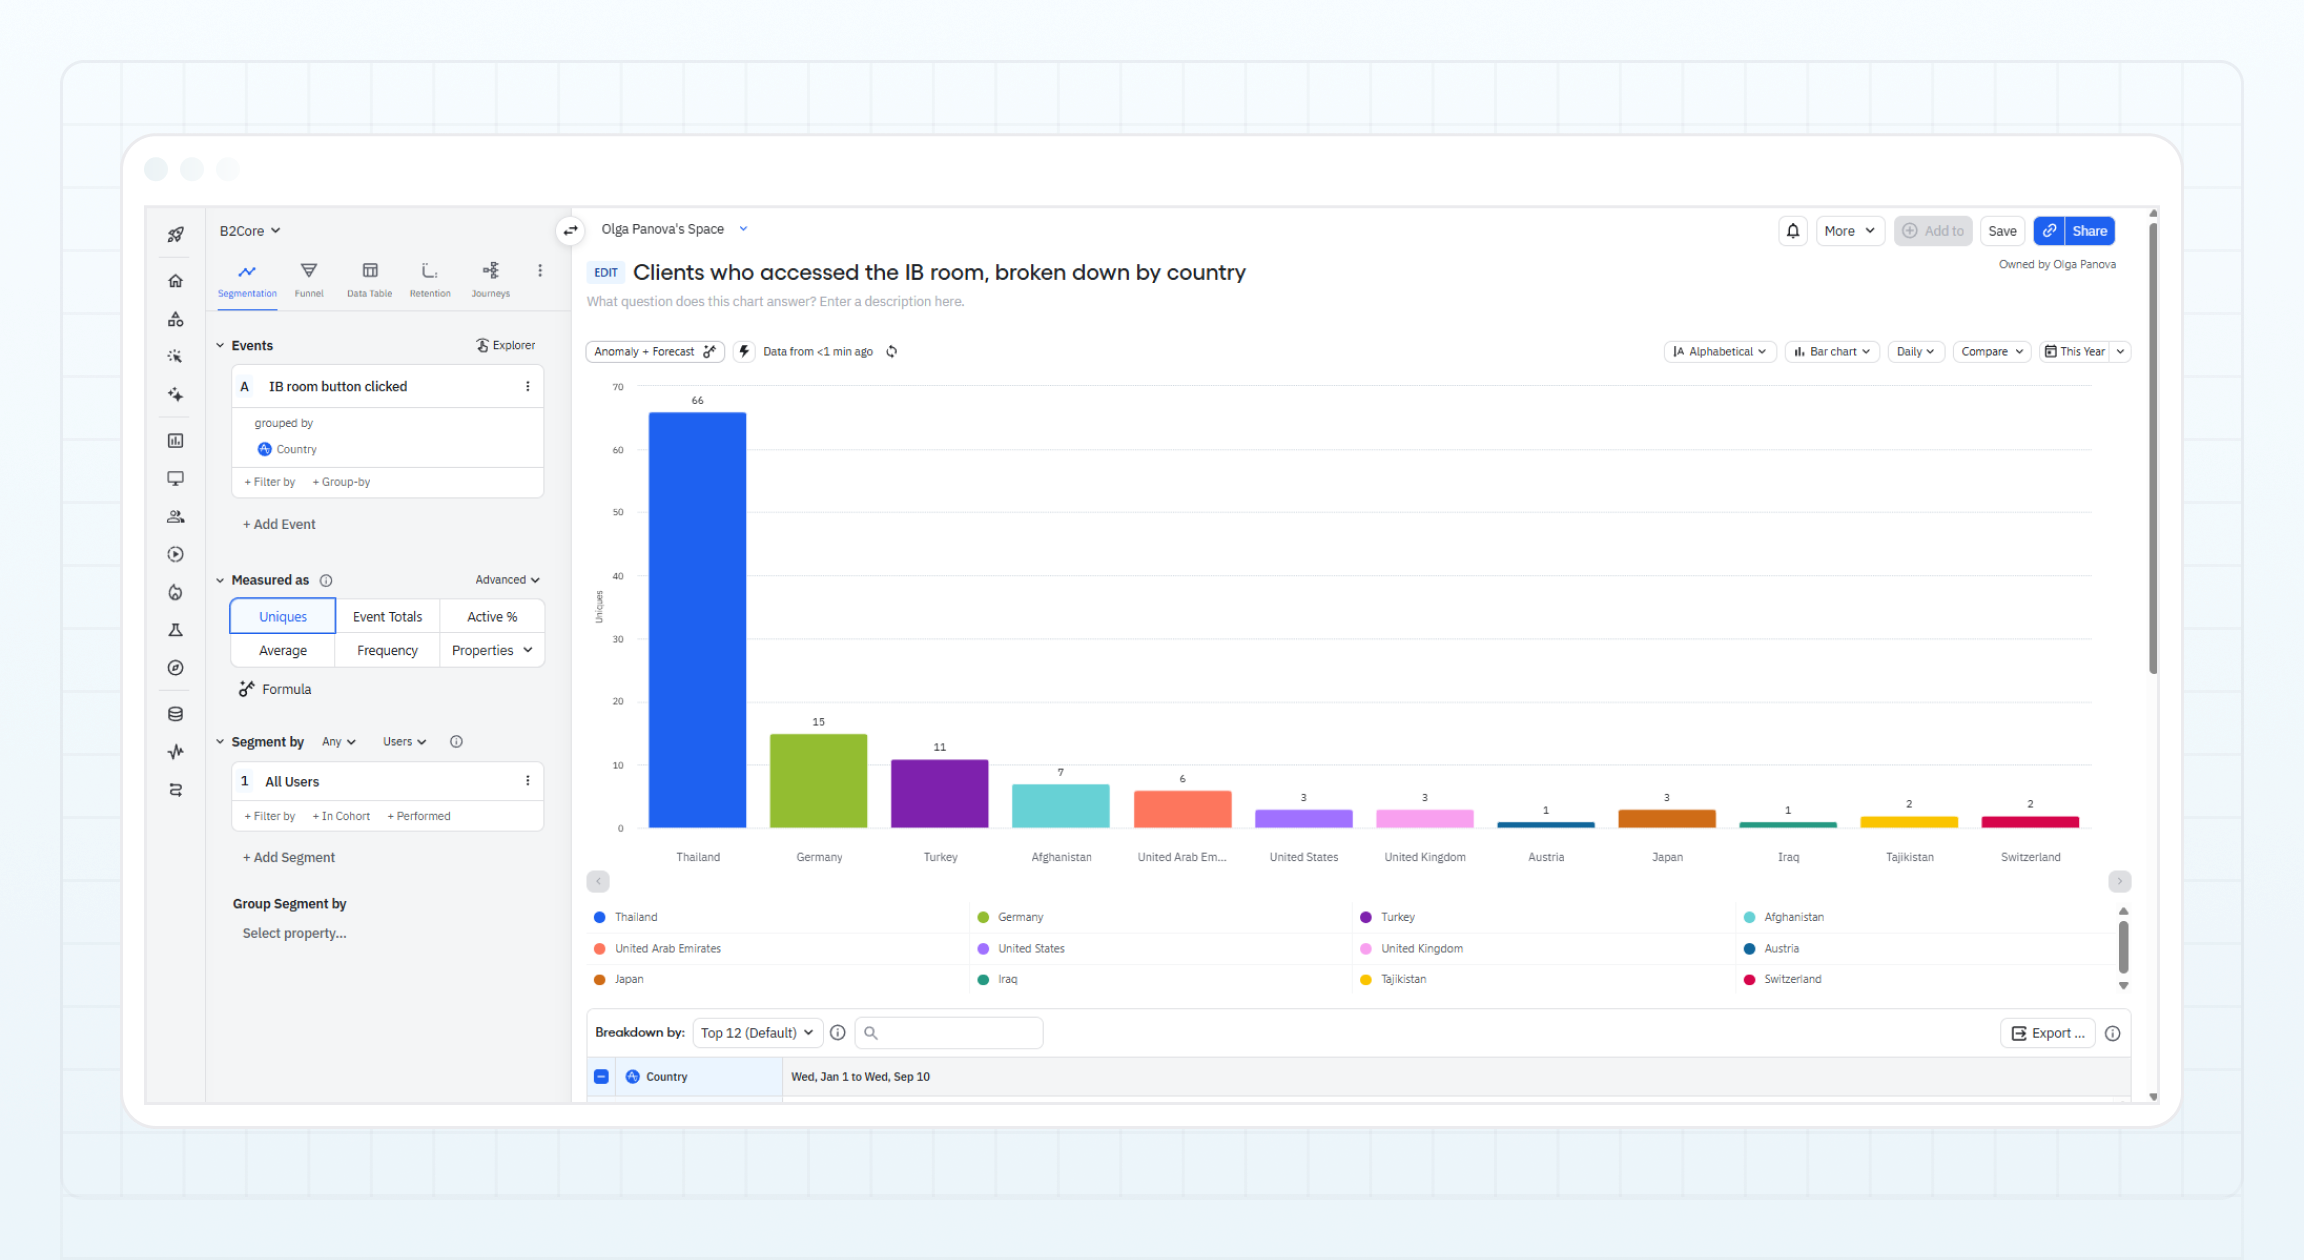 The chart above shows the number of unique clients who accessed the IB room over the past year, broken down by country.
### Funnel chart [#funnel-chart]
The **Funnel** chart helps you understand how clients navigate within the UI and identify potential problem areas where they tend to drop off. A common example of a funnel is analyzing sign-ups and onboarding.
The chart above shows the number of unique clients who accessed the IB room over the past year, broken down by country.
### Funnel chart [#funnel-chart]
The **Funnel** chart helps you understand how clients navigate within the UI and identify potential problem areas where they tend to drop off. A common example of a funnel is analyzing sign-ups and onboarding.
 The chart above shows the conversion rate from clients who started registration to those who completed it over the past 7 days.
### User composition [#user-composition]
The **User Composition** chart provides insights into the structure of your client base. Unlike event-driven analyses, this chart relies on user properties, such as country, language, platform, or account type, rather than client actions.
The chart above shows the conversion rate from clients who started registration to those who completed it over the past 7 days.
### User composition [#user-composition]
The **User Composition** chart provides insights into the structure of your client base. Unlike event-driven analyses, this chart relies on user properties, such as country, language, platform, or account type, rather than client actions.
 The chart above shows the distribution of registered clients across different countries, helping you understand where your clients come from and how your client base is organized.
B2CORE supports embedding third-party web applications directly into the client UI via an iframe. When a custom menu item is configured with the **Iframe** behavior, B2CORE loads your application inside the interface, providing a seamless experience for clients without leaving the platform.
This guide covers two aspects: configuring the custom menu item in the B2CORE Back Office, and preparing your application to work correctly inside the B2CORE iframe.
## Prerequisites [#prerequisites]
Before proceeding, ensure the following:
The chart above shows the distribution of registered clients across different countries, helping you understand where your clients come from and how your client base is organized.
B2CORE supports embedding third-party web applications directly into the client UI via an iframe. When a custom menu item is configured with the **Iframe** behavior, B2CORE loads your application inside the interface, providing a seamless experience for clients without leaving the platform.
This guide covers two aspects: configuring the custom menu item in the B2CORE Back Office, and preparing your application to work correctly inside the B2CORE iframe.
## Prerequisites [#prerequisites]
Before proceeding, ensure the following:
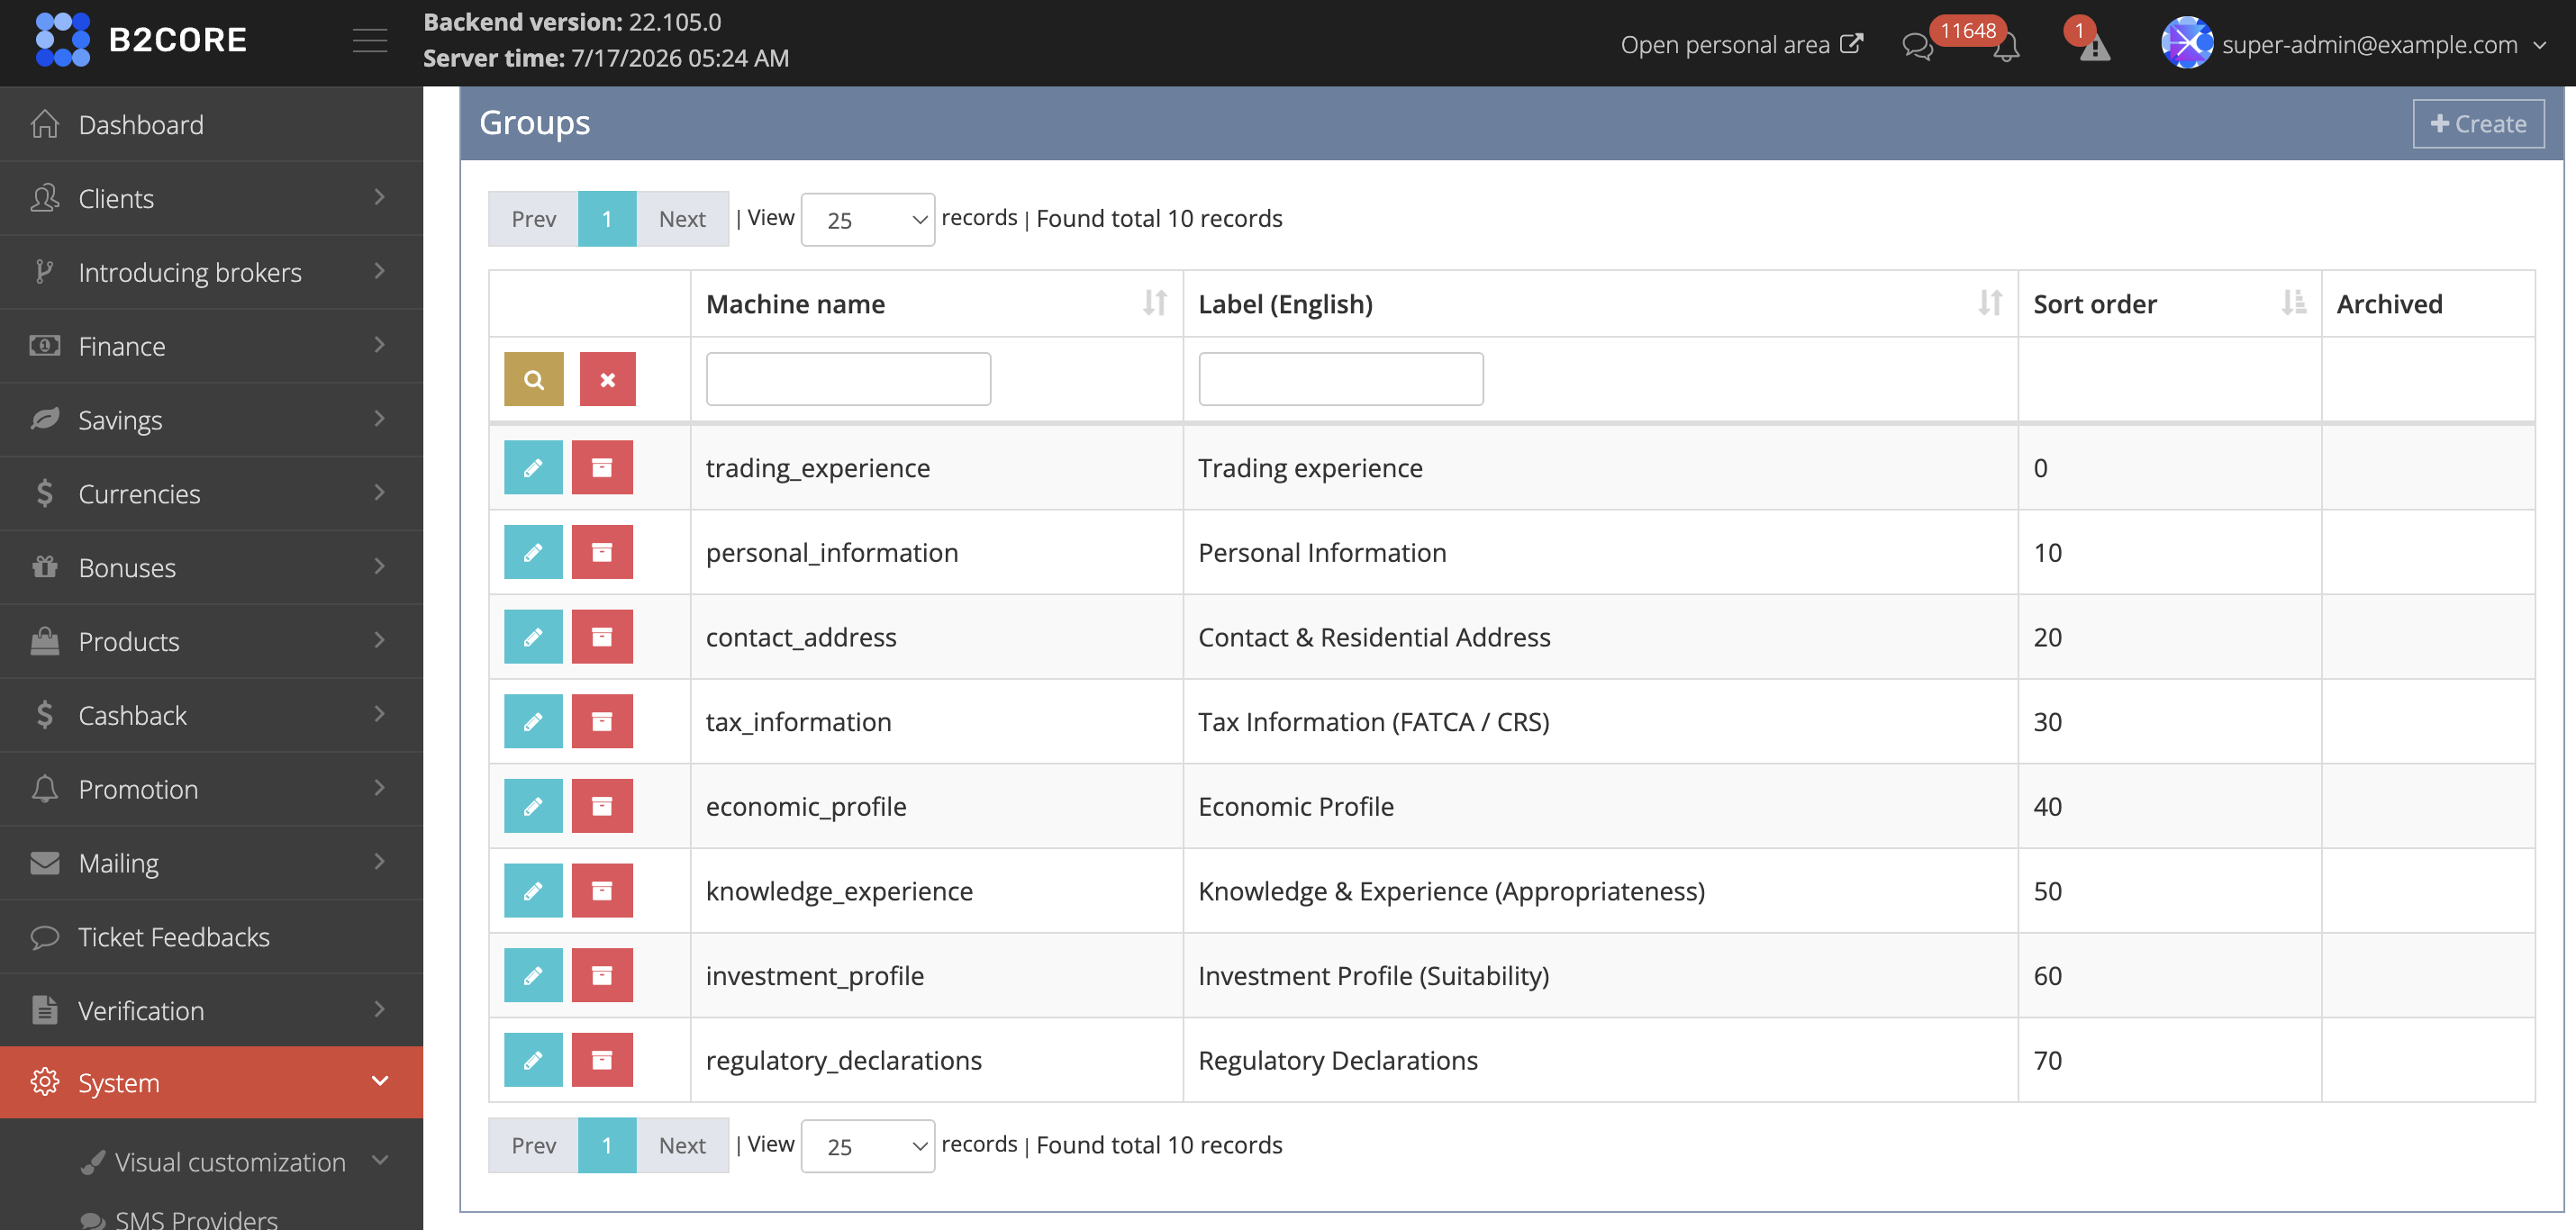
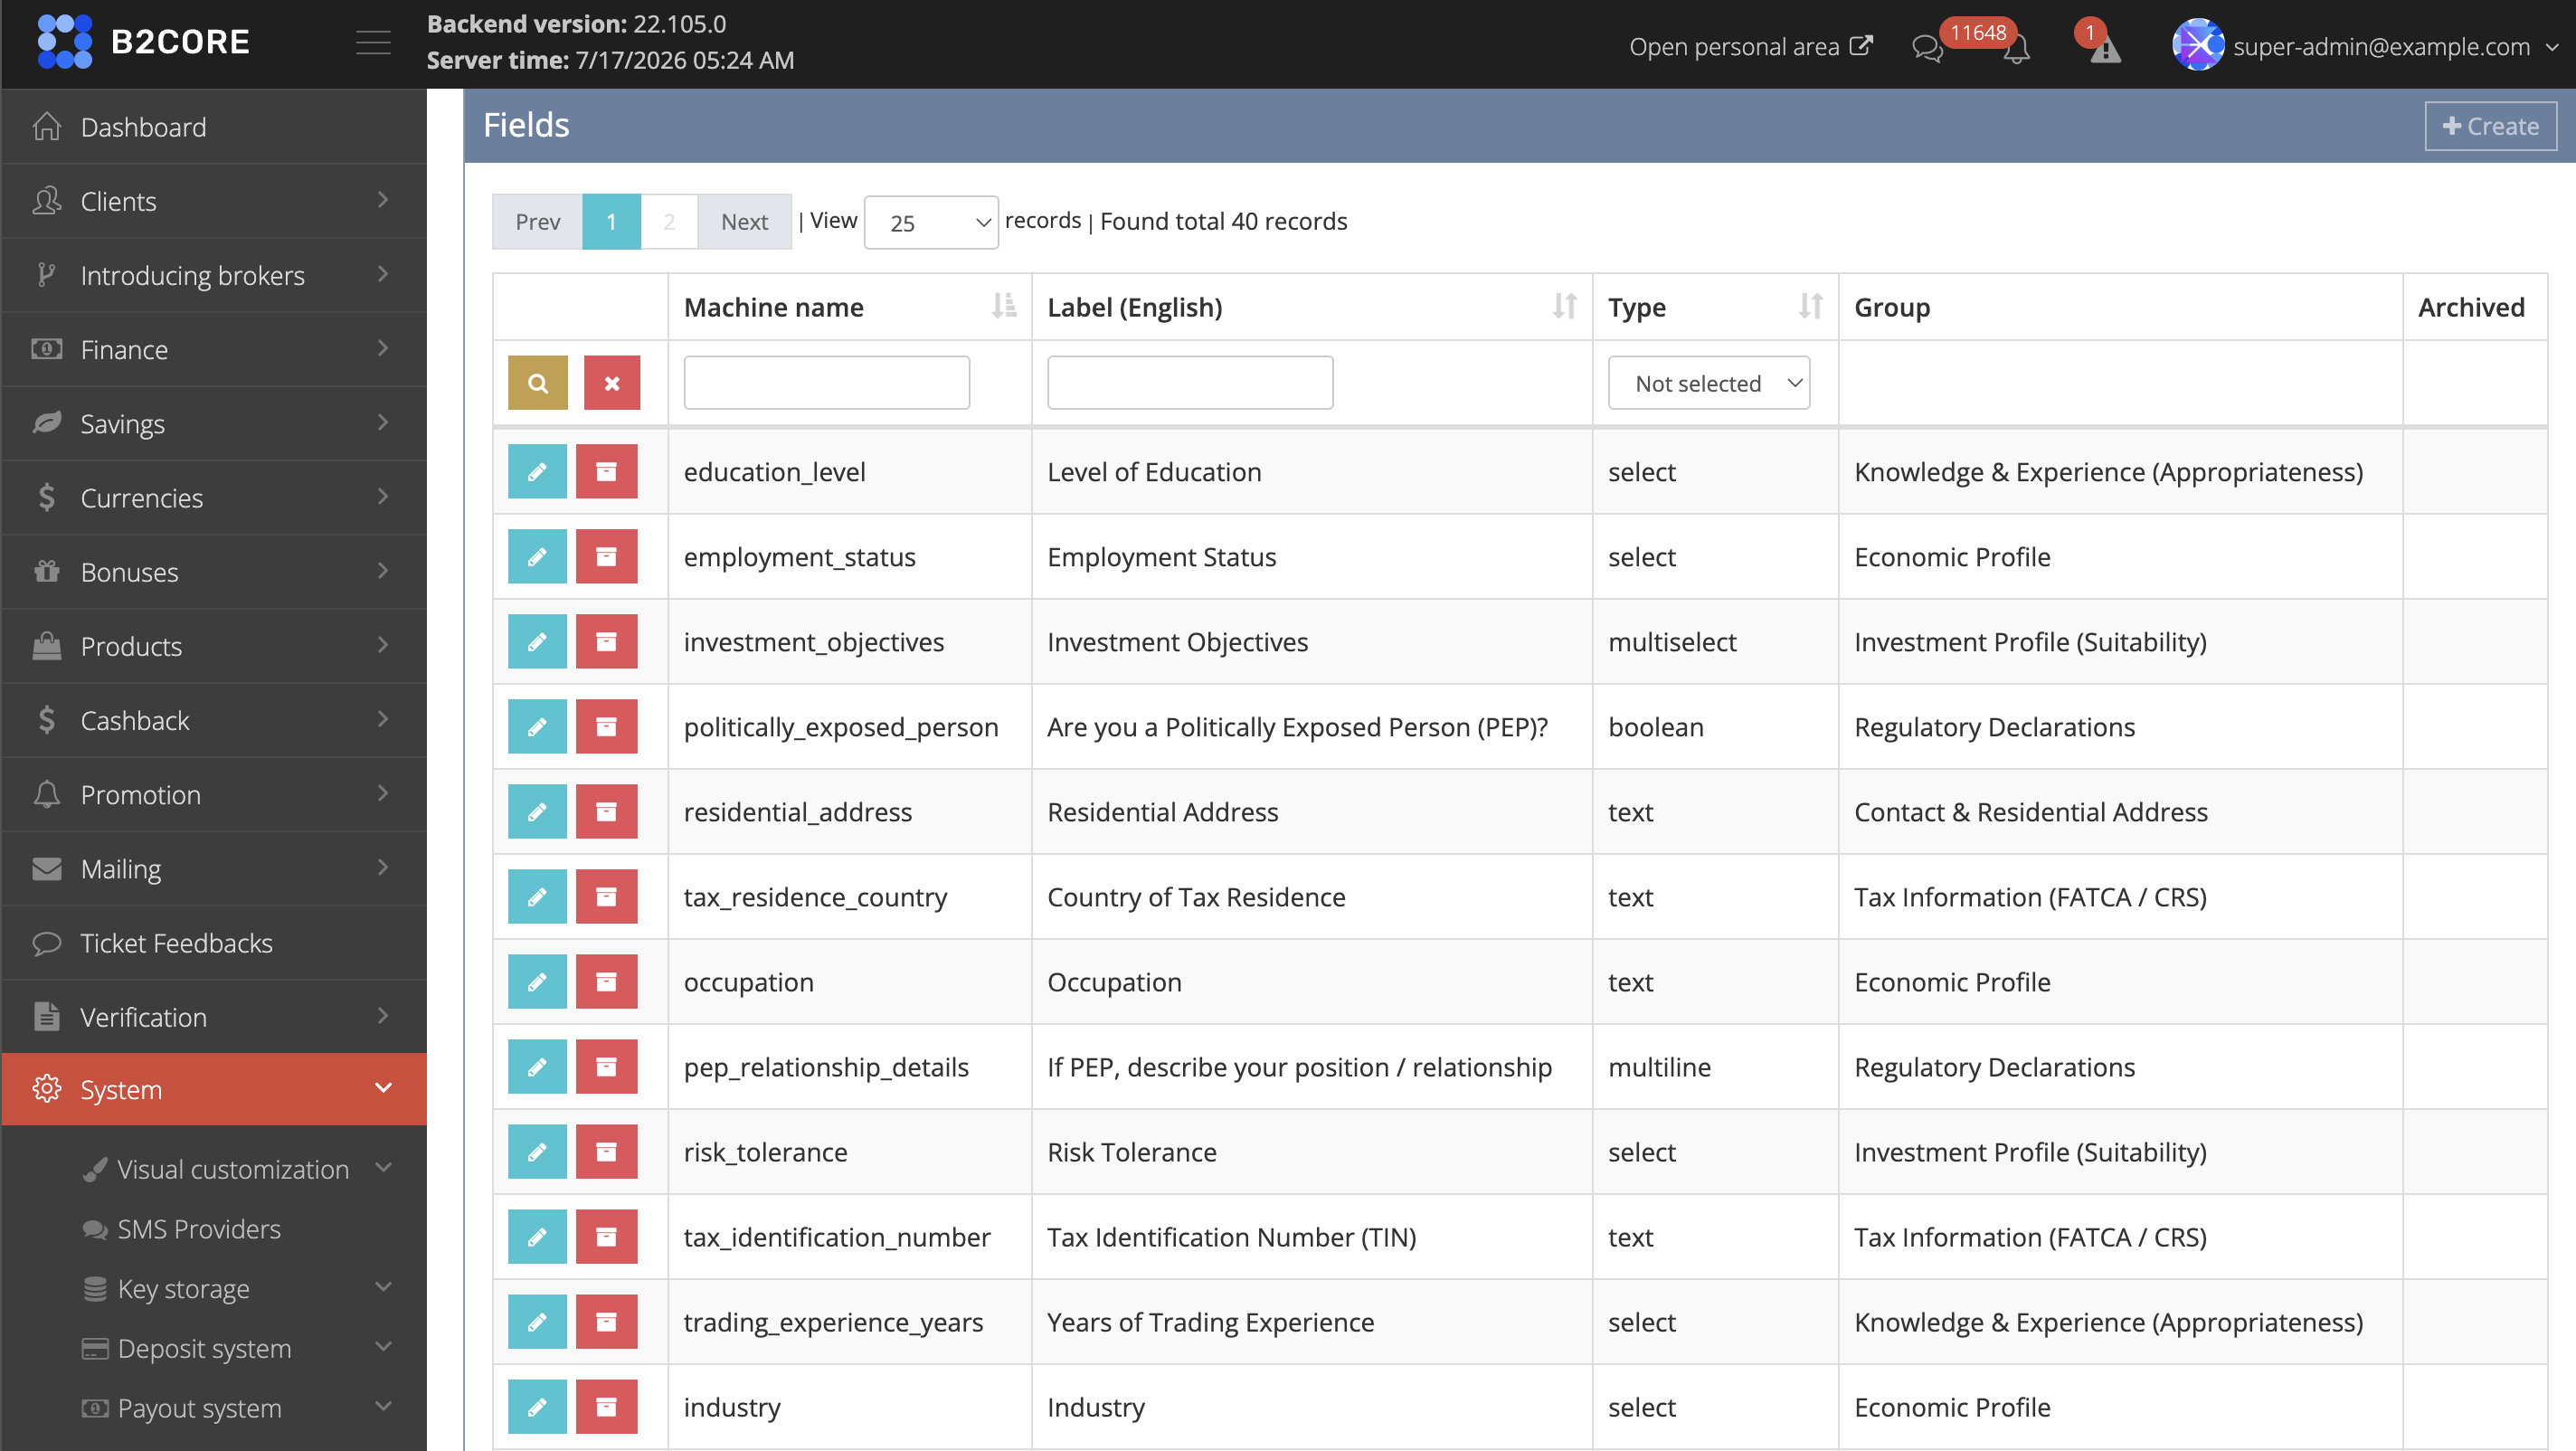 To add a field, click **+Create** on the **Fields** page, then enter the label, select the group, set validation rules such as **Required**, and, for select fields, add the options that clients choose from.
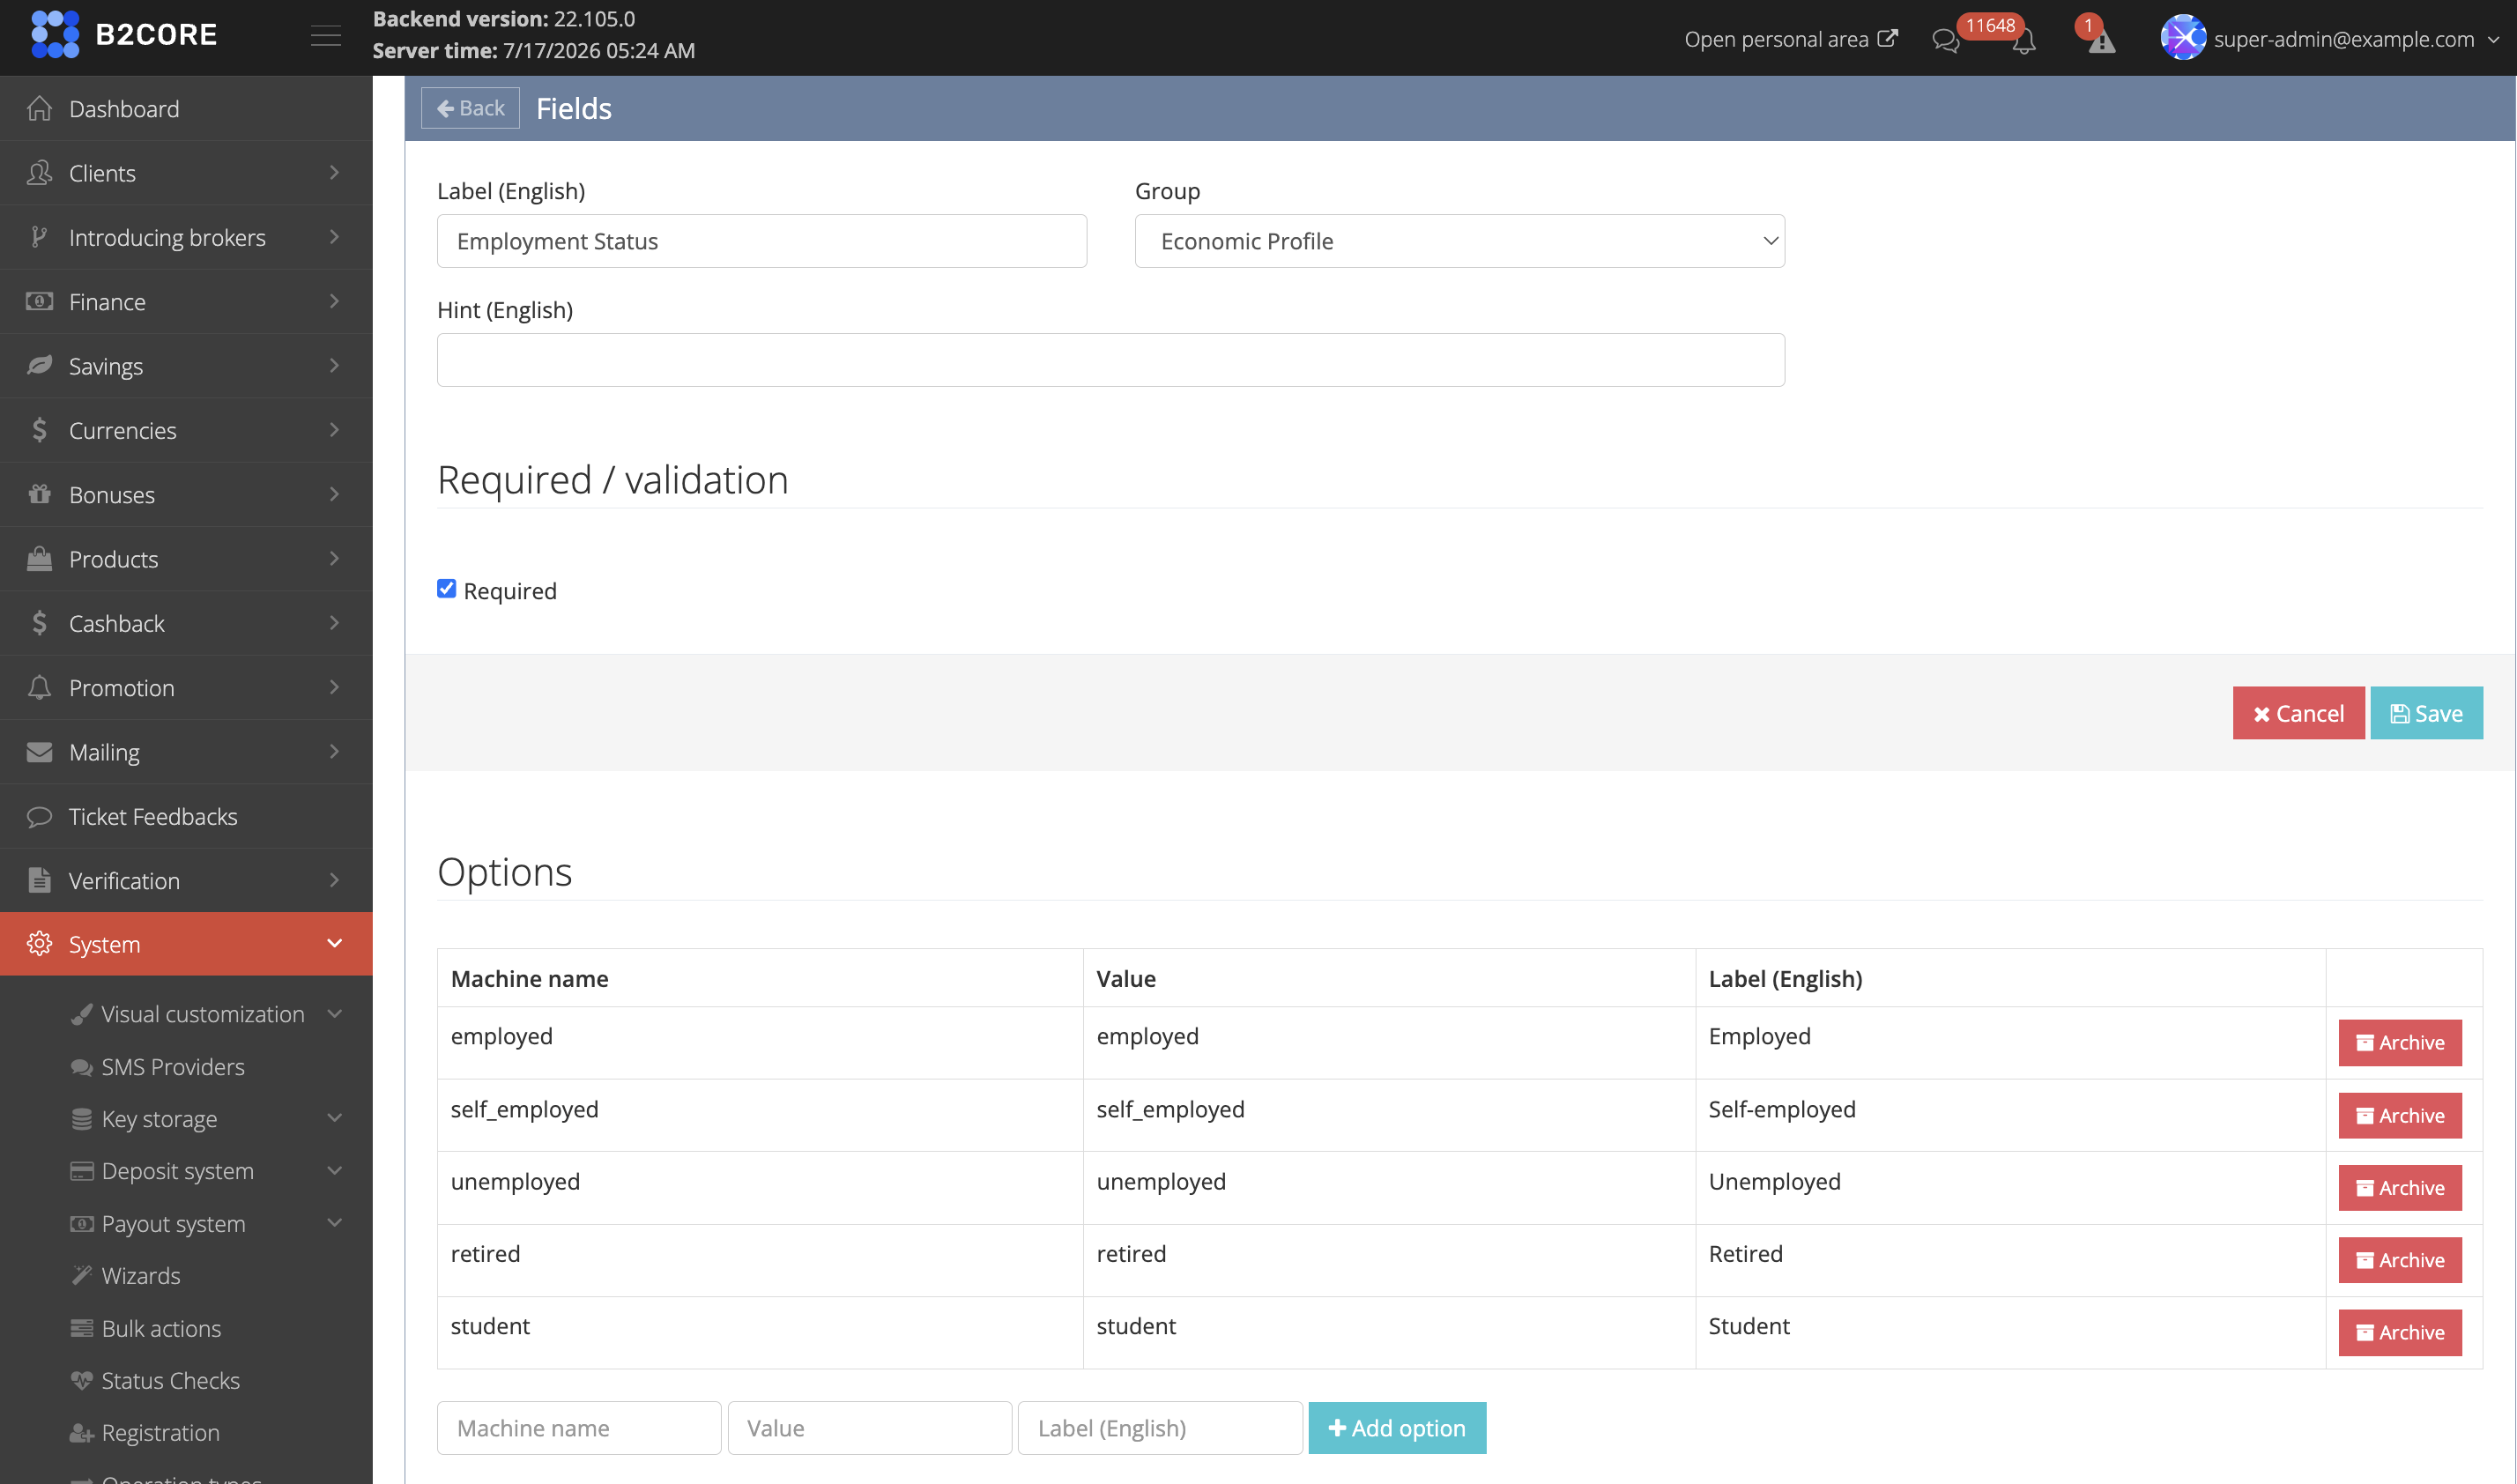 For details on creating and managing custom fields, refer to [Custom fields](../../back-office-guide/system/custom-fields).
## Step 2. Create a registration profile [#step-2-create-a-registration-profile]
To create a registration profile:
For details on creating and managing custom fields, refer to [Custom fields](../../back-office-guide/system/custom-fields).
## Step 2. Create a registration profile [#step-2-create-a-registration-profile]
To create a registration profile:
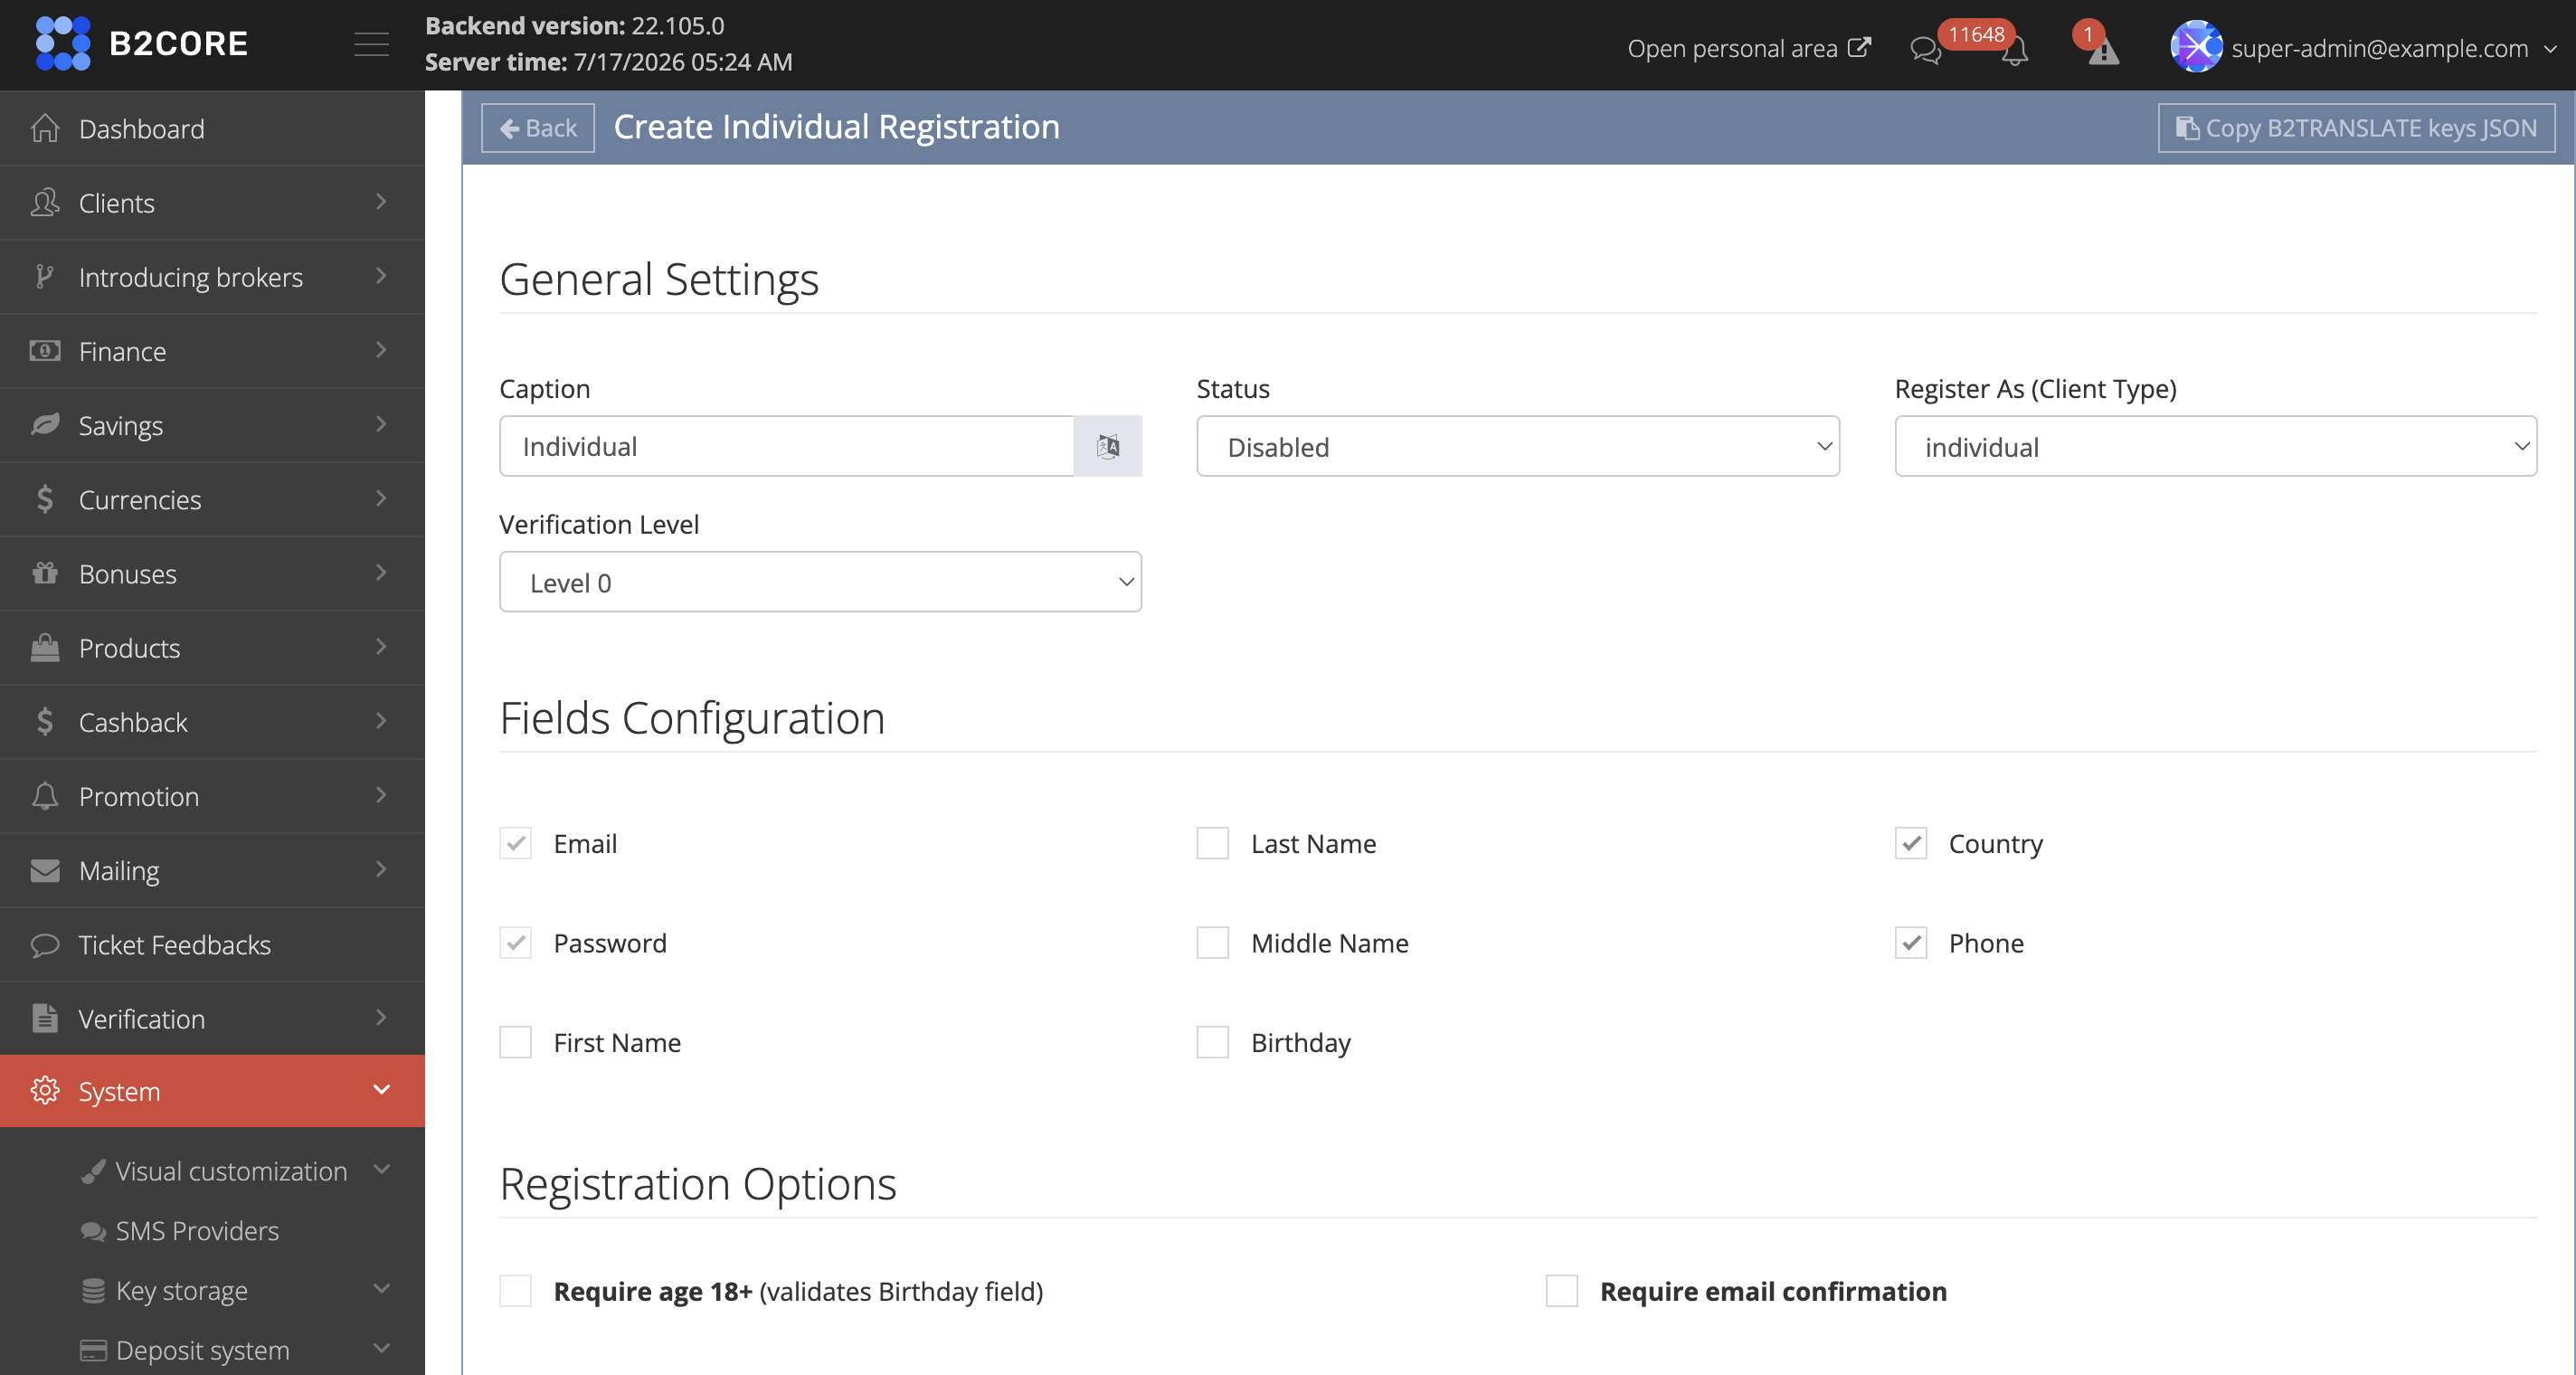
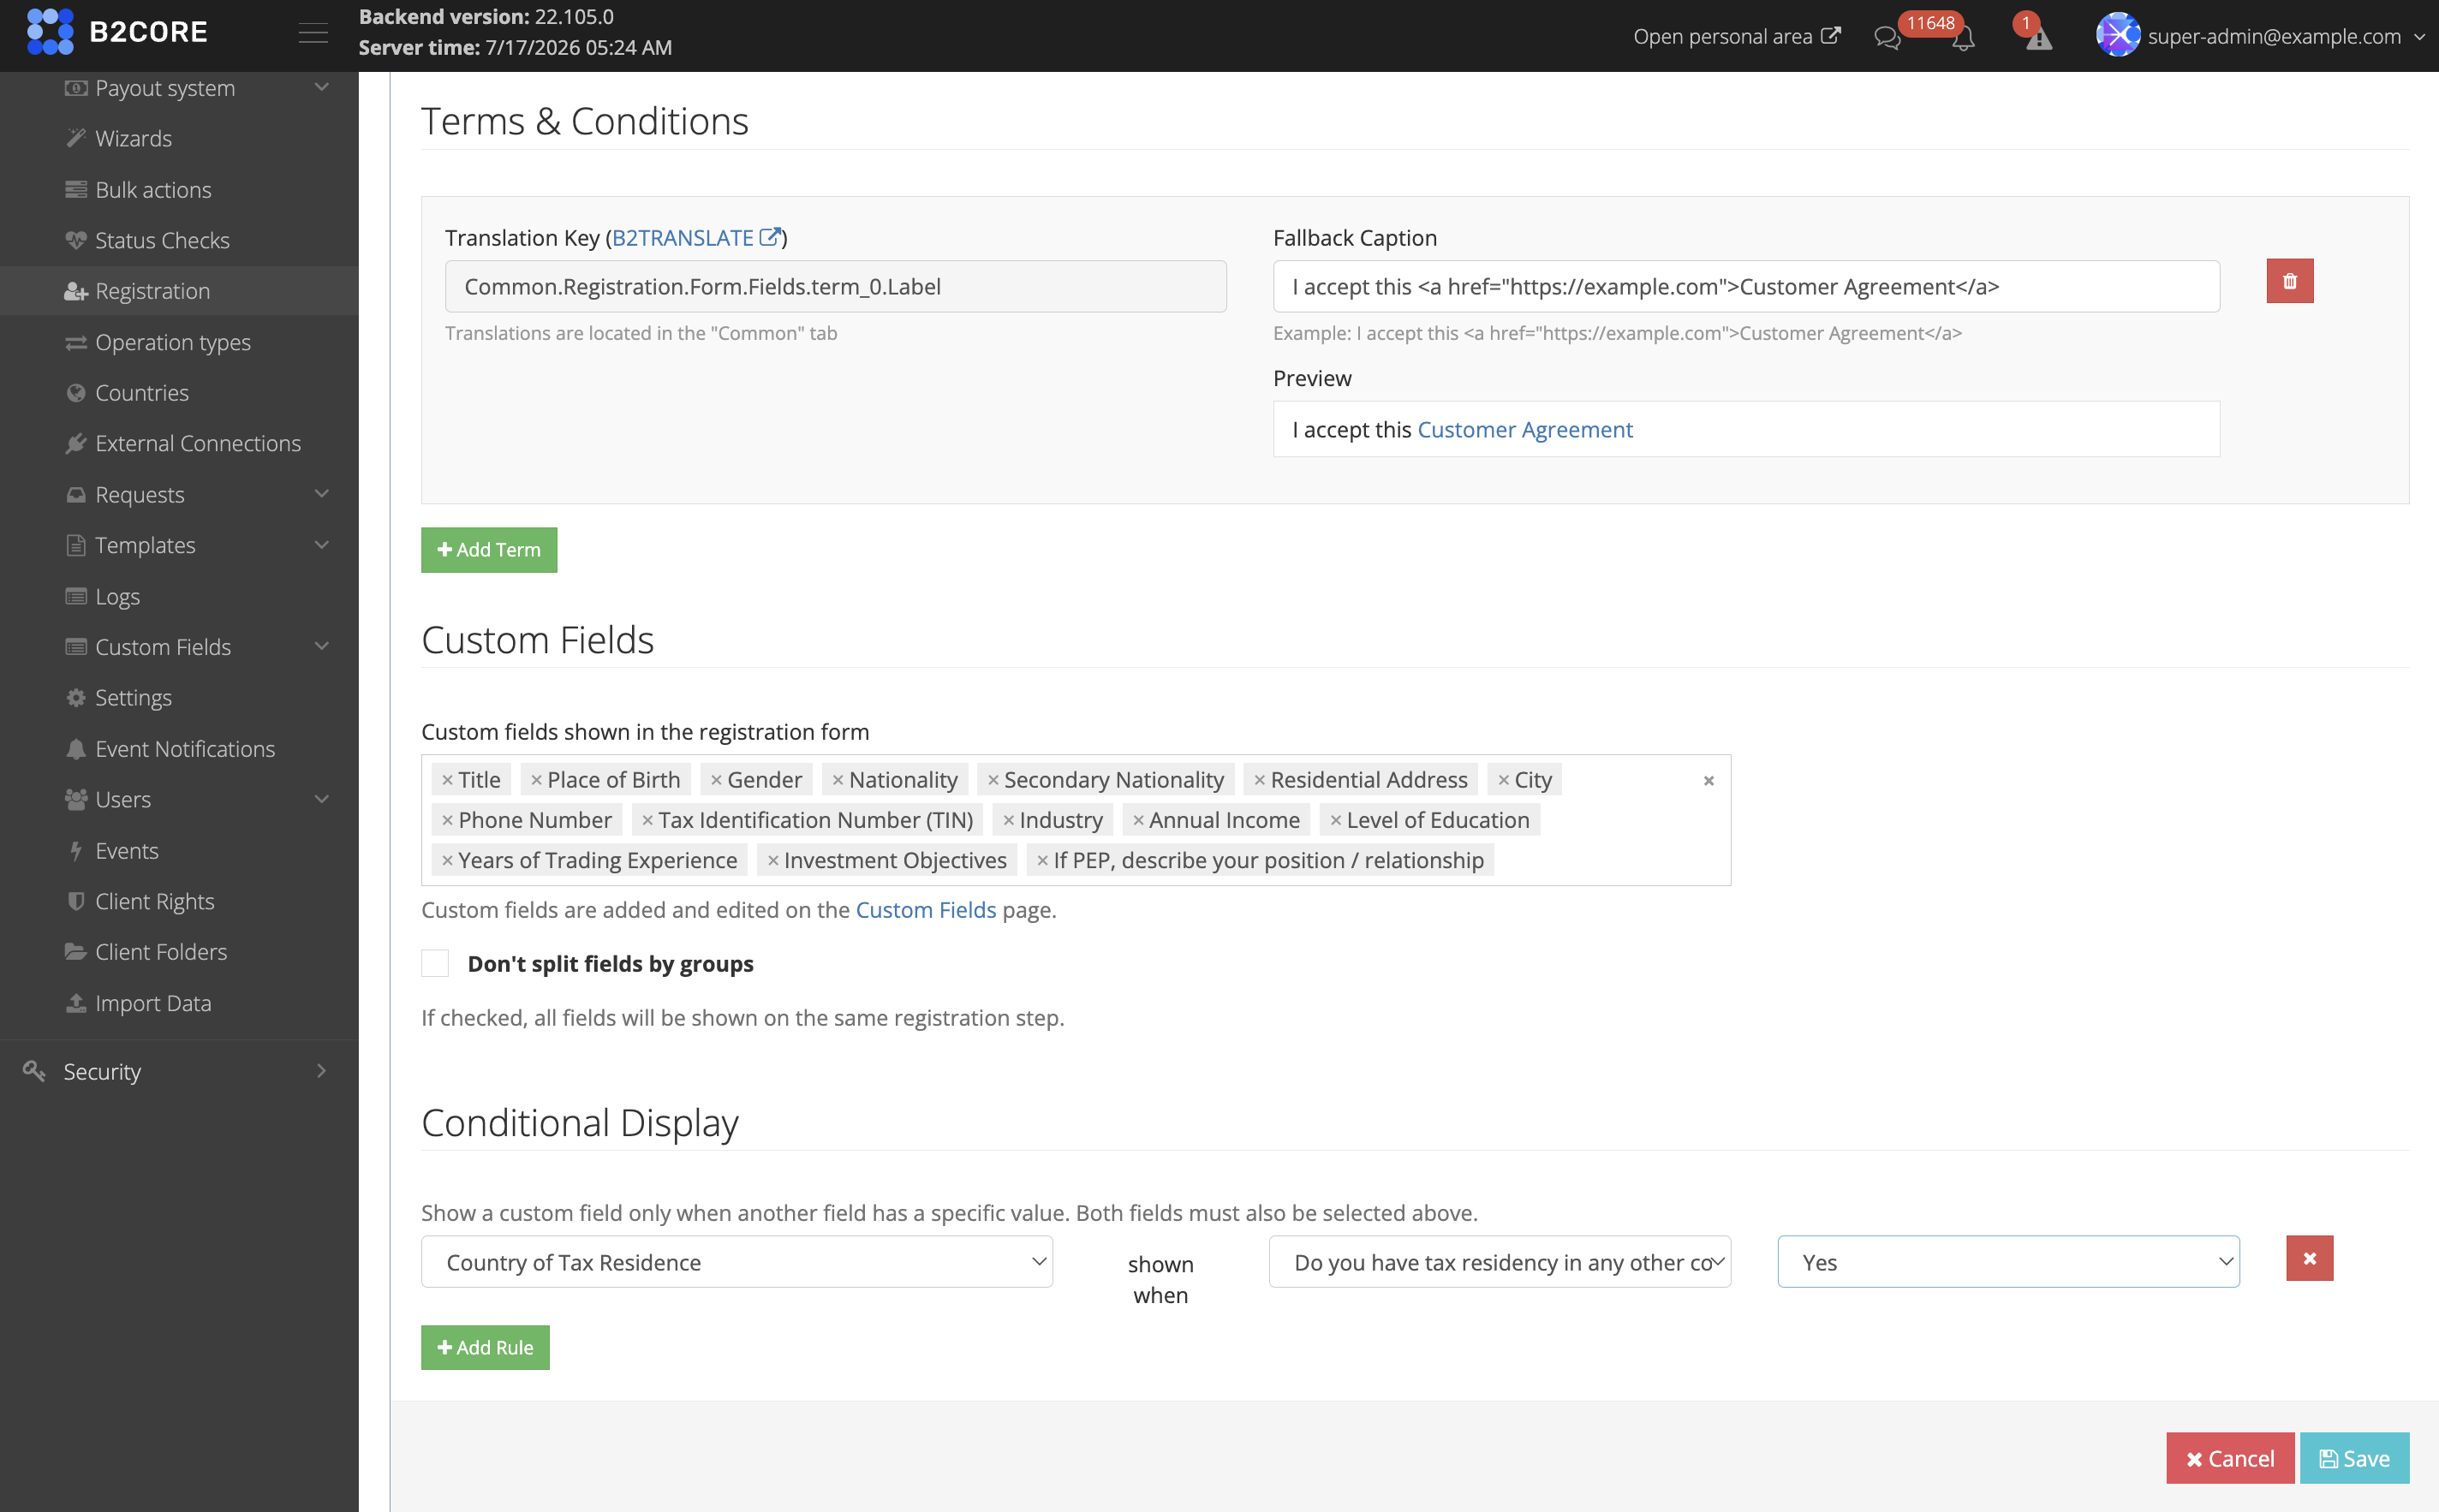
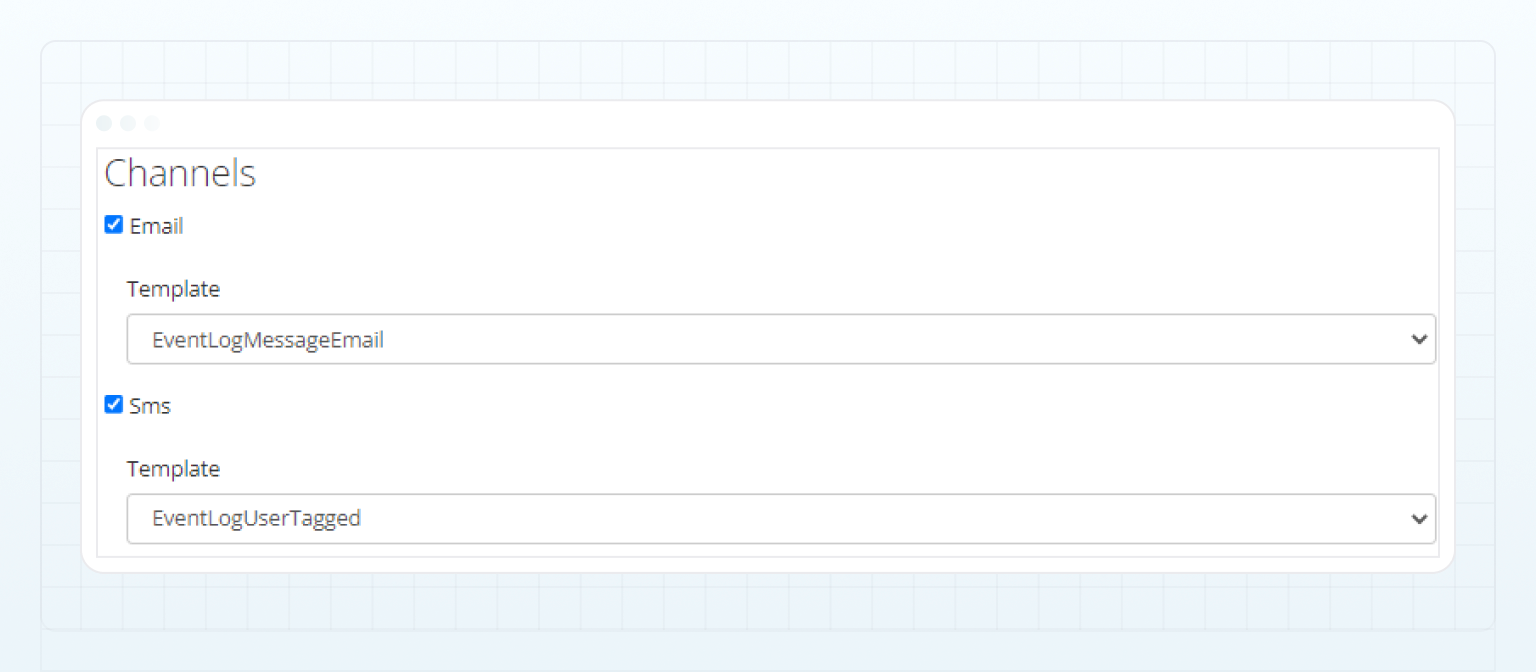 * After enabling the **Slack** or **Telegram** option, do the following:
* Select **Private** to send notifications to the recipients as direct Slack or Telegram messages.
The messages are sent to the chats that are specified in the **Slack chat Id** and **Telegram chat Id** fields on the [Back Office user details page](../../back-office-guide/system/users/#details).
* Select **Group** to send notifications to a specific group or channel.
* In the displayed **Group Id** field, specify the identifier of a group or channel to which notifications will be delivered (for details, refer to [How to get Telegram chat, group, and channel identifiers](../manage-communication-platforms/how-to-get-telegram-chat-group-and-channel-identifiers)).
* In the **Template** dropdown, select a notification template.
* After enabling the **Slack** or **Telegram** option, do the following:
* Select **Private** to send notifications to the recipients as direct Slack or Telegram messages.
The messages are sent to the chats that are specified in the **Slack chat Id** and **Telegram chat Id** fields on the [Back Office user details page](../../back-office-guide/system/users/#details).
* Select **Group** to send notifications to a specific group or channel.
* In the displayed **Group Id** field, specify the identifier of a group or channel to which notifications will be delivered (for details, refer to [How to get Telegram chat, group, and channel identifiers](../manage-communication-platforms/how-to-get-telegram-chat-group-and-channel-identifiers)).
* In the **Template** dropdown, select a notification template.
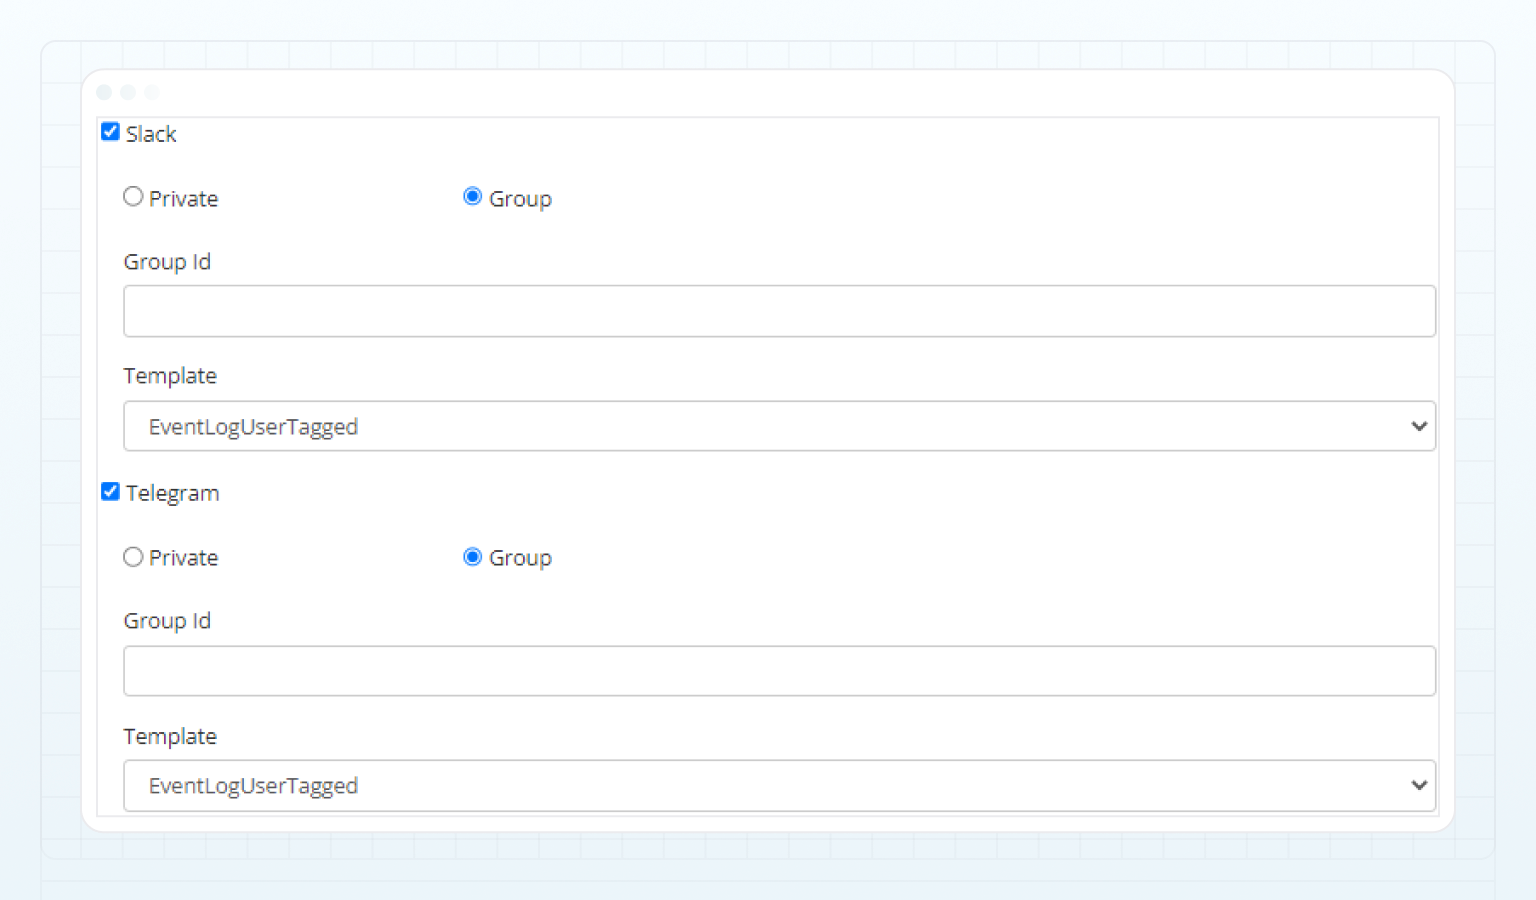
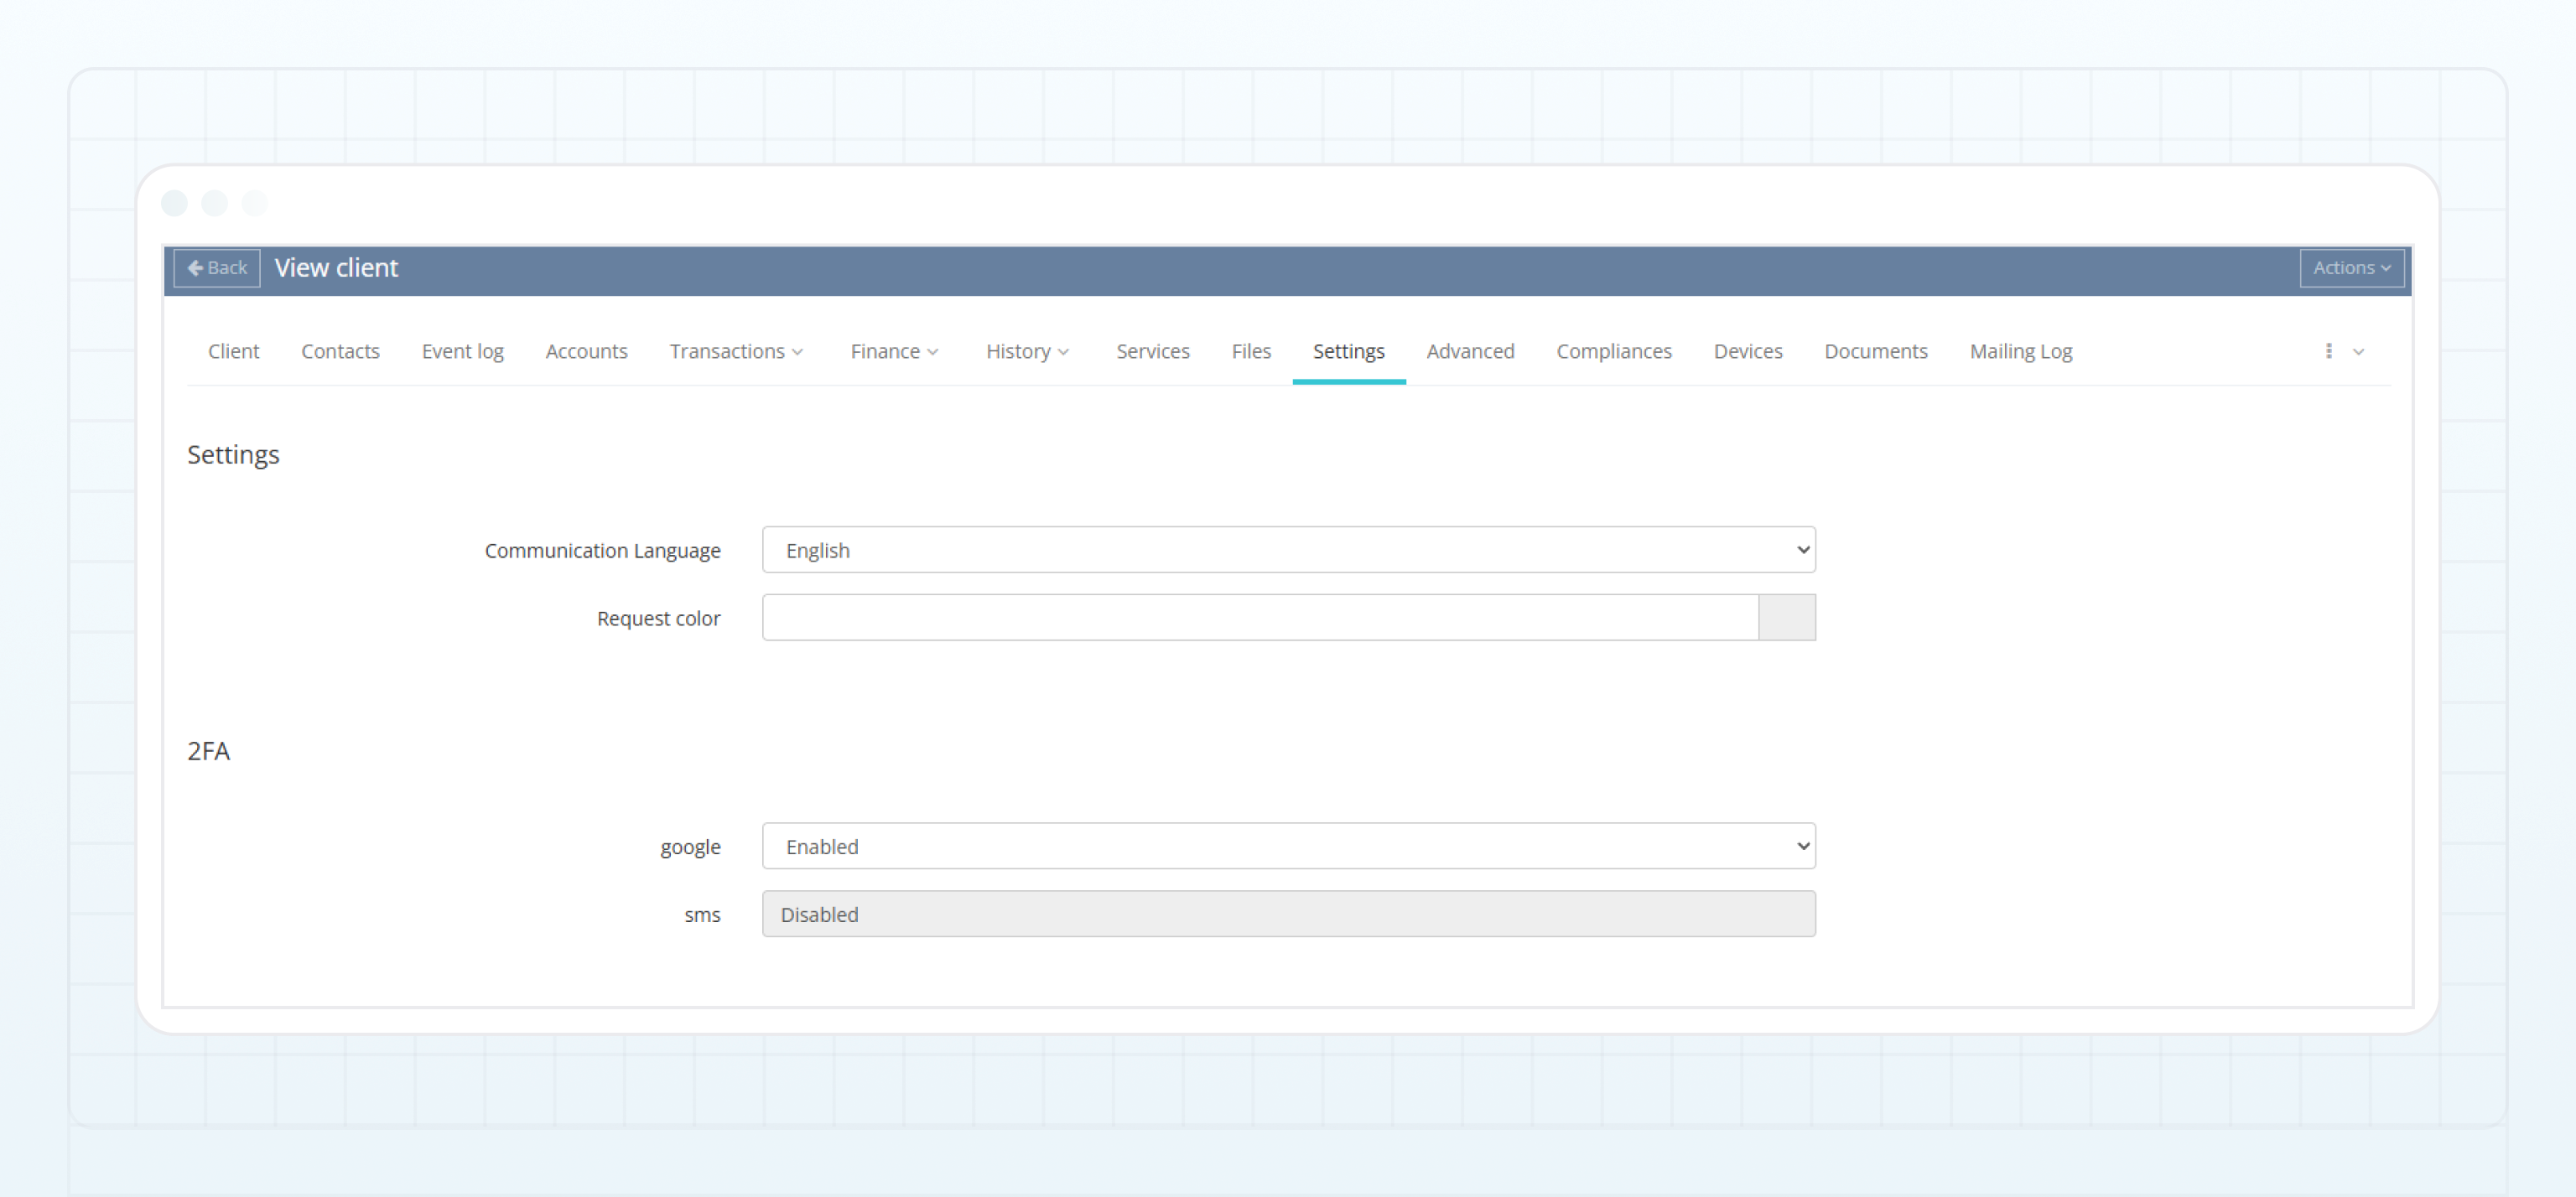
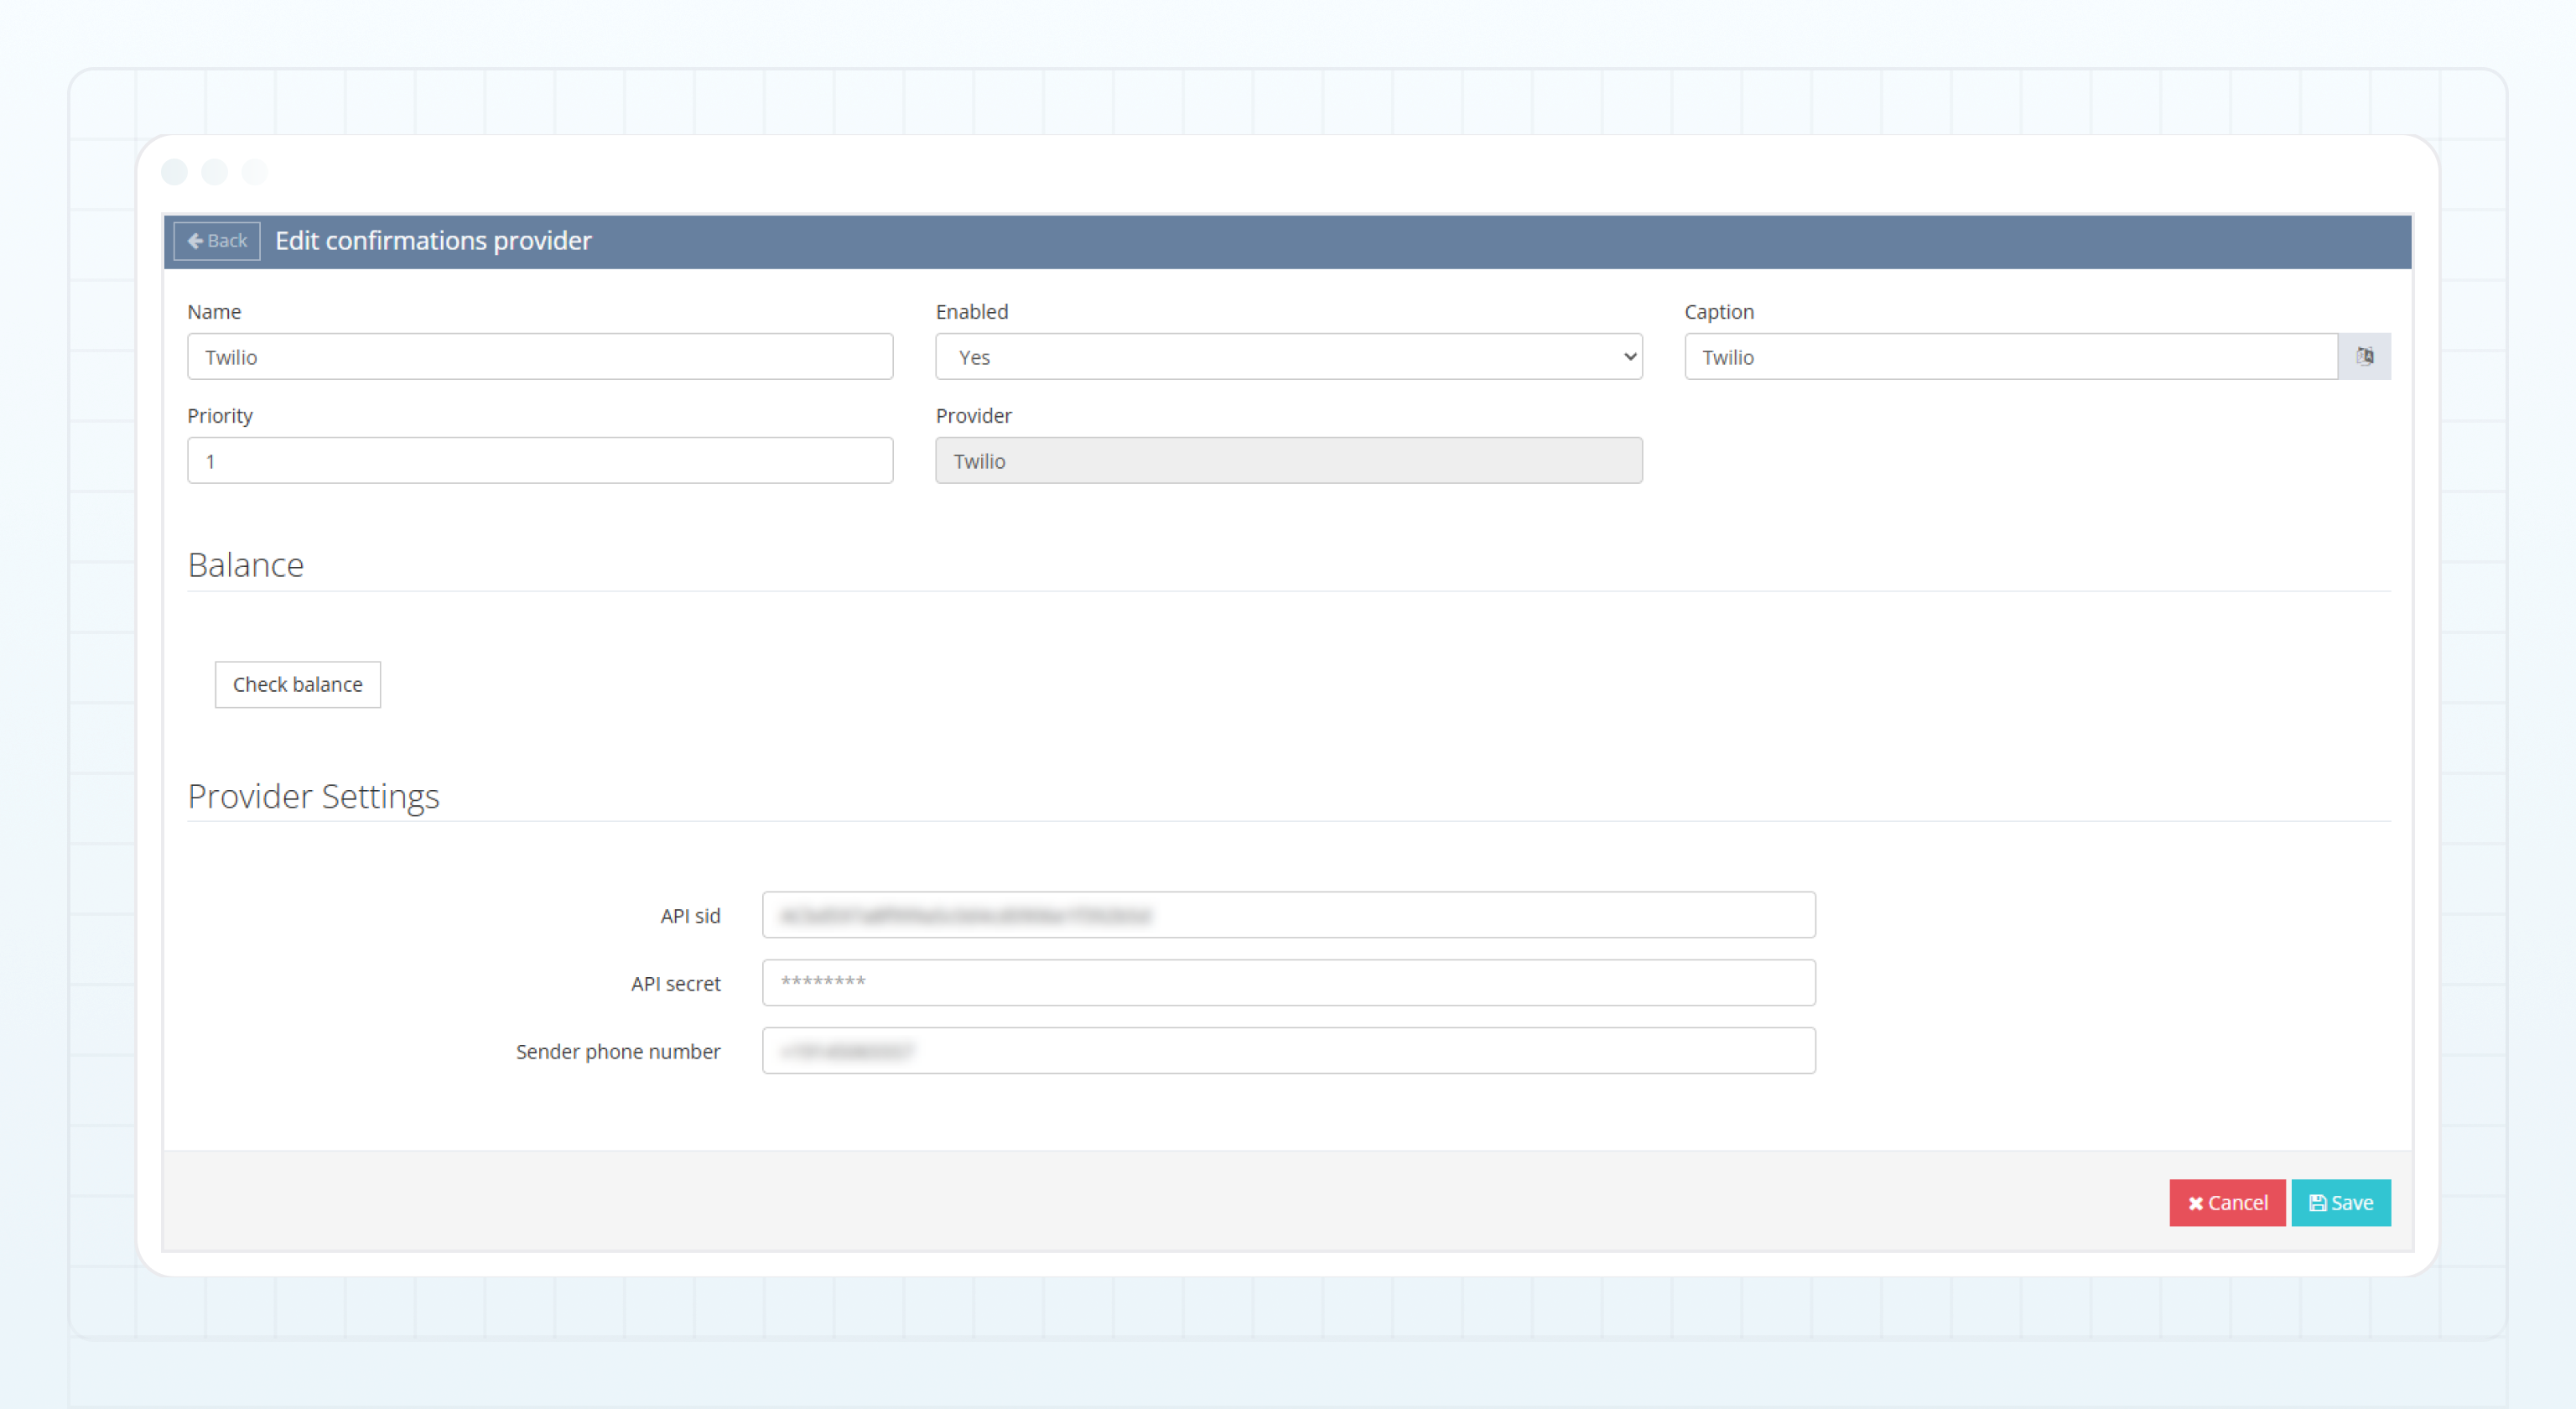 If the configuration is correct but issues persist, contact the SMS provider to check for service disruptions or delivery issues with the client’s number.
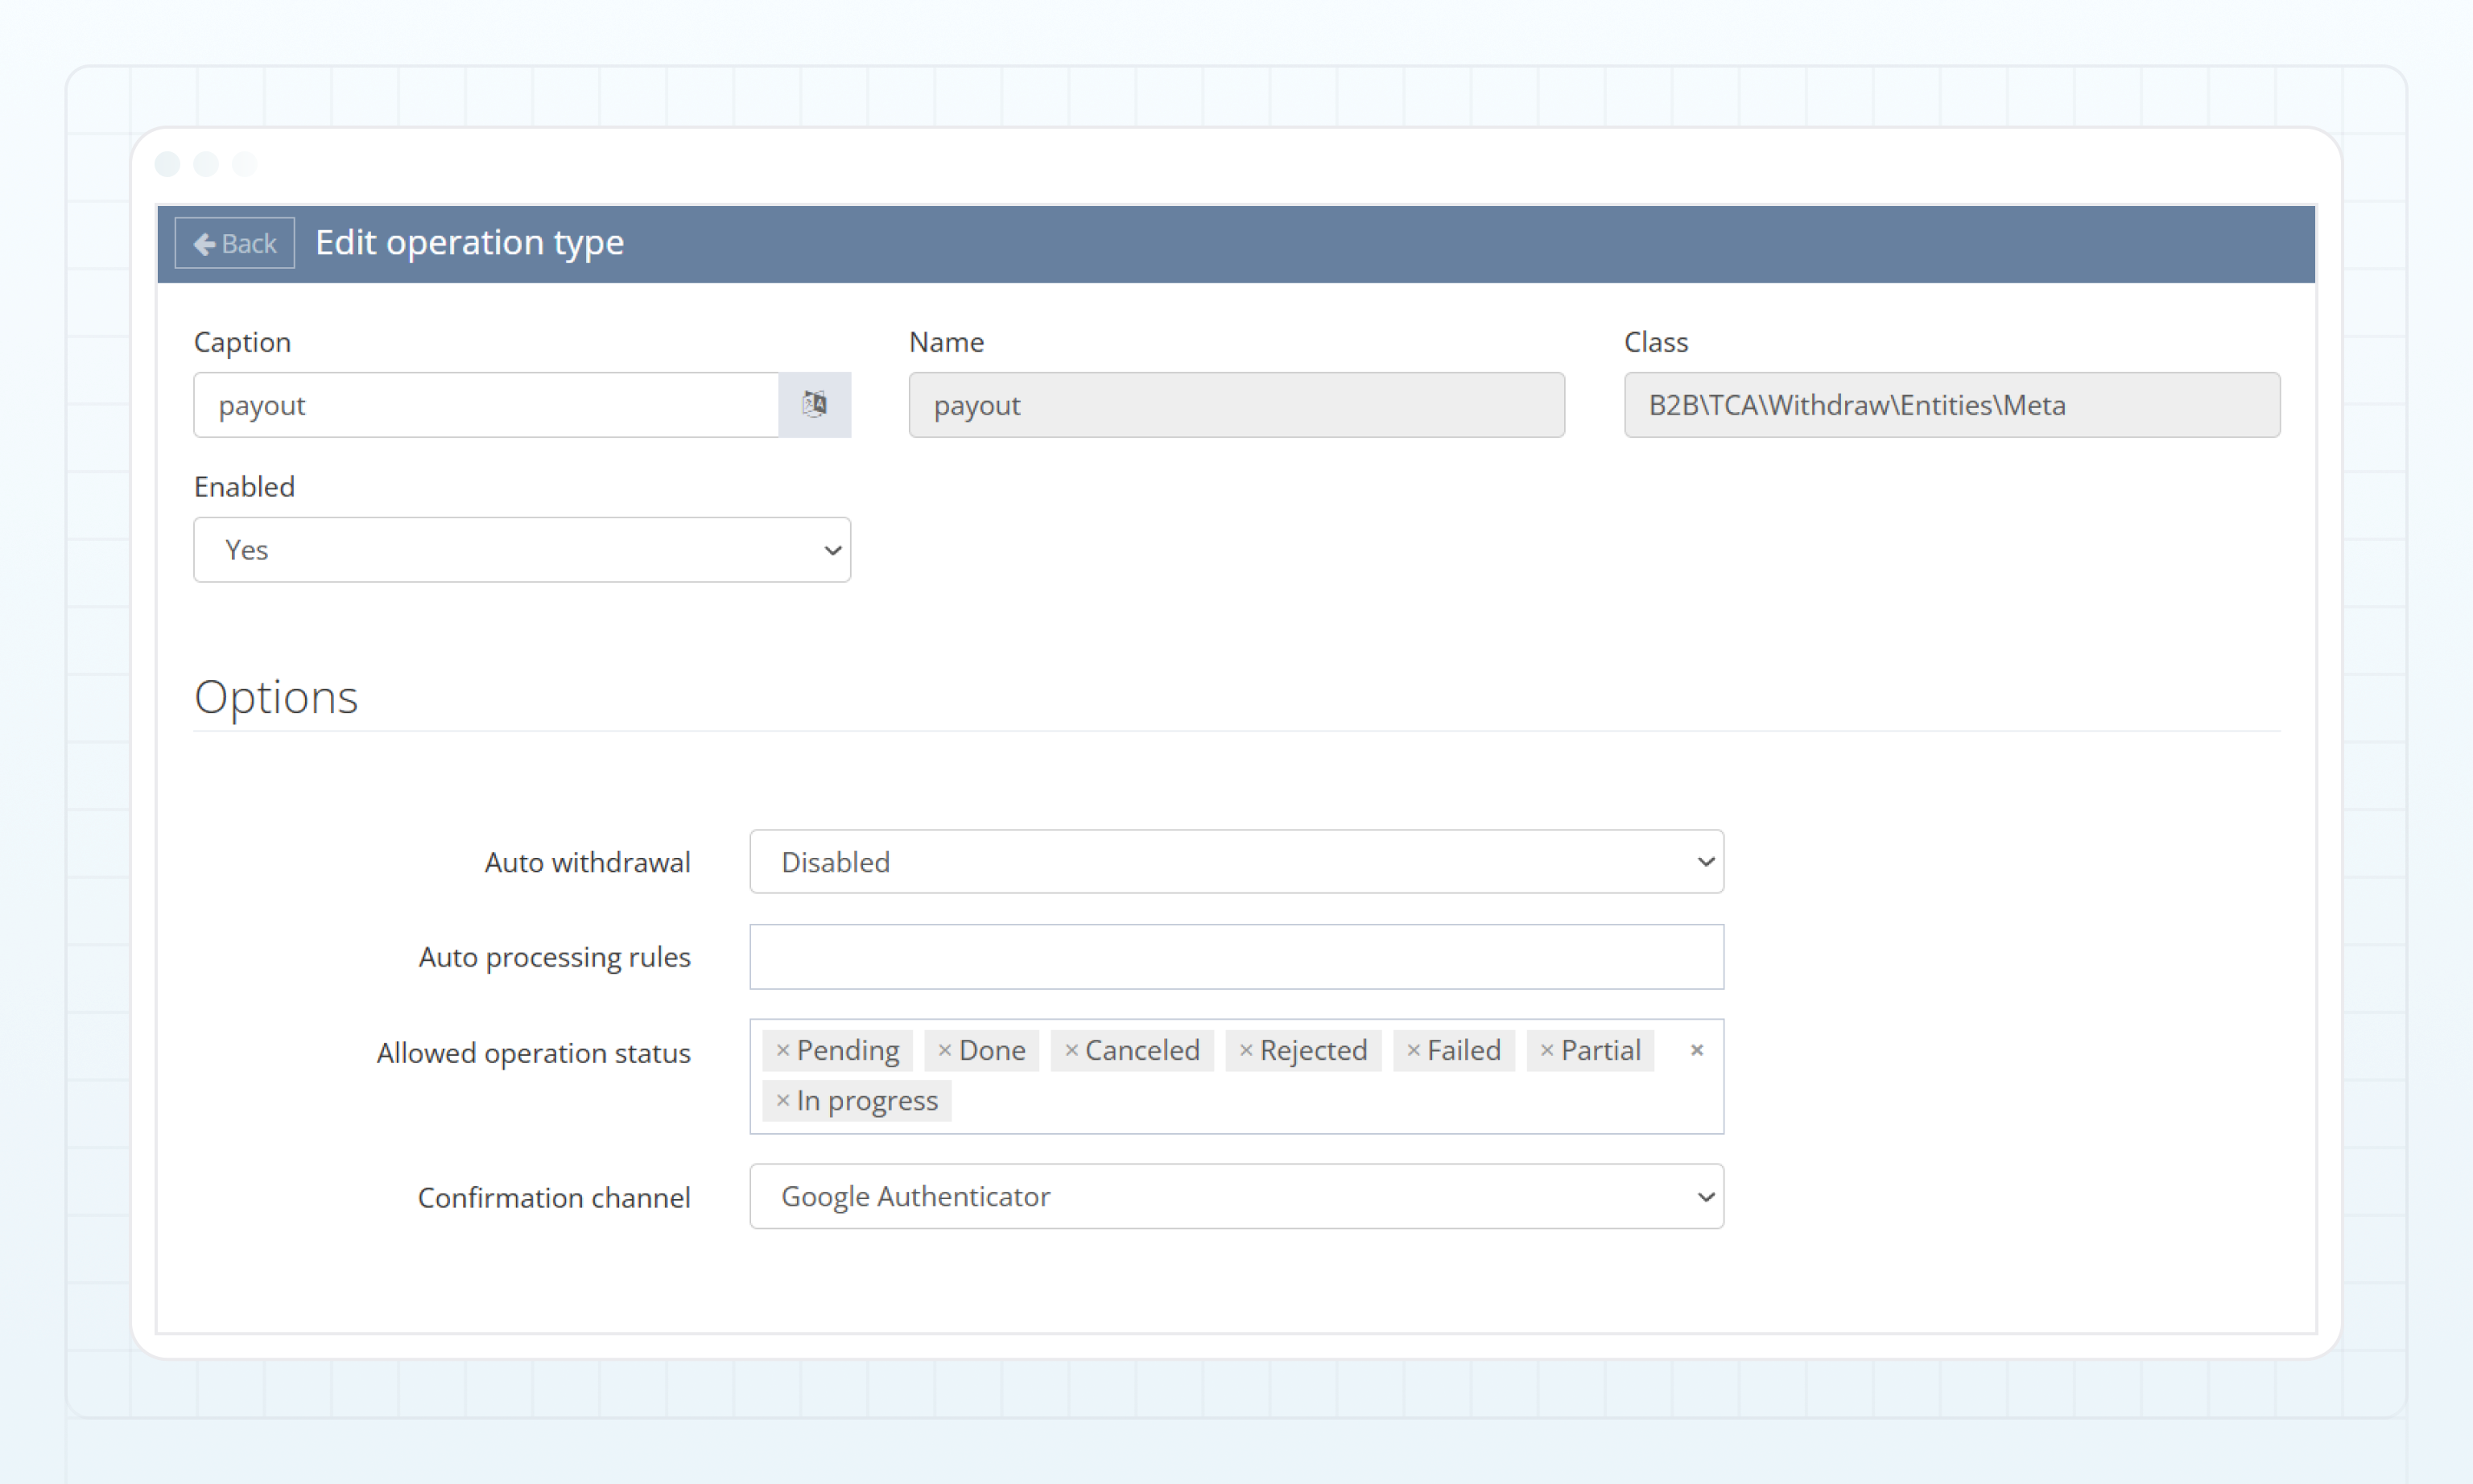
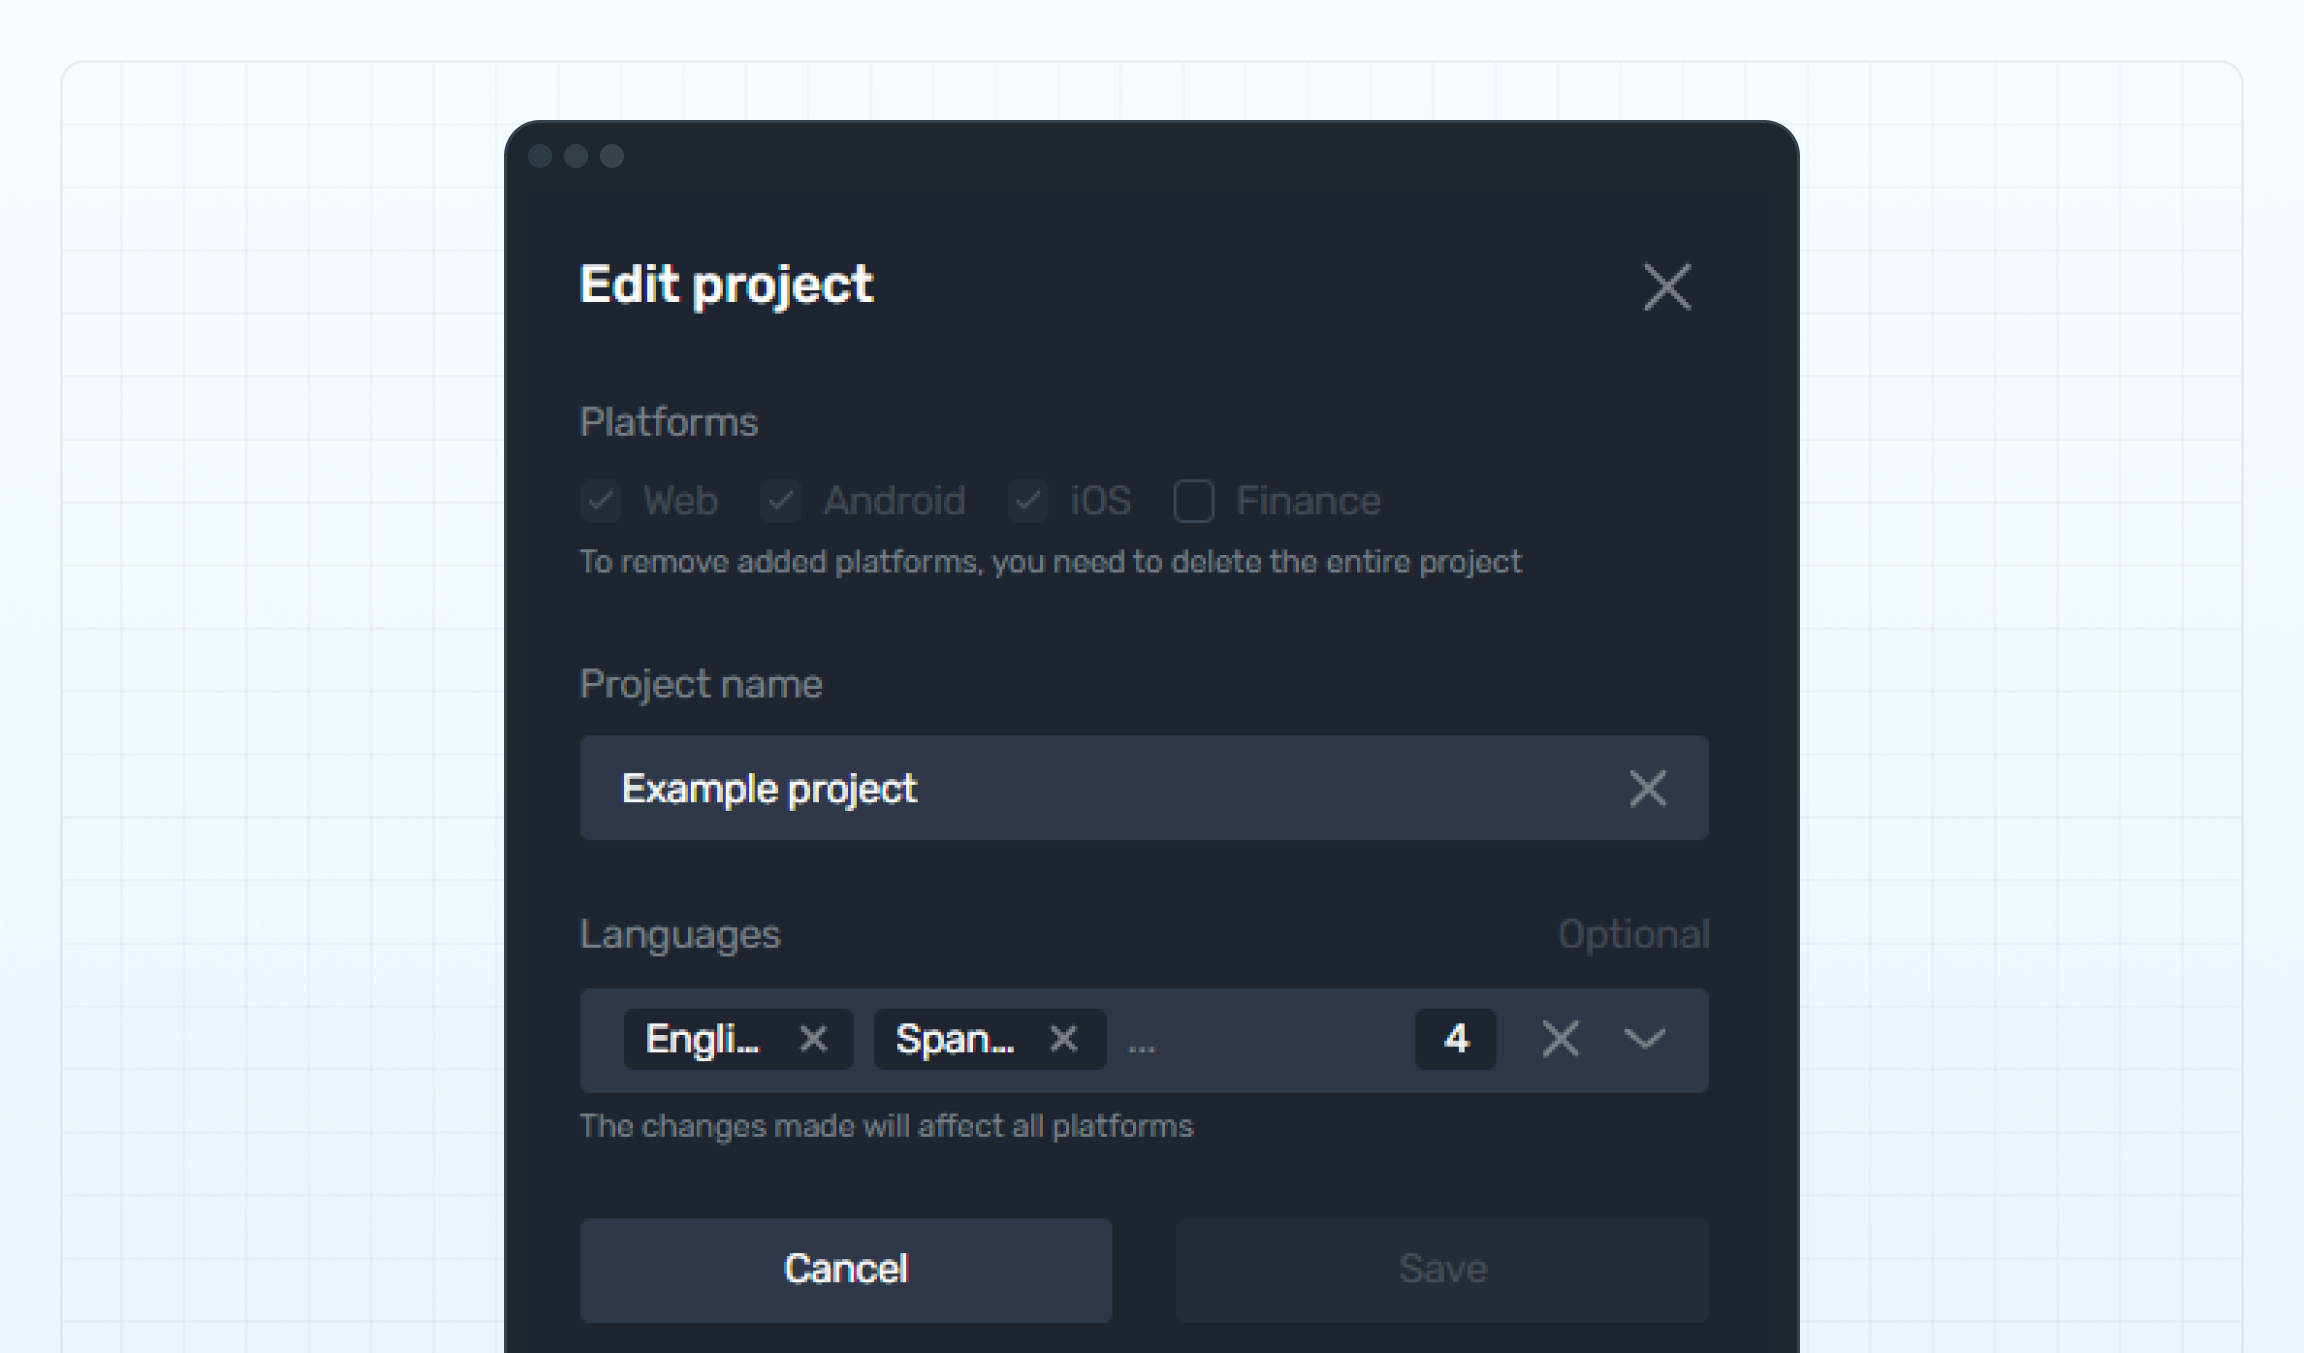
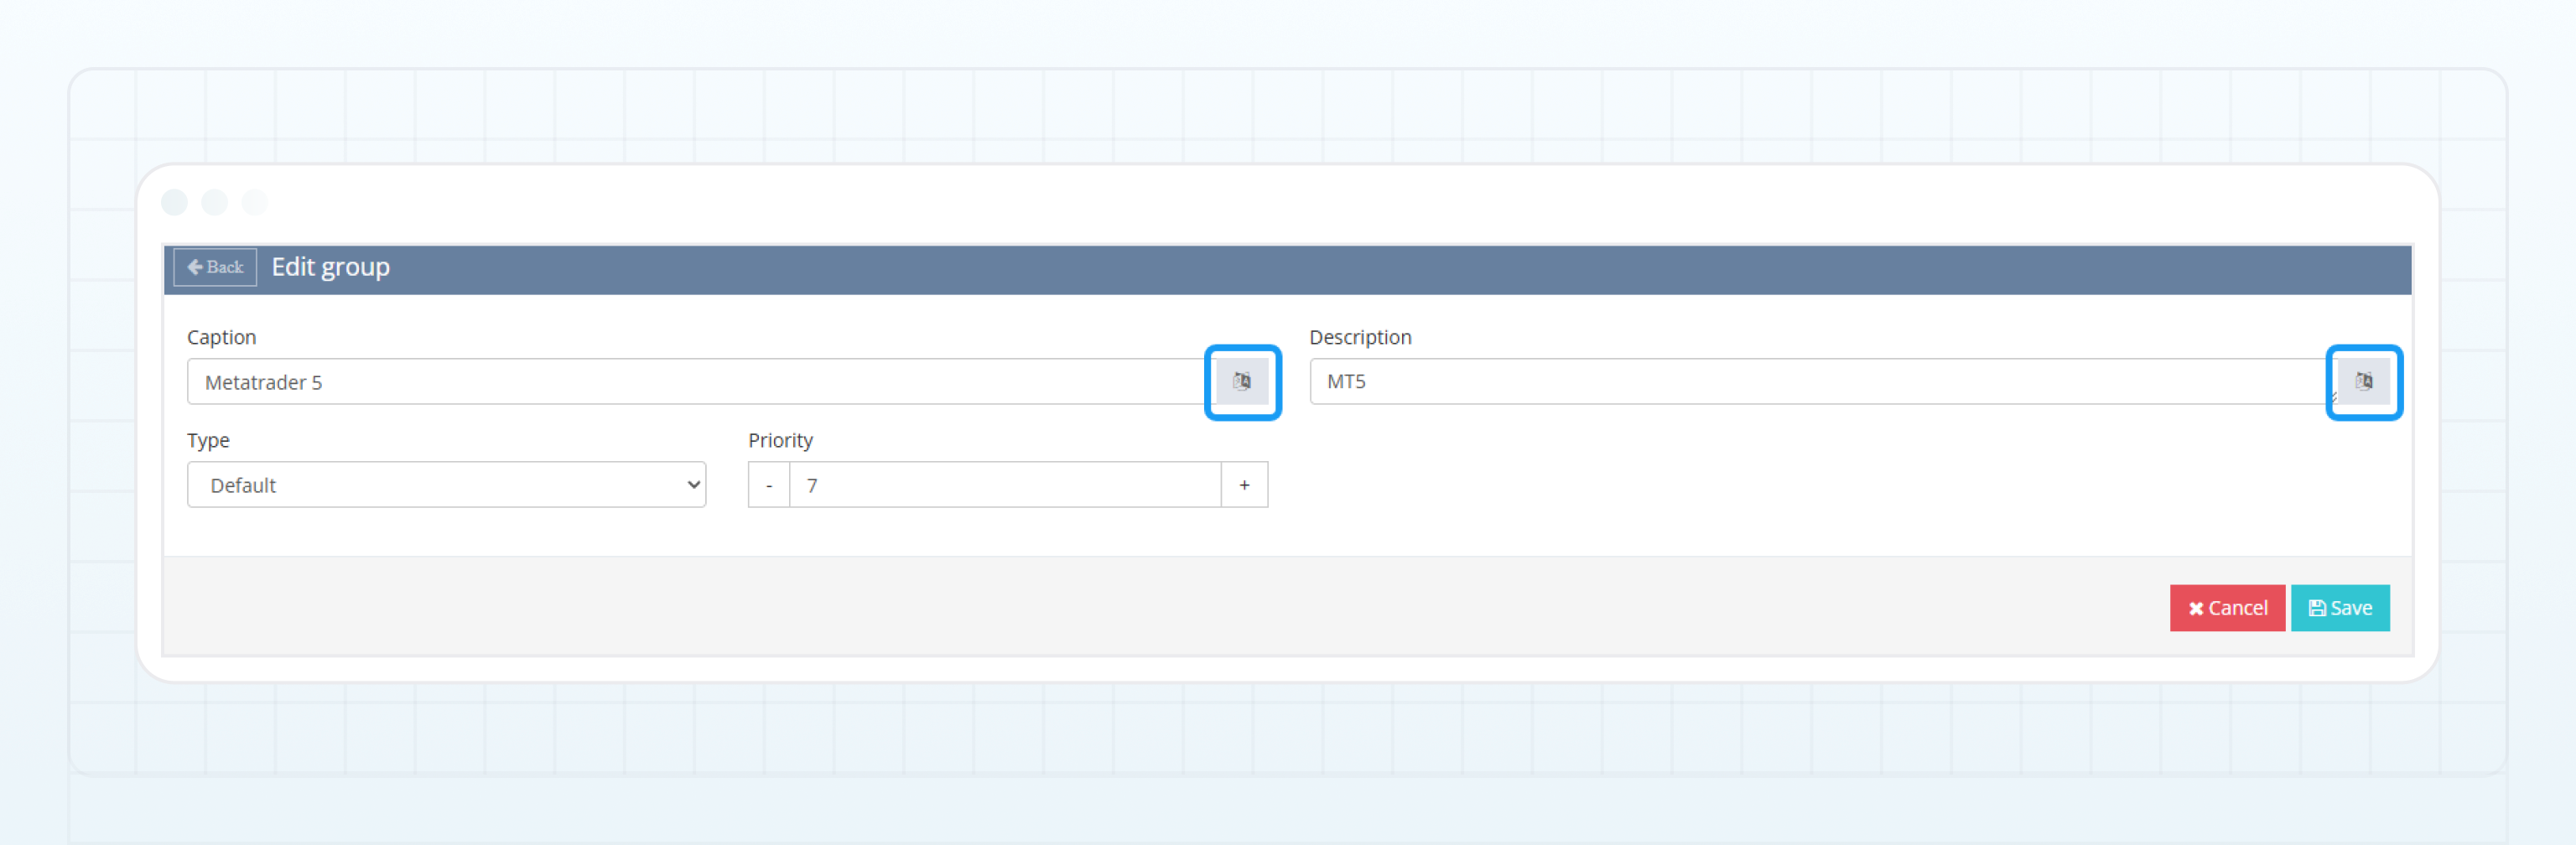 ## Problem [#problem]
After signing in to the B2CORE UI and completing 2FA (if enabled), a client encounters the `404 Not Found` error and sees a blank page.
## Possible reasons [#possible-reasons]
This issue may occur if the client doesn't have permissions to view the main menu due to restrictions based on **verification level** or **client type**.
## Solution [#solution]
To check and update the main menu visibility settings:
## Problem [#problem]
After signing in to the B2CORE UI and completing 2FA (if enabled), a client encounters the `404 Not Found` error and sees a blank page.
## Possible reasons [#possible-reasons]
This issue may occur if the client doesn't have permissions to view the main menu due to restrictions based on **verification level** or **client type**.
## Solution [#solution]
To check and update the main menu visibility settings:
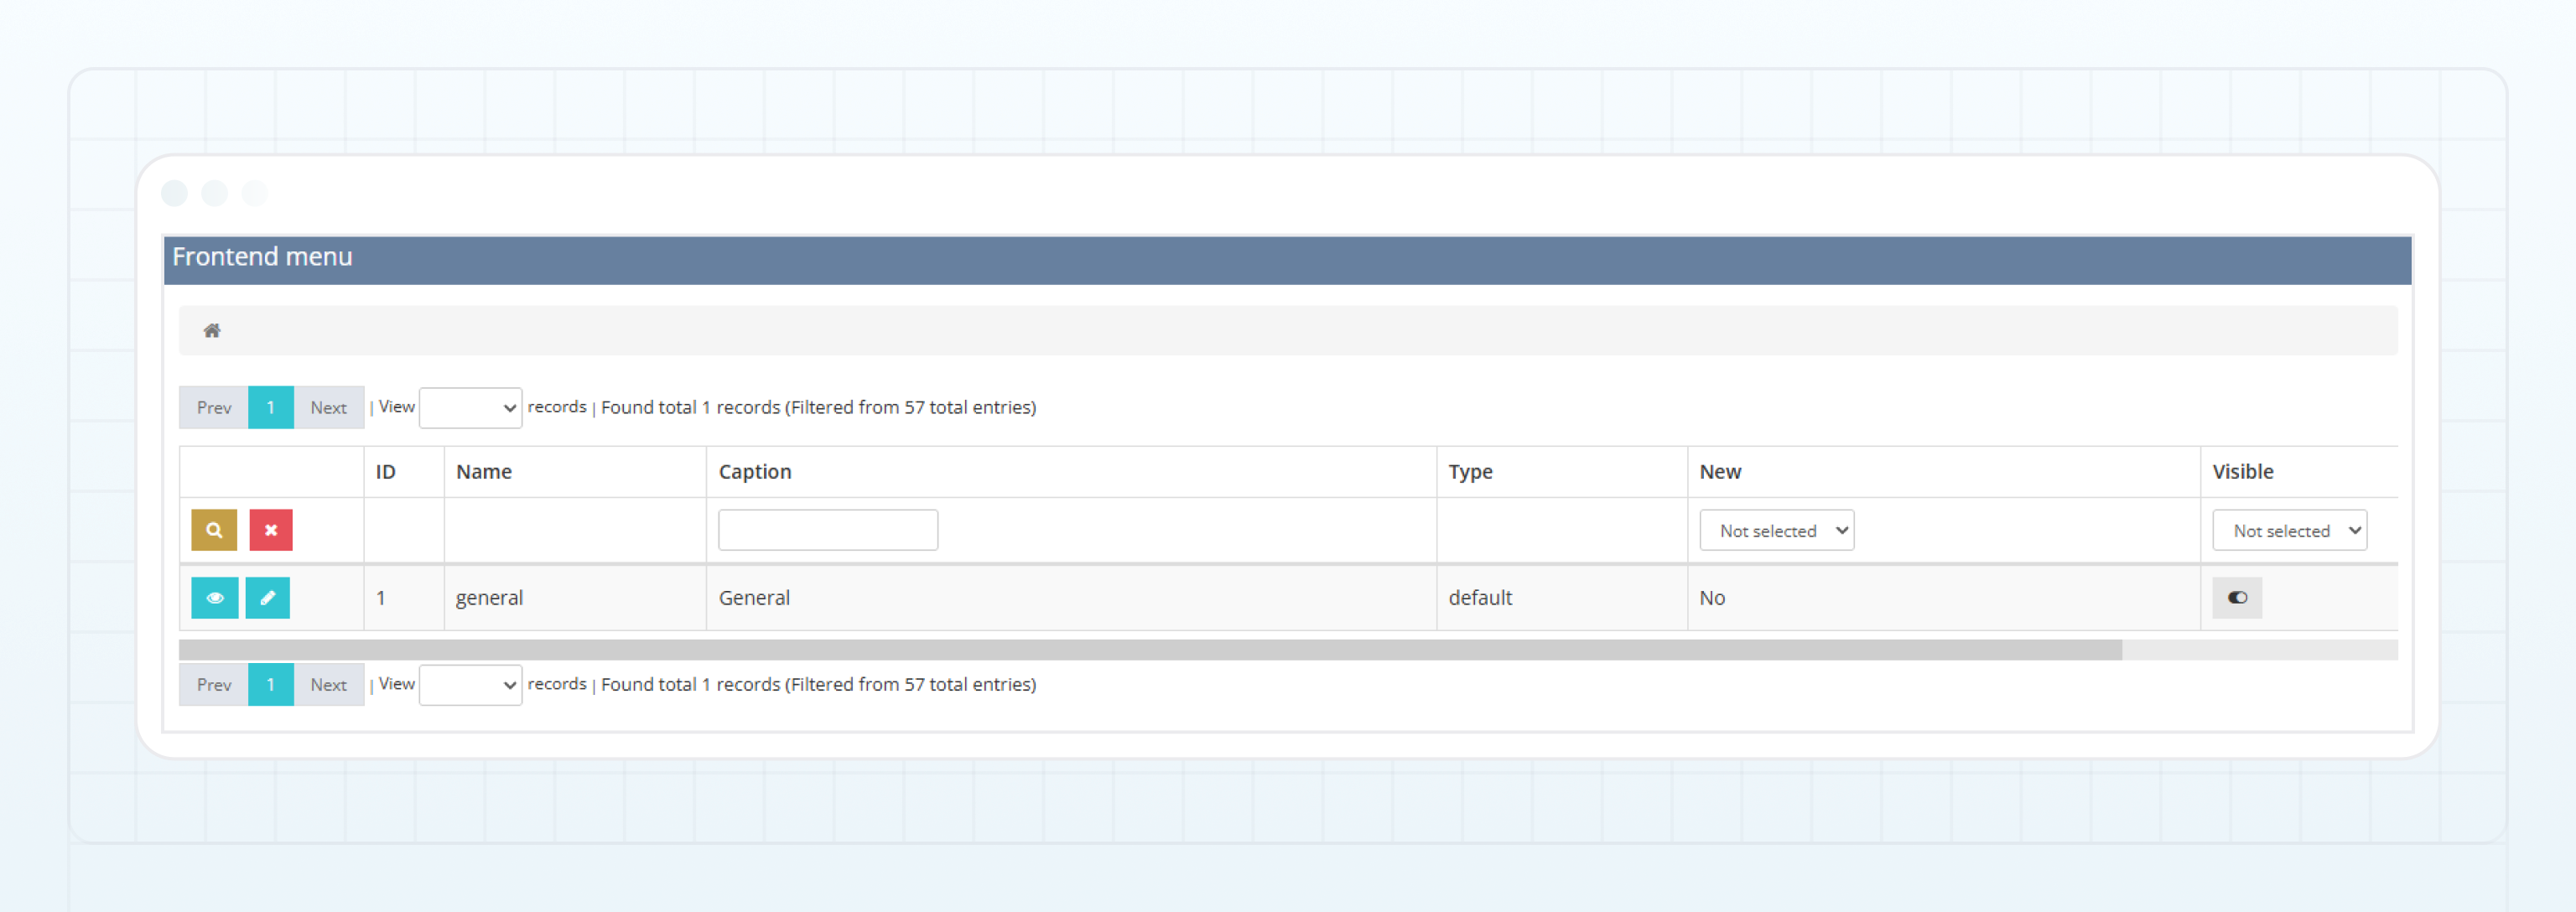
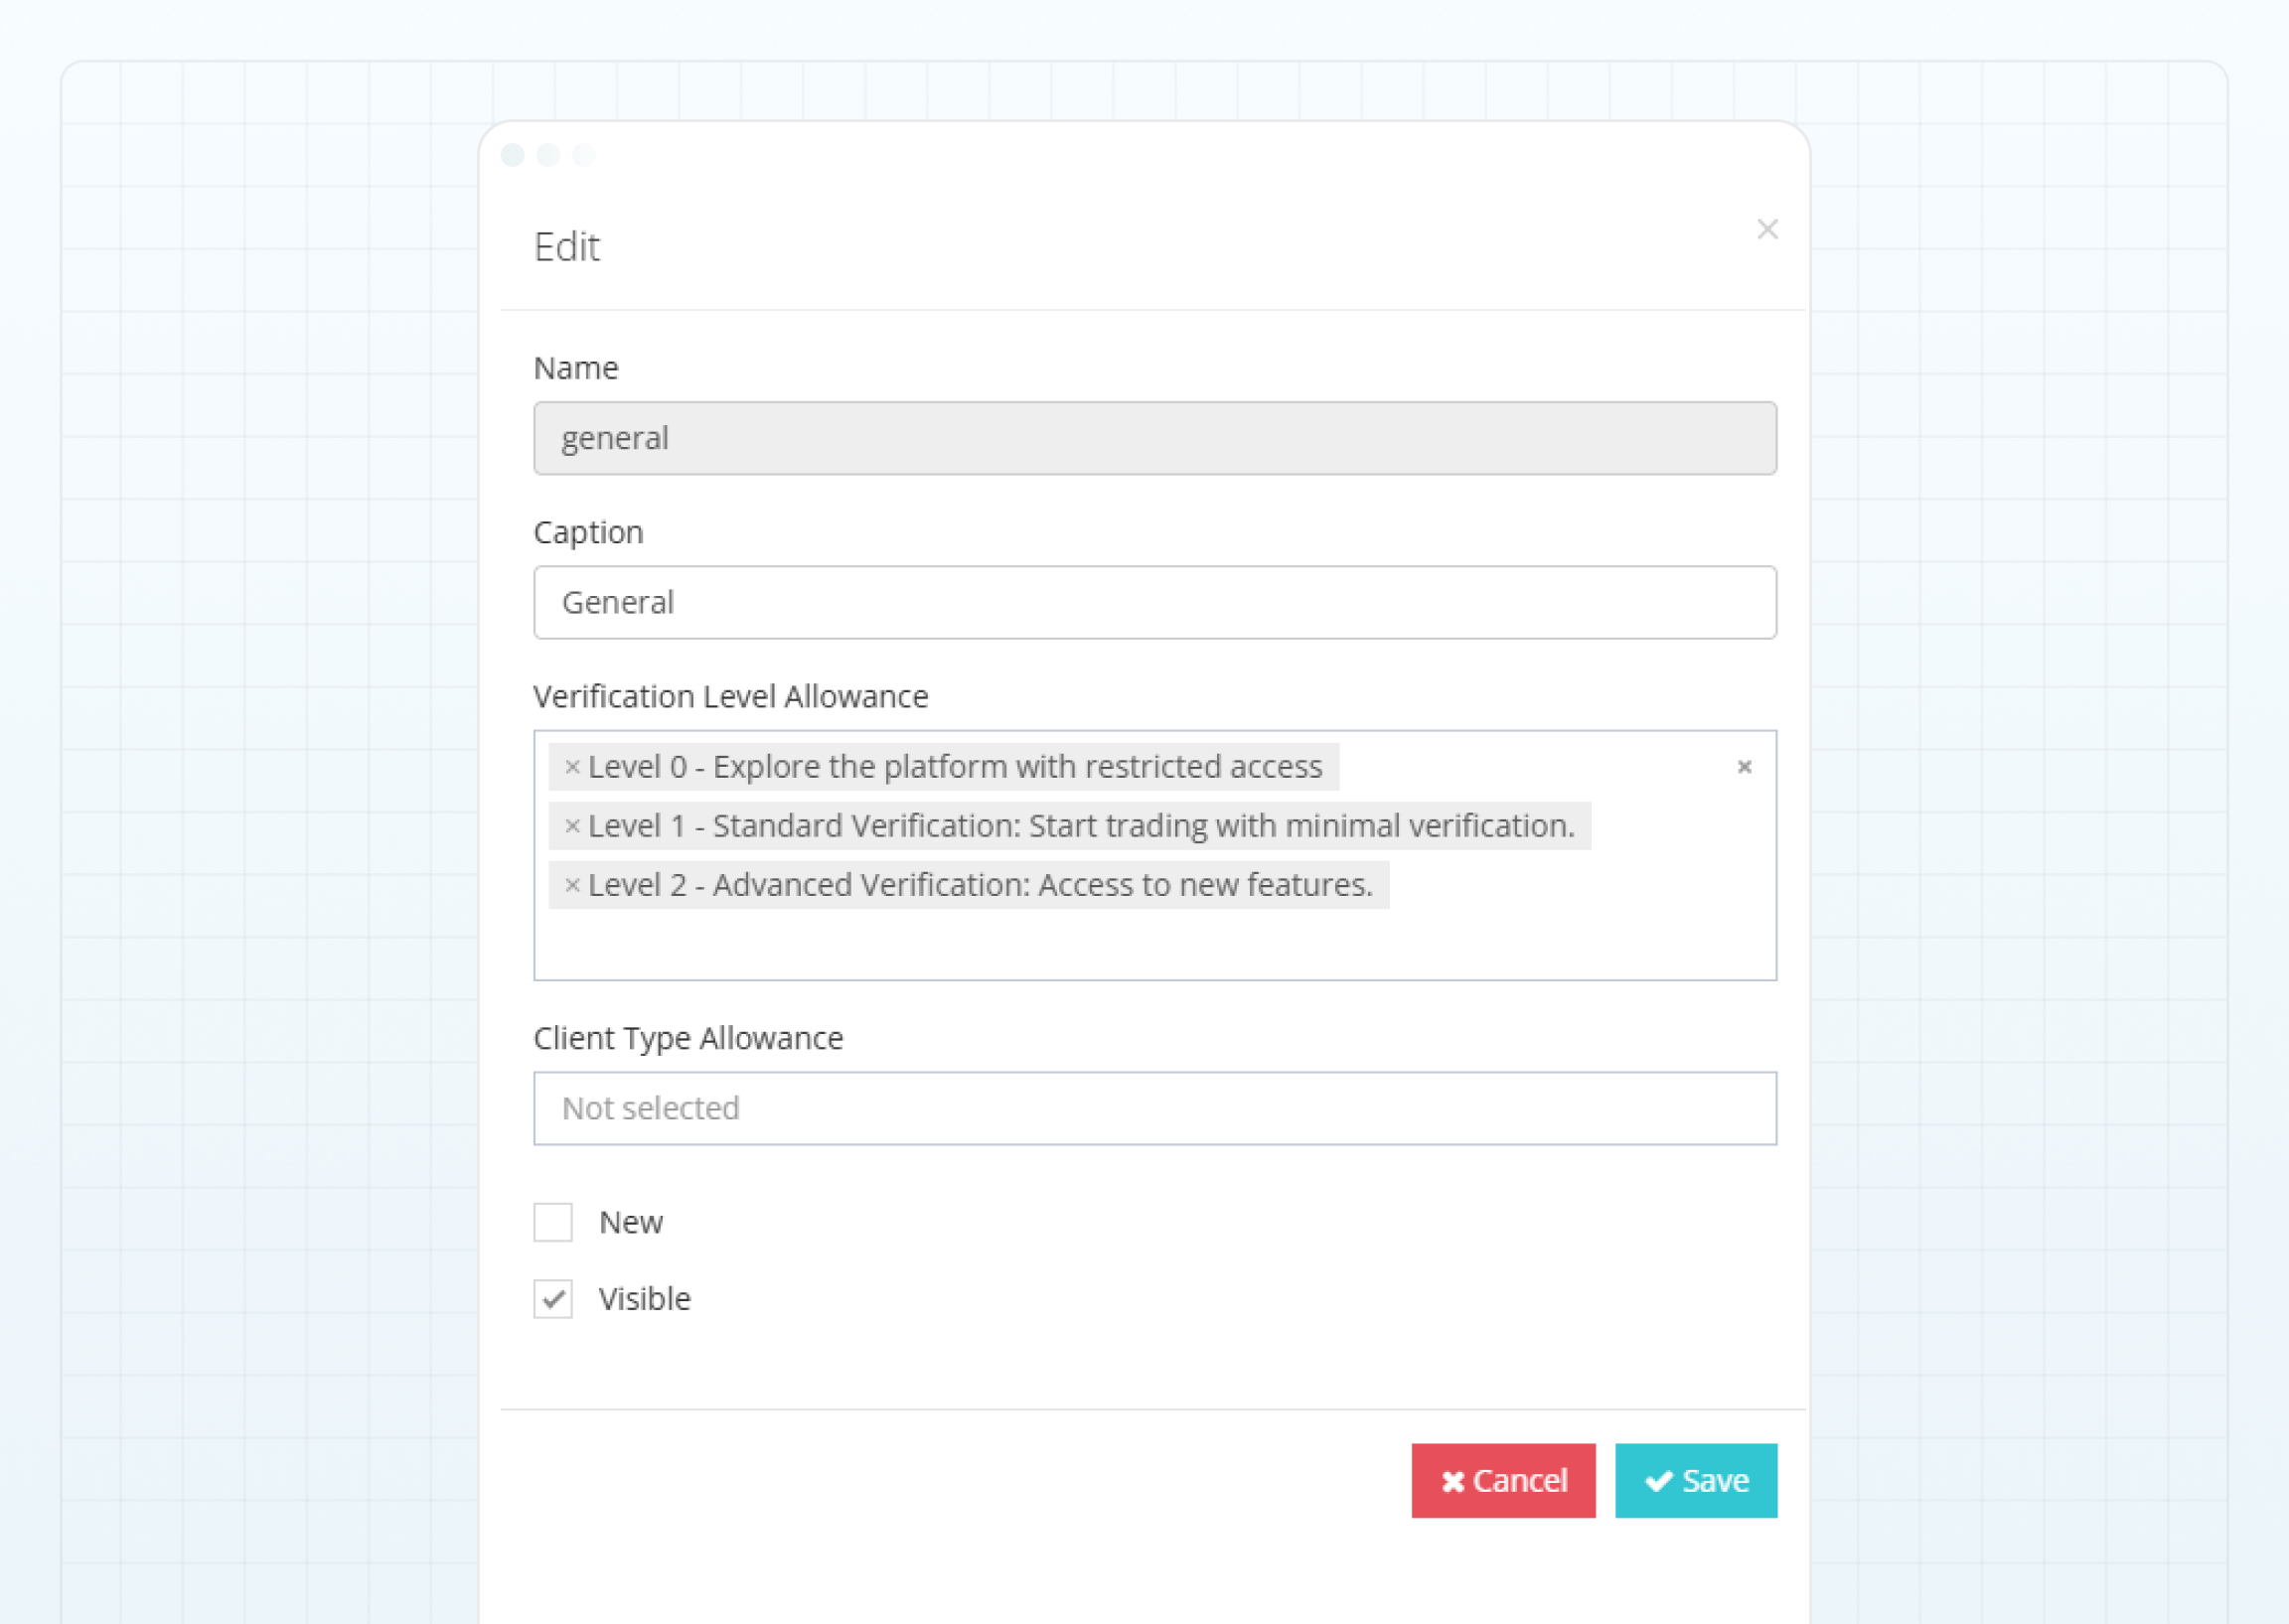
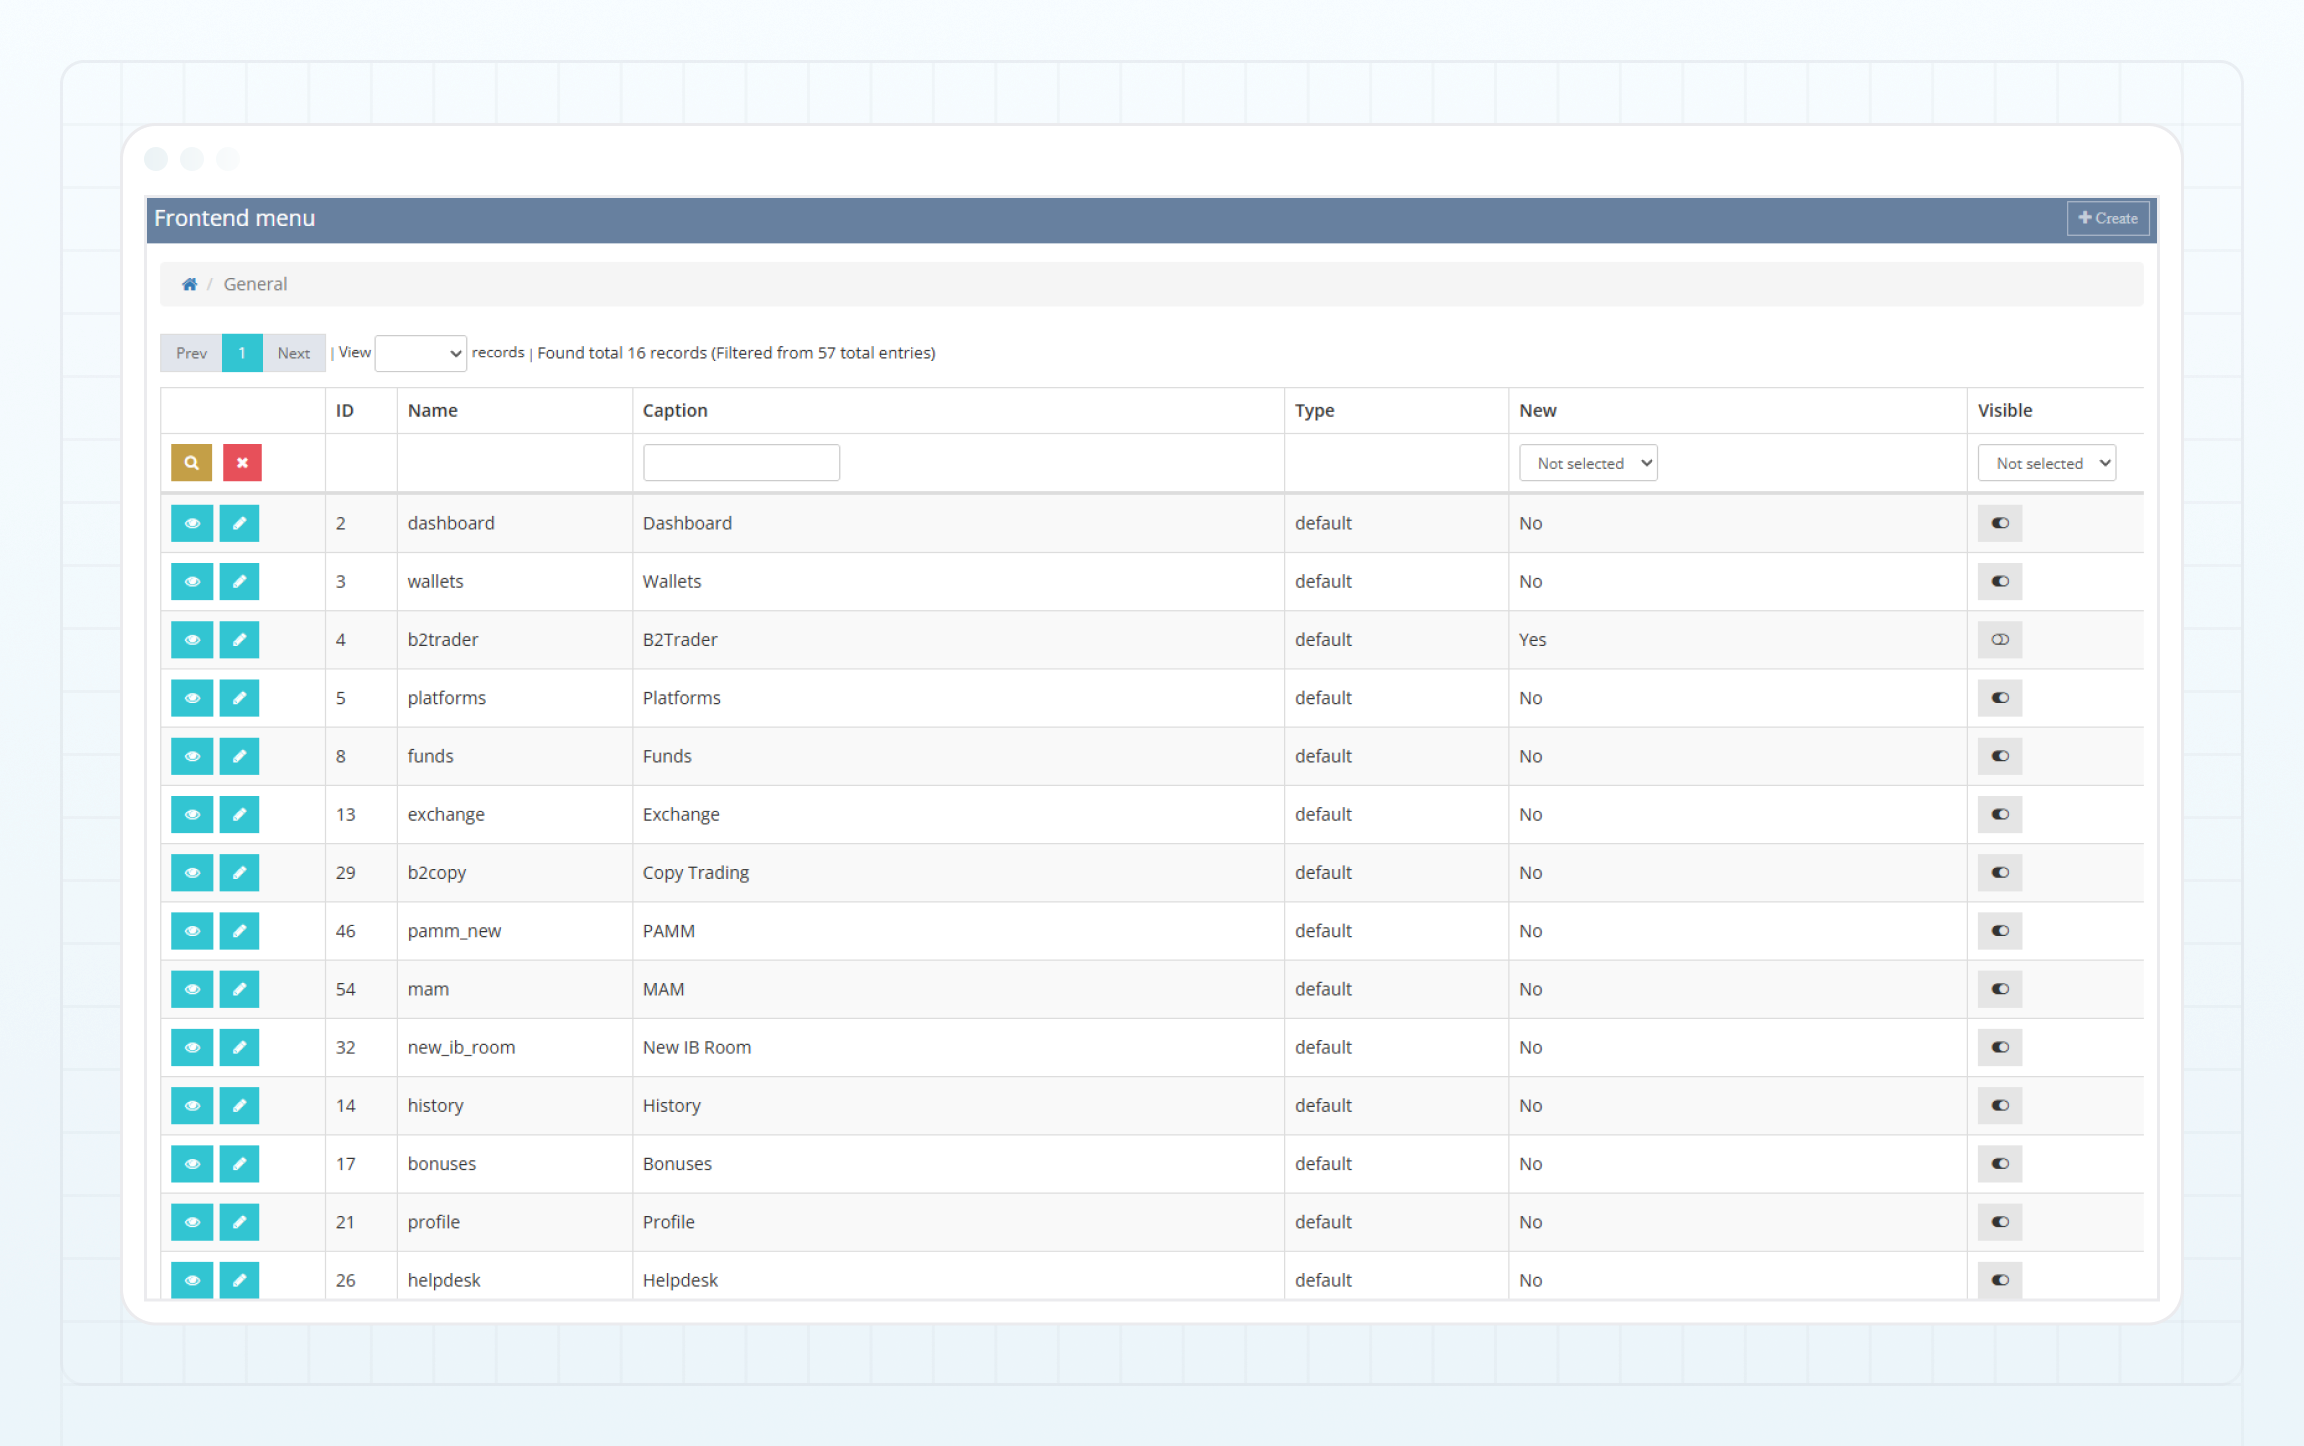
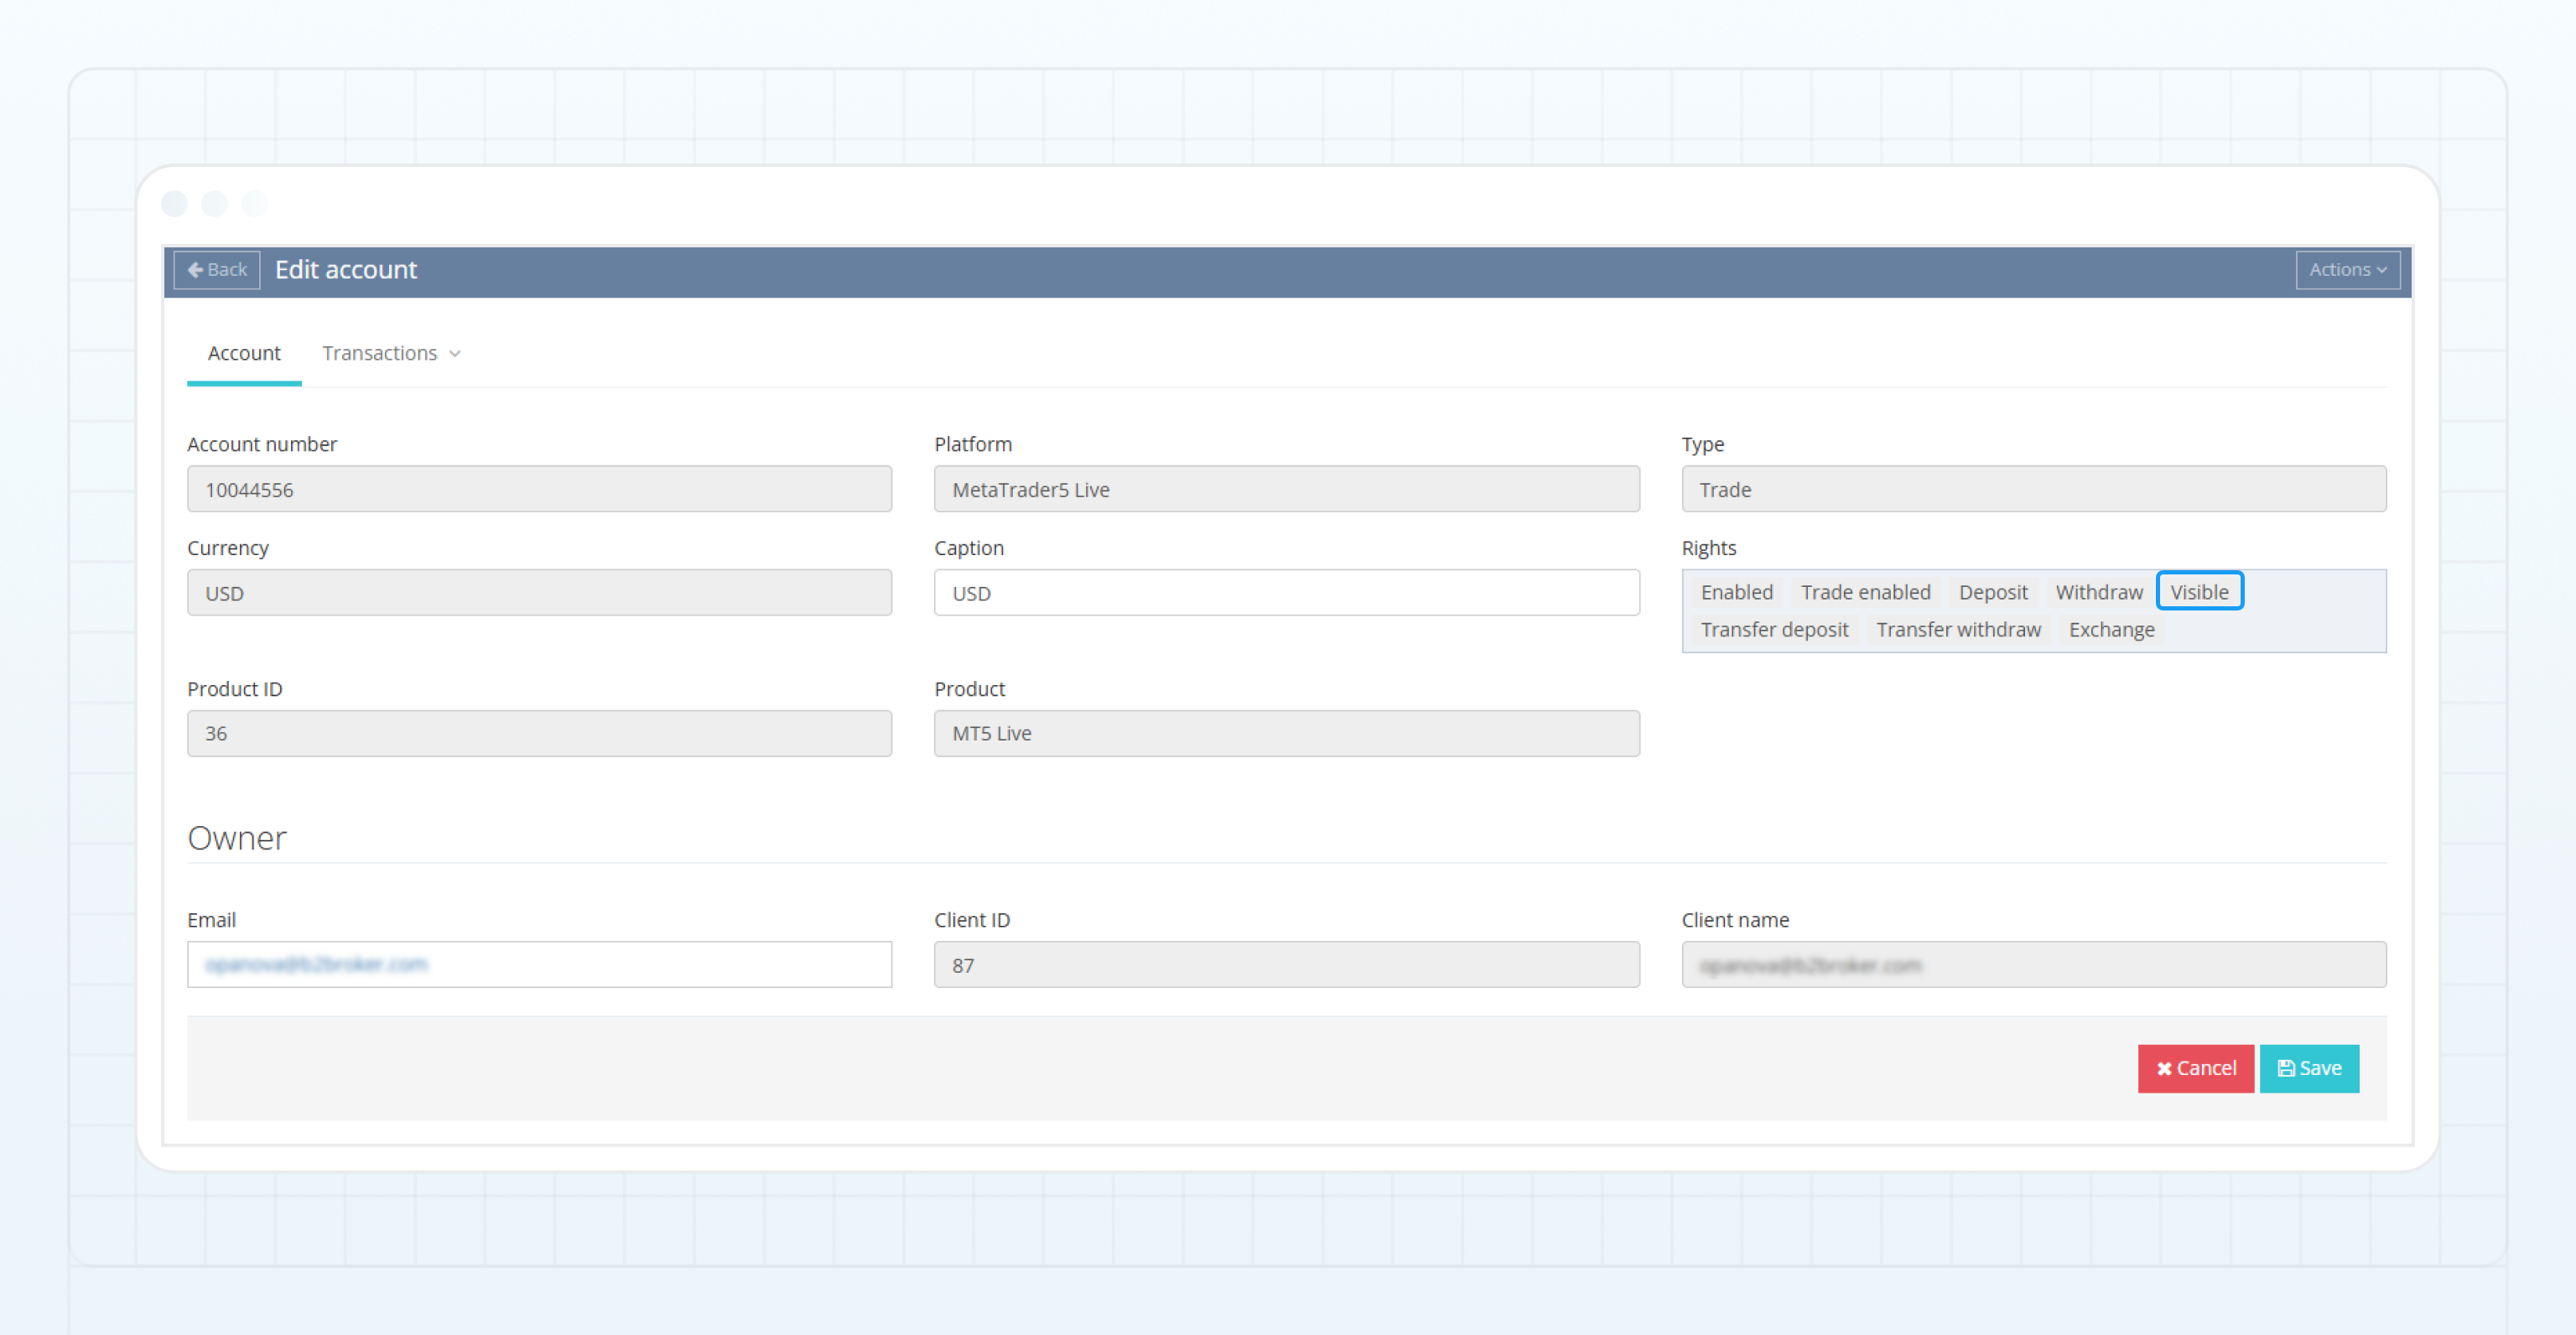
 — click it to expand or collapse the main menu.
*
— click it to expand or collapse the main menu.
*  — click it to see the events that were scheduled for Admins in the **Event Calendar**. The number of upcoming events is displayed on a counter badge.
*
— click it to see the events that were scheduled for Admins in the **Event Calendar**. The number of upcoming events is displayed on a counter badge.
*  — click it to see pending client requests. The number of new requests is displayed on a counter badge.
* **Language** **menu** — click it to select the interface language.
* **User profile pane** — click this panel to access the **Log out** button.
## Common buttons and icons [#common-buttons-and-icons]
The following buttons can be found on most Back Office pages.
* the **Create** button — used to add a new entry.
* the **Export** button — used to export table data to a CSV file.
* the **Import** button — used to import an XLSX or a CSV data file.
*
— click it to see pending client requests. The number of new requests is displayed on a counter badge.
* **Language** **menu** — click it to select the interface language.
* **User profile pane** — click this panel to access the **Log out** button.
## Common buttons and icons [#common-buttons-and-icons]
The following buttons can be found on most Back Office pages.
* the **Create** button — used to add a new entry.
* the **Export** button — used to export table data to a CSV file.
* the **Import** button — used to import an XLSX or a CSV data file.
*  — used to apply custom filters.
*
— used to apply custom filters.
*  — used to reset custom filters.
*
— used to reset custom filters.
*  — used to access details.
*
— used to access details.
*  — used to delete an entry.
Page elements may serve as hyperlinks which can be clicked to drill down to details. Access to this data is maintained based on the permissions assigned to a particular user group.
## Filtering [#filtering]
Throughout the Back Office, the data is typically organized in tables that can be filtered.
You can specify multiple criteria for filtering column data.
When filtering is available, the appropriate input fields are displayed in column headers. The inputs vary depending on a data format, such as text, number, date, time, or list.
To facilitate filtering by date, two fields for the start and end dates may be displayed so that you can define a time period.
To enable or disable filters, click
— used to delete an entry.
Page elements may serve as hyperlinks which can be clicked to drill down to details. Access to this data is maintained based on the permissions assigned to a particular user group.
## Filtering [#filtering]
Throughout the Back Office, the data is typically organized in tables that can be filtered.
You can specify multiple criteria for filtering column data.
When filtering is available, the appropriate input fields are displayed in column headers. The inputs vary depending on a data format, such as text, number, date, time, or list.
To facilitate filtering by date, two fields for the start and end dates may be displayed so that you can define a time period.
To enable or disable filters, click  displayed in column headers (no arrows are displayed when sorting isn't available). You can click these arrows to sort data in an ascending (
 ) or descending (
 ) order, by a single column at a time.
## Pagination [#pagination]
You can display table data across multiple pages and specify how many records to display on a page. You can also view the total number of records found.
To open the previous or next page, click the left or right arrow.
## Export and import [#export-and-import]
Some Back Office pages support data export to CSV files. This option is available on pages that contain an **Export** button above the data table.
The data in a resulting file matches the applied sorting and filtering criteria.
To export page data to a CSV file, click the **Export** button.
Some Back Office pages also support importing of CSV and XLSX files. This option is useful when you need to update the symbol settings for a partnership program.
To import data, click the **Import** button, choose the file that you want to import and click **Open**.
## Localizations [#localizations]
In the B2CORE Back Office, you can configure fields that support localizations to have multiple language options in the B2CORE UI.
Using the **localization** buttons, you can set translations for these fields into different languages.
To set localizations, click the **Localization** button next to the field, enter the translation in the supported languages and click **OK**.
Note that only enabled localizations are displayed. You can enable or disable localizations in the **System** > **Localizations** section.
View the following information for each process:
**Date**
The date and time when a process started running.
***
**Process name**
The name of a process. Possible values:
* **Clear Cache** (`cache`) — clears cache for the specified time period.
* **Cancel Payments** (`cancel`) — reverts reward payments.
* **Create Payments** (`payments`) — initiates reward payments.
* **Process Payments** (`transactions`) — processes reward transfers.
* **Run Automation** (`schedule`) — runs consequentially the full process cycle (Sync Symbols + Sync Groups + Sync Trades + Create Payments + Process Payments + Sync Accounts).
* **Run Diagnostics** (`diagnostics`) — runs diagnostics of IB services.
* **Sync Accounts** (`accounts`) — runs synchronization of [accounts](platforms/accounts) with trading platforms.
* **Sync Groups** (`groups`) — runs synchronization of [groups](platforms/groups) with trading platforms.
* **Sync Symbols** (`symbols`) — runs synchronization of [symbols](platforms/symbols) with trading platforms.
* **Sync Trades** (`trades`) — runs synchronization of [trades](platforms/trades) with trading platforms.
***
**Memory**
The amount of memory used by a process.
***
**CPU Time**
The time which it took a process to run.
***
**PID**
The process identifier.
***
**Exit code**
The process result. Possible values:
* **0** — the process completed successfully.
* **1** — the process wasn't completed due to errors.
* **2** — the process was gracefully stopped due to service maintenance.
On this page, you can monitor the synchronization pipelines that keep IB data in sync with trading platforms.
To run a synchronization manually, click the **Run process** button.
The following information is provided about each pipeline run:
**Date**
The date and time when a pipeline run started.
***
**Platform**
The trading platform for which the synchronization was run.
***
**Steps**
The synchronization steps included in the pipeline run.
***
**Status**
The current status of the pipeline run.
The weekly calendar view displays the pipeline runs by day of the week.
You can temporarily block a partner. Blocked partners don't receive rewards, their referral links can't be used.
) order, by a single column at a time.
## Pagination [#pagination]
You can display table data across multiple pages and specify how many records to display on a page. You can also view the total number of records found.
To open the previous or next page, click the left or right arrow.
## Export and import [#export-and-import]
Some Back Office pages support data export to CSV files. This option is available on pages that contain an **Export** button above the data table.
The data in a resulting file matches the applied sorting and filtering criteria.
To export page data to a CSV file, click the **Export** button.
Some Back Office pages also support importing of CSV and XLSX files. This option is useful when you need to update the symbol settings for a partnership program.
To import data, click the **Import** button, choose the file that you want to import and click **Open**.
## Localizations [#localizations]
In the B2CORE Back Office, you can configure fields that support localizations to have multiple language options in the B2CORE UI.
Using the **localization** buttons, you can set translations for these fields into different languages.
To set localizations, click the **Localization** button next to the field, enter the translation in the supported languages and click **OK**.
Note that only enabled localizations are displayed. You can enable or disable localizations in the **System** > **Localizations** section.
View the following information for each process:
**Date**
The date and time when a process started running.
***
**Process name**
The name of a process. Possible values:
* **Clear Cache** (`cache`) — clears cache for the specified time period.
* **Cancel Payments** (`cancel`) — reverts reward payments.
* **Create Payments** (`payments`) — initiates reward payments.
* **Process Payments** (`transactions`) — processes reward transfers.
* **Run Automation** (`schedule`) — runs consequentially the full process cycle (Sync Symbols + Sync Groups + Sync Trades + Create Payments + Process Payments + Sync Accounts).
* **Run Diagnostics** (`diagnostics`) — runs diagnostics of IB services.
* **Sync Accounts** (`accounts`) — runs synchronization of [accounts](platforms/accounts) with trading platforms.
* **Sync Groups** (`groups`) — runs synchronization of [groups](platforms/groups) with trading platforms.
* **Sync Symbols** (`symbols`) — runs synchronization of [symbols](platforms/symbols) with trading platforms.
* **Sync Trades** (`trades`) — runs synchronization of [trades](platforms/trades) with trading platforms.
***
**Memory**
The amount of memory used by a process.
***
**CPU Time**
The time which it took a process to run.
***
**PID**
The process identifier.
***
**Exit code**
The process result. Possible values:
* **0** — the process completed successfully.
* **1** — the process wasn't completed due to errors.
* **2** — the process was gracefully stopped due to service maintenance.
On this page, you can monitor the synchronization pipelines that keep IB data in sync with trading platforms.
To run a synchronization manually, click the **Run process** button.
The following information is provided about each pipeline run:
**Date**
The date and time when a pipeline run started.
***
**Platform**
The trading platform for which the synchronization was run.
***
**Steps**
The synchronization steps included in the pipeline run.
***
**Status**
The current status of the pipeline run.
The weekly calendar view displays the pipeline runs by day of the week.
You can temporarily block a partner. Blocked partners don't receive rewards, their referral links can't be used.
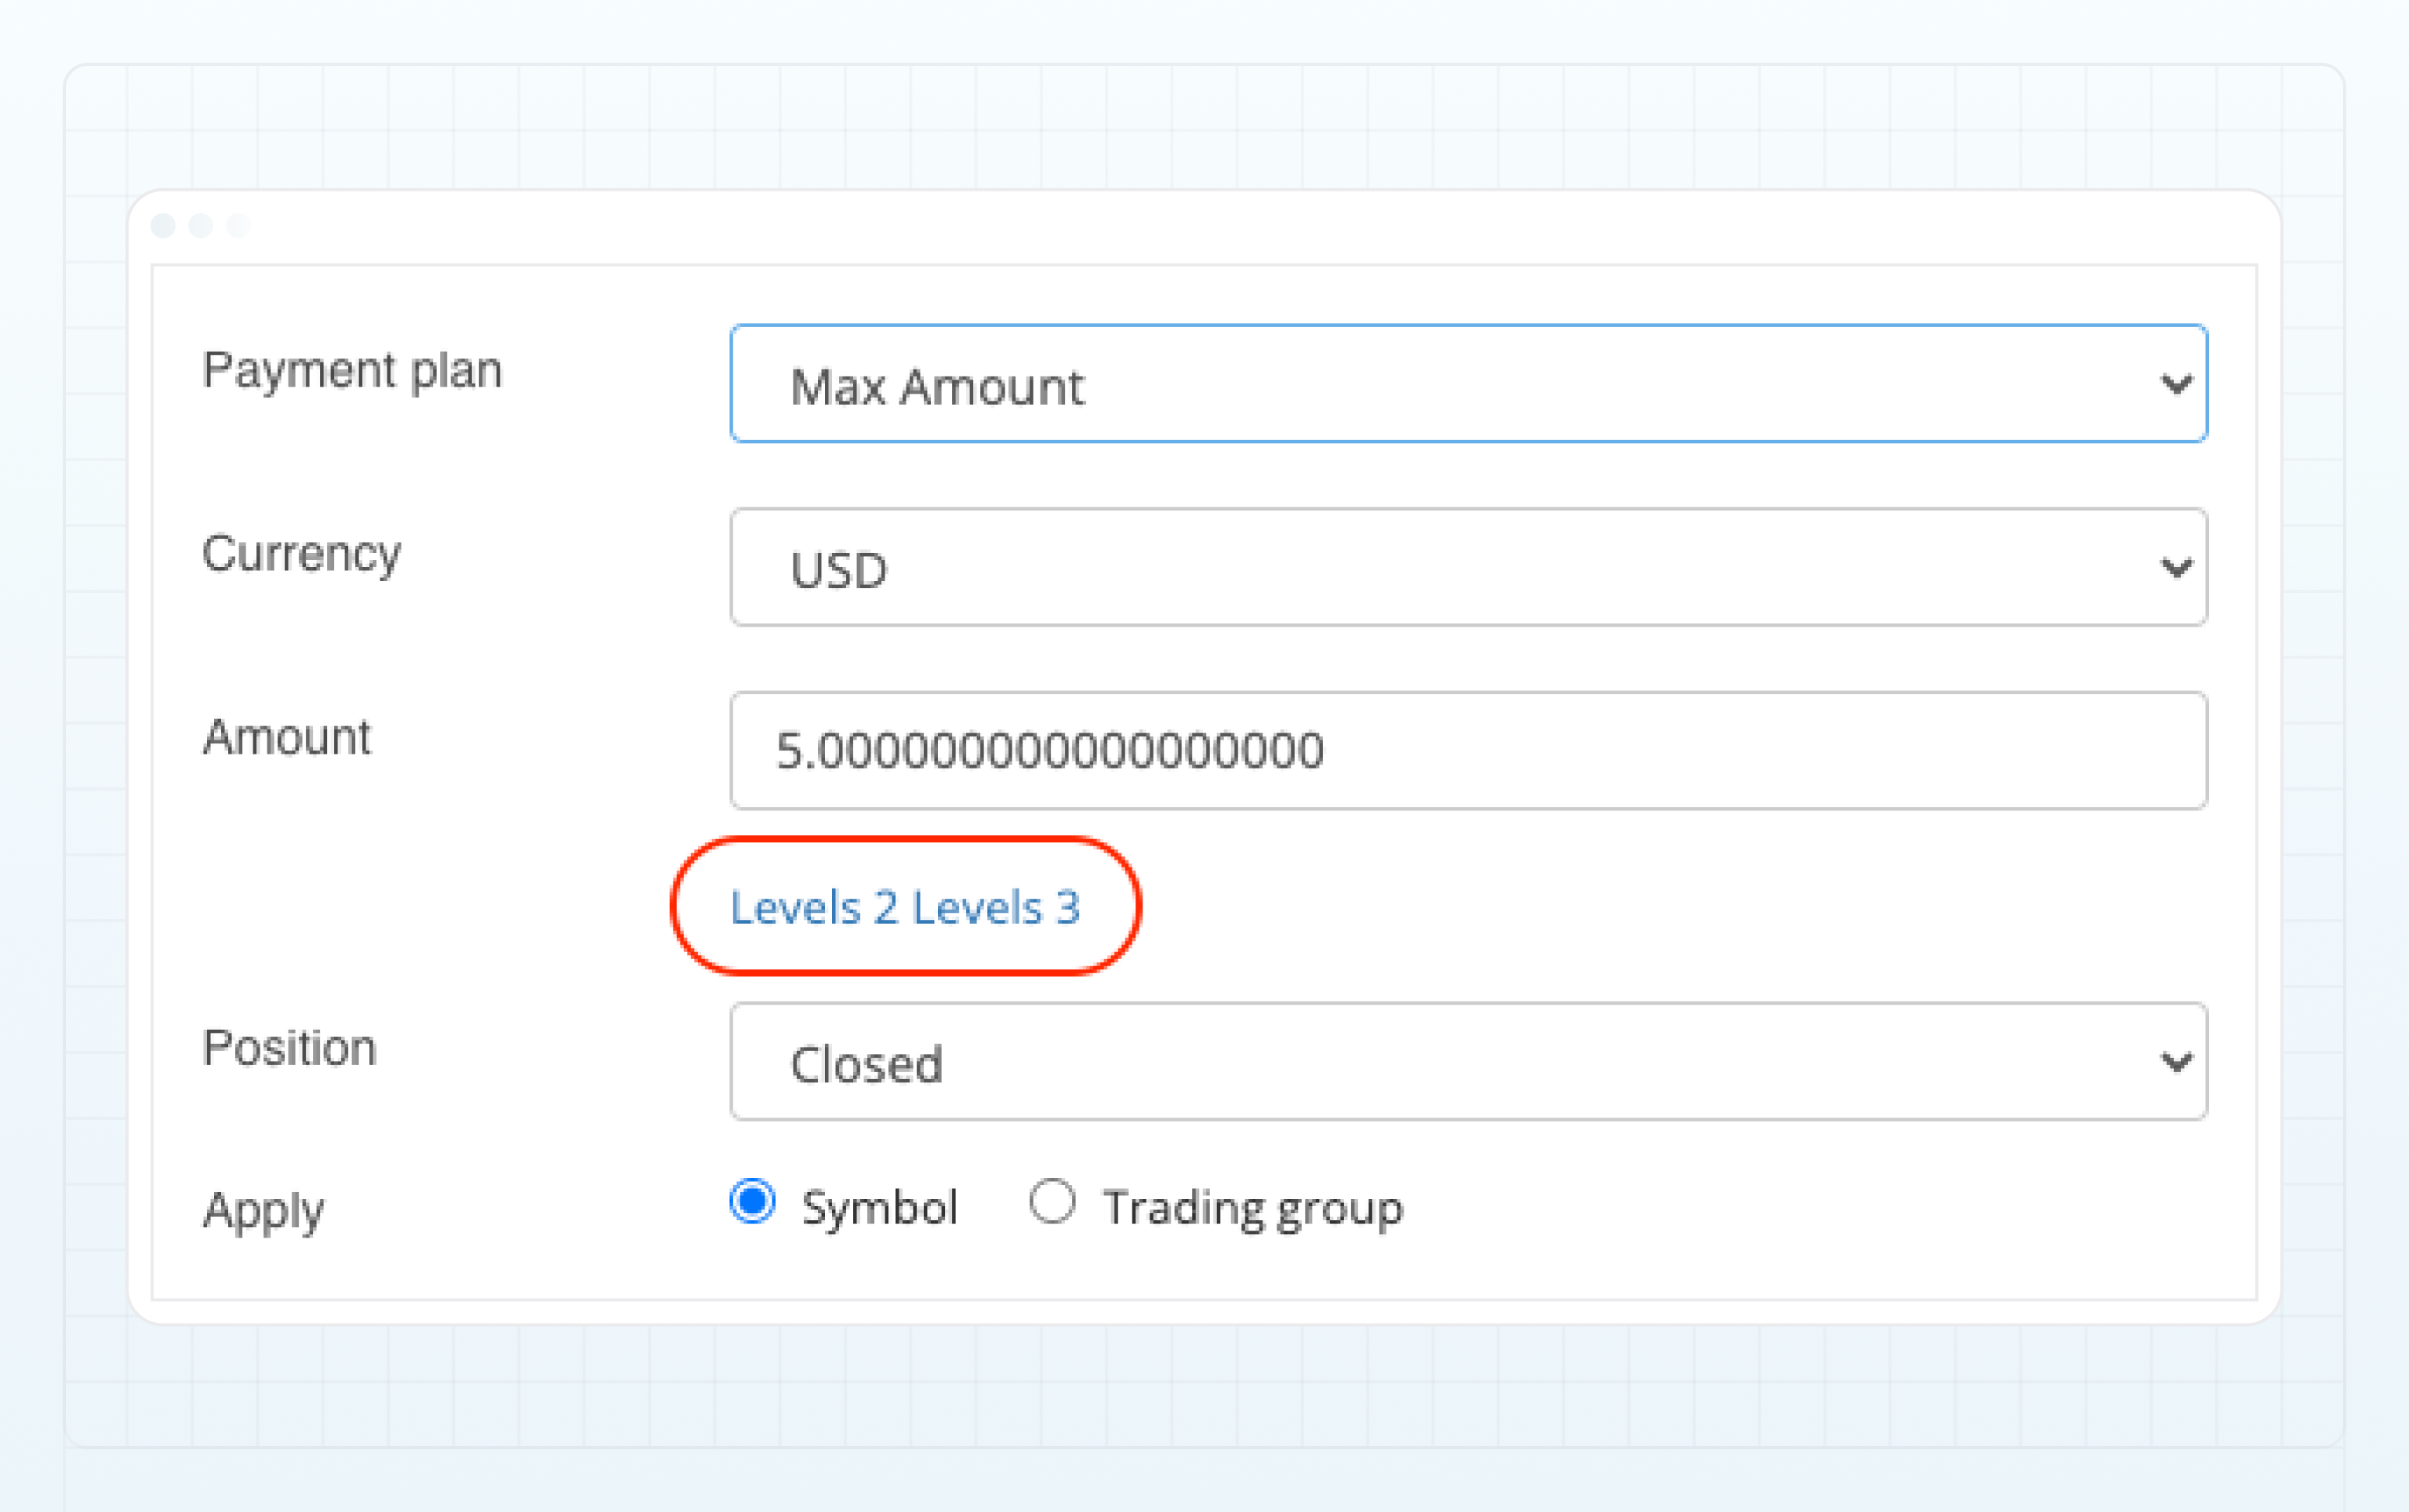 Refer to [Max amount](../payment-plans#max-amount) for a distribution example.
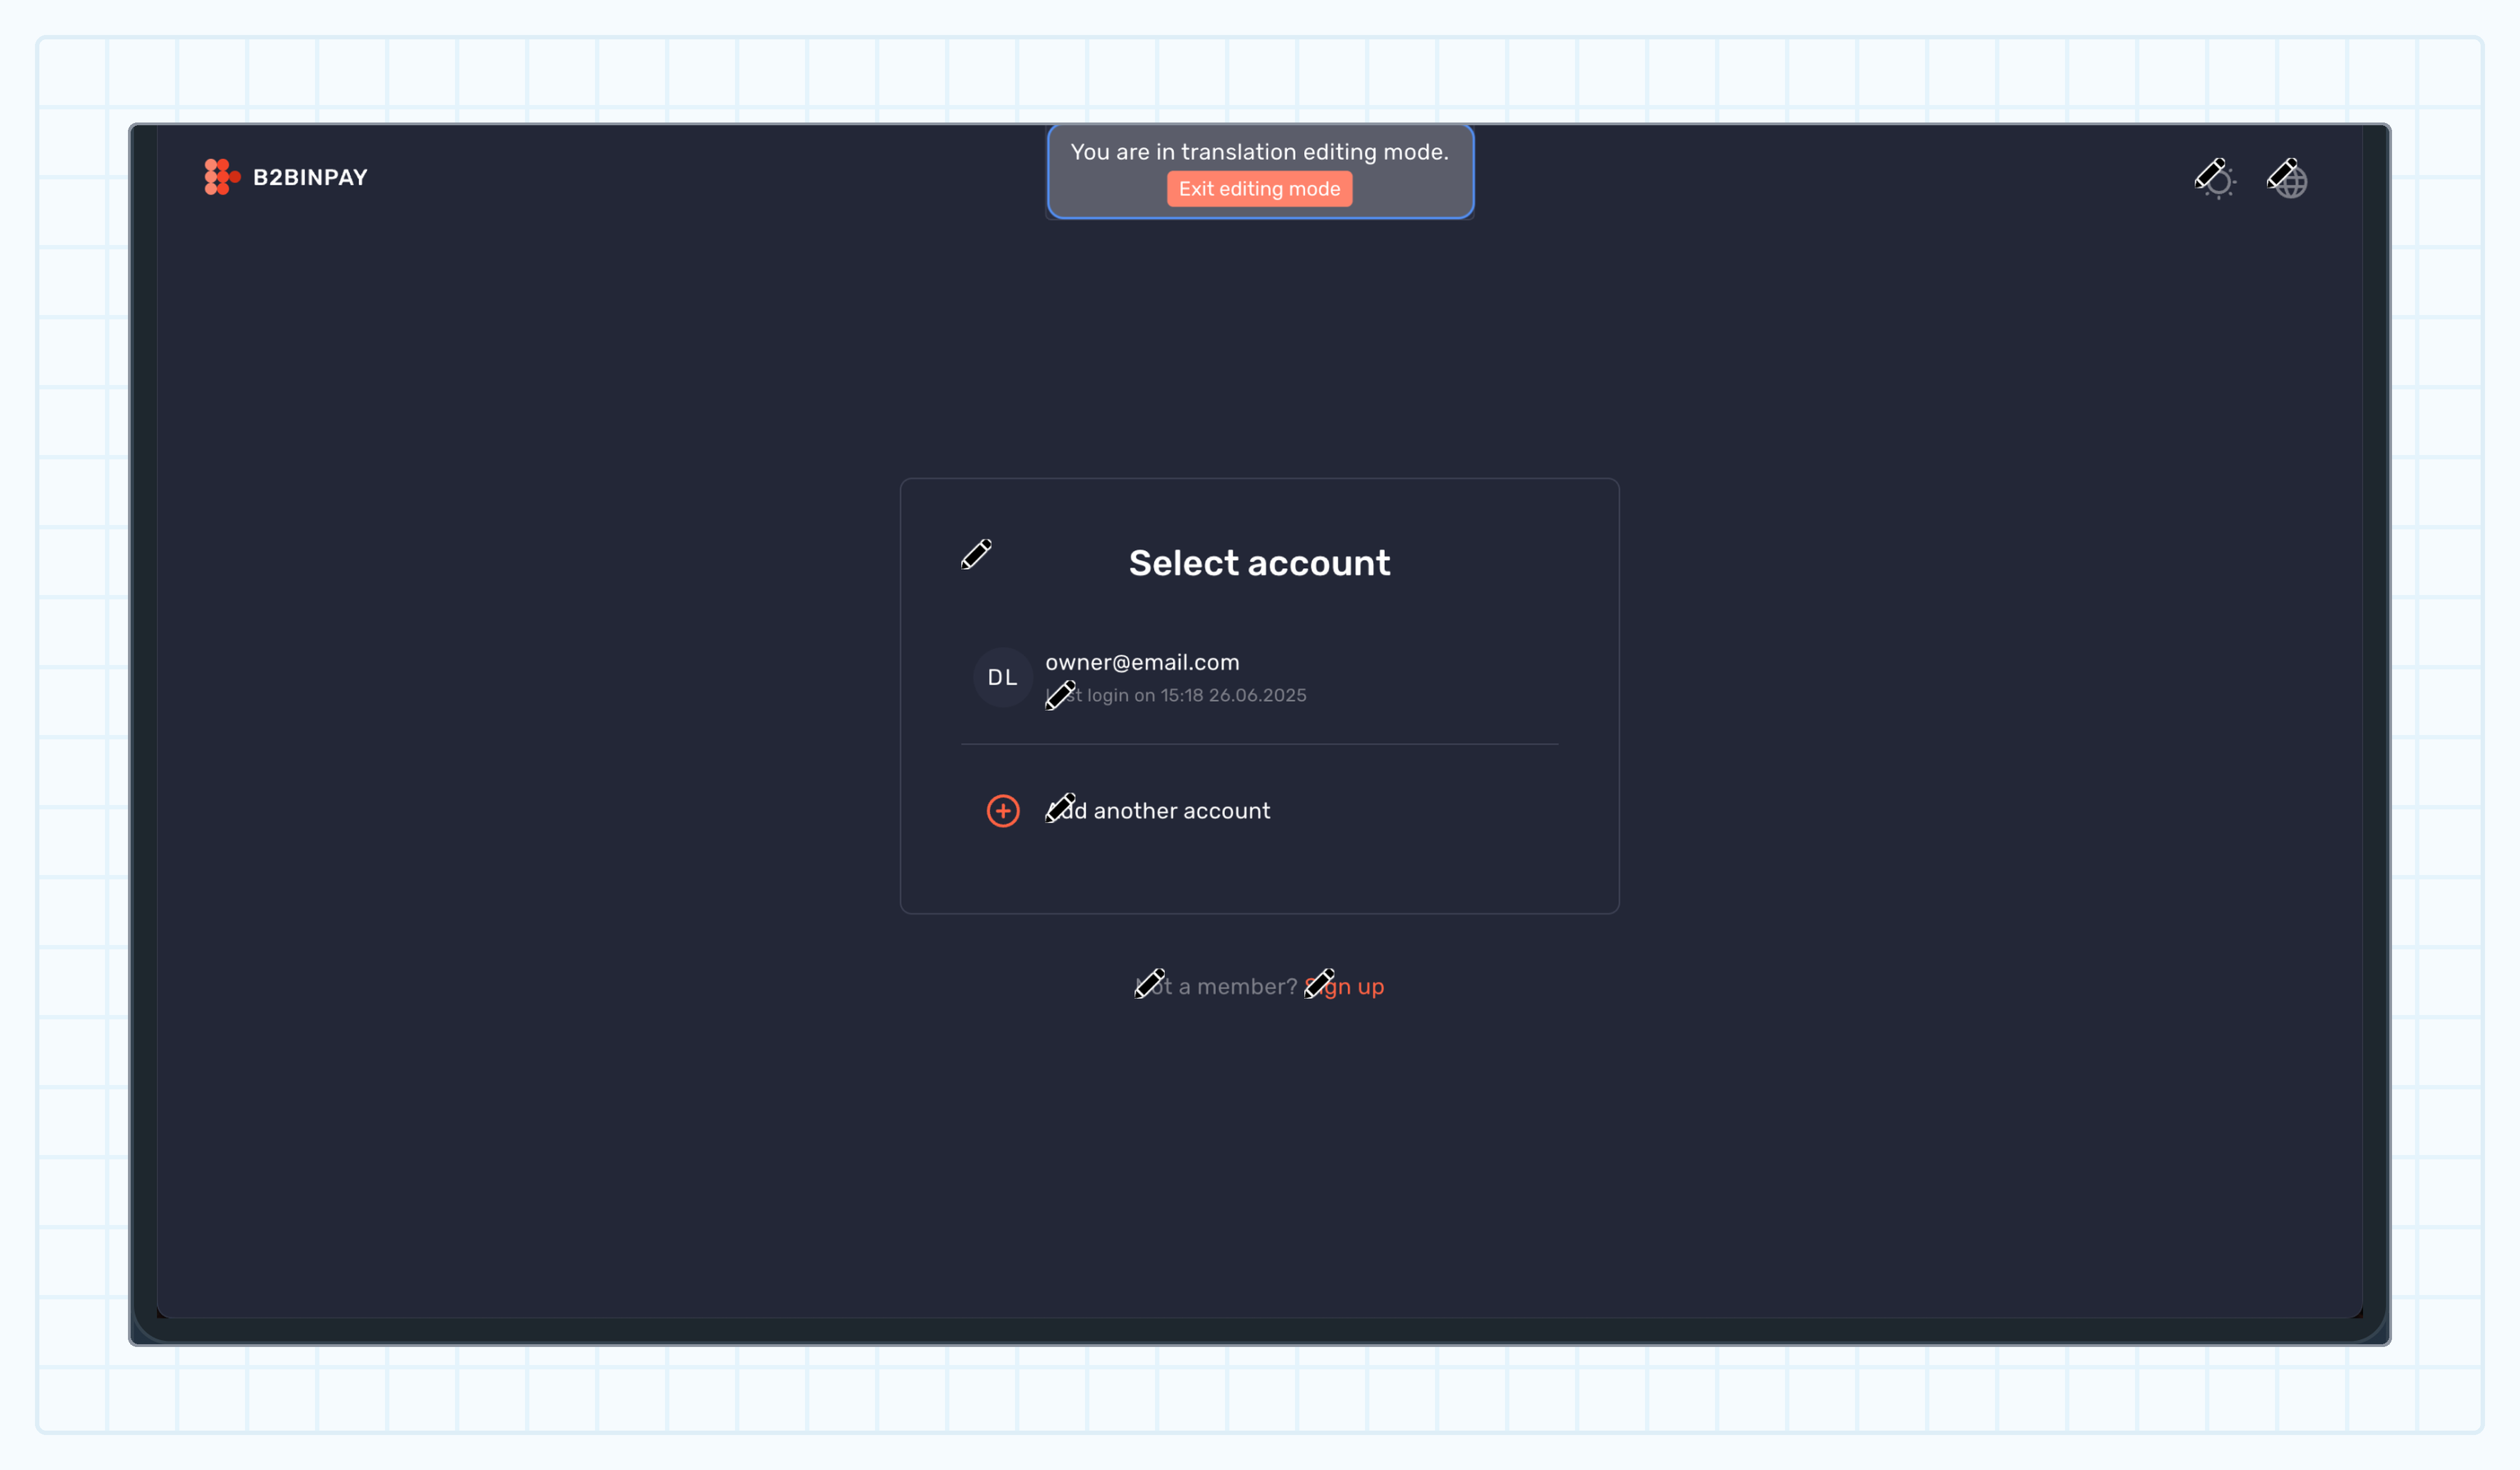 You can switch between WebUI pages: the editing mode remains active until you disable it by clicking the **Exit editing mode**.
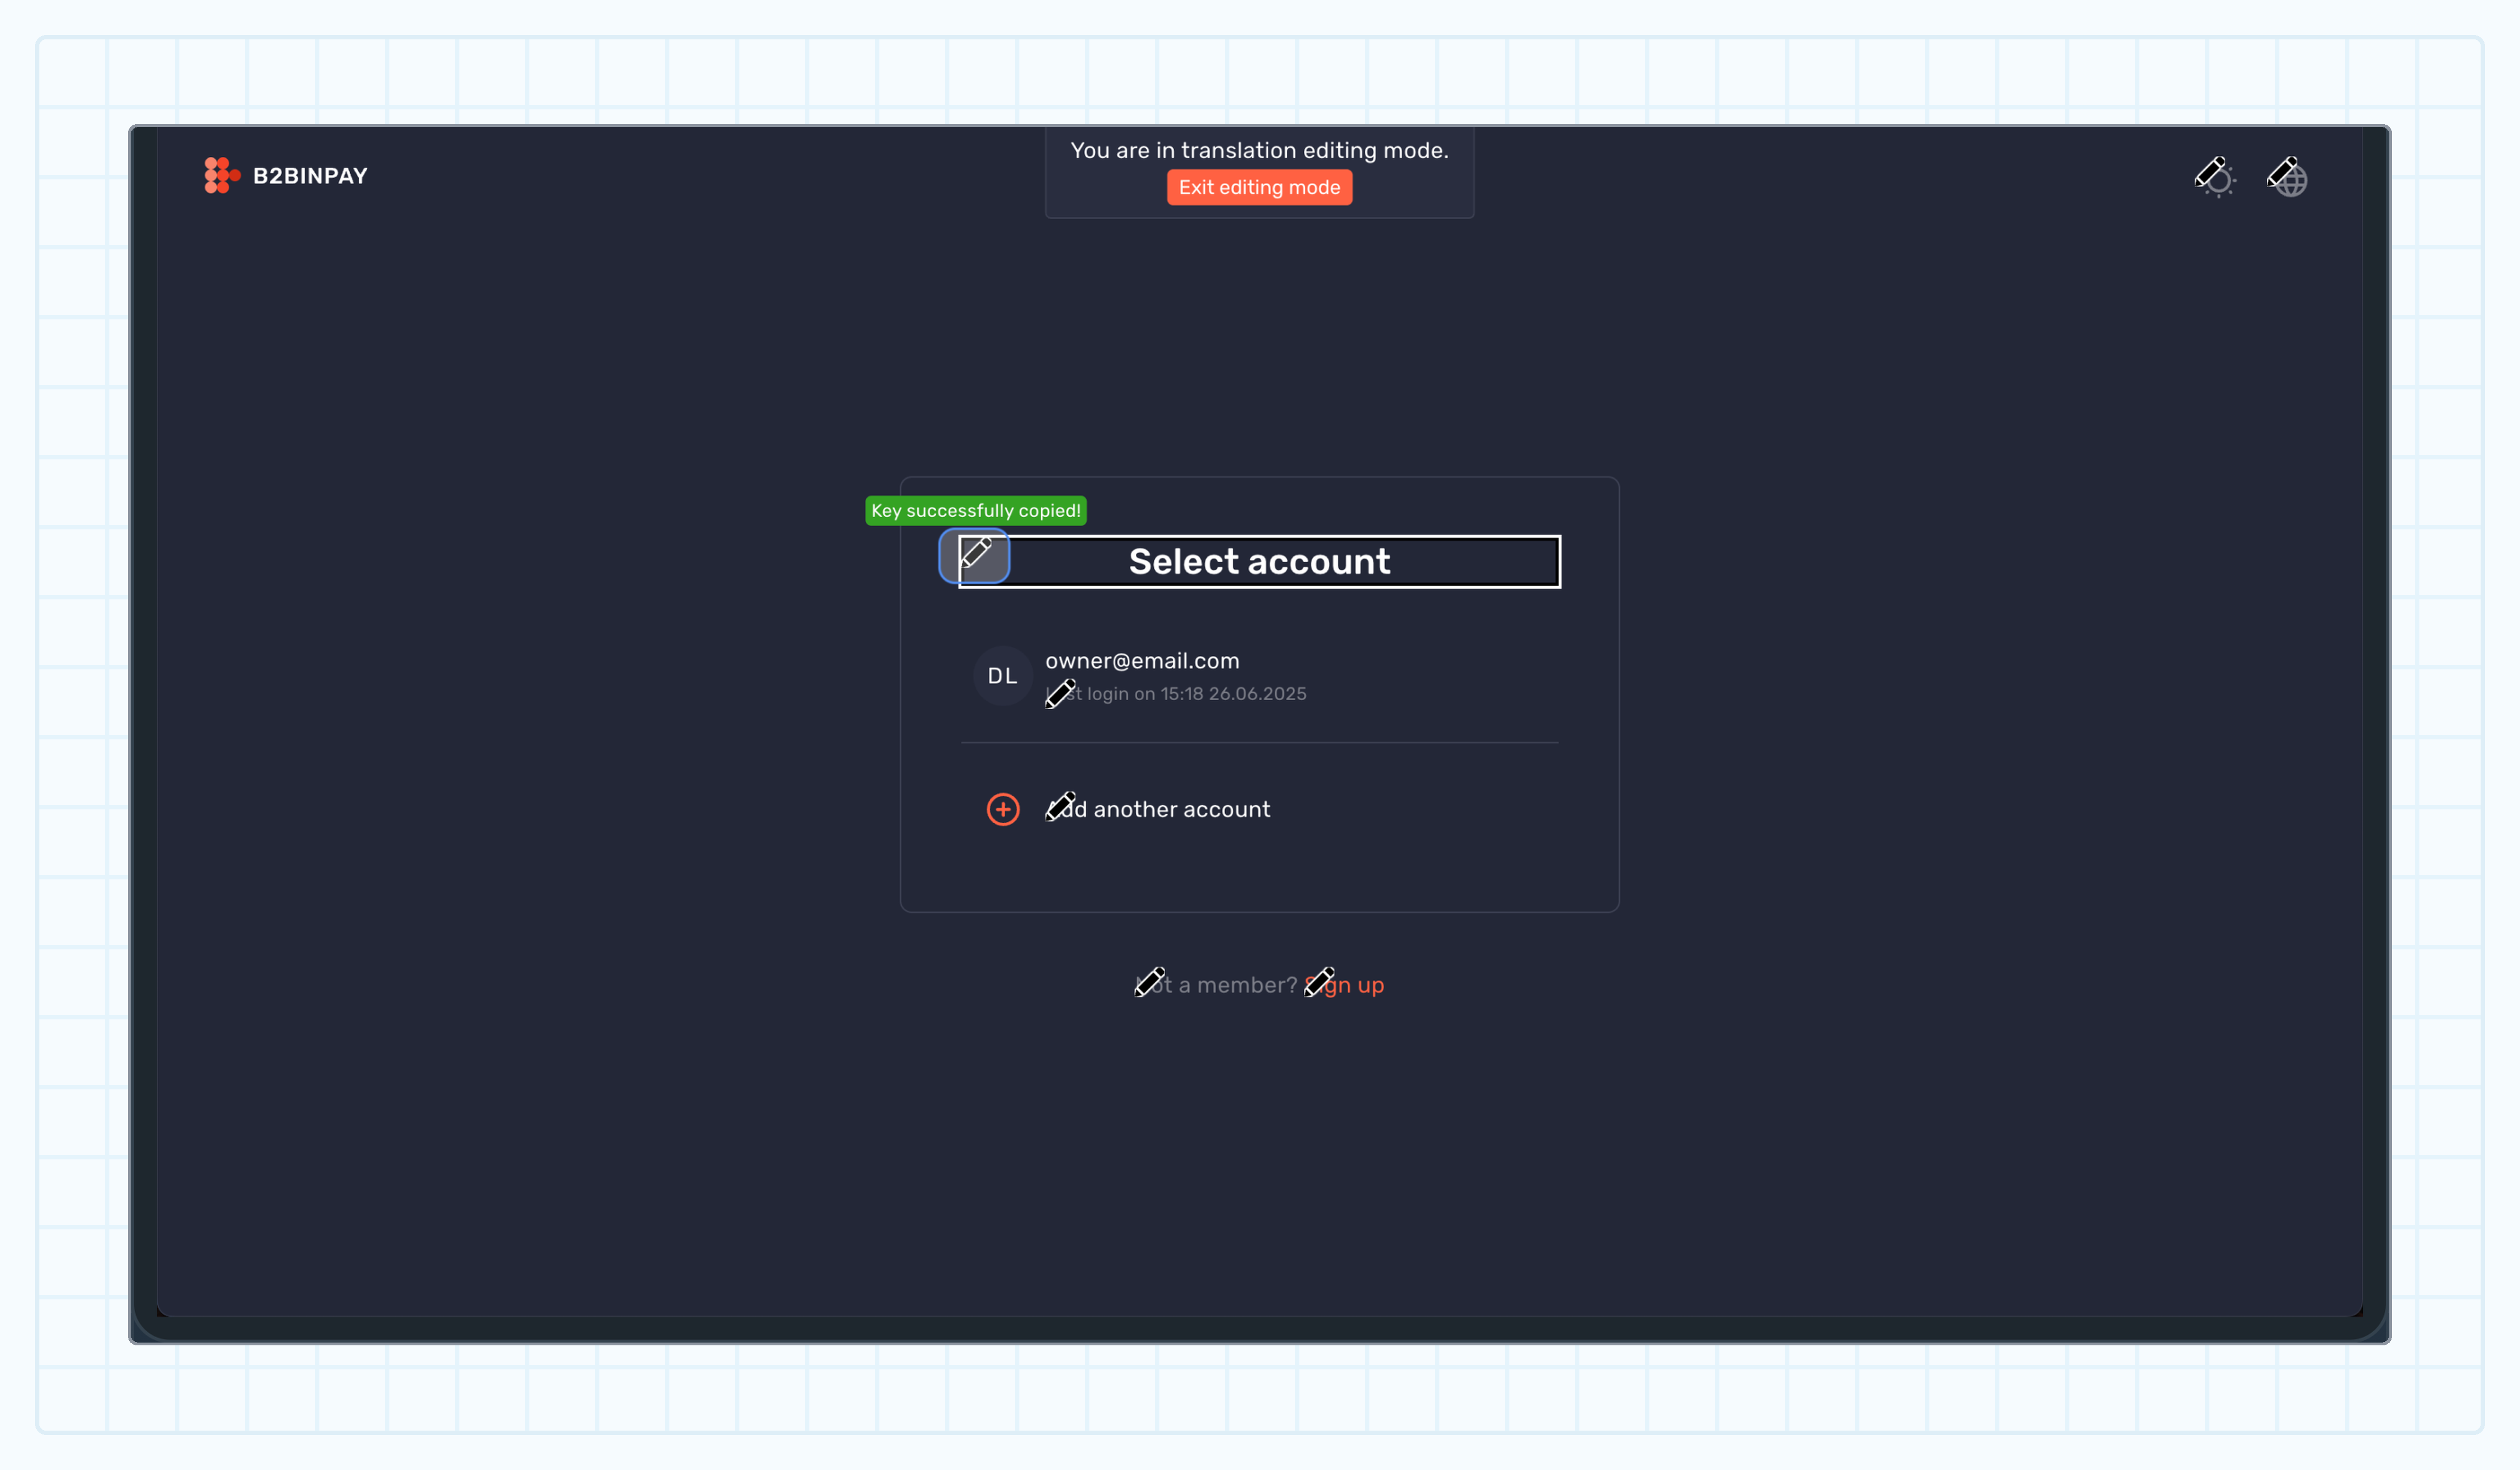
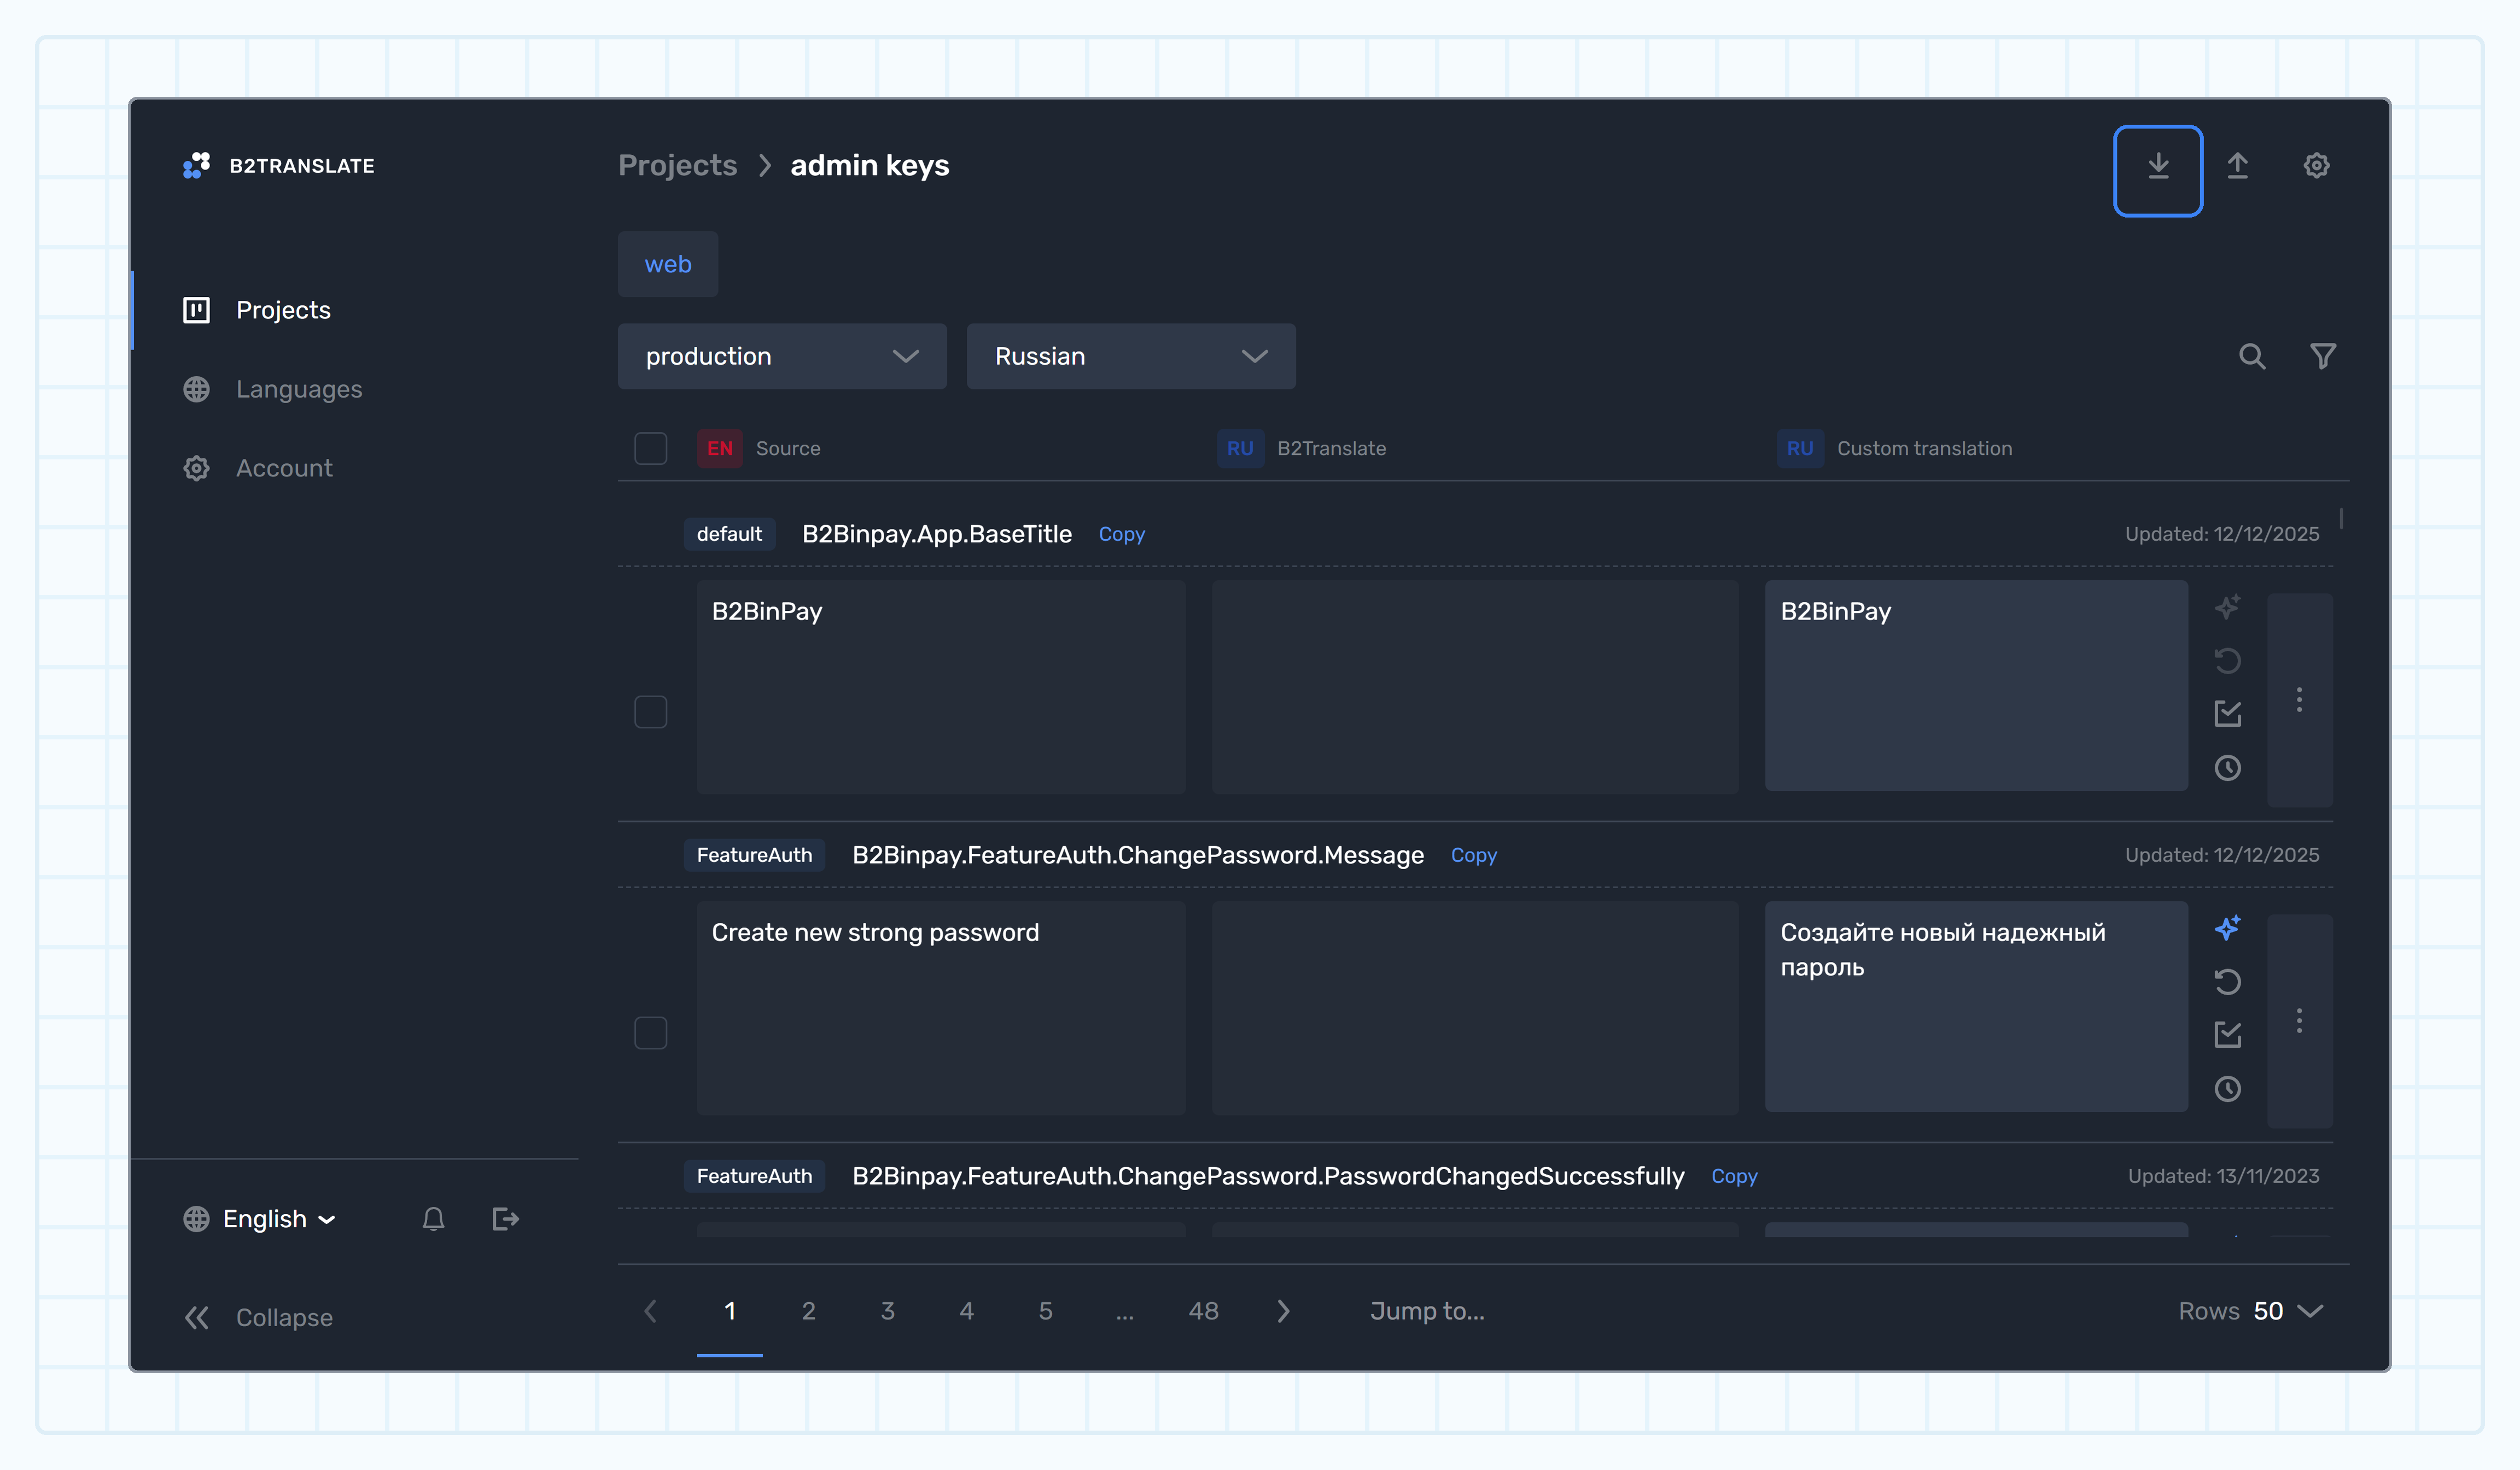
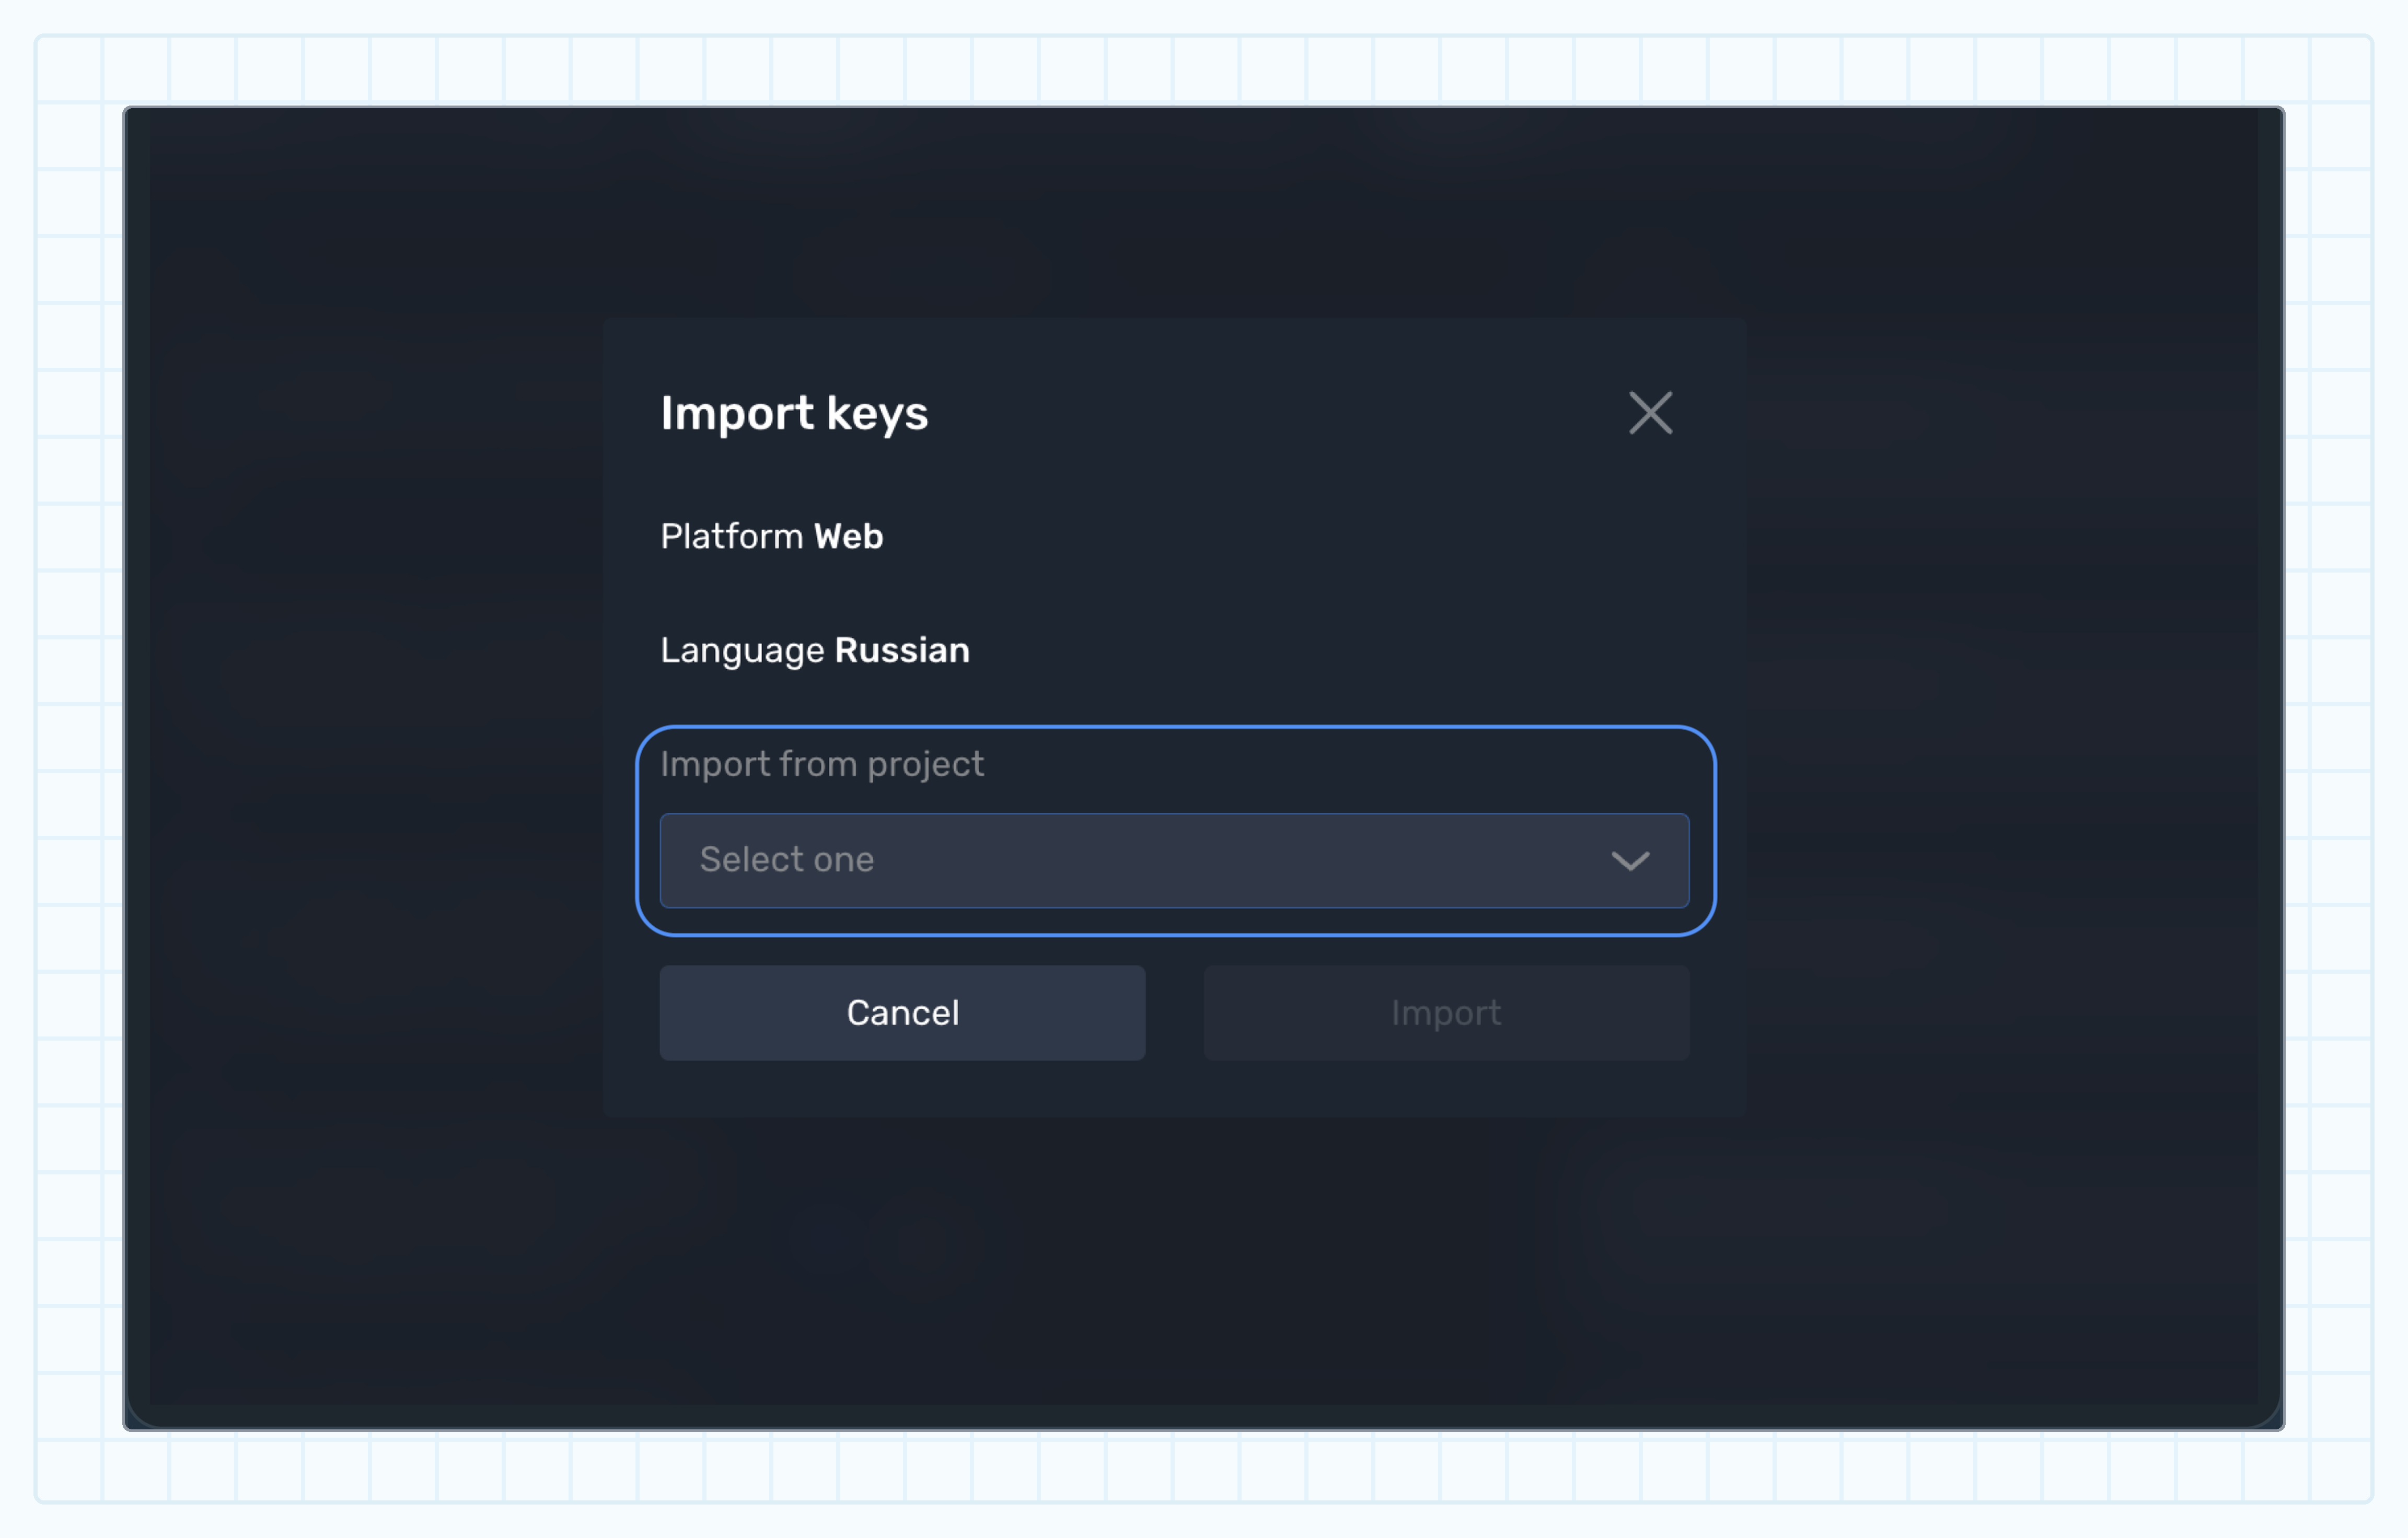
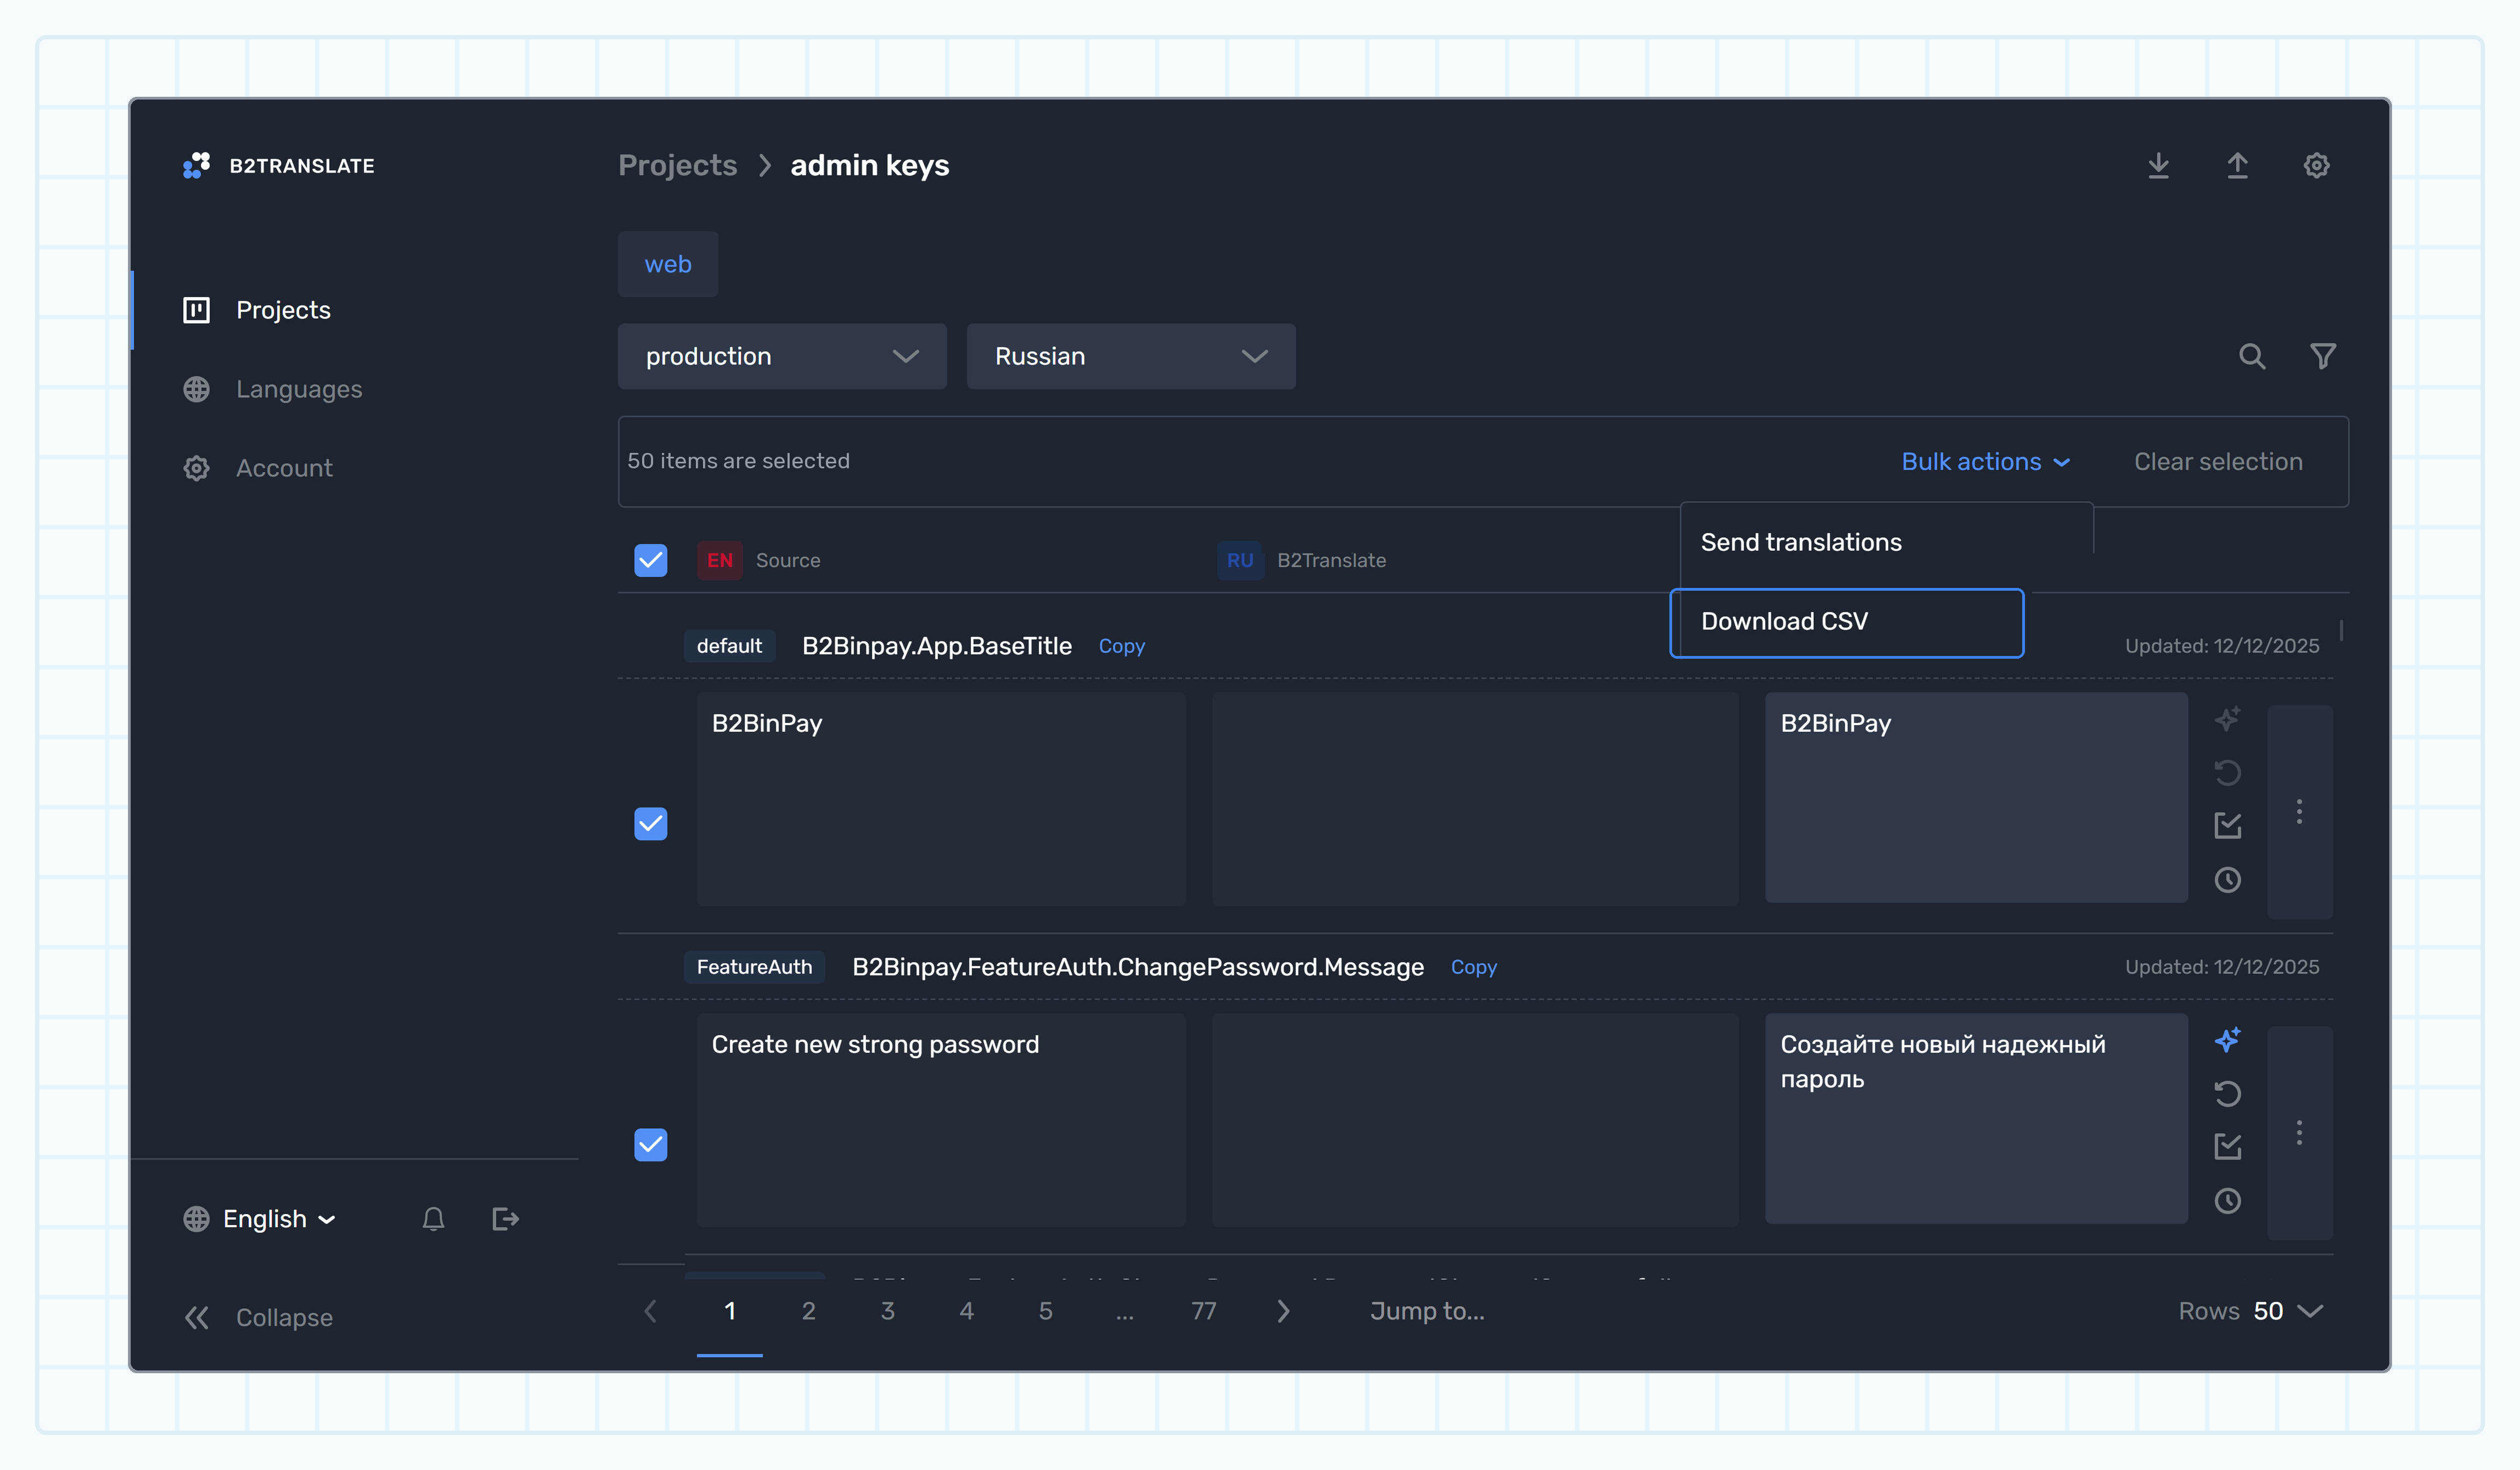
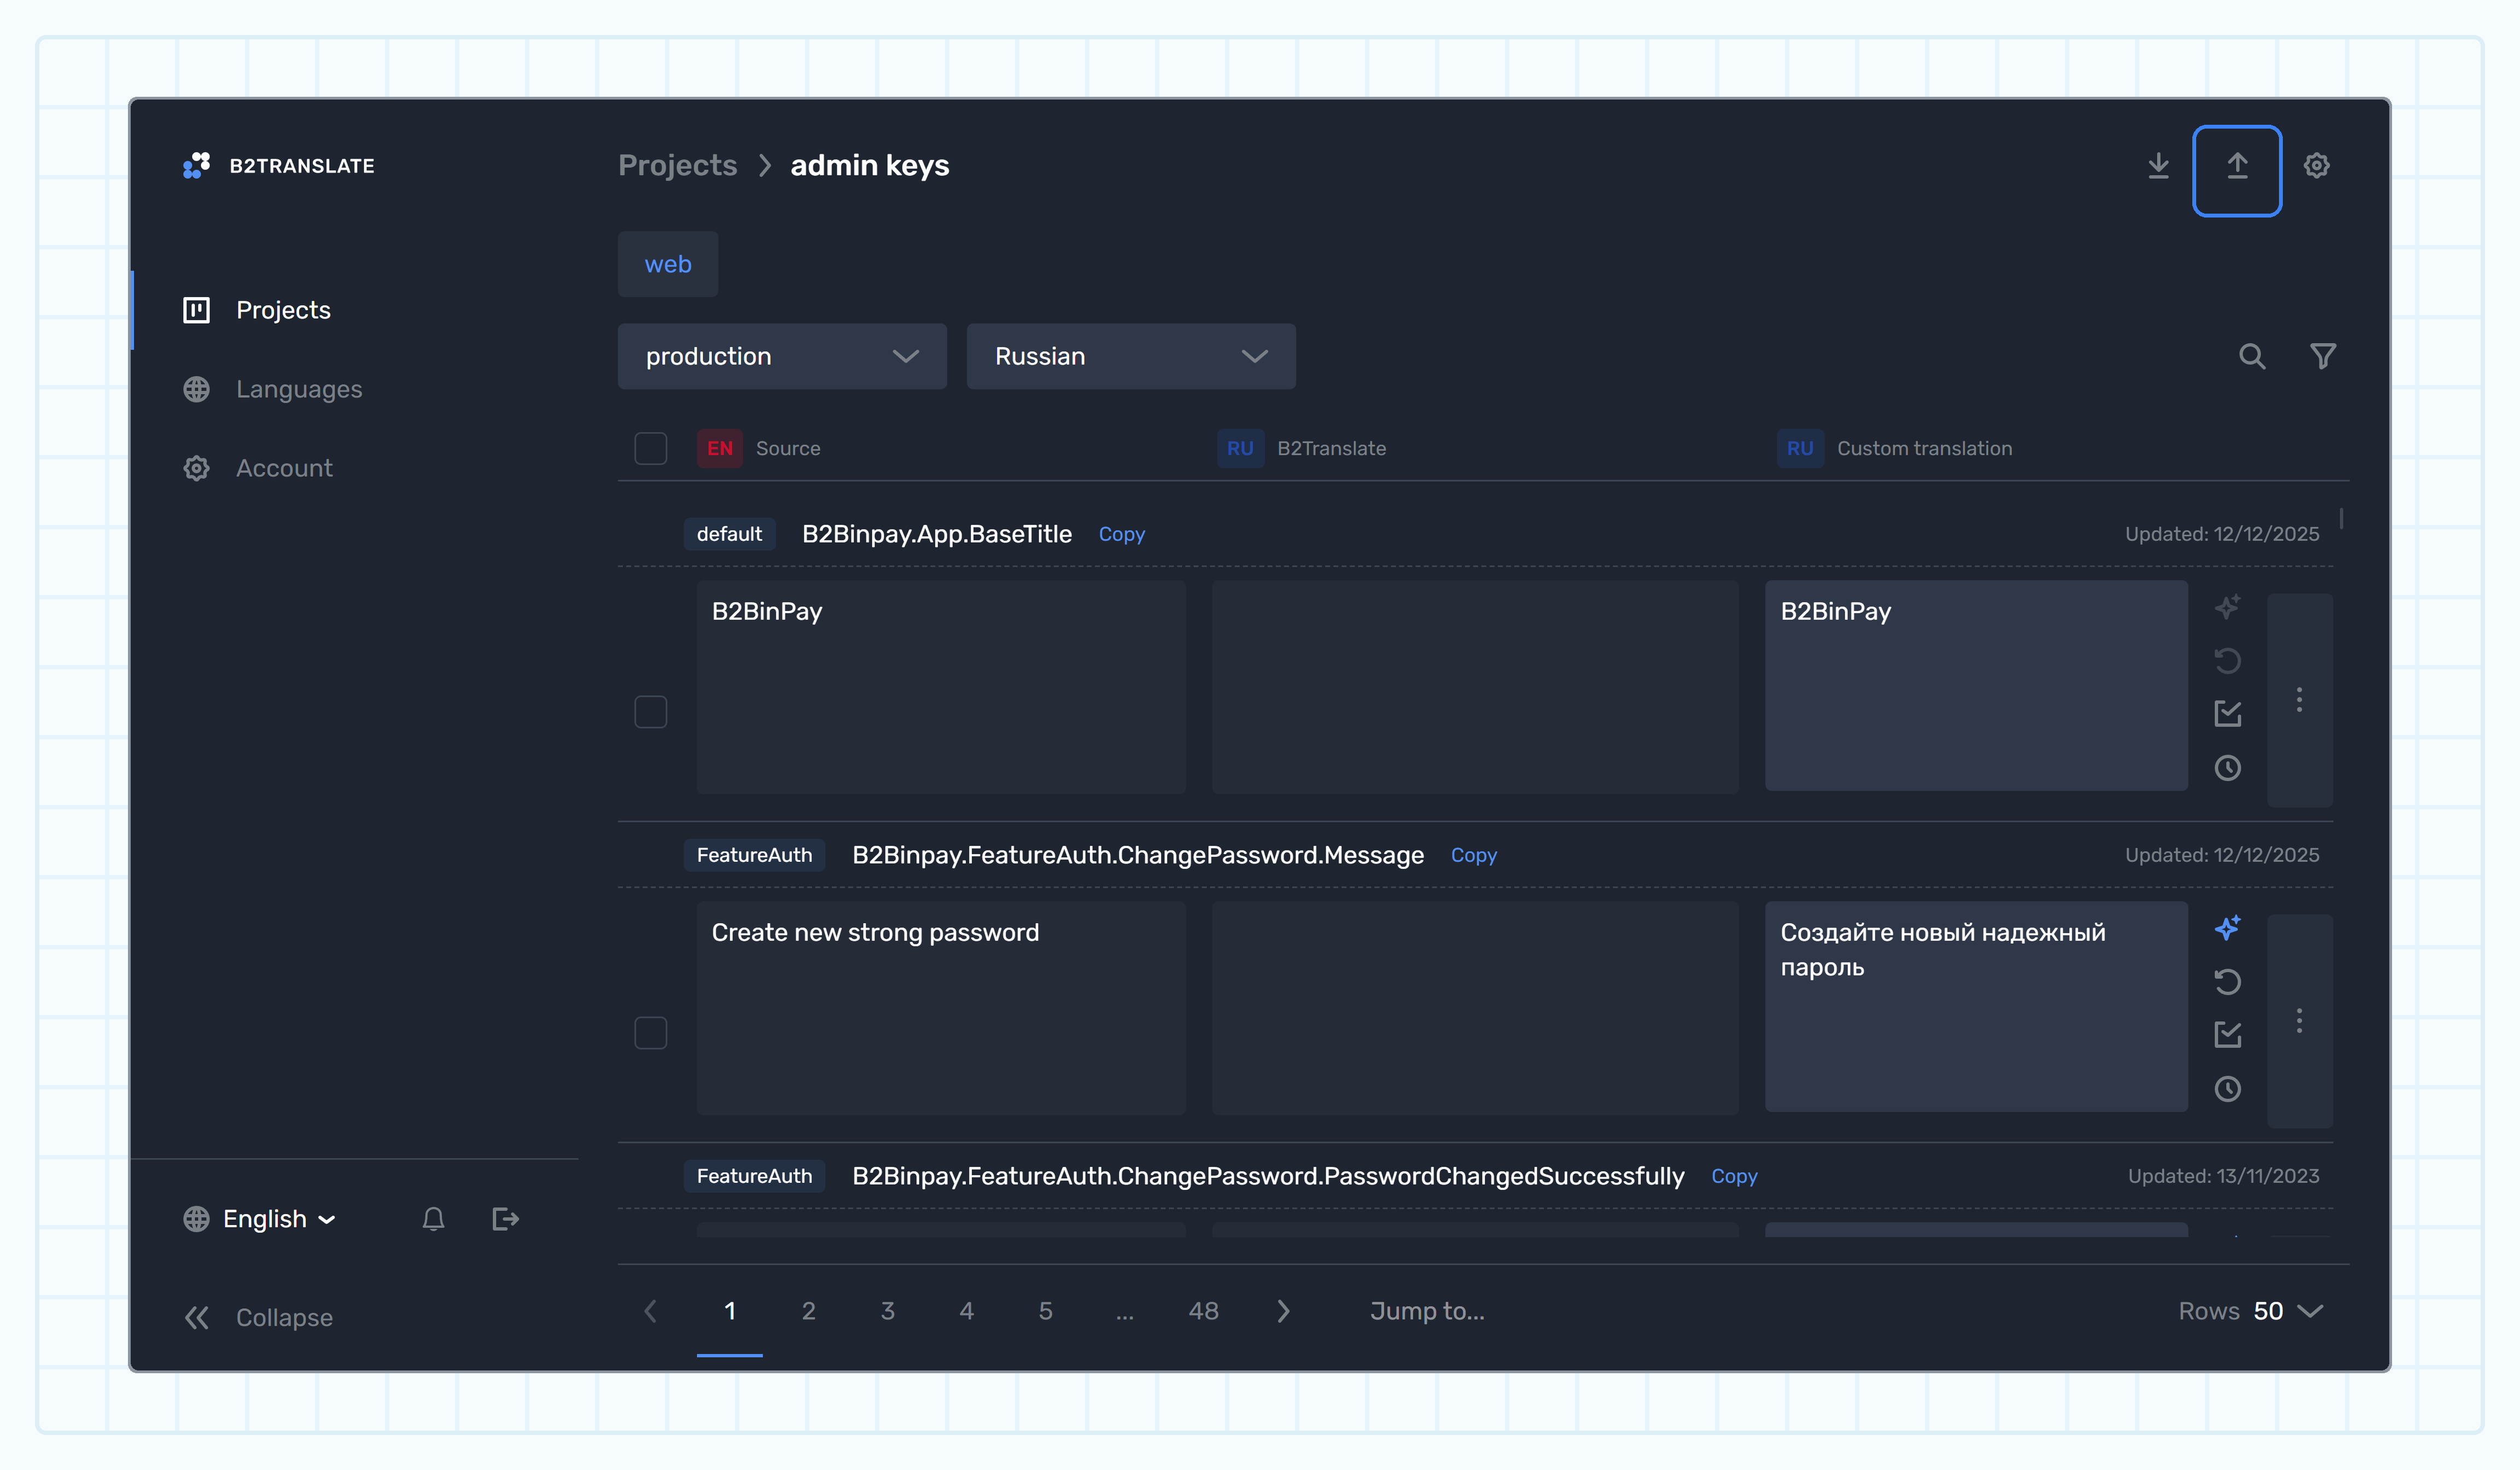 3. Select a required language.
4. Drag and drop the file into the upload area or click **Add file** to select the file from your computer. The maximum allowed file size is 3 MB.
3. Select a required language.
4. Drag and drop the file into the upload area or click **Add file** to select the file from your computer. The maximum allowed file size is 3 MB.
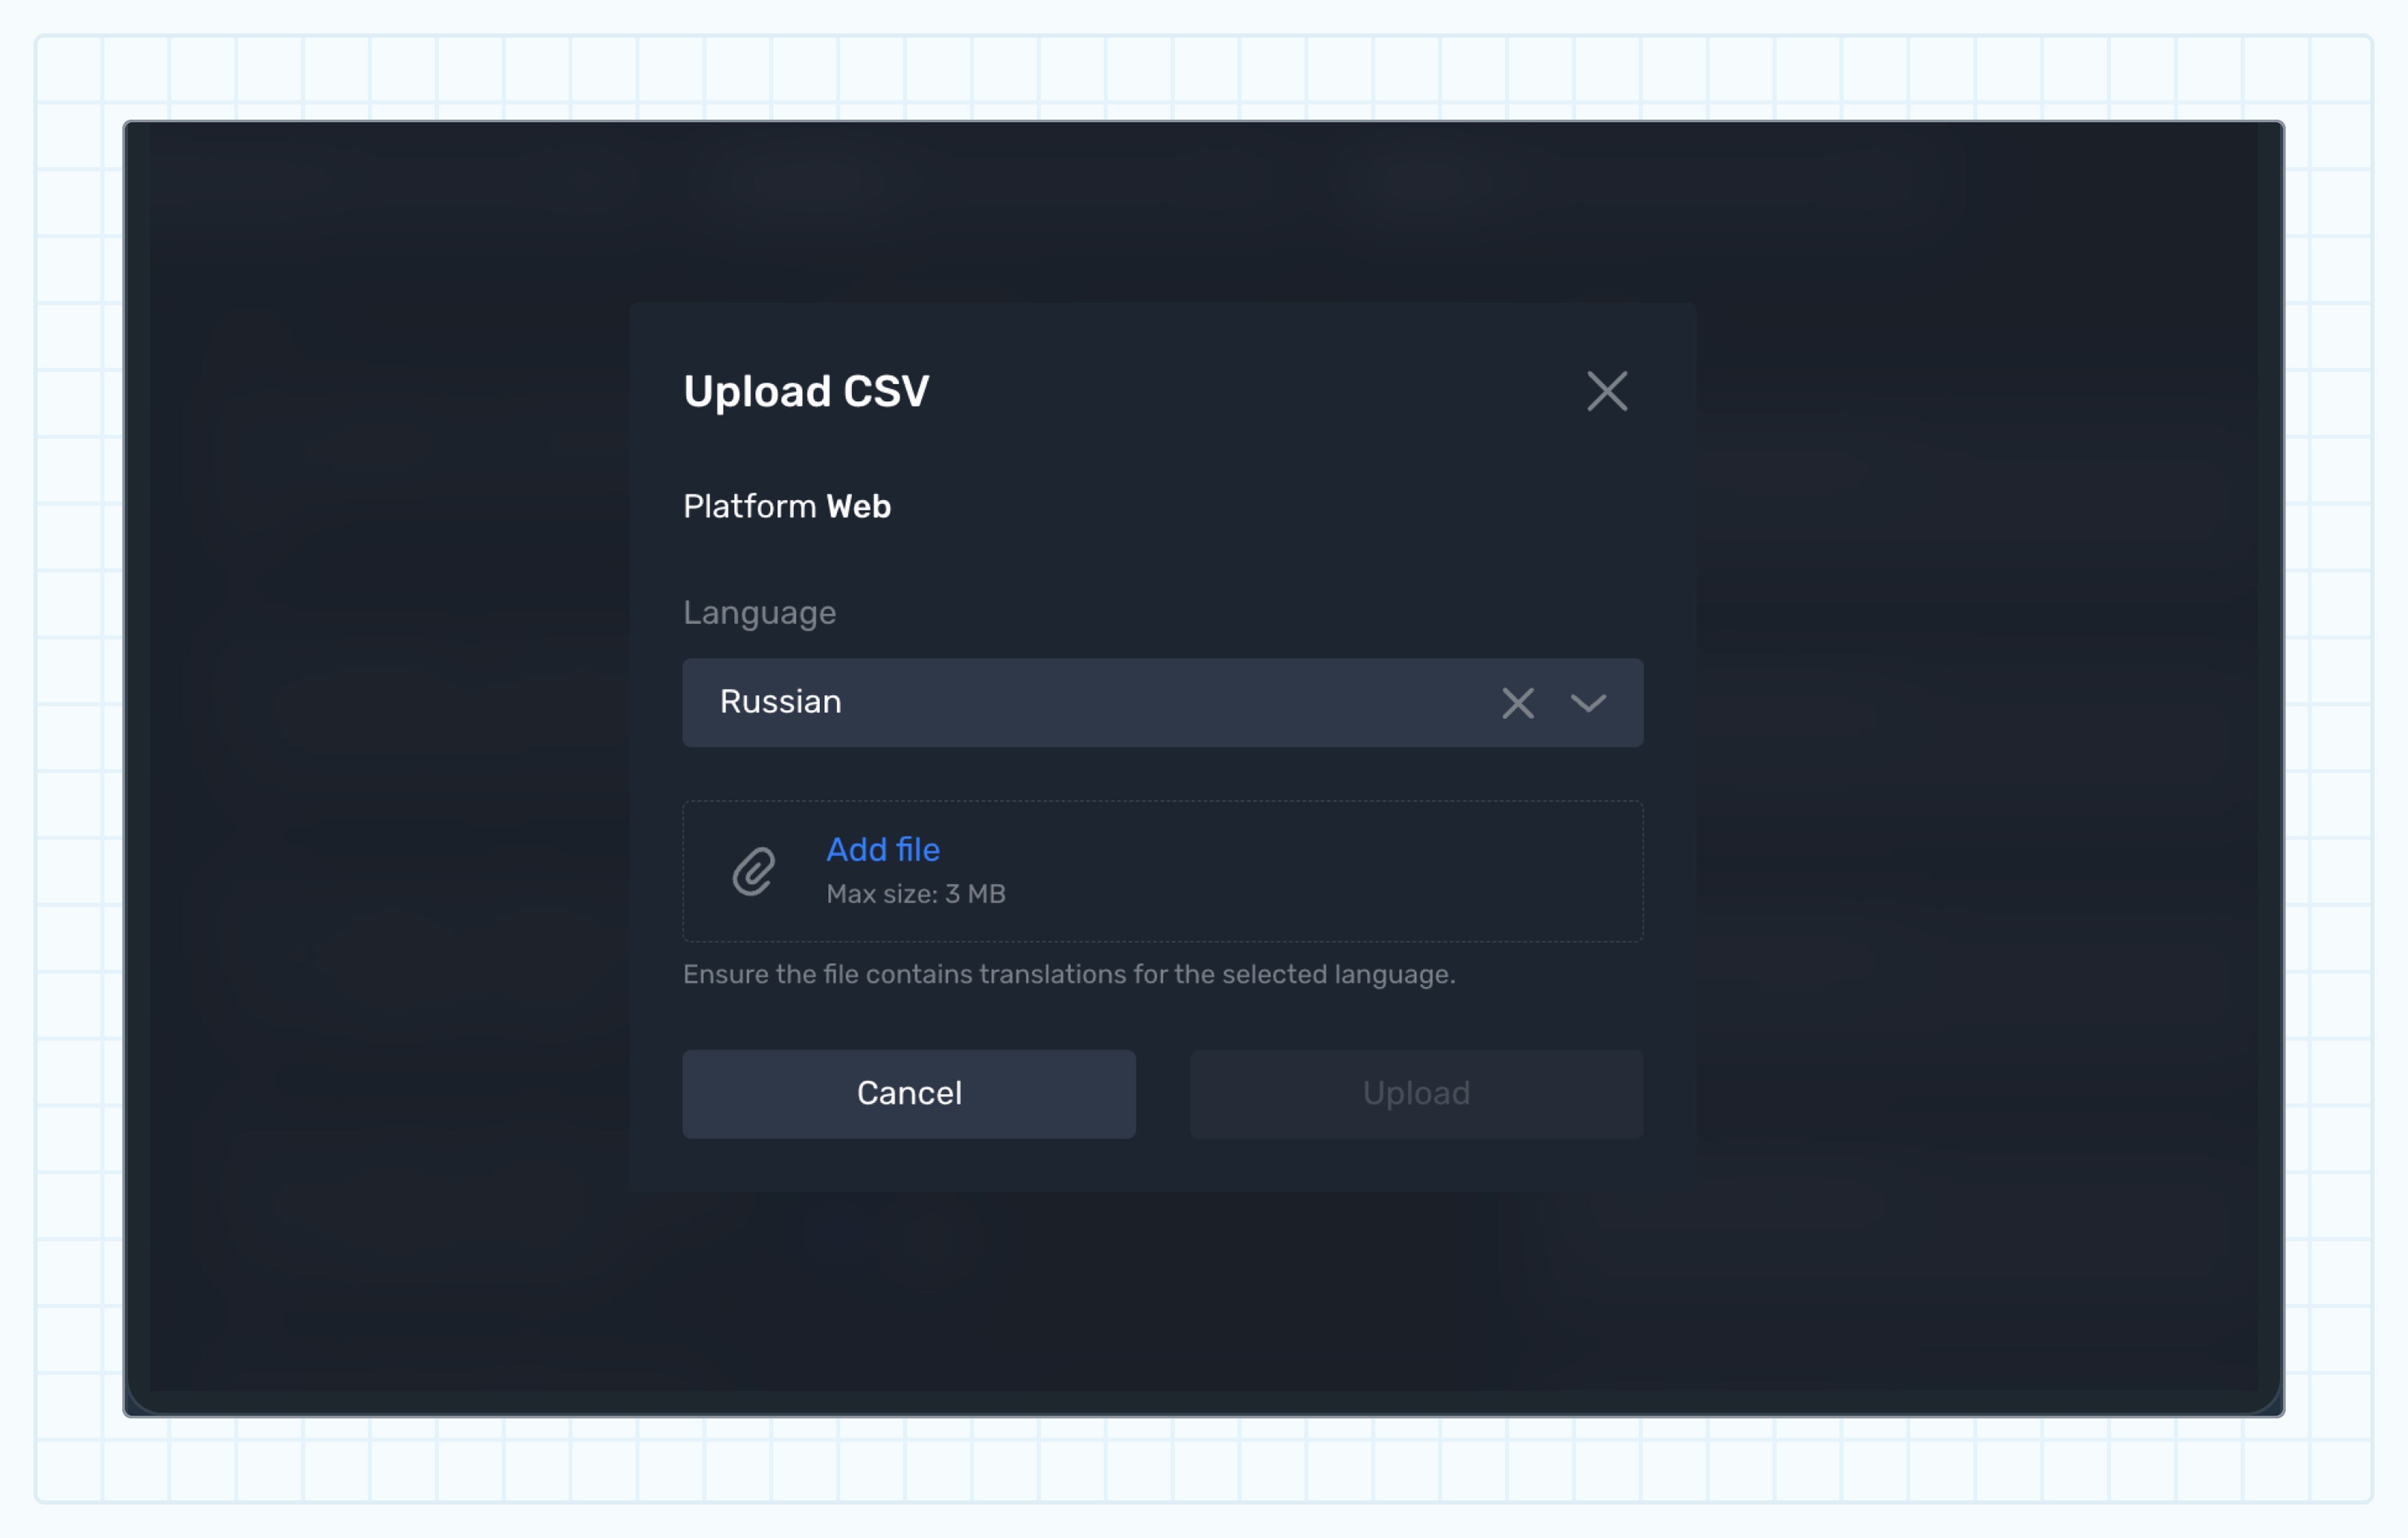 5. Click **Upload**.
6. Refresh the page to see the translations uploaded.
5. Click **Upload**.
6. Refresh the page to see the translations uploaded.
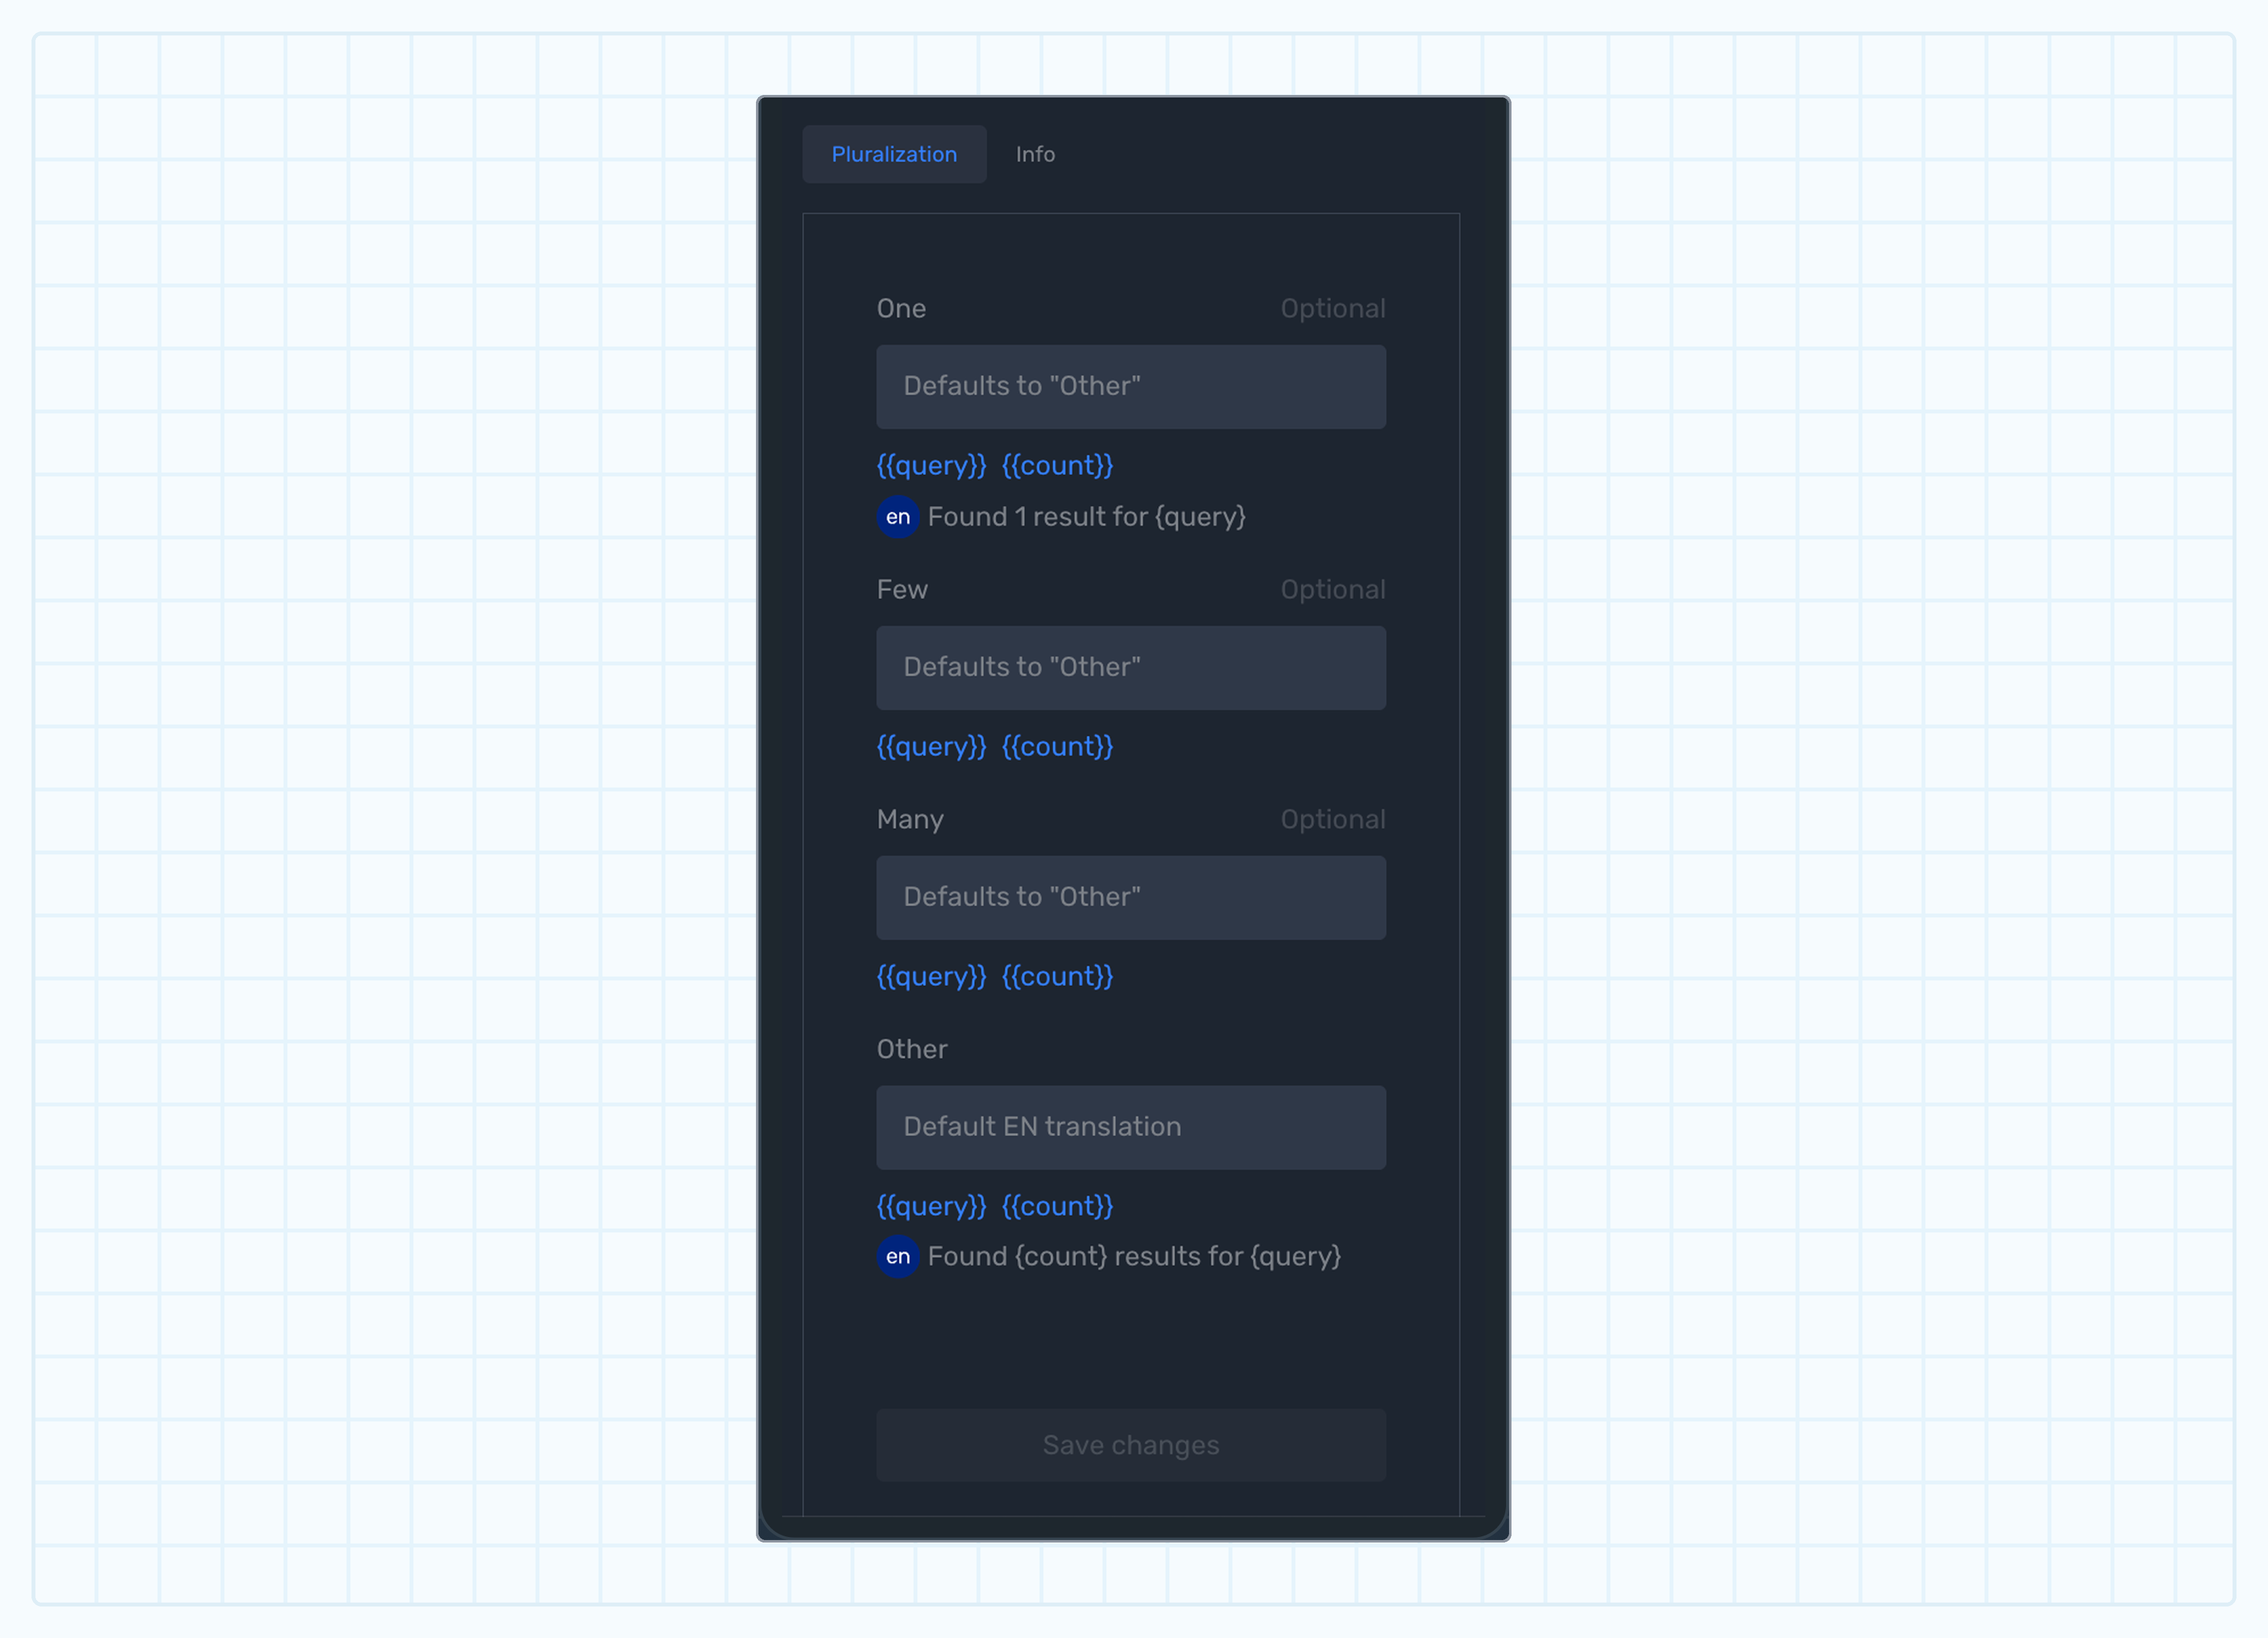 ### The Other form [#the-other-form]
This is the primary required form used across all languages worldwide.
Every pluralized translation must include this form as it serves as the fallback for any unspecified cases.
If you fill only the **Other** form and leave the others empty, B2TRANSLATE will automatically populate the remaining forms with the **Other** form value.
This ensures your translation remains functional while you work on completing all forms.
### The Other form [#the-other-form]
This is the primary required form used across all languages worldwide.
Every pluralized translation must include this form as it serves as the fallback for any unspecified cases.
If you fill only the **Other** form and leave the others empty, B2TRANSLATE will automatically populate the remaining forms with the **Other** form value.
This ensures your translation remains functional while you work on completing all forms.
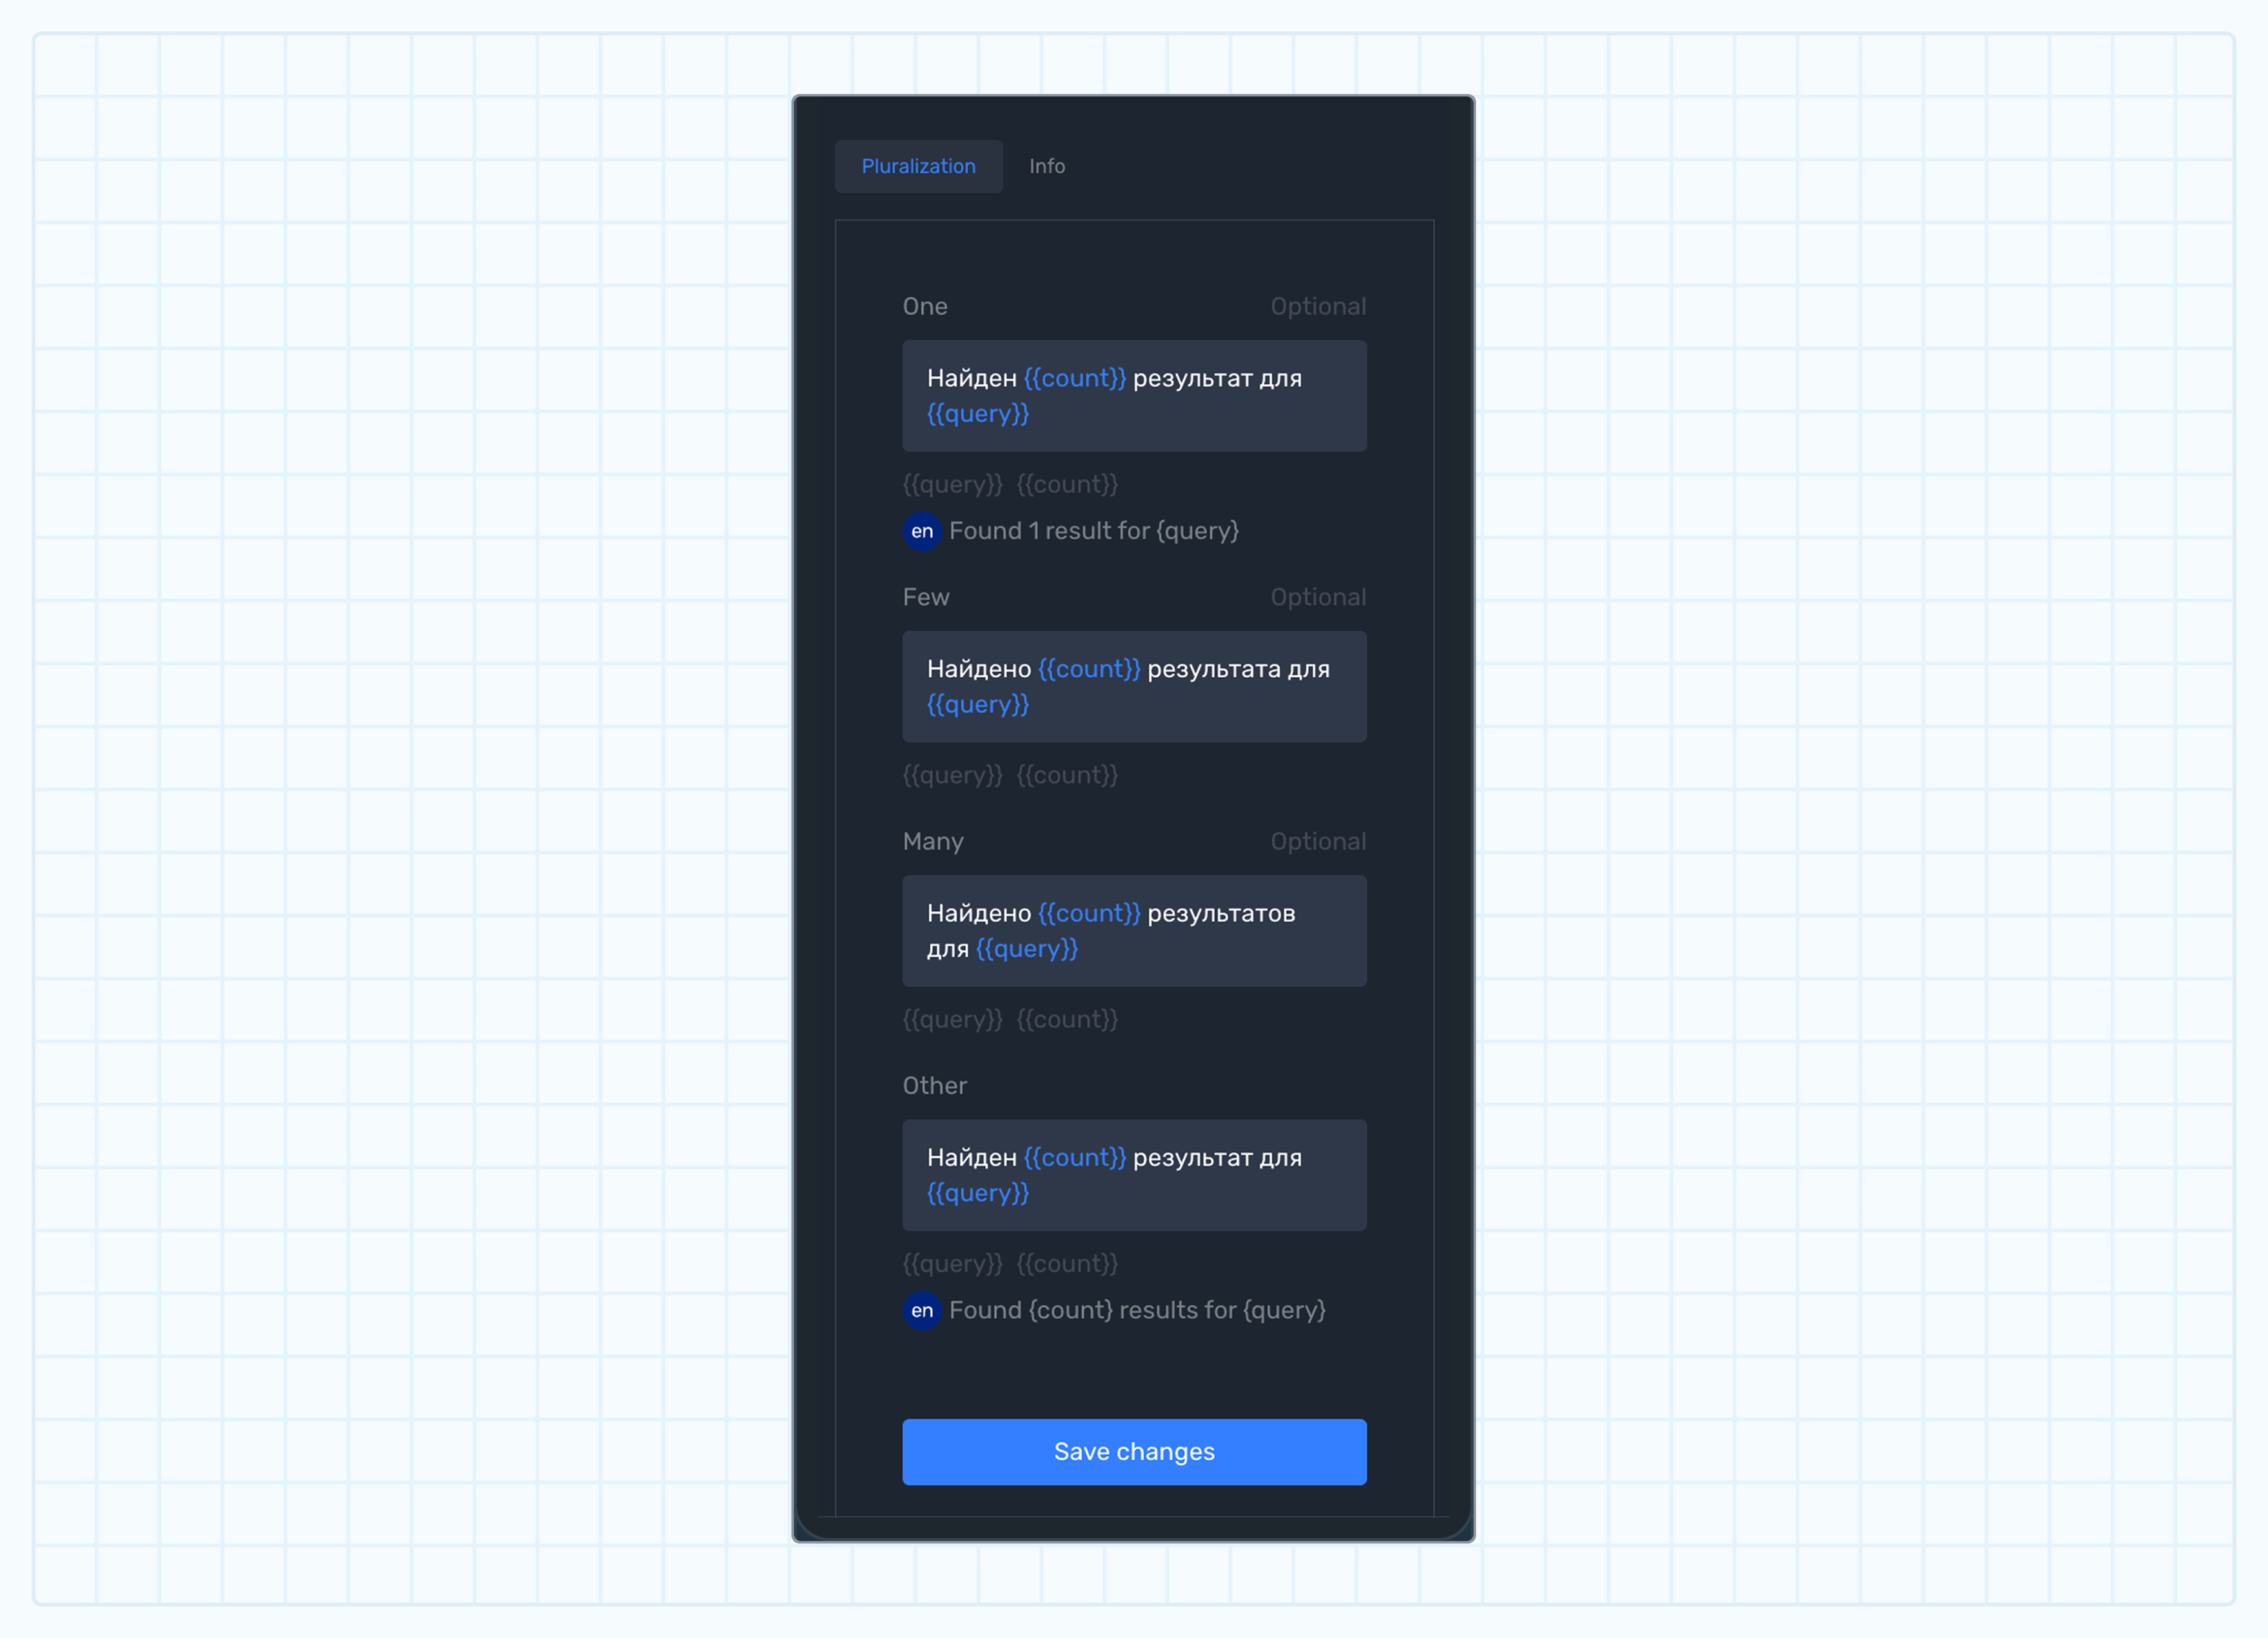
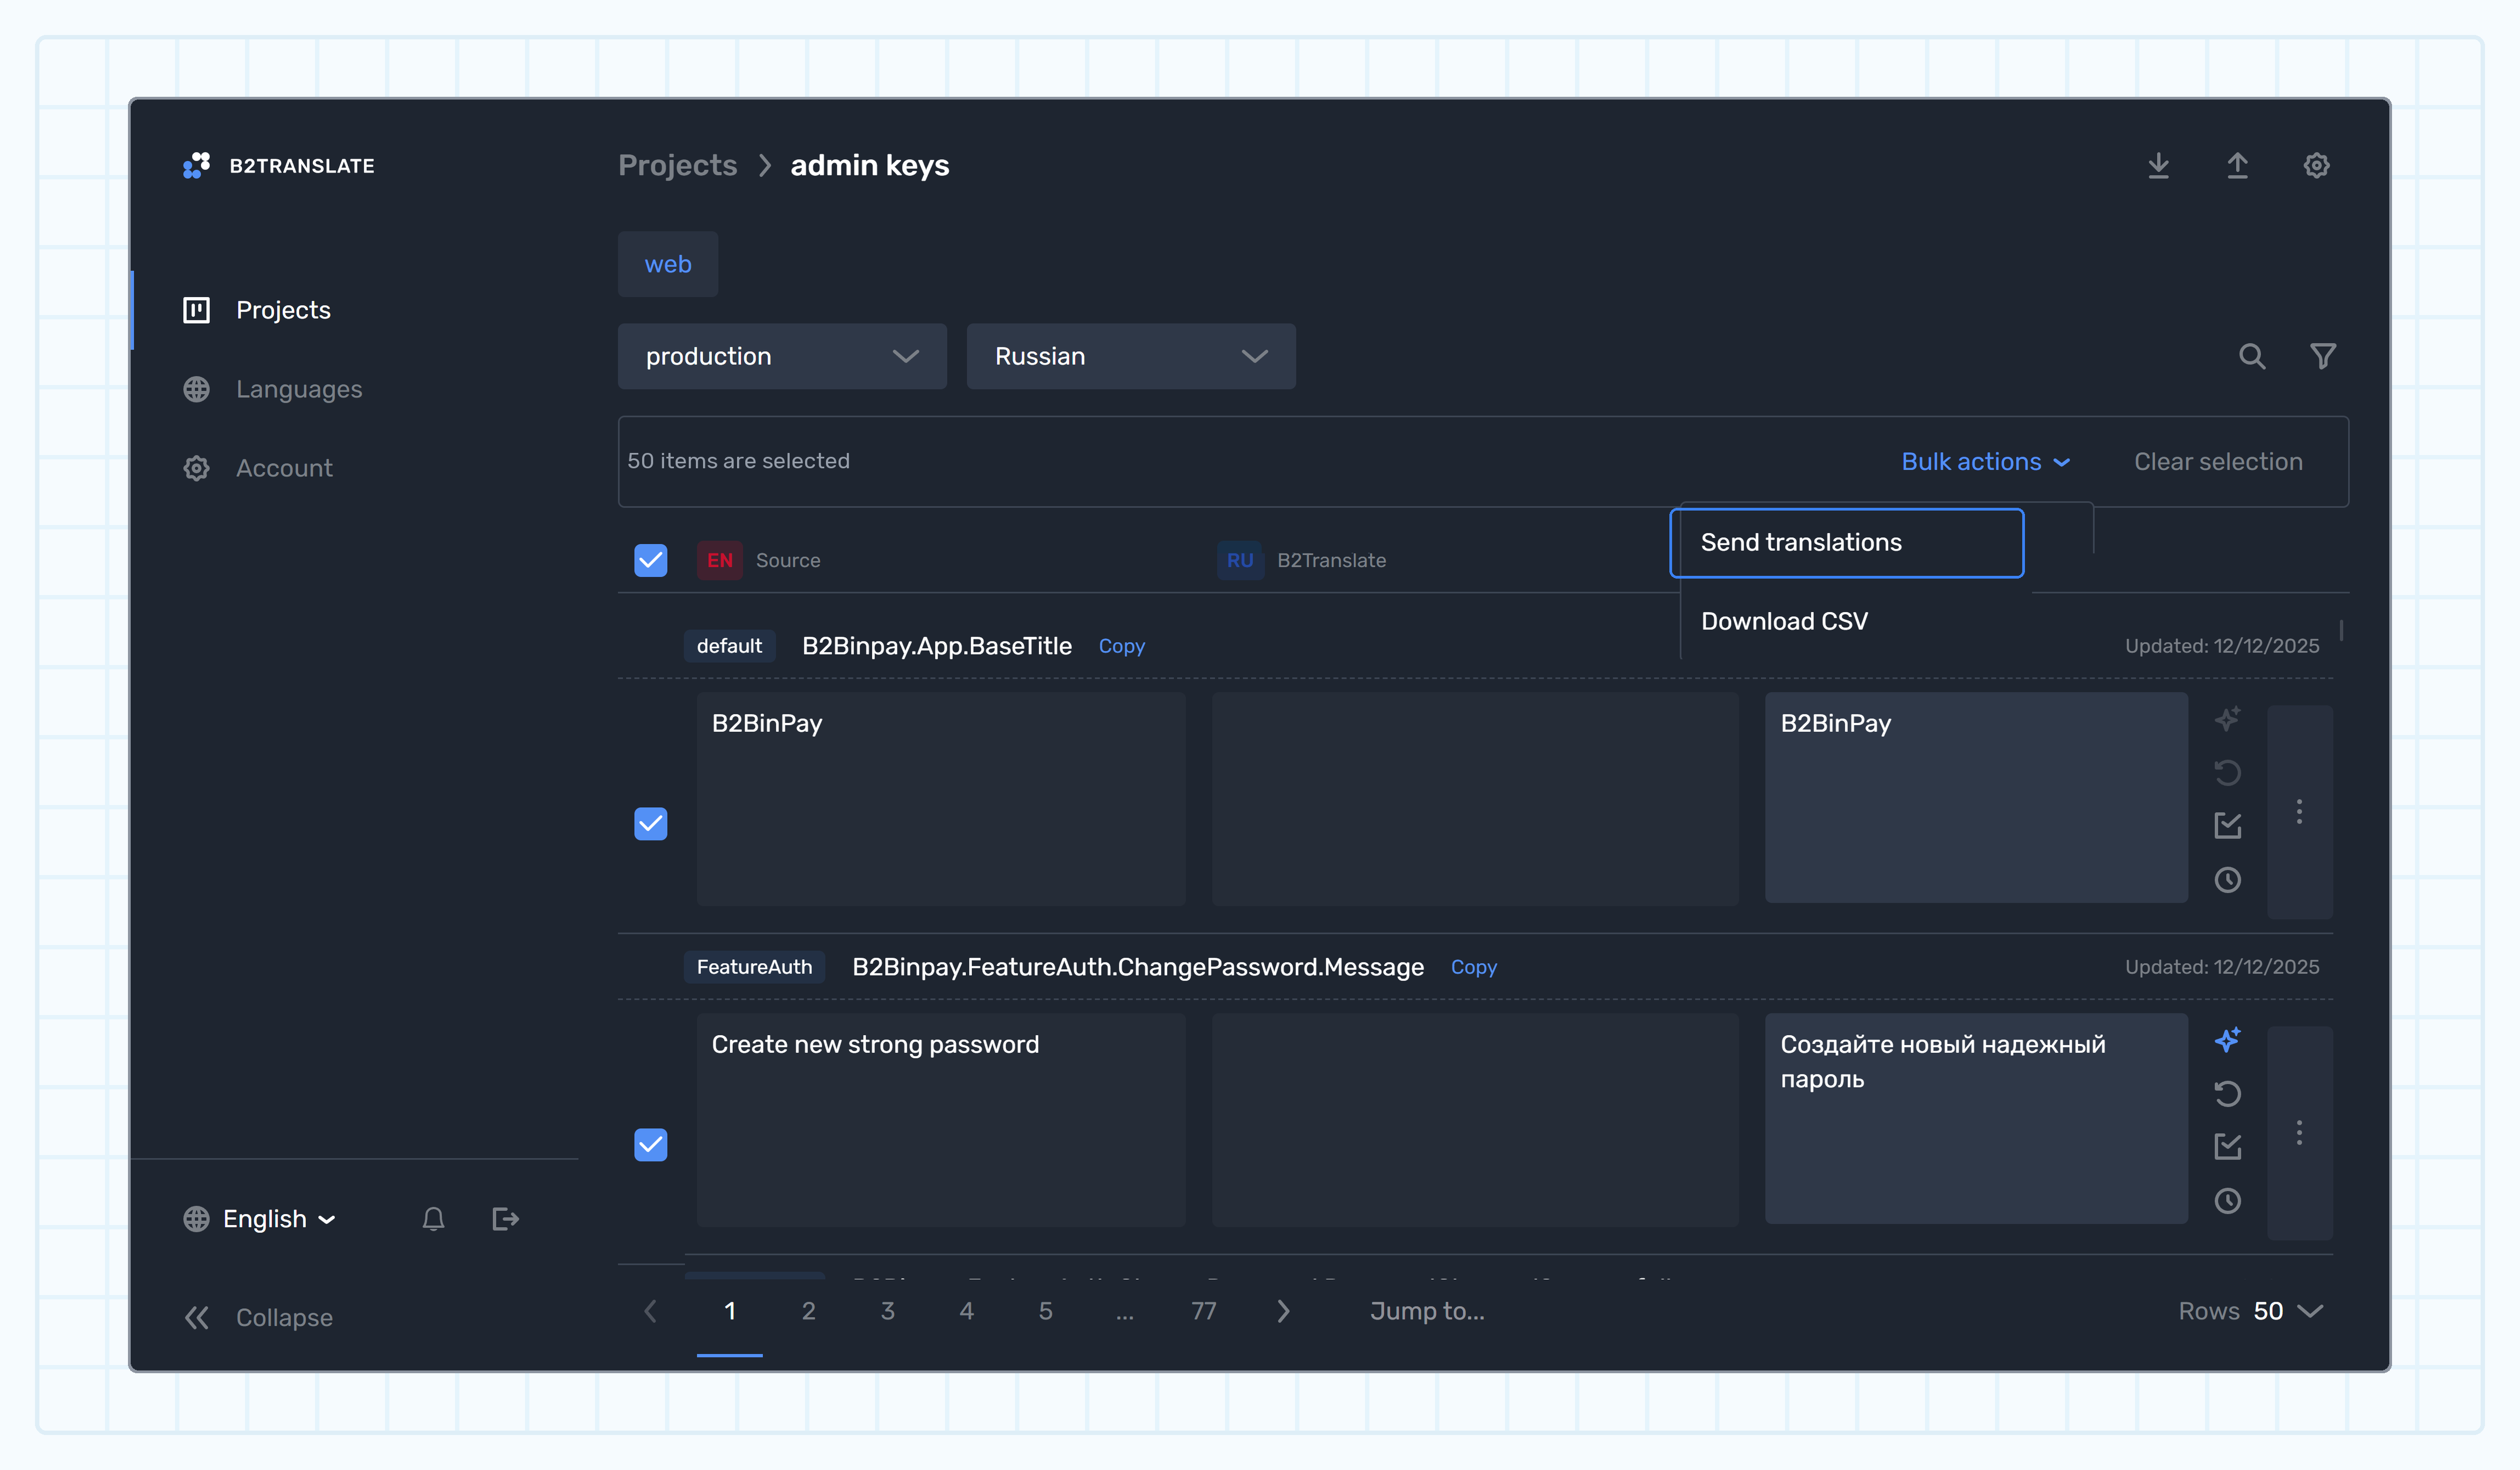
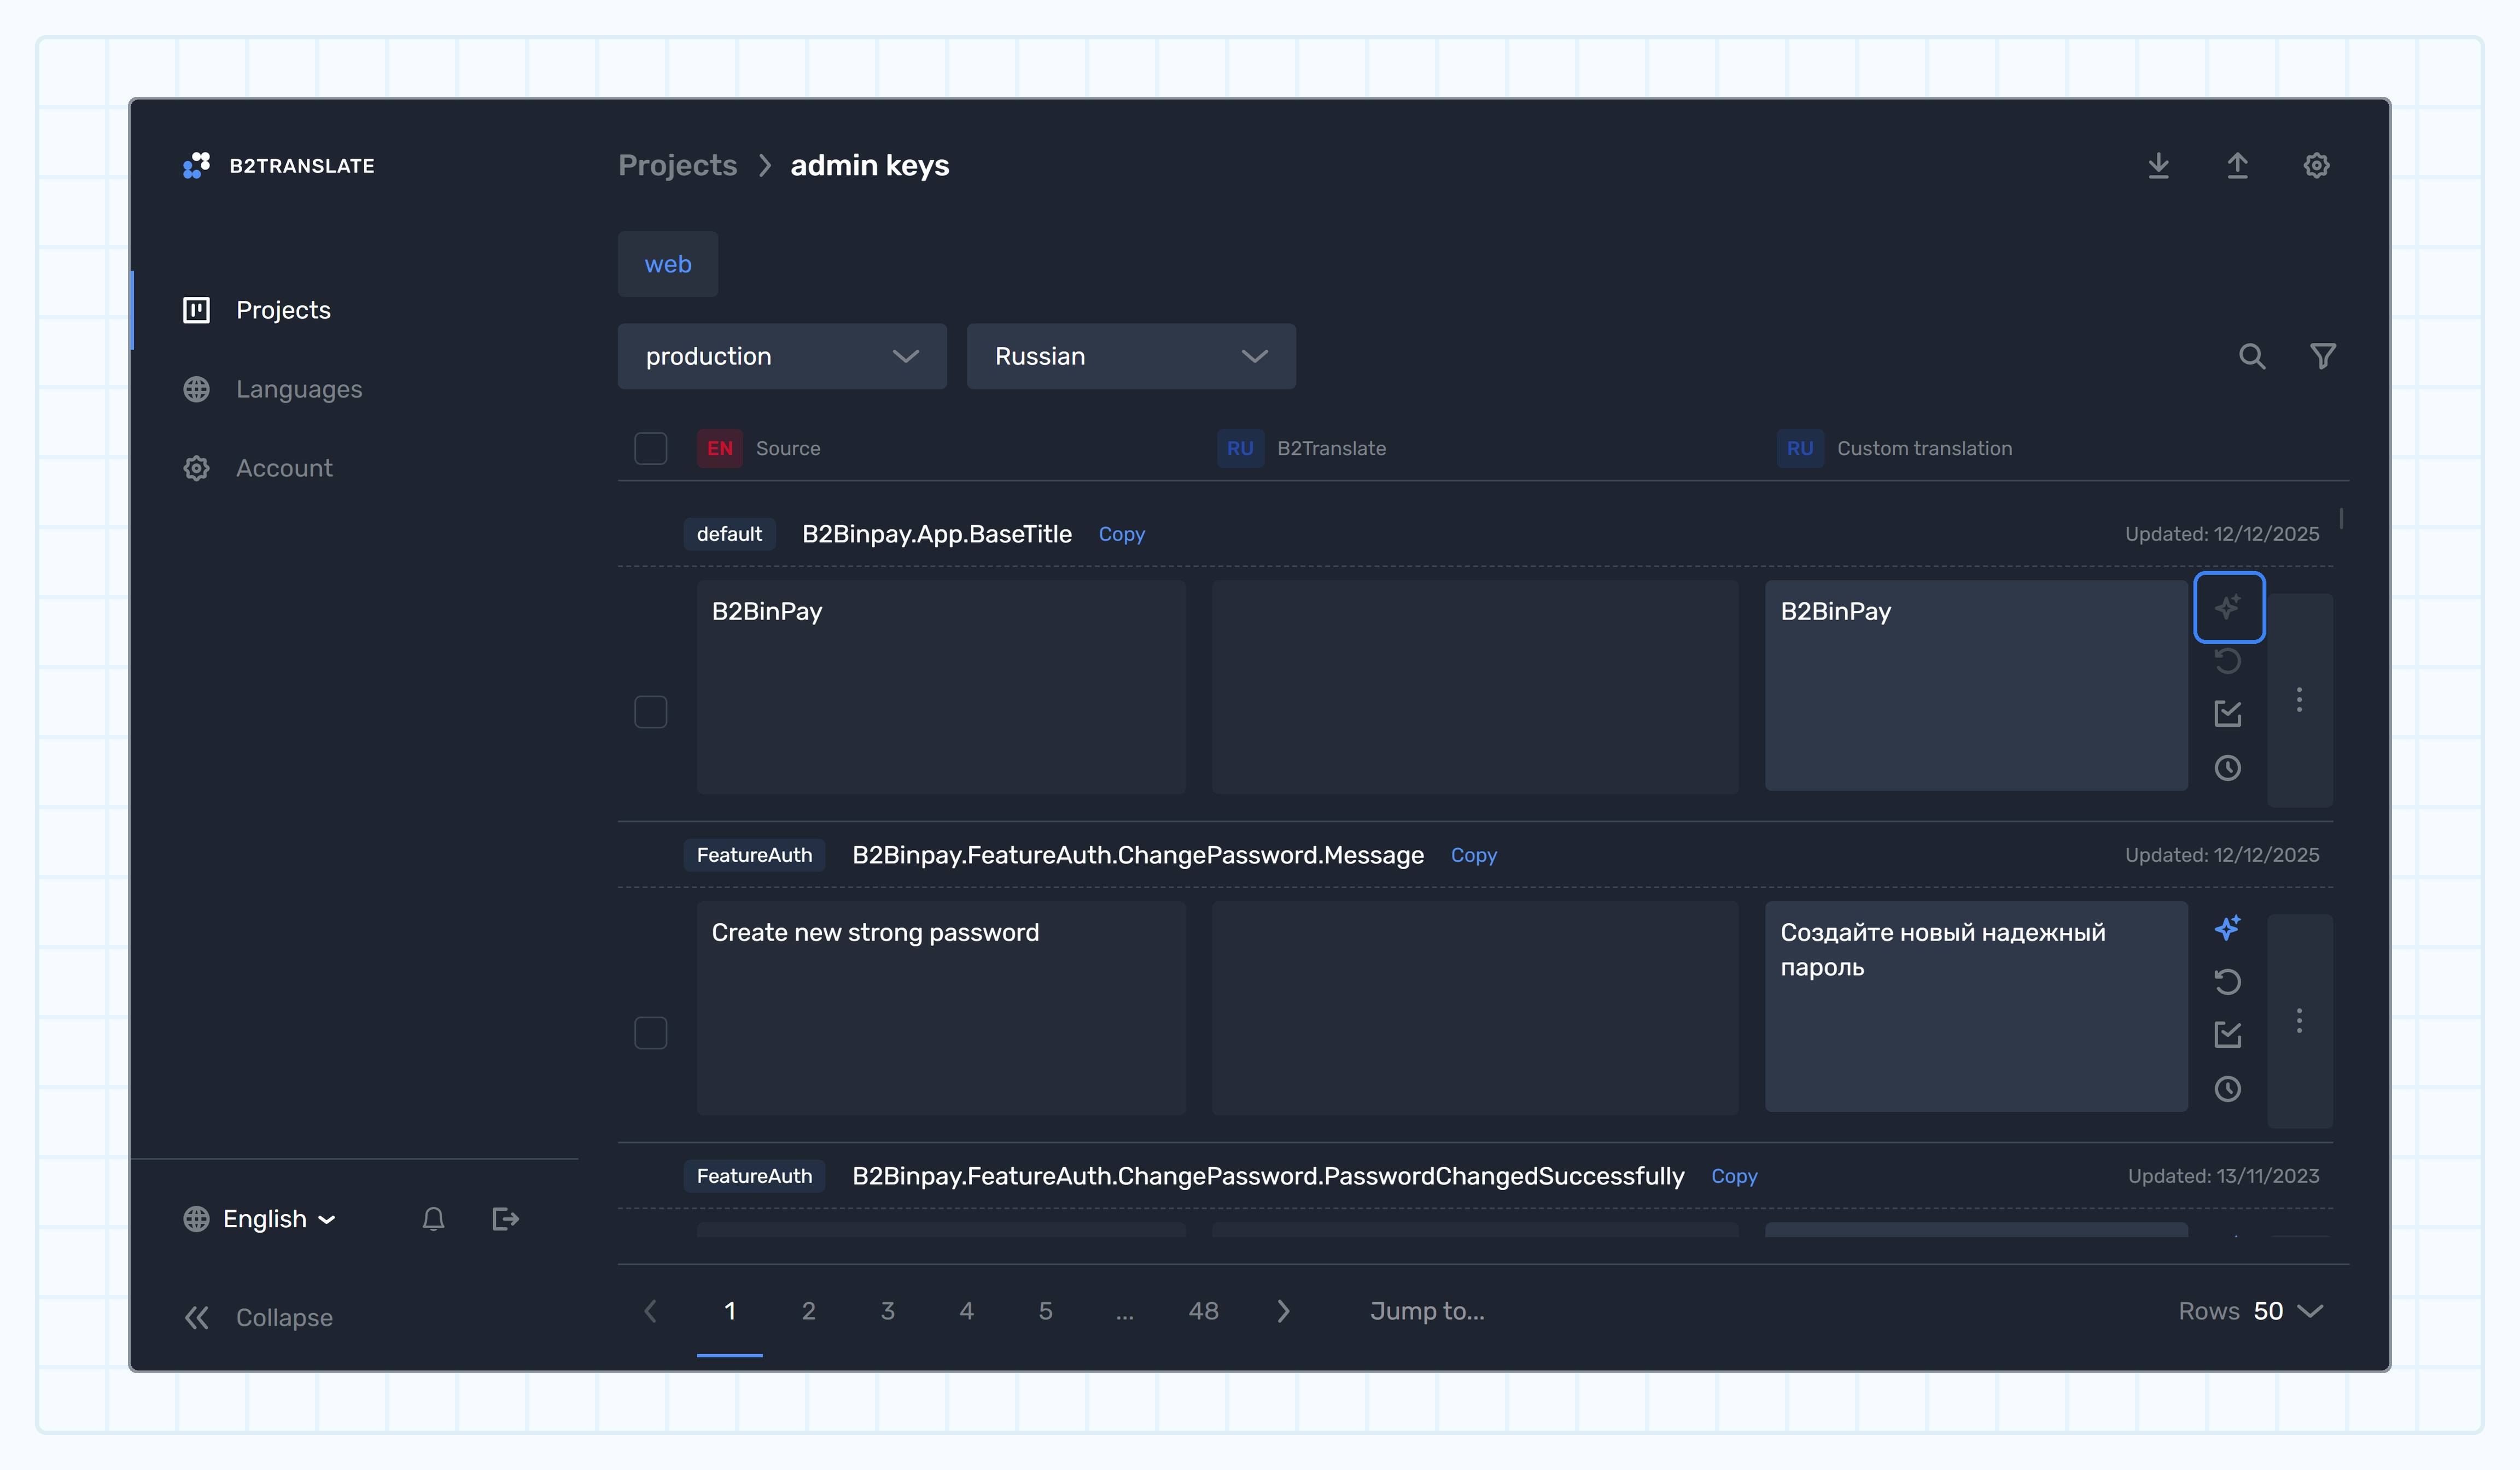
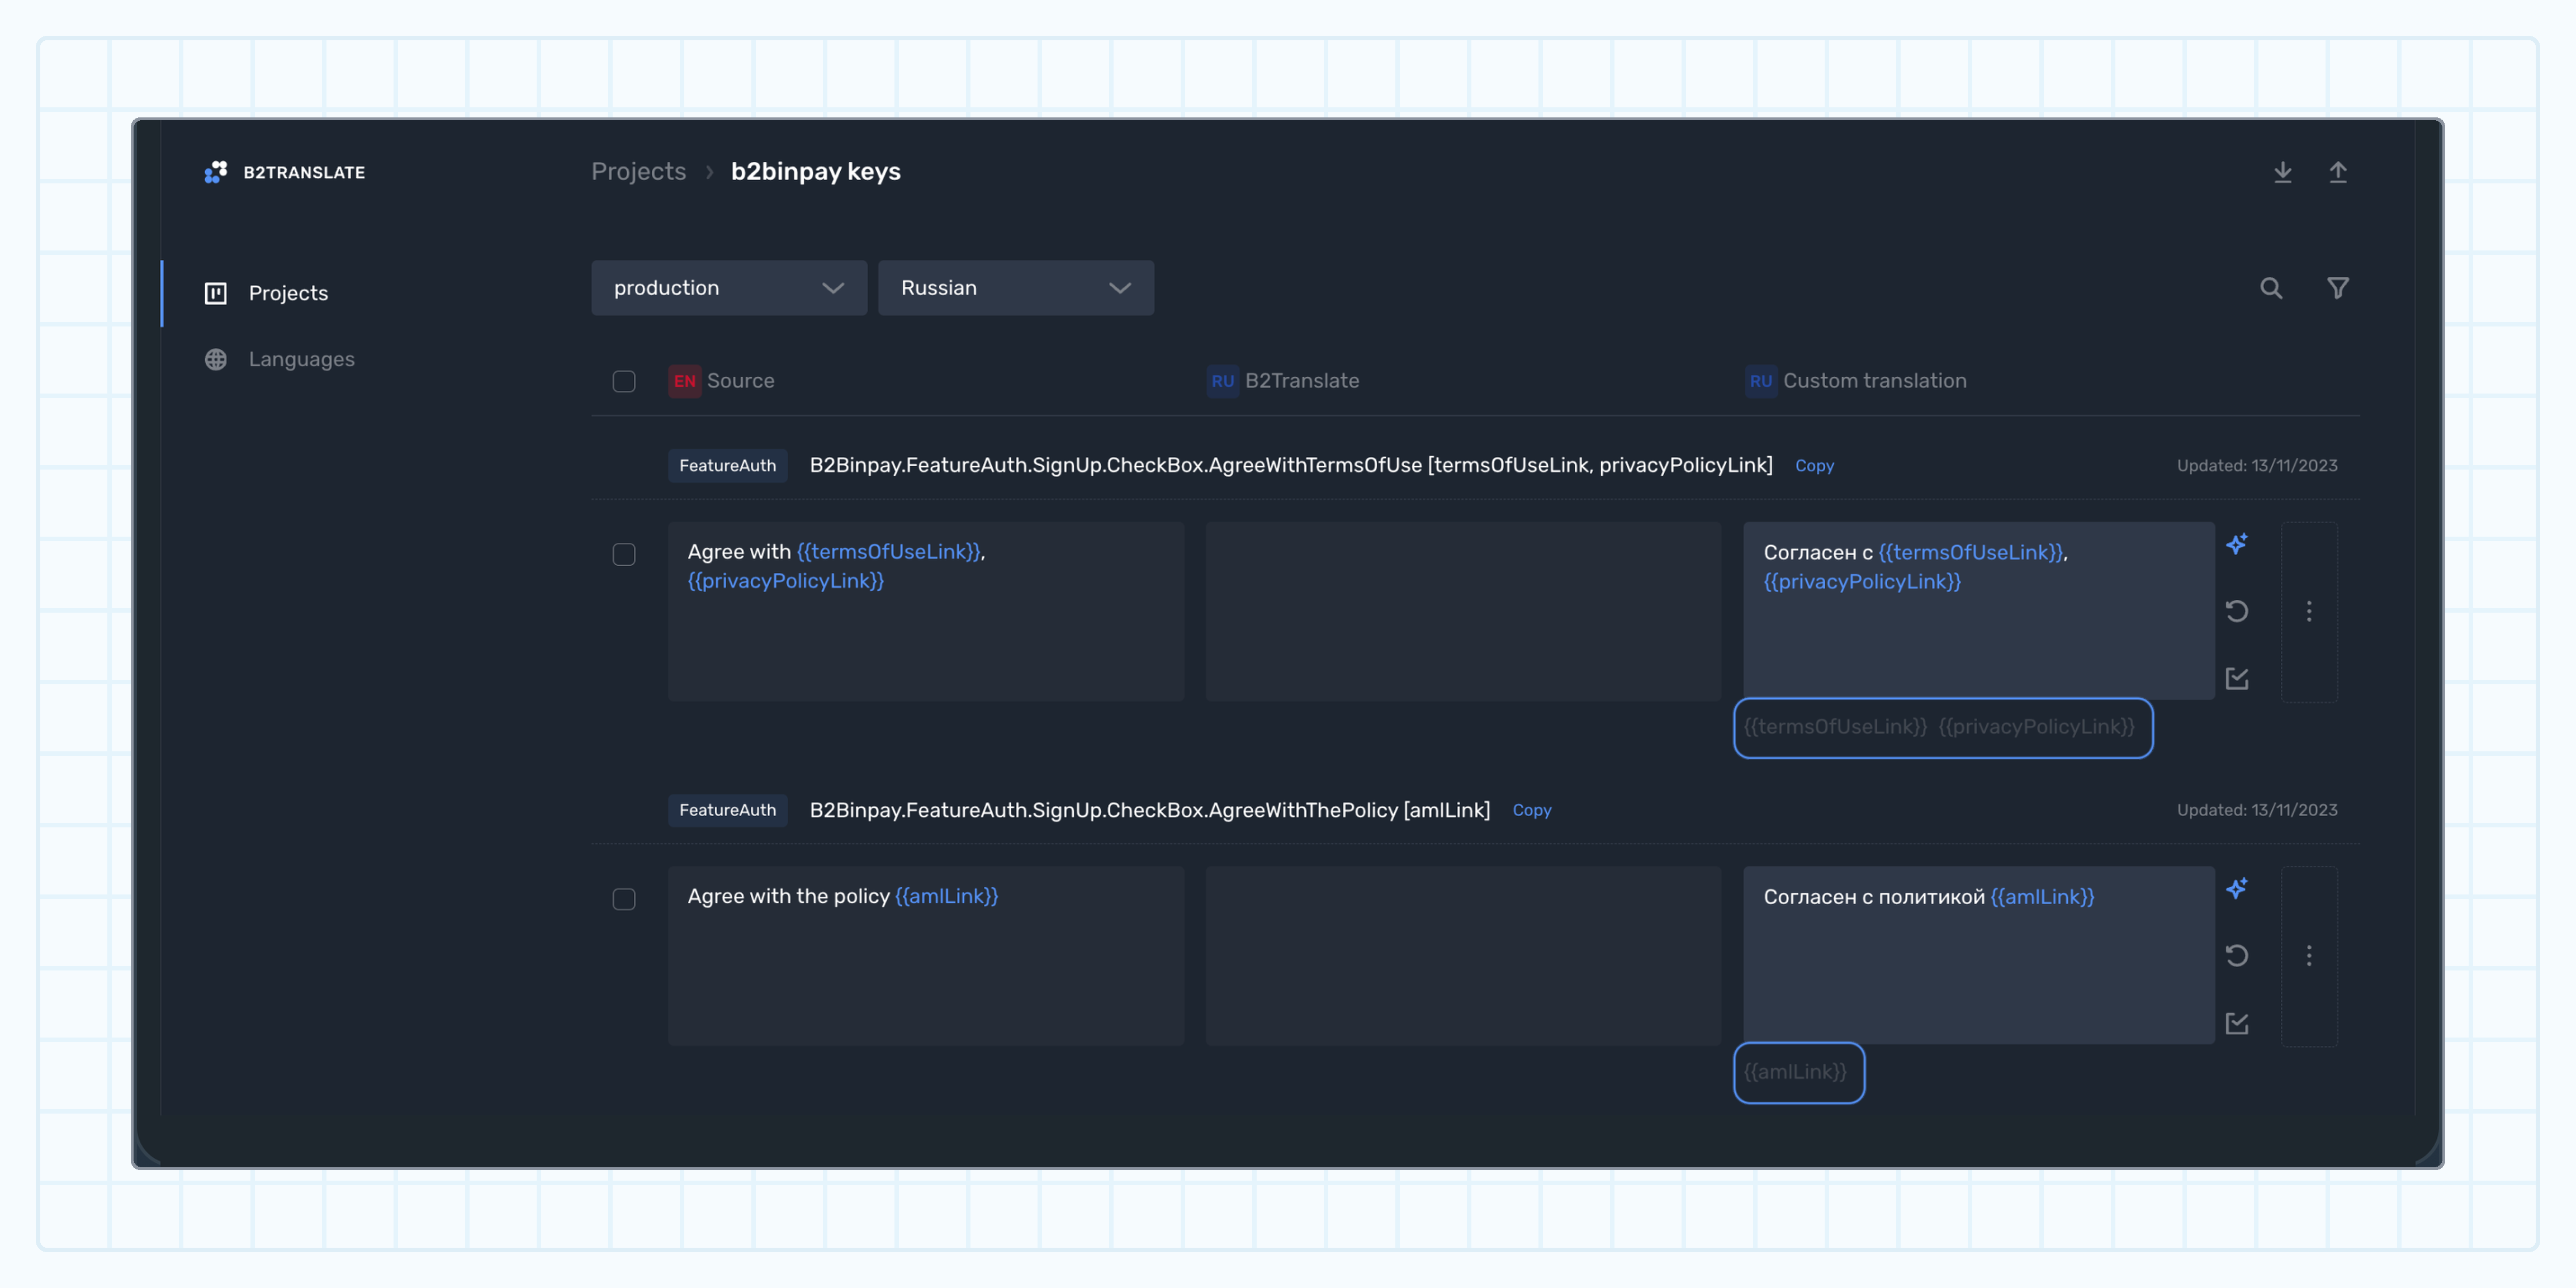 You can configure cashback reward programs for clients who trade on MT4/5.
The cashback is rewarded for the volumes traded on MT accounts over a day, based on closed positions, and deposited to clients the following day. For example, the cashback for the volumes traded on May 24 is rewarded to clients on May 25.
From the **MetaTrader Volume** menu, you can access the **MetaTrader 4** and **MetaTrader 5** pages to configure cashback programs for each platform.
Each page is divided into two tabs:
* [Preferences tab](preferences-tab)
* [Tiers tab](tiers-tab)
You can configure cashback reward programs for clients who trade on MT4/5.
The cashback is rewarded for the volumes traded on MT accounts over a day, based on closed positions, and deposited to clients the following day. For example, the cashback for the volumes traded on May 24 is rewarded to clients on May 25.
From the **MetaTrader Volume** menu, you can access the **MetaTrader 4** and **MetaTrader 5** pages to configure cashback programs for each platform.
Each page is divided into two tabs:
* [Preferences tab](preferences-tab)
* [Tiers tab](tiers-tab)
 (the menu button) located in the upper-right page corner and expand the dropdown that displays the available options.
The available tabs are described in the subsequent sections of this document.
(the menu button) located in the upper-right page corner and expand the dropdown that displays the available options.
The available tabs are described in the subsequent sections of this document.
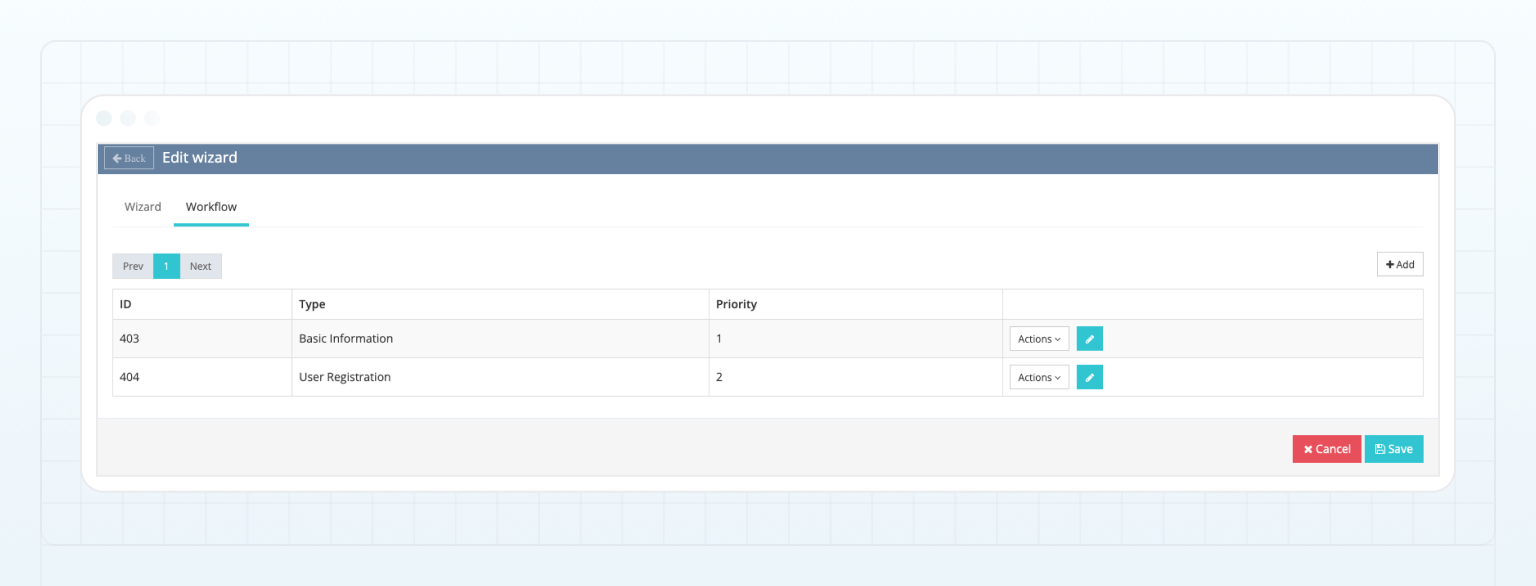
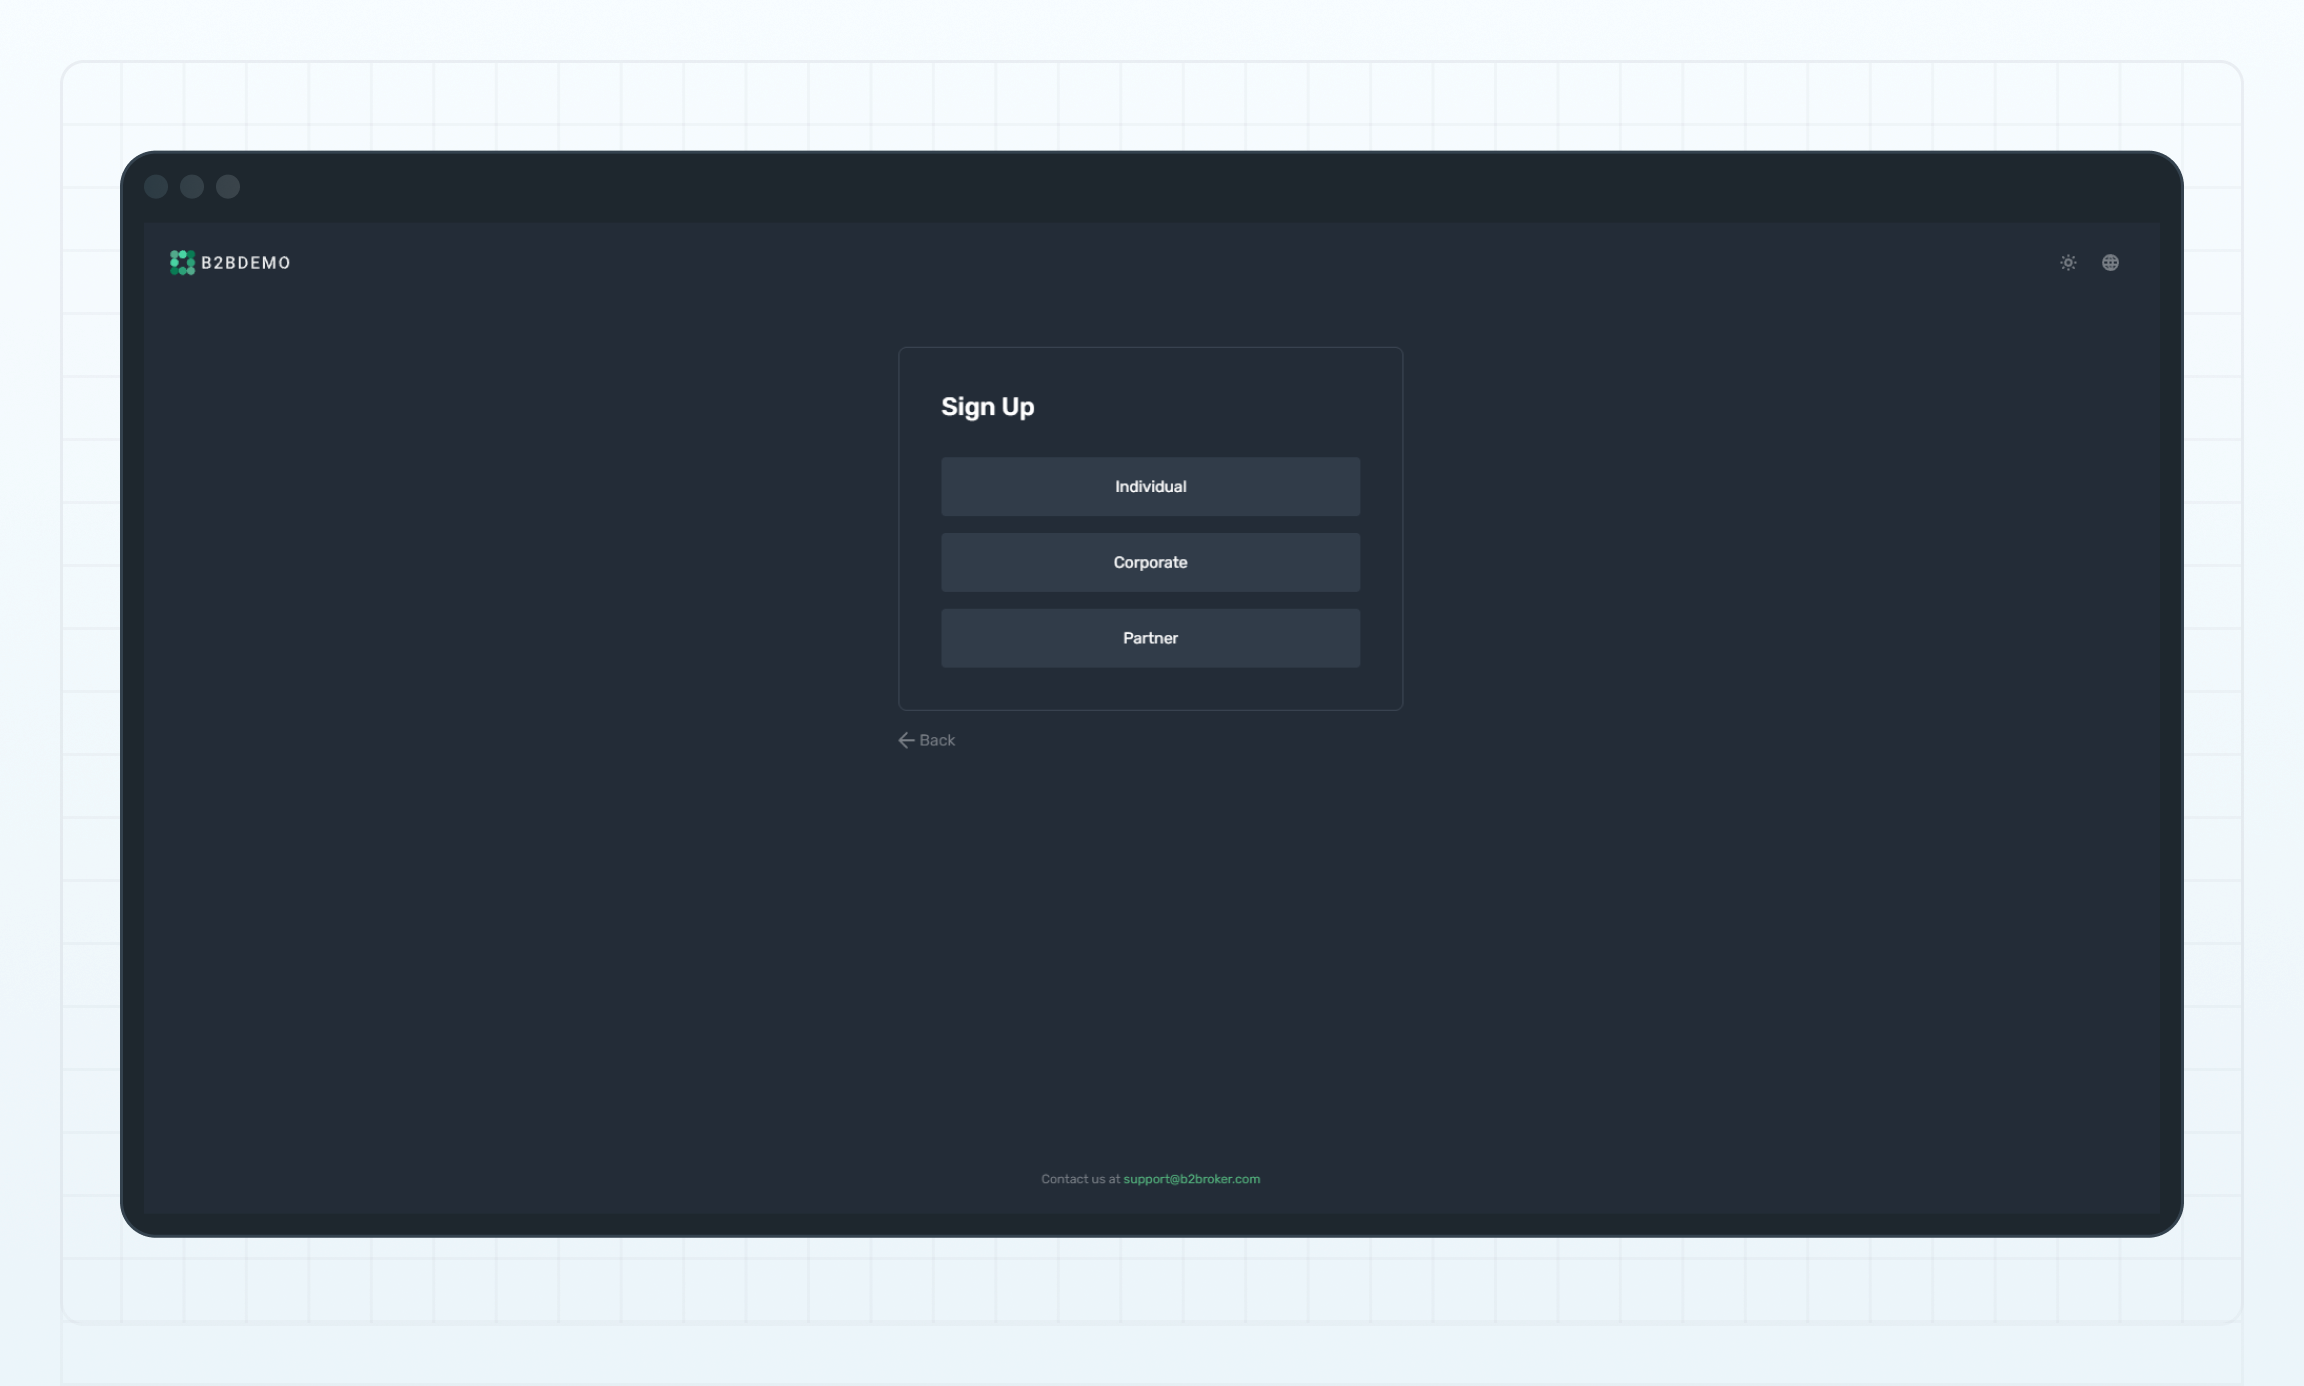
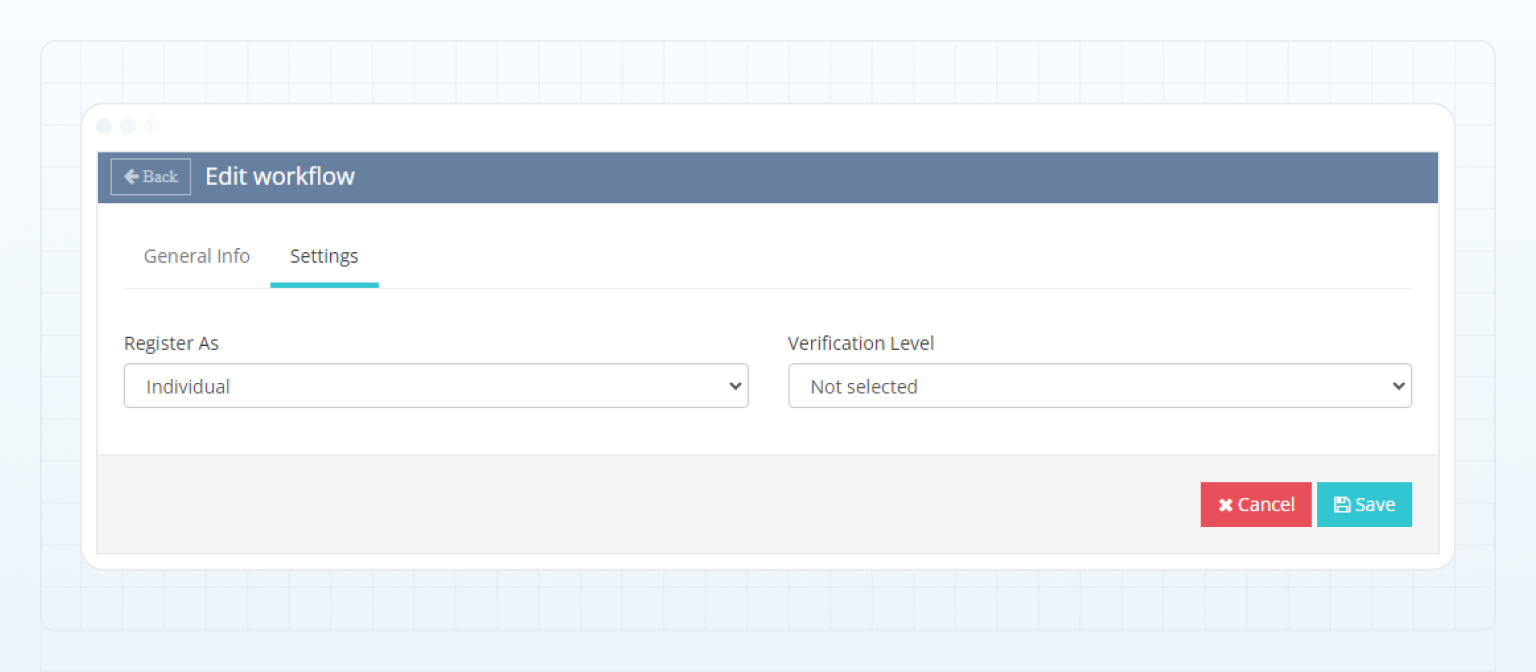
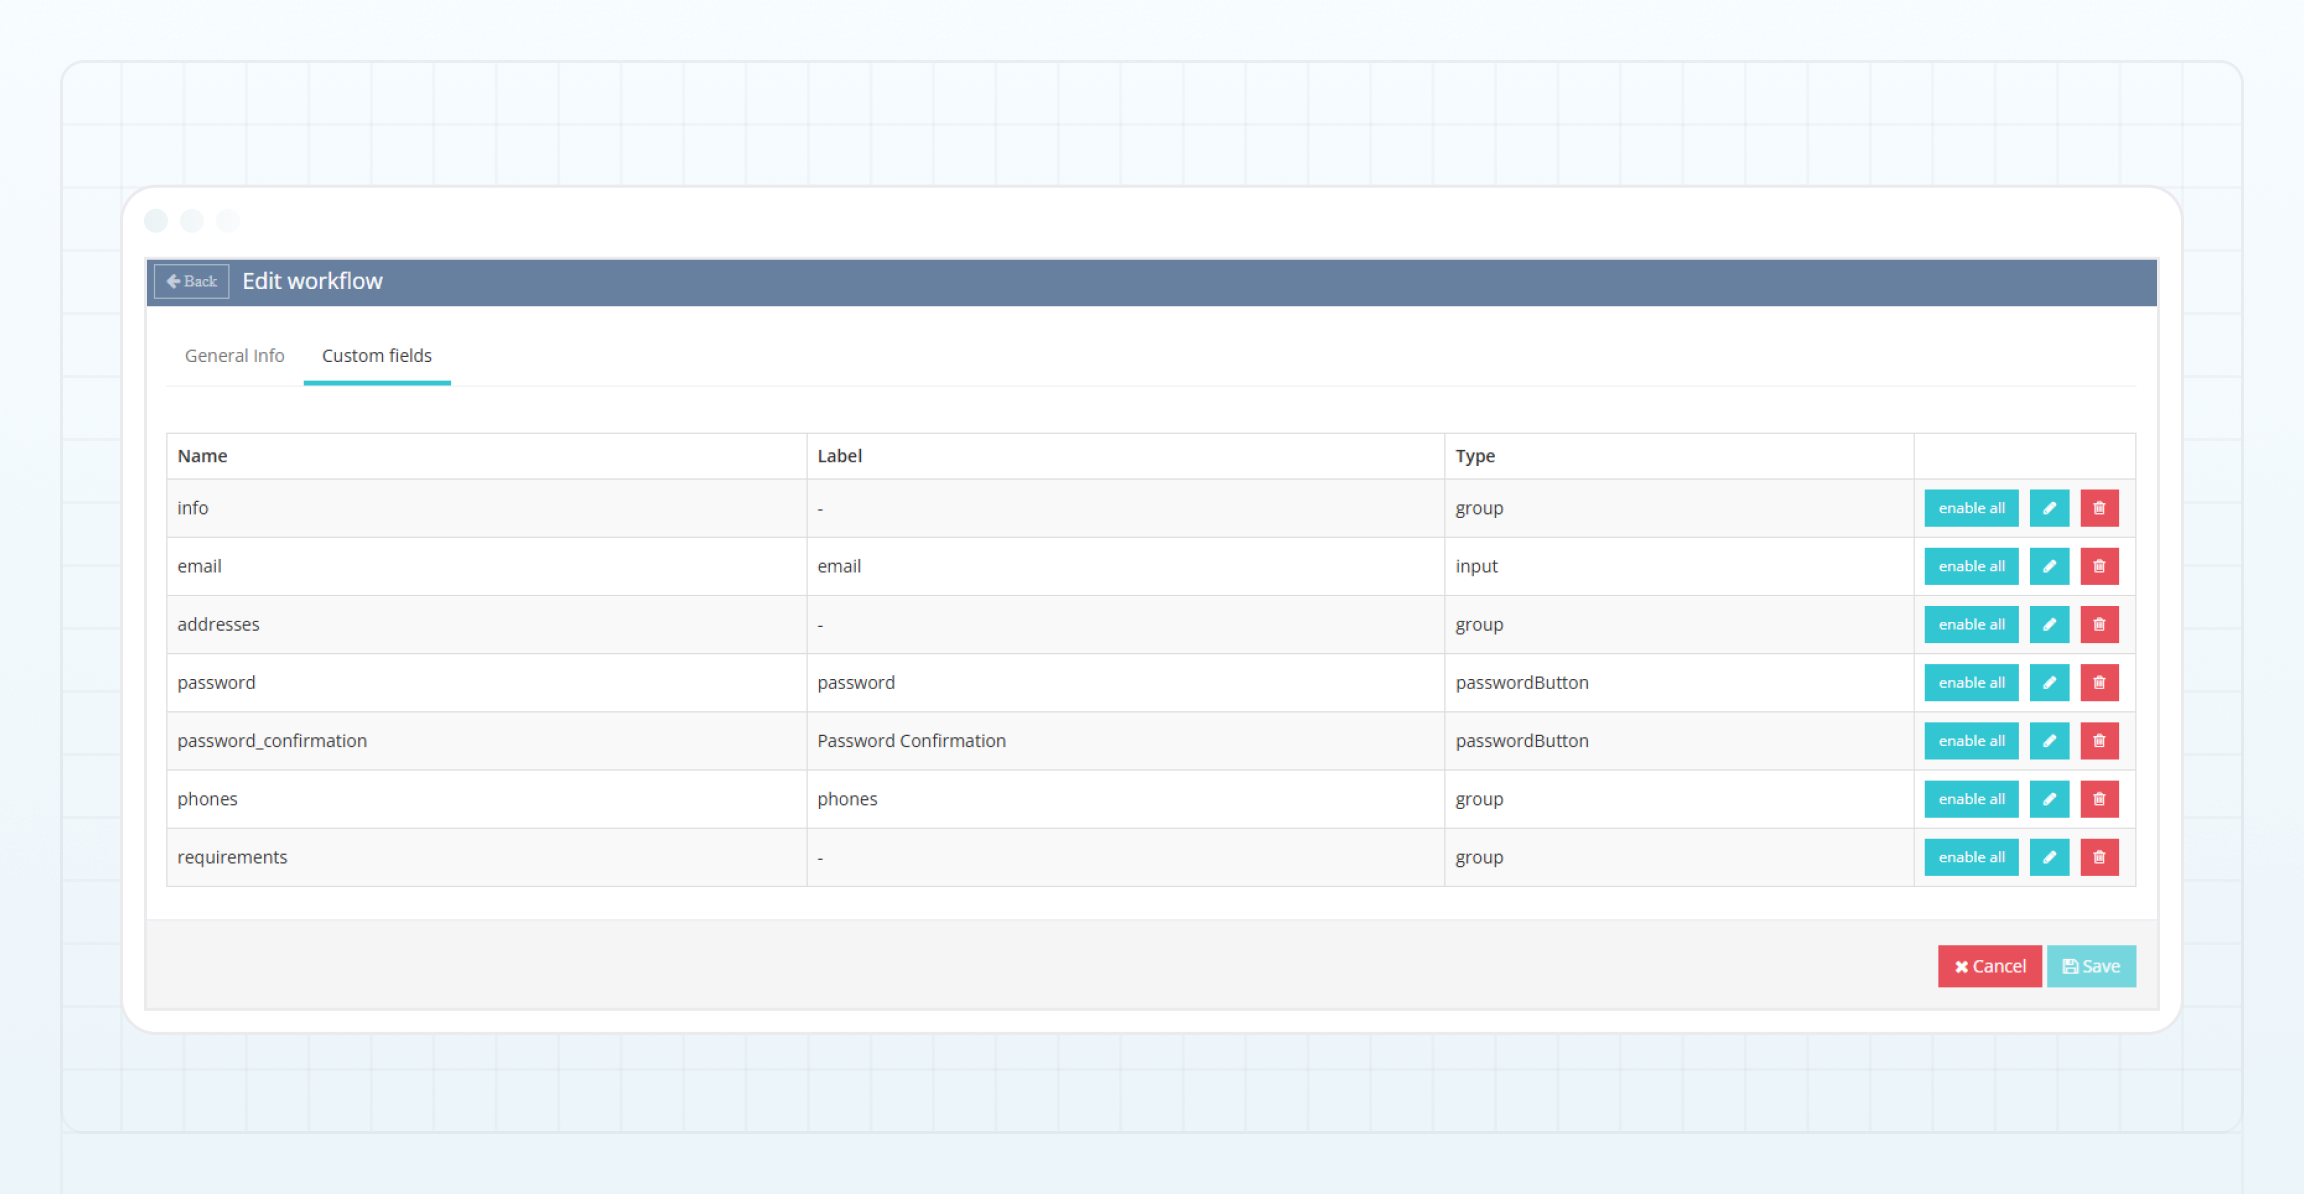
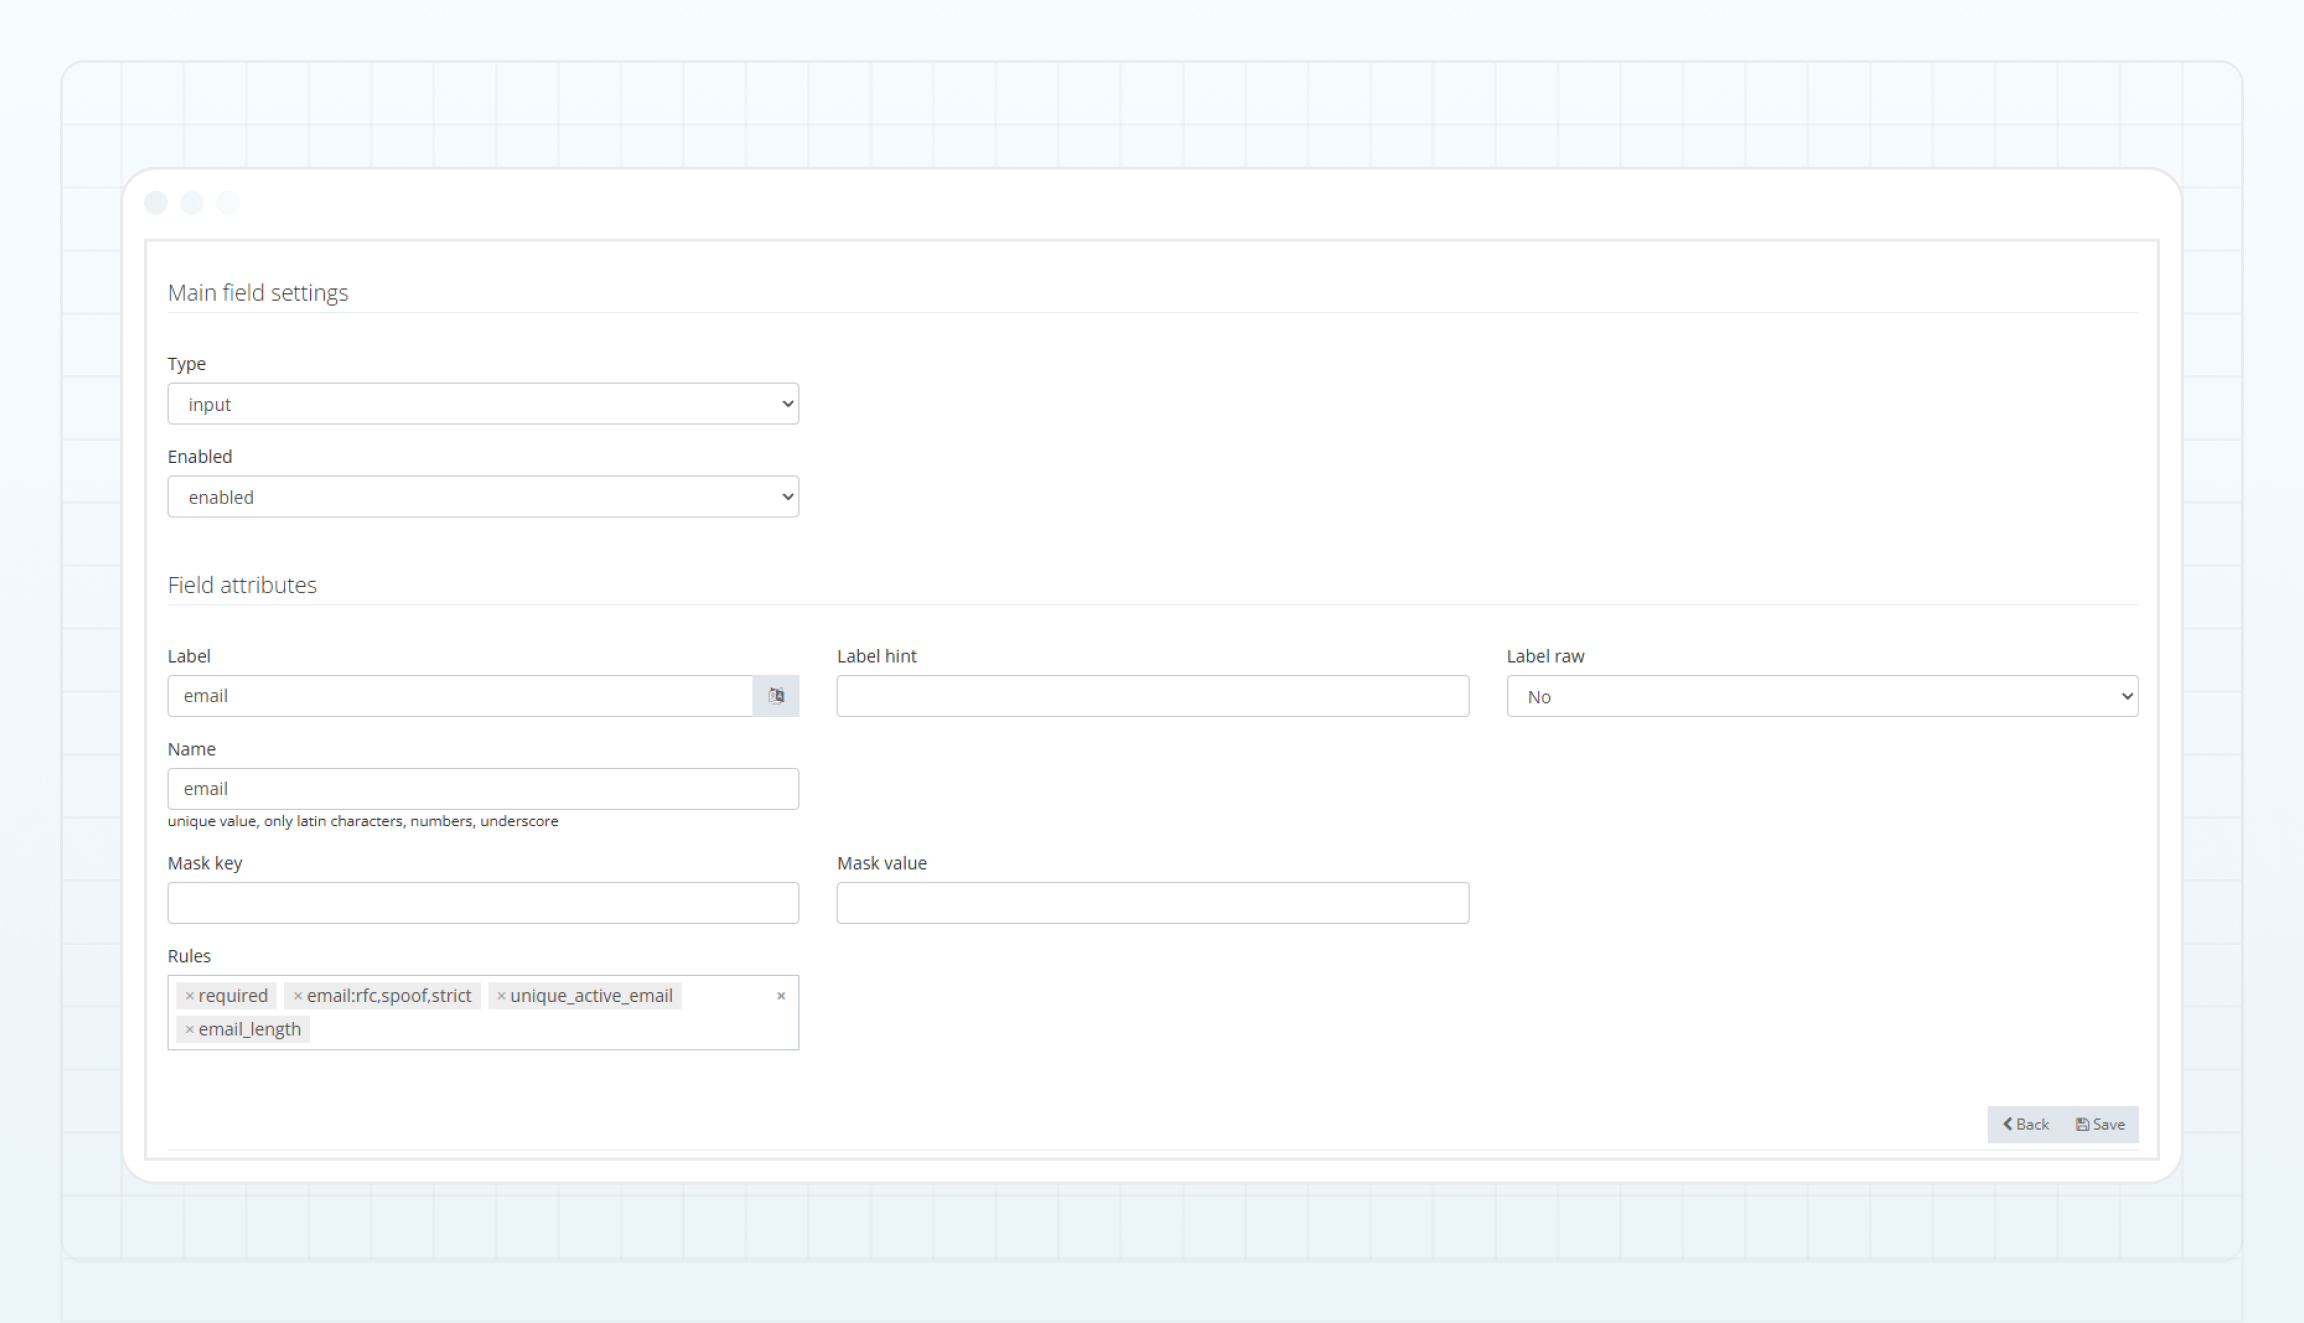 After saving the field settings, you'll be redirected to the fields list on the **Custom fields** tab.